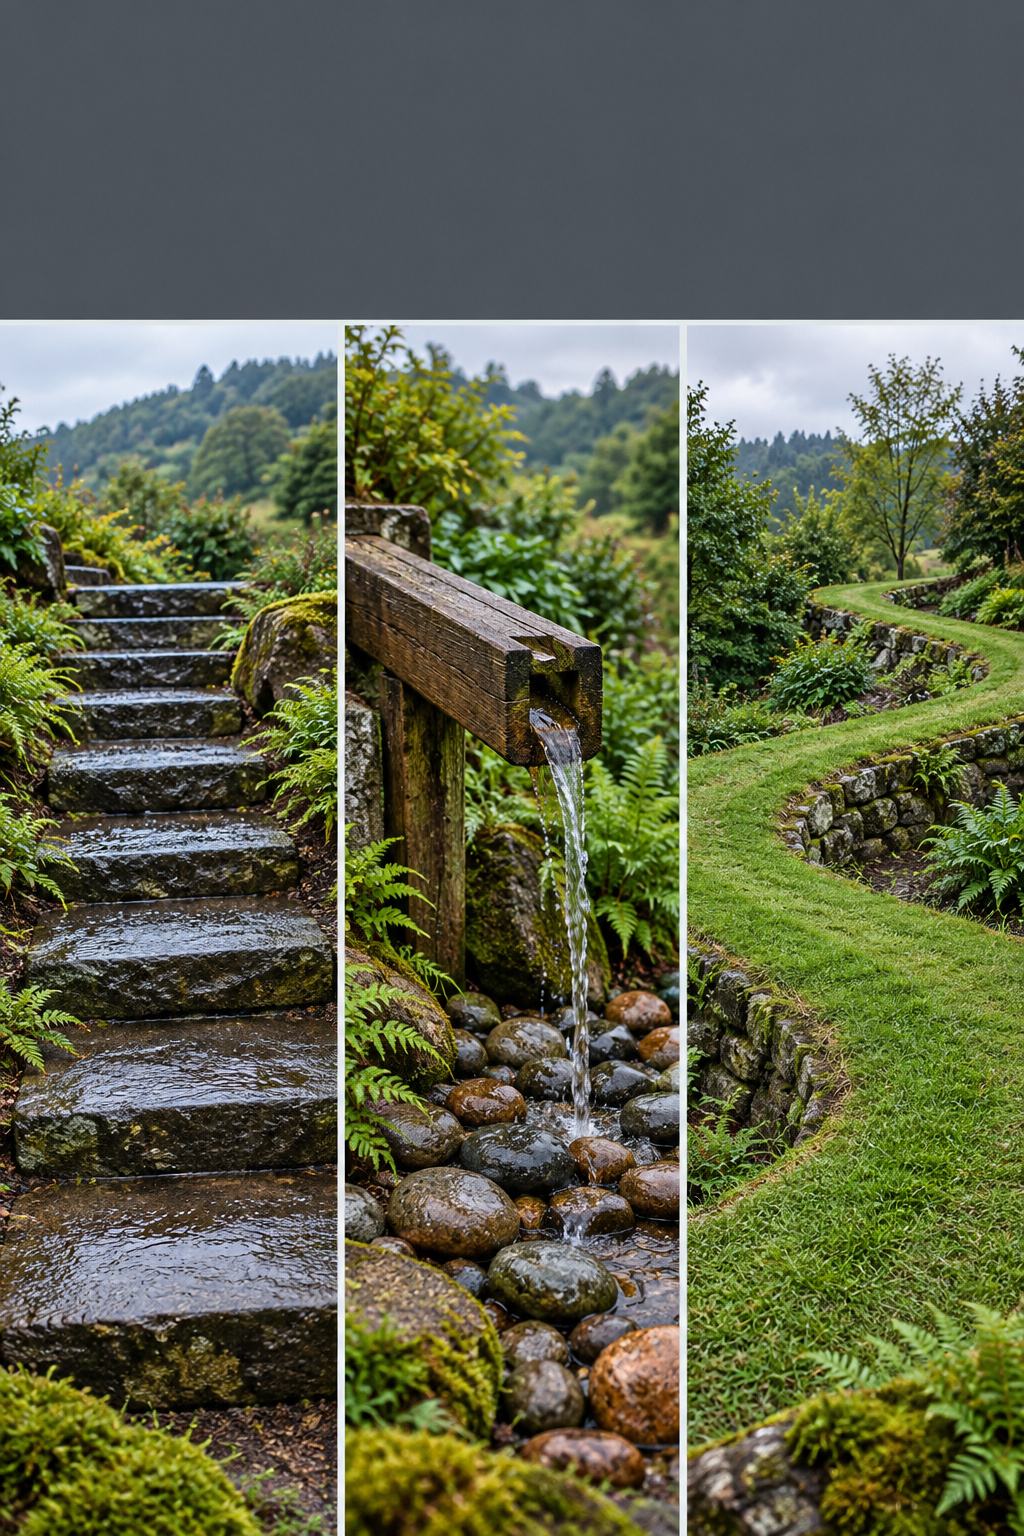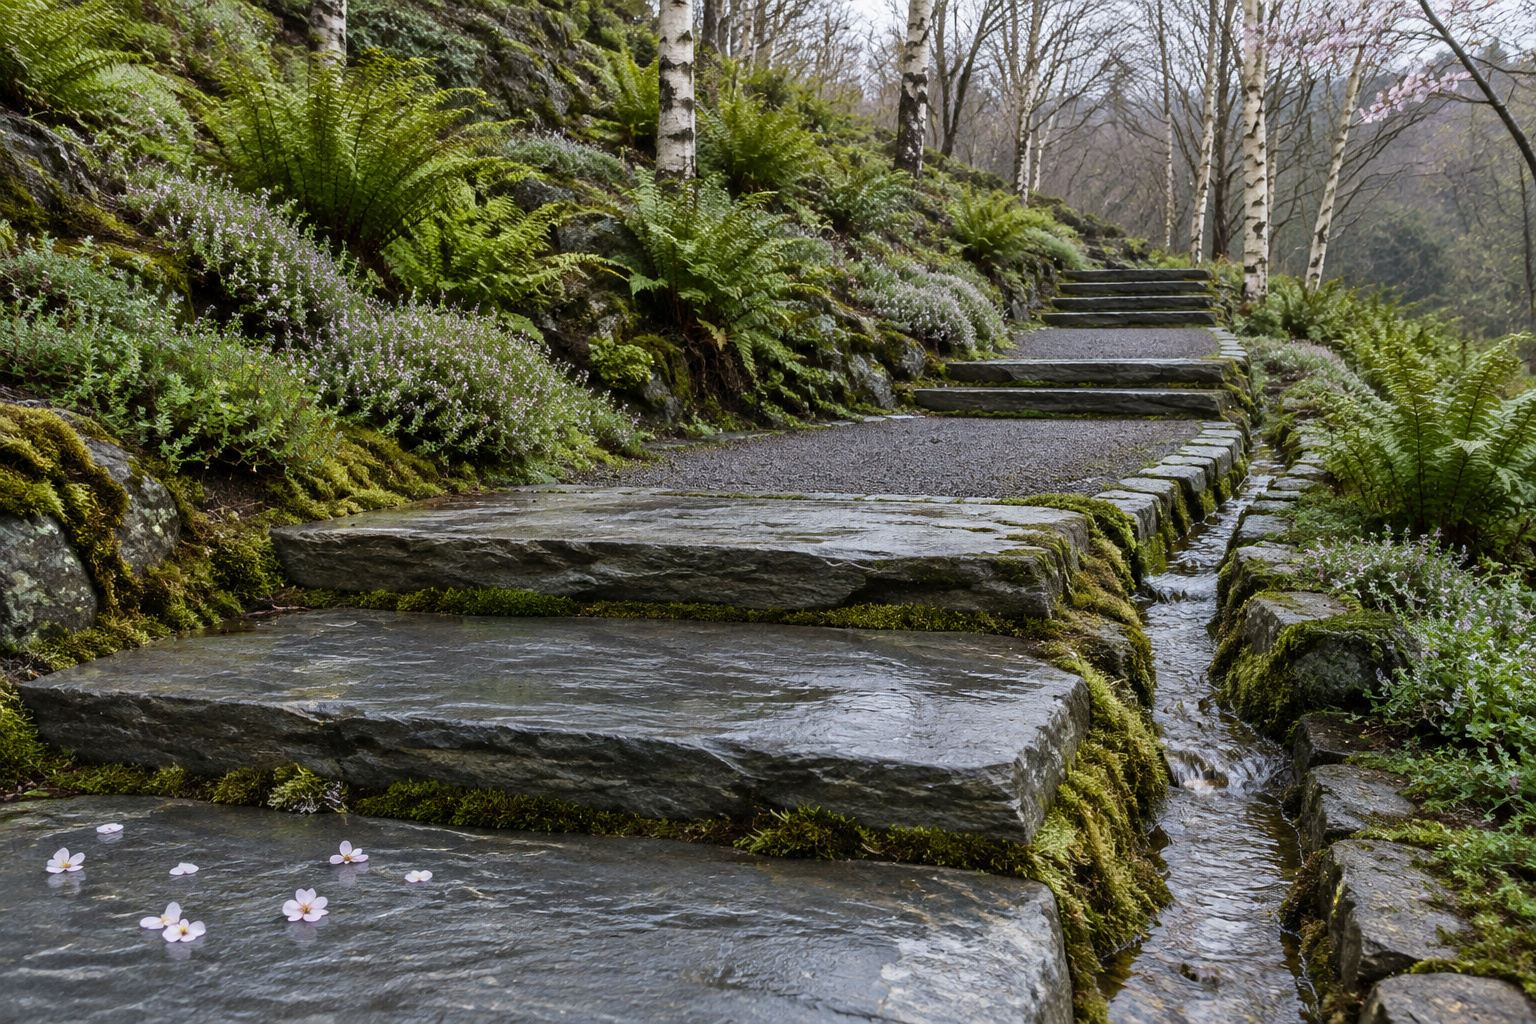

When the rain comes down sideways on your hill, where is it going to run? Picture the good answer first. You’re halfway up a garden path on a slope in a proper downpour, coat zipped, and the ground under your boots isn’t moving. Water is sheeting across the path and off the far edge into the planting. Each step has a thin film running off its front lip. At the bottom there’s a bed of washed stone taking the lot, and you can hear it draining away rather than pooling.
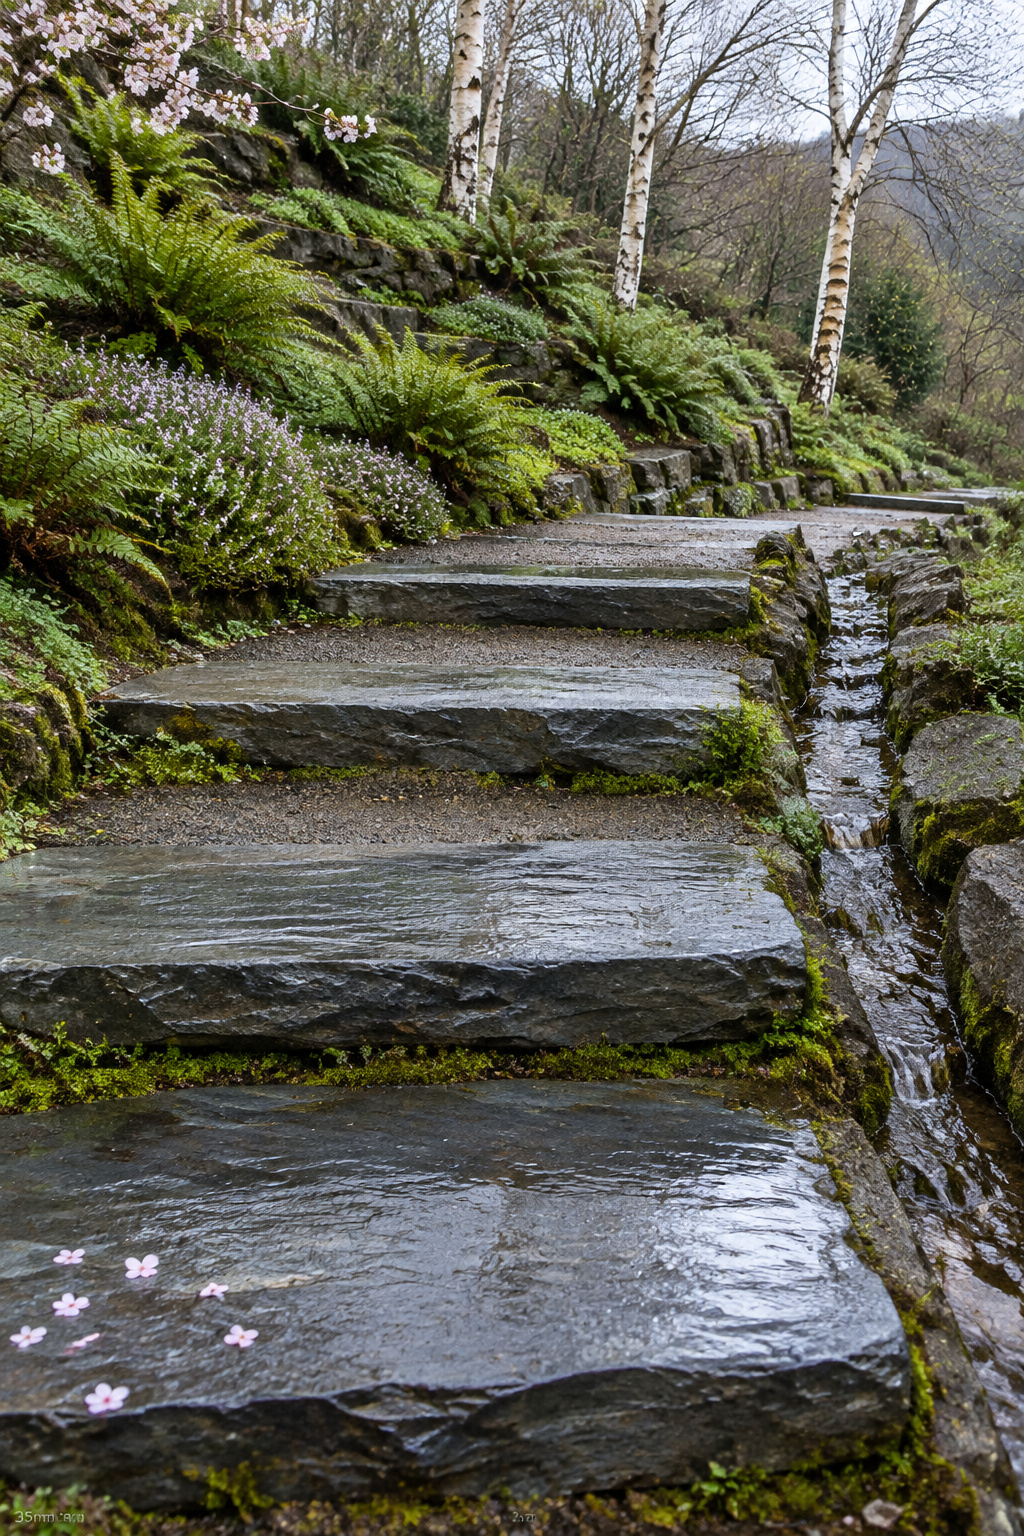
Now the version most people build. Same hill, same storm, and the path has become the stream. Runoff wants the lowest, firmest line on a slope, and a path is usually exactly that, so the gully opens long before any step cracks. Plan the water first and the steps turn out to be the easy part.
TL;DR
- Water will take your path if you let it, so give it planned exits: a slight sideways fall along a ramped run, a forward fall of about 1:60 to 1:100 on every tread, and a stone-lined outlet at the foot.
- No code says when a path must become steps. Treat 1:12 (about 8%) as a comfortable ramp, about 1:8 (12.5%) as the point where steps or a switchback take over.
- Outdoor steps use the same two-risers-plus-a-tread check as indoor stairs, adding up to about 26 to 27 in, but pair a lower riser of about 4 to 6 in with a deeper tread of 12 to 18 in.
On a Slope the Path Is Also a Channel: Where Does the Water Go?
The morning after the first hard rain
My own lot sloped toward the back door. Everything that fell on the yard ran to the house, so before I built a single thing out there, I regraded. The first real rain afterward proved it was worth it. I still keep a rain gauge on the fence and check it most mornings.
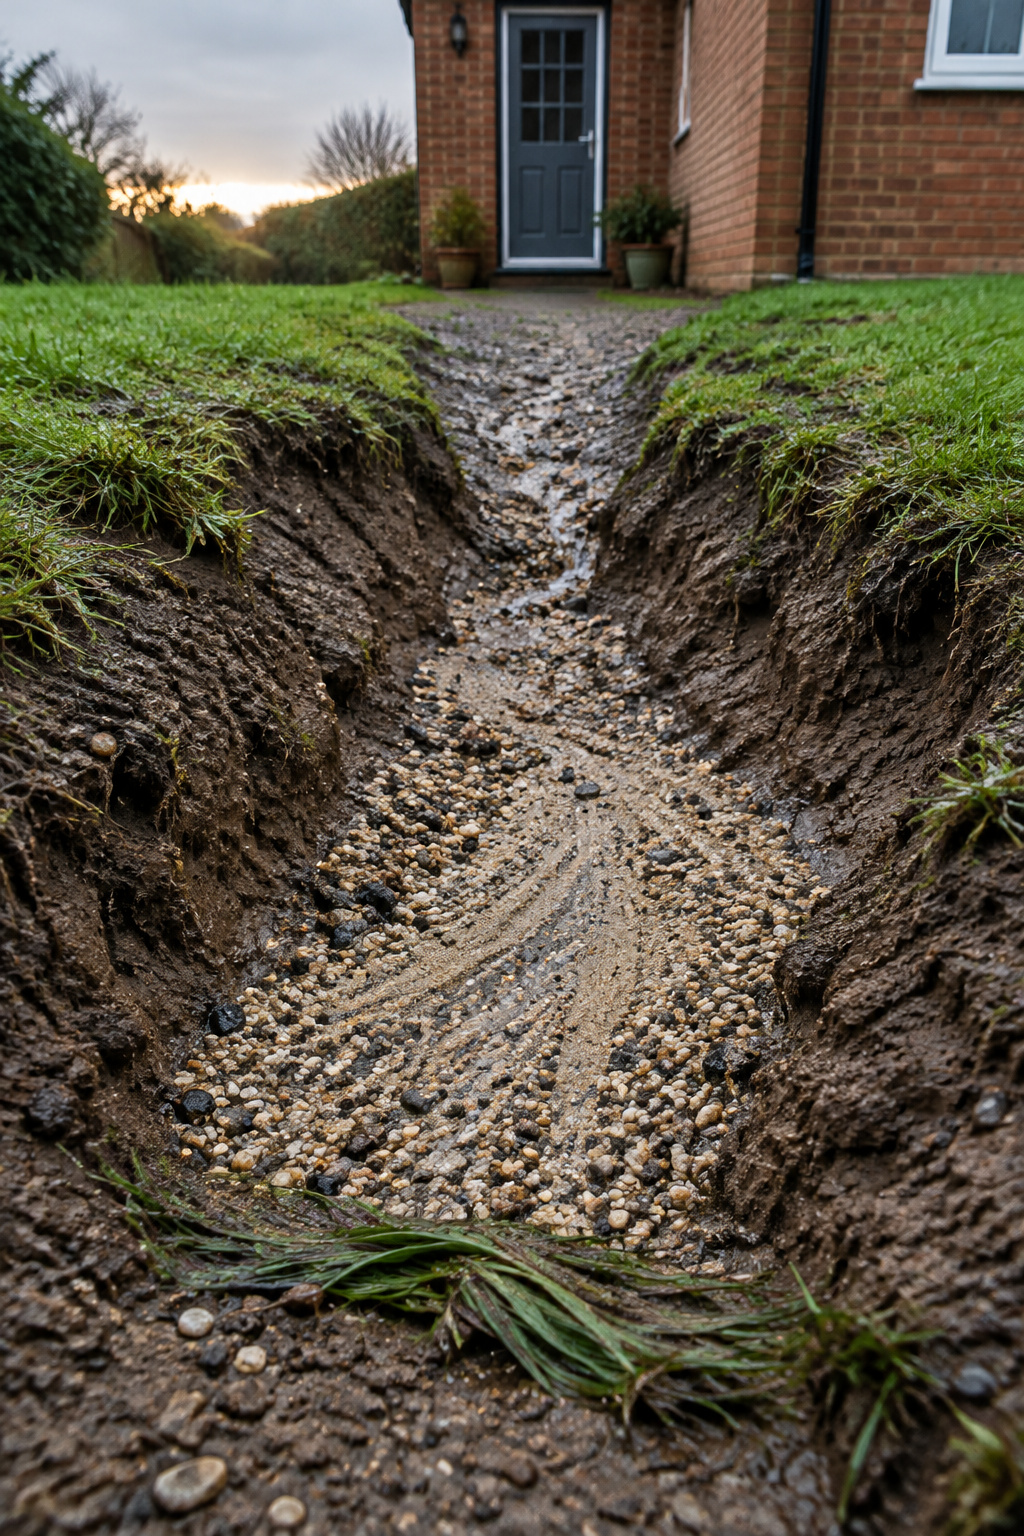
A path on a hill sits in the same position my back door did. The Forest Service trail notebook puts it bluntly: “Water will always find the path of least resistance, most likely your trail.” The aim is to let rain keep crossing the path as a thin sheet instead of gathering it and sending it downhill along your route.
The worst layout is the one that looks most natural: straight down the fall line, because it’s the shortest way. Alaska’s state parks trail handbook keeps a path’s grade to no more than half the slope it crosses. On a bank that drops 36 in over 70 in, a 51% slope, a path straight down it is twice what that allows. Cut across the slope, or build steps.
Plan drainage before you plan furniture. A bench at the top of the hill is lovely; a bench beside a fresh gully is not.
Ramp, Steps or Switchback: Let the Gradient Decide
Divide the drop by the horizontal distance and you have a percentage. That number picks the form.
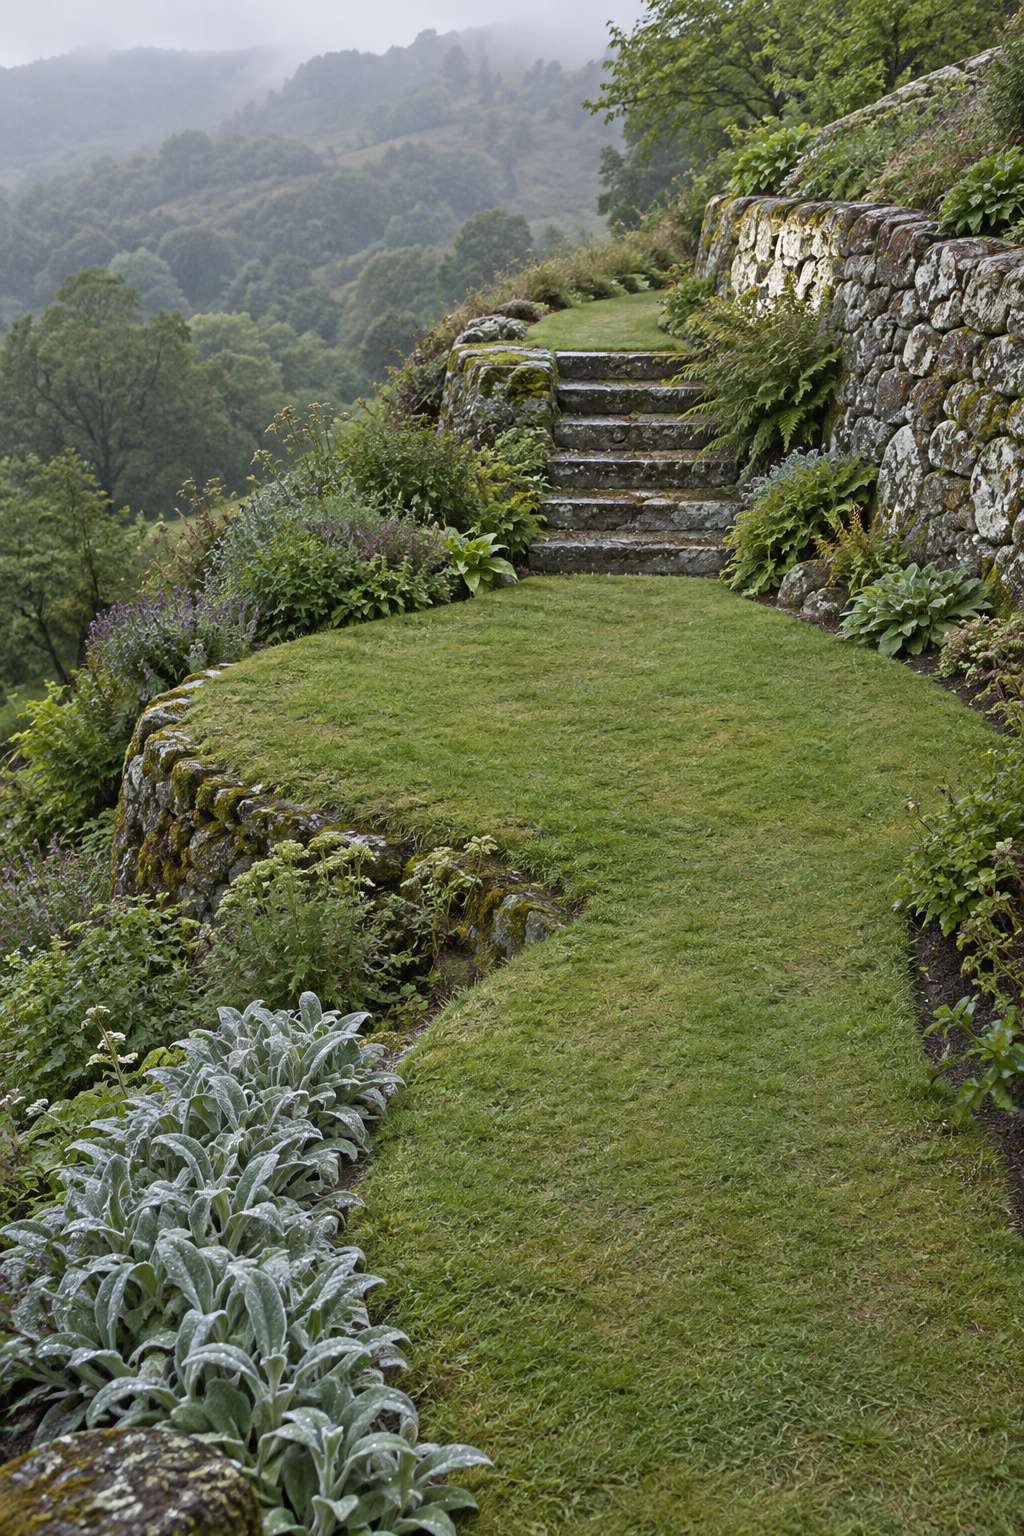
No garden authority names the gradient where a path has to turn into steps; California’s trail handbook says outright that there is no set percentage. The nearest benchmarks come from accessibility law. The ADA limits a walking surface to 1:20 and a ramp to 1:12, and allows up to 1:8 only on short, existing sites with a few inches of rise. Those are public-facility standards, not rules for a private garden, and one landscaper’s rule of thumb lands in the same place: past about 1:8, roughly seven degrees, a path should become a flight of steps.
| Form | Slope it suits | What it asks of the walker | How water leaves it |
|---|---|---|---|
| Ramped path | Up to 1:20 (5%) as a walk; to 1:12 (8.33%) as a ramp | Easy with a barrow, but it takes a lot of ground | Sideways off the whole run, plus cross-drains at planned points |
| Switchback | Turns a steep slope into gentler runs; climbing turns suit up to about 7% | Longer walk, gentle underfoot; the turning platform may need a retaining wall | Off the path at each turn, where the platform is level-ish at 2% at most |
| Steps | Beyond about 1:8 (12.5%) | Lifting your feet, so landings and equal risers matter | Off the front of every tread |
At 1:12 a ramp is pleasant and also long; on a steep garden it swallows the planting. If you wheel a barrow up the hill every week, spend the ground on a switchback. Otherwise take steps and keep the beds.
Decide Where the Water Leaves Before It Picks Up Speed
Cross-fall and water bars on a ramped path
Give the whole run a slight sideways tilt, about 2%, so rain leaves the path along its full length instead of turning to follow it. On steeper runs you add cross-drains at planned outlets, and here the published advice splits.
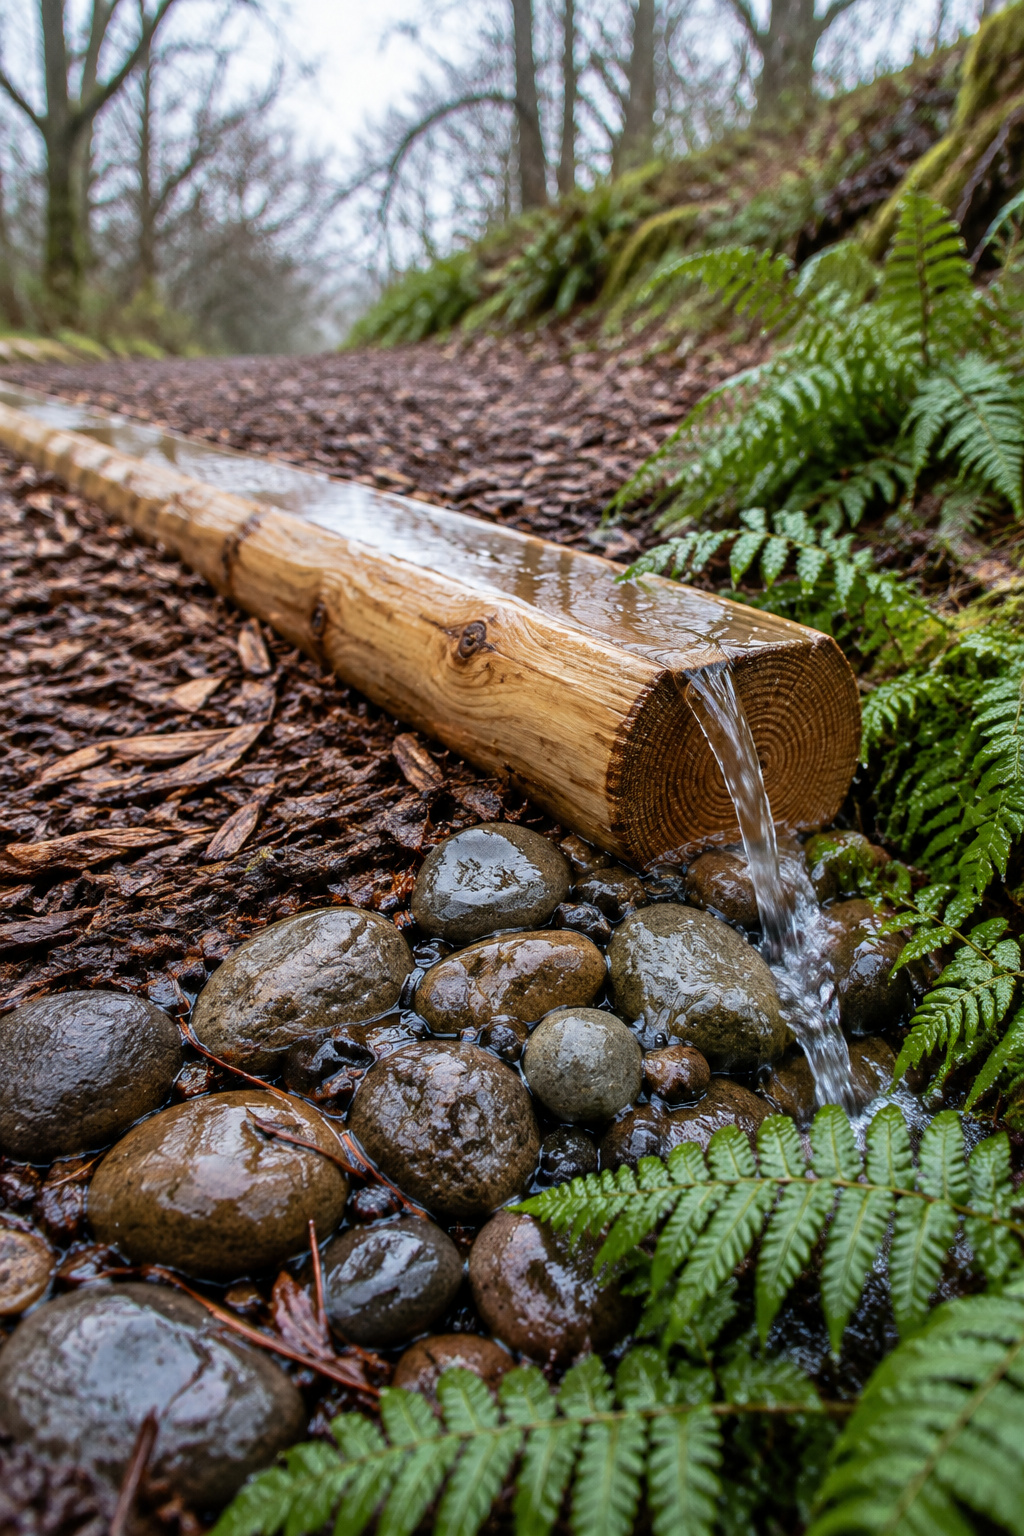
New Hampshire’s homeowner fact sheet on water bars spaces them by slope: 250 ft apart at 2%, 80 ft at 10%, 50 ft at 15% and 40 ft at 25% or steeper, with a 6 x 6 in rot-resistant timber at about 30 degrees across the path and a washed-stone apron at the outlet. The Forest Service sees bars differently. It sets them at 45 to 60 degrees, says shallower ones clog with sediment, calls them mostly useless above a 20% grade, and prefers short reversals in the grade every 20 to 50 ft, which drain themselves. I’d use bars on a gentle run, grade dips where you can shape the ground, and steps beyond that.
Either way, dig the silt out of the outlets after big storms. Loose gravel won’t hold past about a 15% grade, whatever edging you use.
A drain at the foot of the steps
On a flight of steps, water leaves off every tread, and all of it arrives at the bottom. Turn runoff aside at the top of the flight, so the steps only handle what lands on them, and give the foot a real exit, lined with washed stone and falling away gently. The Forest Service wants a drain outlet at least 1.5 ft wide. Skip side walls taller than the steps; they trap water on the treads.
Outdoor Steps Are Not Indoor Stairs: Lower Risers, Deeper Treads
Indoor stair proportions, 7 in risers and 10 in treads, feel steep outside, where people walk in wet boots, carry things and have no handrail. The check doesn’t change. Two risers plus one tread, the same formula stair builders use indoors, should come to about 26 to 27 in. What changes outdoors is the pairing: a riser of about 4 to 6 in with a tread of 12 to 18 in. The smaller the rise, the bigger the tread, so 18 in goes with 4 in, 16 with 5, 14 with 6.
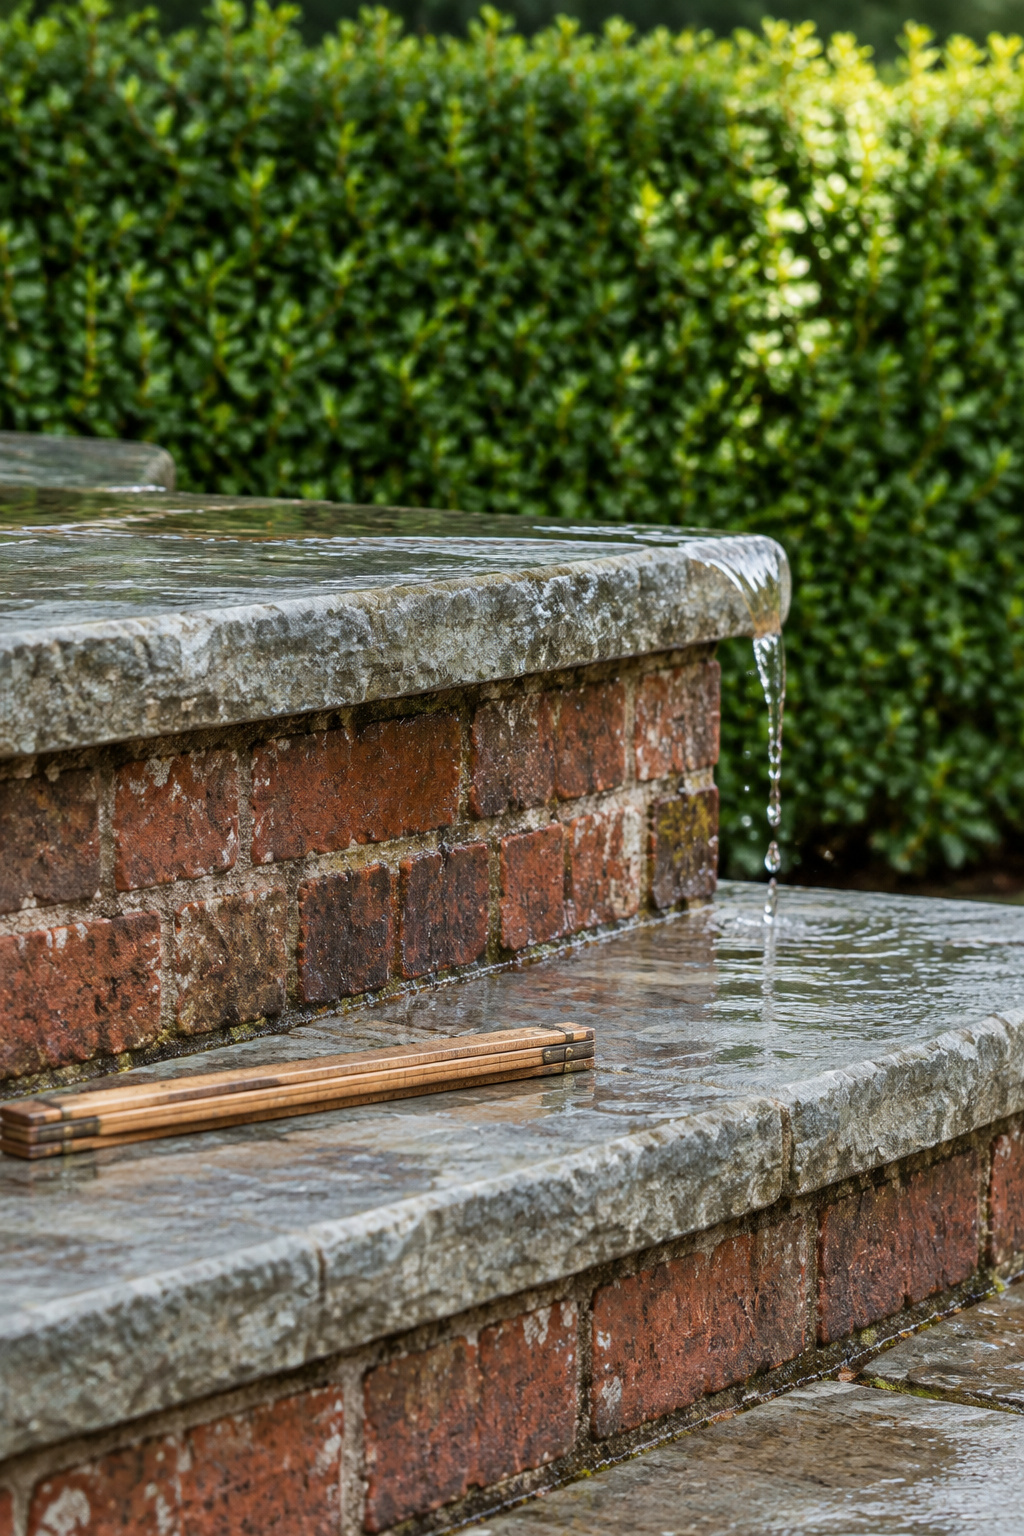
Set one out on a bank that drops 36 in. At 6 in risers that’s 36 ÷ 6 = 6 risers, and the tread is 26 − (2 × 6) = 14 in. The top riser lands on the upper path, so 6 risers need 5 treads: 5 × 14 = 70 in of run, just under 6 ft. That’s a 51% slope, well past any ramp. Keep every riser identical; outside, people are looking at the garden, not their feet.
Each tread then gets a slight forward fall, 1:60 to 1:100. On a 14 in tread that’s about 1/4 in at most and 1/8 in at the least, too small to see, and enough that water doesn’t sit and freeze there. As for width, steps follow the path they belong to, so start from how wide to make the path.
Timber, Stone or Block Risers: What Each Does in the Wet
The riser sits in wet ground year after year, so choose it by what the wet does to it.
| Riser | In wet ground | How long it lasts | Each spring |
|---|---|---|---|
| Treated lumber rated for ground contact (UC4A tag) | Holds well if water drains from behind it | 30+ years | Reseal; clear the gravel behind each step |
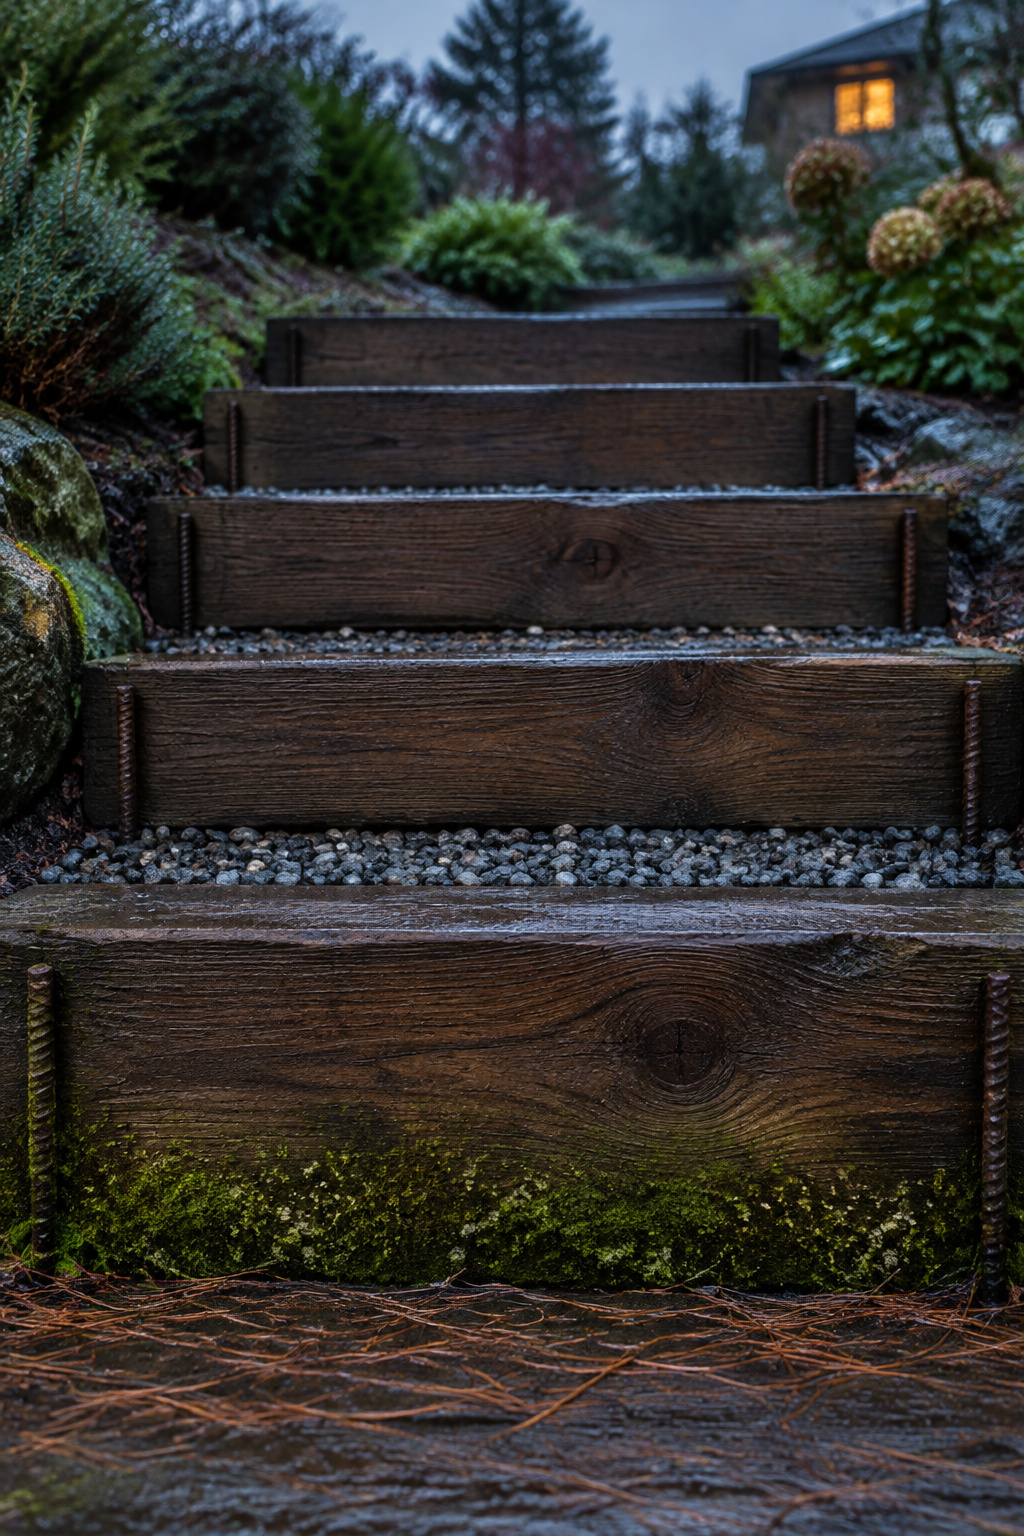
| Landscape timbers rated for ground contact | Rot where water stands against them | 15 to 25 years | Reseal; check the rebar pins |
| Peeler cores (cheap rounded timbers) | Preservative doesn’t penetrate deep | 5 to 7 years | Watch for soft ends |
| Dry-laid stone | Only as good as the base and drainage under it | No published figure | Check the bottom stone hasn’t shifted |
| Concrete wall block | Freeze-thaw and de-icing salt damage the units | No published figure | Keep salt off, or cap with a stone or concrete slab |
The timber figures belong to different products, and peeler cores are a false economy on a step.
No one publishes a lifespan for dry-laid stone or block steps in wet ground. What fails is the base when water gets under it, and on block, the salt. Every flight asks for a spring walk with a trowel: clear the gravel behind each riser, check the outlet, reseal timber yearly. A finish you won’t reapply is the wrong finish.
For the wider choice of surfaces across the rest of the yard, see path materials for every part of the garden.
Build the Bottom Step First, Then Light the Way
The first step holds up everything above it, so it goes in first.
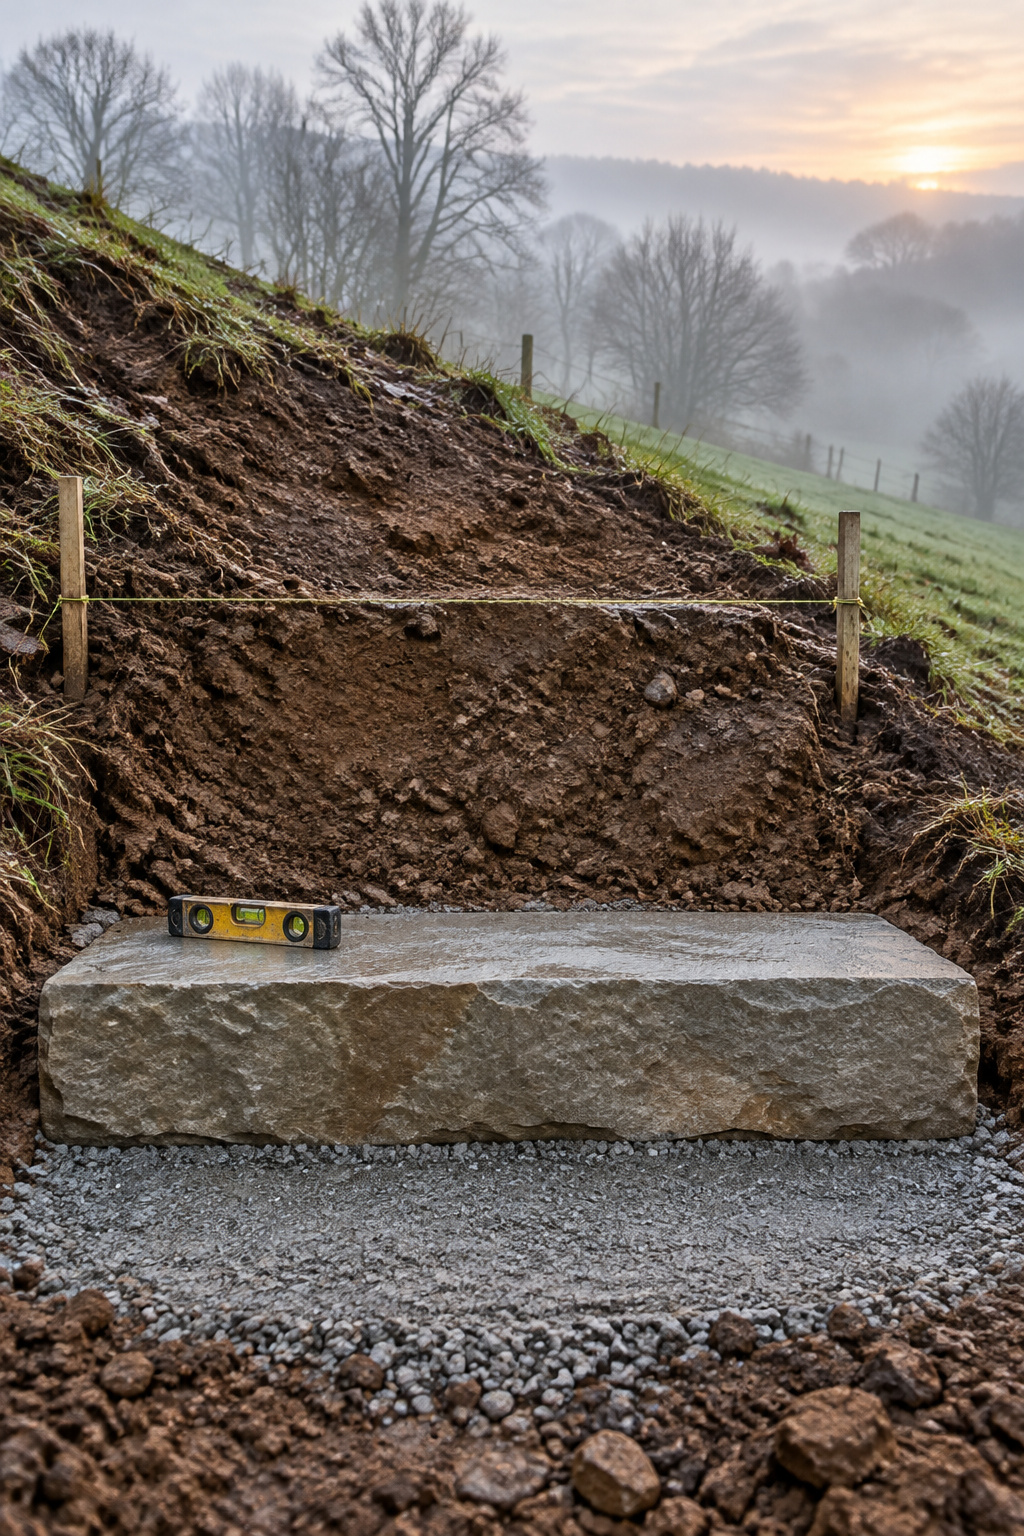
- Measure the total rise and divide by your riser to count the steps. Work out the treads from the 26 to 27 in sum.
- Stake the outlet at the foot of the slope and build it now: the washed-stone apron and the fall carrying water away.
- Set the bottom step deep. On stone steps, bury about a third of that first rock below grade and tilt it into the hill by about 5%. On timber steps, pin each sleeper with two 1/2 in rebars about 6 in from each end.
- Work upward one step at a time, keeping every riser equal, giving each tread its forward fall and shoveling gravel behind each riser.
- Plan flights of at least three steps, with a landing before you pass 12.
- Backfill around the finished flight with well-compacted soil, last of all.
Steps also need light after dark, and lighting garden steps covers where the fixtures go.
So don’t start by pricing risers. Walk the bank in the next good rain, watch where the water wants to leave, and mark that spot with a stake. That stake is your outlet, and everything else gets built uphill from it.
FAQ
Do garden steps on a slope need a handrail?
Freestanding garden steps usually fall outside the residential code, which requires a handrail on stairs with four or more risers that serve a house, porch or deck. Ask your local building department before you assume either way. Outdoor steps are made shallow partly because there’s rarely a rail, but one helps anyone unsure of their footing.
How long do landscape timber steps last in wet ground?
It depends on the product. Treated lumber rated for ground contact is estimated at 30 years or more, ground-contact landscape timbers at 15 to 25, and cheap rounded peeler cores at 5 to 7. Untreated Douglas fir manages 3 to 6. Gravel behind each step keeps standing water off the wood; reseal yearly.
How do you keep mulch and soil from washing onto a sloped path?
Slow the water first, because mulch only moves when runoff has speed. Give the path a slight sideways fall and planned cross-drains. Then choose mulch that stays put: shredded hardwood holds a slope better than bark nuggets, which can float off in heavy rain. Don’t pile it deeper than recommended.