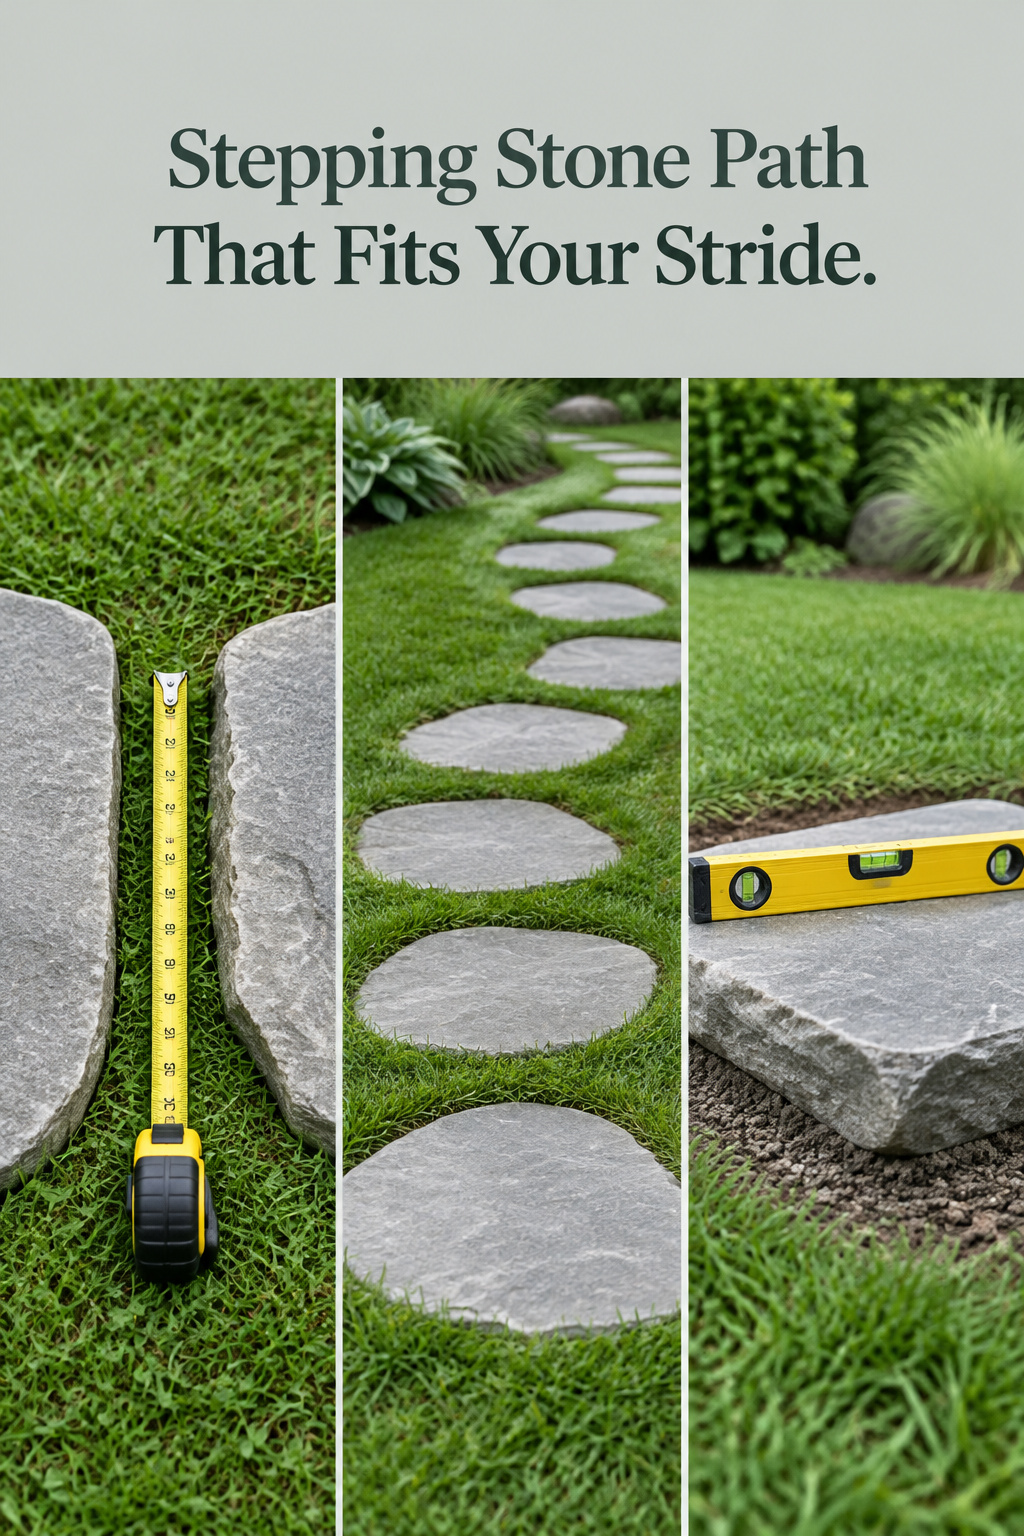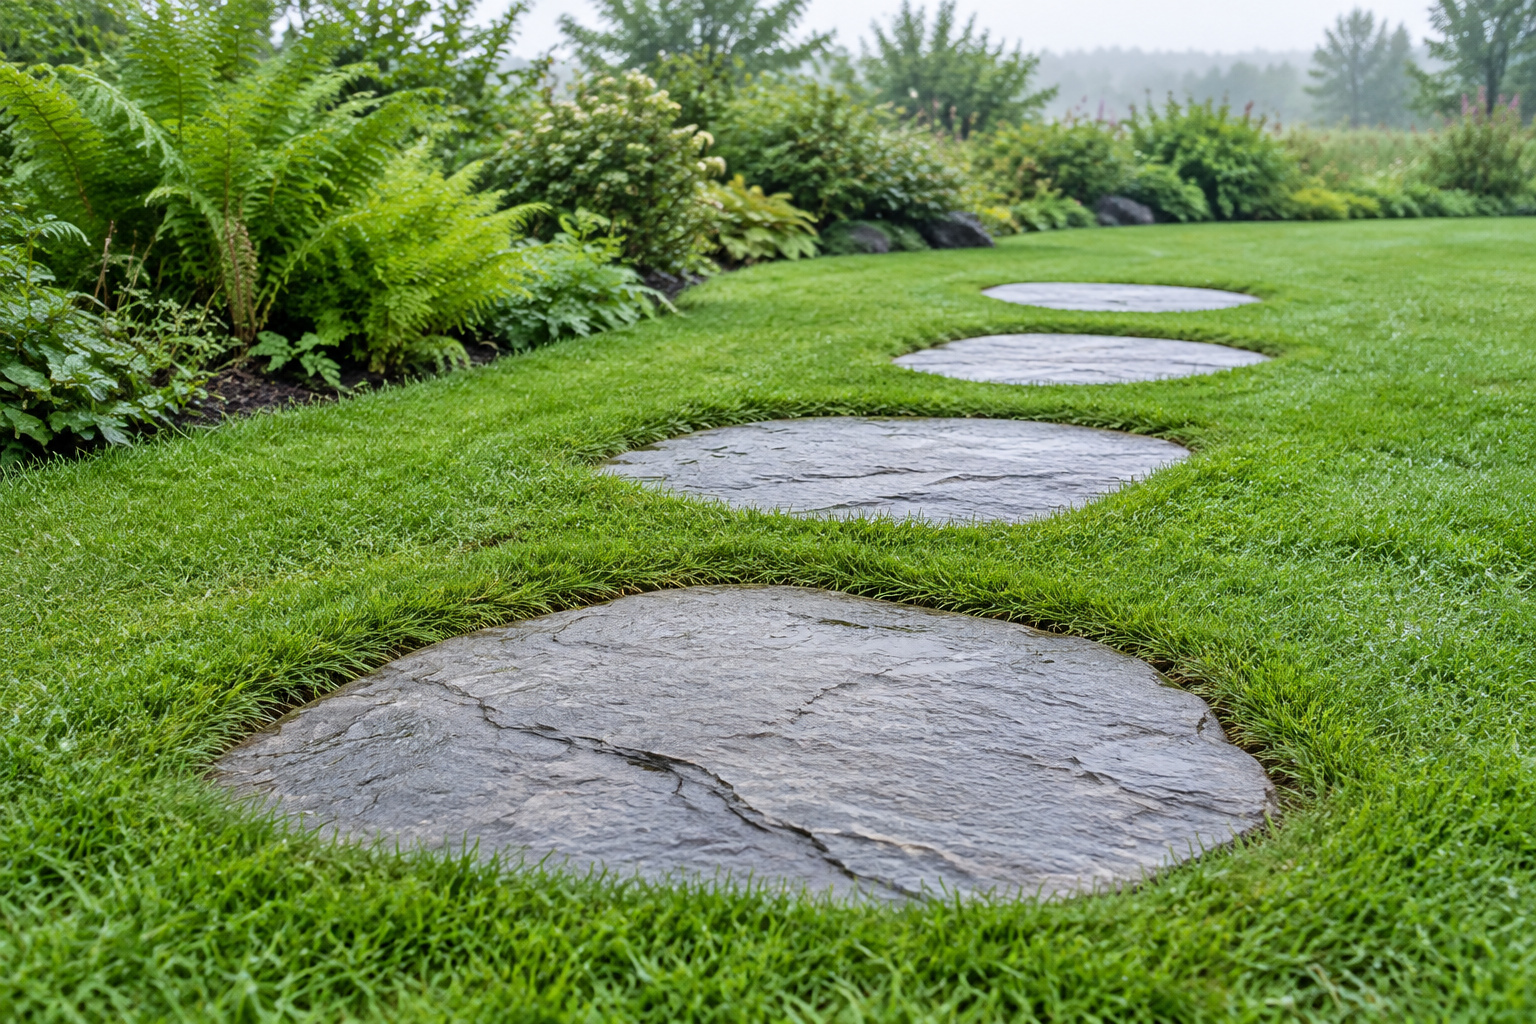
Pick up any guide to a stepping stone path and you’ll find the same spacing: 18 to 24 inches apart. Now read three of them side by side. One supplier means a spacing of 18 to 24 inches from the middle of one stone to the middle of the next. A concrete maker uses 18 to 24 inches as the stone width. A landscape contractor wants slabs at least 18 by 24 inches with a gap of 4 to 6 inches between them. That’s three different paths from the same digits.
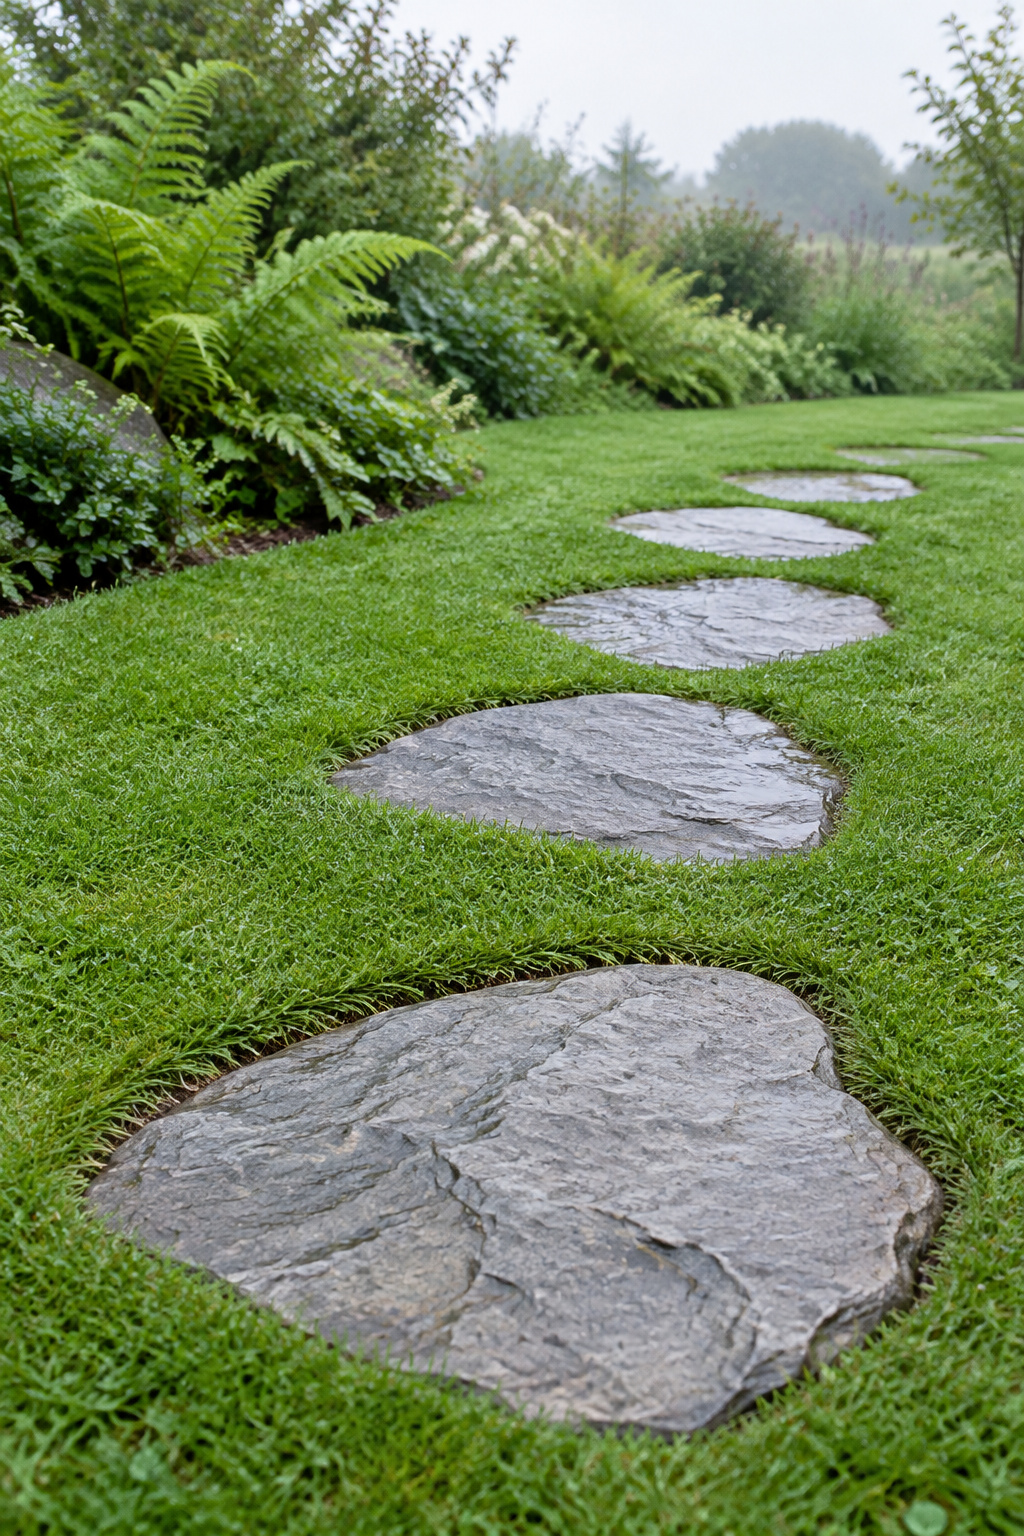
So don’t trust the number on the pack. Measure your household’s step, lay the stones loose at that spacing, walk them, and only then dig.
TL;DR
- The widely repeated 18 to 24 inch spacing is printed both as center-to-center and next to a 4 to 6 inch gap between edges, and read the wrong way it can put 16 inch stones 34 to 40 inches apart.
- Gait studies disagree on a typical adult step, from about 22 inches in one large study to about 27 to 29 in others, so measure the stride of the shortest person who walks the path every week.
- Use stones at least 2 inches thick and 14 to 16 inches across, and in a lawn set each one flush with the soil or just below it so the mower passes straight over.
The 18-to-24-Inch Stepping Stone Spacing on the Package Is a Starting Point
I once helped a neighbor hang a shelf that should have taken an hour. It took three, because the stud finder was wrong twice. A printed spacing number is the same kind of tool: confident, and worth checking yourself.
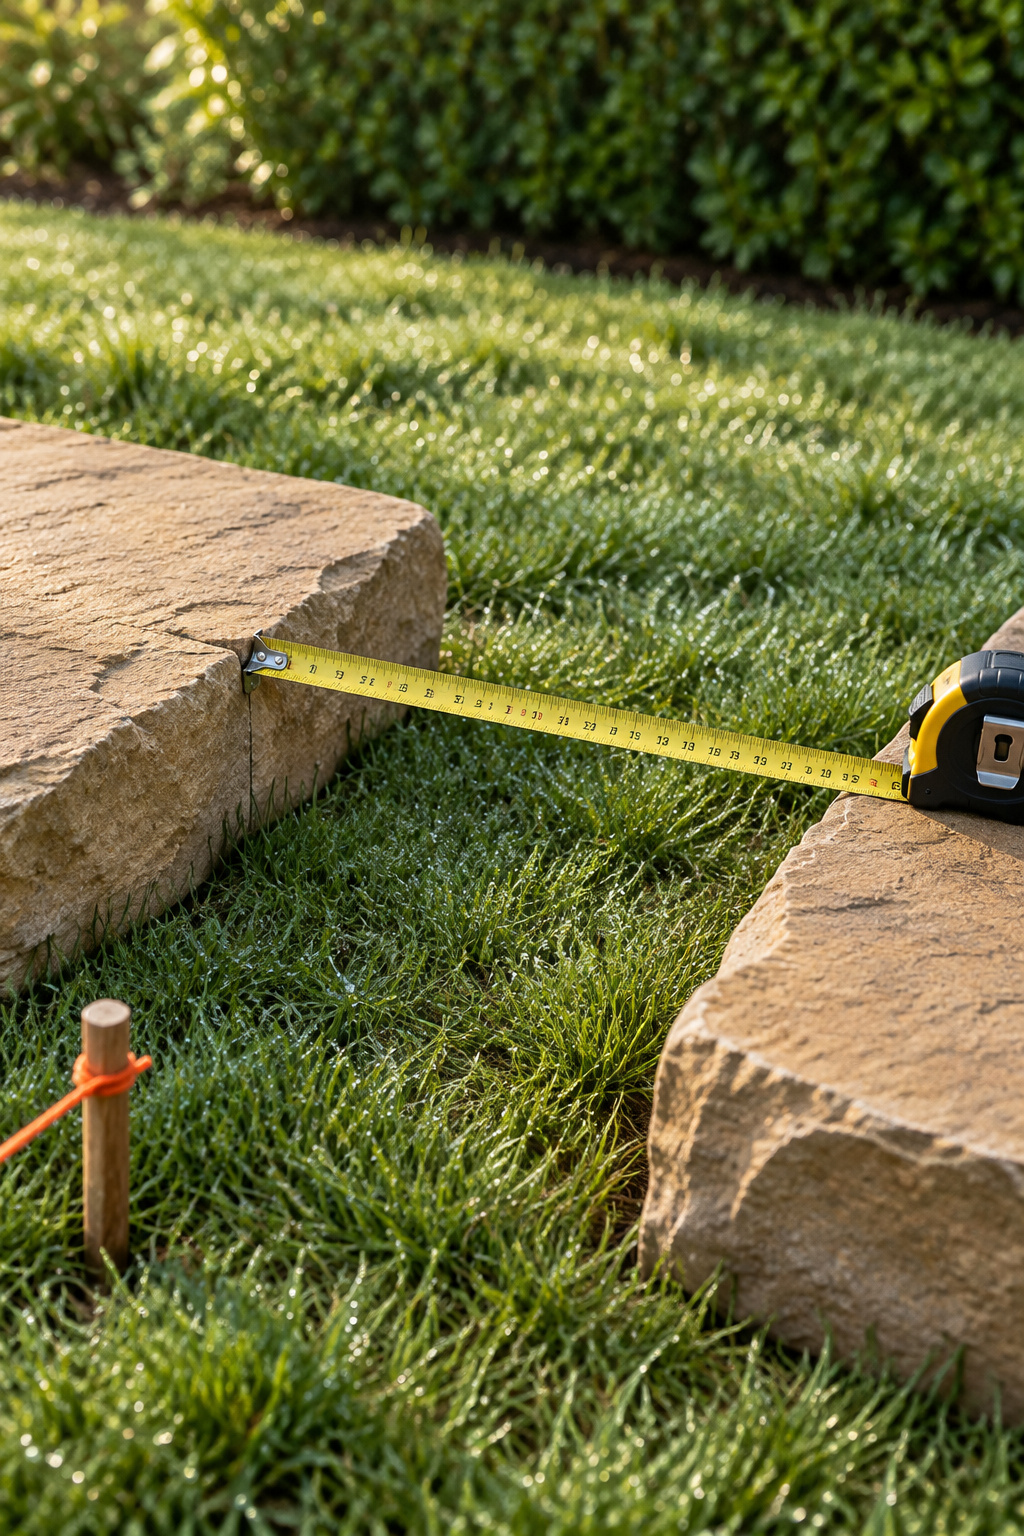
Center-to-center or the gap between stones?
Hello Gravel says stone centers sit roughly 18 to 24 inches apart. This Old House sets slabs to a comfortable gait, usually 4 to 6 inches apart, and that 4 to 6 is the gap you see between edges.
The stone in between decides how far apart those land. Center-to-center spacing is the stone’s length along the path plus the gap. A 16 inch stone with a 4 inch gap is 20 inches center-to-center; a 24 inch stone with the same gap is 28. Read the 18 to 24 inch spacing as a gap instead, put it between 16 inch stones, and your centers end up 34 to 40 inches apart. That’s a jump for an adult and impossible for a seven-year-old.
The 18 to 24 inch spacing is widely repeated, and as an adult default it isn’t crazy. It just isn’t a measurement of you.
Measure Your Own Stride Before You Buy a Single Stone
Pros measure and beginners guess. I tell my Saturday beginners’ class that most people buy too many tools: start with a drill, a level and a good tape measure. For this job the tape measure does the real work.
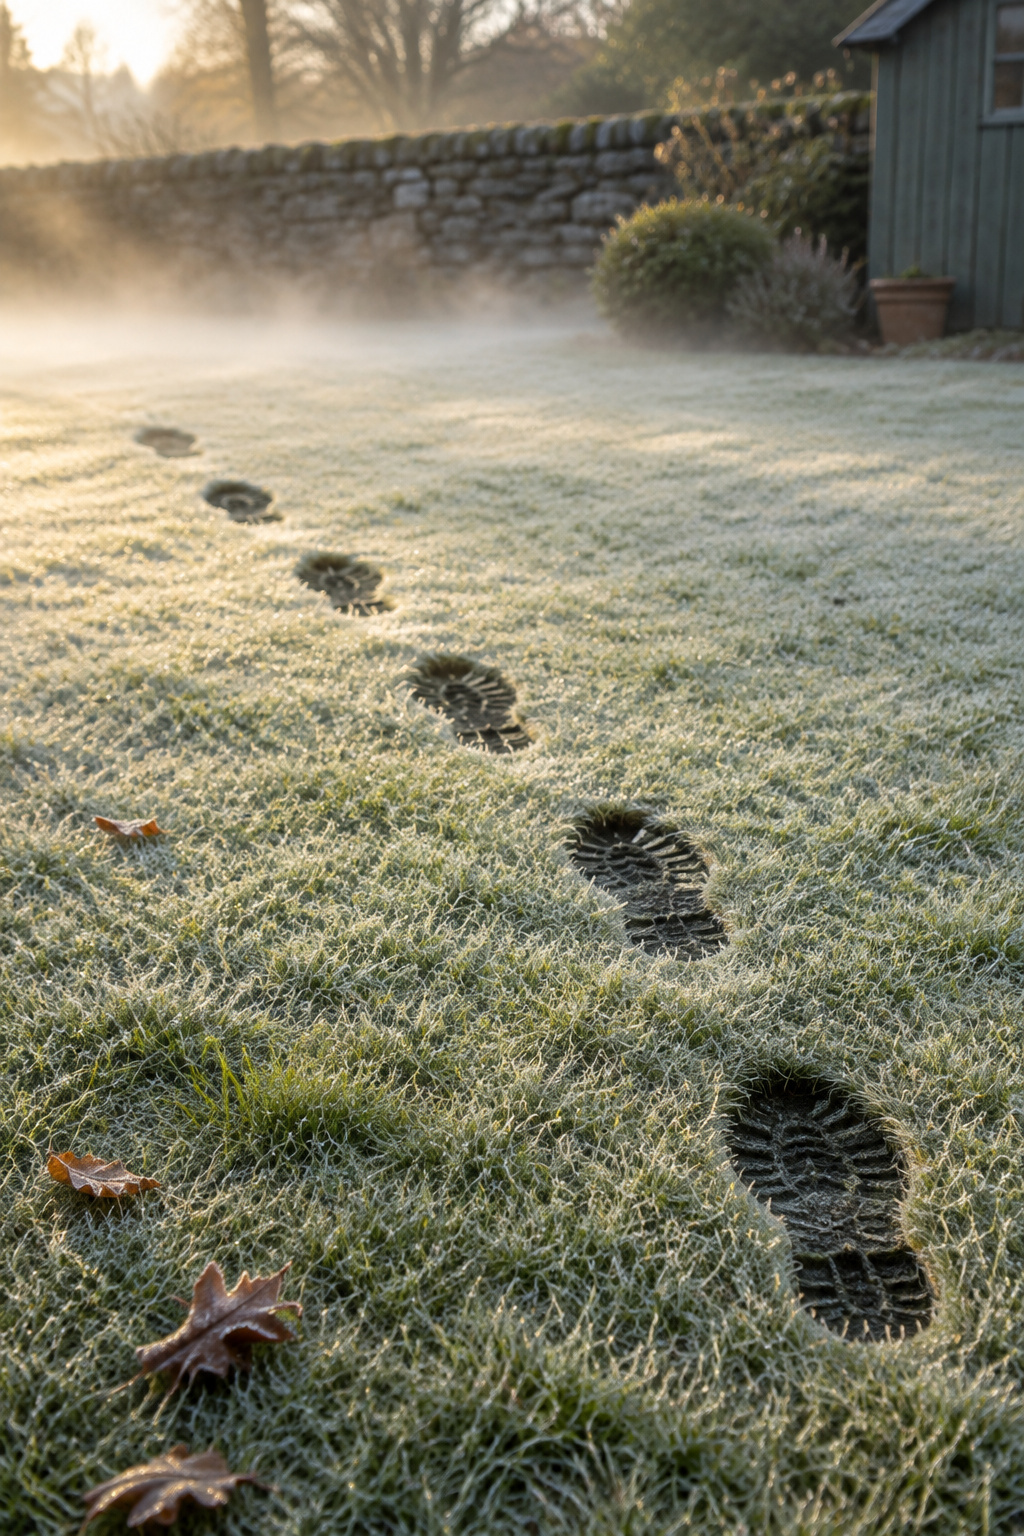
The studies show why. A Singapore study that walked 507 adults across a sensor mat found a mean step of about 22.7 inches for men and 21.8 for women. A study of 313 adults wearing motion sensors found about 27 to 29 inches across most adult age groups. Those can’t both be the average adult step, and you don’t need them to be. Step length rises with height and falls with age; in that second study it dropped to about 23.6 inches for people in their seventies. Children are shorter again.
That spread is the argument for measuring. Walk barefoot across dry concrete or blacktop at your normal pace and mark where your steps land, or drop a stick at each footfall across the lawn. Do it three times. Bare feet or everyday shoes, not boots, and don’t hurry.
Then do it for the shortest person who walks the path every week, a grandchild or a parent a head shorter than you. They should cross without stretching or making a little hop. Their step sets the spacing.
One trap: a stride is two steps. Running charts listing strides of 52 to 62 inches will put your stones two steps apart.
Choose Stones That Carry a Foot: Size, Thickness and Slip
Fewer, bigger stones beat lots of little ones. Ask the Builder’s 17 inch square pads left 6 to 7 inch gaps at his stride; 19 inch pads would have left almost none. Bigger stones also mean fewer holes to dig and level, though you’ll feel every one when you carry it.
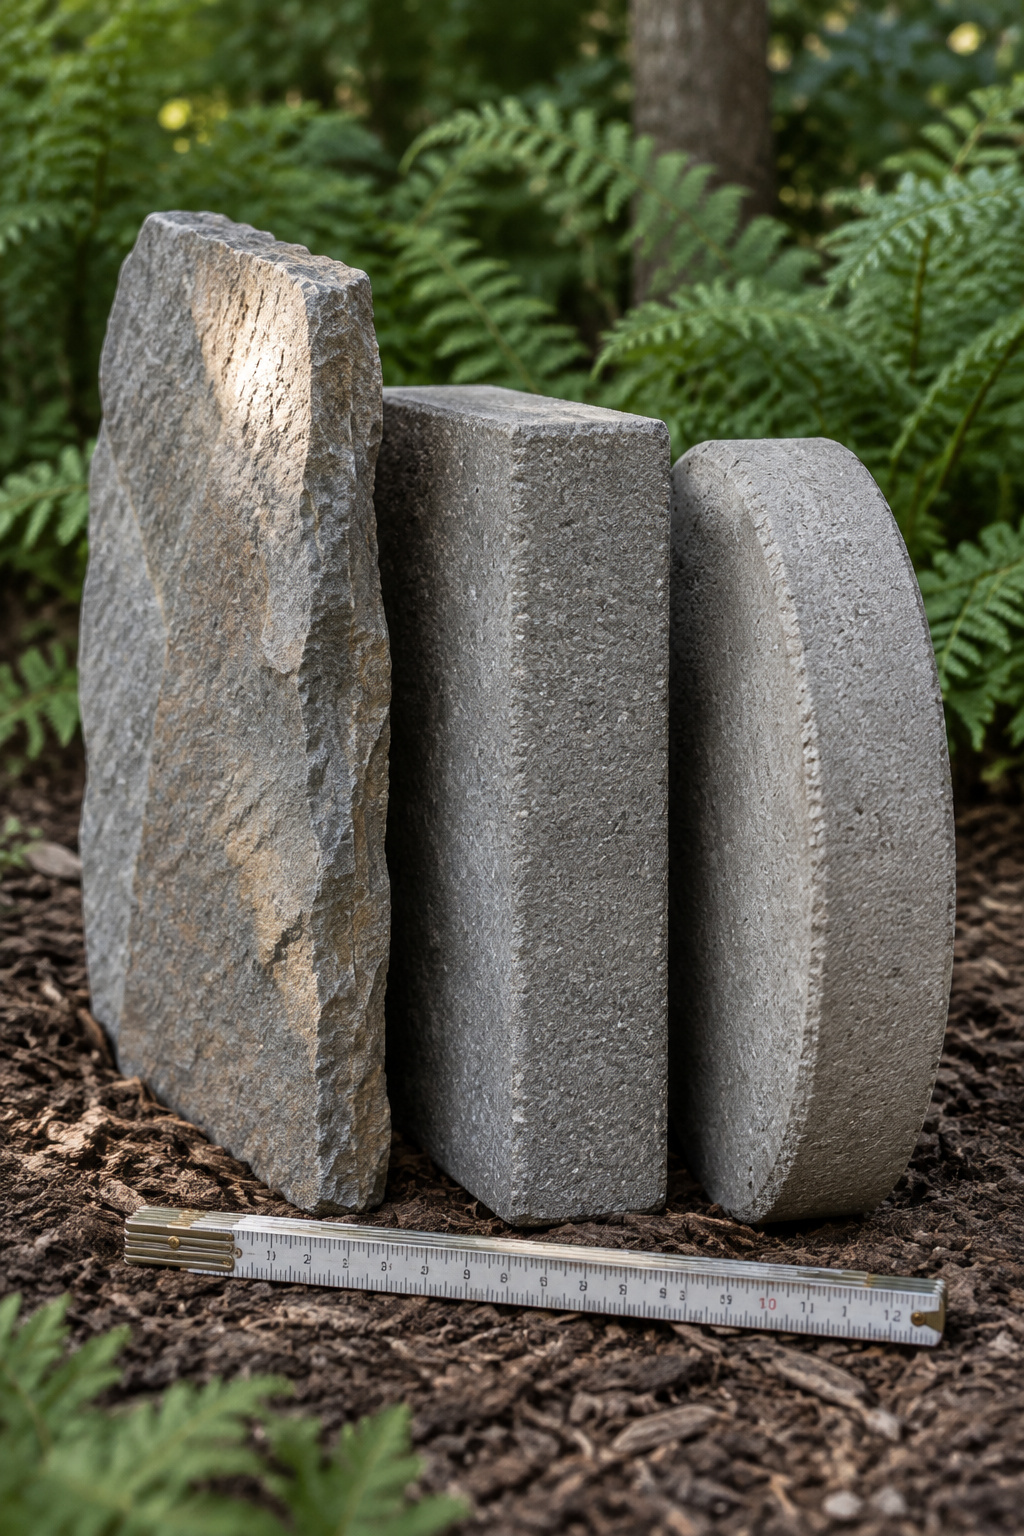
| Stone | Typical size | Thickness for foot traffic | What to check before you buy |
|---|---|---|---|
| Flagstone | 14 to 16 in across at minimum; 18 by 24 in is the contractor’s ideal | 2 in is the practical minimum dry-laid; 2.5 to 3 in for pieces wider than 18 in | The thinnest piece in the batch, not the average |
| Cut concrete paver | Often 18 to 24 in wide (stone width) | At least 1.5 in | A textured finish rather than a smooth one |
| Cast concrete round | Varies by maker | No published minimum | The thickness itself |
Cut pavers have a 1.5 inch floor. Cast rounds have none in print, so if one flexes or looks thin, give it to a flower bed.
There is no slip standard for garden stepping stones either. A textured or split face grips better for children and older walkers, and algae can make smooth stone in shade slick. If you’re weighing stones against bark or gravel on budget, see what stepping stones and other paths cost.
Dry-Lay the Whole Stepping Stone Path Before You Dig a Single Hole
Every stone goes down on the surface first, start to finish, before a spade touches grass. A mistake caught on the surface costs nothing. Caught after twelve stones are bedded and leveled, it costs the afternoon.
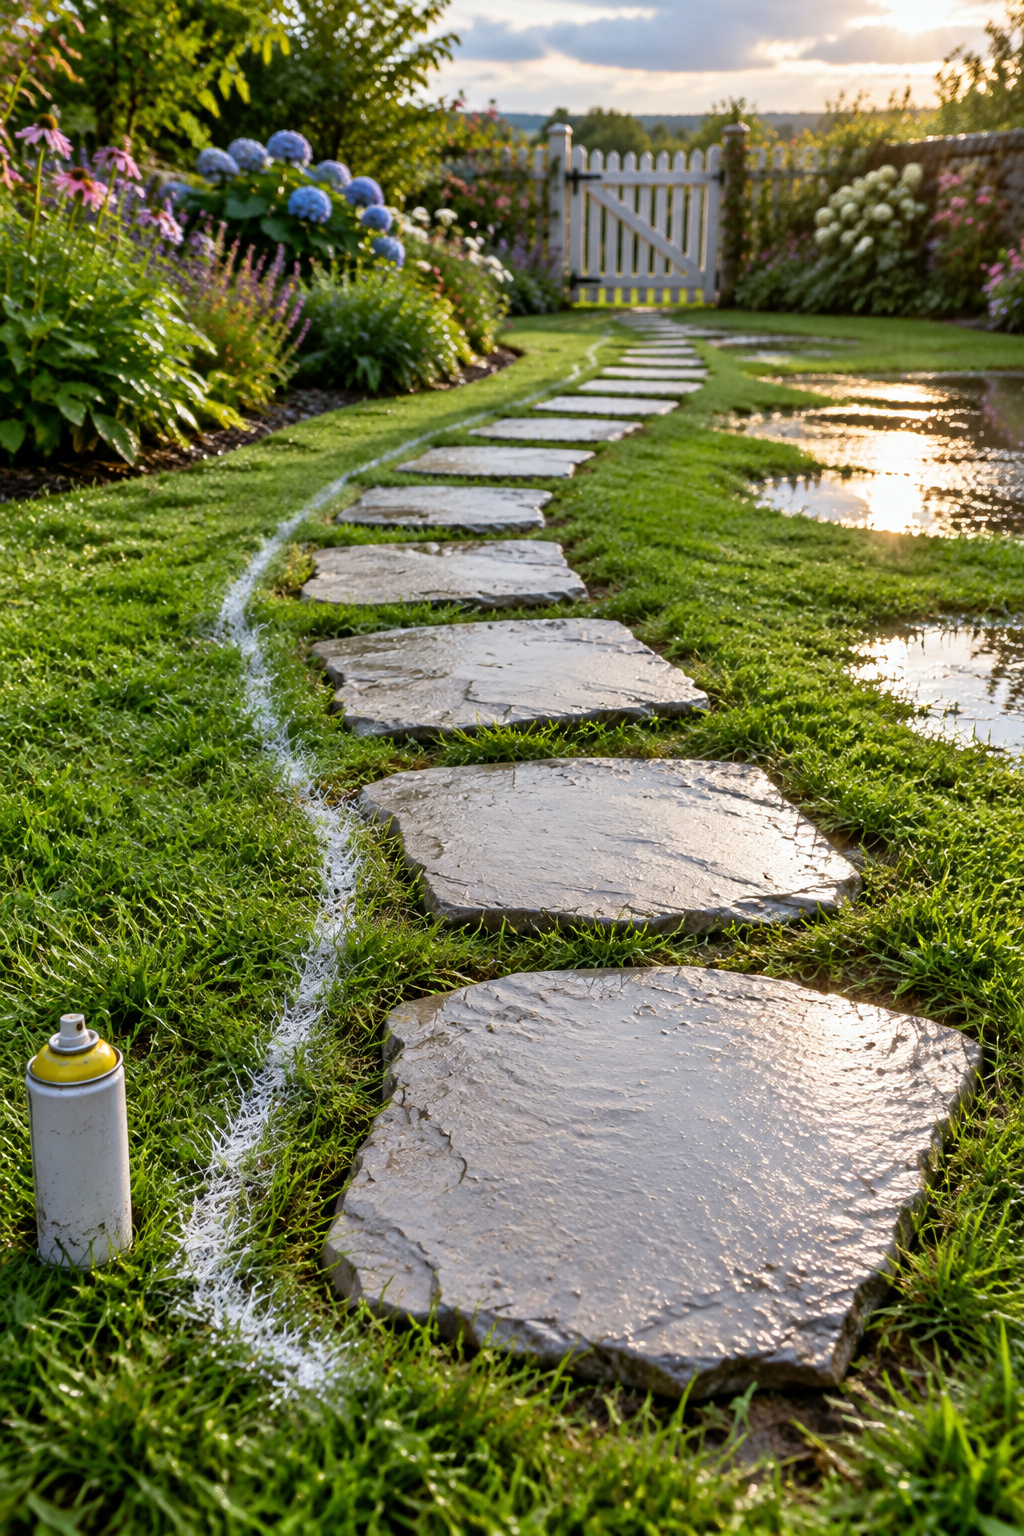
Set them at your measured spacing, widest side across the line of travel, then walk it. D and G Flooring says to walk the loose layout 10 to 15 times, which sounds excessive until you notice stone four is half a step off every pass. On a curve, tighten the spacing on the inside and open it on the outside, the way flagstone maker Acheson + Glover describes.
On the dry-lay, check:
- Your stride at normal pace, in both directions, without looking down.
- The shortest regular walker, with no stretch and no hop.
- Each turn, tight on the inside and open on the outside.
- The mower line, so the mower crosses each stone instead of clipping a corner.
- The last stone, so it lands without being cut.
Then mark each outline with spray paint or chalk. Don’t mark from memory; you’ll move one stone to dig the next and lose its place.
Dig Each Stone In: Mower Height, Bedding Layer and Level
Skill level: some builds. Nothing here is hard, but it’s repetitive, and the boring step is the level check on every single stone.
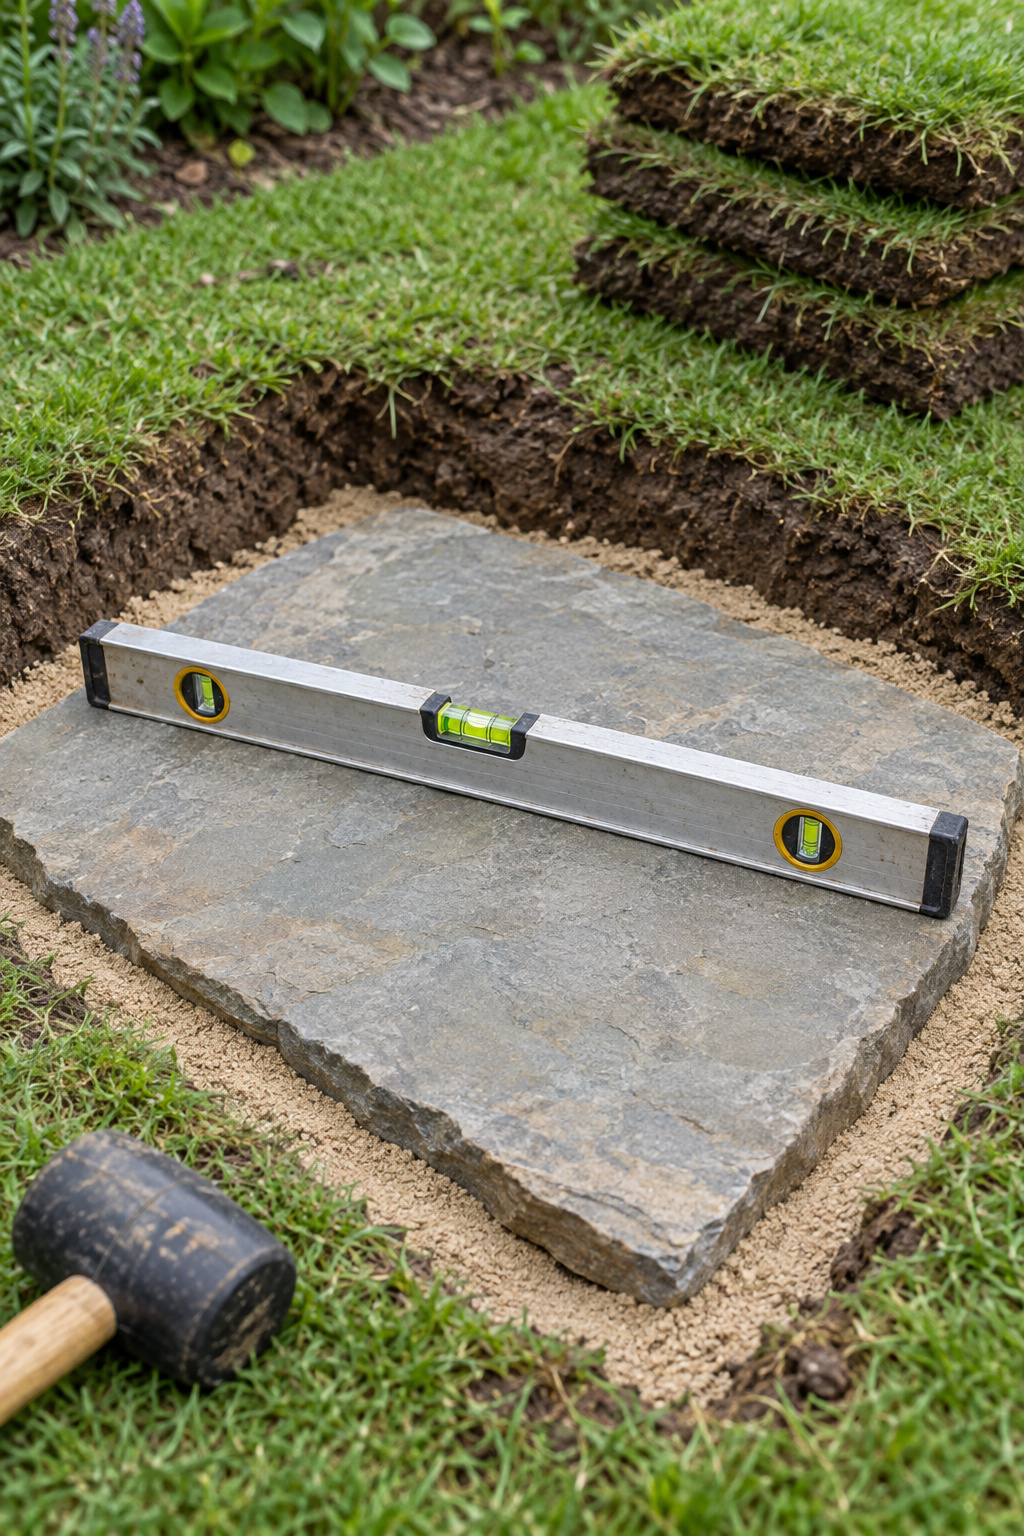
- Cut around the outline with a sharp straight spade or turf edger, lift the stone off and take out the turf.
- Dig as deep as the stone is thick plus the bedding. NC State’s version is thickness plus 1 inch of compacted sand, so a 2 inch stone wants a 3 inch hole in firm ground.
- Bed and firm it. Firm, free-draining soil needs only about an inch of sand; soft ground wants 2 to 4 inches of compacted gravel under about an inch of coarse sand, and clay 3 to 4 inches of crushed rock.
- Set the stone and tap it down with a rubber mallet.
- Level it across and along, then check it against the lawn, not just the stone next door.
- Step on every edge. If it rocks, lift it, work bedding under the low side and reset.
- Backfill the edges with soil, gravel or sand to lock it in.
The common mistake is the proud stone. It’s set a touch high because it looks tidy on day one, and then the mower scalps it or everyone mows around it. The other is skipping the bedding in soft soil; it looks fine until a heavy rain drops one end.
Lawn, gravel or bed: the same stone sits differently
In a lawn, set the top flush with the soil or just below it so the mower passes straight over. There’s no published mower clearance for stepping stones, so flush to just under is the target. In gravel, the stone sits at least an inch proud so gravel doesn’t scatter across it; base depth and edging for the gravel itself are covered in our gravel patio ideas. In a bed or mulch, set it flush with what surrounds it. The gaps are your next decision, and that’s what to plant between the stones.
When Stepping Stones Are the Wrong Choice, and the First Stone to Set
A stepping stone path is a weekly path, not a daily one. That’s my call, and it comes from what the stones are: separate islands with gaps between. A wheelbarrow, a stroller or a wheelchair drops into every gap. The Telegraph’s gardening pages add that stepping stones don’t suit steep slopes and that a continuous path may be easier for the very old or very young. If the route goes to the bins every morning, start from the broader garden path ideas and pick something continuous. If it’s the walk across the lawn to a bench on a Saturday, stones are the right job.
Start with the shortest person in the house: three walks at normal pace, then lay the stones loose at that step and walk them. Check it twice before the first stone goes in.
The number on the pack was a guess about somebody’s legs. The stone set flush in the lawn at the spacing your own family walks is the one you stop noticing, because nobody trips on it.
FAQ
How many stepping stones do I need for a 20-foot path?
Divide the path length by your measured center-to-center spacing and add one for the first stone. A 20 foot path is 240 inches, so at 24 inch spacing you need 11 stones, and at 20 inches you need 13. For irregular flagstone, order 10 to 15 percent extra for breakage and misfits.
Will stepping stones heave or sink after a freeze-thaw winter?
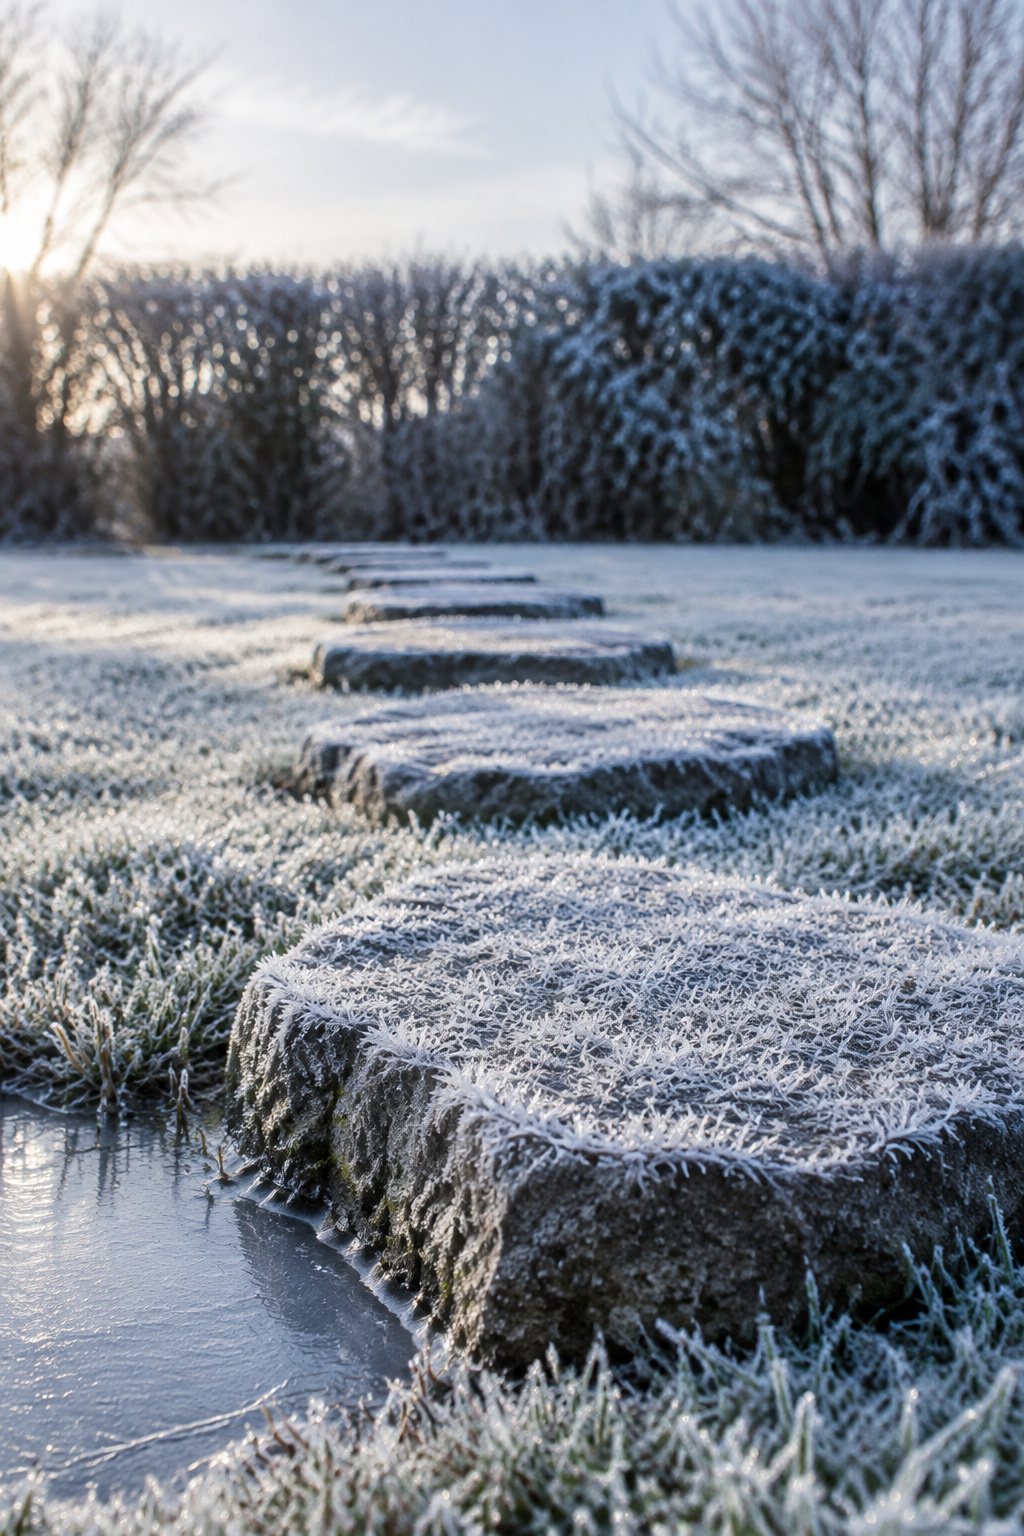
They can. Frost heave generally needs freezing temperatures, soil that holds frost, and water. That comes from pavement engineering, not stepping stones, but drainage and a compacted, free-draining bed are the usual defense. Dense hard stone holds up better than porous rock, which can crumble. Check the stones at the end of winter and re-level any that tilted.
Are stepping stones safe when wet or icy?
They can get slippery, especially in shade where algae and lichen grow. Choose a textured or split face over a smooth one, keep the path out of puddles, and consider a continuous path for very young or very old walkers.