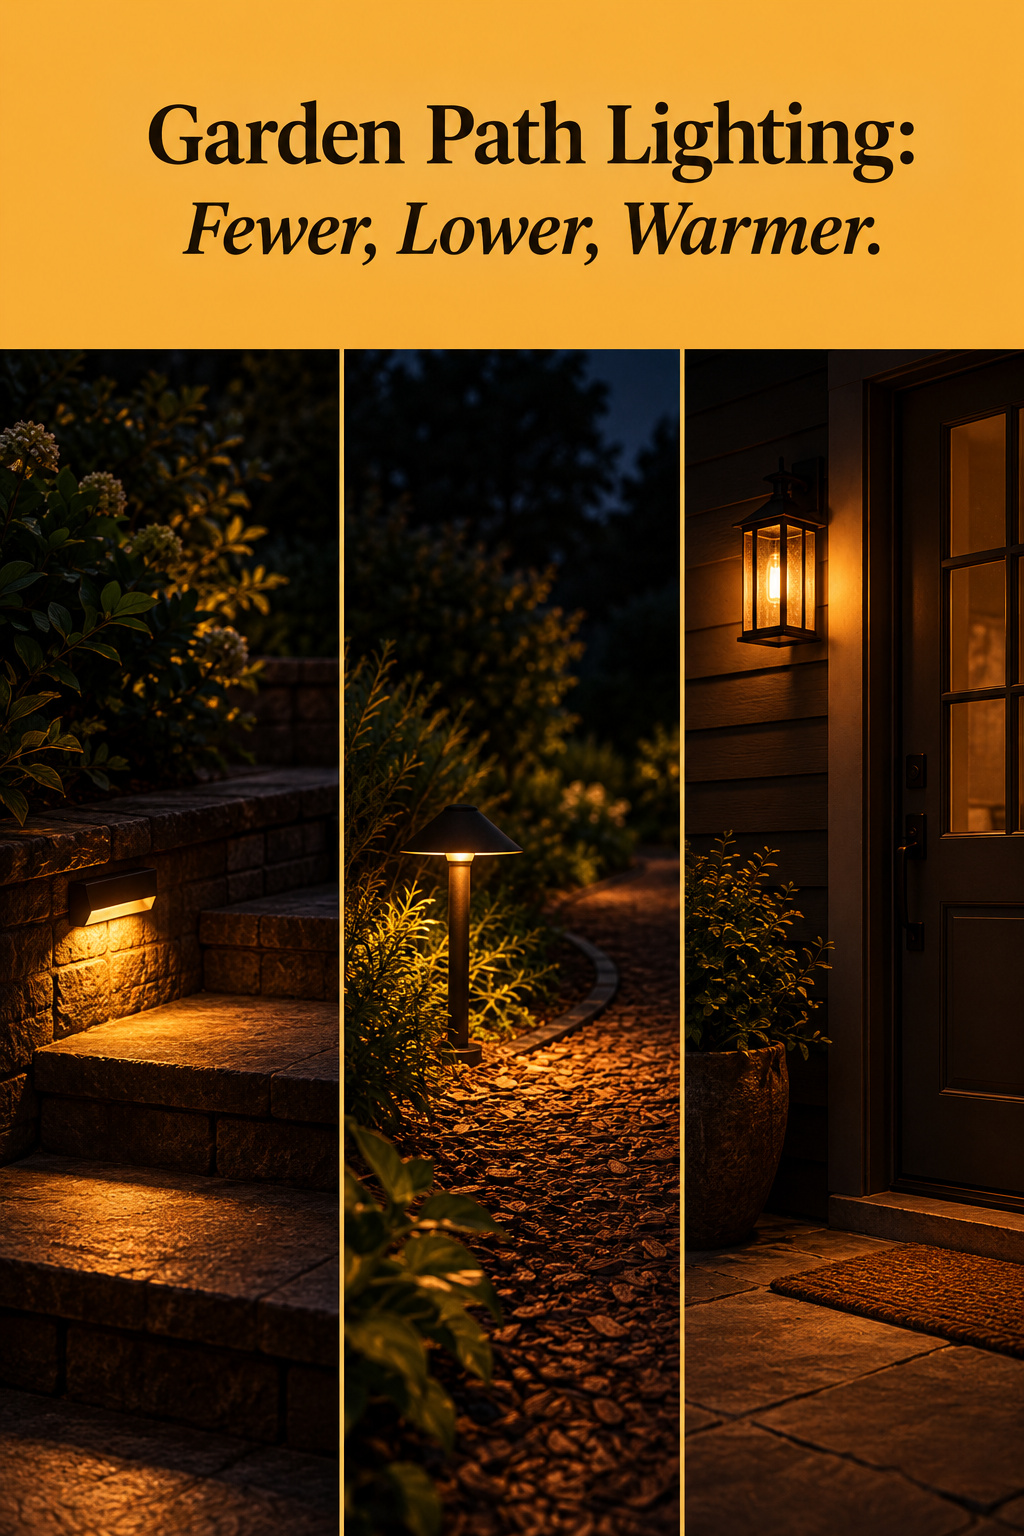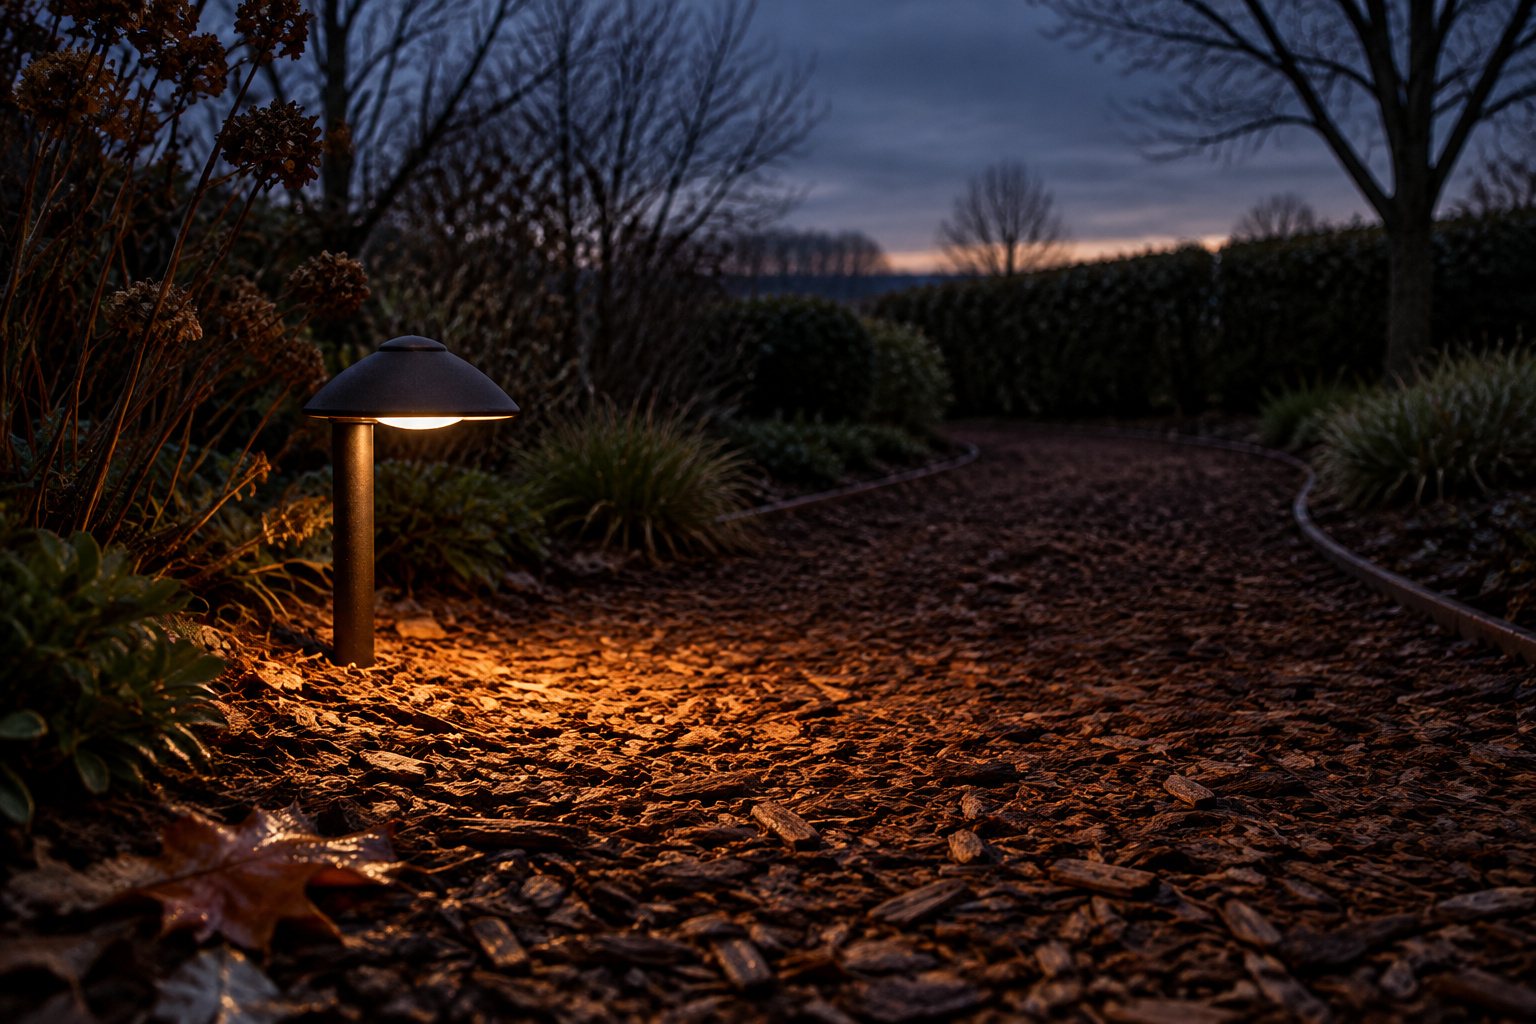

The most common mistake in garden path lighting comes in a box of twelve. You push the stakes in down both edges at even spacing, switch them on, and the path looks like a small airport. It photographs well in June. In November it does little for you carrying shopping to the back door.
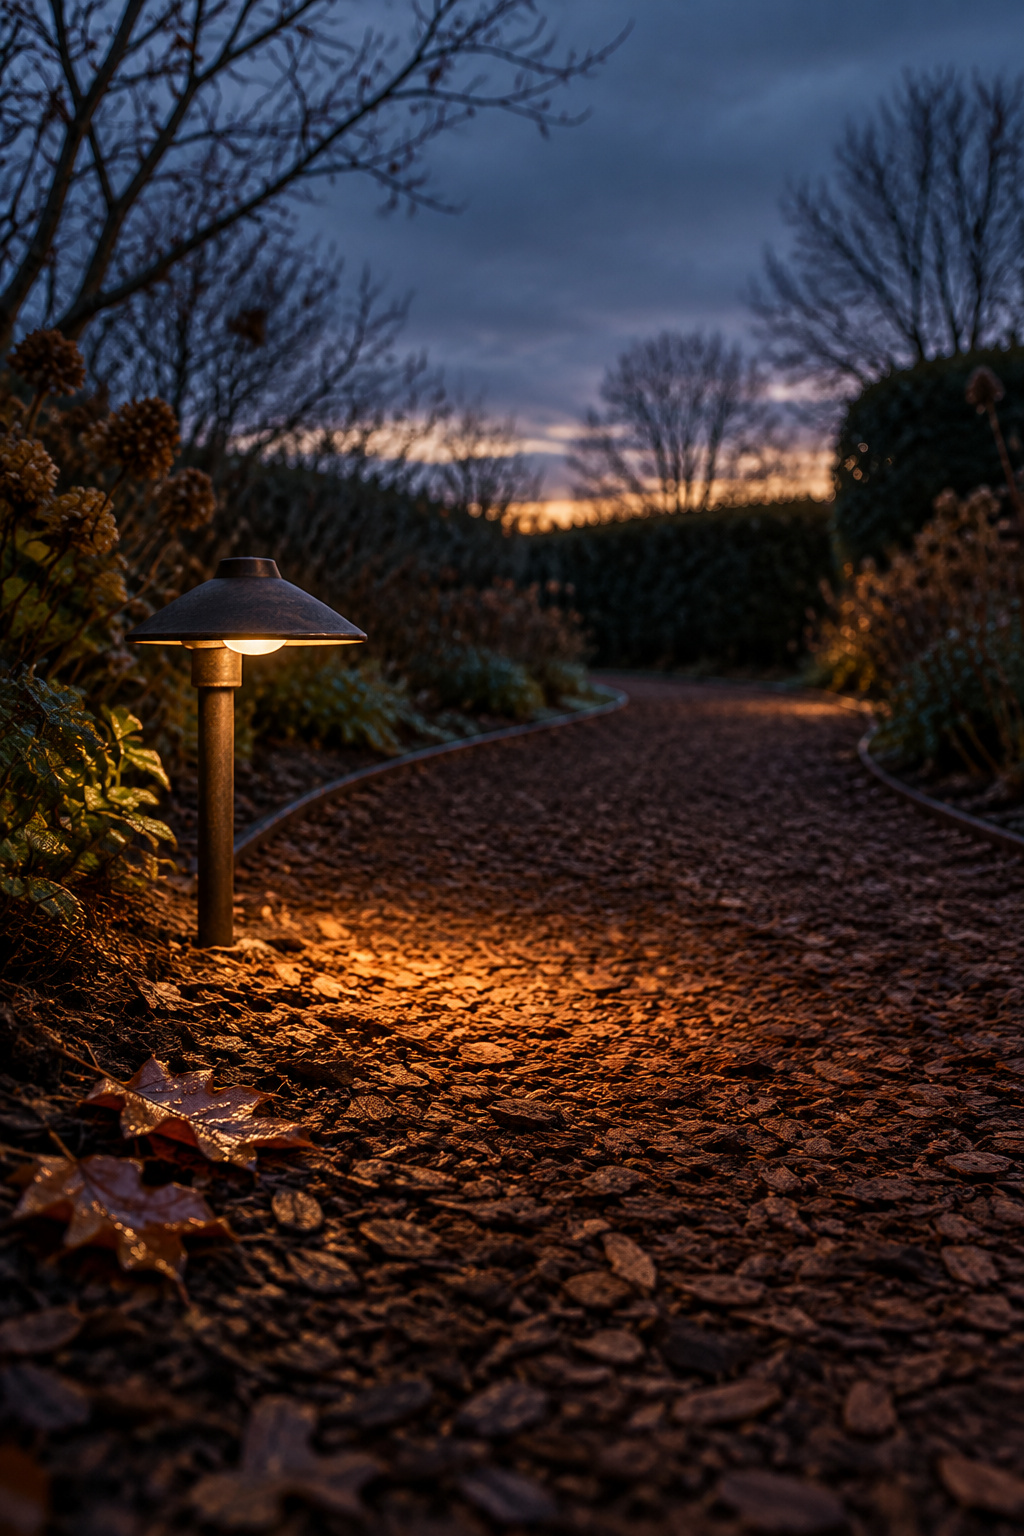
Where winters are long, light is the first material of any room, placed like a chair rather than spread evenly. You learn this or live badly. In our 1950s house outside Duluth, near Lake Superior, it is dark by five in November, and that is the hour I plan a path for. Lit for that evening, a path needs fewer fixtures than the box holds, set low and warm, at the places where the foot has to make a decision. You very likely don’t need all twelve edge lights.
TL;DR
- Light the steps, the turns and the door first; on a narrow, even path with some light from the house, the straight stretches between can be pools and dark rather than a continuous line.
- Keep each path light warm, 2700 to 3000K, and dim: around 200 lumens at most, and about 100 is enough to walk by.
- Space the fixtures you keep by how their beams overlap, starting from the 6 to 10 ft that trade guides give, then move them on a dark evening before any cable goes in.
Where the foot needs to see: the door, the turns and the junctions
When I was a boy in Uppsala, my mother ironed at the kitchen table every Thursday, because that was where the light was best. Rooms get used where the light is, whatever the plan says, and paths get walked the same way.
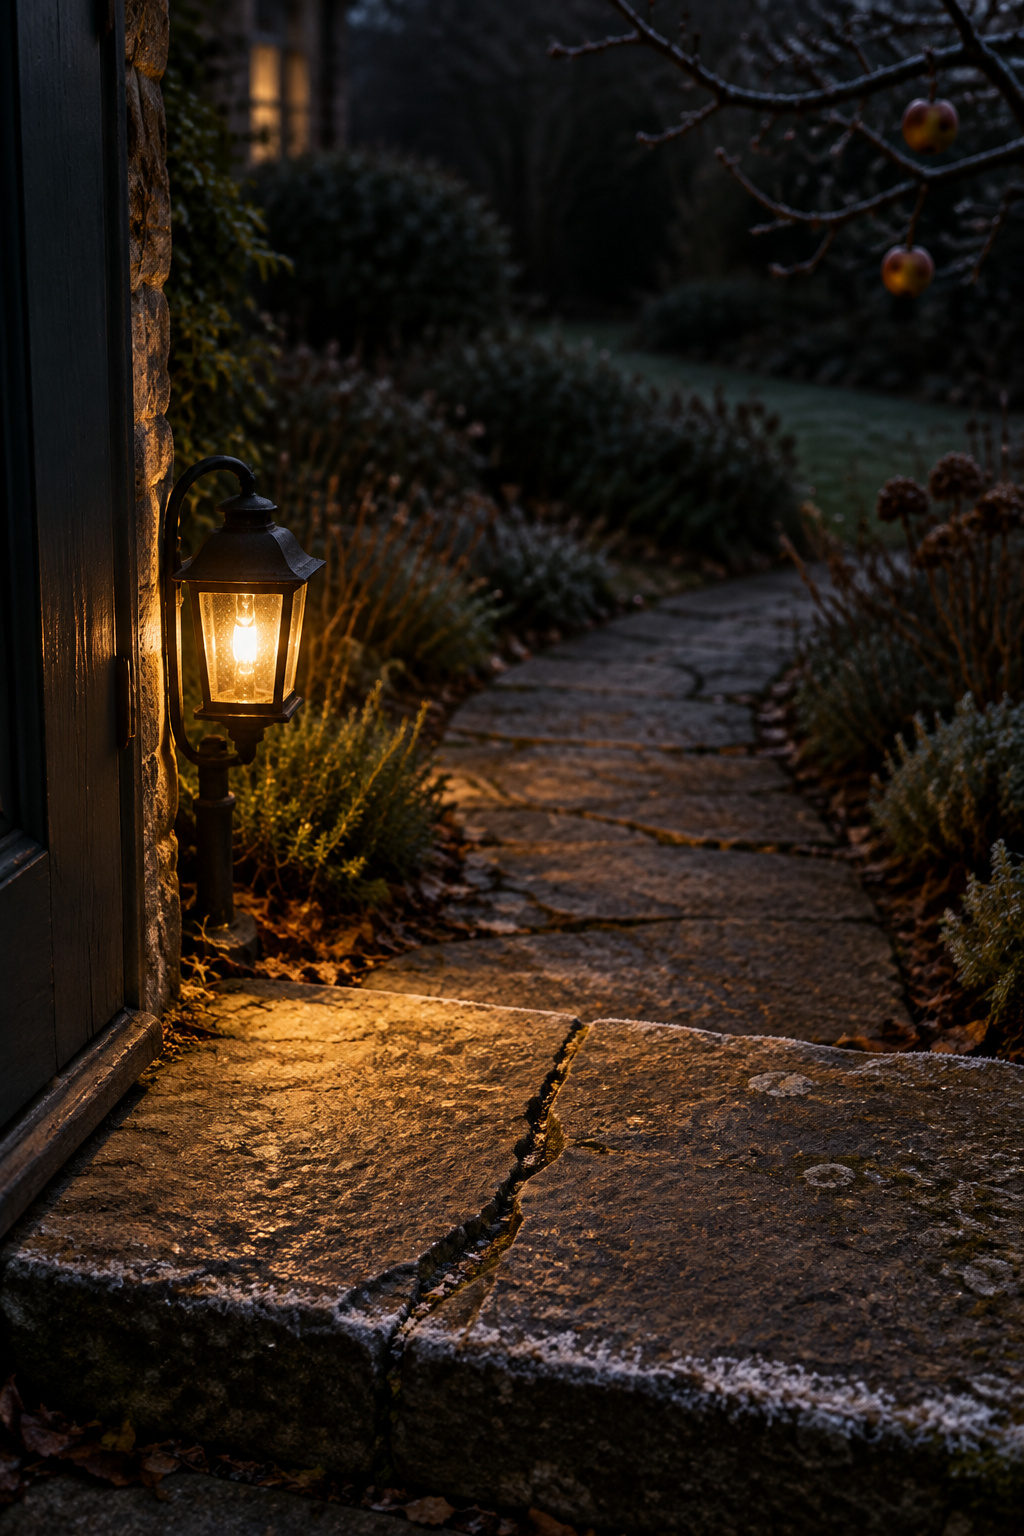
So start where the foot has to decide something. The back door, where your eyes need a moment after the bright kitchen. Each turn, where an unlit path seems to carry straight on into the border. Each junction, and the gate. The width a path needs at those points is a question of where the path turns and meets the gate; the light goes there first. CLS Lighting, a landscape-lighting trade guide, sets a useful bar: an uneven flagstone, a root heave or a step riser should be obvious from at least 10 feet away.
The edges of a straight, even run come last. Joe Raboine, a paving expert, calls the lined-both-sides look “the runway look”, the result of too many lights bunched together. Where the surface is even and some light reaches it from the house, pools of light at the decision points do the job with fewer fixtures. A short straight run between two lit points can often stay dark, in my view. The exception is a rough path, or one used by older family or guests, where continuous light is the kinder choice.
On a curve, set fixtures on the outside of the bend, a little closer than on the straight.
Steps are the one place a path must always be lit
If you light one thing on a garden path, light the change in level. Short flights are the sly ones. A walkway-safety standard treats flights of three steps or fewer as a hazard of their own, because people scan ahead rather than down and miss a shallow drop.
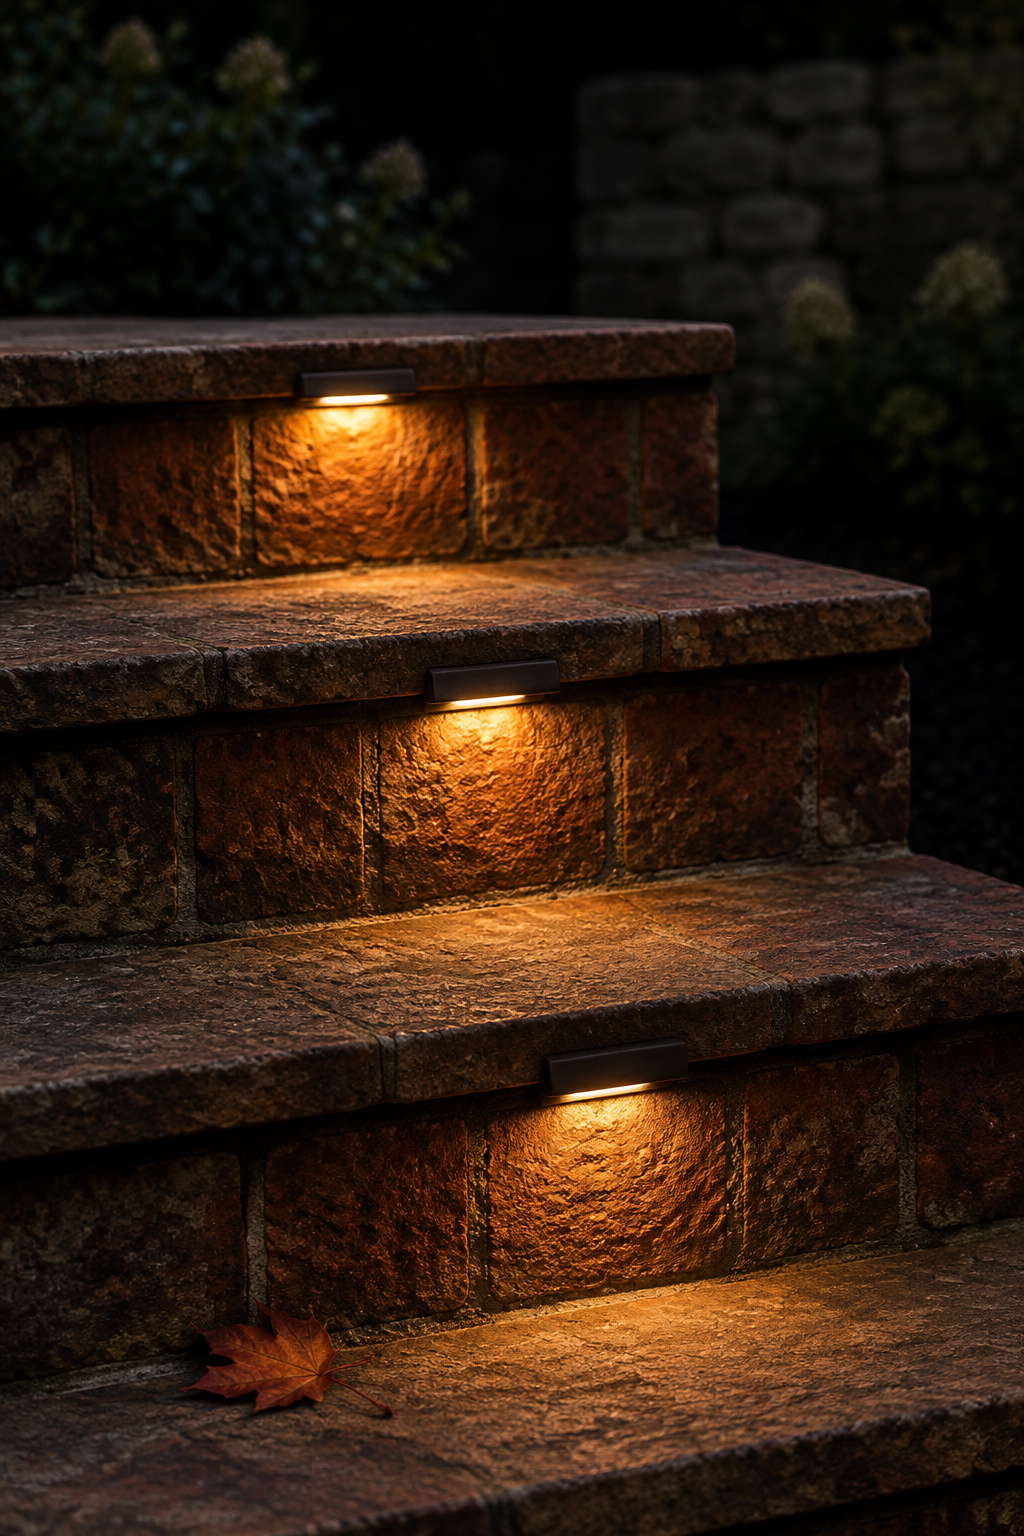
Step light should point down. A fixture aimed outward at eye height puts glare where the treads should be, and a glaring step can be harder to read than an unlit one. Light from the riser or low at the side, so each tread edge shows as a line.
Whether every tread needs its own fixture is not settled. CLS Lighting wants one on each tread at 15 to 20 lumens and warns that skipped treads leave shadow gaps. A landscape-lighting contractor in Ohio allows alternate risers, or path lights at the base and sides with small post lights at the landings. For a flight you use every winter evening, I would light every tread. Either way, don’t space step lights at the interval you use along the path; that leaves the edges in shadow.
How the steps are built decides which of these you can do. Riser lights are simplest when the wiring goes in with the flight, and a retrofit is harder, so read about steps on a sloped path before you choose fixtures.
Garden path lighting at ground level: low, shielded and on one side
Indoors, overhead lighting is for cleaning, not for living. Outside the same rule holds: a floodlight is for emergencies, not for walking to the shed. A walking light lights the ground, not your eyes.
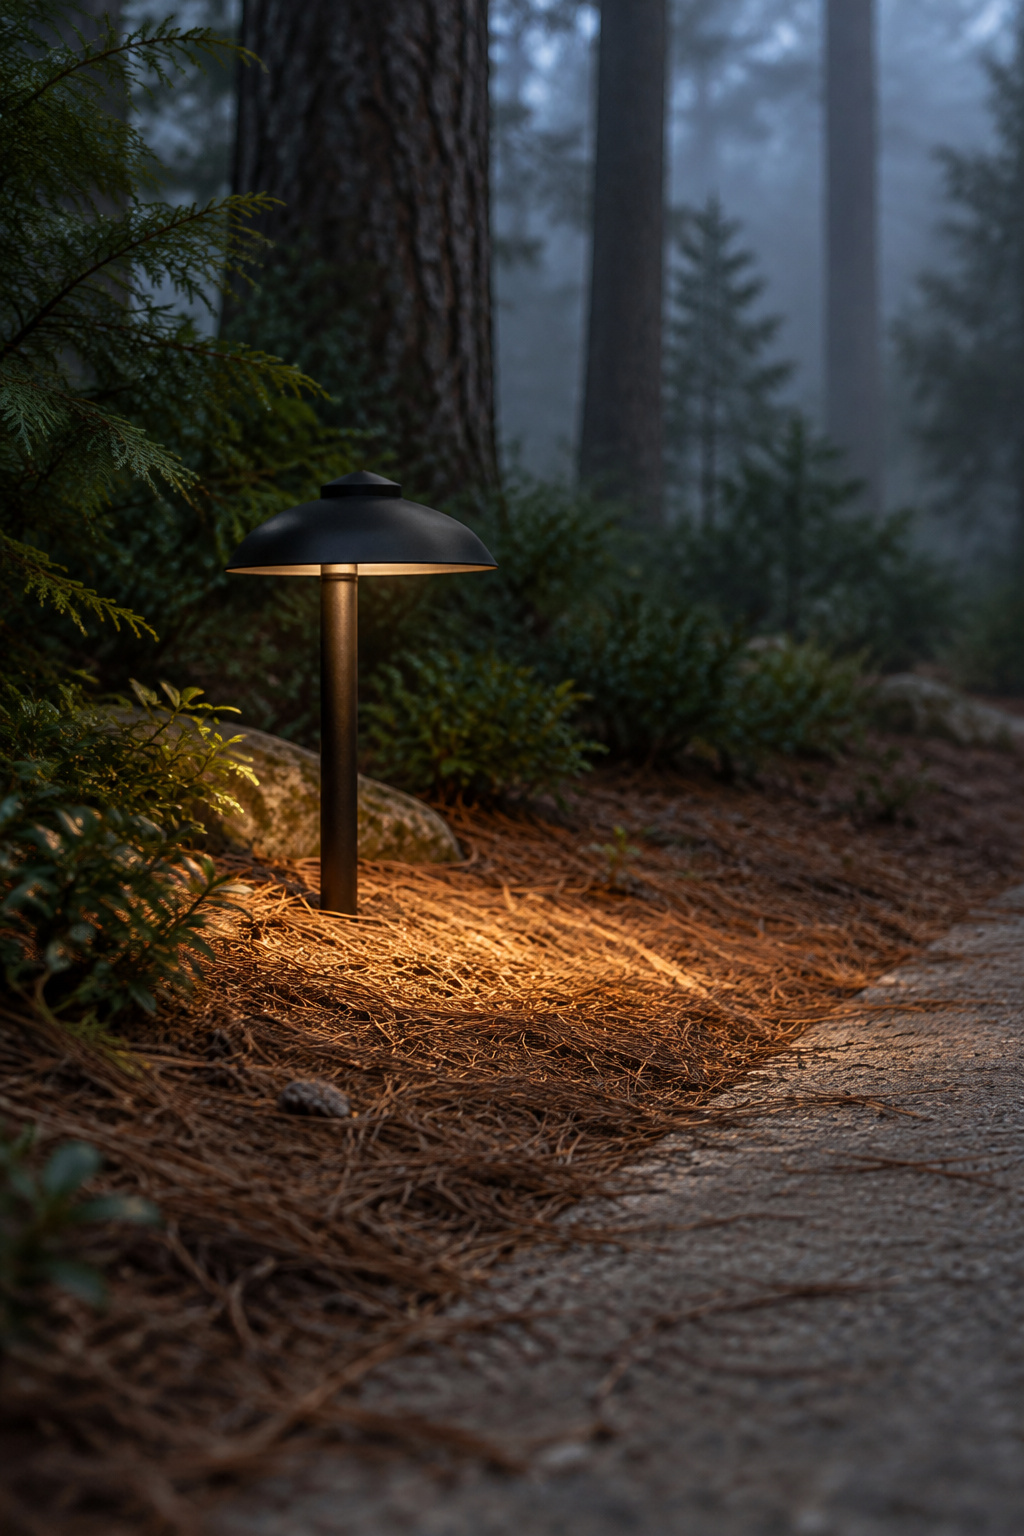
That means shielding. DarkSky International’s lighting principles ask that light be aimed down and shielded so it doesn’t spill past where it is needed, and kept at the lowest level that does the job. In practice: a hooded fixture or frosted glass, not a bare globe at knee height. Downward light also keeps the sky dark for bats and stars.
There is no standard height for a path light. A common 18 in fixture lights a circle of about 6 to 8 ft; shorter ones concentrate the light and need to sit closer together. Lighting designer Nels Peterson sets each fixture back from the edge by its own height, so no one clips it with a boot and a snow shovel has room to pass.
One side or both? On a narrow path, about 3 ft or less, one edge with a wide-beam fixture is enough. Wider than about 5 ft, stagger them in a loose zig-zag. Keep two lights from sitting directly opposite each other, because that is the runway again.
Warm, dim and spaced by need: 2700 to 3000K and how far apart
A path light should be warm. The designers Homes & Gardens interviewed all kept path light under 3000K, and Nels Peterson’s reason is plain: the eye is more comfortable between 2700 and 3000K, and higher temperatures render color less well. Most dark-sky standards also ask for 3000K or lower. Not everyone agrees; two lighting sellers recommend cool or neutral white on walkways and stairs, for visibility. My view is that warm light says welcome and cool light says security. A path to your own back door should feel like the first room of the house.
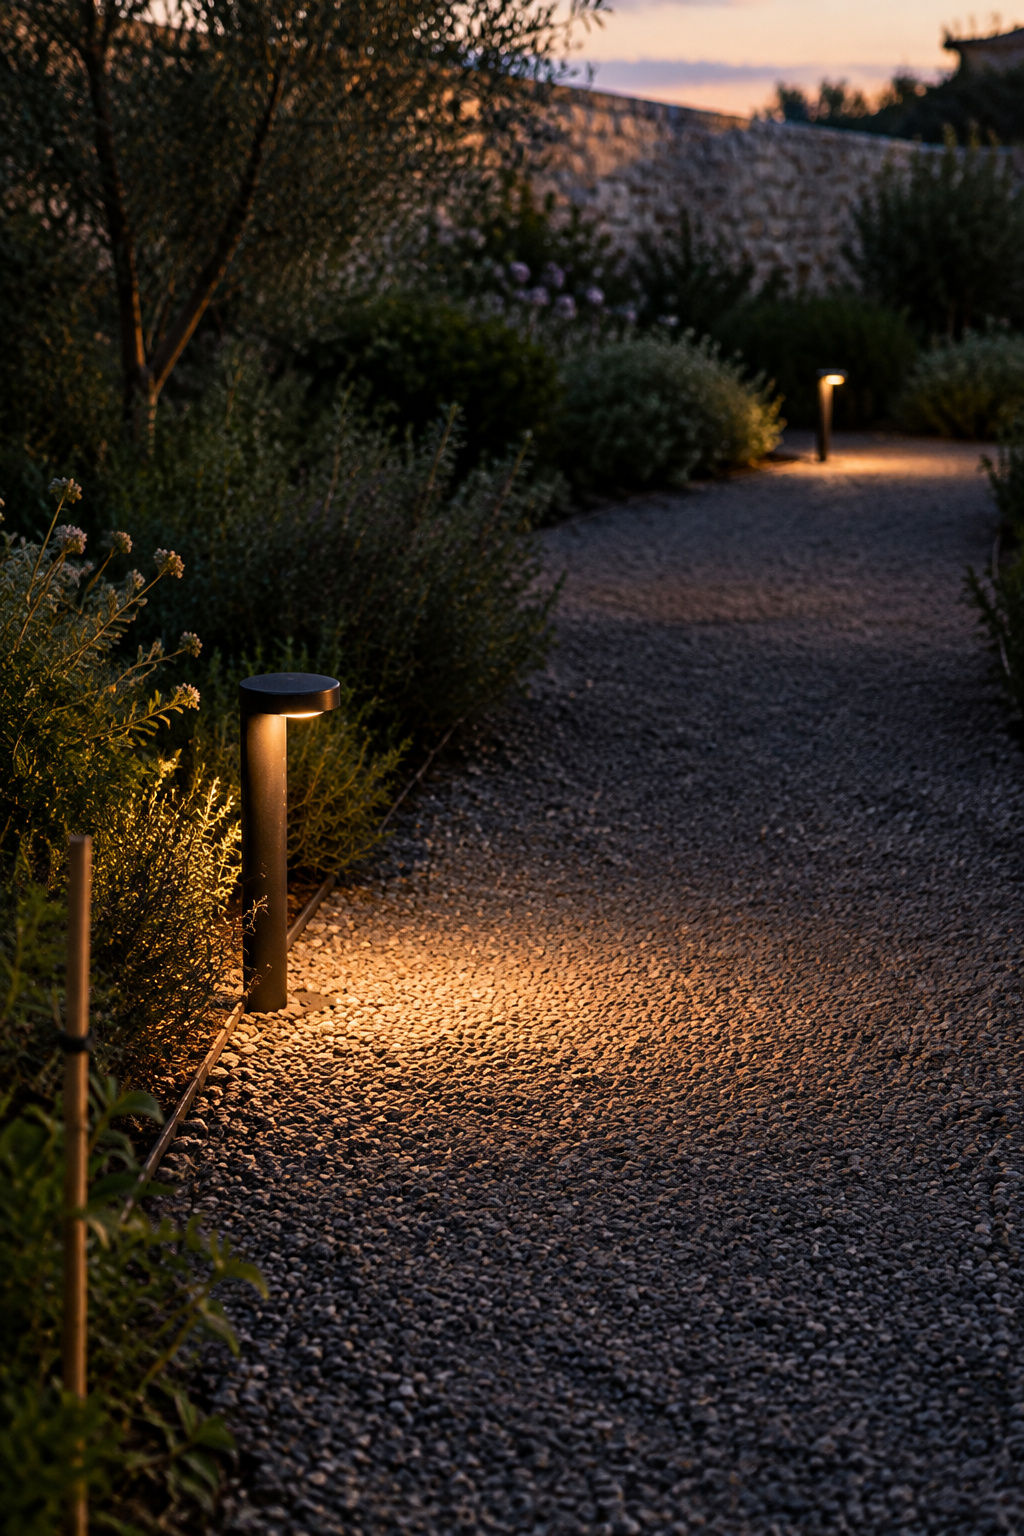
Brightness is where most kits go wrong. The designers and guides put the ceiling for a path light near 200 lumens, and about 100 is enough to walk by. Brighter is not safer. A hot fixture glares, and the eye keeps readjusting on the dark ground beyond it. Buy by lumens, not watts. If the box doesn’t list lumens, choose another box.
Spacing comes last, and only for the fixtures that remain. Trade guides give about 6 to 10 ft, staggered, with beams overlapping by about a fifth, and the designers each landed near 8 ft. That is guidance rather than a standard, and one maker suggests as little as 3.5 to 5 ft for a beam 7 ft across, so space by overlap and trust what you see. Enough is a good word.
Solar, low-voltage or mains: what a short winter day does to each
A solar stake light is a small battery on a slow charger. In late autumn the sun is up less and sits lower, and a hedge’s shadow reaches much further than in June. The light starts a longer night on a partial charge. I have no measured winter runtime to give you for a solar path light, and the designers are blunt anyway: Nels Peterson says small solar path lights seldom last more than one or two seasons.
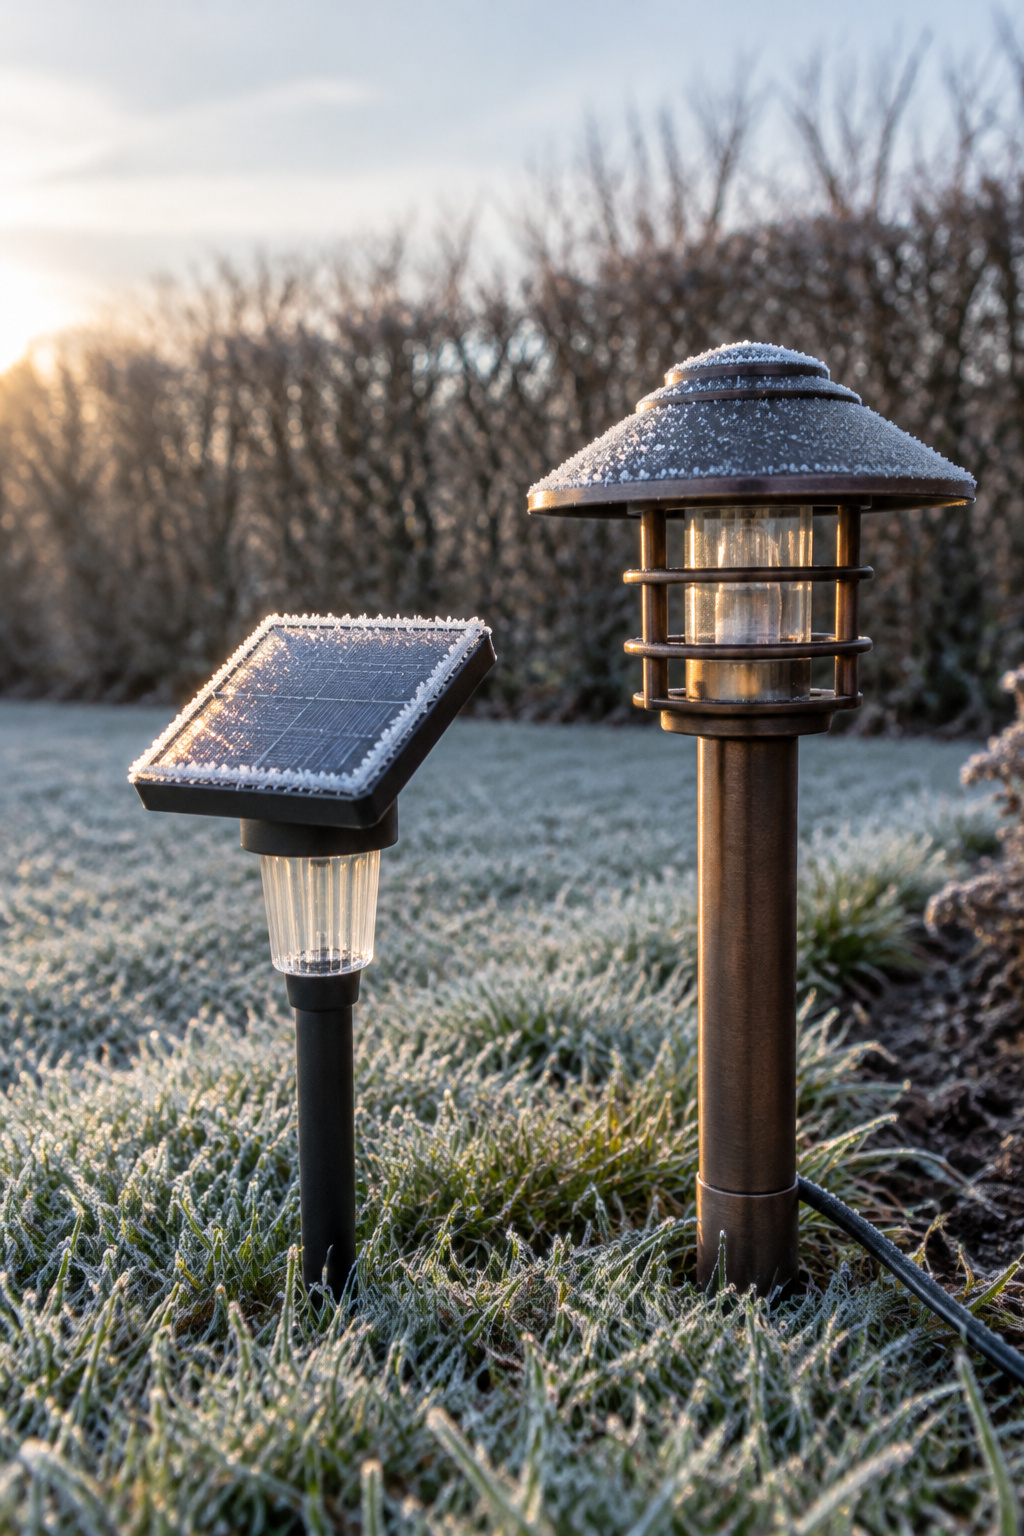
If you use solar, give the panel the most open spot you have. Try it in February.
Low voltage, a transformer feeding a cable run, is the usual middle and within reach of a careful homeowner. Mains gives the steadiest light but needs an electrician.
The costs in the table are rough US figures.
| Power | On a winter evening | Typical output per fixture | Who installs | Rough cost per fixture, installed (US) |
|---|---|---|---|---|
| Solar stake | Starts the night part-charged | 2–15 lumens | You | $50–200 |
| Low voltage | Steady all night | 100–200 lumens | You, with care | $100–150 |
| Mains (120 V) | Steady all night | Depends on fixture | An electrician | $100–200, plus $5–13 a foot to trench |
For a path you walk every winter evening, choose low voltage. Solar is for a border you look at, not a route you walk.
Test the scheme on a winter evening before you dig anything in
Before any cable goes in, walk the path in real dark. Dusk misleads, because the sky still lights the garden.
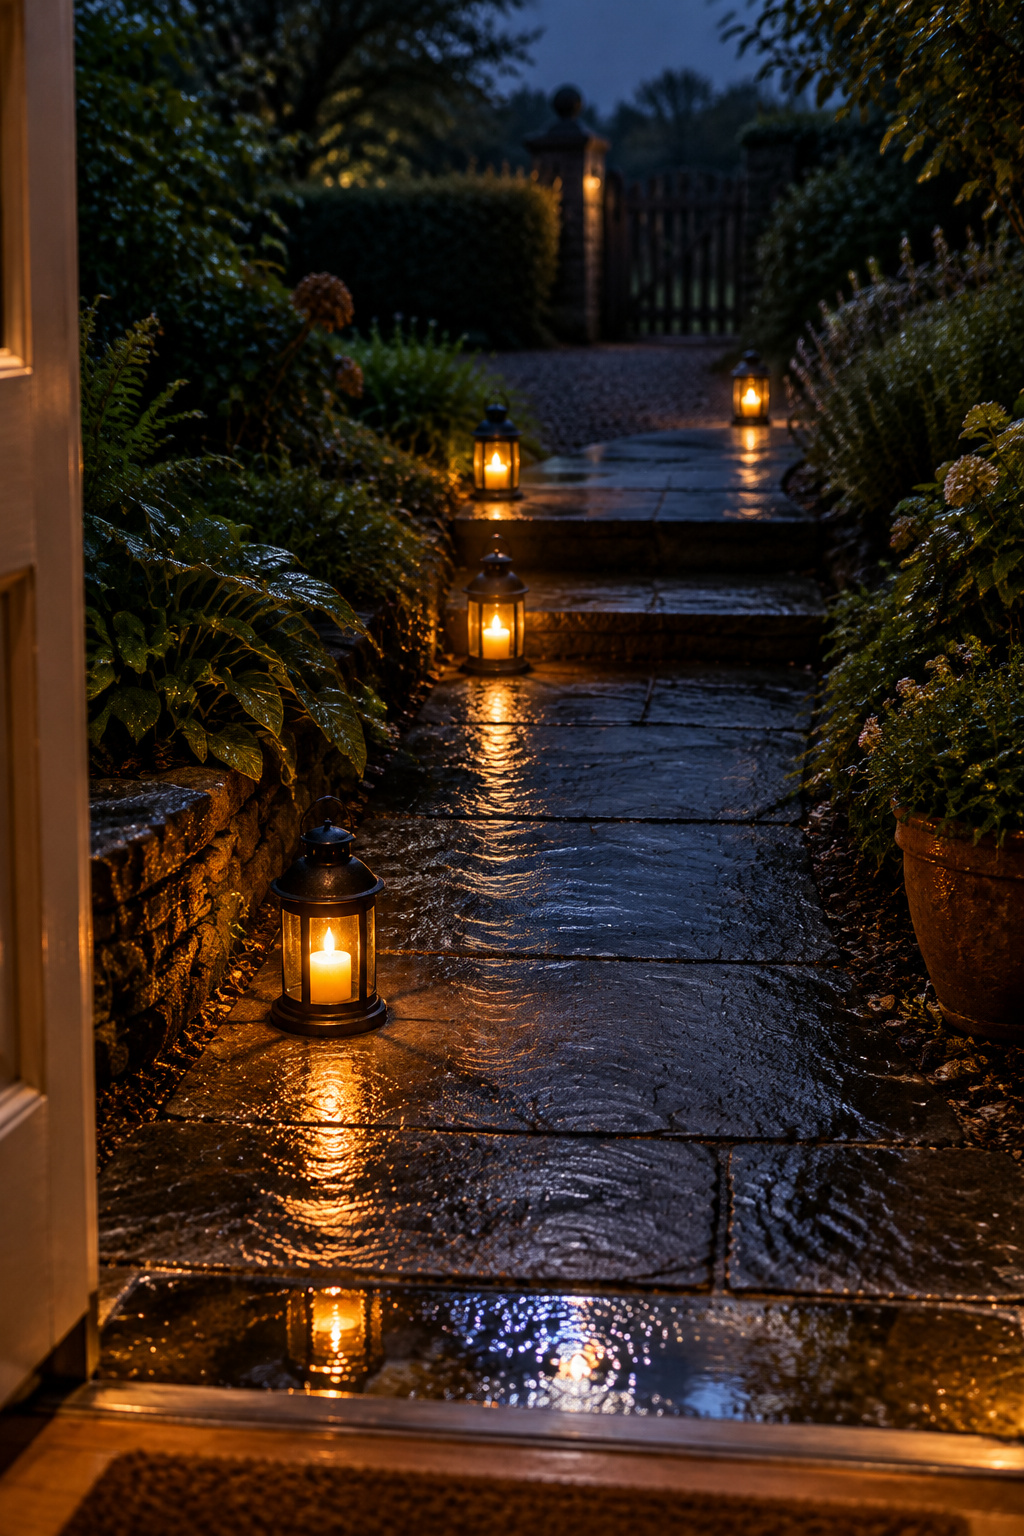
- Wait for a fully dark evening, a cold one if you can, when you would actually use the path.
- Put temporary lights at the door, each turn and each step: battery lanterns, torches laid on the ground, or the fixtures themselves on their stakes.
- Walk it from the house with your hands full, the way you carry shopping, then walk back toward the lit windows.
- Where the ground shows a dark gap, move a light closer or use a wider beam. Where it looks harsh, or like a runway, move lights apart or choose dimmer ones.
- Only then stake the final positions and lay the cable.
When the positions are settled, a timer or a motion sensor keeps the light there when you need it and off when you don’t.
That much is yours to do: where the light goes, how warm and how bright, and the testing until the path feels right in the dark. Anything mains-powered is an electrician’s job, and I leave it to one. Burial depth for low-voltage cable is commonly given as 6 in; check local rules before you bury it. Lighting the approach to a fire pit belongs with the fire-pit landscaping ideas. The rest of the path, from surface to width, starts with garden path ideas.
Get it right and five o’clock in November stops being an hour to rush through. You open the back door, the step shows its edge, the turn shows itself, and the dark between them is simply garden.
FAQ
Should path lights have motion sensors or run on a timer?
Either works, and both beat lights left on all night. Dark-sky guidance asks that outdoor light be on when it is needed, dimmed when possible and off when it isn’t. I prefer a timer that switches on at dusk, so the path is already lit when I step out with my hands full, and a sensor for the late hours.
How do I run low-voltage wiring along a path without digging up the lawn?
I haven’t found a reliable no-dig method; low-voltage cable goes in the ground one way or another. Burial depth is commonly given as 6 in, so check local rules and the transformer maker’s instructions, and keep the cable out of conduit carrying mains circuits. If digging is off the table, solar or battery fixtures are the only wire-free option.
Do garden path lights attract insects, and does color change that?
Yes, outdoor lights draw insects, though not larger animals such as deer. Color seems to matter. In a UCLA-Smithsonian field study in the Amazon, LED light filtered to amber or yellow drew fewer flying insects, while blue and ultraviolet drew many more. Garden lamps differ from those test lights, but warm, dim and switched off when unused is safer.