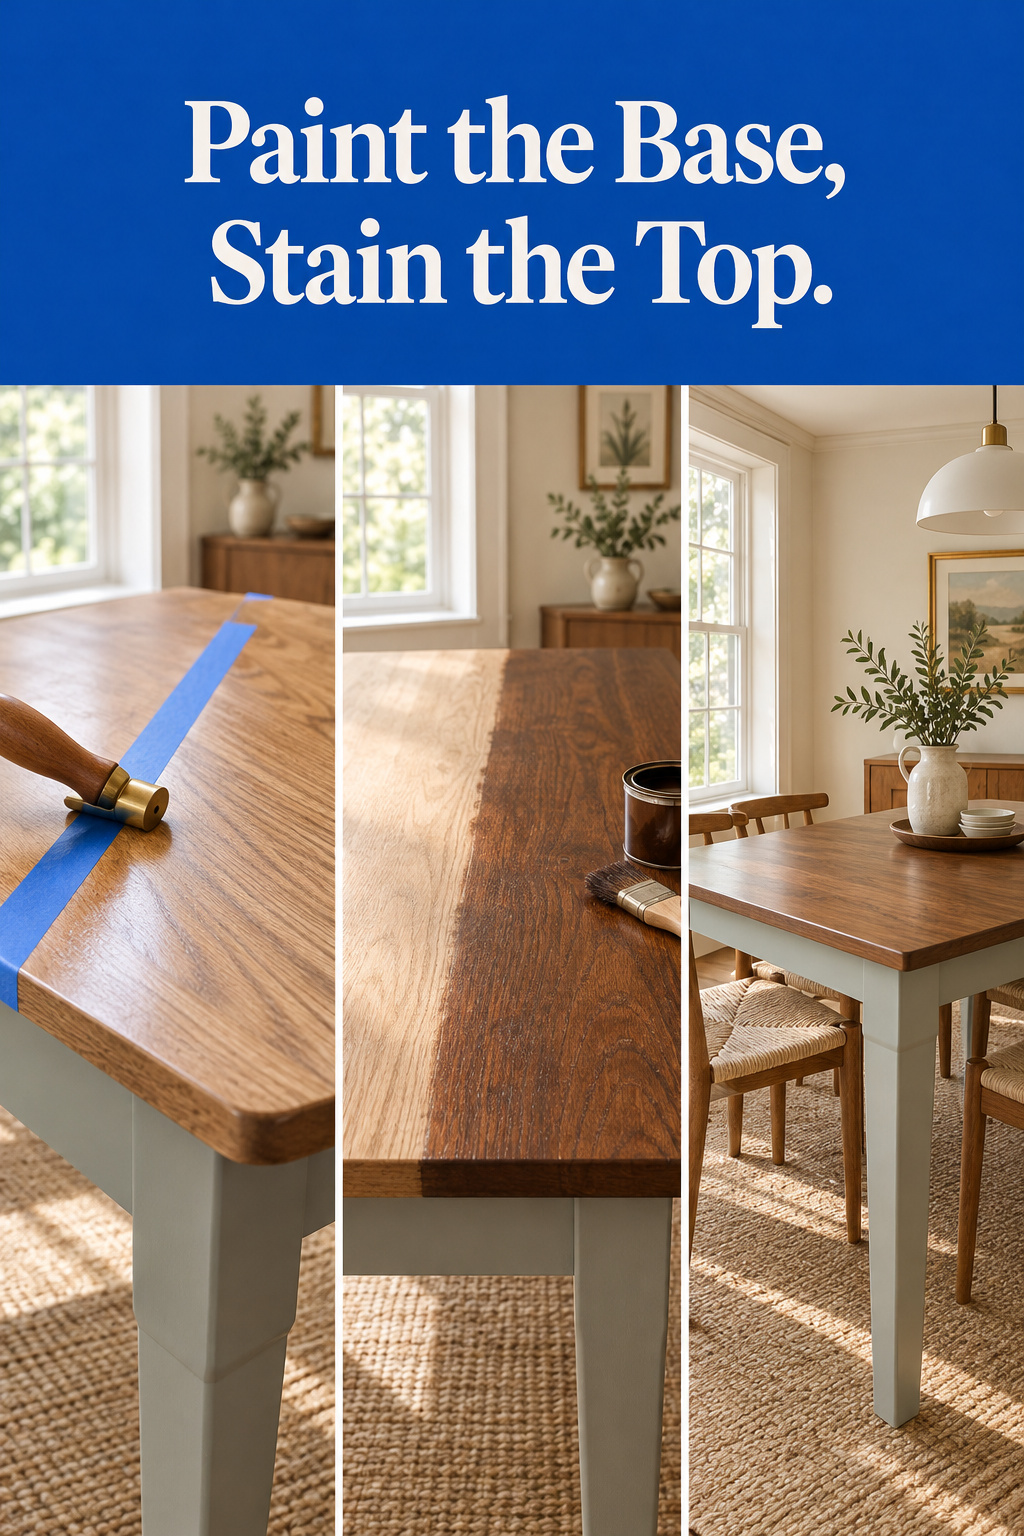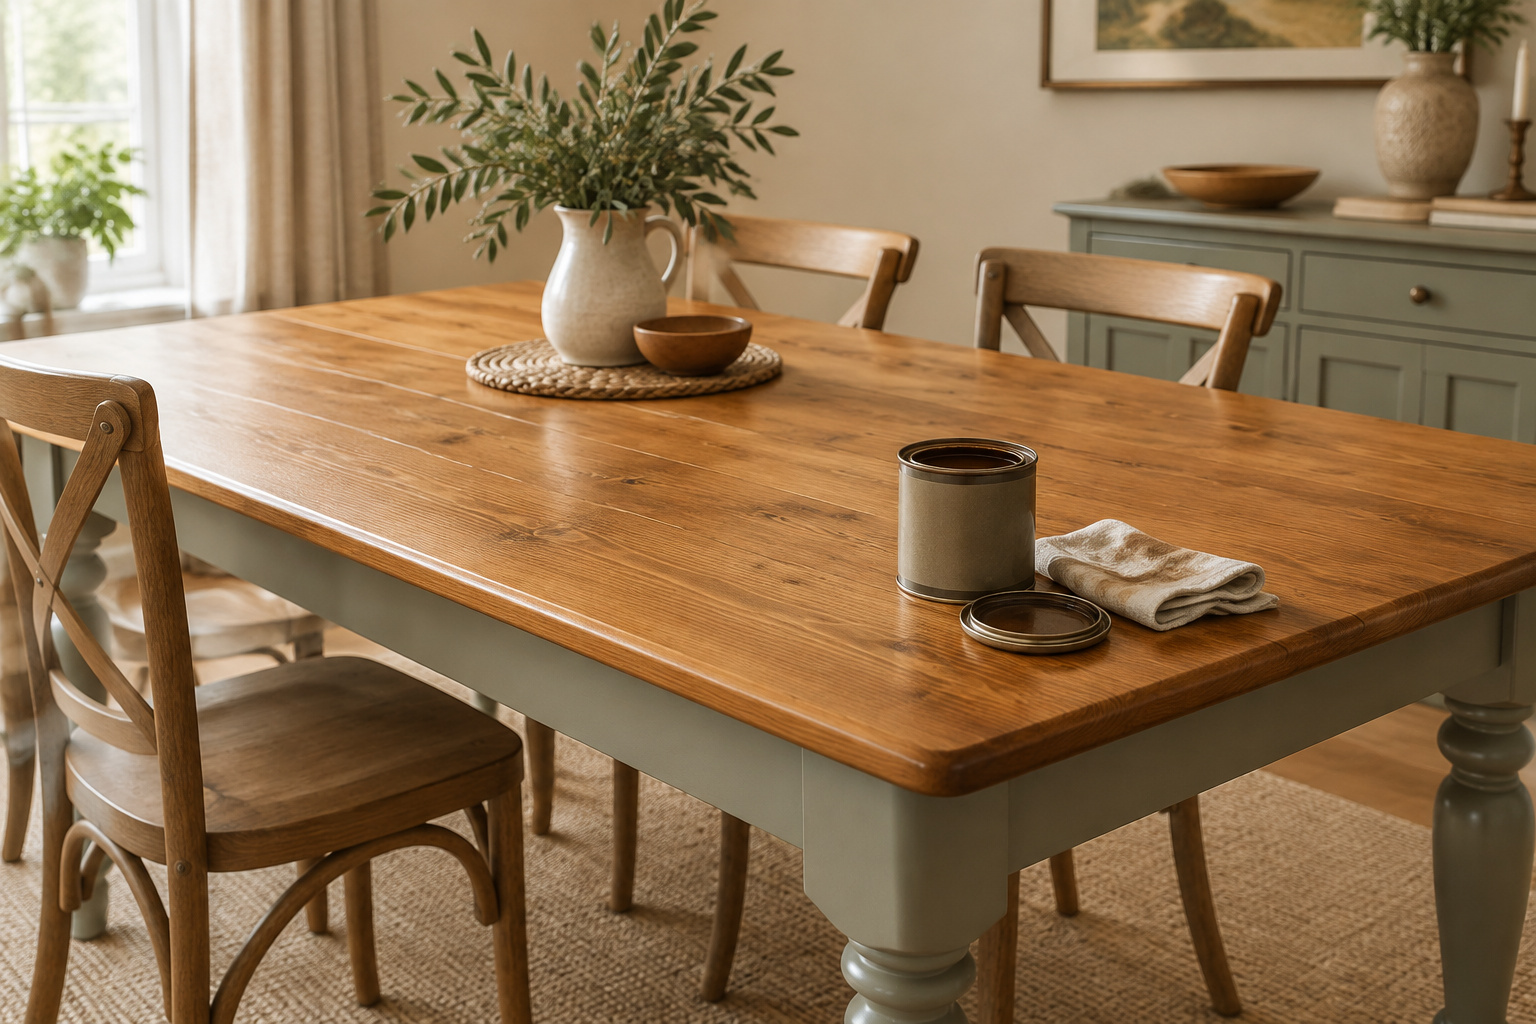

You’ve already done the sum: two cans, a roll of tape, one Saturday, and your tired table becomes the one you pictured. Warm stained grain, a satin painted base, a clean line where the apron meets the top. Here’s the corrected sum. Painting the table base and staining the top properly costs roughly $80 to $150 in materials and takes four to six calendar days, most of them spent waiting. You aren’t painting a table this week. You’re scheduling one. Paint bleeding under the tape and a coat laid over one that wasn’t ready are the two things that ruin the line, and both come from skipping a wait.
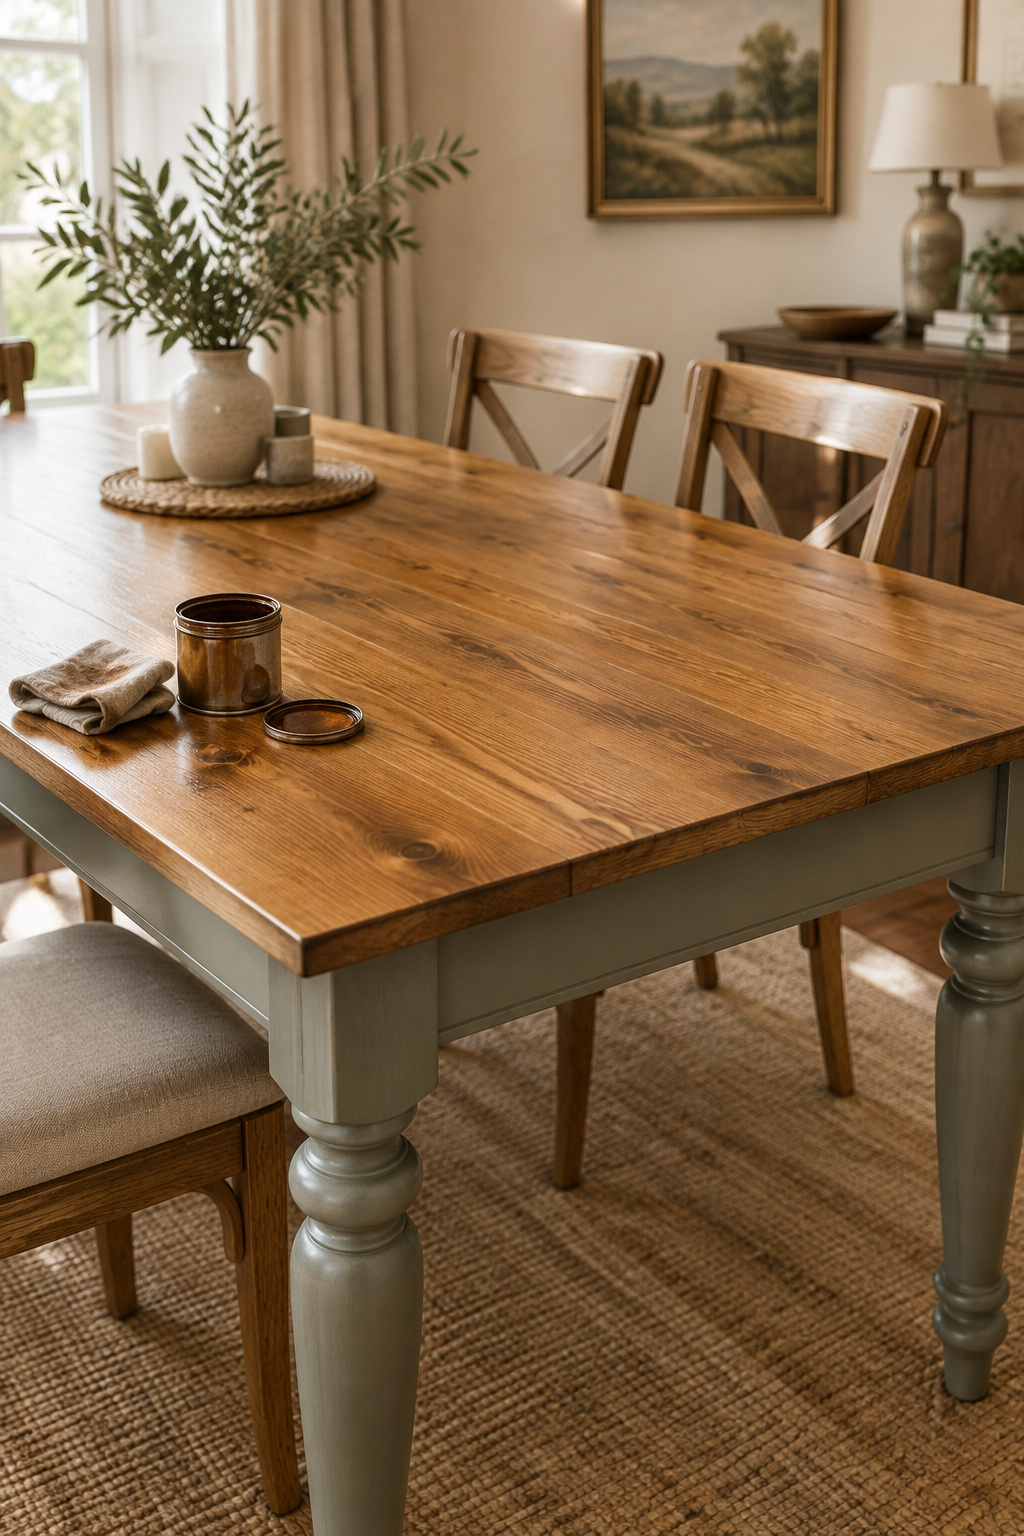
TL;DR
- Stain first, paint second. Stray paint wipes off a stained, sealed top, but stray stain soaks into raw wood and stays. Sand pine to 180 grit for oil-based stain (220 for water-based) and condition pine, fir, alder or maple first.
- The wait before tape is the whole trick. Minwax’s floor for its oil-based stain is 4 to 8 hours before an oil topcoat and 24 hours before a water-based one, and many finishers add days of margin. Burnish the tape edge and seal it before any paint goes on.
- Pull the tape while the paint is slightly tacky, then be patient. Paint is handleable after about 24 hours, but full hardness takes weeks, not days. General-purpose tape comes off clean for 14 to 21 days, and delicate-surface tape for up to 60.
What It Really Costs to Paint a Table Base and Stain the Top (and How Many Days)
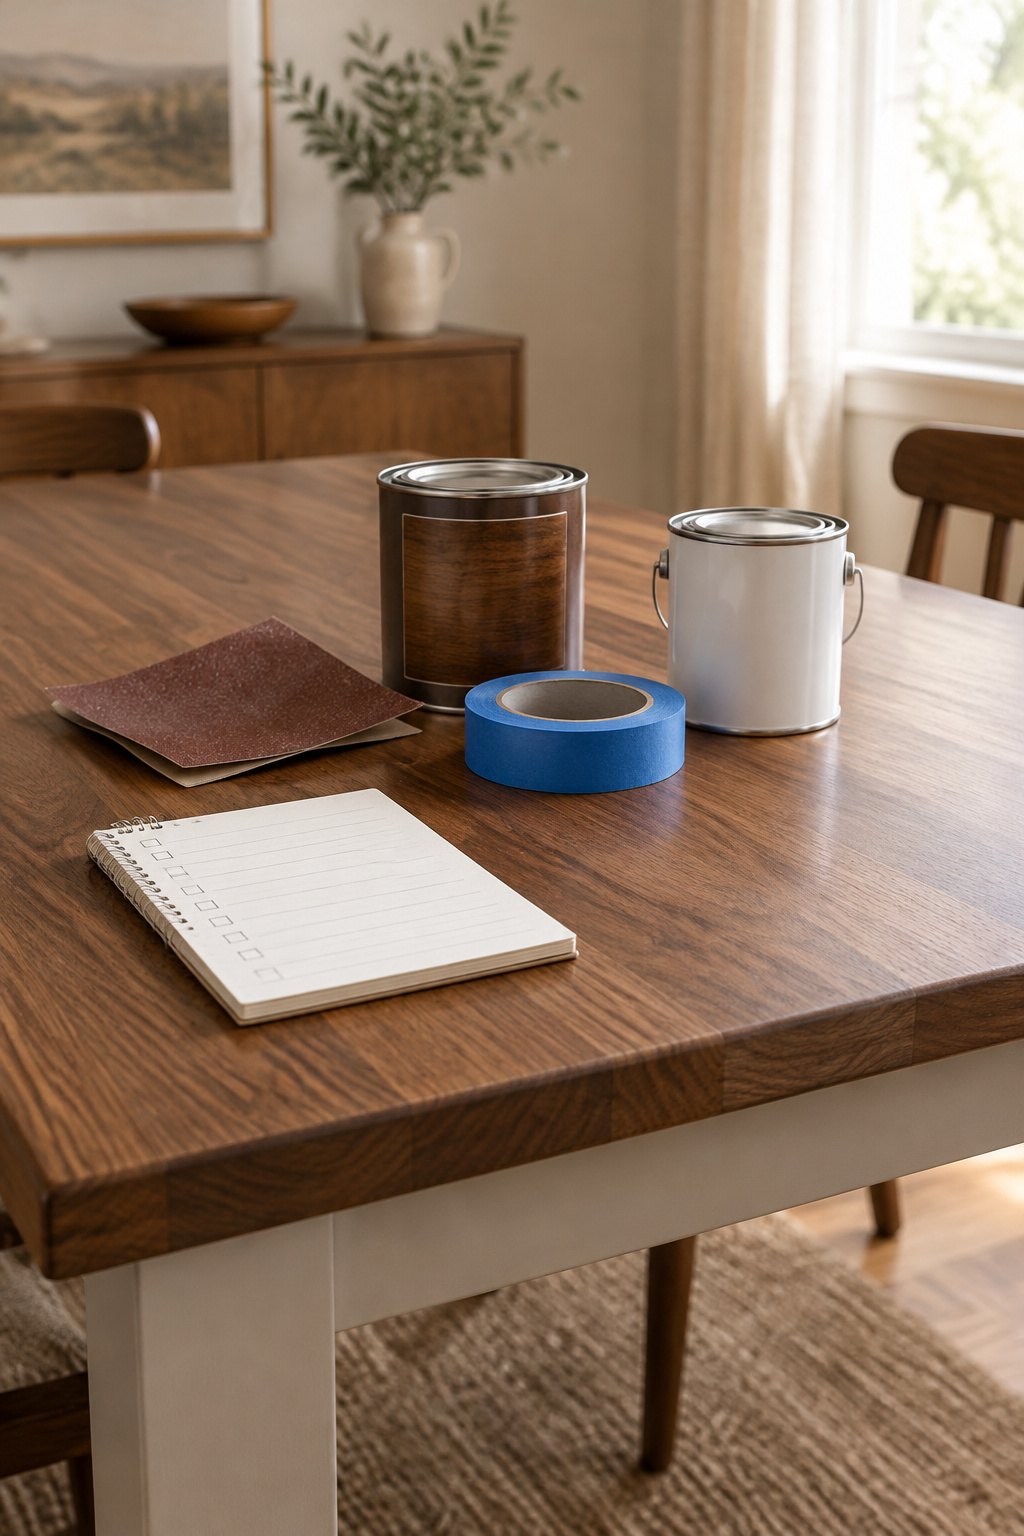
Money first. Nobody prices this exact job, since it uses partial cans of several products. So here’s the shopping list priced by category, arithmetic showing.
| Item | Typical cost |
|---|---|
| Sandpaper assortment, 80 to 220 grit | $10-15 |
| Pre-stain wood conditioner, 1 quart | $12-15 |
| Oil-based wood stain, 1 quart | $12-18 |
| Furniture-grade primer, 1 quart | $15-25 |
| Furniture paint, 1 quart | $15-25 |
| Painter’s tape with edge-sealing technology | $8-12 |
| Rags and brushes | $10-15 |
Adding it up myself: $10-15 + $12-15 + $12-18 + $15-25 + $15-25 + $8-12 + $10-15 = $82-125 for the core list. Add a second quart of paint or a topcoat product and the realistic ceiling lands near $150, so budget $80 to $150.
The calendar is the part the videos skip. Day one: prep, then stain the top. Day two: tape and primer on the base. Days three and four: paint coats, with an overnight dry between them. After that the paint needs about 24 hours before the tape comes off and anyone leans on it. That’s four to six days. I write this schedule in days, never hours, and it always includes the trip back for the sandpaper I swore I had.
Skill rating: some builds. You need no special tools, but you do have to leave things alone, and that’s harder than sanding. This method starts from a table you already own. Building one from lumber is covered elsewhere on the site.
Get the Top Ready to Take Stain
First, find out whether your top is bare wood. Put a few drops of water on it. If they soak in within seconds, it’s raw or nearly raw. If they bead, wax, poly or lacquer is still on there, and stain won’t take until you strip or sand through it. If either half wears old paint, test it before you sand it.
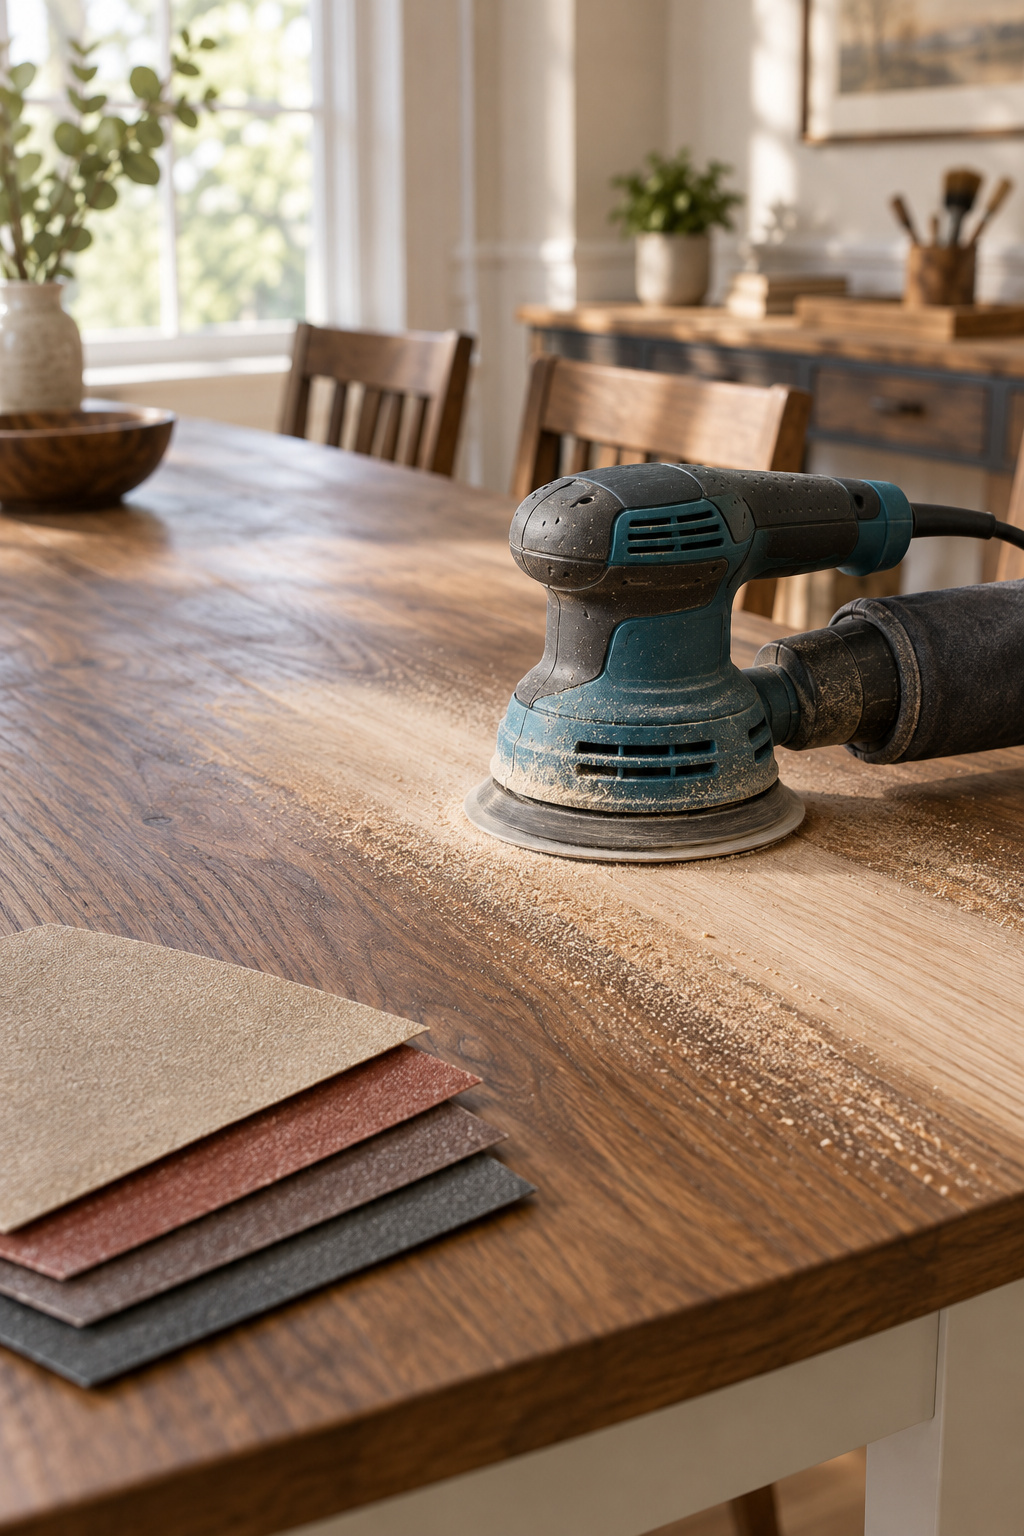
At bare wood, the sequence is:
- Sand pine with 80, then 100, 120, 150 and 180 grit, and stop at 180 for an oil-based stain.
- Go on to 220 only if you’re using a water-based stain.
- Vacuum and wipe off every trace of dust.
- Brush on pre-stain wood conditioner. Minwax treats it as required on pine, fir, alder and maple, because pore size varies across a single board, and that variation is what blotches.
- Let it penetrate 5 to 15 minutes (oil-based) or 1 to 5 minutes (water-based), then wipe off the excess.
The mistake here is sanding finer because smoother feels better. Go past those stops and you burnish the wood closed, so stain sits on it unevenly instead of soaking in. Over-sanded? Drop back to 150 and work up again.
Grit recap:
- Oil-based stain on pine: stop at 180
- Water-based stain: stop at 220
- Paint on the base: 80, 150, 220
Stain the Top Before You Touch the Base
Why this order? Paint sits on a surface, and stain goes into it. Paint that lands on a stained, sealed top wipes off. Stain that lands on bare apron wood is in the grain for good. Stain and seal first, paint last.
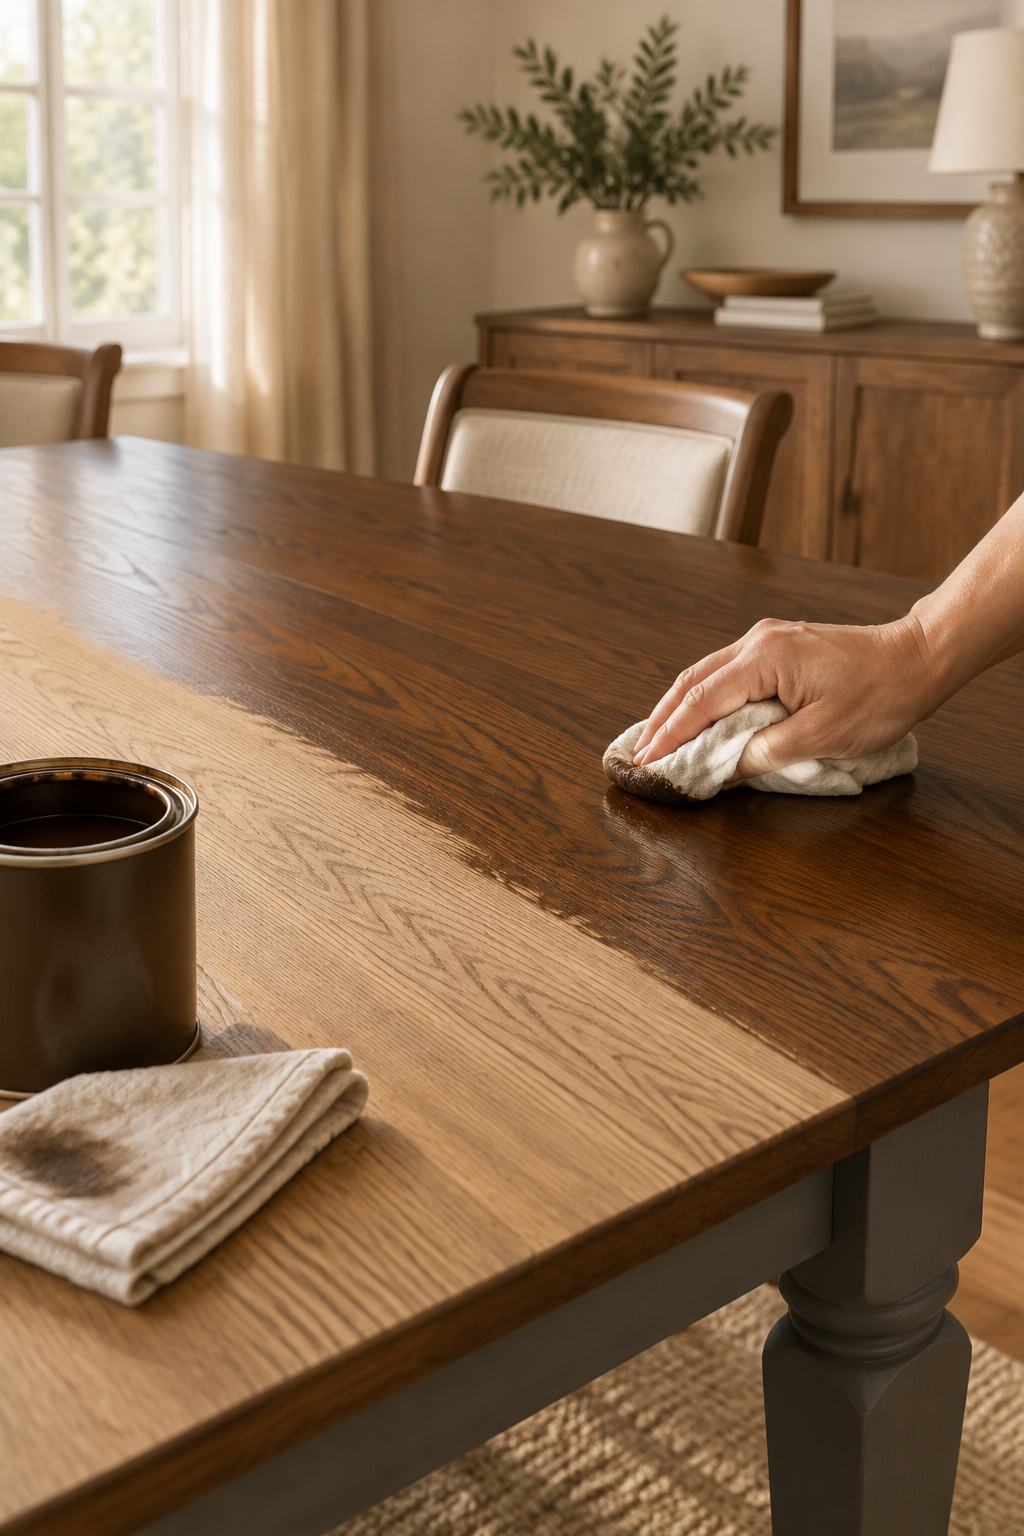
- Stain within 2 hours of conditioning, per Minwax’s directions for its conditioner.
- Wipe the stain on with the grain, let it sit, and wipe off what the wood didn’t take.
- For a darker color, add a second coat after 4 to 6 hours. Don’t sand between stain coats.
- Wait before any topcoat: 4 to 8 hours minimum for an oil-based clear coat over Minwax’s oil-based stain, 24 hours minimum for a water-based one like Polycrylic.
- Clear-coat the top. Which finish, and how long to let a clear coat cure before living on the table, is its own decision.
Those Minwax figures are the manufacturer’s floor. You’ll run into a much longer number too. The Jeff’s DIY farmhouse table build waits four days for oil-based stain on pine before water-based poly. That’s a builder’s margin, not the can’s rule. Many finishers choose it anyway, as a cautious call on pine, on humid days or after a heavy stain coat. Know both numbers, then pick the margin your weather and wood deserve.
The mistake is stacking. A coat laid on before its window traps solvent underneath, and the finish stays tacky. Another coat won’t fix that. Stripping to bare wood will, which is why I’d rather lose a day than a weekend.
Tape the Line So It Actually Holds
Tape goes on the finished side. Lay it on the top with its edge flush against the seam where apron meets tabletop, so the tape’s edge draws the paint line, not its middle. That’s FrogTape’s own placement advice.
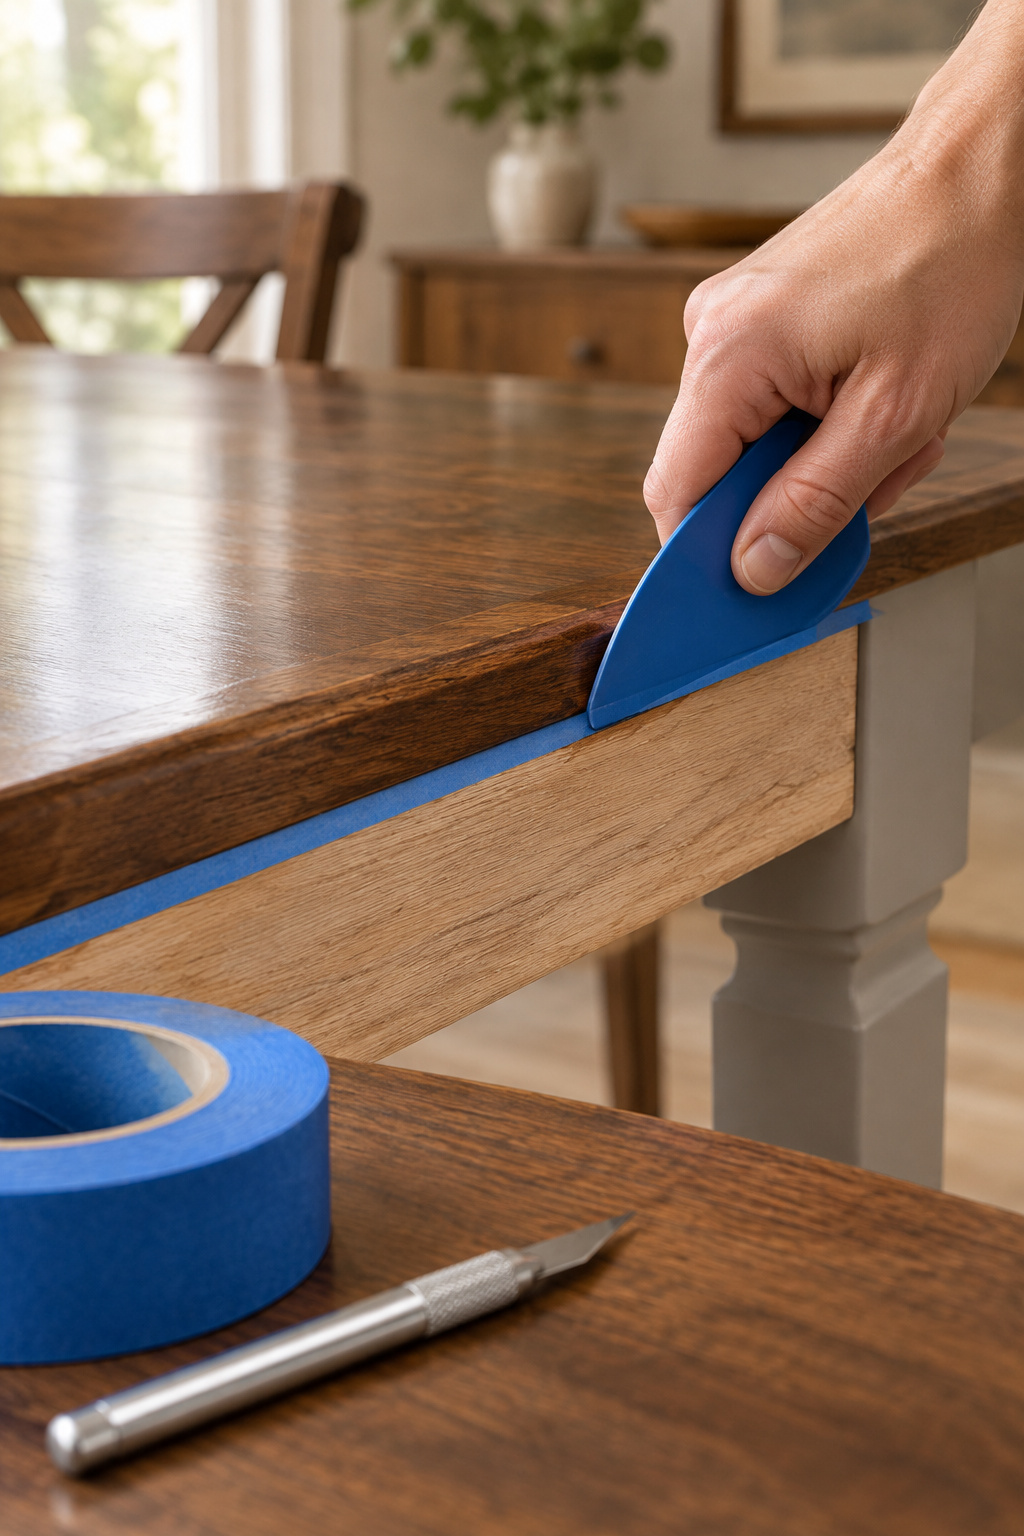
Timing matters more than brand. No manufacturer says how long stain must dry before tape goes on it. What exists is practice: at least 24 hours, and 72 or more for a heavy-use tabletop, because tape lifts a film that hasn’t skinned over, however gentle the label claims to be. Treat that as practice, not a spec.
Tools:
- Painter’s tape with edge-sealing technology (FrogTape’s PaintBlock), or 3M ScotchBlue if your seam is smooth
- A plastic scraper or putty knife for burnishing, or a fingernail if that’s what you have on you
- A small brush for the seal coat
- A fresh razor blade, saved for the end
Sealing the Tape Edge Before You Prime
Burnish first. Run the scraper hard along the paint-side edge to press the adhesive down and close the micro-gaps that cause a fuzzy line.
Then seal. Brush a thin line of the top’s own clear finish along the tape edge and let it dry 30 to 60 minutes. Anything that creeps under is clear finish on a clear-finished top, invisible. FrogTape’s PaintBlock tape forms its own edge barrier with water-based paint, and the company still recommends this step on irregular surfaces like an apron seam.
The tape is the cheapest line on the shopping list, and it decides whether the table looks bought or botched.
Prime and Paint the Base Without Touching the Top
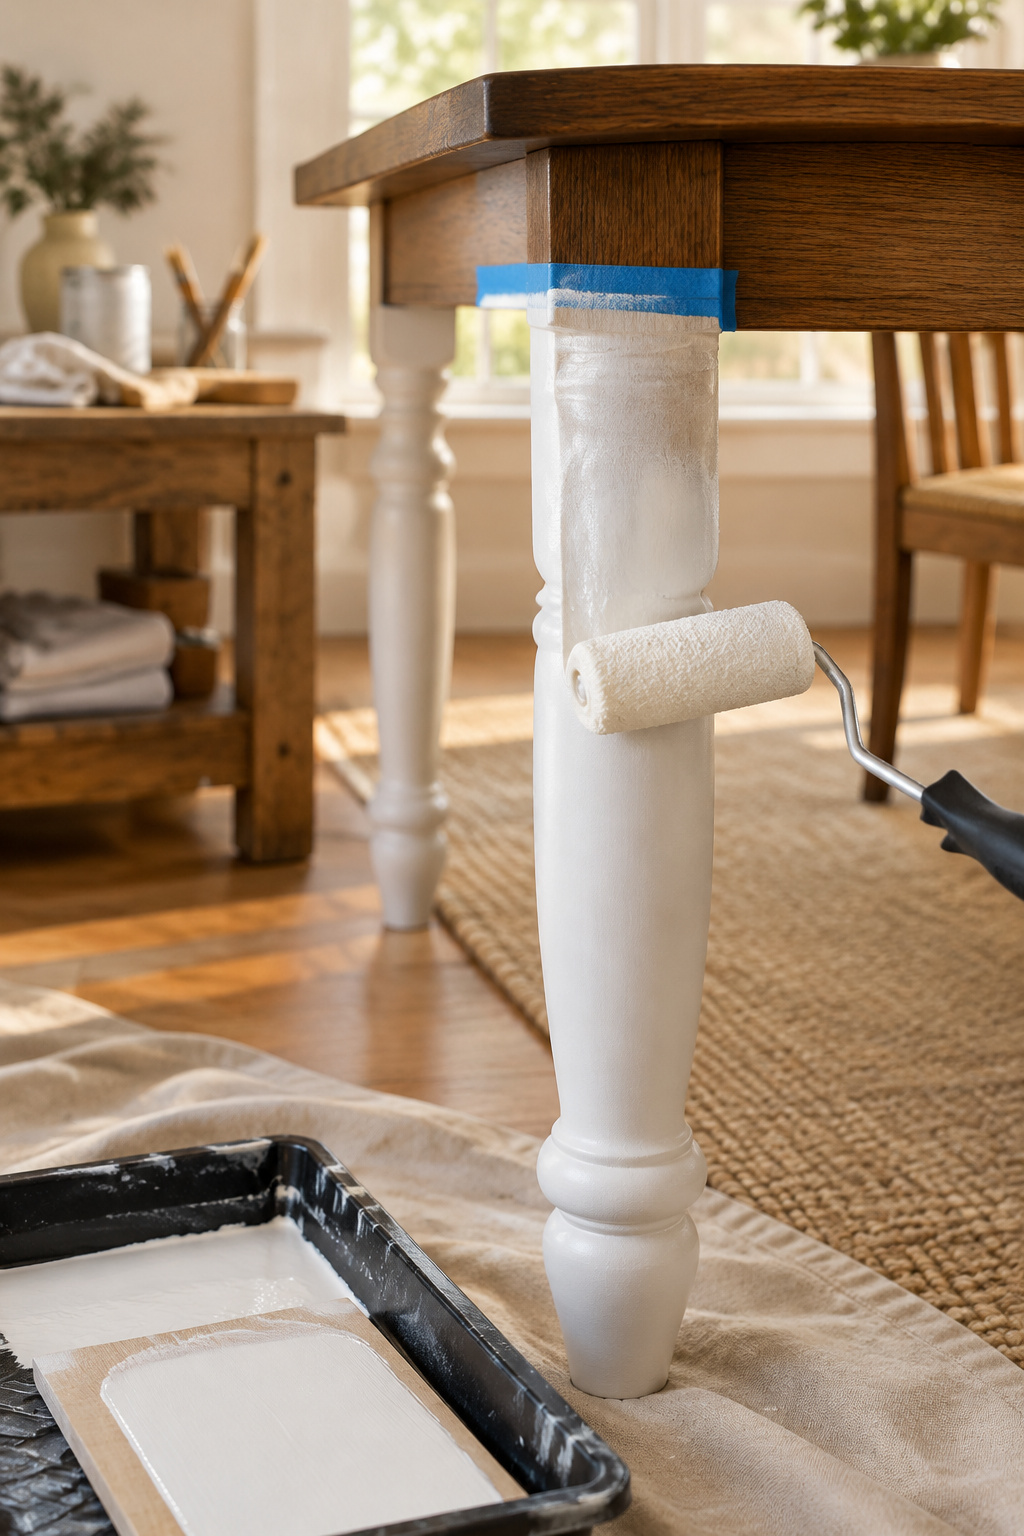
Scuff-sand the base at 80, 150 and 220 grit, and wipe it clean. On a stained piece, the primer that earns a spot is Zinsser B-I-N. It’s a shellac-base primer, and per Zinsser’s data sheet it blocks tannin bleed in one coat, dries to the touch in 25 minutes and can be recoated in 45. Then paint two thin coats, letting each dry at least overnight, the primer included.
Full Coverage vs. Some Builds: How Many Coats You Really Need
How many coats you need depends on how far the color travels and which paint you pick.
| Route | Coats | Dry between | Skill level |
|---|---|---|---|
| Chalk-style paint on bare wood, no primer | 1-2 thin | 30-60 min to touch | First build |
| Furniture latex or enamel over scuff-sand and primer | 2 thin | Overnight | Some builds |
| Strongly saturated color shift, primer tinted halfway to the paint color | Primer + 2 finish | Overnight | Confident builder |
Two coats is the baseline for a strong color change. A saturated color can need three, though a primer tinted halfway toward the paint brings it back to two. A bad tint carries through every coat, hence the rating.
The mistake is one thick coat instead of two thin ones. It drips down turned legs and takes longer to dry through, so you gain nothing and spend day four sanding out runs. Let the drip dry, sand it flat at 220 and recoat thin.
If the base takes paint this well, whether the top could take paint too has a longer answer than the usual rule suggests.
Pull the Tape and Let It Cure Before You Use It
Pull the tape while the last coat is still slightly tacky. Fold it back on itself at a shallow angle, closer to 30 degrees than 45, because peeling hardened paint at a steep angle can chip the edge. If paint has bridged the tape, score along it with the razor first.
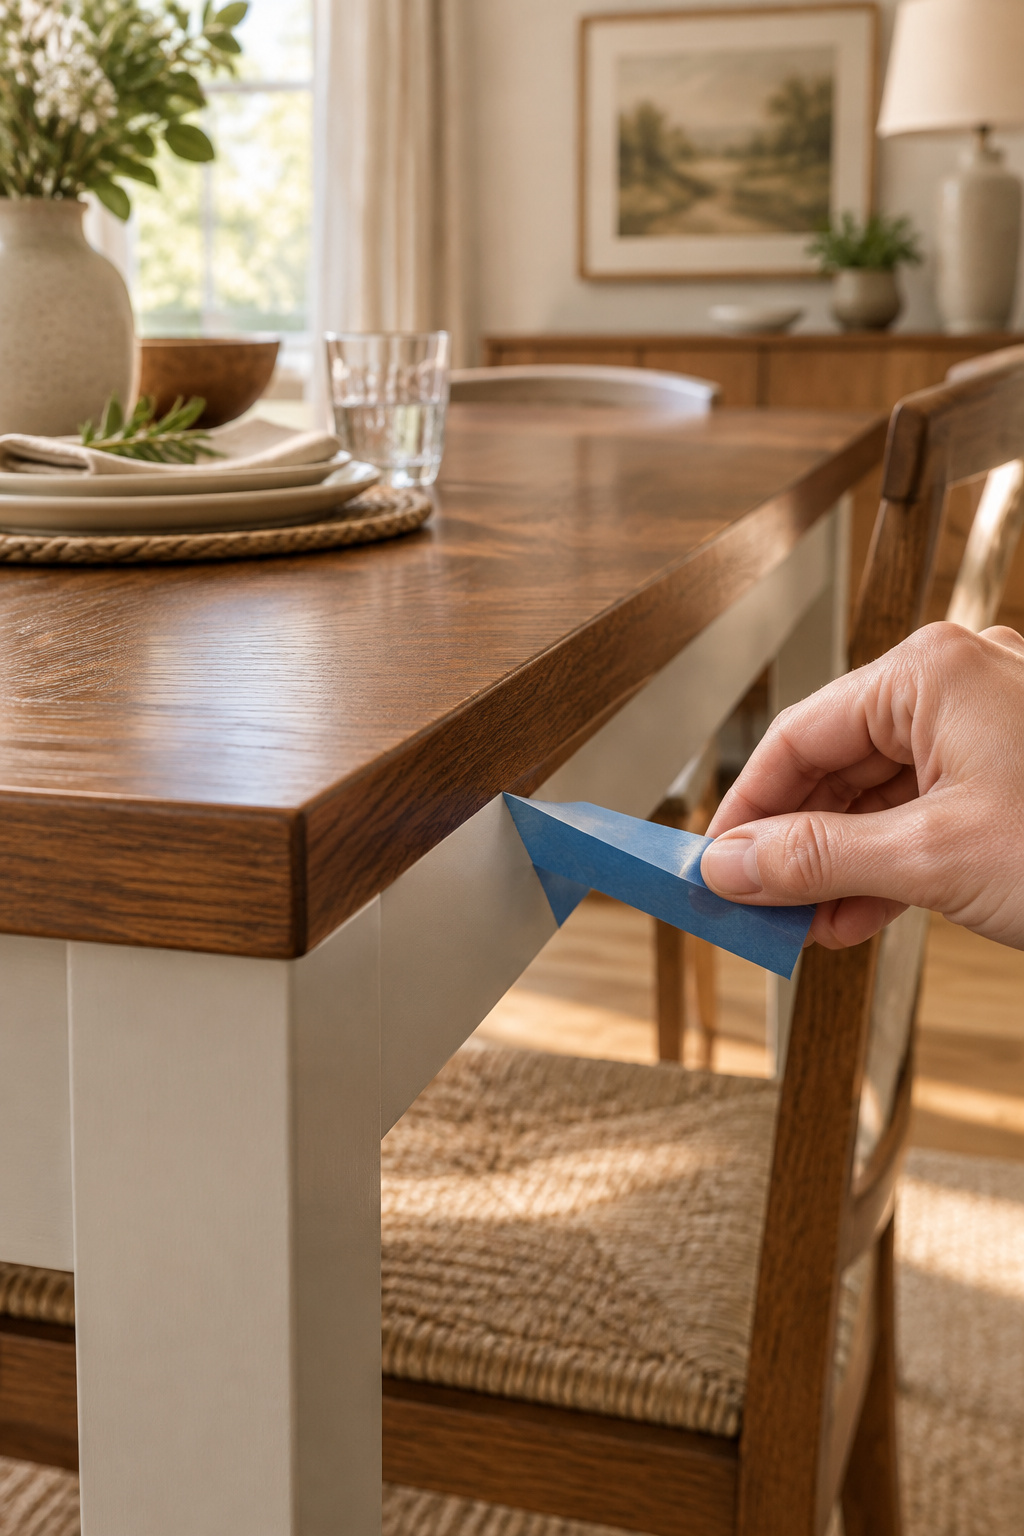
Don’t forget it, either. Removal windows are printed on the roll. General-purpose FrogTape and 3M ScotchBlue come off clean for 14 to 21 days, and delicate-surface versions of both for up to 60. Past that, a bonded edge can tear paint.
Here’s the whole calendar in one place.
| Stage | Wait | Can you use the table yet? |
|---|---|---|
| Stain (Minwax oil-based) | Dry to touch in 2-4 hours | No |
| Stain before topcoat | 4-8 hours for oil, 24 hours for water-based; many add days | No |
| Finished top before tape | 24 hours minimum in practice, 72+ by choice | No |
| Paint | Dry to touch in 30 minutes to 2 hours | No |
| Tape pull | While the last coat is still slightly tacky | No |
| Paint handling | About 24 hours | Light, careful use |
| Paint full hardness | Weeks, not days | Full use |
People ignore that last row. The base feels dry long before it’s hard, and chair legs or a vacuum head can mark it. It can handle a quiet dinner well before it can take a kicked shoe.
If the line bled anyway, don’t repaint or re-stain. Touch up the thin strip with the product that belongs on that side: a stain marker on the wood, a fine brush of paint on the base. Then step back and see where your table sits among other two tone dining table ideas.
Tonight, put three drops of water on your tabletop. If they soak in, buy conditioner, stain and 180-grit paper this week and stain on day one. If they bead, buy stripper first and add a day to the calendar. Either way, write the schedule in days before you open a can.
FAQ
Do you stain or paint a table first?
Stain first. A stray drop of stain soaks into raw wood and can’t be wiped away, while paint that lands on a stained and sealed top wipes off cleanly. Sand and condition the top, stain it, seal it and let it dry at least a day. Then tape the line and paint the base.
What kind of tape do you use for a two-tone table?
Use painter’s tape with edge-sealing technology, such as FrogTape’s PaintBlock, which gives the sharpest line on an irregular seam. 3M ScotchBlue works well on smooth surfaces. On a freshly finished top, a delicate-surface version of either brand is gentler and stays removable for up to 60 days.
How long should you wait before using a newly two-toned table?
Handle it gently after about 24 hours, once the paint has set and the tape is off. Full hardness takes weeks, not days, so until then keep dragged chairs, hot dishes and scrubbing off the painted base. The stained top follows its own topcoat’s cure time.