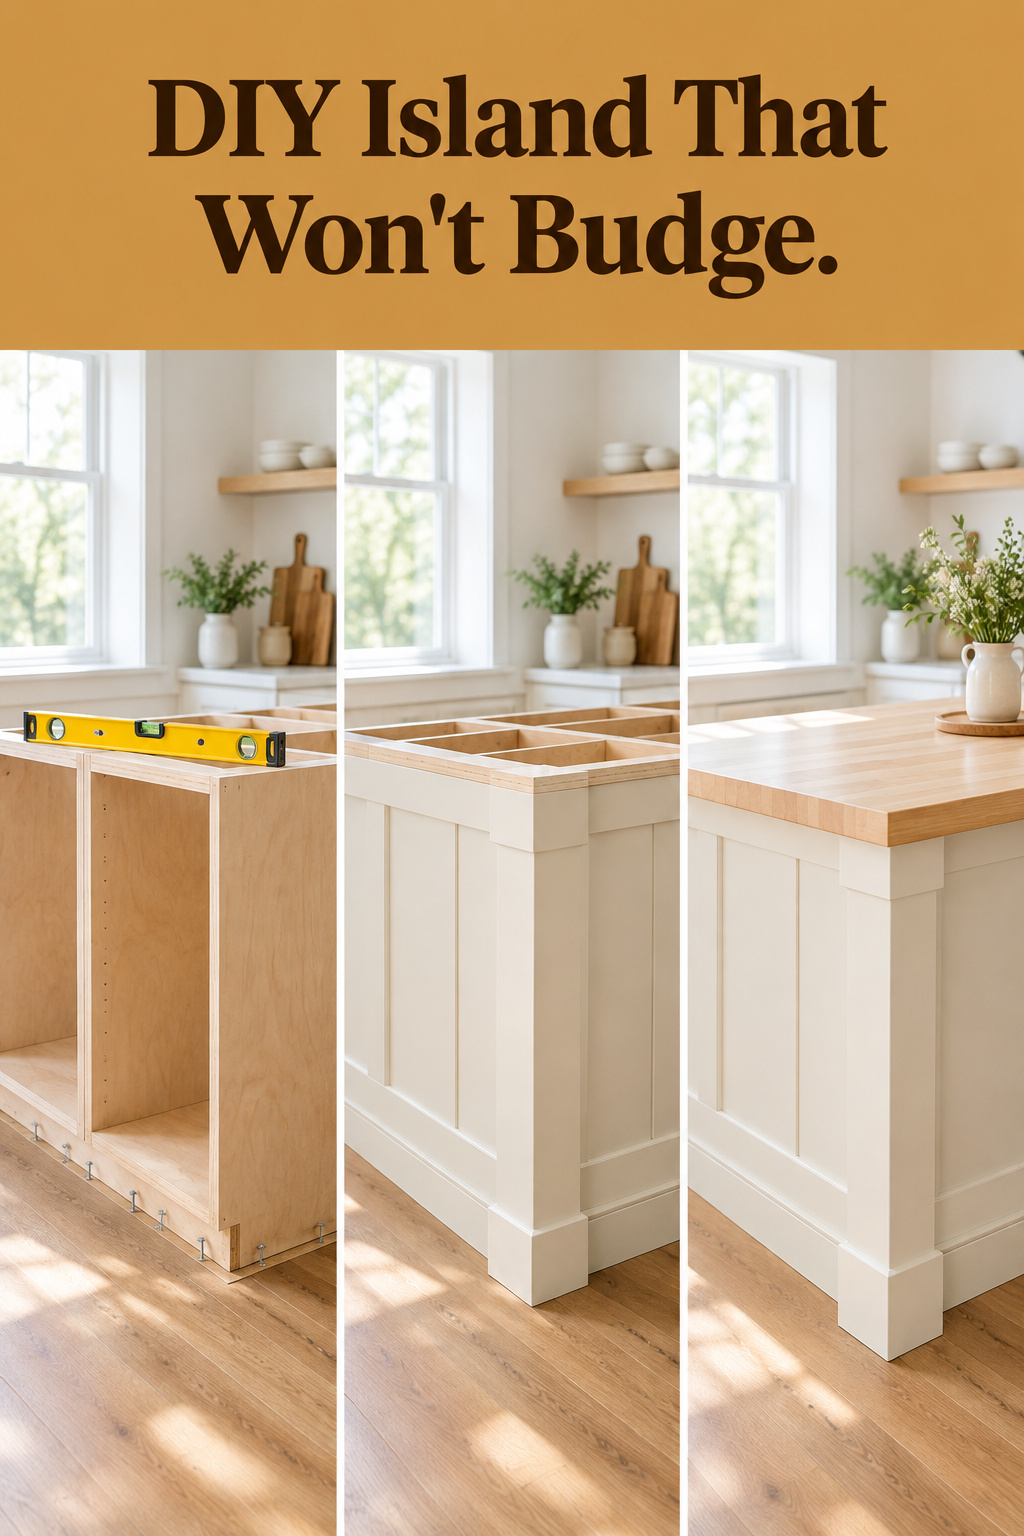
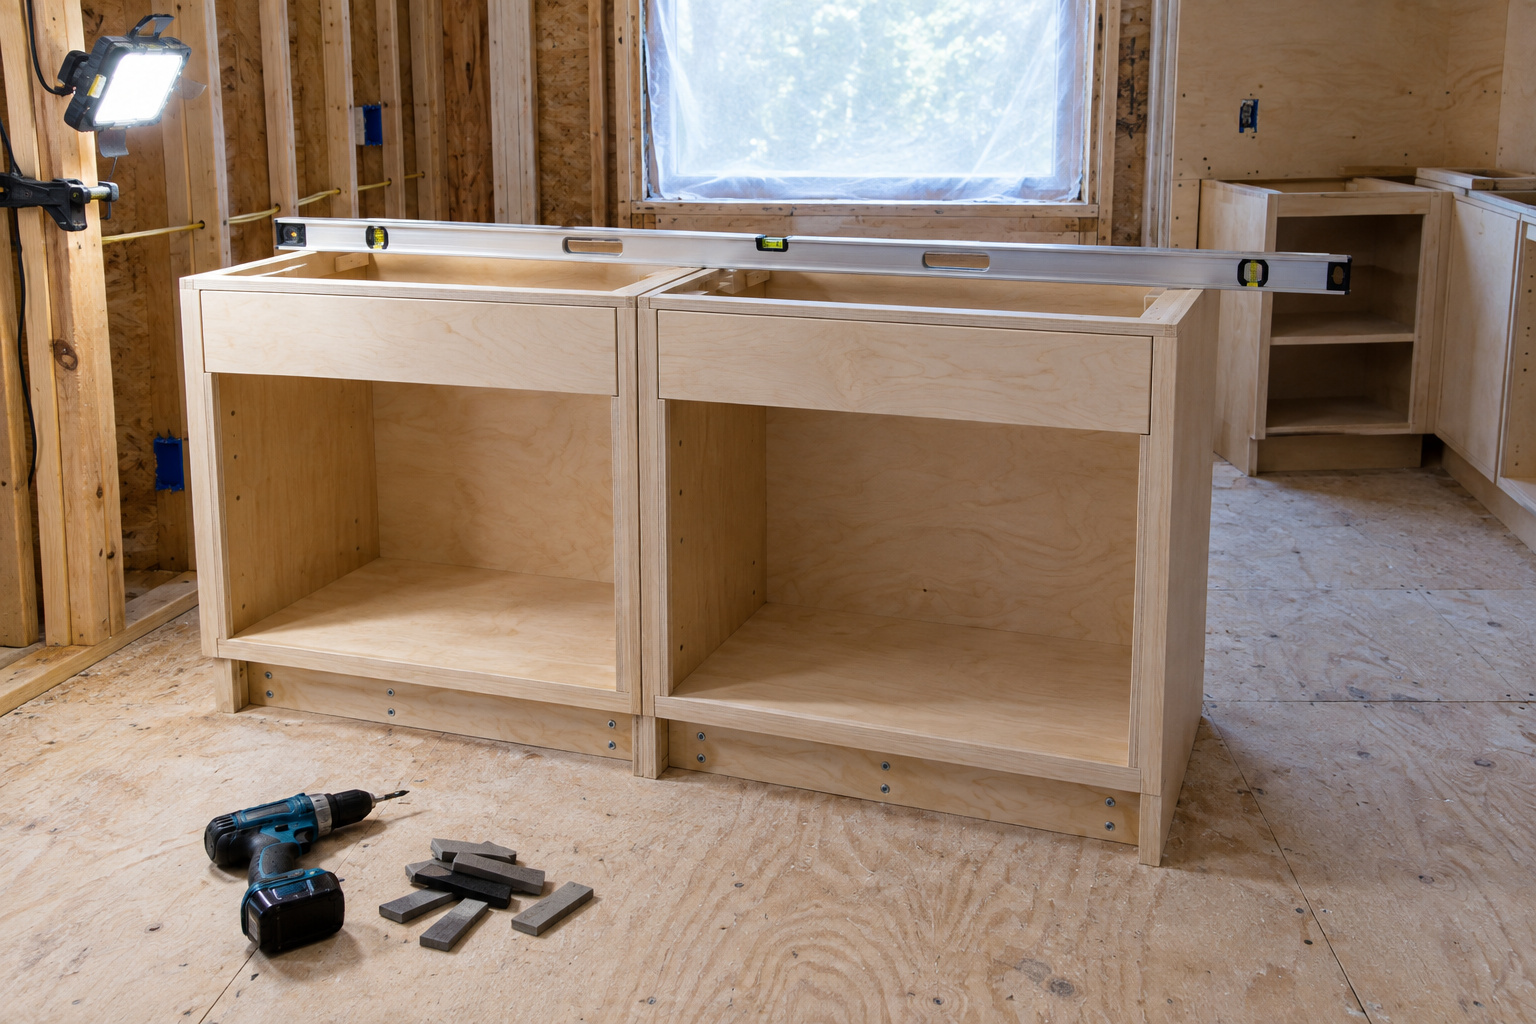

The mistake starts in the paint aisle. Somebody picks the door color and the turned legs, clamps two base cabinets together, sets the top on, and ends up with a DIY kitchen island that slides an inch the first time someone leans on it. Nobody fastened it to the floor. Plan on about $908 in materials before paint, two weekends with the paint waits, and a rating of “some builds”, because you’ll be shimming, pre-drilling and reading a level. Build it floor first and it stays put.
TL;DR
- Screw short 2×4 cleats to the subfloor inside the toe-kick space, set the boxes over them, shim to level and drive at least two screws per box into the cleats before you think about panels, legs or a top.
- Two 24 in stock base cabinets, a birch top, a beadboard sheet, two 34.5 in legs and the screws come to $907.96 at Home Depot prices on 7 November 2026, more than a $324 to $529 bought island, so build for fit and solidity.
- The 2023 NEC no longer requires an outlet on an island, but it does require a provision for one later; have an electrician run it before the top goes on, and let your inspector decide what counts.
A DIY Kitchen Island Fails at the Floor, Not at the Top
Wall cabinets have studs to catch. An island has only the floor. A cabinetmaker in Fine Homebuilding warns that an island with a heavy top and an overhang will tip unless it’s fastened to a cleat on the floor.
In my twenties I hung a shelf on drywall anchors, and at 2 a.m. it dropped a stack of plates. I’ve screwed into studs ever since. An island has no wall, so the subfloor is the only stud it gets.
The Lowe’s stock-cabinet island guide skips it: it clamps three base cabinets together and never mentions fastening them down. I’d reverse the order: fasten and level, then panel, then legs, then the outlet decision, then the top. If you’re still settling the style, start with designing a farmhouse island and come back with a size.
Choose the Boxes: Two or Three Stock Base Cabinets, Back to Back or End to End
A stock base cabinet is a box 34.5 in tall and 24 in deep with a 4 in toe kick, and it finishes at 36 in once a standard countertop goes on.
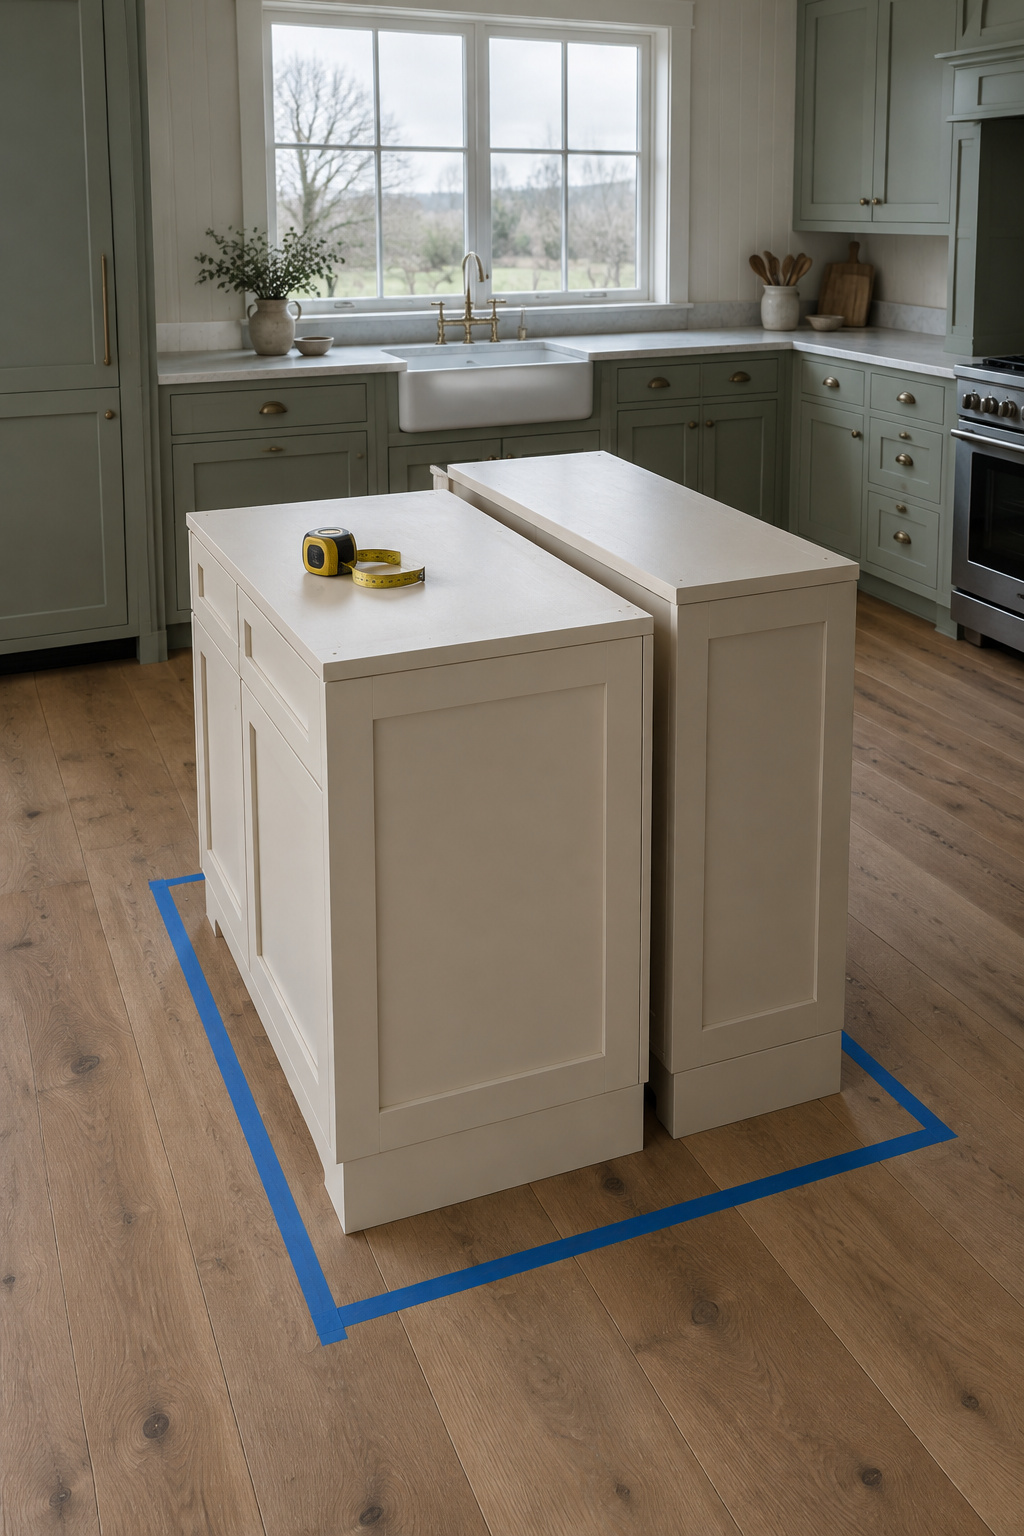
Two 24 in boxes give you two shapes. Back to back, they make a block 24 in wide and 48 in deep, with drawers on both faces. End to end, they make a run 48 in long, with all the storage facing the kitchen and a blank back for stools. If you can’t decide, put two boxes back to back. It’s the cheapest island that still looks built in.
On 7 November 2026 a Hampton Bay 24 x 24 x 34.5 in door-and-drawer base ran $239 in Satin White and $225 in stained Java at Home Depot. The toe kick is sold separately. A three-drawer base ran $386 the same day; if the budget stretches, it’s the better box for an island, where drawers reach better than shelves behind a door.
Buy nothing until you’ve finished working out the island’s size and taped the footprint on the floor. Then join the boxes: clamp the face frames flush, pre-drill, and drive three countersunk screws per joint.
Fasten Cleats to the Subfloor and Level the Boxes Before Anything Else
Guides disagree on cleat stock. Most use 2x4s; Hunker uses thinner 2×2 cleats on all four sides. I use 2x4s, because one stood on edge fits the 4 in toe-kick gap with room to shim.
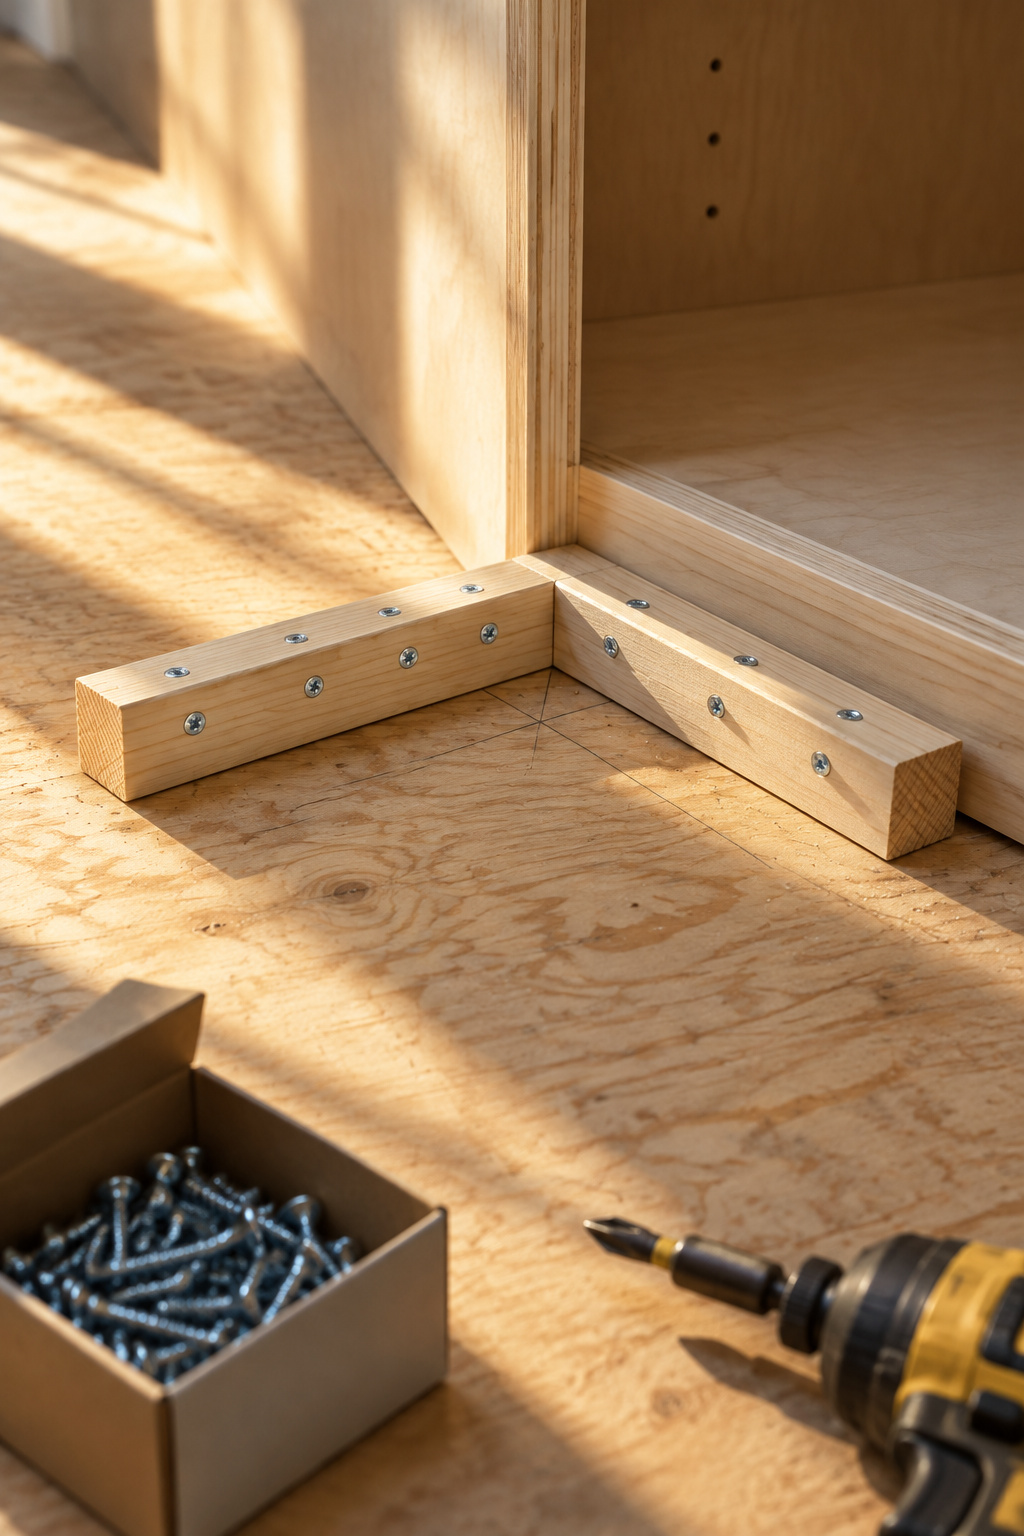
- Mark the island’s outline on the floor.
- Cut 2x4s into 1 ft lengths and set two at each corner, butted at 90 degrees, inset about 7/8 in from the line to clear the 3/4 in cabinet bottom.
- Screw them into the subfloor with 2-1/2 in screws. On a slab, use masonry fasteners such as Tapcons.
- Check that each cleat sits about 1/4 in below the box it carries. A cleat that’s too tall lifts the island and throws it out of level.
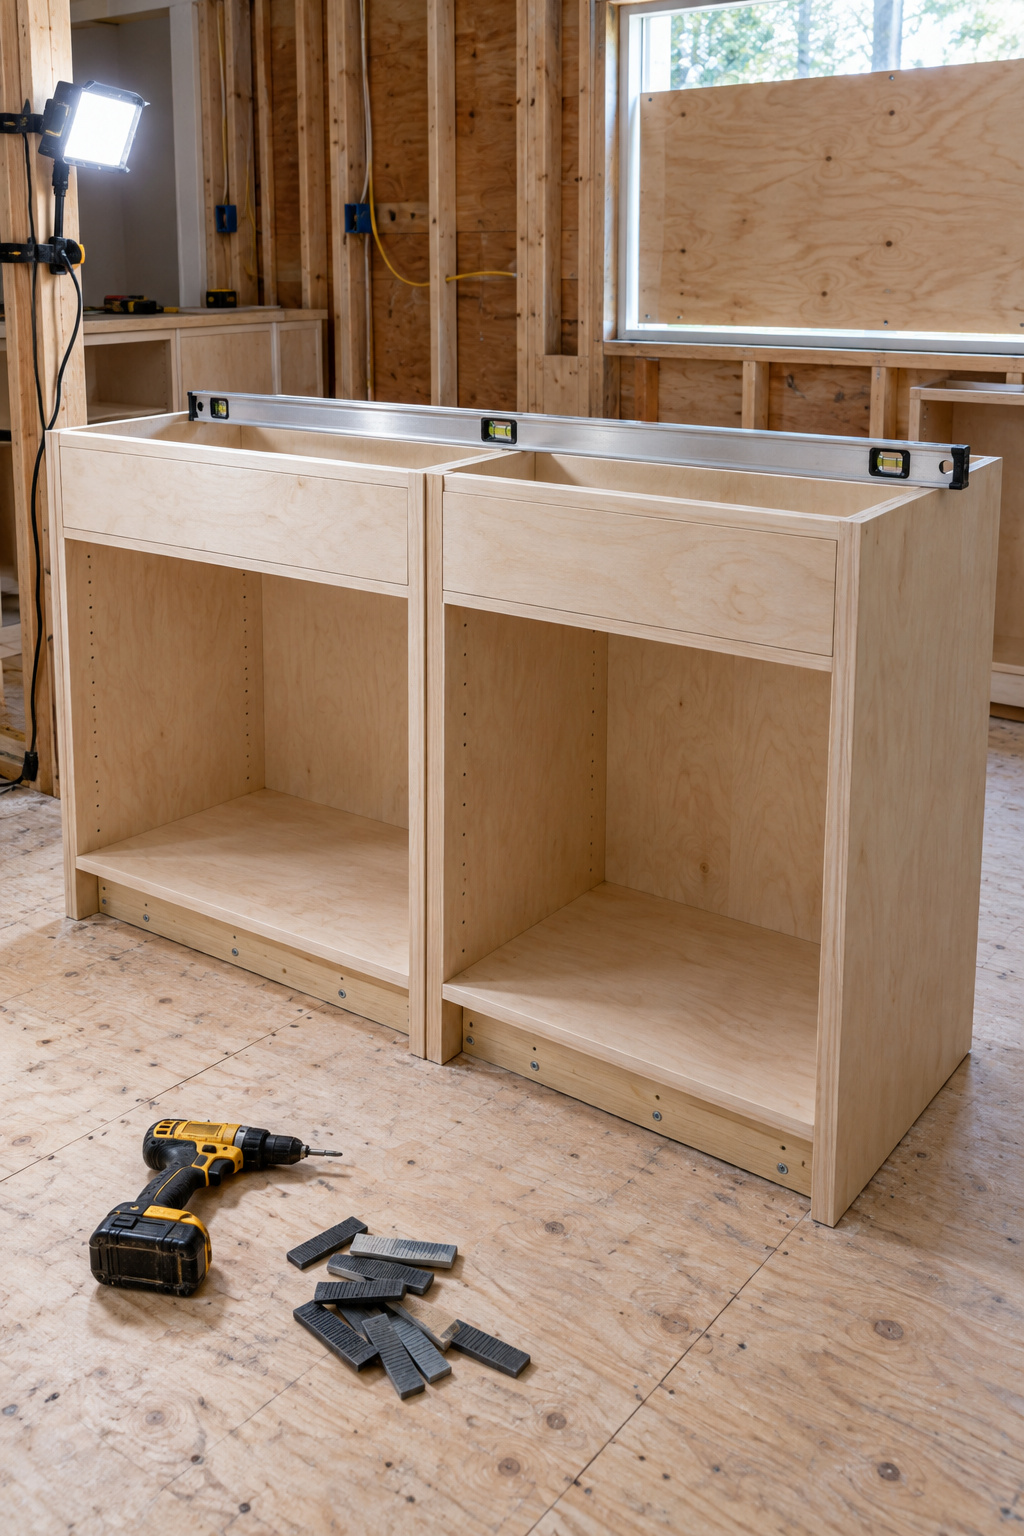
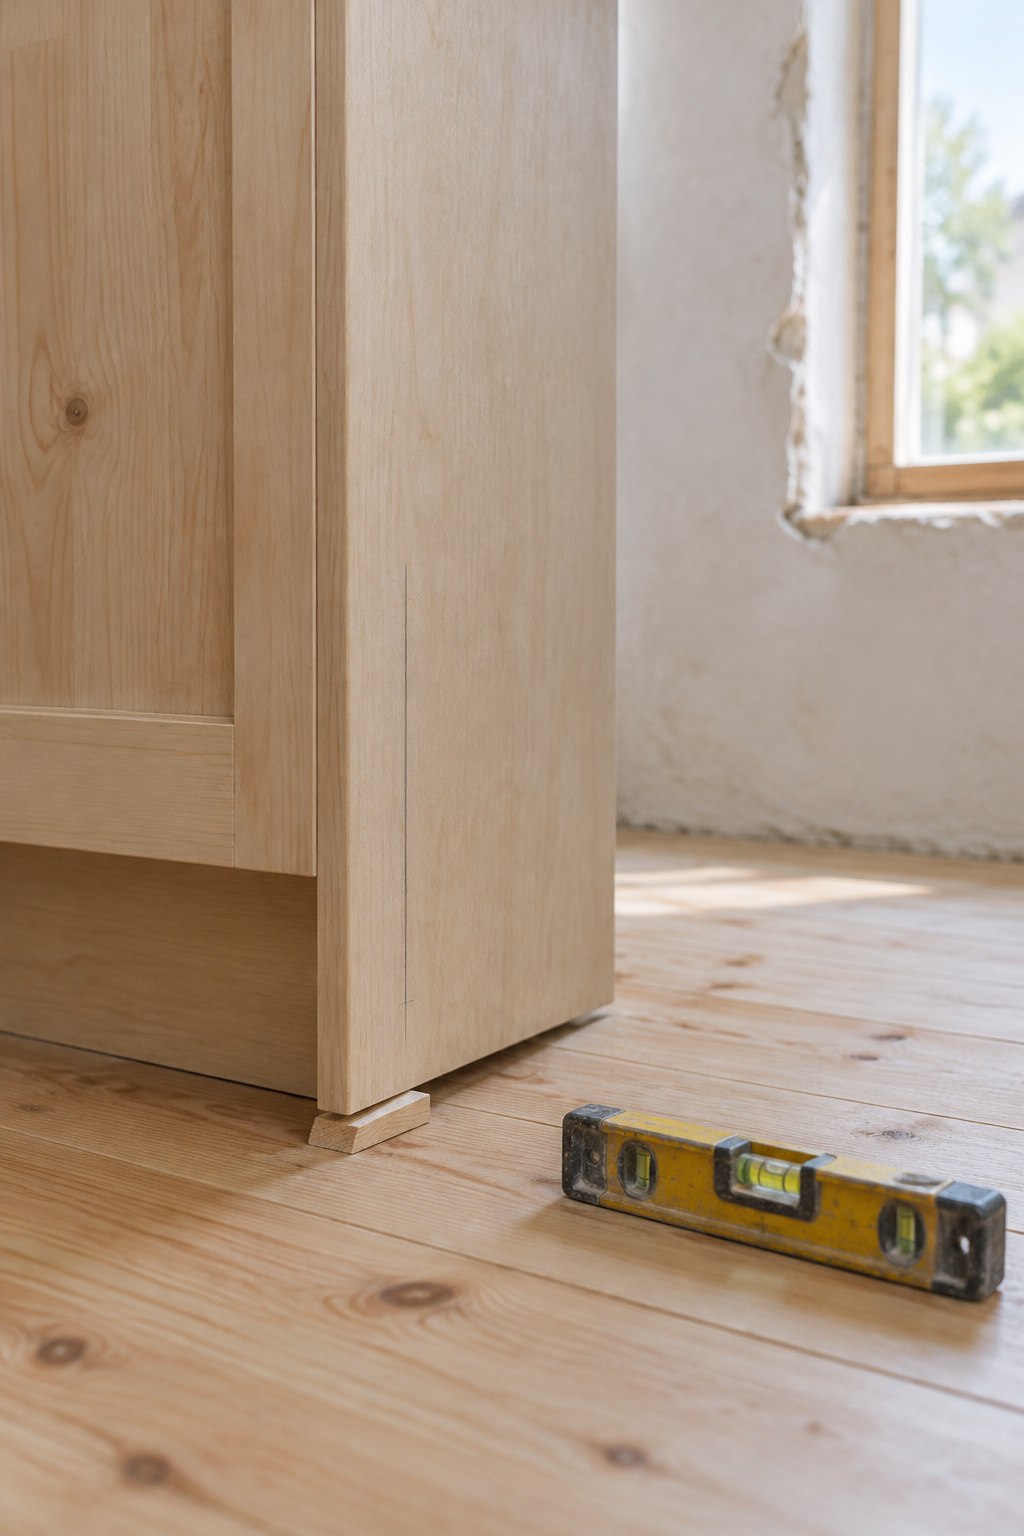
- Lower the joined boxes over the cleats and shim until the tops read level both ways.
- Pre-drill and drive at least two screws per box through the cabinet into the cleats, where trim or paneling will hide the heads.
The mistake happens at step 6. You’ve shimmed a gap, and the screw wants to pull the box down onto the cleat. Let it, and you twist the cabinet and the doors stop lining up. Drive the screw snug and stop; if a door has already drifted, back it out and re-shim.
When the floor isn’t flat
Assume it isn’t, and find the highest point under the footprint, measure 34.5 in up from it and mark a line. Every box gets shimmed up to that line, so the floor sets the height, not the cabinet.
Floating floors change the order. Cabinets set on laminate or vinyl plank pin it in place, and it buckles in warm weather or cracks its click joints in cool weather. Fasten the island to the subfloor and lay a floating floor around it; glued or nailed flooring goes down first.
Panel the Back and Ends, Then Set Legs at the Seating End
Back and end panels
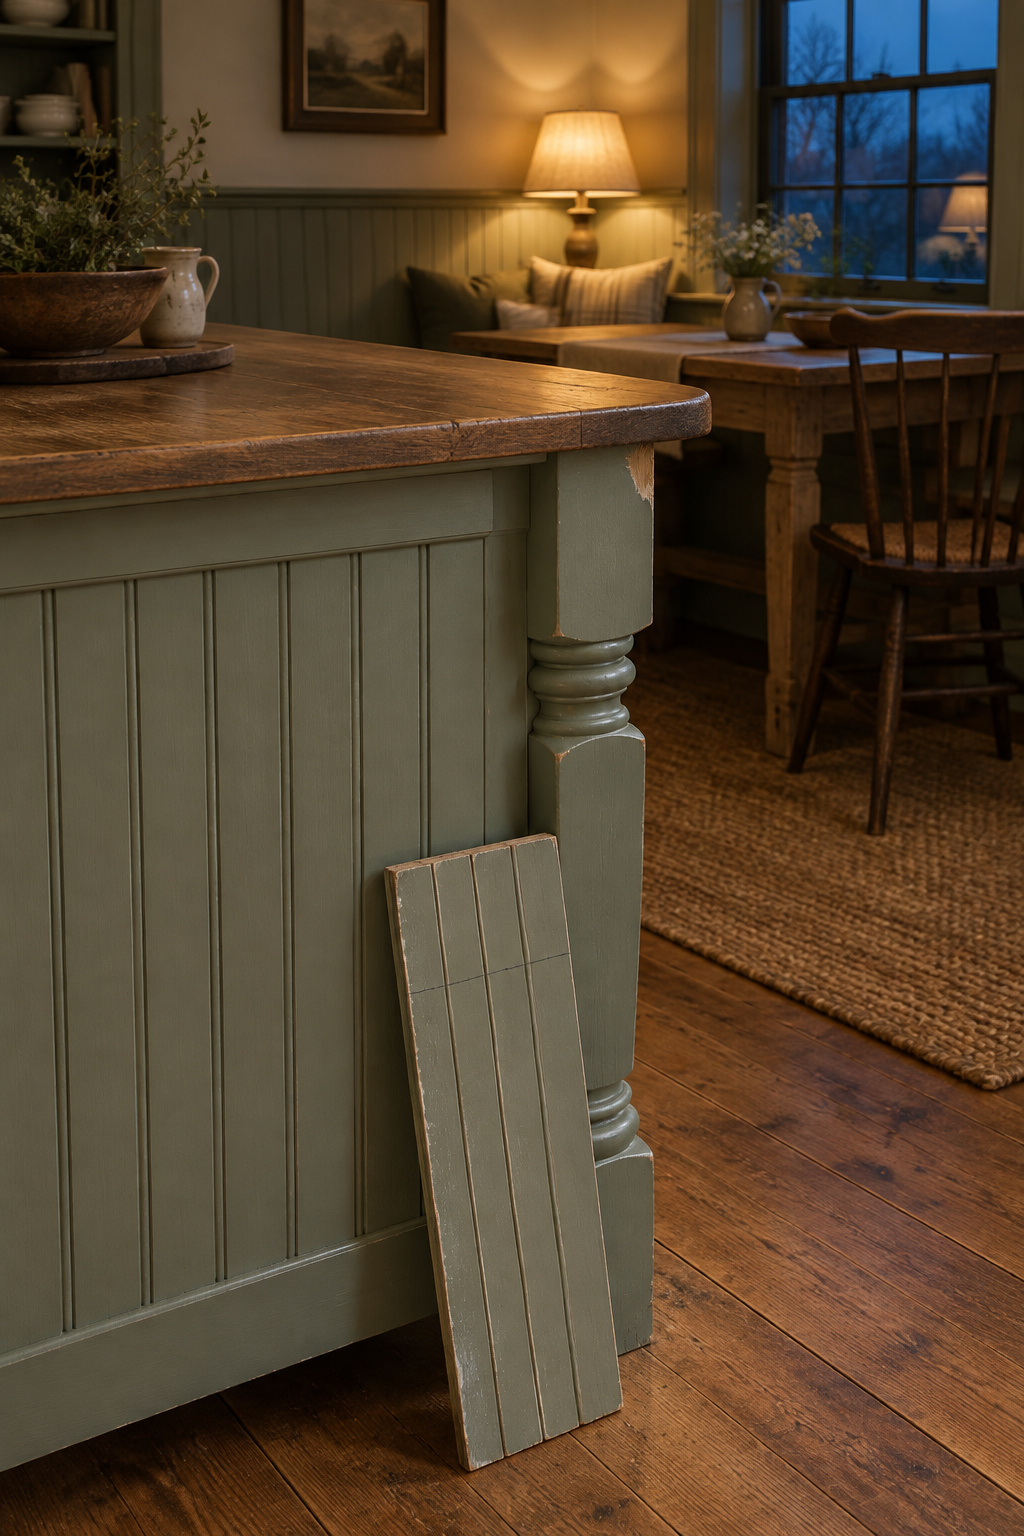
Base cabinets are made to stand against a wall, so the back and ends arrive raw. Once the boxes are fastened and flush, brad-nail a panel to each face, then run molding down the corners and along the bottom. The profile and install belong to beadboard panels for the back and ends, so I’ll stick to quantity: one 4 x 8 ft beadboard sheet, $29.98, covers the back and both ends of a 48 x 24 in island.
Legs at the seating end only
Legs go only where the top overhangs for seats, and how far it overhangs is a seating decision for the island seating article. The leg length is subtraction. A 36 in counter minus a 1.5 in top leaves 34.5 in of leg. Many stock island legs are 35-1/4 or 35-1/2 in, so they’re 3/4 to 1 in too tall. Order the 34.5 in size or cut them down.
You need two, not four. Two Osborne Wilmington legs at 34.5 in cost $172.24, against $308.25 for a four-pack. A bracket or corbel is the cheaper way to carry an overhang if you’d rather skip legs.
The Outlet Decision and the Top: What to Hand to an Electrician
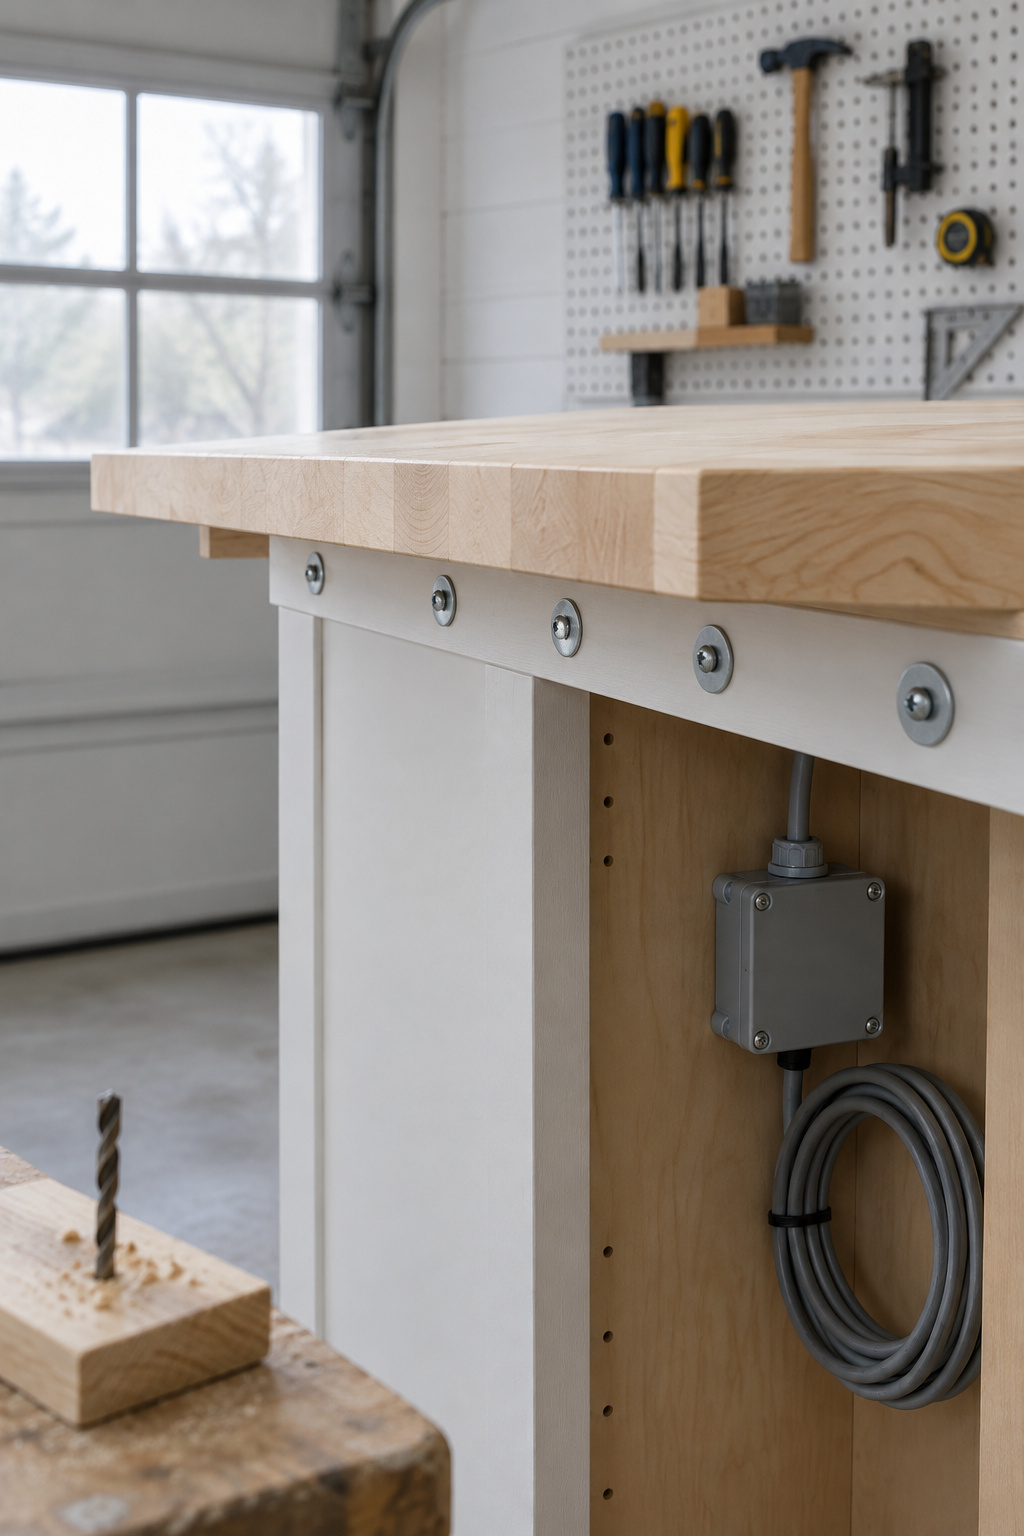
Older editions of the NEC required an island outlet. The 2023 edition doesn’t. It does require a provision for a future one, and the code doesn’t say what that provision looks like, so your inspector decides; a cable ending in an accessible junction box at the island is one answer. The 2026 edition reads much the same.
If you add an outlet, it goes on the counter or no more than 20 in above it, or in a listed assembly set into the top. The old outlet in the cabinet face below the counter is out. Children pulled appliance cords hanging from those.
Wiring a new line needs a permit. If the job involves gas or the main panel, call a pro, and I treat the island outlet the same way. Book the electrician before the top goes on, because running cable under a screwed-down top is a mess.
Then the top. The 25 in stock top on the bill leaves about half an inch past each face of a 24 in box; a deeper top gives the usual inch or more of overhang. A wood top moves with the seasons, so never glue or silicone it down. Vermont Butcher Block drills 5/8 in holes through the cabinet frame every 24 to 30 in and drives screws with fender washers up into the top, so the wood can slide. Each screw should bite at least half the top’s thickness, so 3/4 in into a 1.5 in top. Picking the species and finish is covered in the butcher block countertops guide.
What It Really Costs, How Many Weekends, and the Tools to Buy
Here’s the bill for two Satin White boxes, at Home Depot and Osborne prices seen on 7 November 2026.
| Item | Cost | Weekend | Skill |
|---|---|---|---|
| Two 24 in Hampton Bay door-and-drawer bases ($239 each) | $478.00 | 1 | some builds |
| One 2x4x8 ft stud for cleats | $4.48 | 1 | some builds |
| Composite shims, bundle of 12 | $2.28 | 1 | some builds |
| GRK 2-1/2 in cabinet screws, 100 pack | $16.98 | 1 | some builds |
| 4 x 8 ft beadboard sheet | $29.98 | 1 | some builds |
| Two Osborne Wilmington legs, 34.5 in | $172.24 | 2 | some builds |
| Hampton Bay birch butcher block, 74 x 25 x 1.5 in | $204.00 | 2 | some builds |
| Total | $907.96 |
That leaves out the toe kick, primer and paint, the top’s finish, trim, the outlet assembly, the electrician and tools.
A bought island costs less. Home Depot islands ran $324 to $529 the same day, but each is one mass-made carcass, and reviewers call the cheapest mostly pressed wood under a solid top. The build buys two full cabinets, legs and a top separately. You build for fit and an island that doesn’t move.
Plan two weekends. Cutting and screwing fit in the first. Paint doesn’t: primer gets 24 hours and the two coats go on 24 to 48 apart, so 2 to 3 days of waiting before the second coat, plus the electrician before the top.
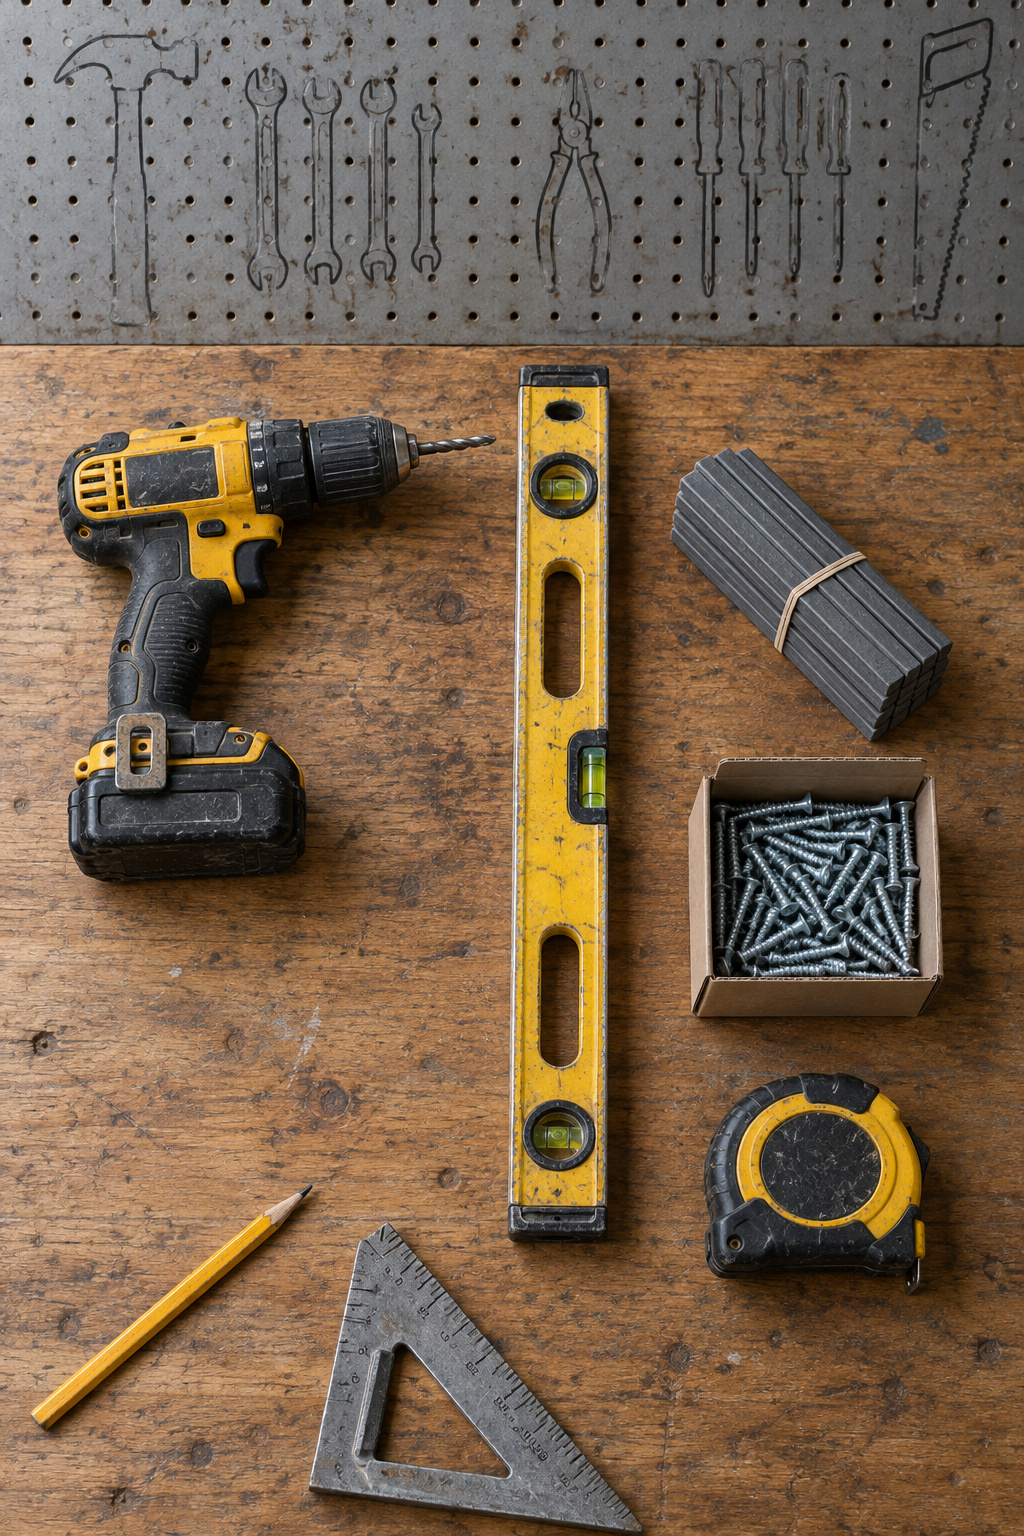
The tools, with the cheaper way alongside:
- A cordless drill with a countersink bit; a hand screwdriver covers the last turns.
- A 4 ft level and a good tape measure.
- A circular saw, standing in for a miter saw.
- A brad nailer, or a hammer and finish nails.
- Clamps and a sander, borrowed.
My part ends at the last screw in the top. I’d hand this build to a beginner. The outlet I wouldn’t. That goes to an electrician, and the inspector decides whether the provision passes.
FAQ
Do you need a permit to build a kitchen island?
Usually not. An island of cabinets alone, with no new plumbing or wiring, is the kind of work that needs no permit. Run power to it, or change gas or plumbing lines, and you do need one. Rules vary by town, so call your building department before an electrician starts.
Can you build a kitchen island from used or secondhand kitchen cabinets?
Yes, if the boxes are sound. Open and close every door, check the hinges, look inside for water damage and check for warping. Make sure the boxes are square and the same depth before you join them. One ReStore base cabinet cost $110 and took two days of sanding, priming and painting.
How do you move a kitchen island later if you change the layout?
Mostly by unscrewing. A cleat-and-screw island comes apart when you back out the box-to-cleat and box-to-box screws, and a wood top on washered screws lifts off once they’re out. Cleats set in construction adhesive, as on concrete, are harder to remove. Have an electrician disconnect any outlet or junction box first.