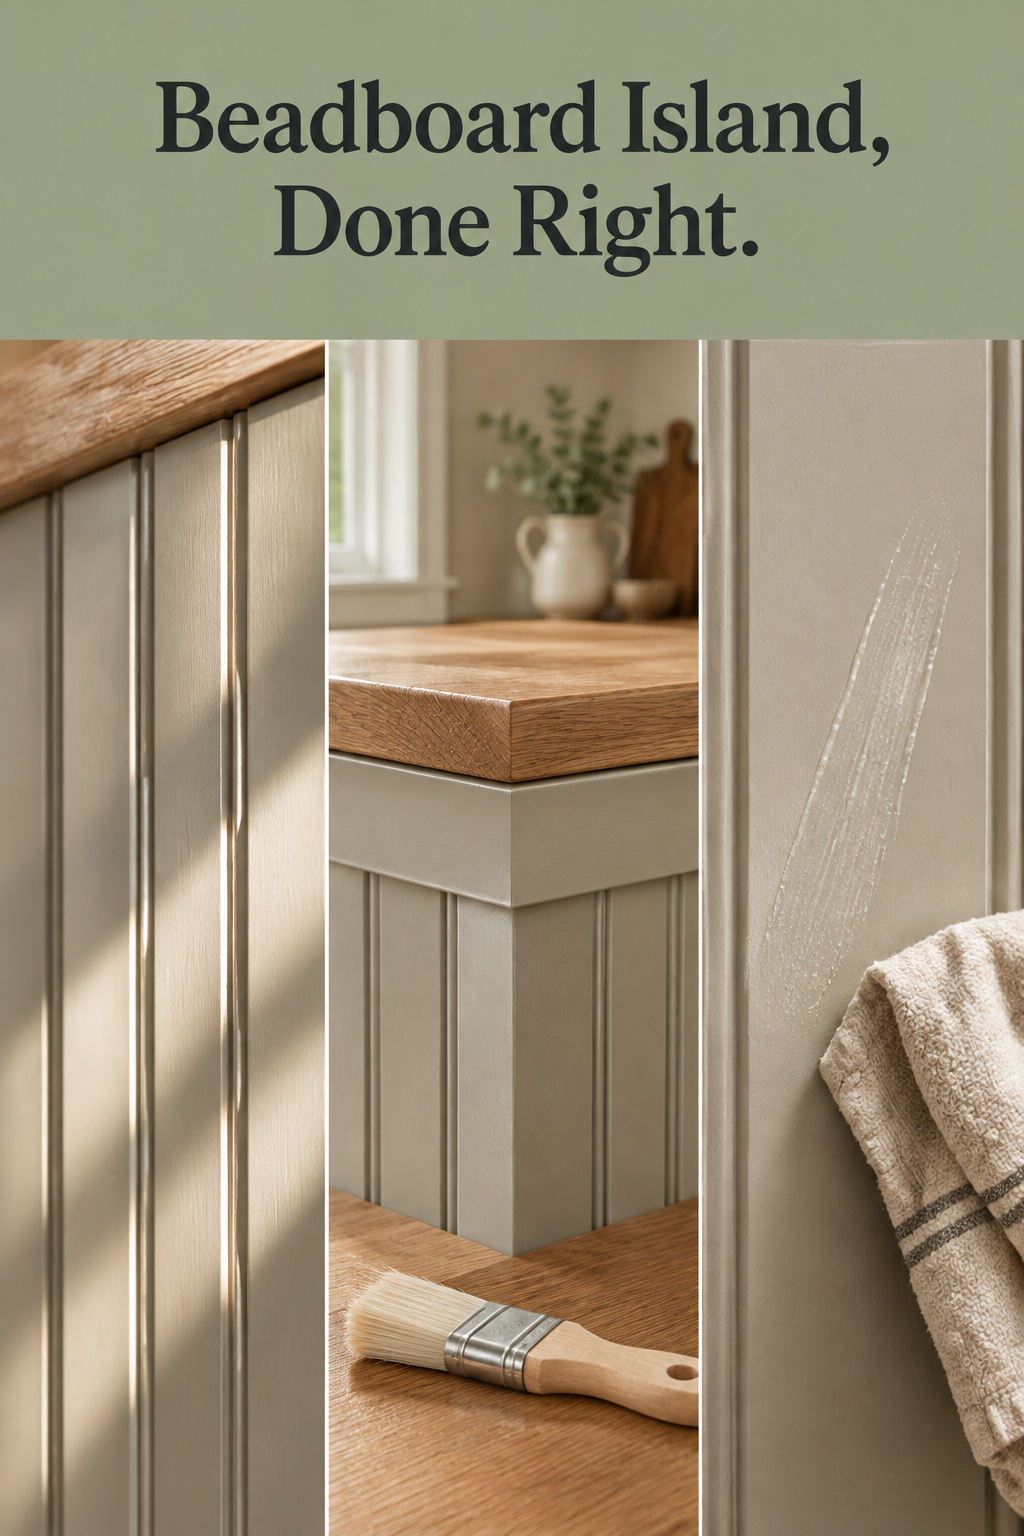
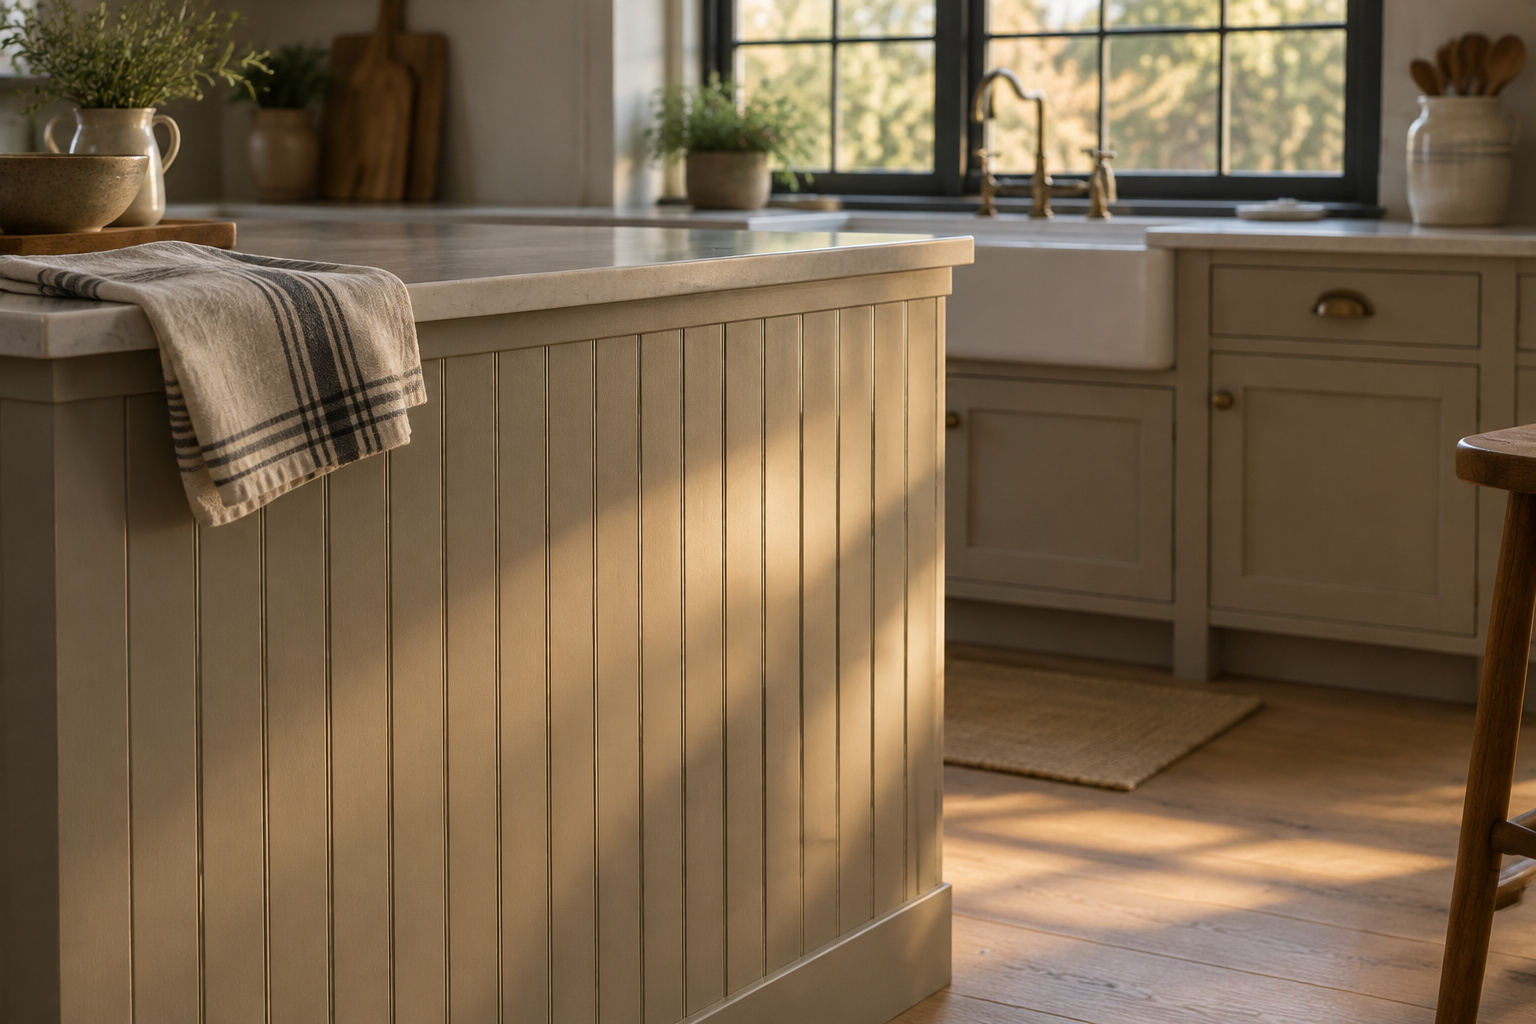
Why do so many island makeovers call the same boards beadboard in one sentence and shiplap in the next? The farmhouse paneling look has folded two boards into one idea, but a beadboard kitchen island and a shiplap one came from different parts of the house, and they fail in different places.
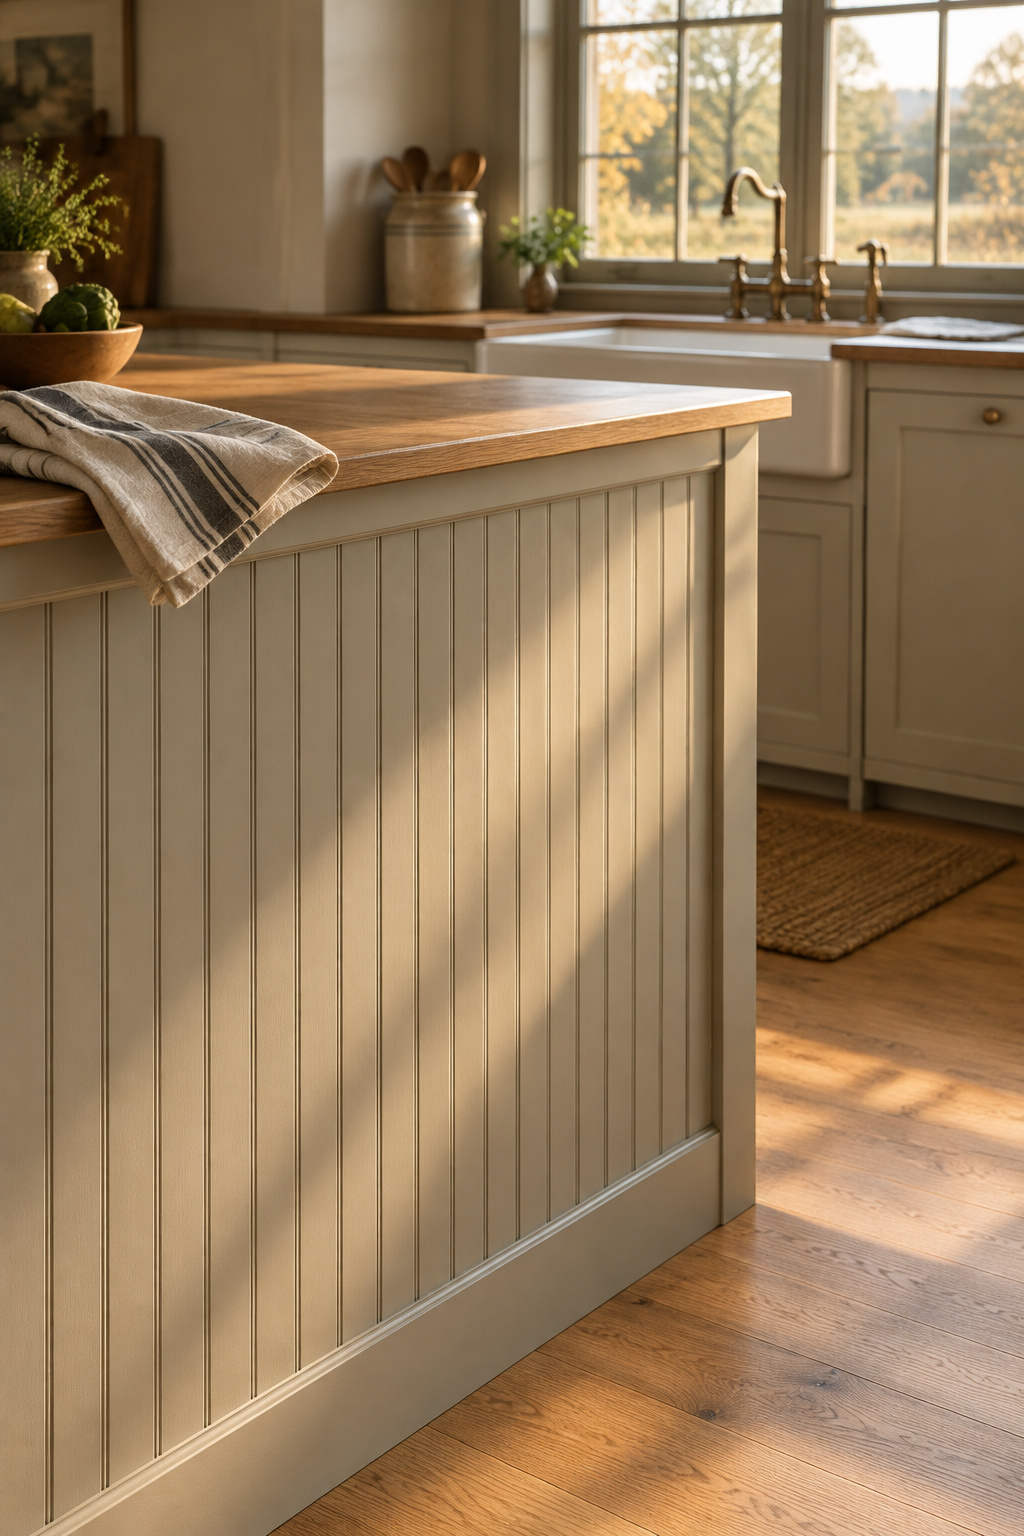
Four places decide how a paneled island ages: the raw edge at the corner, the outlet sunk behind the new surface, the bottom edge where the mop hits, and the sheen that decides whether a handprint wipes off. Get them wrong and the island swells, gaps, or welds itself to the cabinet for good.
TL;DR
- Choose beadboard for a kitchen island: it was the cheap, painted, back-of-house board of American kitchens from the 1860s into the 1930s, while shiplap outside was often siding left on show and inside was normally covered.
- Sheet beadboard costs about $0.80 to $1.00 a square foot and tongue-and-groove planks about $1.79 to $1.99, so 10 sq ft of panel runs $8 to $10 or $17.90 to $19.90.
- Fix panels with brads through the tongue every 12 to 16 in rather than a full glue-up, fit a listed extension ring at every outlet, and paint in satin or semi-gloss enamel.
Why a Beadboard Kitchen Island Beats Shiplap: What Each Board Was Built For
Beadboard turns up in American houses by the 1860s, was common by 1880, and kept going into the 1930s: about seventy years in the kitchen, mostly in the rooms a household worked in rather than the ones it showed off. Mary Ellen Polson of Arts & Crafts Homes calls it low style, ubiquitous in kitchens and service rooms, with the fine paneling saved for the parlor.
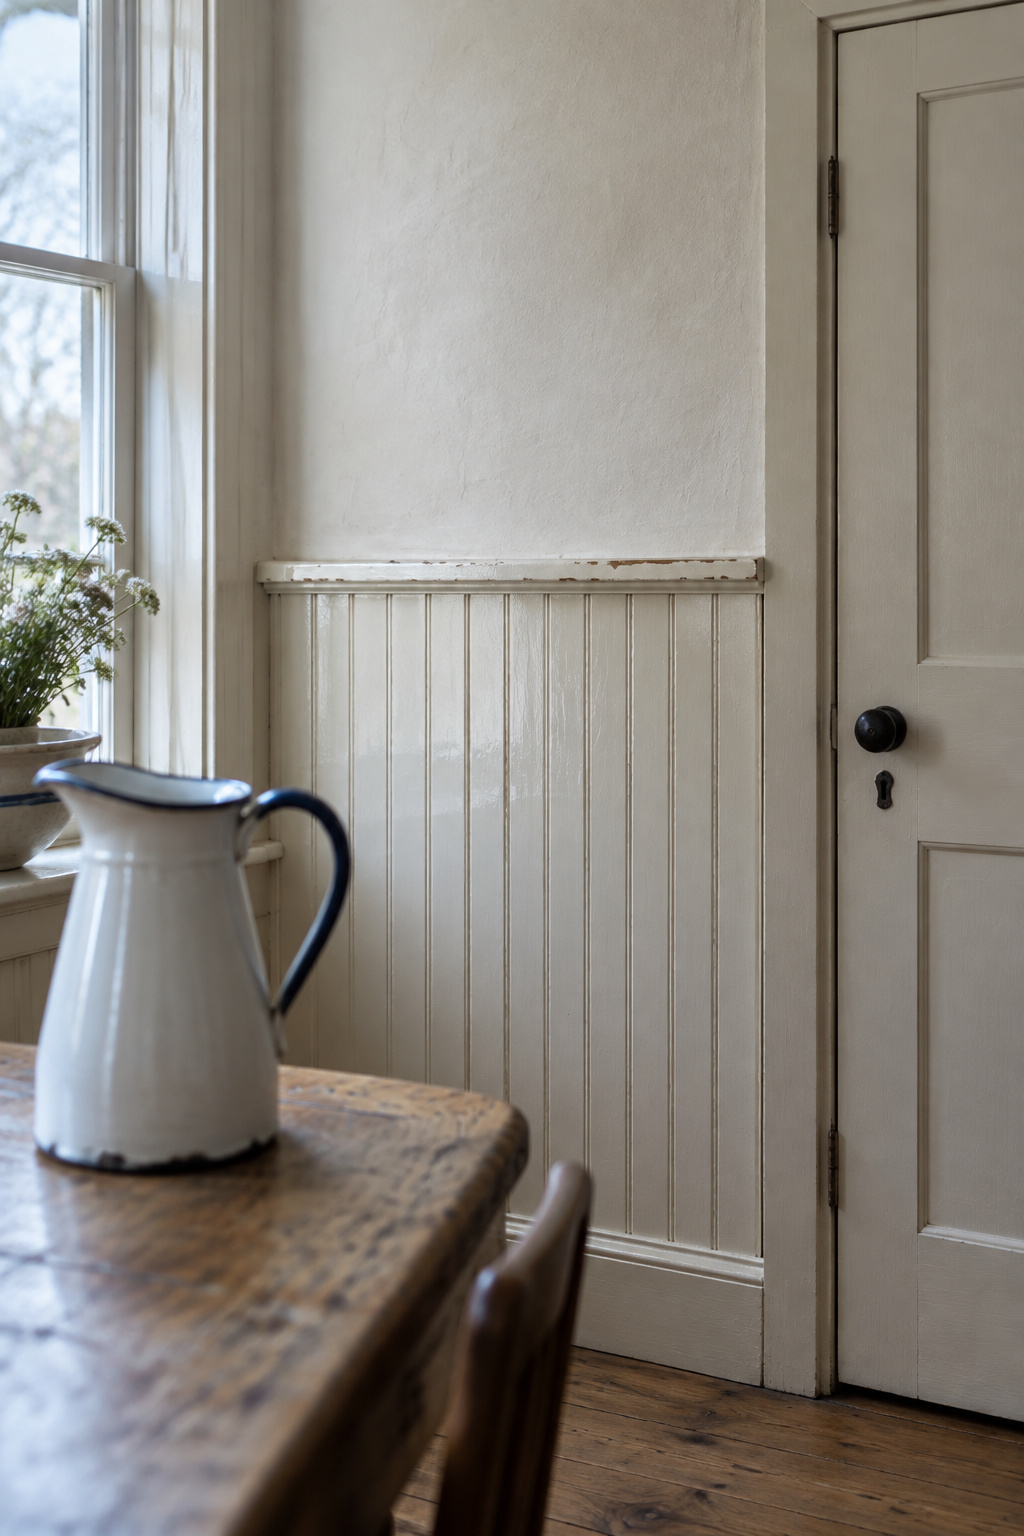
Period boards were thin, 3/8 to 5/8 in, tongue-and-groove, and the bead had a job: it drew the eye away from the gaps that open as wood shrinks and swells. It is a board made to be painted and lived against, which describes the back of an island well.
Shiplap had another life. Outside it was often siding left on show; inside it was normally covered, plastered or papered over. A painted island with open gaps is a modern look, but the kitchen’s own board was beadboard.
Paneling for walls has its own home in the dining room wainscoting guide. For how panels fit among the other farmhouse kitchen island ideas, start with the whole island and come back here for its skin.
Sheet or Tongue-and-Groove: Choose the Board First
Thickness sets the edge work you’ll face later. A 4 x 8 ft sheet of 3/16 in HDF beadboard lists at $29.98, about $0.94 a square foot over its 32 sq ft. A 3/4 in pine center-bead plank sells at $6.51 for a 3.44 sq ft box, or $1.89 a square foot: twice the price, four times the thickness, and heavier than the boards it imitates.
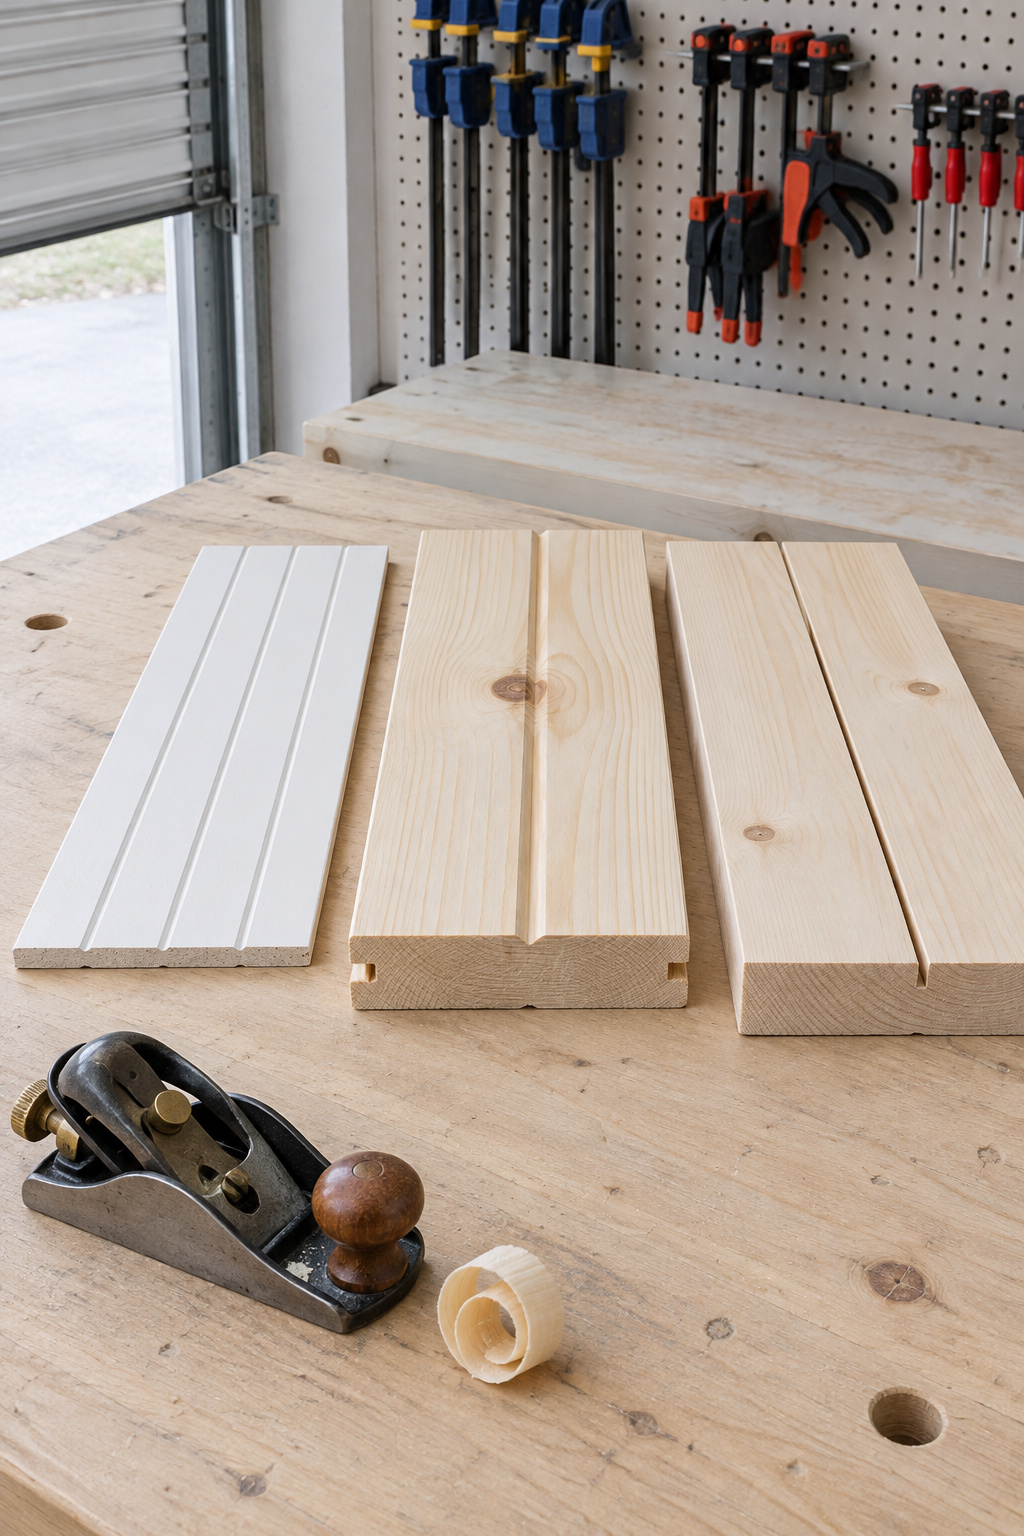
| Board | Thickness | Install | Best on an island | Watch for | Board cost per 10 sq ft |
|---|---|---|---|---|---|
| Sheet beadboard (HDF/MDF) | 3/16 in (4.8 mm) | Large panels, few seams, fast | Backs and ends on a budget | Interior use only, no moisture rating; raw edges swell if wet | $8.00–$10.00 |
| Tongue-and-groove planks (solid wood) | 3/4 in today (0.719 in actual) | Board by board, nailed through the tongue | A real shadow line | Needs a face-frame lip deep enough to hide the edge | $17.90–$19.90 |
| Shiplap (for comparison) | 1×6 or 1×8 nominal, 1/8 in nickel gap | Board by board on spacers | A modern look | Open gaps to keep clean | Not priced here |
PVC beadboard is the moisture-resistant pick beside a stove. There is no standard thickness for it, so measure the one you buy. If an old piece would do instead, start with an antique table or dresser.
Panel the Back and Ends: Layout, Outlets and a Fixing a Later Owner Can Undo
Panels go onto a box that is already fastened and solid. If the island still rocks, sort out the cabinet island underneath the panels first, because no trim hides a moving carcass. Nothing I cut in the carriage-house workshop goes onto an island until it has sat in the kitchen it will live in.
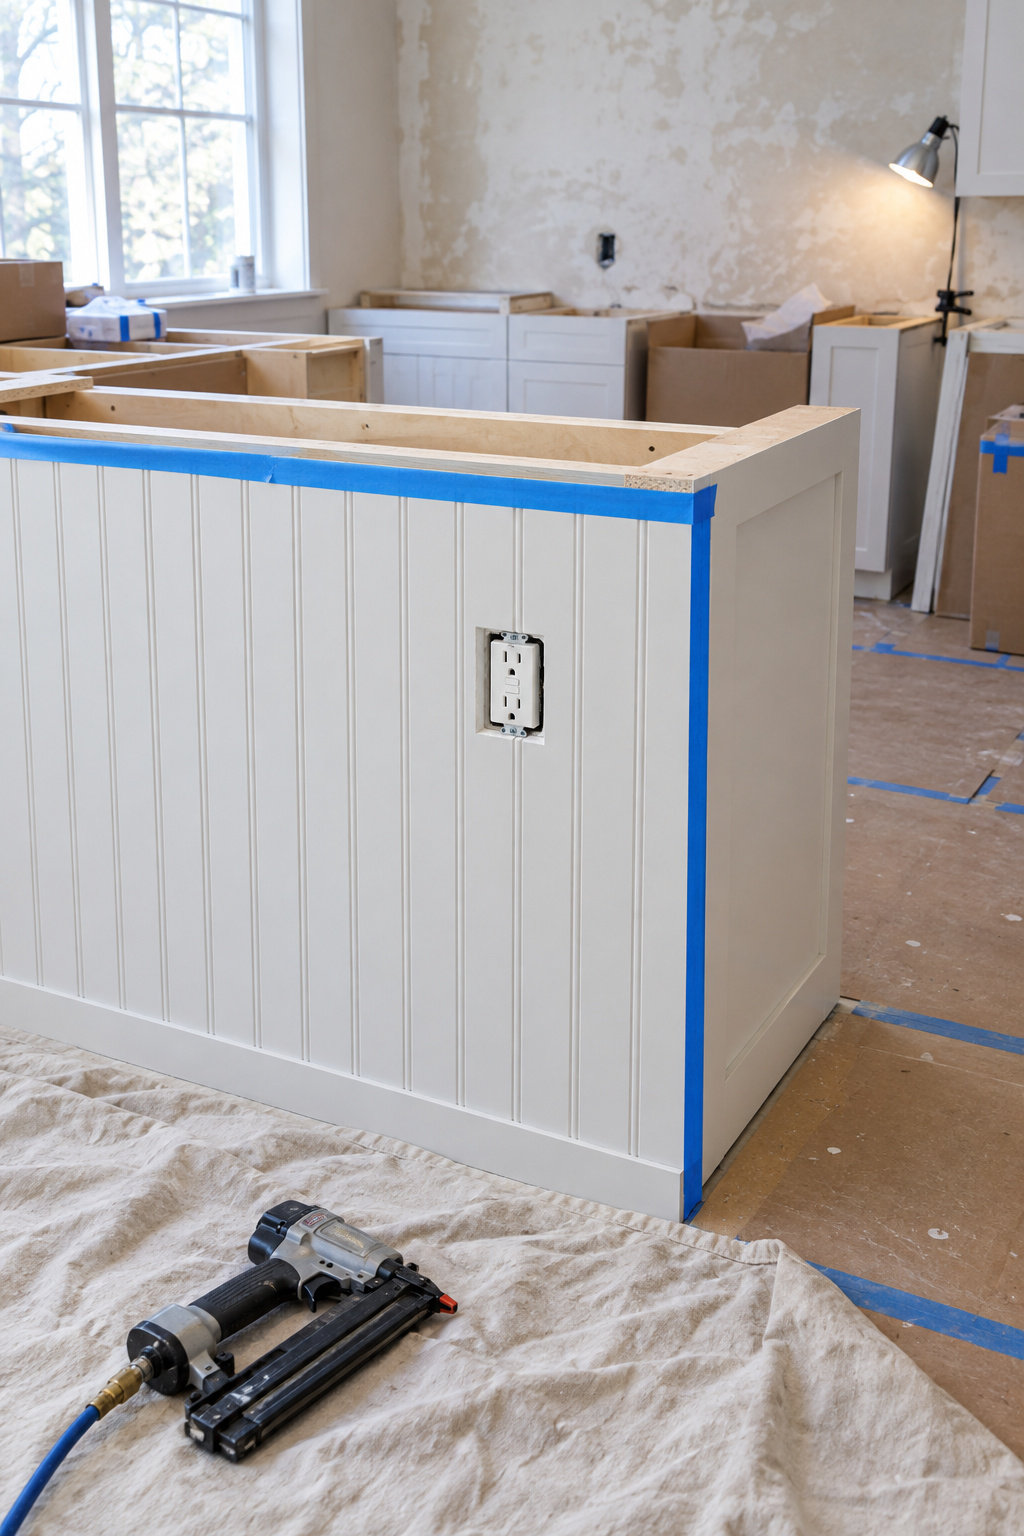
- Condition the boards in that kitchen for 48 to 72 hours.
- Sketch each face with its outlets, and divide the panels evenly so no sliver is left at a corner.
- Dry-fit every piece without adhesive, shim anything off level and mark it. Check which edge of a sheet overlaps before cutting.
- Prime and paint each piece on the bench, where it is faster and cleaner.
- Fix from the most visible face toward the least. Measure it twice, then brad through the tongue every 12 to 16 in, angled away from the next groove, with 1/16 in between visible edges for humid weather.
On cabinet sides I bed the board in painter’s caulk instead of construction adhesive, a habit adapted from wall wainscot, and only where the face frame stands proud of the side by 1/4 in or more. On a flush frame the board edge shows.
Cutting around outlets and cabinet seams
Power off at the breaker first. Rest the board on the box, mark both corners, mark top and bottom at the layout line, square the outline and cut with a jigsaw and a metal-cutting blade so the face doesn’t splinter. On wood paneling the box must reach the finished face, which means a listed extension ring; a plastic outlet spacer is not the fix behind combustible board. Moving or adding a receptacle is an electrician’s job. Where I can, I break panels at a cabinet seam rather than across one.
Fixing it so it can come off
Nailed paneling tends to come off cleanly; glued paneling can do much more damage to the surface underneath. These panels will come off one day, so make it an afternoon with a pry bar, not a weekend scraping glue off a cabinet face.
Behind a baseboard I once took off was a carpenter’s pencil note with his name and a date, 1931, at the tail of beadboard’s kitchen years. I have left a dated note behind every job since. Before the back panel goes on, tape one to the carcass with the date, the board, the paint and the fixing. Leave a note for the next one.
Edges, Caps, Corners and Toe Kick: Where Paneled Islands Fail
Tom Silva of This Old House puts wainscoting “anywhere walls could get damaged. It protects the wall.” On an island that is the back, where knees, stools and grocery bags land, so panel the back first. Then close every edge:
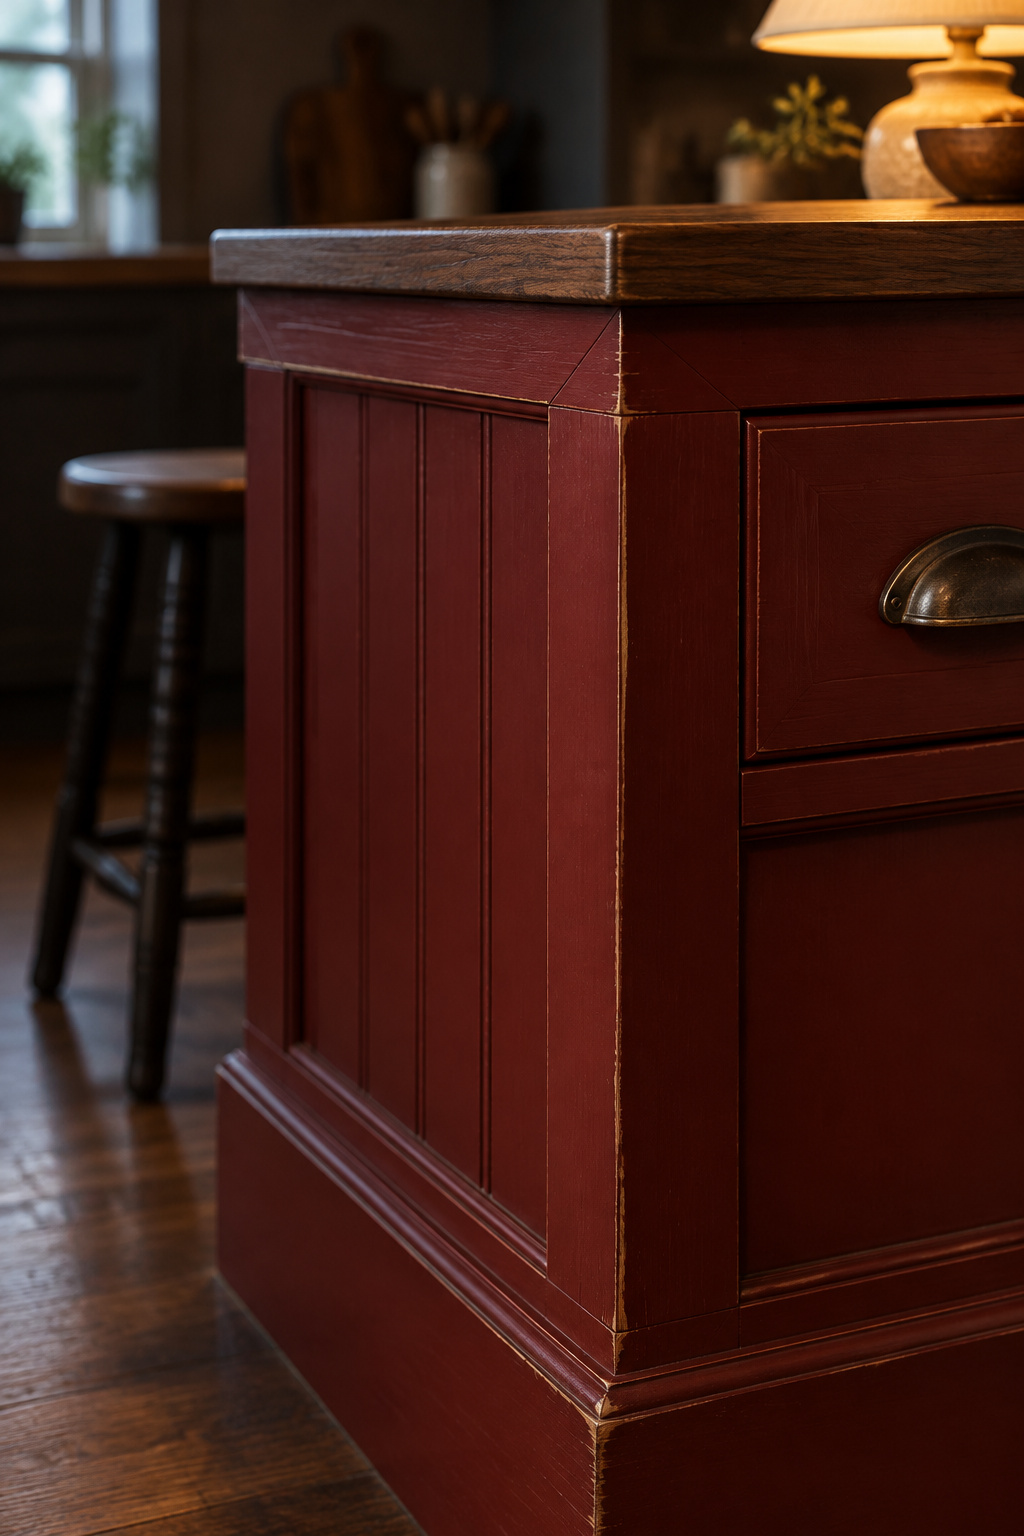
- Outside corners: never leave a sheet’s raw edge showing. I use a mitered corner piece, or a skinny dowel painted to match that passes for one more bead.
- The top: a cap molding under the counter overhang, nailed with #6 or #8 finishing nails and mitered at the corners.
- Flush face frames: frame the board with a small trim piece; quarter round may be too big.
- The bottom: casing reads cleaner than baseboard on an island. There is no published bottom gap or toe-kick detail for island panels, so I stop the panel at the trim and seal its bottom edge before it goes on.
- Corbels: only under an overhang that needs support, which the seating guide works out. Corbels under a short lip hold up nothing.
The bottom is where raw MDF gets wet and swells, so every raw sheet edge ends up under trim, sealed, or both.
Caulk, Prime and Paint a Paneled Island That Wipes Clean
Early on I stripped every painted door I met to bare wood, until I learned that some were meant to be painted and the bare wood was never meant to be seen. Beadboard is that kind of board, so get the paint right:
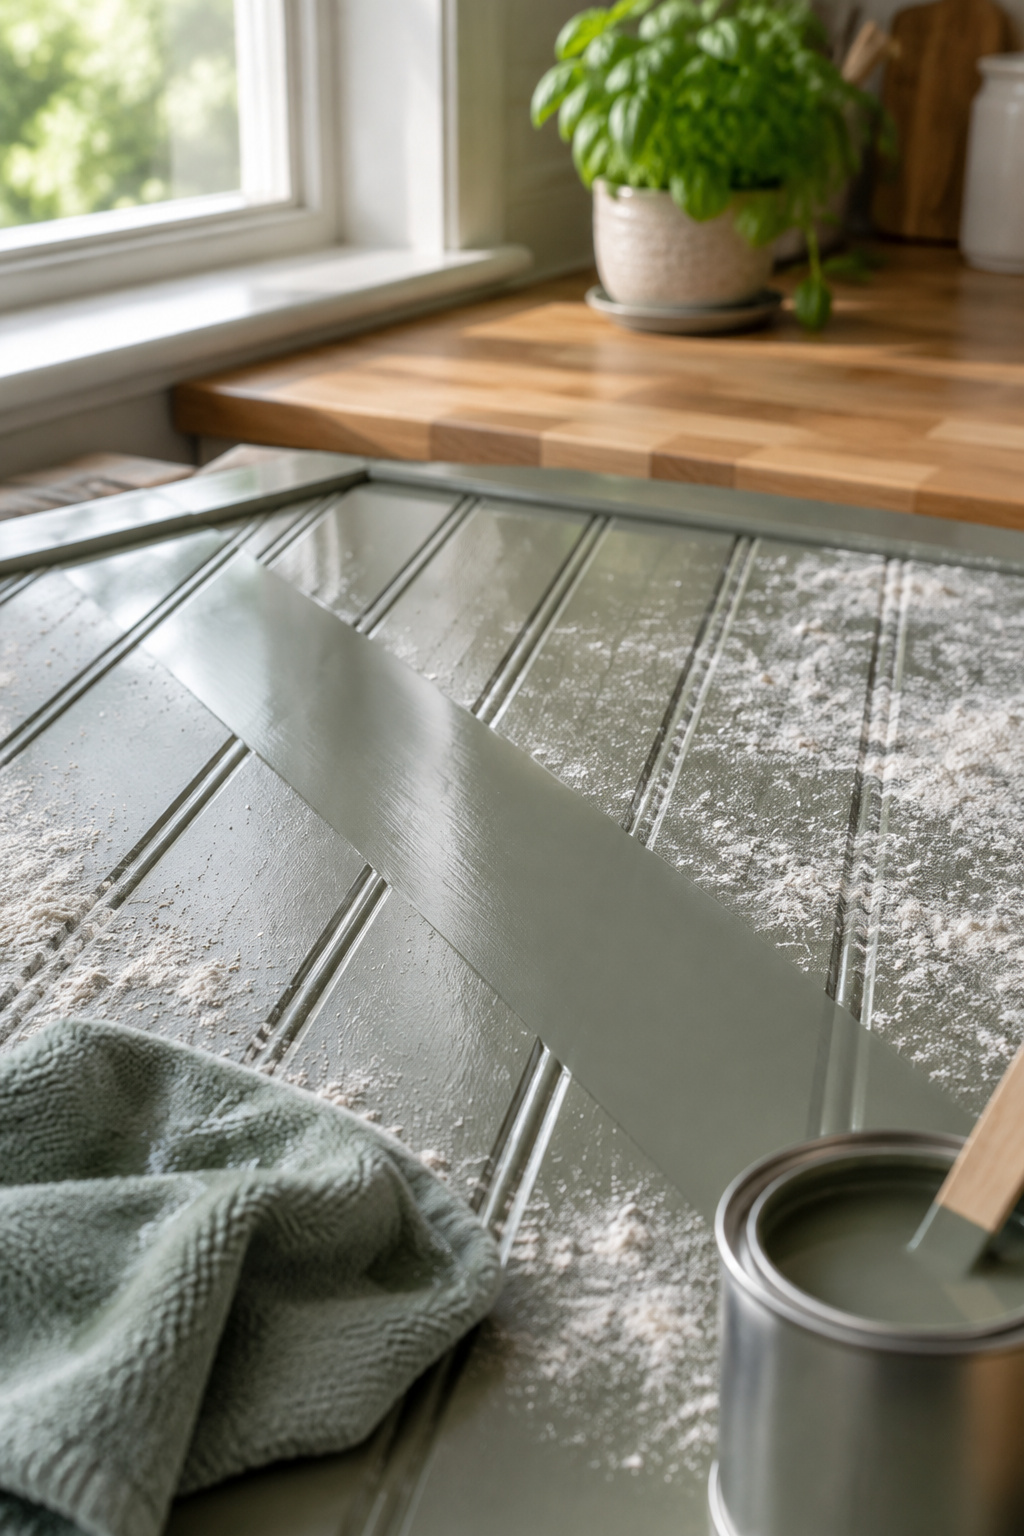
- Seal seams and nail holes with paintable caulk.
- Test old paint before you sand it. On stained or varnished cabinets, scuff sand at 150 grit or degloss, then use a stain-blocking primer so tannins don’t bleed through.
- Choose the sheen from the trim column, not the wall column. Sherwin-Williams marks trim and cabinets for satin, semi-gloss or glossier and none of the flat sheens. Satin forgives a bead profile; semi-gloss wears harder; high gloss shows every ripple.
- Roll a short section, then chase the grooves with a small sponge brush while the coat is wet.
- Count the waits: primer 24 hours, then the two topcoats 24 to 48 hours apart, so 24 + 24 = 48 hours at best and 24 + 48 = 72 at worst before the second coat goes on. Benjamin Moore’s satin trim enamel can be washed after two weeks and reaches full hardness in up to 30 days.
After that, a dust rag and a damp microfiber cloth are all it needs. Keep a labeled jar of the exact paint for touch-ups, because a matching sheen hides a scuff and a near-match never does.
If You Still Want Shiplap, Do It Right
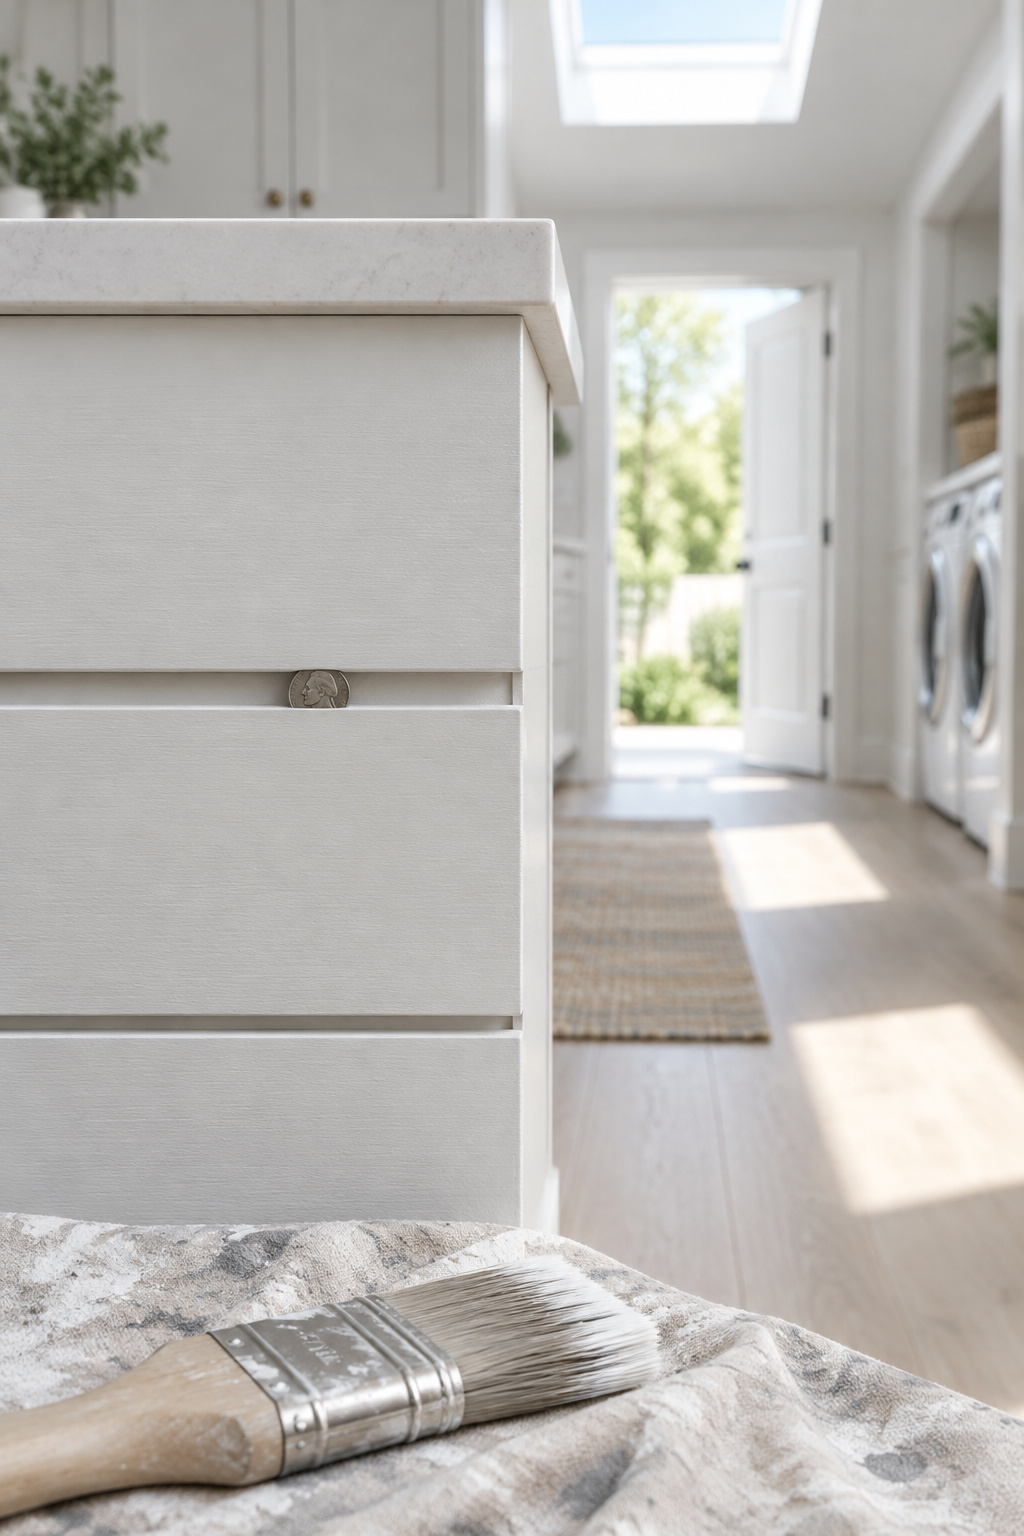
If you still want the gaps, use a nickel as the spacer for the 1/8 in gap, run boards horizontally off a level line, stagger the cut ends and put cut boards at the bottom. Pre-paint the face and both long edges with two coats so no raw wood shows in the gap. There is no standard way to clean the grooves; I use a vacuum’s brush attachment and a damp cloth, and I’d expect horizontal grooves to collect dust like little shelves.
Whichever board you pick, the decisions are the same four: the board, a fixing that can come off, trim over every raw edge, and satin or semi-gloss enamel left to cure. Skip full-face glue, plastic outlet spacers and flat wall paint. Dry-fit the back panel, mark the outlets and seams, then cut.
Where that back panel meets the counter’s overhang, its job ends. Stool heights, knee space and how far a top can hang unsupported belong to the seating guide, and that is the next stop.
FAQ
Can you use peel-and-stick panels or beadboard wallpaper on a kitchen island?
You can try, but it is unproven on a working island. Kitchen surfaces carry grease that can stop adhesive gripping, so degrease first, and on fresh paint wait as long as the maker says, anywhere from 48 hours to 30 days. Wallpaper also has no relief, so you get the pattern without the shadow line.
How do you repair beadboard that has swollen along the bottom edge?
If it has swollen but not crumbled, you can often save it: let it dry fully, sand the swelling back with 80 grit, glue small separations, fill pits and sand at 100 grit. Redraw the bead lines with folded sandpaper, then seal and repaint, wearing a mask. If it has crumbled or keeps getting wet, replace the piece.
How much does it cost to add beadboard to a kitchen island?
For board alone, sheet runs $0.80 to $1.00 a square foot and solid tongue-and-groove $1.79 to $1.99. Assume a 6 x 3 ft back, 18 sq ft, and 10% waste: 18 x 1.1 = 19.8 sq ft, so about $16 to $20 in sheet and $35 to $39 in planks. Trim, caulk and paint come on top.