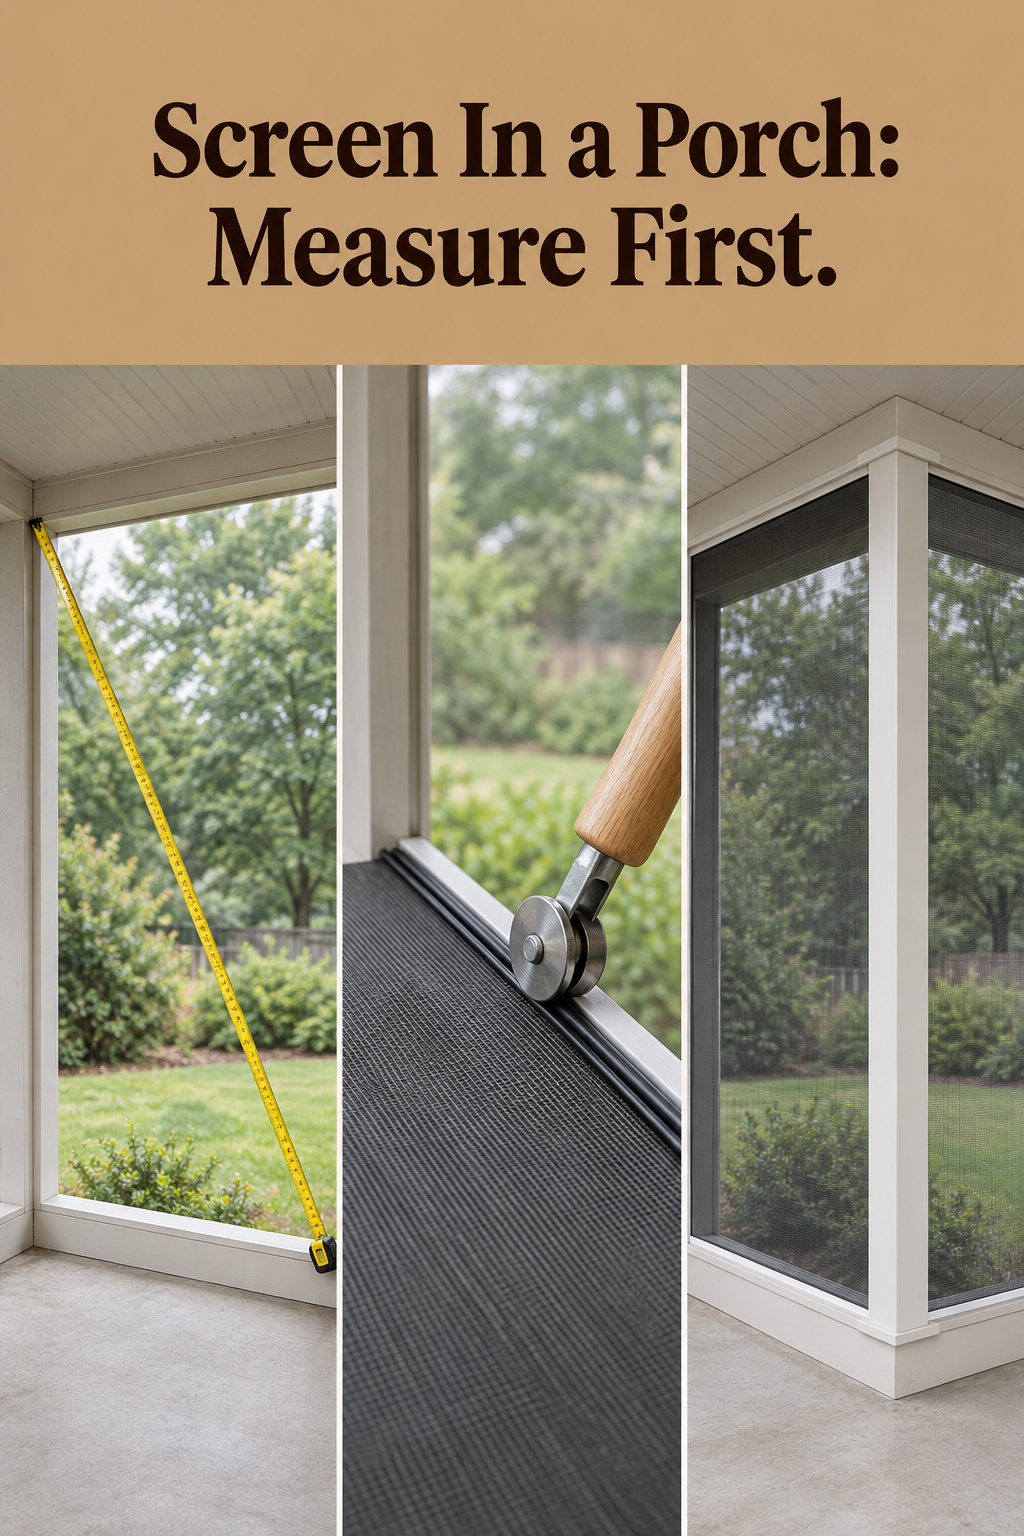
The usual way to ruin a porch screen happens before anyone unrolls the mesh. You measure one opening and cut every panel to that number. The bay that runs a quarter inch wider at the top than the bottom gets a wrinkle that never pulls out, and the bay beside it gets a gap along one post that the first mosquito finds. If you’re working out how to screen in a porch, treat it as a measuring and fastening job. Porches are rarely square. Size each opening on its own, fasten every frame into something solid, and stretching the mesh becomes the easy last hour. Skill level: some builds.
TL;DR
- Measure every opening separately: width at the top, middle and bottom, height at both sides and the center, and both diagonals. Build to the smallest numbers. I call diagonals within 1/8 in square; once they’re 1/4 in apart, shim or size that opening on its own.
- Screen makers cap the area of each section, not its width: 40 sq ft for the original Screen Tight, 30 for MINItrack, 60 for FASTtrack. Past that, add a 2x upright. One deck builder keeps uprights no more than 5 ft apart, which matches 5 ft screen rolls.
- Brick and block columns take a wood starter strip on masonry screws, and after that staple-and-batten or any track works. The screening itself is two to four hours on a ready frame; the whole porch runs a day to a weekend, and I budget one more.
How to Screen In a Porch Starts With a Tape Measure, Not a Staple Gun
Pros measure and beginners guess, and the guess is where the weekend goes. Everything here assumes a porch or deck that already has a roof; a deck open to the sky needs a roof first, which is a building project. The photos in most screened porch ideas show the finished room and never the posts, and the posts are what you’re about to measure.
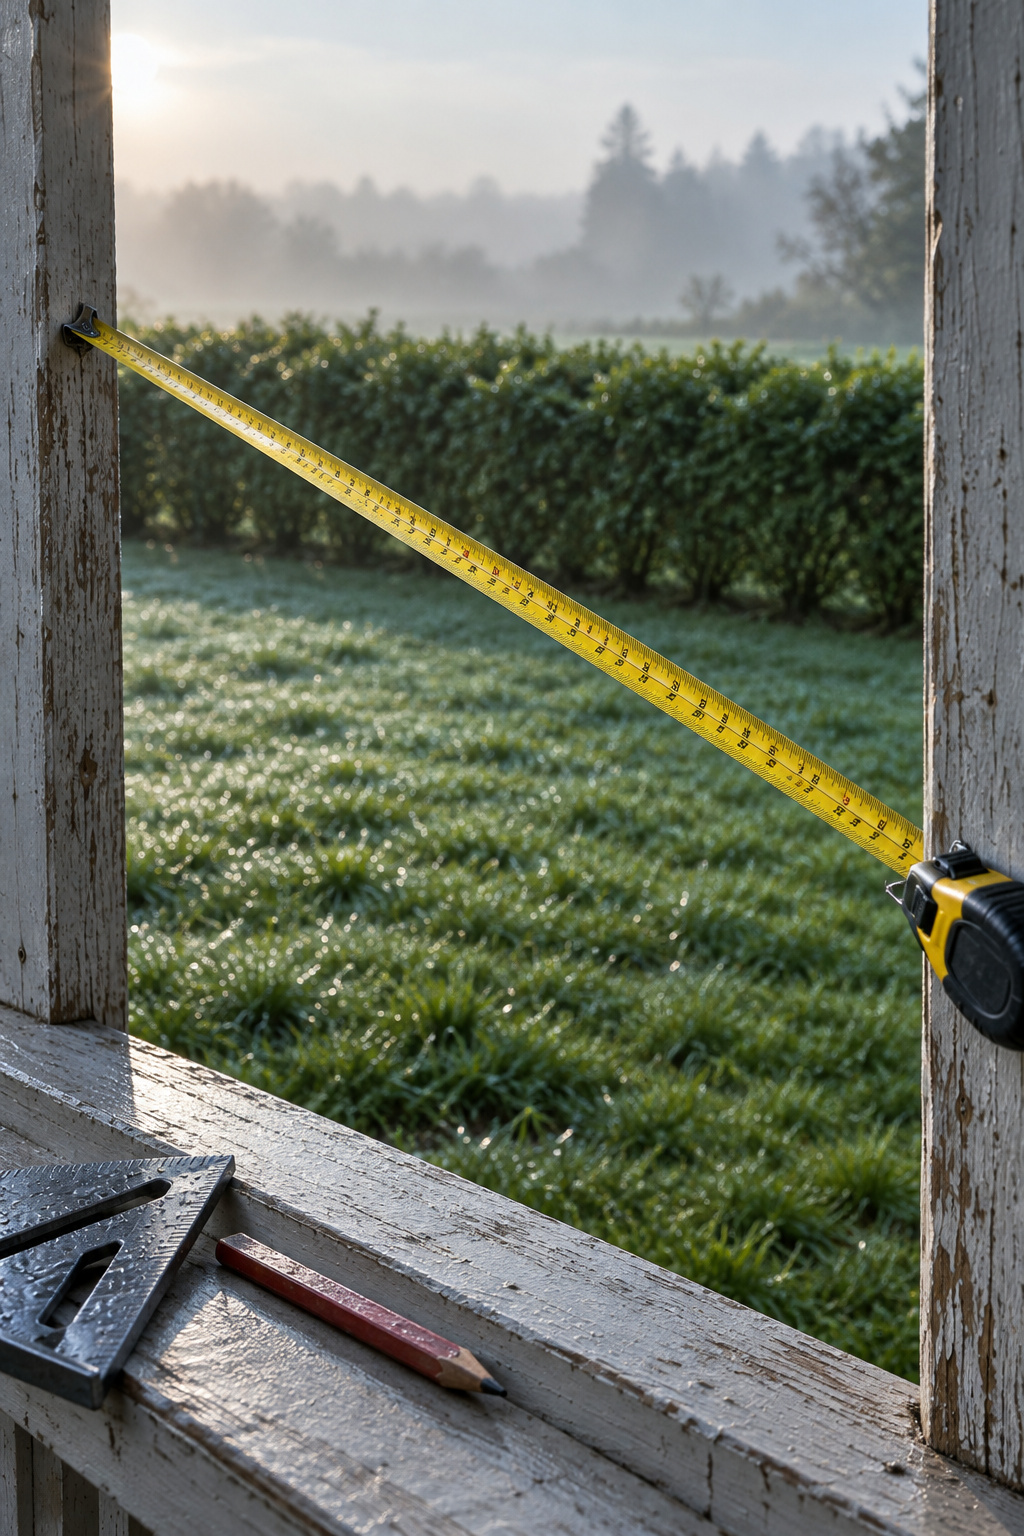
- Sketch the porch and letter each opening A, B, C. The sketch becomes your cut list.
- Measure the width at the top, the middle and the bottom.
- Measure the height at the left, the center and the right.
- Measure both diagonals, corner to corner. If they match, the opening is square.
- Check each post for plumb and the header for level with a 4 ft level.
- Write down the smallest width and the smallest height for that opening. Those are the numbers you build to.
Measure the opening, not the old screen, which may have warped. And measure in the cool part of the day: frames grow in direct sun, and a panel cut to a hot-afternoon opening can be loose by evening.
Expect the numbers to disagree. I treat diagonals within 1/8 in as square, and a standard install goes in fine. Past about 1/4 in a rigid panel will twist, so that opening gets shims or its own size.
Staple-and-Batten, Spline Track or Ready-Made Panels: Match the Method to Your Posts
Three methods hold mesh on a porch, and your posts decide between them.
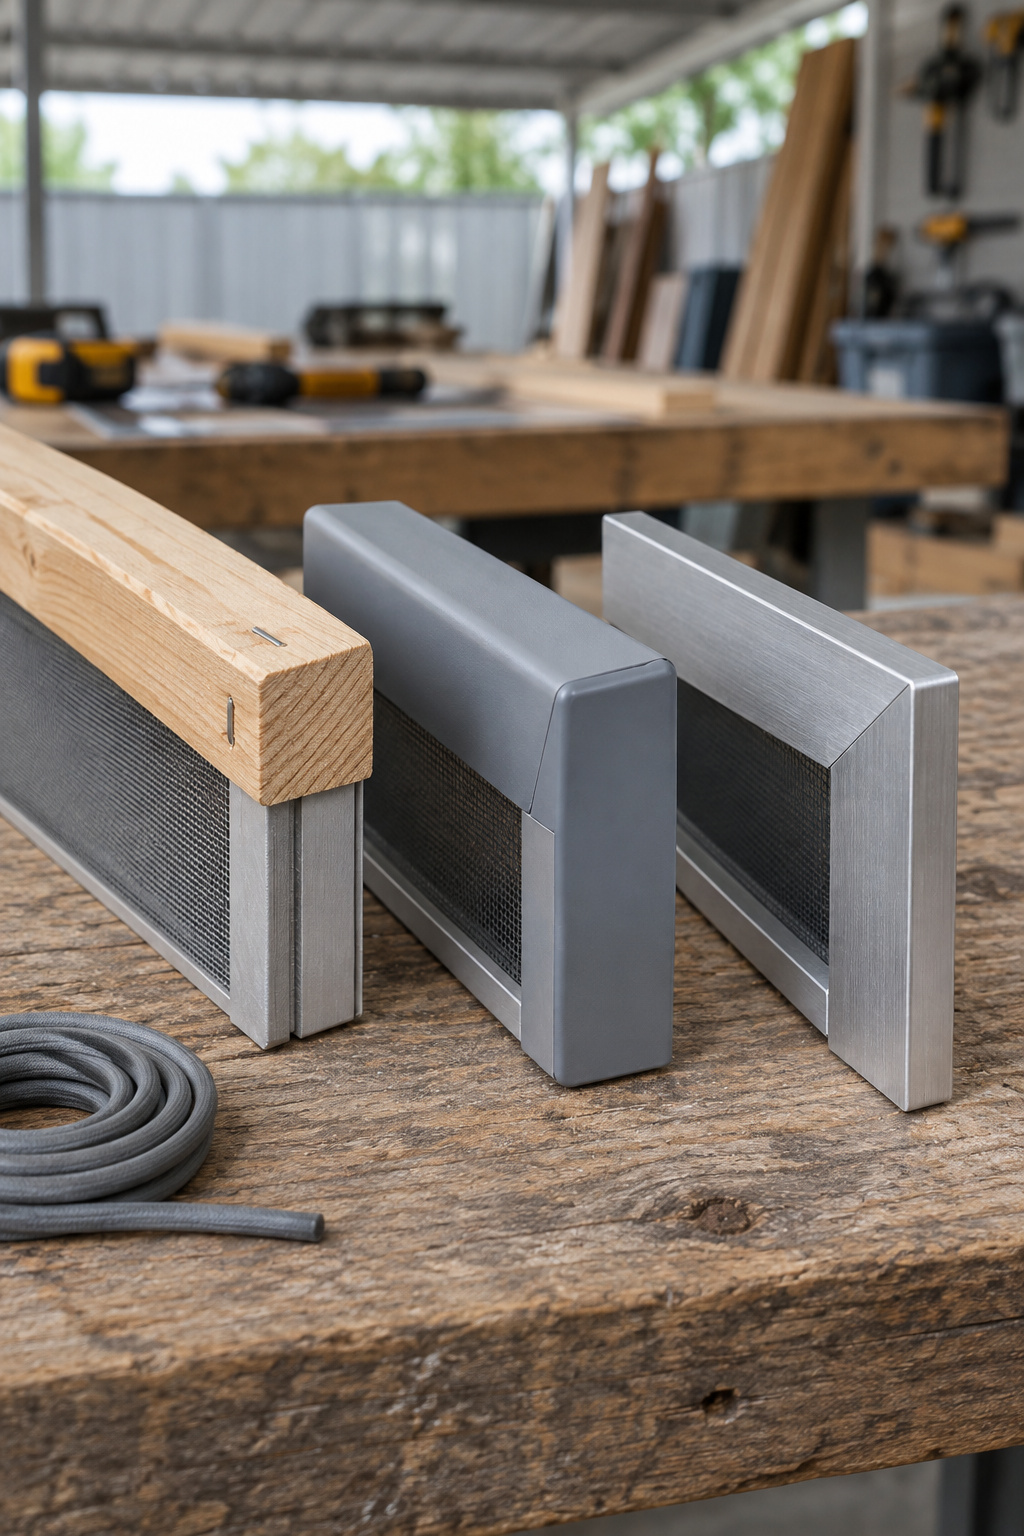
| Method | Works best on | What it needs from the frame | Where it goes wrong |
|---|---|---|---|
| Staple-and-batten | Wood posts and rails | Primed, painted wood; 1×2 battens to hide the staples | Raw wood swells and lets the staples go; a repair means prying off battens |
| Spline track (the Screen Tight type) | Wood framing, or masonry once a starter strip is on | A flat wood face; 1-1/2 in base for 2x4s, 3-1/2 in for 4x4s; a screw in every slot | Overtightened screws bend the vinyl base; round spline won’t seat in a flat-spline channel |
| Ready-made panels | Any opening you can measure accurately | A stop to screw into; each panel built to its own opening | A bad measurement arrives as a bad panel, two or three days later |
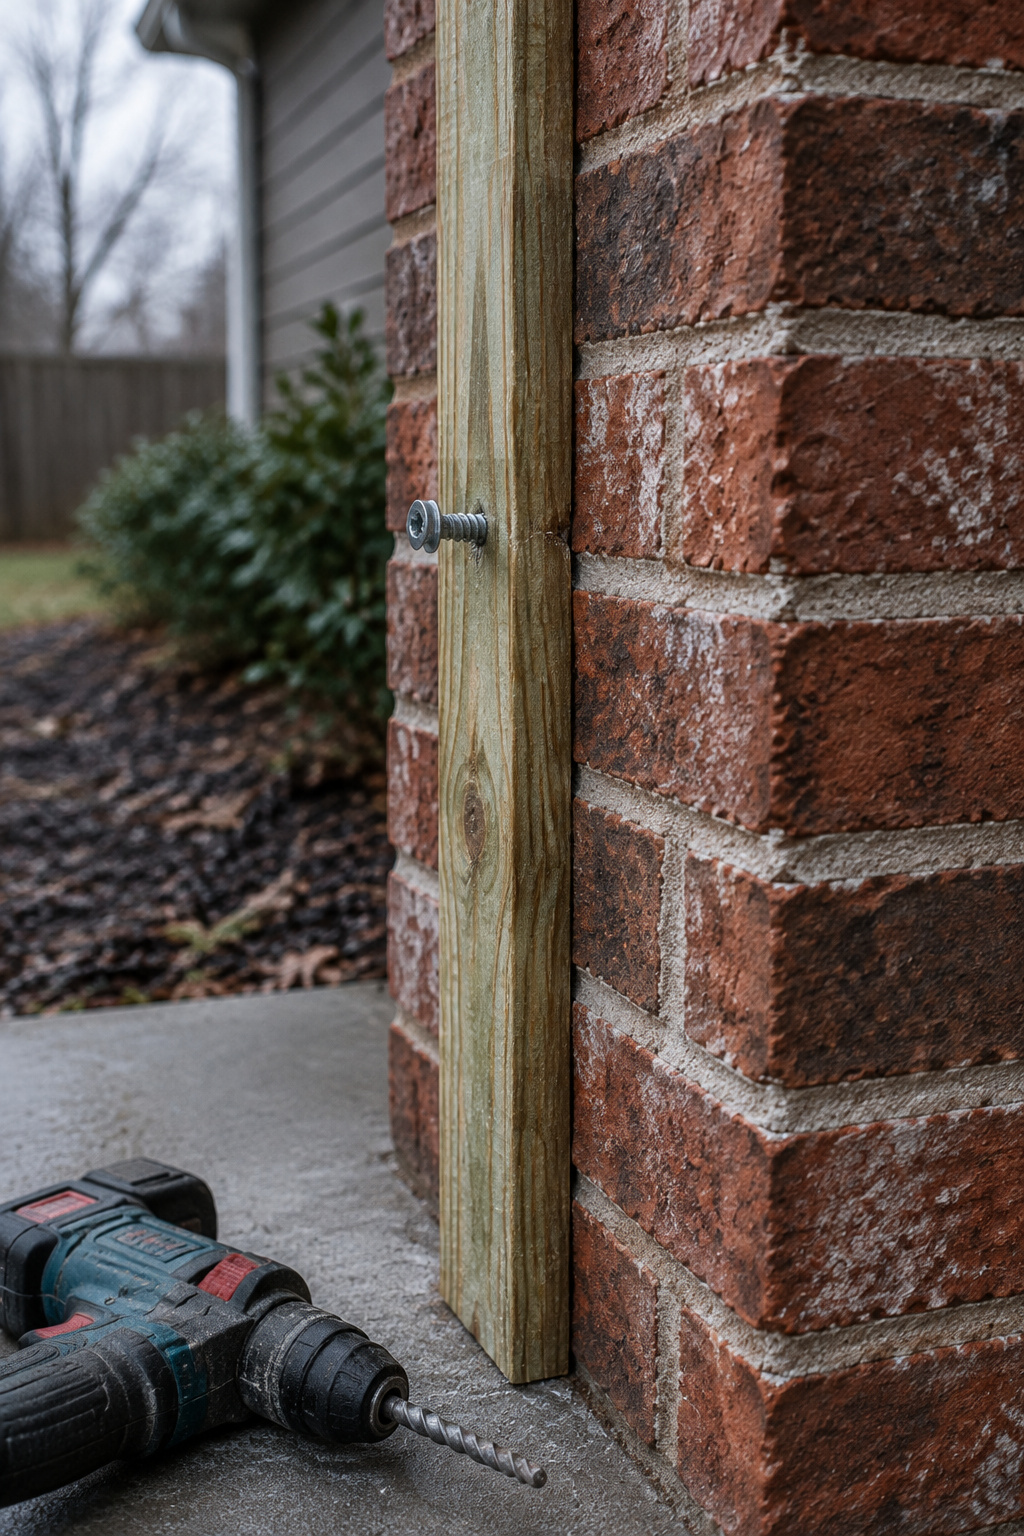
Wood posts take either of the first two. Brick is less trouble than it looks: anchor a wood starter strip to it with masonry screws, and from then on it’s a wood-frame job, staples included. No screen maker’s install sheet covers metal posts, so ask the track maker before you drill.
Kits cost more than rolls and battens, and the extra buys an easier repair: a torn track panel is a quick re-spline, where a stapled one means prying off the lath. Settle which mesh to buy before you start, because FASTtrack and MINItrack take fiberglass only. Tom Silva at This Old House prefers fiberglass in any spline groove anyway: “If you mess up, just take it out and do it again. Metal stays kinked.”
Frame the Wide Openings in 2x Stock So the Mesh Has Something Solid to Pull Against
No screen maker gives a maximum opening width. They rate each system by the area of one section: the original Screen Tight up to 40 sq ft, MINItrack 30, and FASTtrack 60 by the maker’s sheet, though a retailer’s copy says 80. SCREENEZE spans 150 sq ft without cross-bars; SNAPP’s PVC track tops out at 110. For a width, a deck builder in the Journal of Light Construction keeps uprights no more than 5 ft apart on center, matching 5 ft mesh rolls. A wide panel flexes in wind and bulges where kids and dogs lean.
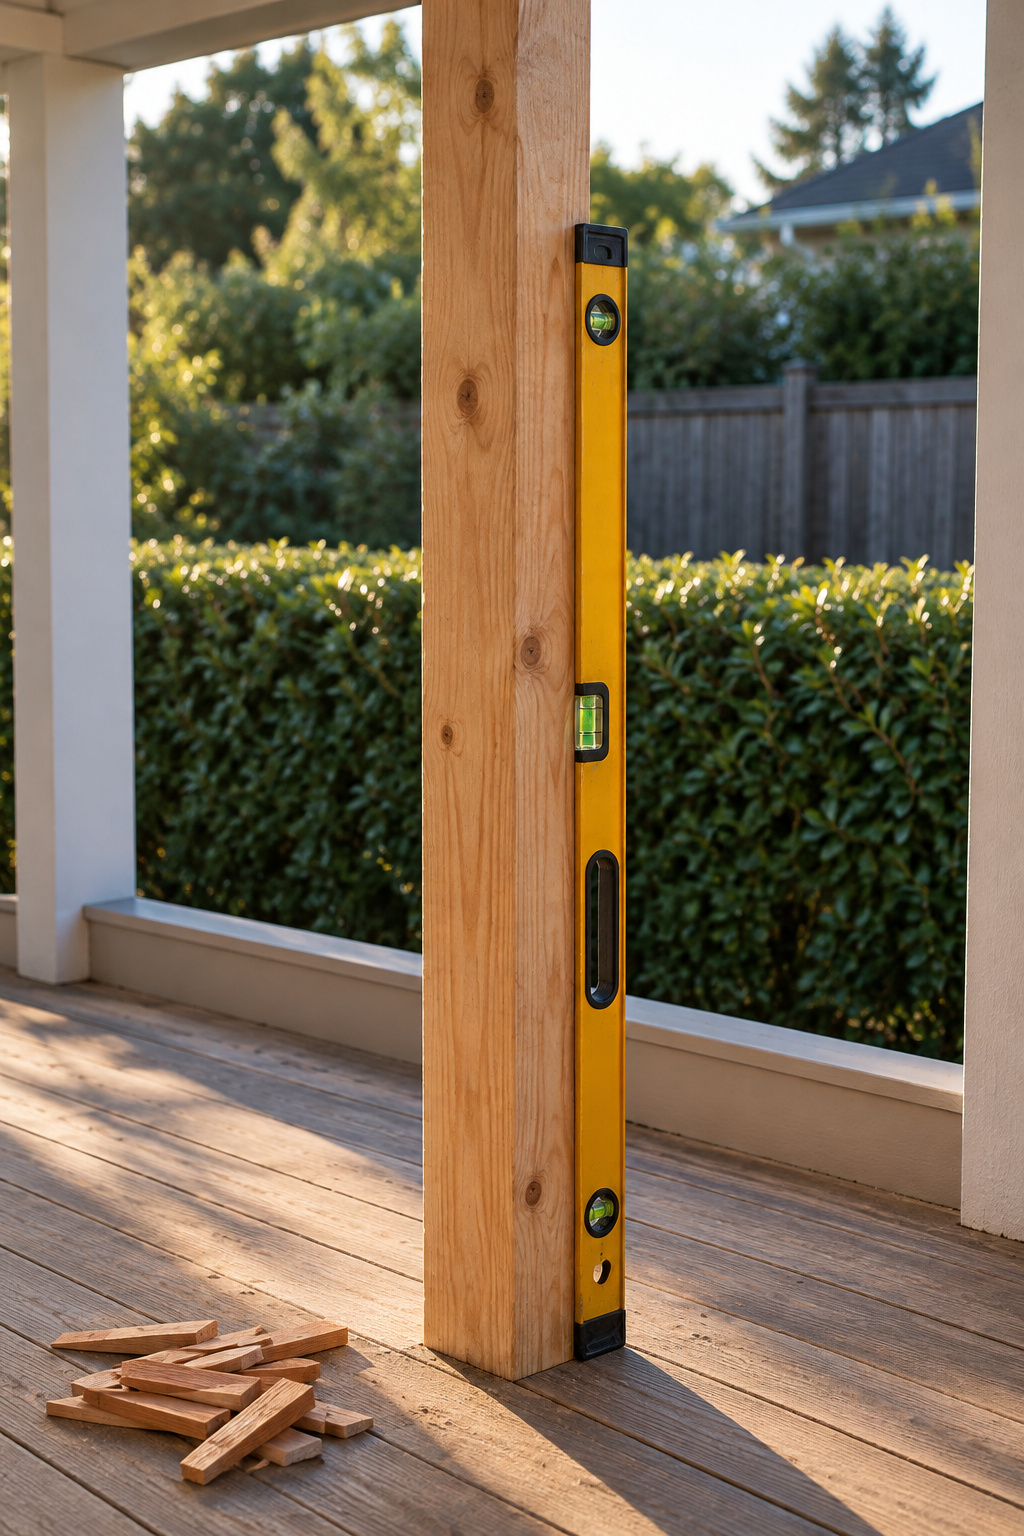
So a wide bay gets a middle upright in cedar, redwood or treated lumber. I build each frame 1/8 to 1/4 in smaller than the opening on each side.
An opening that won’t take a square frame is usually an out-of-square porch, not a bad frame, and here the advice splits. Where the frame will show, build it to the real opening and shim an undersized panel neatly instead of forcing it. Where track goes on a hidden face, shim that face plumb, because track on a twisted face binds. I keep a level, spare screws and shims behind the seat of my pickup.
The mistake I’d bet on is a frame built to the nominal size. The plan says 36 in, the opening is 35-7/8 at the bottom, and a perfectly square frame won’t go in. Trim or rebuild it to the smallest measurement you wrote down. That’s what the number was for.
Before any frame goes in, check:
- Width against your smallest reading
- Diagonals within 1/8 in
- Posts and new upright plumb
- Primer and paint on every surface, two coats on cut end grain
Fasten Into Solid Framing: Wood Posts, Brick Columns and Block
Walls lie, and so do posts. A painted 4×4 can look perfect and be soft inside, so probe it with an awl before you trust it; a frame screwed into rotted wood works loose. Then pick the fastener for the material.
| What you’re fastening into | Fastener | What to watch |
|---|---|---|
| Wood posts, vinyl track base | 1 in wood or sheetrock screws, one in every slot, one within 2 in of each end | Snug, not tight; an overtightened base bends |
| Wood posts, aluminum clips | #10 x 1-1/2 in stainless screws | Don’t overtighten |
| Pressure-treated wood | Stainless or ACQ-compatible screws | Electrical tape on the back of aluminum track as a bond breaker |
| Brick or poured concrete | Wood starter strip on masonry screws (5/32 in carbide bit for a 3/16 in screw, 3/16 in bit for a 1/4 in screw) | Hammer drill; embed 1 to 1-3/4 in; hole at least 1/4 in deeper than the embedment |
| Hollow concrete block | The same masonry screws | A 3/16 in screw at 1 in deep lets go at 220 lb in lightweight block against 600 lb in concrete; stay 2 in from an edge at minimum, 4 in for full hold |
On brick, the starter strip hides the masonry screws, and the track goes on with ordinary screws. Fill any gap between strip and brick with solid roll foam, not spray foam or caulk. Track straight onto masonry needs a fastener about every foot, which means a masonry anchor every foot. Stucco over foam over wood needs screws long enough to reach the wood.
Frame the Door Opening and Close the Gap at the Floor
The door and the bottom edge come down to measuring and fastening too.
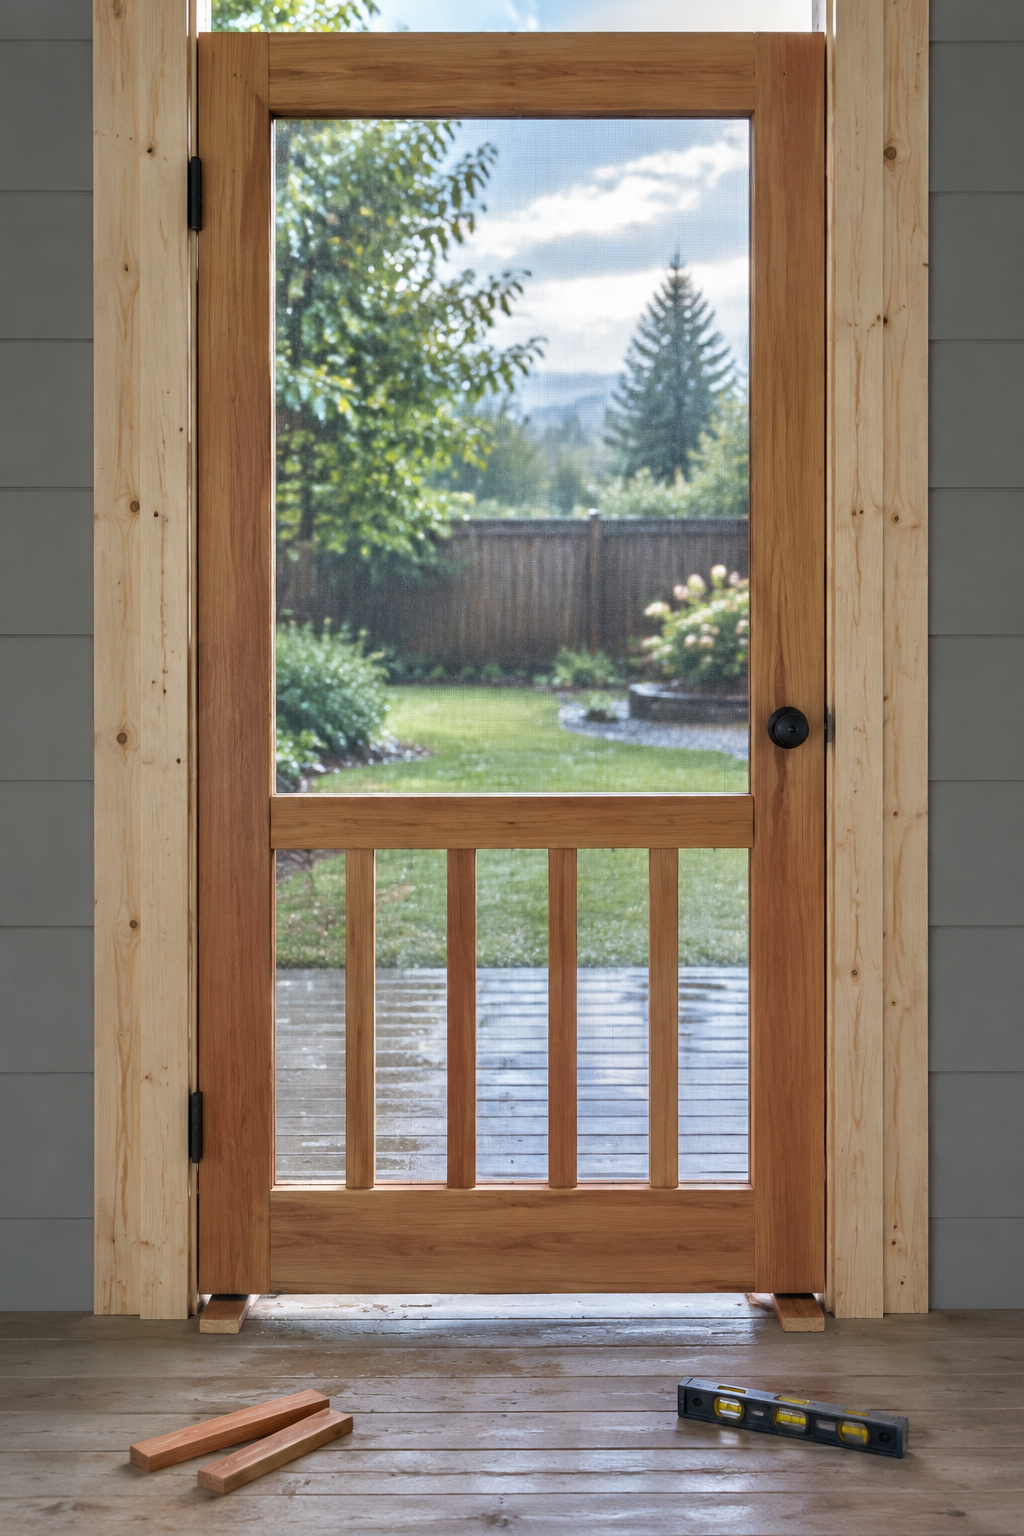
Framing the Door Opening
The door opening is framing and nothing else. Screen Tight’s standard doors are 80 in tall and 32 or 36 in wide, and the opening allows about 1/8 in all round plus a little at the bottom, so a 36 in door wants 36-1/4 to 36-1/2 in. Measure three widths and three heights and use the smallest. A 2×4 header gives the top something solid.
The hinge side needs a flat, solid surface at least about 1 in wide and 1 in deep, plumb, shimmed if it leans, with diagonals within 1/4 in. Wood and vinyl doors want three hinges. Hang the door before any screen goes on; fitting mesh around a hung door is far easier than the reverse. Closers, push bars and pet doors are screen-guide decisions.
The Gap at the Floor
There are two gaps here. The door needs room to swing: hang it on a scrap of lath so about 1/4 in is left at the floor. The screen needs none. Carry it down and finish it against a bottom rail, a pressure-treated 1×2 or an aluminum drip edge, then seal any joint wider than 1/16 in with clear or paintable silicone. Track on a floor sits on a starter strip, with only the smallest gaps left for water to weep. Kick plates are a mesh choice, made before you get here.
Stretch the Mesh Last, and Budget One More Weekend Than the Box Says
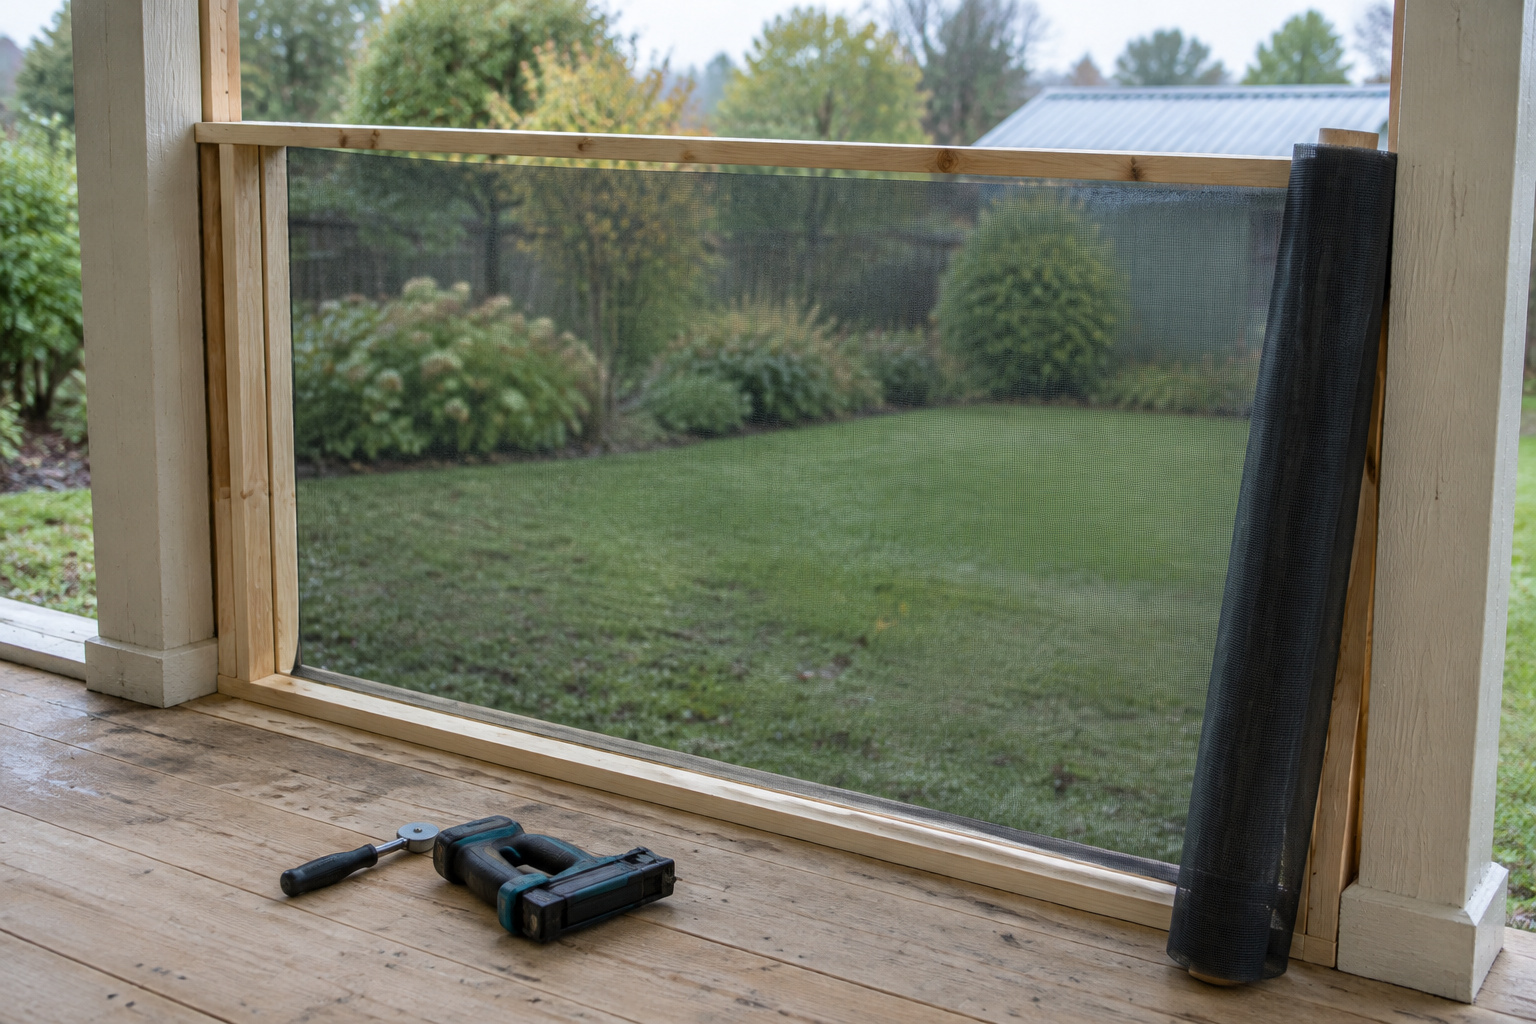
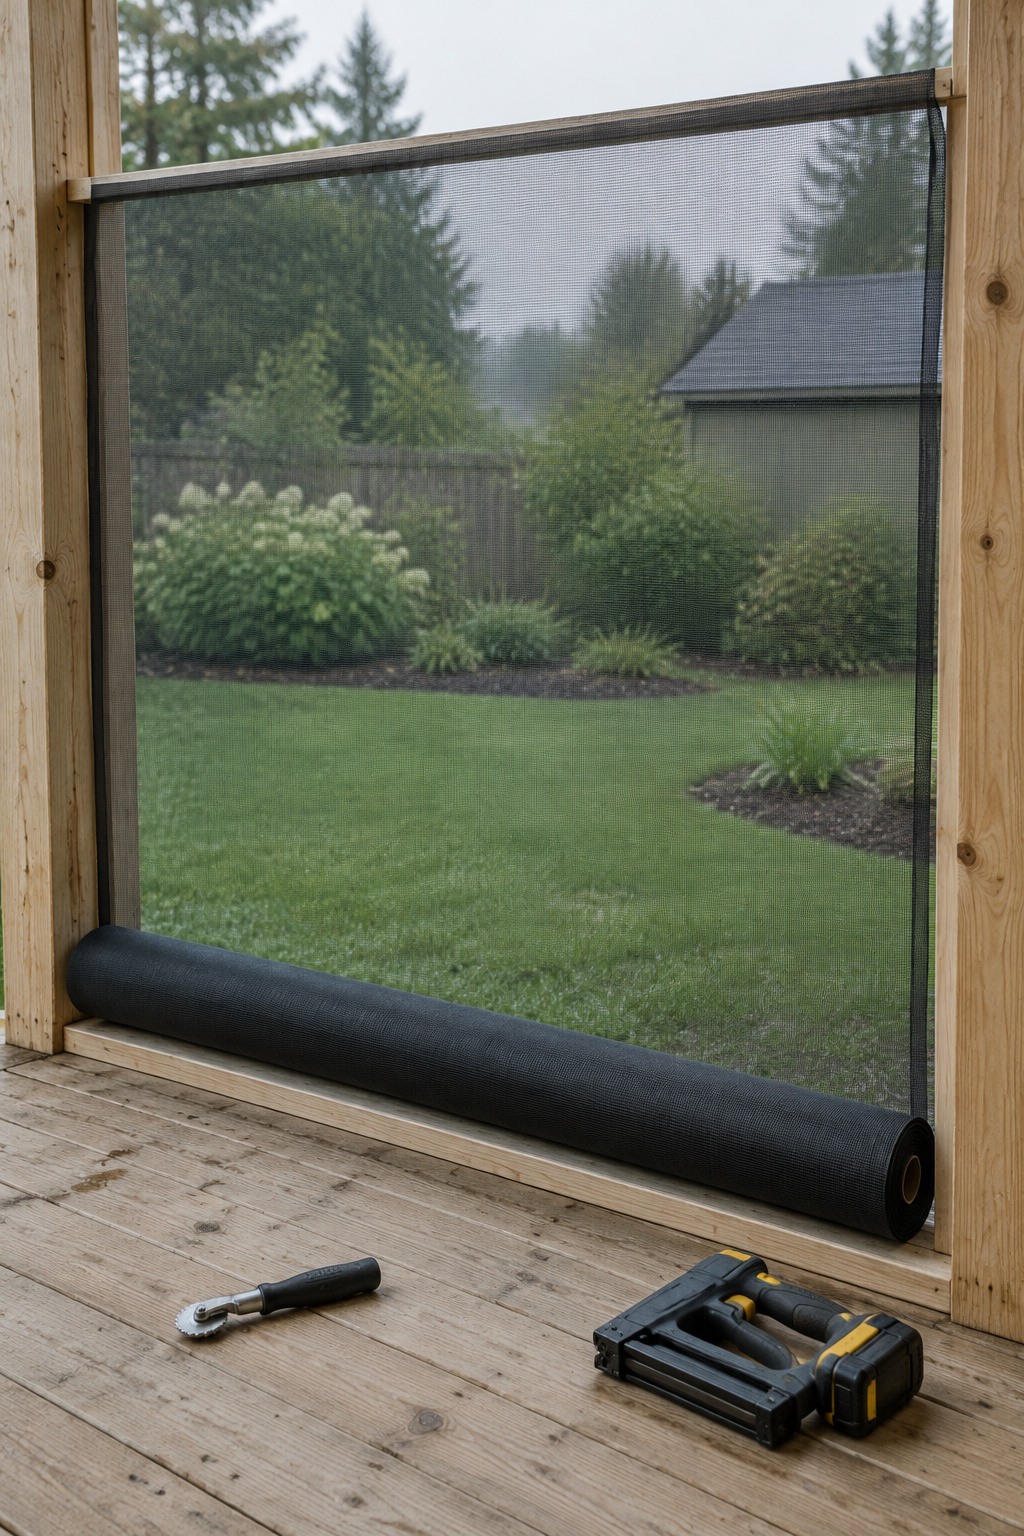
With frames square, solid and painted, the part everyone pictures is quick. Cut fiberglass 3 to 6 in oversize all round for spline, 2 to 3 in for staples. On track, roll the top edge, then the sides, then the bottom with a slight downward pull. Roll in one direction and never back the wheel up. A wrinkle means pull the spline and redo that edge. A bottom that isn’t drum-tight is fine; the cap tightens it when it snaps on.
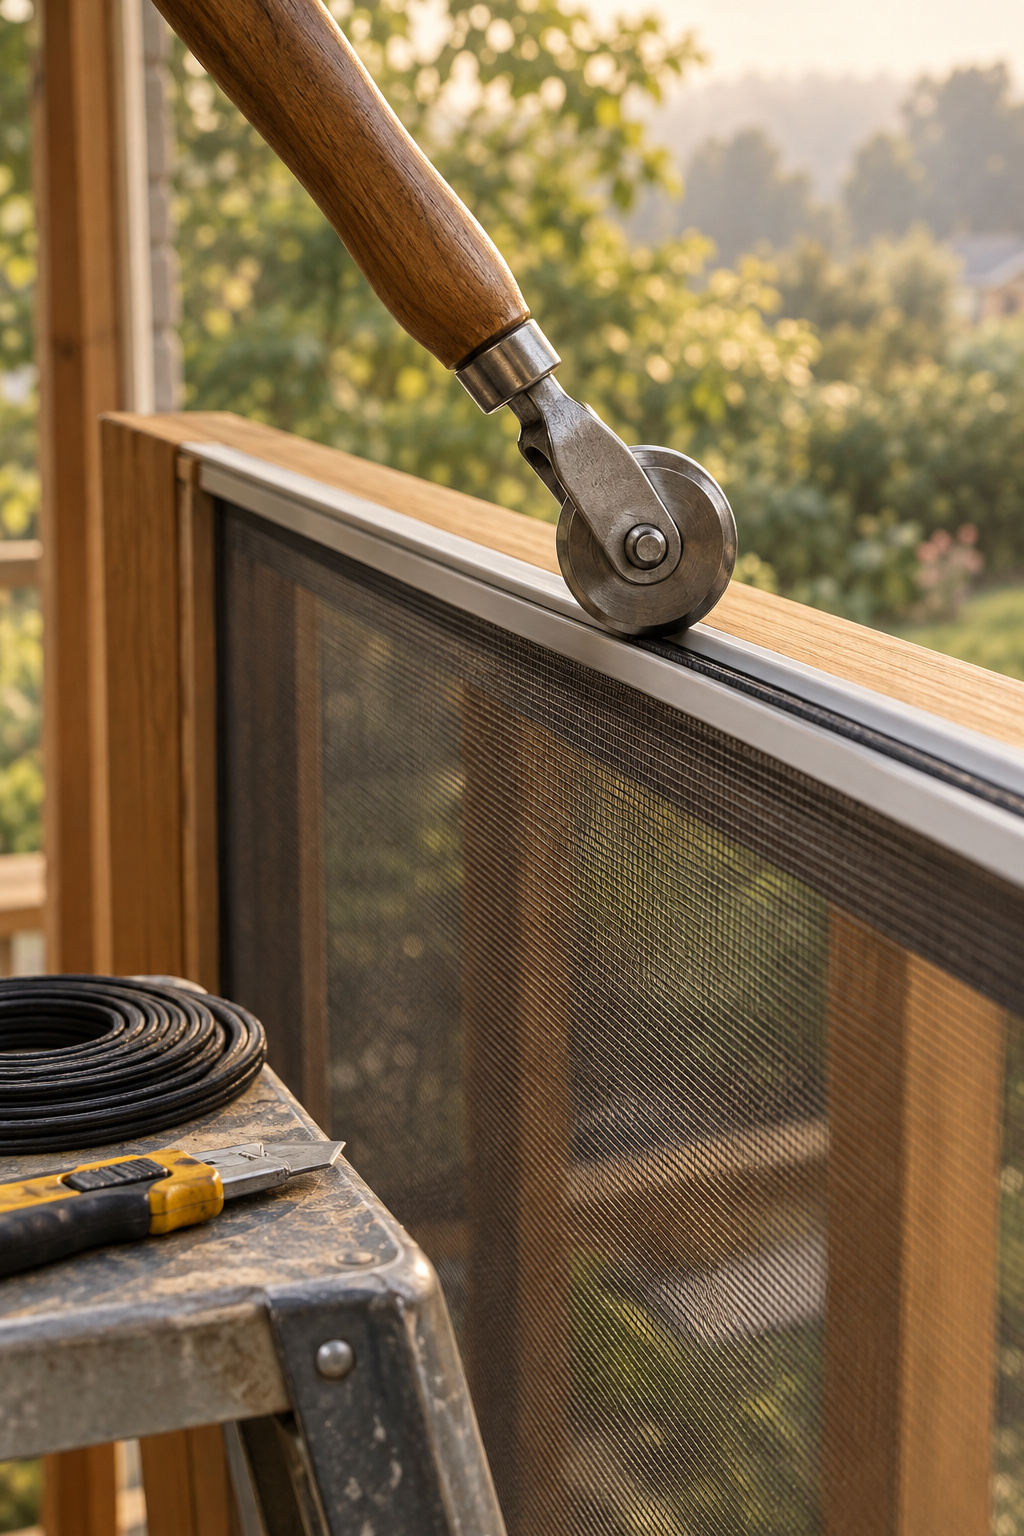
With staples, go top, bottom, then sides, working out from the center. Builders space them anywhere from every inch to every 4 in; pick one spacing and keep it even. Tapped, the screen should sound like a drum.
Paint everything before the screen goes on. Painting around mesh is slow, and every drip lands on the screen.
The Tool List and a Realistic Clock
- Drill or power screwdriver
- Snips for vinyl base and cap, or pruning shears or a hacksaw
- A RollerKnife-type screening tool, or a spline roller plus a utility knife
- Rubber mallet for the cap, or a small block of wood
- Flat-blade screwdriver for corners the roller can’t reach
- Staple gun with 5/16 in staples, for staple-and-batten
- A 4 ft level and a tape you trust
Retail how-tos say two to four hours, and that clock starts on a porch already measured, framed and painted. This Old House calls an average porch about a day; Bob Vila says a weekend if it’s already covered. Add the uprights, the paint, the door and the drive back for the screws you didn’t buy. That’s why I budget one more weekend than the box says, out loud. Work out what screening it yourself saves after you’ve measured, because the openings decide the materials.
Tonight, measure opening A: three widths, three heights, both diagonals, on the sketch. I stop at the structure and the wiring: an elevated porch needs a real guard, and screen doesn’t count as one. New roof framing and a ceiling-fan circuit go to a pro and an inspector. That’s a pro job.
FAQ
Should the screen go inside or outside the porch posts?
Either works with a track system, because the base mounts on the face of the framing, facing in or out. Go inside when the posts have detail you want to keep clean from the street, or when the porch is above the first story, where working from inside beats working off a ladder.
How do you stop a screen door from sagging once it is hung?
Stop it before it’s hung. Give the hinges a flat, solid surface at least about 1 in wide and 1 in deep, check the hinge side for plumb and shim it if it leans, and use three hinges on a wood or vinyl door. Hang it on a scrap shim to hold about 1/4 in at the floor.
Can you patch one torn panel without re-screening the whole porch?
Yes, if the porch is screened bay by bay. On a spline-track system, pry the cap off from one end, pull the spline, lay in new screen and roll it back in, which takes about twenty minutes. With staple-and-batten you pry off the battens first, and a big panel is harder to redo than a small one.