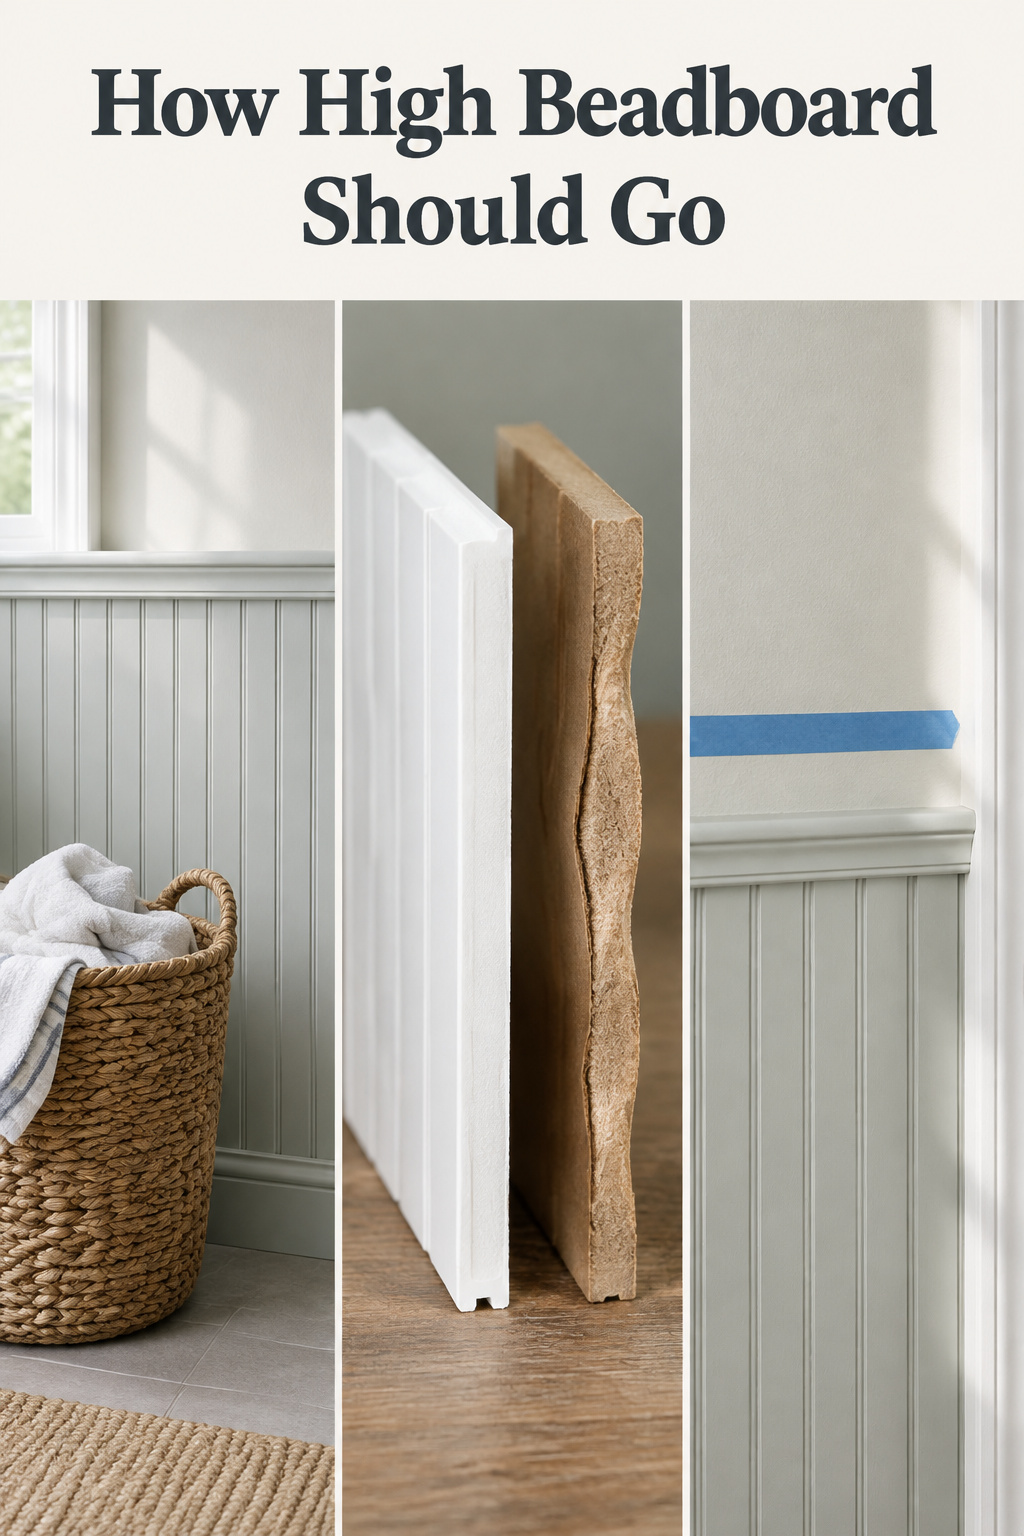
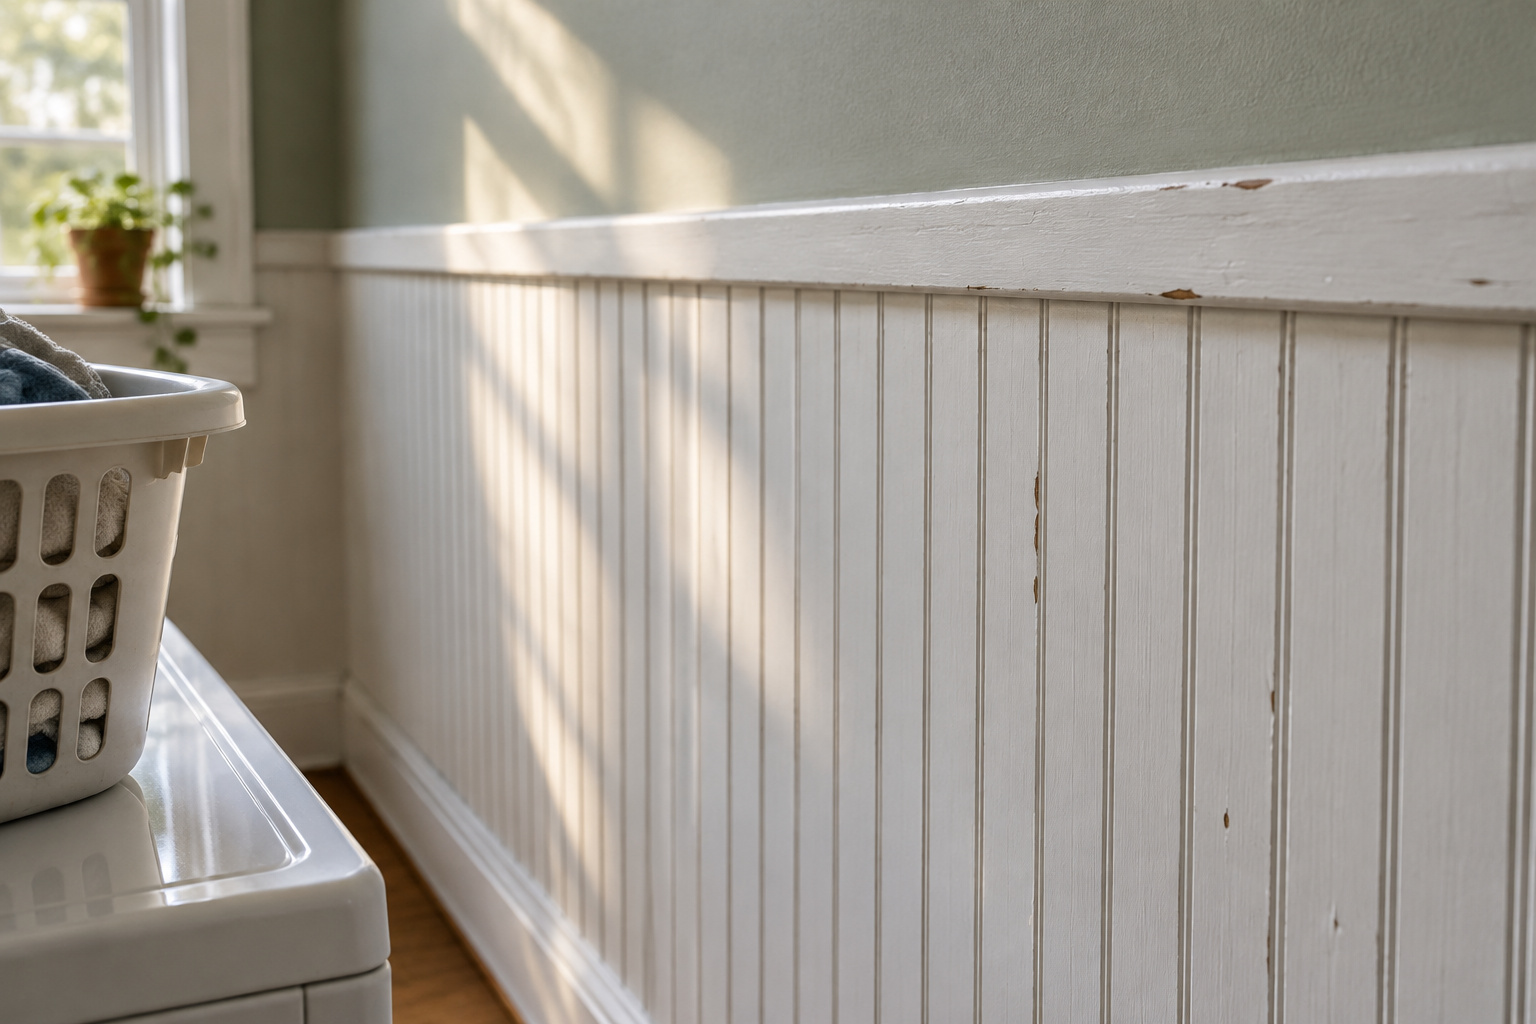
Set a full basket on top of the washer and hold a tape measure against the wall beside its rim. Read the number where the rim crosses the tape. Then look at the paint just above it for scuffs.
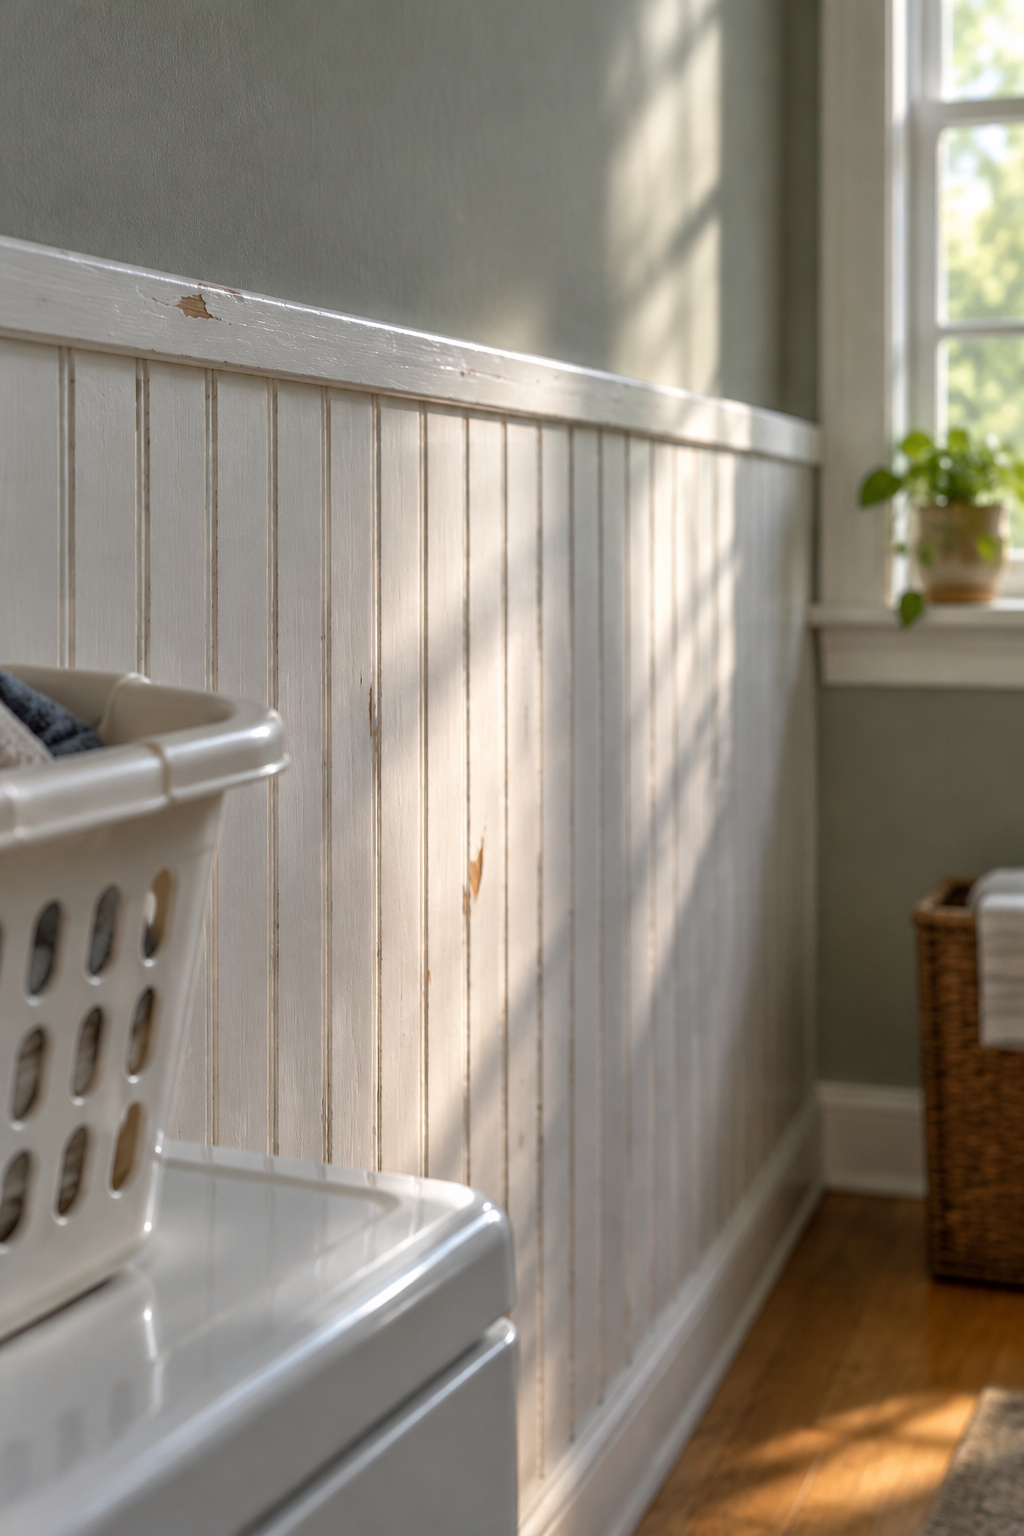
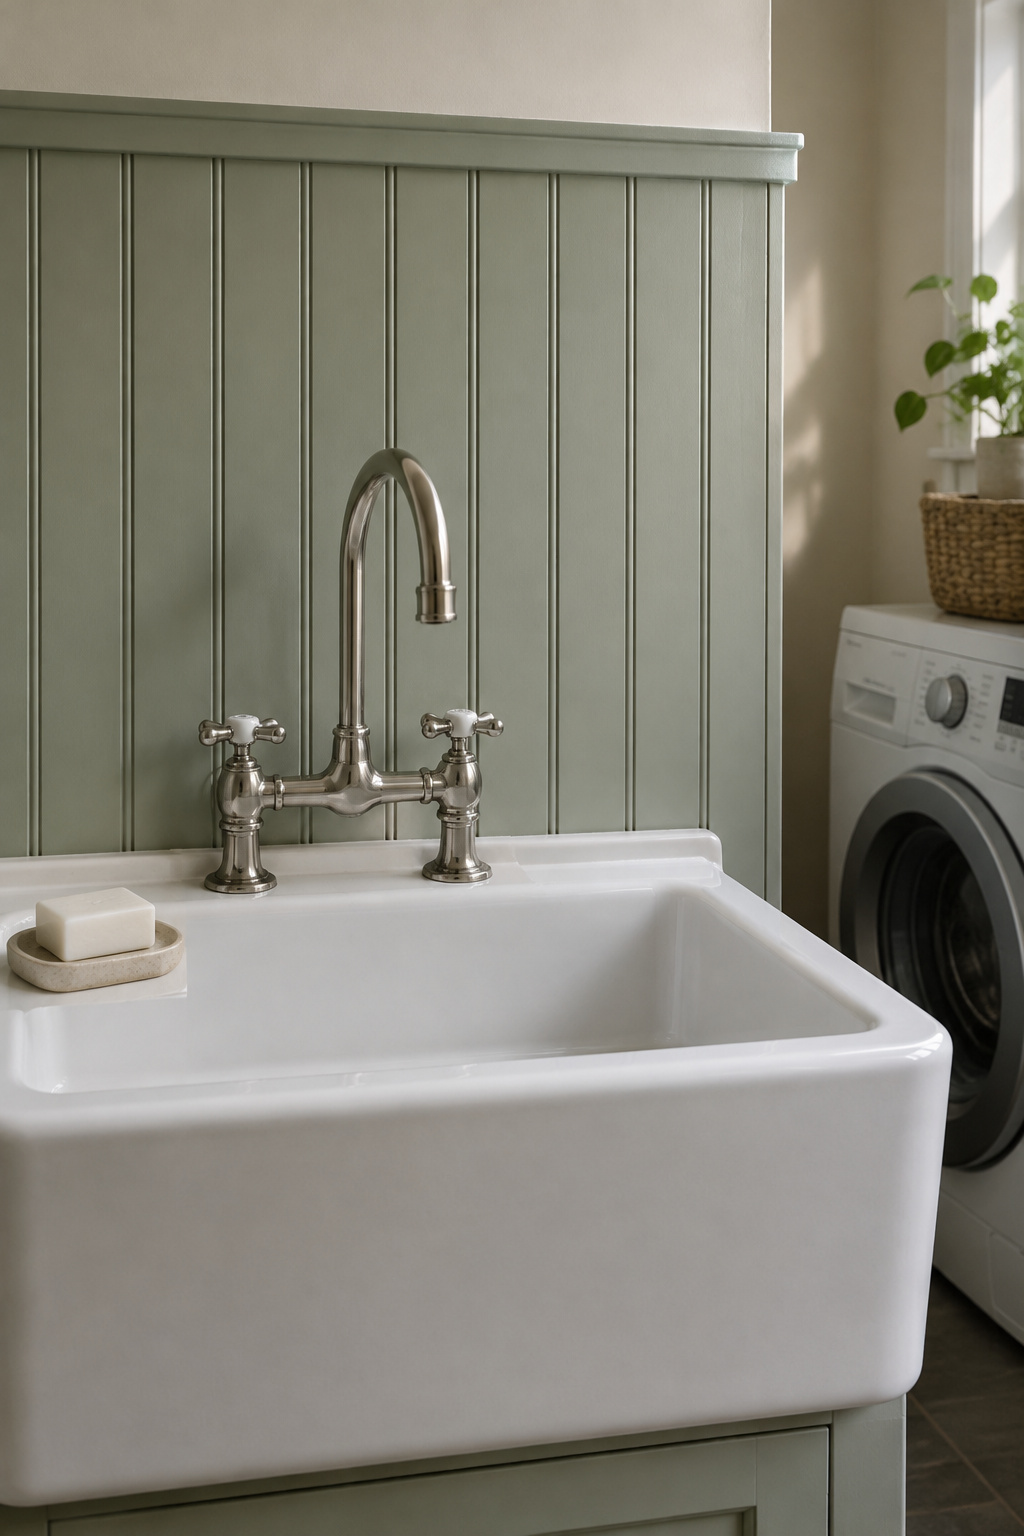
A beadboard laundry room wall should stop at the number you read, a long way above the usual advice to run the paneling a third of the way up and leave it looking rustic. Old service walls were painted, ran tall where the work was rough, and were put up to be hit and wiped. Set the height from what hits your wall, choose the material by the wettest spot, then paint it.
TL;DR
- Set the cap at the higher of two marks on your own wall, a basket’s rim on the machine and the sink’s splash line, usually about 48 to 58 inches, not the 32 inches the one-third rule gives an 8 ft wall.
- Use PVC at the sink and the floor line and keep MDF above the splash, because MDF swells at a wet cut edge and stays swollen.
- Paint it satin or semi-gloss; beadboard was the wipeable painted wall of kitchens and utility rooms from the 1860s into the 1930s.
Beadboard Was the Painted Wall of Working Rooms Long Before It Was a Style
Beadboard turns up in American houses in the 1860s and stays in use into the 1930s, mostly behind the kitchen door: pantries, back halls, utility rooms. My own brick house in Bucks County was built in 1898, squarely inside that run. It was low style. The parlor and the main staircase got the fine paneling, and the rooms where work happened got narrow boards that were cheap, wipeable and easy to replace.
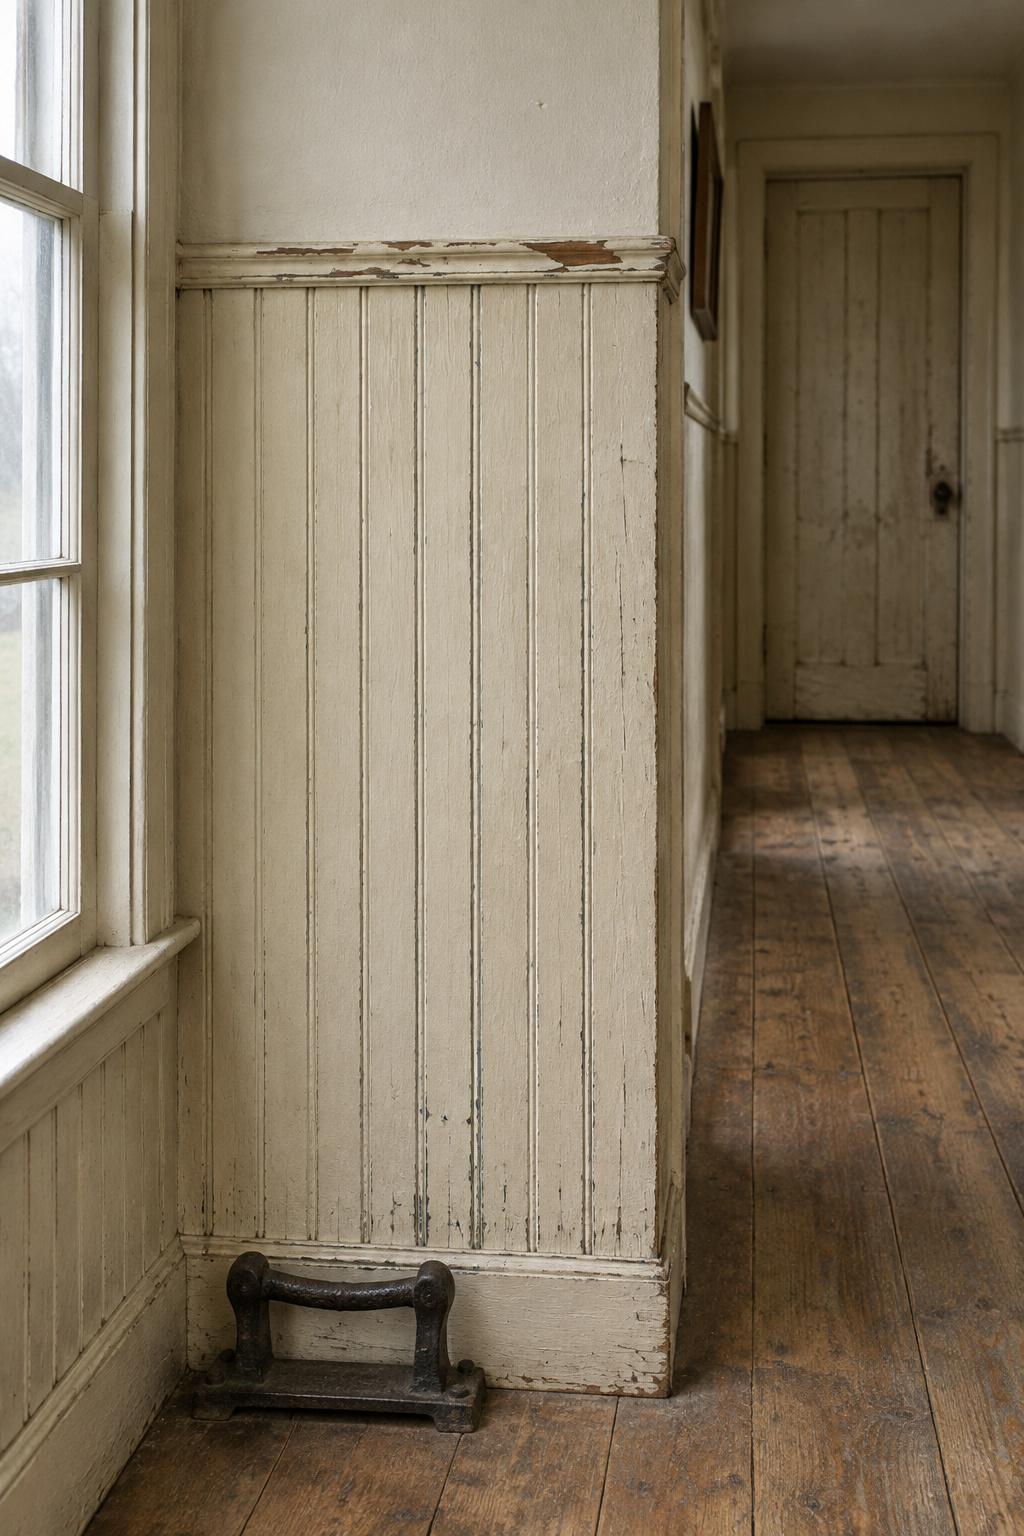
It was painted or varnished because those rooms were scrubbed, and in kitchens and pantries it often ran halfway up the wall or higher. English sculleries, where the washing was done, had a high painted dado of tongue-and-groove boarding for the same reason, beaded or not. The bead had its own job: it hides the small gaps that open as boards shrink and swell with the seasons.
Early on I insisted on stripping every painted door down to bare wood. Then I learned that some doors were meant to be painted, and the bare wood was never meant to be seen. Beadboard is the same. A raw, rough-looking beadboard wall is not how these rooms were finished.
Board and batten was a cheap stand-in for fine paneling, and, to my knowledge, the lapped boards sold as shiplap today were mostly a hidden layer; beadboard is the one with a working history on walls that take water and knocks. Shiplap in a wet bathroom is a separate question, taken on in our guide to shiplap bathroom walls. If you are planning the whole farmhouse laundry room, settle the water first. The wall comes next, and its height comes first.
Find the Two Lines on Your Laundry Room Wall Before You Buy a Single Panel
A tape, a pencil and your own basket will tell you more than any rule. Where a carried basket brushes a wall depends on your hip, your door and how you turn, so the marks have to come from you.
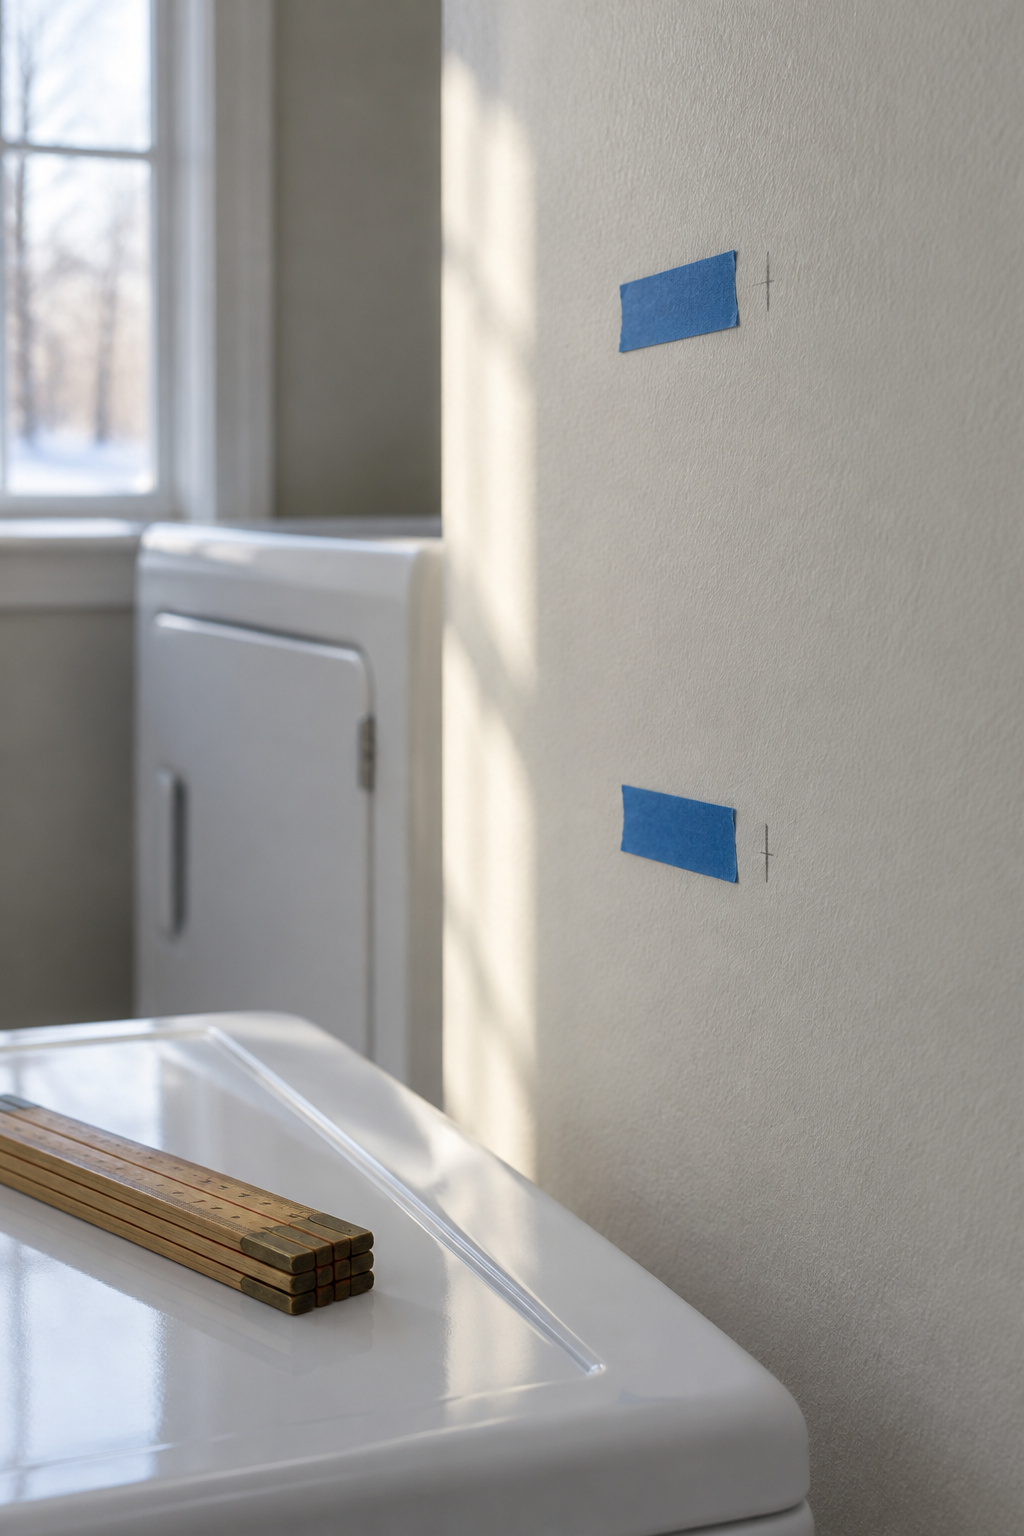
- Carry a full basket the way you really do, through the door and up to the machine, and mark wherever it brushes the wall.
- Set the basket on the machine top, on its pedestal if you plan one, and mark the rim.
- If you have a top-loader, open the lid all the way and mark its top edge.
- Run the sink hard, rinse something heavy, and mark the highest wet spot.
- On each wall, circle the highest mark. That is your line.
I mark from the floor, never from the top of the baseboard, because the baseboard is the part of a room most likely to be replaced.
The knock line: baskets, lids and the machine tops
On the maker dimension guides, front-loaders and the closed lids of most top-loaders stand 38 to 39 inches. A shallow basket on a 38 inch machine: 38 + 9 3/4 = 47 3/4 inches to the rim. A deep square one on a 39 inch machine: 39 + 13 1/2 = 52 1/2. That rim is where knuckles and handles meet the wall.
A top-loader’s open lid climbs higher still, to 55 3/4 to 57 7/8 inches on the models we checked. Measure yours; an open lid is the tallest thing that moves in the room.
The splash line: where the sink and the spin cycle throw water
The advice splits here. Trade guidance for a utility sink runs from 8 to 12 inches above the rim as a minimum, through 18, up to 24 to 36 where you scrub hard, and there is no US standard. Take 18 inches as the working allowance: on a 35 to 36 inch counter, the splash line lands at 53 to 54 inches. Then watch the wall through a few real wash days; the drips will show you how far your own sink throws water.
Beadboard Laundry Room Height: One Rule, Three Walls
Listings that say “island height” without giving a number annoy me, and “wainscot height” is the same dodge. So here are numbers.
The one-third rule, 32 inches on an 8 ft wall, has a history but no authority. Georgian wainscoting generally covered the lower third of a wall, while the classical ratio was a fraction of a column, not a wall, and William Chambers wrote in 1791 that the proportion “is by no means fixed.” No building code sets it.
Published laundry figures run higher: a panel maker puts most wainscoting at 36 to 48 inches and suggests 42 for a laundry, and a flooring retailer gives 42 to 48 for a room with a folding counter or raised machines. Both tie the height to cabinets and counters, not to what hits the wall. Start from the knocks and the answer climbs again, wall by wall:
| Wall | What hits it | Where the mark lands | Where to set the cap |
|---|---|---|---|
| Basket wall, hampers on the floor | Hamper rims and feet | 25 to 30 in | Just above the tallest hamper, or carry the machine-wall line across |
| Machine wall, front-loader | A basket set on the machine top | 47 3/4 to 52 1/2 in | About 48 to 53 in |
| Machine wall, top-loader | The open lid | 55 3/4 to 57 7/8 in | About 58 in, or below the lid hinge with the wall above painted to match |
| Sink wall | Splash above the rim | 53 to 54 in, with an 18 in allowance | About 54 in, higher for heavy scrubbing |
My rule, then, is about 48 to 58 inches wherever baskets ride on the machines or a lid swings up. Run one cap at the highest mark around the room so the line reads as one decision. In a laundry closet barely wider than the machines, skip the cap and run the boards floor to ceiling.
Choose Solid Wood, MDF or PVC Beadboard by the Wettest Spot It Touches
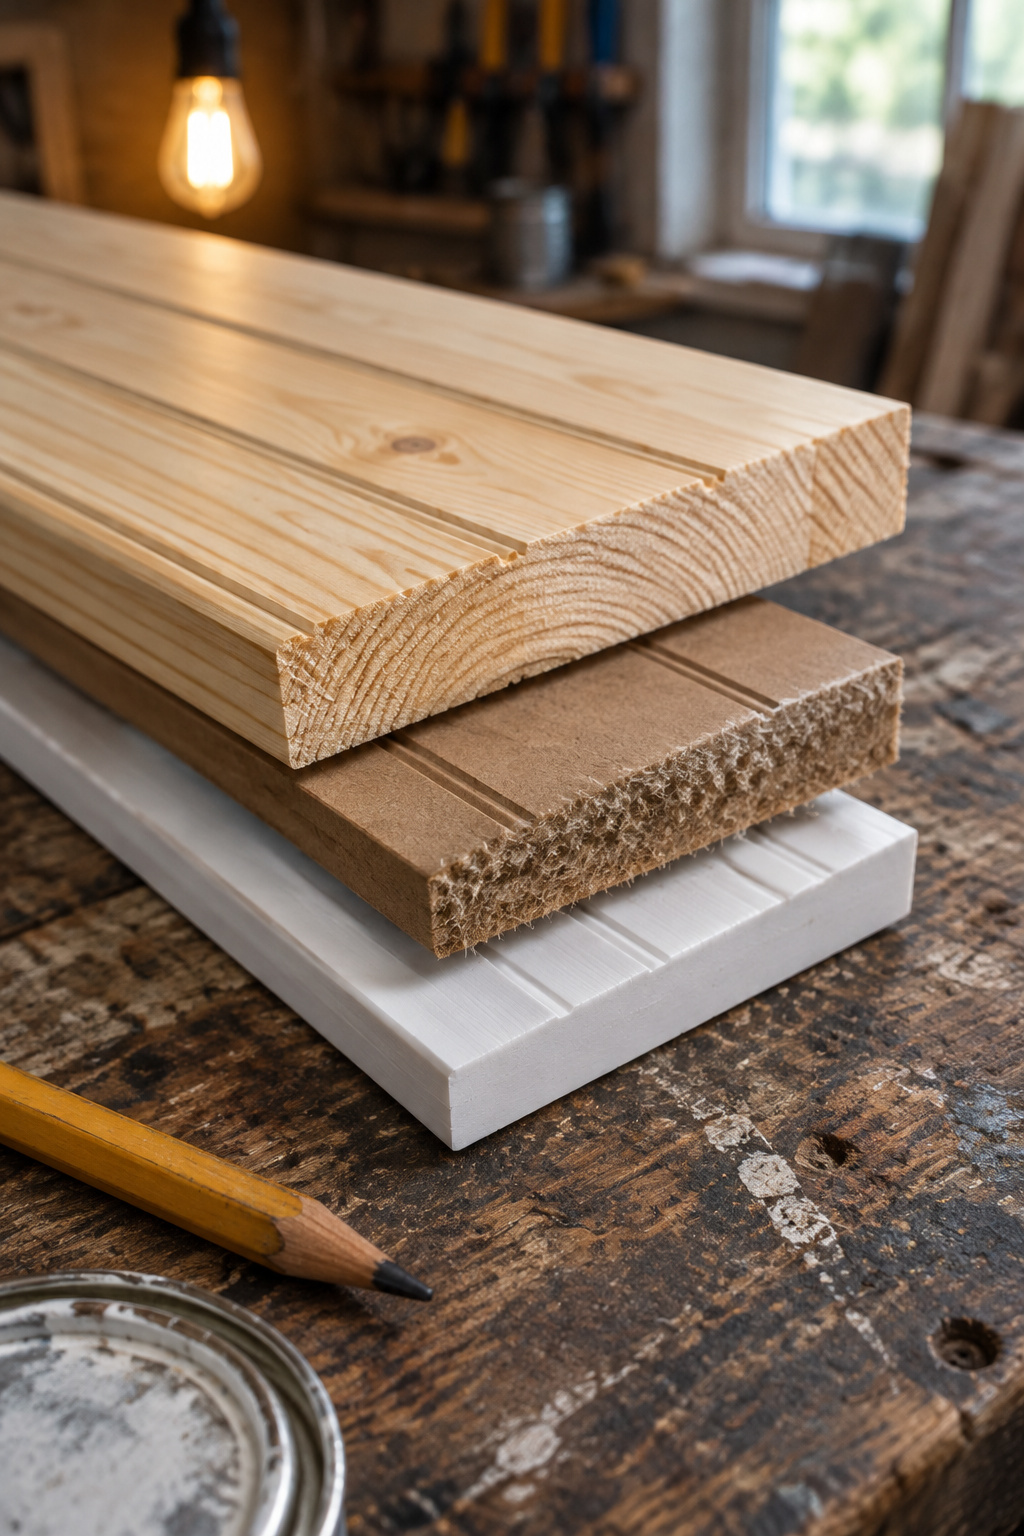
Each material fails first where water reaches it, so match it to the wettest spot it will cover:
| Material | Wet cut edge | Paint | Cost | Where it belongs |
|---|---|---|---|---|
| Standard MDF | Swells and stays swollen after drying | Seal the edges or they go fuzzy | $28 to $45 per primed 4×8 sheet | Above the splash line, in an upstairs room with a drain pan |
| Moisture-resistant MDF | Swells less and more slowly; not waterproof | Prime and seal every edge | $40 to $60 per 4×8 sheet | Above the splash line, never within about 3 in of the sink |
| Cellular PVC | Takes no water; moves with heat | Vinyl-safe paint in a light color | $55 to $90 per 4×8 sheet | The sink wall, the floor line, basements |
| Solid wood | Swells unless sealed on all faces | Prime and paint every face | About $1.79 to $1.99 per sq ft | Away from direct splashes |
A sawn MDF edge drinks water like end grain. PVC shrugs it off, but it moves along its length as the room warms and cools, so leave end gaps and follow the maker’s fastener spacing. I would put PVC at the sink and along the floor and keep any MDF above the splash line.
PVC is plainly new, and that is fine with me. New work should be honest about being new, so paint it a clean color and let it be a good modern wall.
Fix any damp first, since any beadboard, PVC included, can trap moisture and grow mold behind it. If you would rather have bare boards than paint, read up on rustic wood and salvage for laundry walls, and keep that raw wood well away from the wettest spot.
Caps, Outlets, the Sink and the Machines: Where Beadboard Gets Fiddly
Outlets, switches and the cap rail
Cut outlet and switch openings on site, after the panels are on the wall. Jim Tolpin’s old method still works: two square story sticks, one for horizontal measurements and one for vertical, so you transfer the box’s position instead of measuring across a room. Mistakes there, as he put it, tend to get expensive.
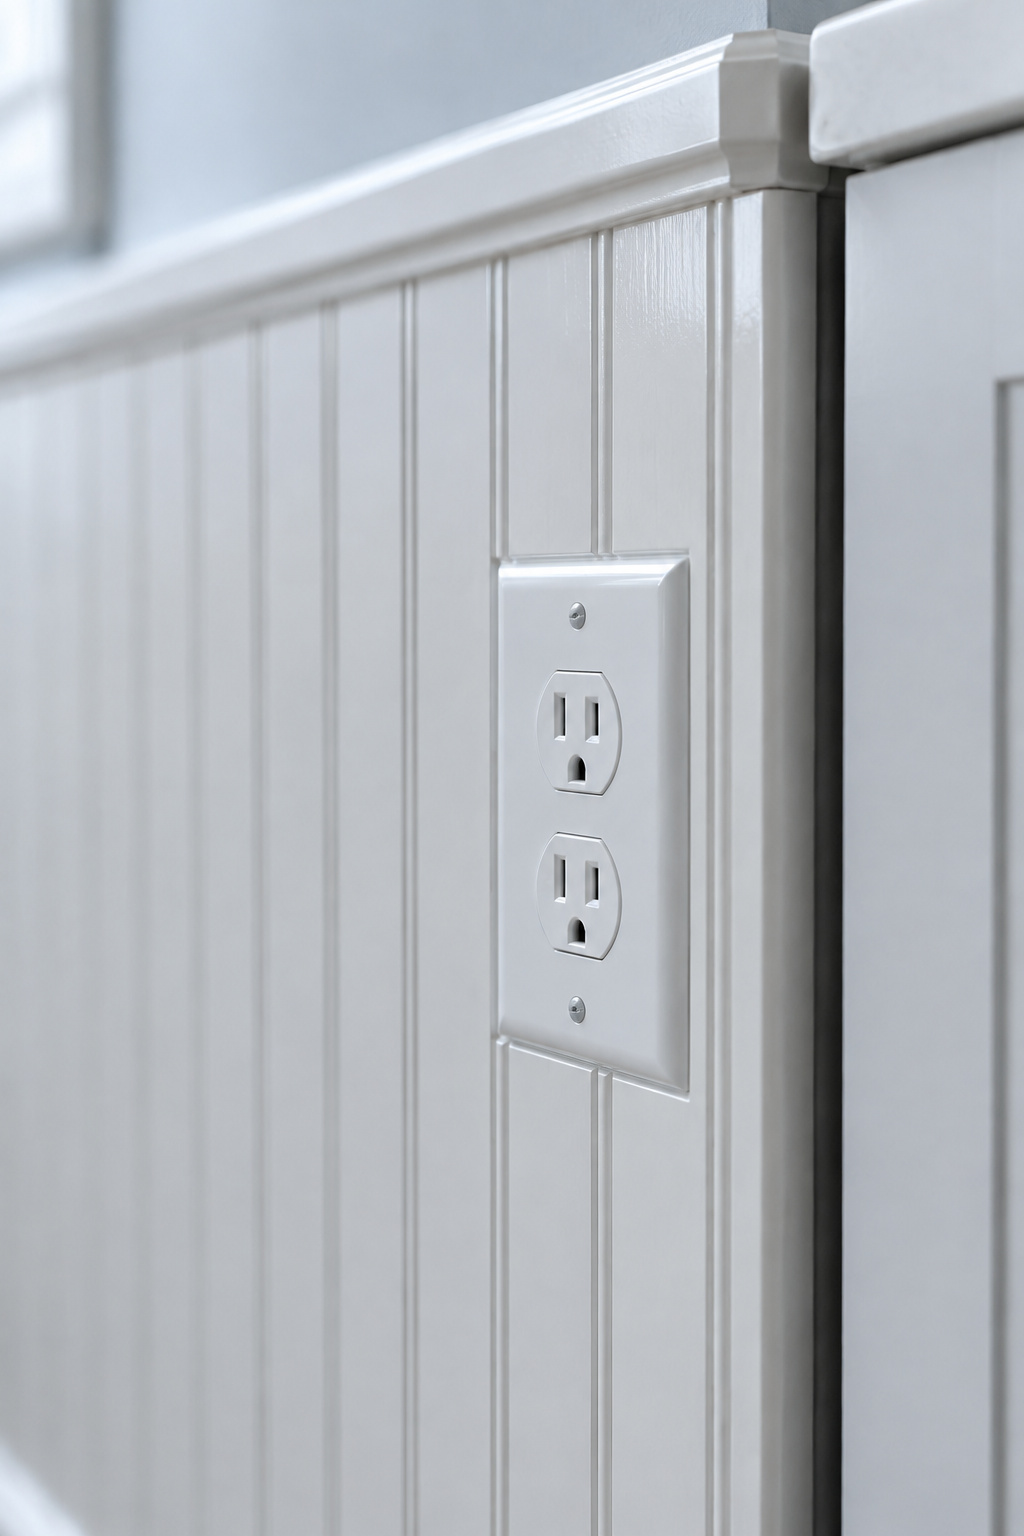
The cap is the ledge a basket slides along and the edge a hand lands on, so I like a flat top with a softened front, not a thin, sharp molding that catches. Pencil the height you chose, and the reason, on the back of the last panel before it goes up.
The sink and the gap behind the machines
Hold the panels about 1/4 inch off the floor and caulk the baseboard joint, the underside of the cap and the inside corners. Scribe the panel to the sink’s edge, and keep moisture-resistant MDF at least 3 inches clear of it, every edge primed once and topcoated twice. Behind the machines, leave the valves, drain and vent box open, and keep the side clearance your washer’s maker asks for, so no panel edge sits where a machine can strike it.
The short list:
- Outlet openings cut on site, after the panels are up
- A flat, softened cap a basket can slide along
- A caulked gap at the floor and sealed edges at the sink
- Clear access to the valves, the drain and the vent
Paint It in a Wipeable Sheen, Then Tape Your Line on the Wall Today
Paint is still the real moisture barrier on wood and MDF. Use a stain-blocking primer and a satin or semi-gloss enamel; our guide to paint colors and sheen for a laundry room covers which sheen and which white. Scuff-sand or degloss stained boards before priming.
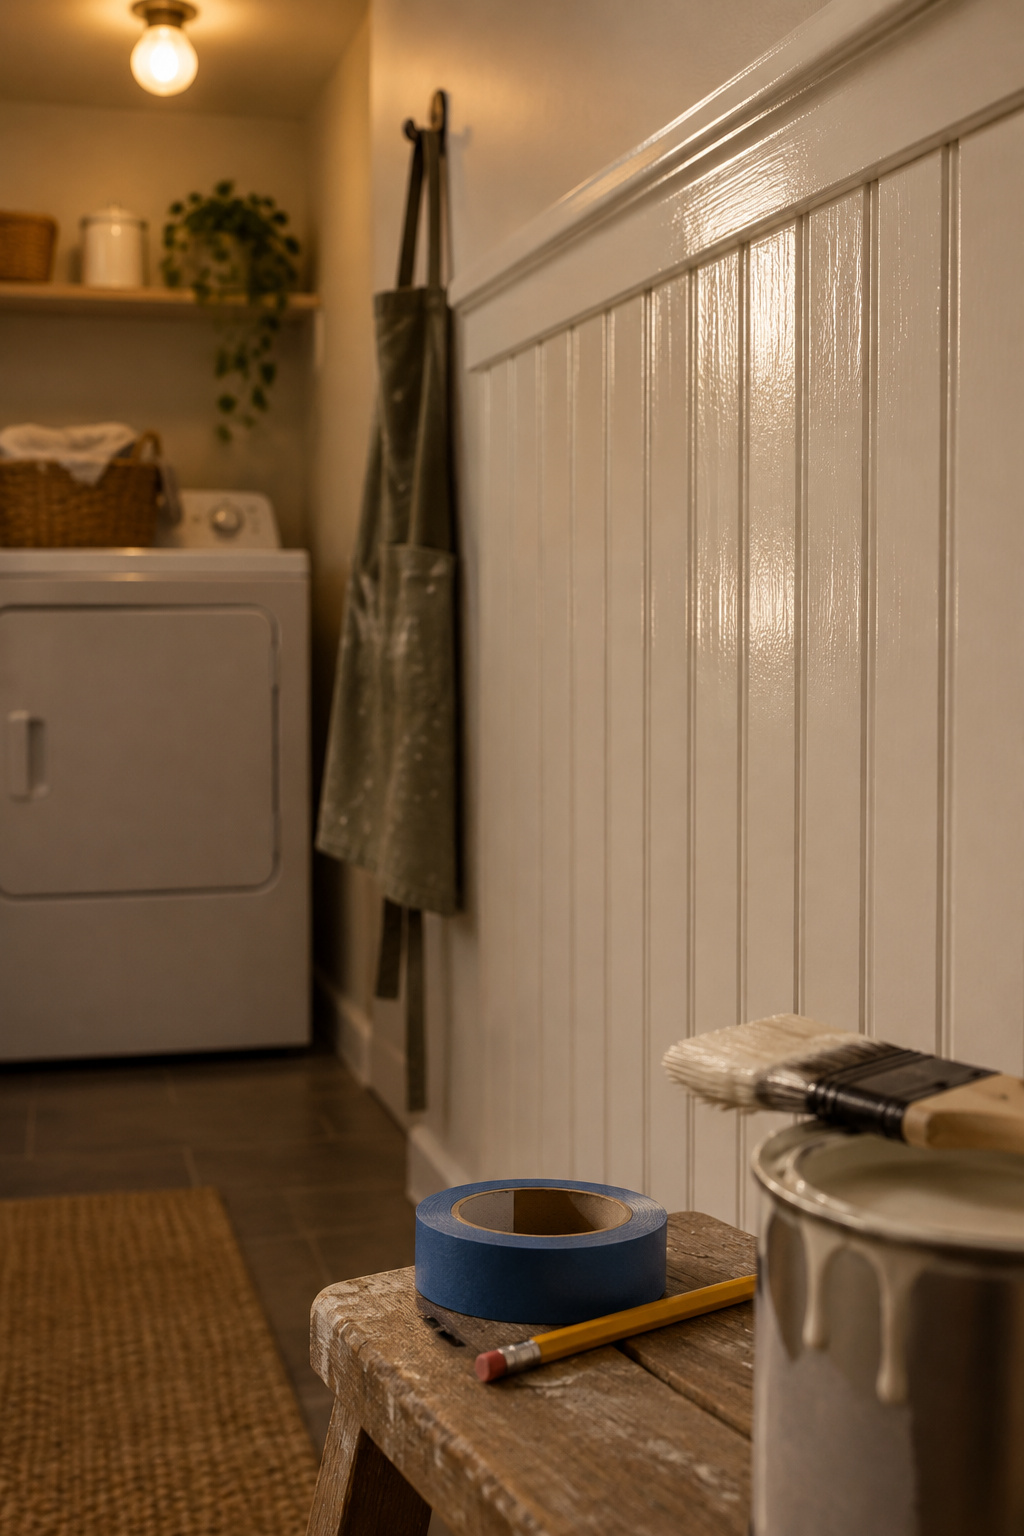
A painted wall is also easier to keep than a stained one. A scuff on paint is a touch-up from the leftover can; a scuff through stain shows raw wood, and the patch never quite matches.
I once bought a painted cupboard for its color and left it wrapped in plastic in the carriage house for a month before I got around to testing the paint. Don’t give your wall a month. Tonight, set the basket on the machine, lift the lid if it lifts, tape each mark and look at the two numbers. The higher one is where your cap goes, usually well above the one-third mark, assuming your basket gets set down on the machine and your sink splashes about as far as I allowed. If it doesn’t, the tape will say so, and the tape wins.
FAQ
Can you put beadboard over existing drywall or tile in a laundry room?
Yes, over sound drywall or tile, provided the wall behind is dry. Clean old tile of grease so the construction adhesive grips, then add 2 inch finish nails. Over tile the panels sit proud of the old surface, so check how the outlets and cap will meet them. Replace soft or stained drywall first, especially behind a deep sink.
Do you need to prime PVC beadboard before you paint it?
Follow the panel maker’s paint instructions, since the maker decides whether a primer is needed. As for the paint, choose a vinyl-safe product in a light color. Dark colors make PVC move the most as it heats, and a board that moves is a joint that opens, so a pale wall stays tighter.
How do you clean the grooves of painted beadboard in a laundry room?
Wipe them with warm water and a little mild soap, working a soft brush along each bead, then dry the wall so lint and detergent cannot build up in the joints. Hold off on hard scrubbing until the paint has fully cured, because a finish only reaches its scrub resistance once it has.