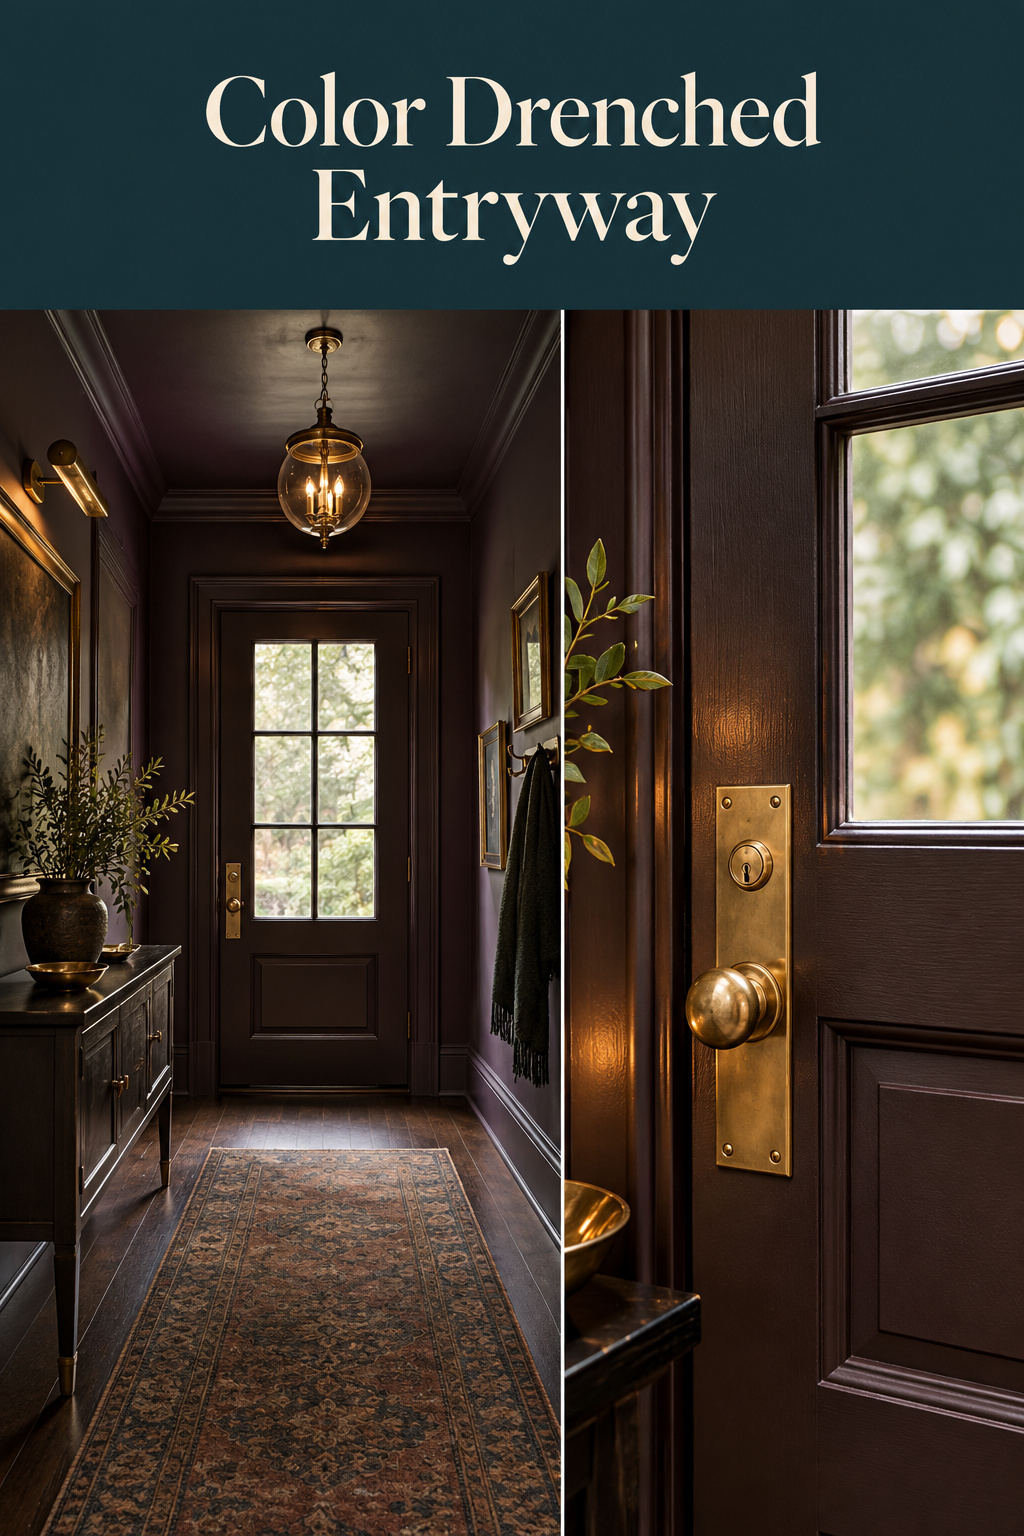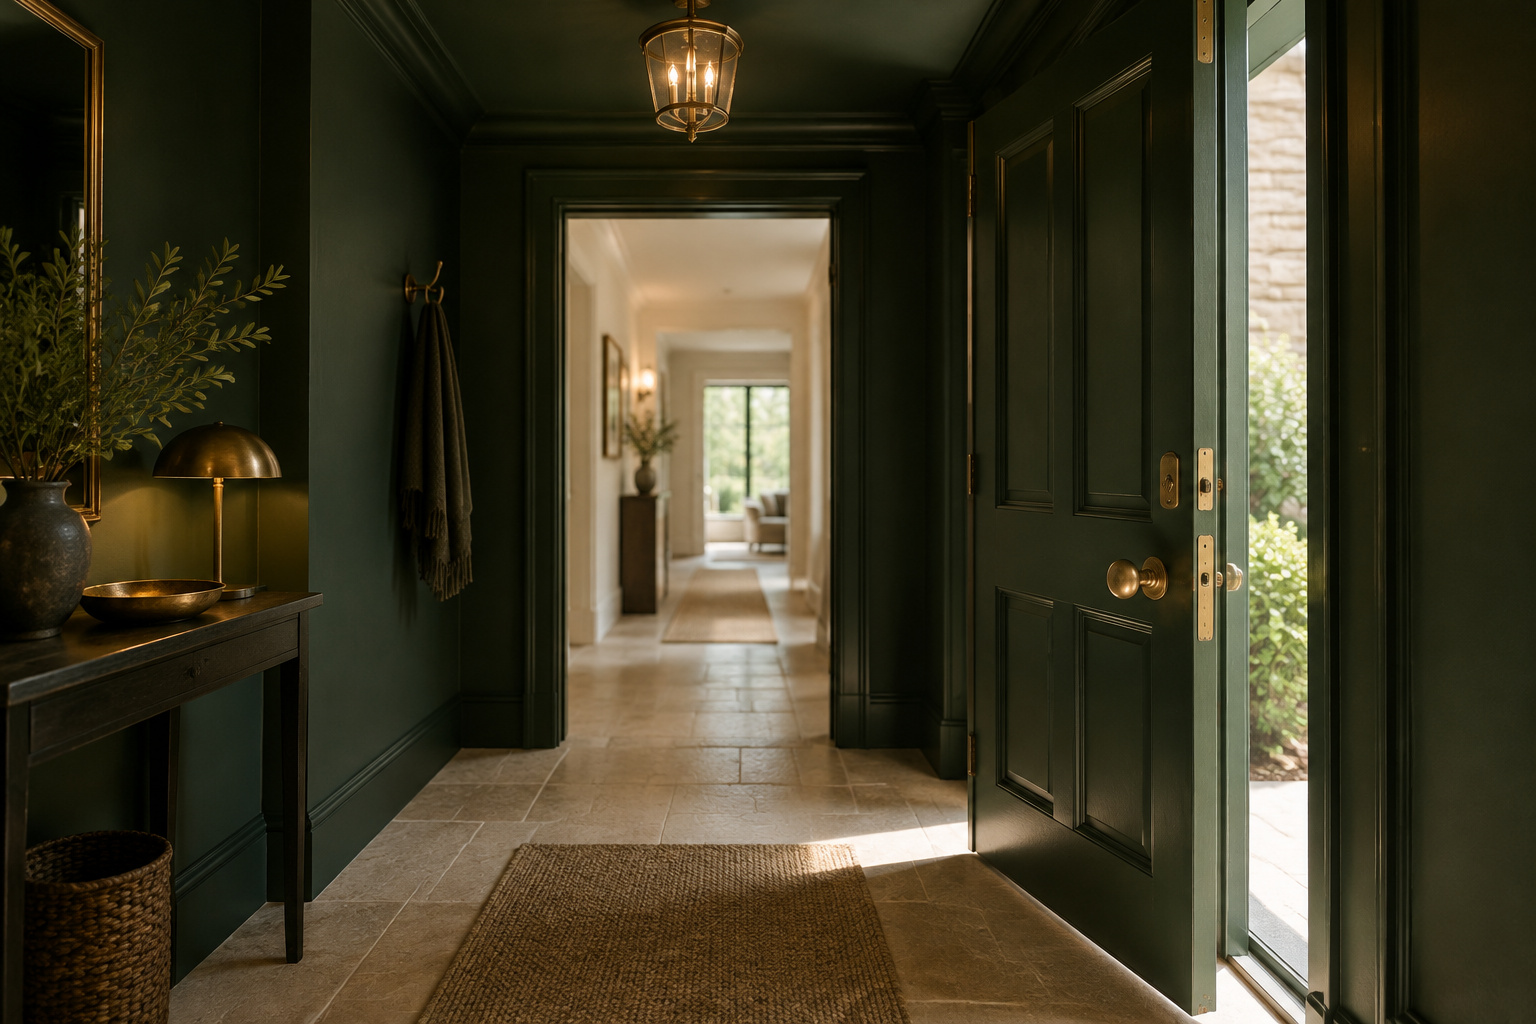
I once lost an entire weekend to a set of floating shelves that a video swore would take two hours. The shelves weren’t the mistake; believing the clock was, and it’s why every timeline I give now includes the trip back to the store. A color drenched entryway is the same lie with more doors in it. The photos say “a weekend.”
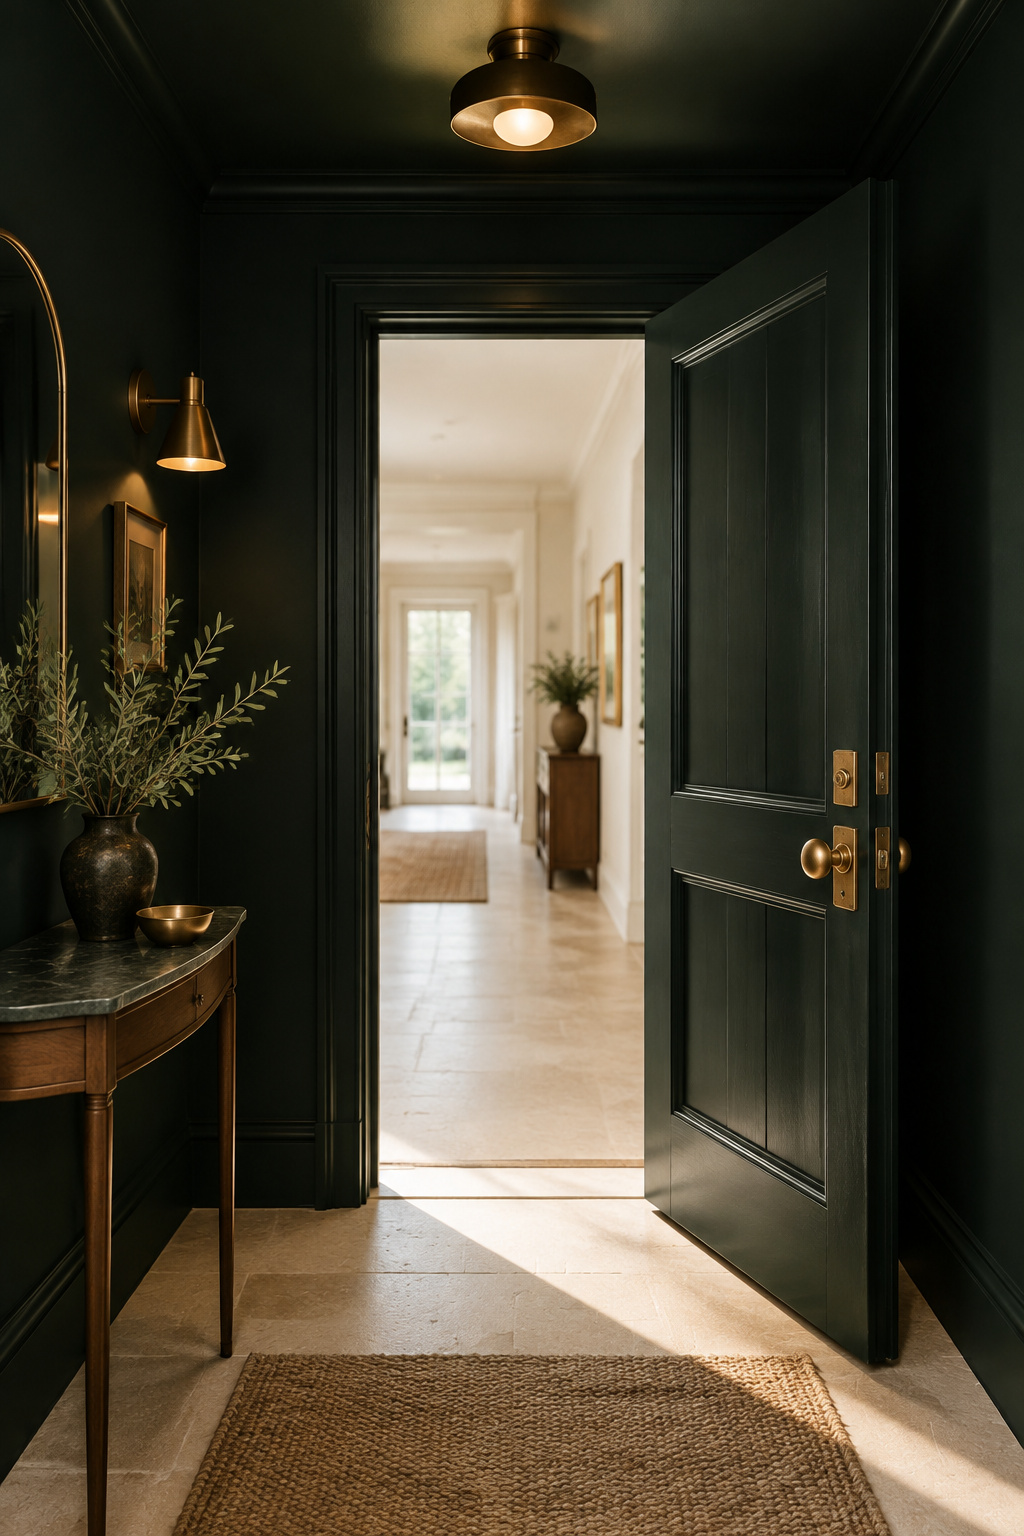
Start by counting what’s in your entry: a front door, a closet door, a couple of interior doorways, every one of them cased, all of it trim.
TL;DR
- Include walls, ceiling, trim, doors, the radiator and any stair stringer in one color; exclude door glass, hardware, stair treads and the floor.
- Use three sheens in one hue: flat or matte full-formula wall paint on the ceiling, eggshell or satin on the walls, semi-gloss on trim and doors. Plan on two coats, or three for a big shift to a dark color unless you prime with a tinted primer.
- Buy more than you think. By my arithmetic, an 8-by-6-foot entry with a 9-foot ceiling and five openings has about 98 linear feet of trim (2-3 quarts of enamel) and 195 square feet of wall and ceiling (buy two gallons).
The Weekend That Wasn’t: What a Drenched Entry Really Takes
The time doesn’t go into brushwork. Brushing and rolling one interior door with a good self-leveling door enamel is three to four hours of actual work, and professional painters put it in the same range or a little under. Nobody disputes that part.
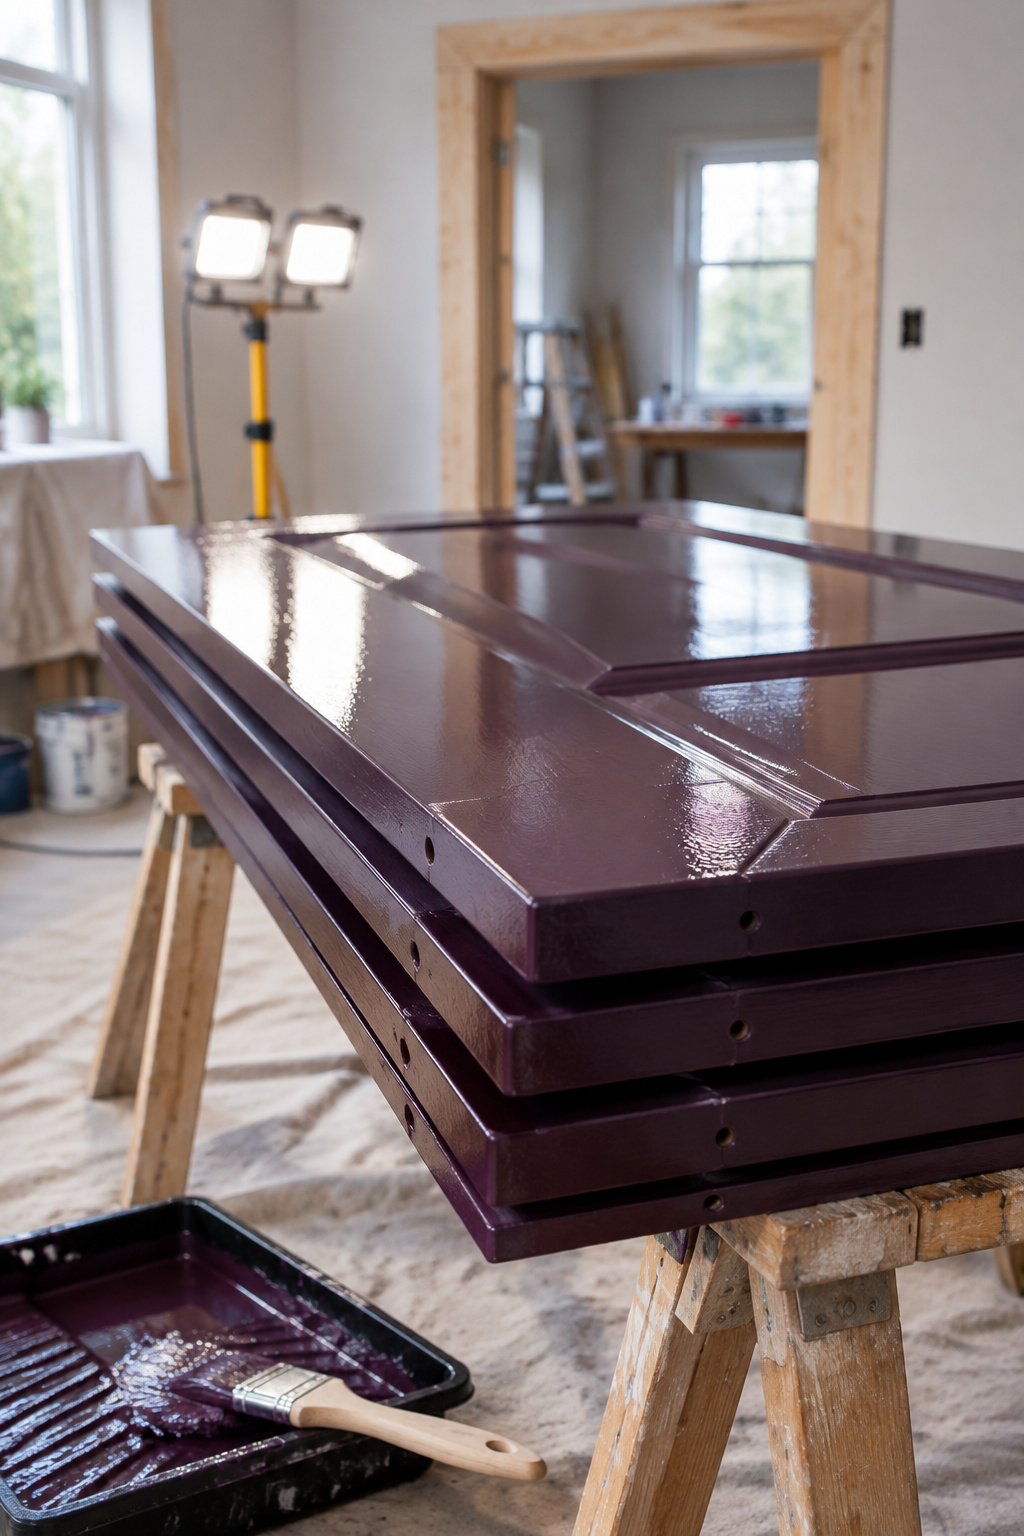
What the tutorials skip is the clock between coats. A door enamel wants an overnight recoat, then more time before the door goes back on its hinges. Two coats on one door is therefore a calendar measured in days, not an afternoon, and that clock runs once per door. The chemistry sets the pace, not your brush speed.
A cabinet refinisher describing a big multi-door job said the same thing from a different trade. Door count drove the schedule, and adding another person to the crew barely moved it.
Now multiply. Nobody has counted the openings in a typical entry, so count yours: front door, closet, a doorway or three. Each door runs its own recoat clock. That’s the math the “weekend drench” photos leave out, so estimate a door job by recoat windows, not by brushwork hours times door count. Then add the store trip, because you’ll make one.
The Drenching Principle, in Two Sentences
Color drenching paints walls, ceiling, trim and doors in one hue so no contrast lines tell your eye where one surface stops and the next begins; interior designer Marcia Moore describes the effect as partial or complete, with no useful middle ground. Leave one surface untouched and the drench works in reverse, because that one boundary becomes the loudest thing in the room.
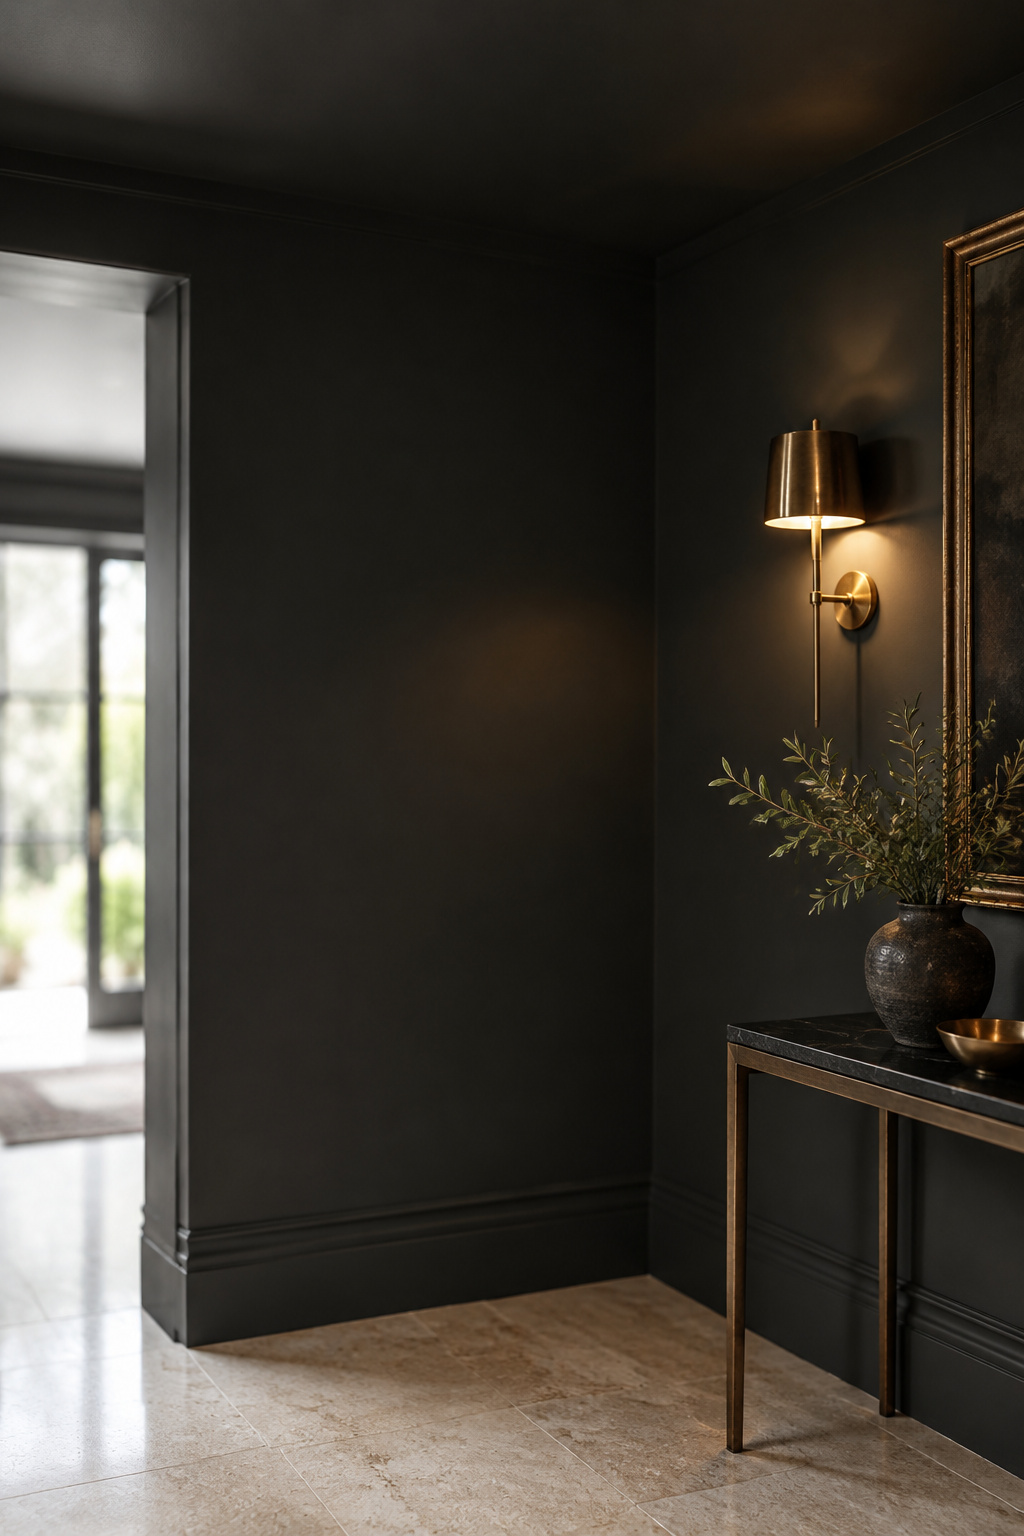
That’s the whole theory. An entry is hard because it has more doors, frames and trim per square foot than almost any other room in the house, often in a footprint under 100 square feet. A drenched entry is mostly woodwork, and woodwork is where the slow paint lives.
What Goes In a Color Drenched Entryway, and What Stays Out
Surfaces to include, and surfaces to leave alone
Walls, ceiling and trim are the base recipe, and doors and their casing go in with the trim. A dark frame around a white door rebuilds the boundary at the most visible surface in the room. The radiator goes in too, since painted out it stops looking like a white appliance bolted to your dark wall. That’s my reasoning from the half-drench rule, not a study.
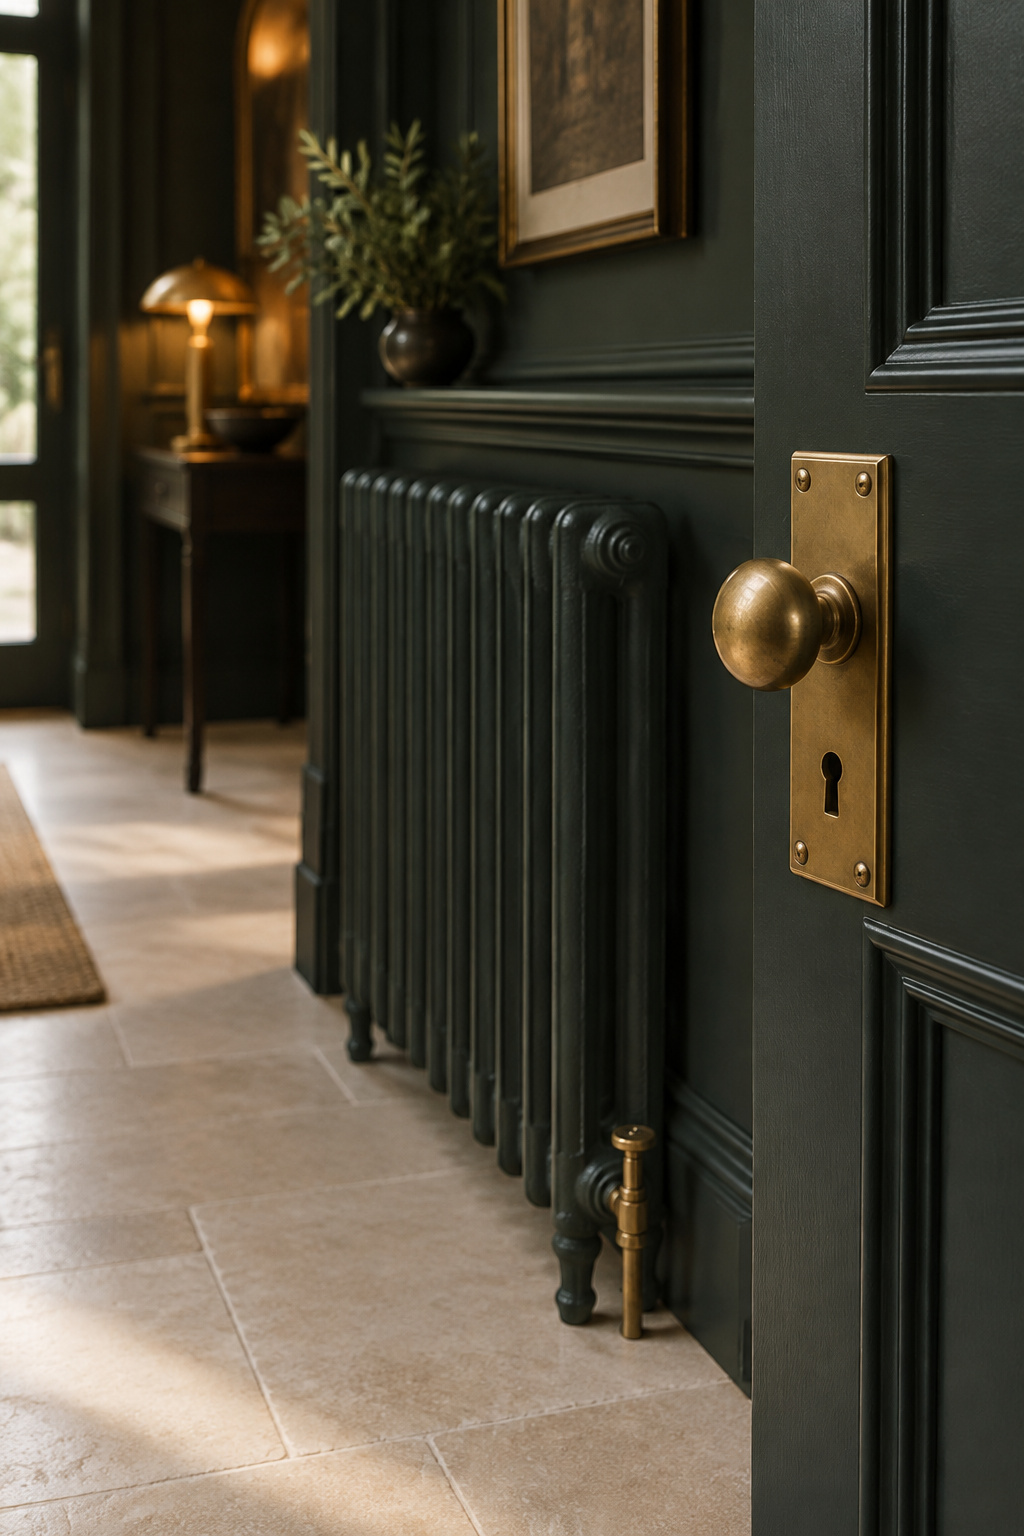
The same logic covers a stair stringer (the side panel of the staircase, not the steps) if it starts in or borders the entry. It’s trim-adjacent, and nobody walks on it.
The exclude list is where people slip, usually out of enthusiasm with a roller:
- Door glass. Sidelights and glazed panels are windows, and they carry the daylight your dark entry depends on. Leave them clear.
- Hardware. Hinges, knobs and latch plates stay unpainted. Brass against a dark ground is the one contrast you want, and paint in a latch mechanism gums it up. Take the hardware off or mask it properly, because lazy tape lets brush drift tint the brass.
- Stair treads. The walking surface is a floor-finish decision, and the site’s staircase makeover guide handles it.
- The floor. Same reason: entry flooring has its own guide on this site and isn’t part of the drench.
Skill level: some builds, since you’re cutting in along a lot of casing.
Sheen Per Surface, and Why the Front Door Is Its Own Problem
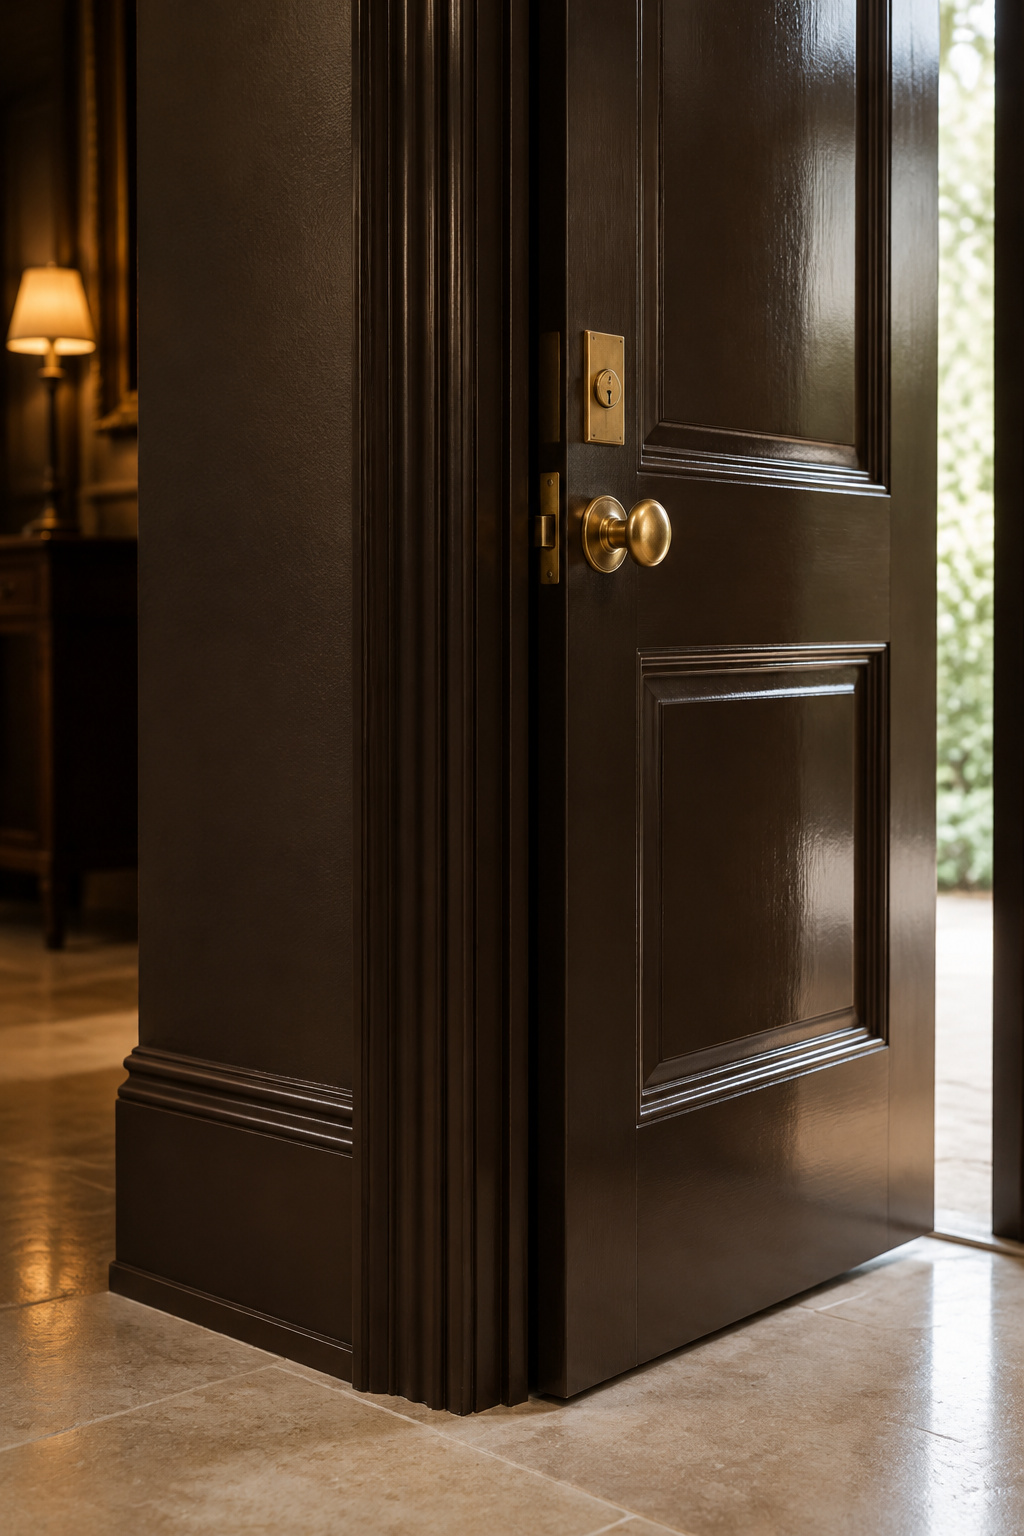
One color doesn’t mean one sheen. Sherwin-Williams and Benjamin Moore both steer walls lower and trim and doors higher, and Sherwin-Williams has a name for doing it in a single hue: one color, two sheens. An entry ends up with three.
| Surface | Sheen | Why it’s there |
|---|---|---|
| Ceiling | Flat or matte, full-formula wall paint | Ceiling paint can’t be tinted deep; matte hides roller marks and glare overhead |
| Walls | Eggshell or satin | Entry walls need to be scrubbable |
| Trim, doors, radiator | Semi-gloss minimum | Takes knocks; the sheen change shows the profile without a color break |
At the paint counter, ask for full-formula wall paint in the drench color for the ceiling, never ceiling paint. I won’t re-argue why flat is a poor choice on the walls themselves. The black entryway article on this site covers how dark finishes wear and why the entry sheen standard is what it is.
The front door needs its own decision. In a drench it takes the same color and the same semi-gloss as every other door, but it doesn’t share their easy cure. It closes against weatherstrip all day, and paint that isn’t ready will stick. I won’t size that problem here, because the front door’s own paint and cure decision is worked through properly in its own article, product and waiting times included. Read that before you open the can.
How Much Paint a Door-Heavy Entry Actually Needs
Nobody publishes how many openings a typical entry has, so this is an illustration with the working shown. Re-run it for your room.
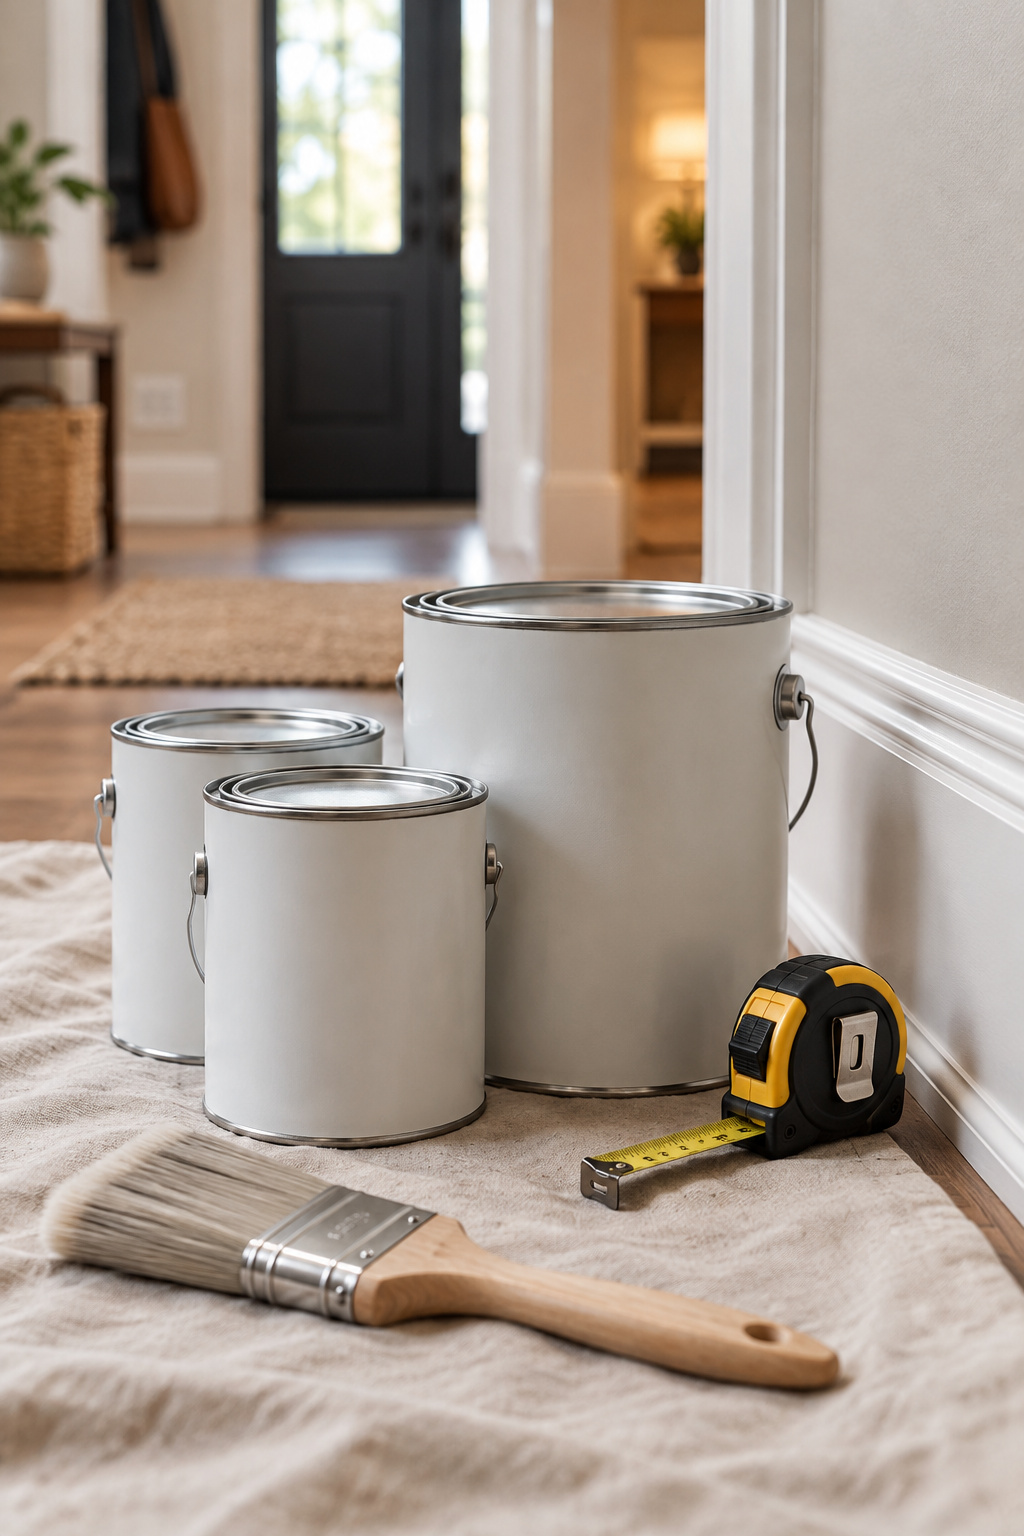
The assumption: an 8-by-6-foot entry, a 9-foot ceiling, five openings (front door, closet door, three interior doorways), each cased on the entry side only.
Start with casing. Five separate trim calculators land on the same rule of thumb: a standard 32-by-80-inch door with 2-1/4-inch casing needs about 17 linear feet per cased side, which covers two legs, one head and a little for miters.
These figures are my own working: they come from the assumption above and the coverage rates in the table, not from any measured “typical” entry.
| Surface | Working | Result | Paint |
|---|---|---|---|
| Casing | 5 openings × 17 ft | 85 lf | |
| Baseboard | perimeter 2 × (8 + 6) = 28 ft, minus 5 openings × ~3 ft | 13 lf | |
| Total trim | 85 + 13 | 98 lf | 98 ÷ 125 lf per quart per coat ≈ 0.8 qt per coat; 2 coats ≈ 1.6 qt, 3 coats ≈ 2.4 qt → 2-3 quarts |
| Walls | 28 ft × 9 ft = 252 sq ft, minus 5 openings × ~21 sq ft | 147 sq ft | |
| Ceiling | 8 × 6 | 48 sq ft | |
| Total wall + ceiling | 147 + 48 | 195 sq ft | 3 coats = 585 sq ft ÷ 350-400 sq ft per gallon ≈ 1.5-1.7 gal → buy two gallons |
| Door slabs (not in the trim total) | 5 slabs × ~3 ft × 6.67 ft, one face each | ~100 sq ft | Measure as area; check your enamel’s coverage label |
What surprised me: a paint-pricing guide’s stock example, a 12-by-12 bedroom with one door and one window, comes to about 73 linear feet of trim and fits comfortably in one quart. Working it out, that bedroom is 144 square feet of floor, three times this entry’s 48, and the entry still carries more trim, 98 feet against 73.
Openings drive trim, not floor area. A bedroom rule buys one quart for a two-to-three-quart job.
The door slabs sit outside that 98 feet because they’re area, not length, at roughly 20 square feet per face. I haven’t found a per-door quart rule I’d trust, so measure them and read the can.
Coats are the other multiplier. Two coats is the standard baseline for a color change, while a big shift to a saturated dark needs three, or two finish coats over a primer tinted about halfway toward the topcoat.
That guidance comes from one painting contractor, and no code says how many coats a drench needs, so treat it as a trade rule, not a spec.
Your Sequence: Painting an Entry You Still Have to Walk Through
What do you do when the room you’re painting is the only way in and out of the house? Keep the professional order, then break it once, on purpose.
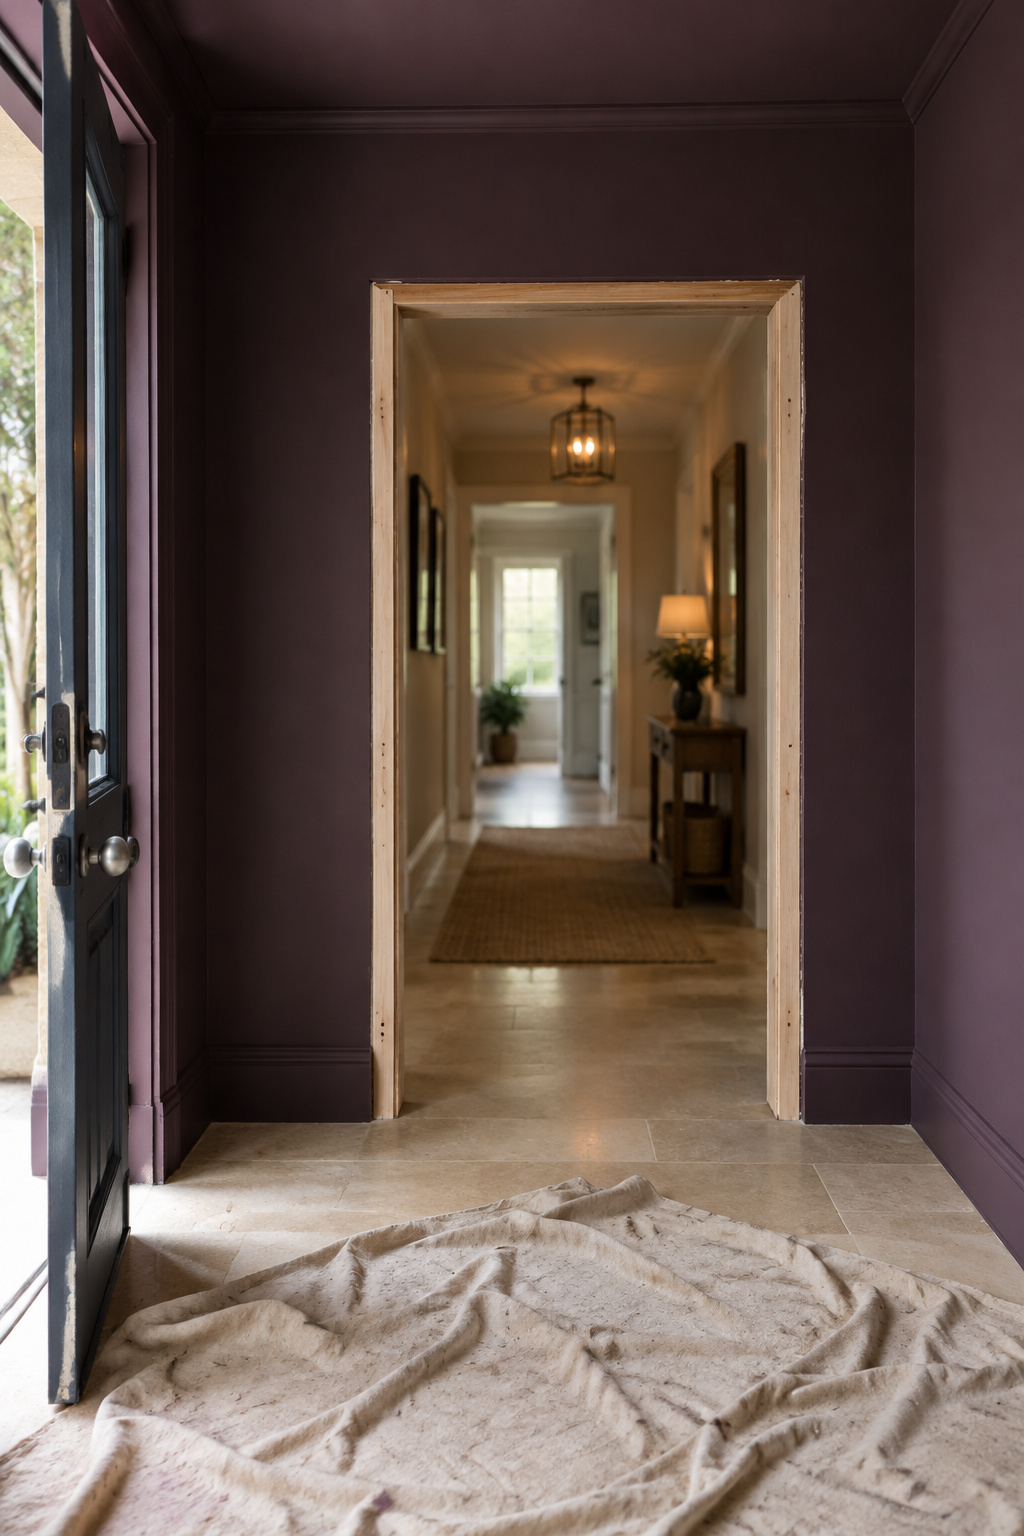
The standard drench sequence is ceiling, walls, woodwork. It lets drips from above land on unpainted surfaces and lets you cut in clean at the trim, so nothing gets painted twice.
- Pull the interior doors first. Number the hinges and set the doors on sawhorses elsewhere. The entry loses an opening, not the room.
- Stagger the doors. Start the closet door, the next a day later. Take every door off at once and you close every path through the house for the whole recoat cycle.
- Paint the ceiling, then the walls: flat or matte overhead, eggshell or satin below.
- Paint the casing, baseboard, radiator and stringer in semi-gloss, cutting in against dry walls.
- Rehang the interior doors once their enamel says they’re ready, not when you’re tired of stepping around sawhorses. The front door goes last, on its own schedule.
Where the color stops is a separate call. If your entry opens straight into a hall, the drench either ends at that opening’s trim or keeps going, and whether the color carries on down the hallway is decided in its own article. The drench is one of the other decisions a dark entry asks for, so settle the color and the stopping point before you buy paint.
Your first move tonight takes a tape measure and ten minutes. Count your openings, measure your perimeter and ceiling height, and re-run the table. Mine said 98 linear feet of trim for an 8-by-6-foot entry with a 9-foot ceiling and five openings. That is an illustration, not your room. Your number tells you how many weekends to book.
FAQ
Do you need a different primer to color drench with a dark shade?
Not strictly, but a tinted primer saves a coat. A big shift to a deep color needs three coats, or two over a primer tinted about halfway toward the topcoat. Old glossy oil paint on the trim needs a scuff-sand with 220-grit first, or a shellac-based primer, which bonds to cured oil paint without sanding.
Should ceiling paint be the same sheen as the walls in a drenched entryway?
No. A dark ceiling needs full-formula wall paint in flat or matte, whatever the walls are. Standard ceiling paint can’t hold a deep tint, and matte hides roller marks and glare overhead. Entry walls usually run eggshell or satin so they can be cleaned, which gives most drenched entries three sheens in one color.
How many coats does a color-drenched entryway usually need?
Two coats is the standard baseline for a color change on a sound, painted surface. A saturated or dramatic shift needs three, or two over a tinted primer. On doors, each coat has to wait out the enamel’s recoat window, so two coats on a door take days with most enamels, not an afternoon.