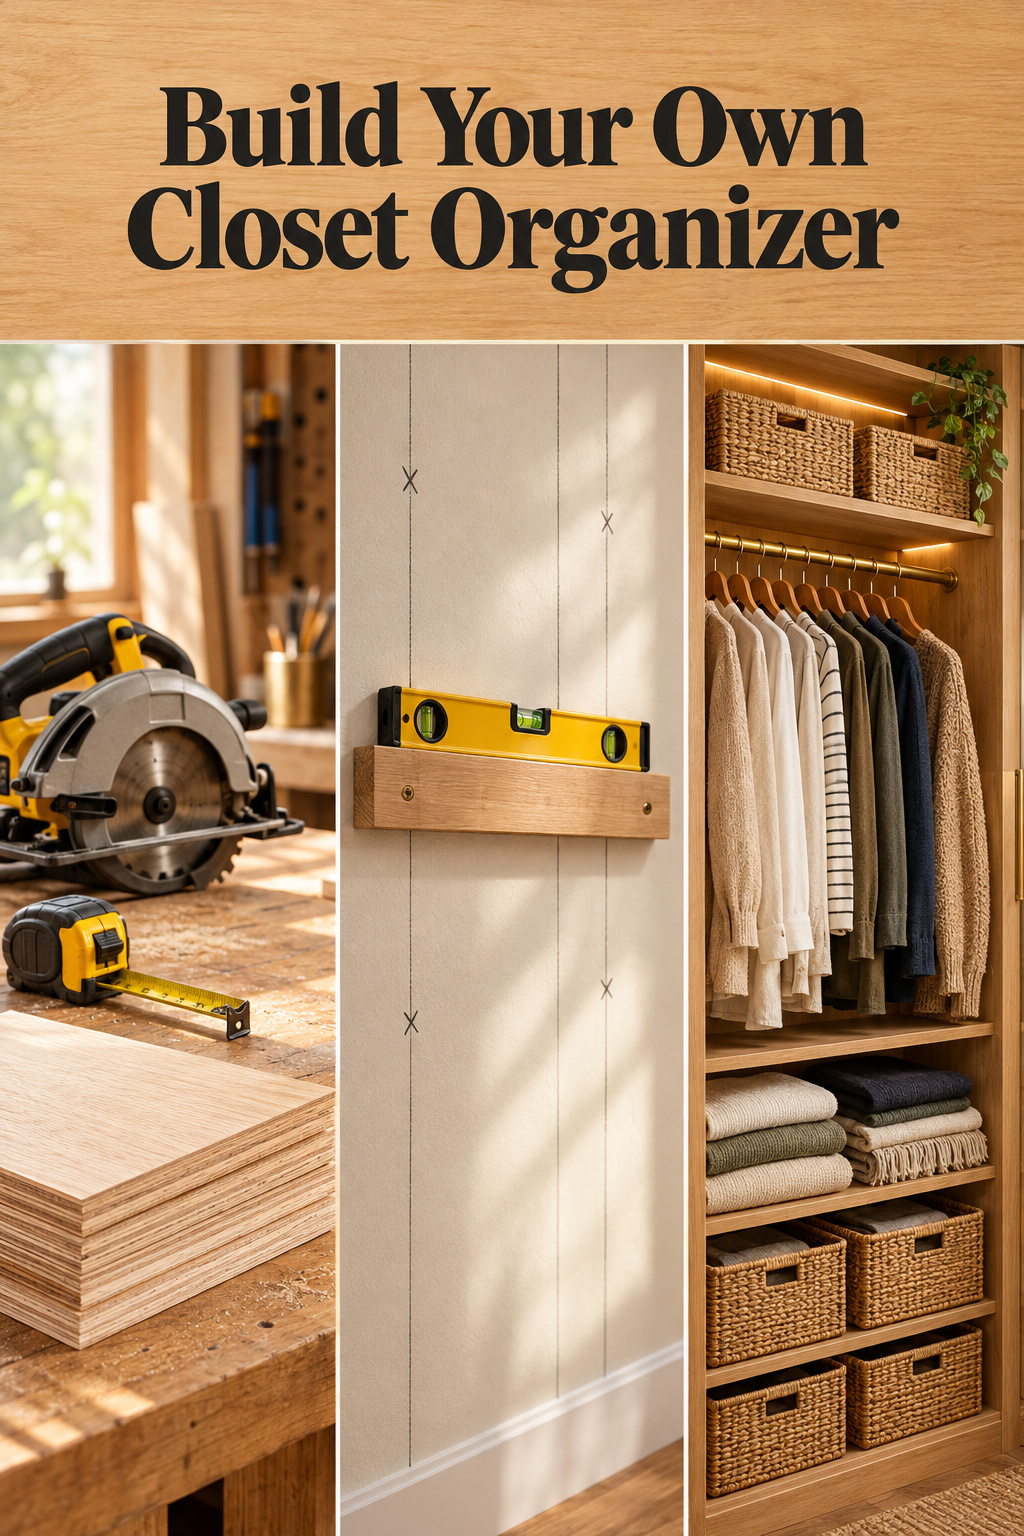
The video said two hours. It cost me a Saturday, most of a Sunday and two drives back for hardware, for three floating shelves. The clock was edited. The work wasn’t. That weekend set the test I hold DIY closet organizer plans to: real cost, real hours, still flat in two years.
TL;DR
- One documented plywood shelf-and-rod build cost $76: two sheets of 3/4-inch plywood at about $35 each, plus dowel, glue and finish.
- Build to two numbers: 12-inch shelf depth in a reach-in, and 24 inches of clearance between rod and facing wall.
- A regular-duty rod holds 20 lb per linear foot. Stud-mounted heavy-duty systems reach 40 lb per foot, or 90 with the shelf.
This article covers the build: tools, cuts, loads, install order. Whether to build at all comes last.
What These DIY Closet Organizer Plans Actually Cost and Take
Seventy-six dollars against a $100 budget: one documented plywood shelf-and-rod closet, finish included.
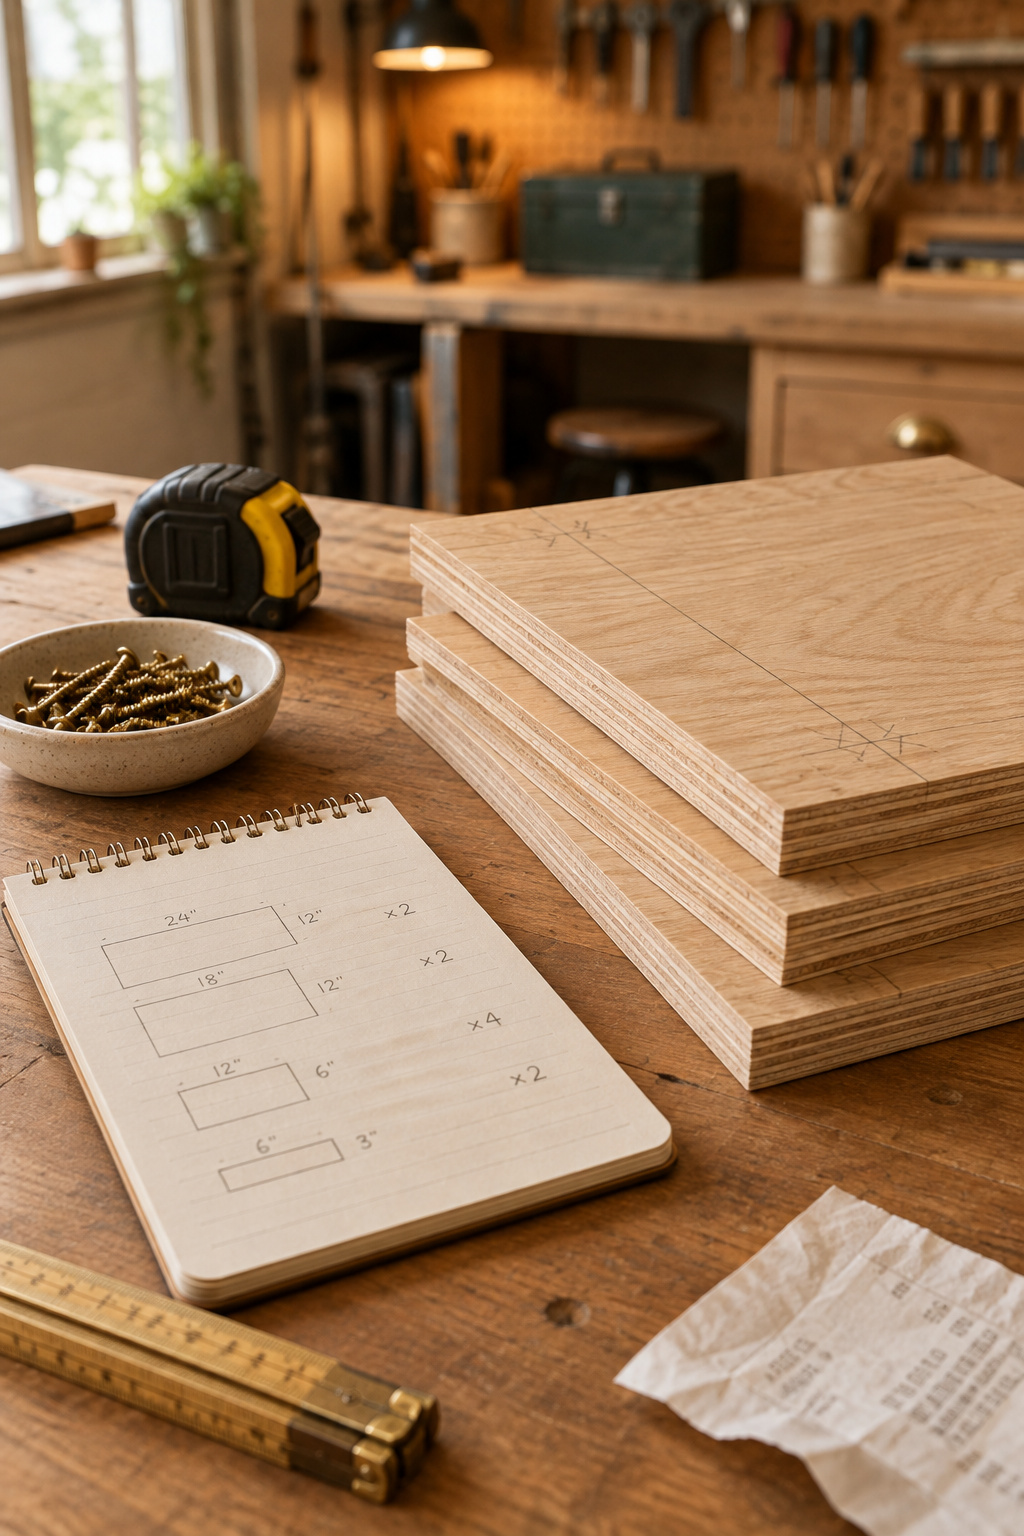
Materials cost, real numbers
Two sheets of 3/4-inch plywood carry a basic reach-in. Drawer slides and edge banding push a build toward $350. Treat the walk-in figure below as an upper bound.
| Build | Materials | Hours | Skill |
|---|---|---|---|
| Reach-in shelf-and-rod, plywood | ~$76 | 2–4 | First build |
| Cabinet tower with drawers | ~$350 | 10–16 | Confident builder |
| Scratch-built walk-in | ~$2,235 | 12–20 | Confident builder |
Hours, including the second trip to the store
Those hours come from one build-time aggregator, not a trade standard, so read them as a shape. Joinery stretches them more than closet size does. One write-up lost two extra hours to an out-of-square opening, and no cut list covers a bad rip. Schedule two half-days, the unglamorous half of closet organization strategies that actually work.
Skill level: first build or confident builder
Kreg Tool rates its own five-shelf plywood plan easy: circular saw, miter saw, square, tape, nail gun. Pocket-hole joinery and drawer slides belong to the tower build.
Tools You Need (and the Cheaper Workaround for Each)
Five tools cover this build, and everything past them has a workaround.
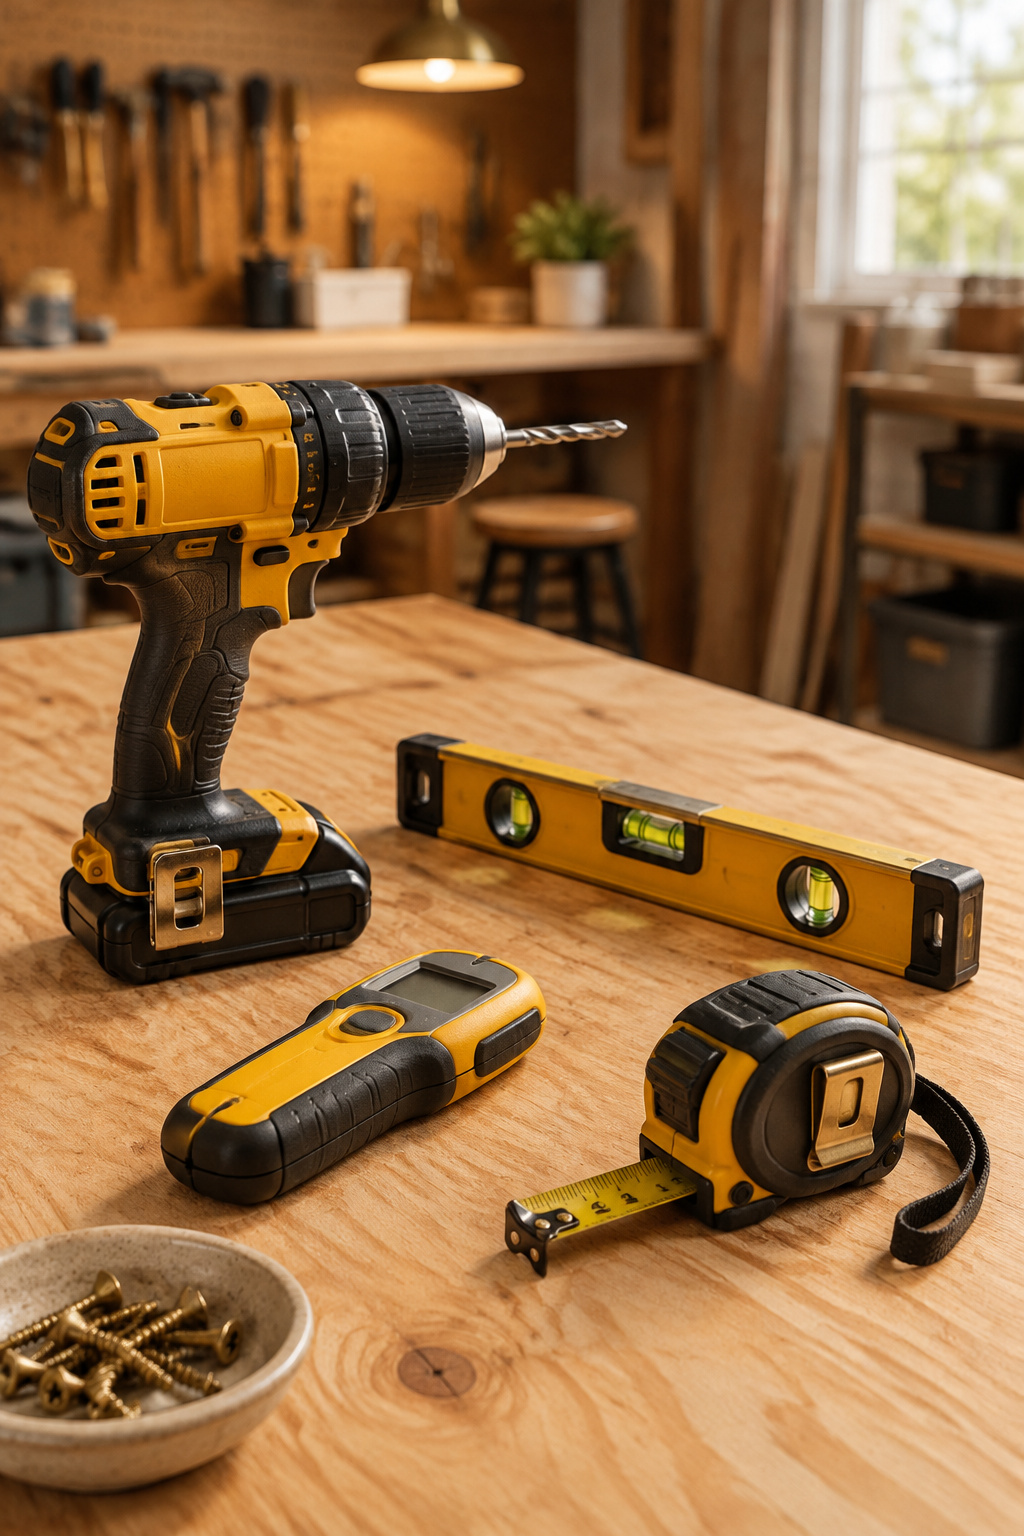
The core tool list
- Circular saw, or a track saw with a straightedge clamp. Either one breaks down a 4×8 sheet.
- Miter saw for square cleat and trim cuts. Skip it if you have few cuts.
- Drill/driver. No substitute, so buy this one well.
- Stud finder: electronic, magnetic or free.
- Level, tape and square. Borrow the level, but never skip it.
What to borrow, rent, or substitute
Home Depot rents miter and circular saws by the day, and the store’s cut counter is the other legitimate answer. For studs, free works: one side of every outlet box is fastened to one. Skip the pocket-hole jig: shelves on cleats need only screws into framing. Closet shelves rarely fail in the shelf. They give out at the wall.
A Shelf-and-Rod Layout You Can Repeat in Any Closet
Why do home-built closets end up with a shelf you dig through? Depth. It looks like storage and behaves like dead space.
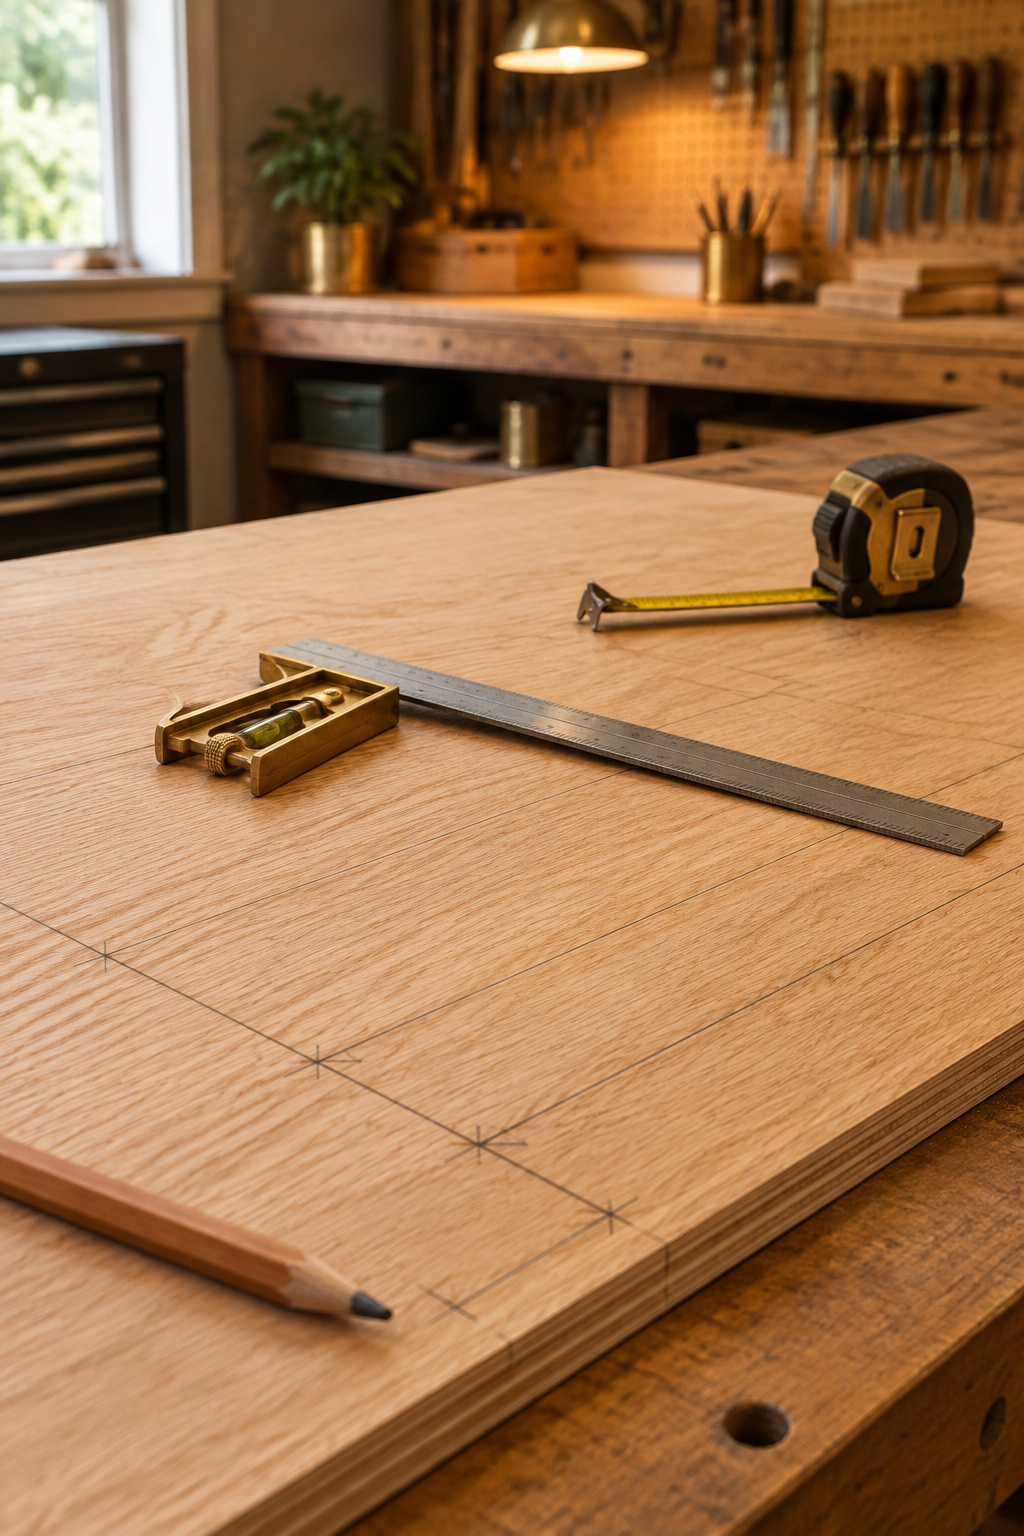
Standard shelf depth and rod clearance
The number that gets missed most is 24 inches of clearance between the rod and any facing wall. On depth, paired 16-inch shelves can leave a 28-inch walkway. Per John Louis Home, depth you can’t reach is digging.
| Dimension | Number | Applies to |
|---|---|---|
| Shelf depth, reach-in | 12 in | Standard shelving |
| Shelf depth, bulky goods | 16 in | Walk-ins, back still reachable |
| Rod-to-wall hanger clearance | 24 in | Every rod; 28–30 in for bulky coats |
| Hanger width | 17–19 in | Sets minimum closet depth |
| Jacketed garment depth | 21–22 in | Suits and padded shoulders |
Single-hang vs double-hang height
Put the trade heights on the cut list: a single rod 66 inches above the floor, or a double-hang at 81.75 upper and 40.5 lower. A child rod sits near 30, so plan ahead: building a kids’ closet system means moving it twice as the kid grows.
Marking your cut list
Kreg’s plan cuts shelves at 3/4 x 13 x 23 inches, cleats at 1×2 x 13 (ten for five shelves) and trim at 1×3 x 22 1/4. Adapt to your measured width. Cleats meet in a butt joint, sides an inch shorter than the back cleat.
Cutting, Cleats and Installing Into Studs
Every pencil mark goes on the wall before any screw does.
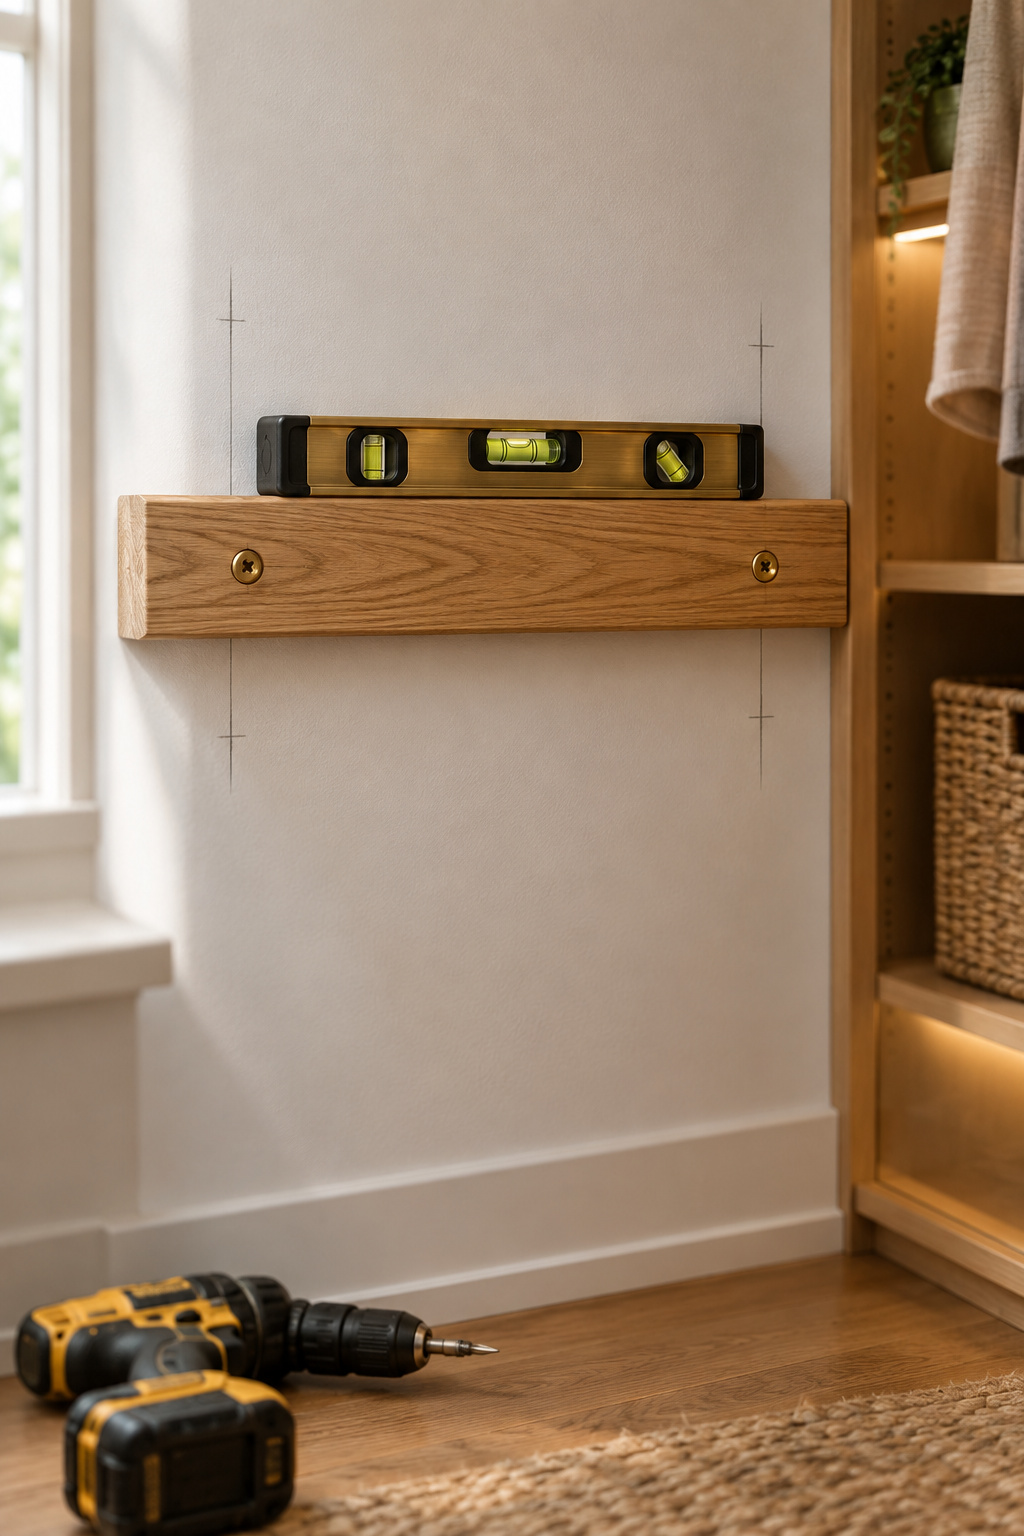
Finding and marking studs
- Confirm one stud. Spacing is 16 inches on center, rarely over 24 even in old houses.
- Project the rest. Measure across in 16-inch increments; baseboard nail dimples confirm the line at the floor.
Installing the cleats level
- Set one level line. Mark the top shelf near 84 inches, then work down from that line at 12 to 15 inch spacing.
- Screw cleats into studs. Drive two-inch screws through the cleat into framing, back wall and sides. Drywall alone is not a fastening.
Hanging shelves and mounting the rod
- Set the shelves. They rest on the cleats. Screw them down wherever bins will slide.
- Mount the rod last. Every bracket lands on a stud, or on anchors rated for the load.
Weight Ratings: What Your Rod and Shelves Can Actually Hold
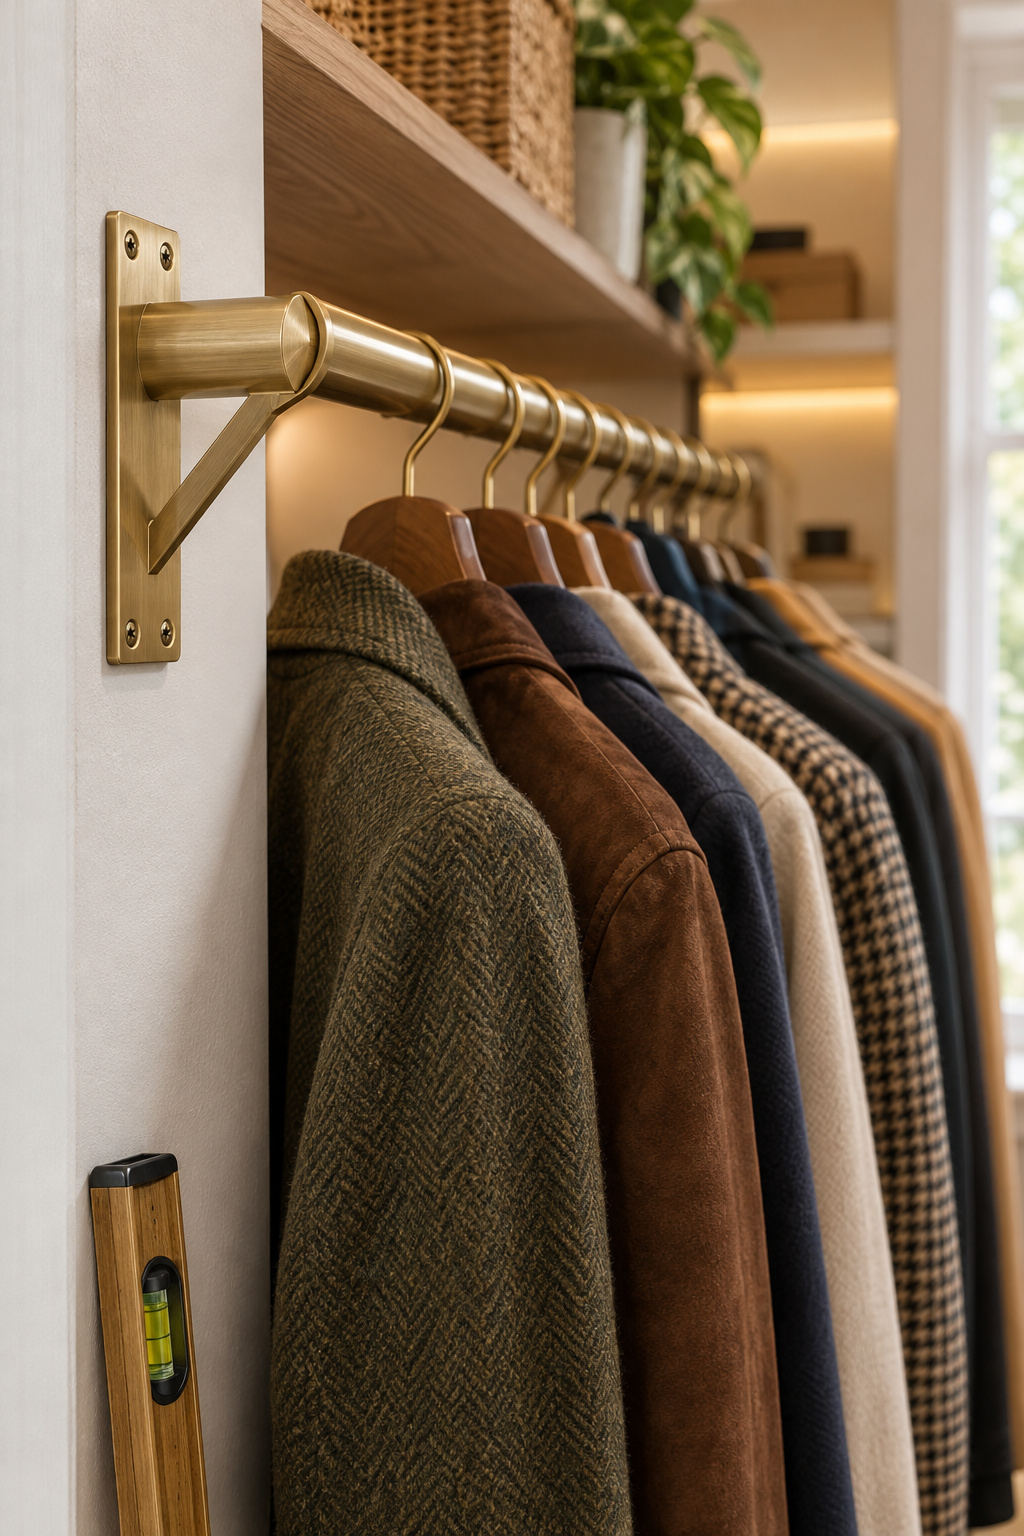
Per Rothley Tubes, a metal tube carries 100 pounds over a 24-inch span and visibly bows under 60 pounds at 48 inches. Span explains most of the sagging closets I see.
Standard rod load ratings
| Component | Rated capacity | Condition |
|---|---|---|
| Regular-duty rod (Everbilt) | 20 lb per linear ft | Weight evenly distributed |
| Heavy-duty system, rod only | 40 lb per linear ft | Rails into studs, brackets ≤24 in apart |
| Heavy-duty system, shelf + rod | 90 lb per linear ft | Same stud-mounted install |
| Wood / aluminum / steel tube | 20–30 / 35–50 / 50–80 lb per ft | Standard spans, no center support |
Those rod figures come from manufacturer specs and install manuals. Add a center support once an oval rod passes 4 feet unsupported, or a round 1-5/16-inch rod passes 6.
Reinforcing for heavier hanging
A wooden dowel cut 1/4 inch short and slid inside a hollow metal rod stiffens the run for a few dollars. Where a bracket misses a stud, know what you’re trusting. Plastic anchors hold 5 to 20 lb, zinc self-drilling anchors 25 to 50, and toggles 50 in half-inch drywall.
Shelves sag long before they break. APA’s L/360 rule caps sag at span divided by 360, and deflection scales with the cube of span, so a center bracket that halves the span cuts sag to roughly an eighth. Spacing beats thickness.
The Mistake Paragraph: What Goes Wrong and How to Fix It
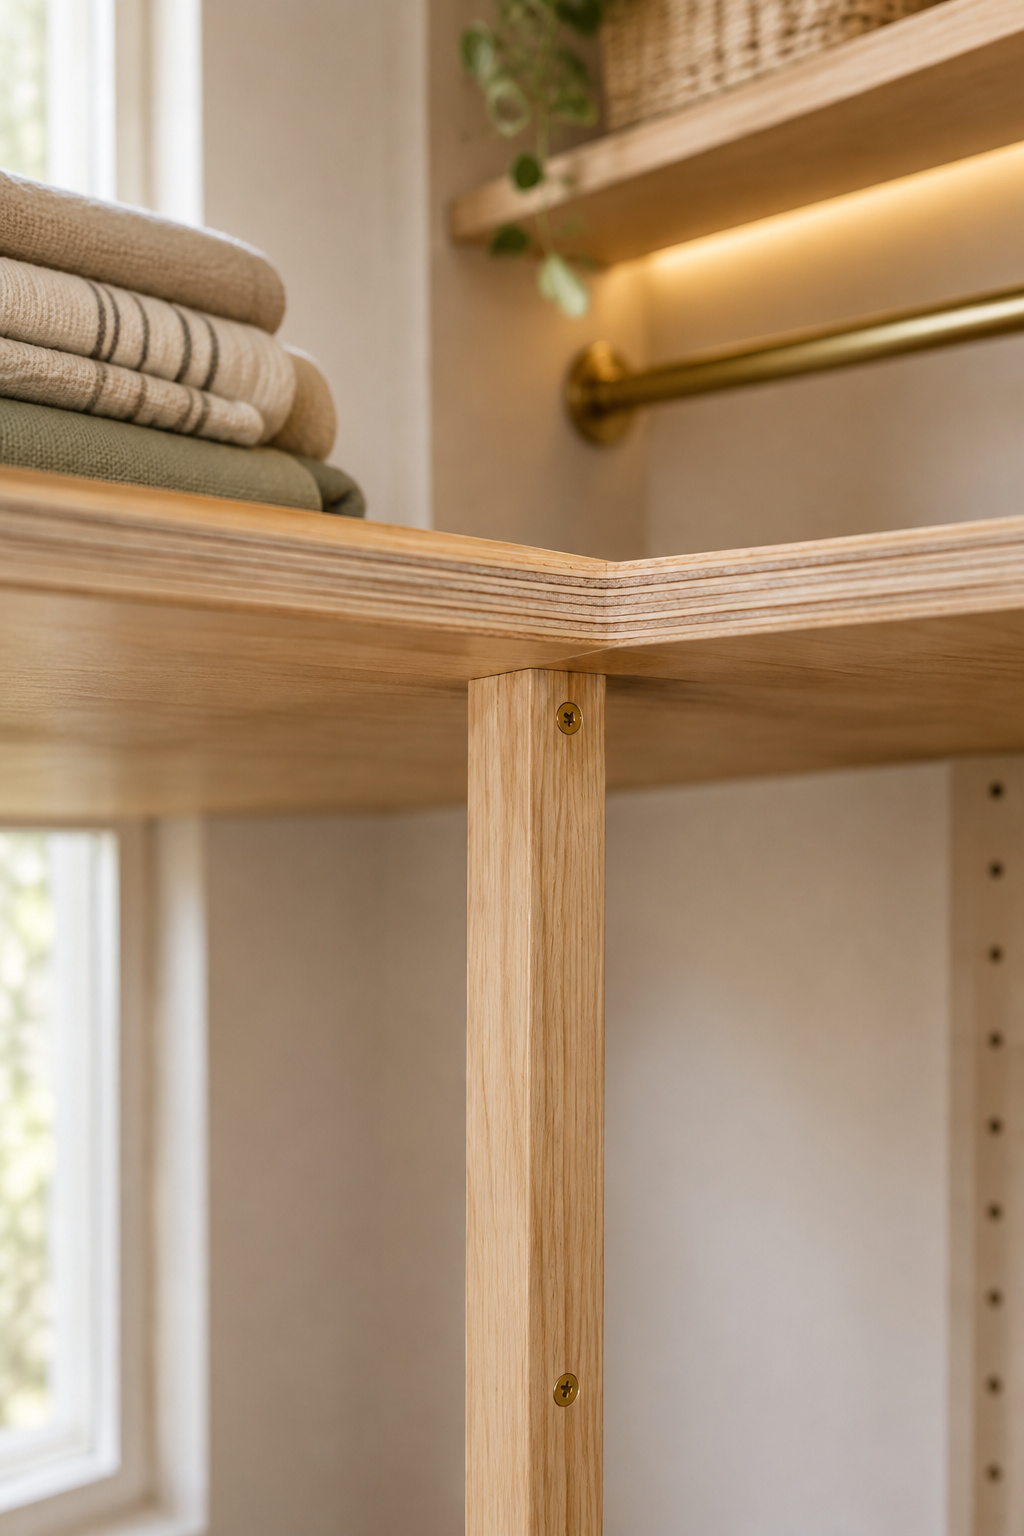
Someone prints a plan, cuts five shelves at 23 inches, carries them to a closet measuring 22 3/4 and owns $70 of firewood. Stock plans are templates, so measure your own opening, top and bottom.
The most common cut-list error
Grain direction is the quieter version. Run the face grain parallel to the supports instead of across them and, per APA’s tables, rated capacity drops by roughly a factor of 14. The shelf looks identical and won’t hold.
What to do if your shelf sags
Don’t tear it out. Cut a 1/4-by-1-inch support strip to the shelf’s width and fasten it under the sagging span so it reaches the cleat structure below. Bob Vila is specific: a support that stops short of solid attachment only relocates the sag. A bowed rod takes a center support notch, under $10.
Once It’s Built: What You’d Pay for Custom or PAX Instead
Would writing a check have been smarter?
Was DIY worth it for your closet?
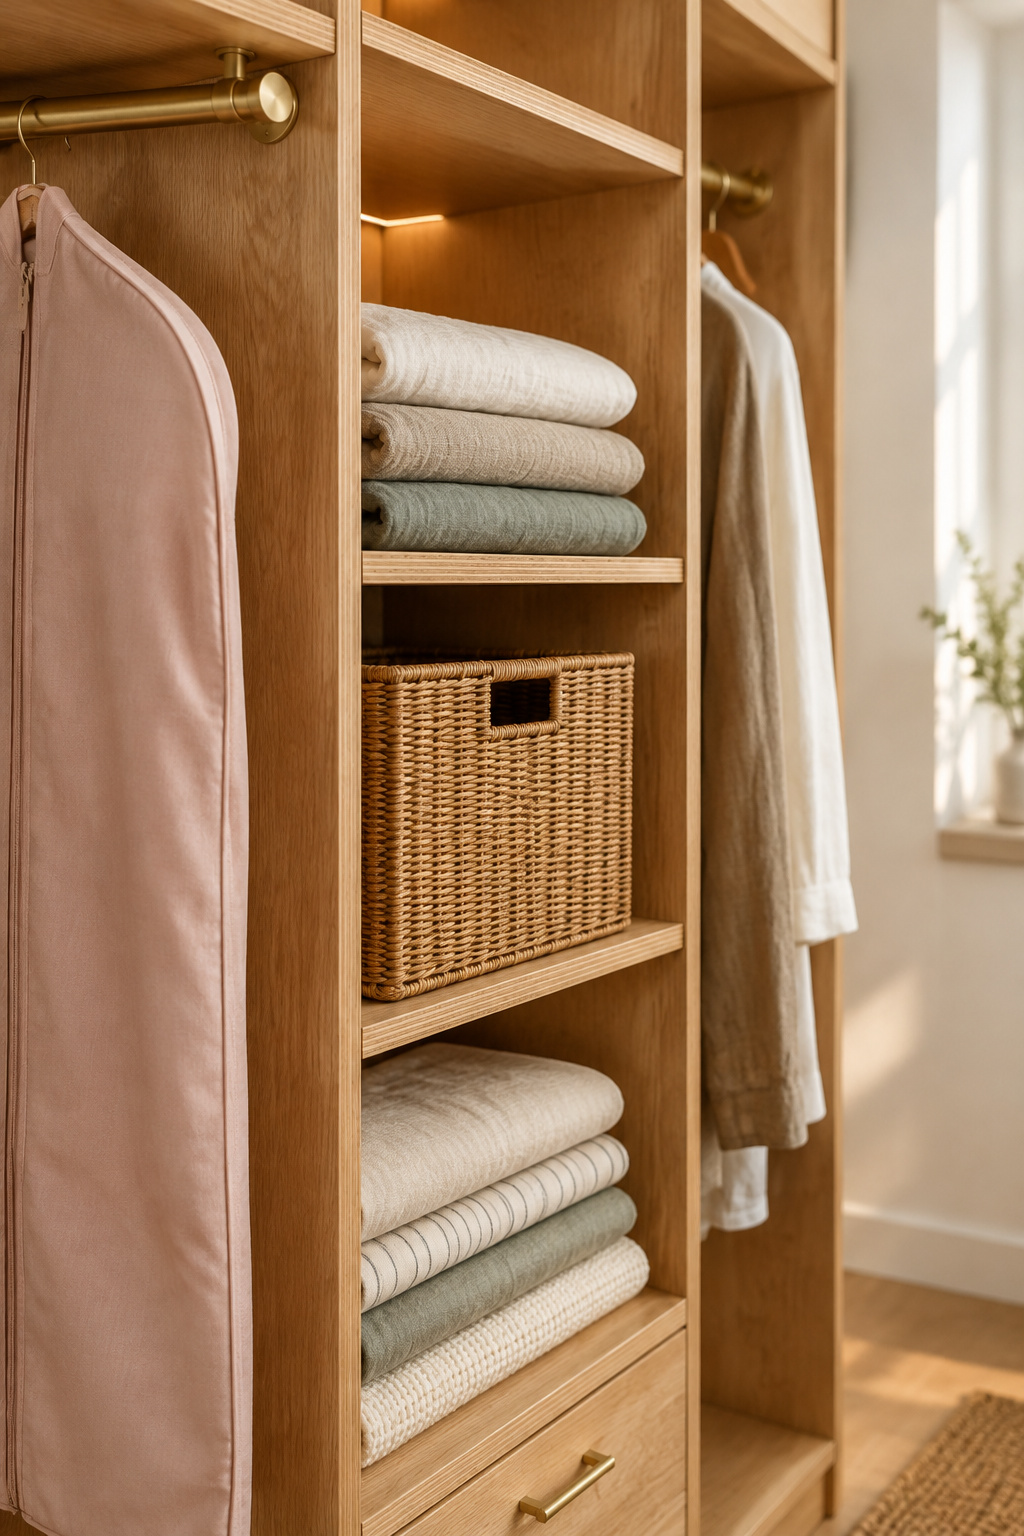
Materials-only, a stock plywood build lands around $20 to $60 per linear foot. I’m deliberately not comparing flat-pack and full custom per foot; what a custom closet actually costs sets those three numbers side by side. One bounded data point: a homeowner who priced both found her scratch-built plywood walk-in came to $2,235.14 against $3,200.75 for a customized PAX. One house, no rule. What DIY buys is solid plywood over melamine chipboard, plus exact-width shelves.
Take a tape into the closet tonight. Write down the width top and bottom, the depth front to back, where 24 inches of hanger clearance lands and the studs at 16-inch centers. That page of numbers is your cut list, and with it this build is a saw, a level, a drill and two half-days.
FAQ
What kind of wood should I use for a DIY closet system?
Use 3/4-inch birch plywood for anything load-bearing. Its layered construction resists warping and supports over 50 lb per linear foot. Skip MDF for shelving: it sags across even a two-foot span under moderate weight and lasts only 3 to 7 years.
How long does a DIY closet organizer last before it needs rebuilding?
A sealed 3/4-inch plywood system anchored into studs behaves as a permanent built-in, with no documented replacement cycle. What limits it is deflection creep under sustained load, so support spacing and the L/360 rule at build time keep it flat. MDF is documented at 3 to 7 years.
Do I need a permit for closet shelving?
Usually not. Cabinet and closet shelving installs are listed among the projects that typically need no permit, since they add nothing structural and change no electrical or plumbing. Requirements vary by city, so check locally if a wall is moving.