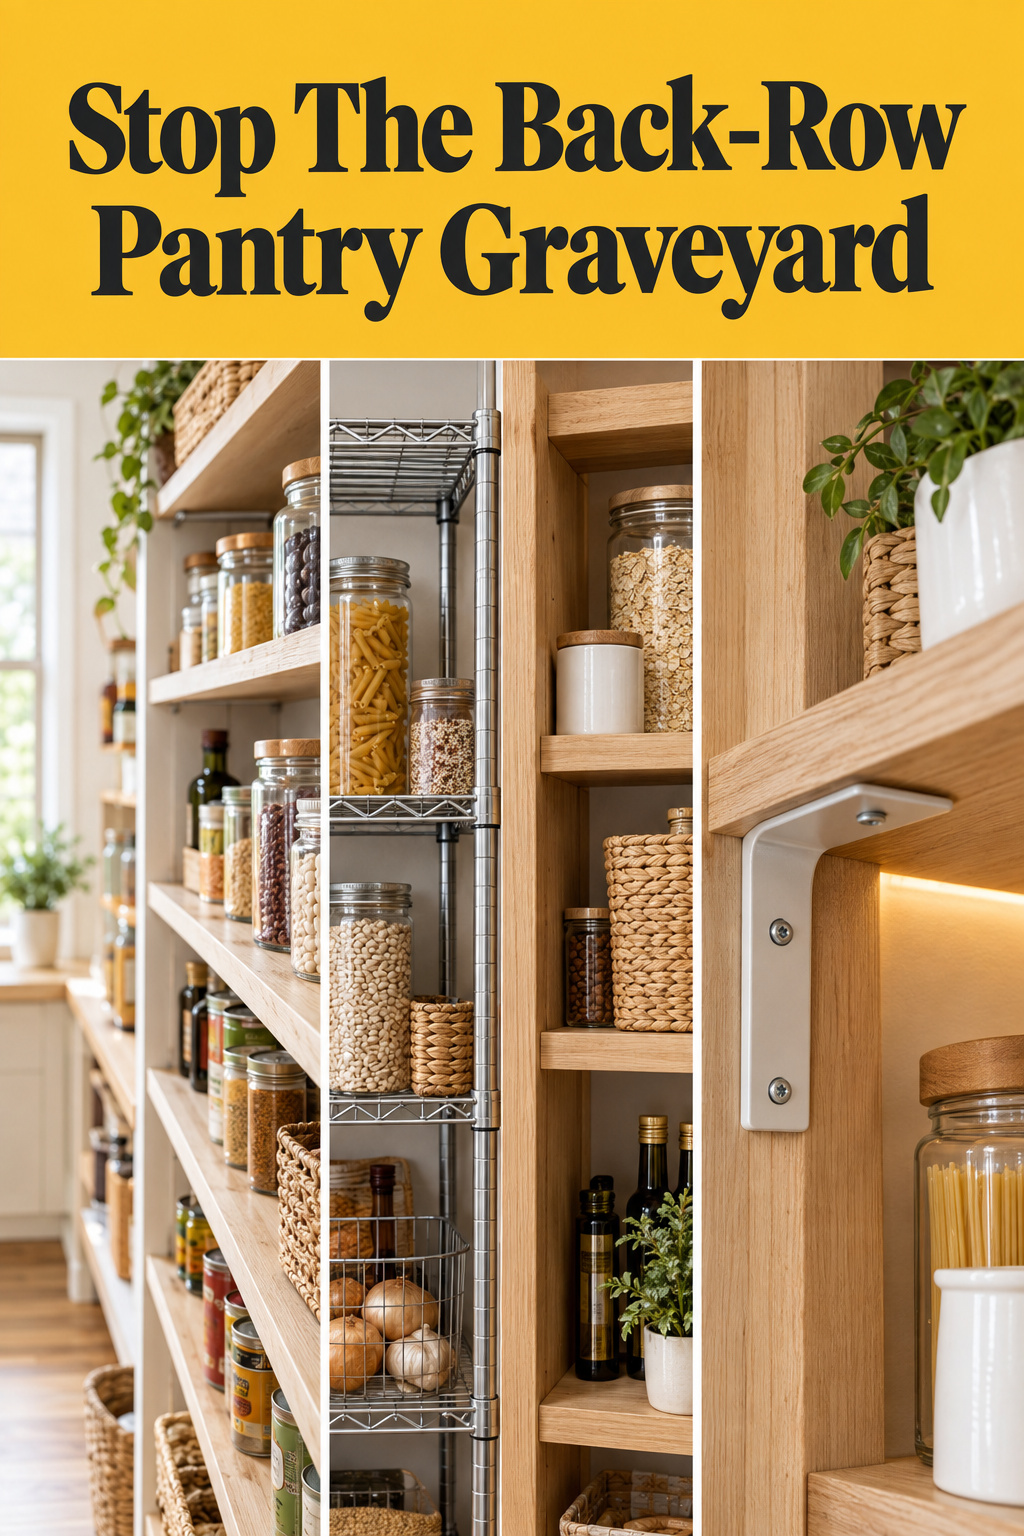
Read five pantry build guides and you’ll hit the same contradiction twice in one paragraph. ClosetMaid’s VP of product development, Scott Davis, told The Kitchn that standard pantry shelves run 16 to 20 inches deep. Then, in the same breath, he said that if things get pushed to the back and forgotten, go shallower. Charleston Crafted says never deeper than 20 inches; Edible Pantry puts cans and dry goods on shelves 6 to 8 inches deep. Most pantry shelving ideas assume deeper means more storage, but a deeper shelf mostly adds a second row you stop seeing, so the pantry holds more while the household uses less of it. No building code sets pantry shelf depth or spacing, so the numbers below come from manufacturers, cabinetmakers and pantry writers. They cover the depth, the spacing, the material and the mounting for what you keep on the shelf.
TL;DR
- Keep anything you want to see on shallow shelves of about 6 to 14 inches, and save 14 to 20 inches for bulky or rarely used items. Go deeper than that and the back row gets buried.
- Space each shelf to the tallest item in its zone plus 2 to 3 inches. Cans land around 6.5 to 8 inches apart, cereal boxes around 14 to 17.
- Mounting sets the load as much as material does. Standard ClosetMaid wire is rated at 35 lb per linear foot, but the MaxLoad system reaches 100 only when stud-mounted with standards no more than 16 inches apart.
How deep is too deep for a pantry shelf?
Depth is where the graveyard starts, because an 18-inch shelf fits three or four rows of cans and you will only ever look at the first. I’ve pulled enough dust-furred cans off the backs of deep built-ins to know the flat clunk they make when you finally knock one loose.
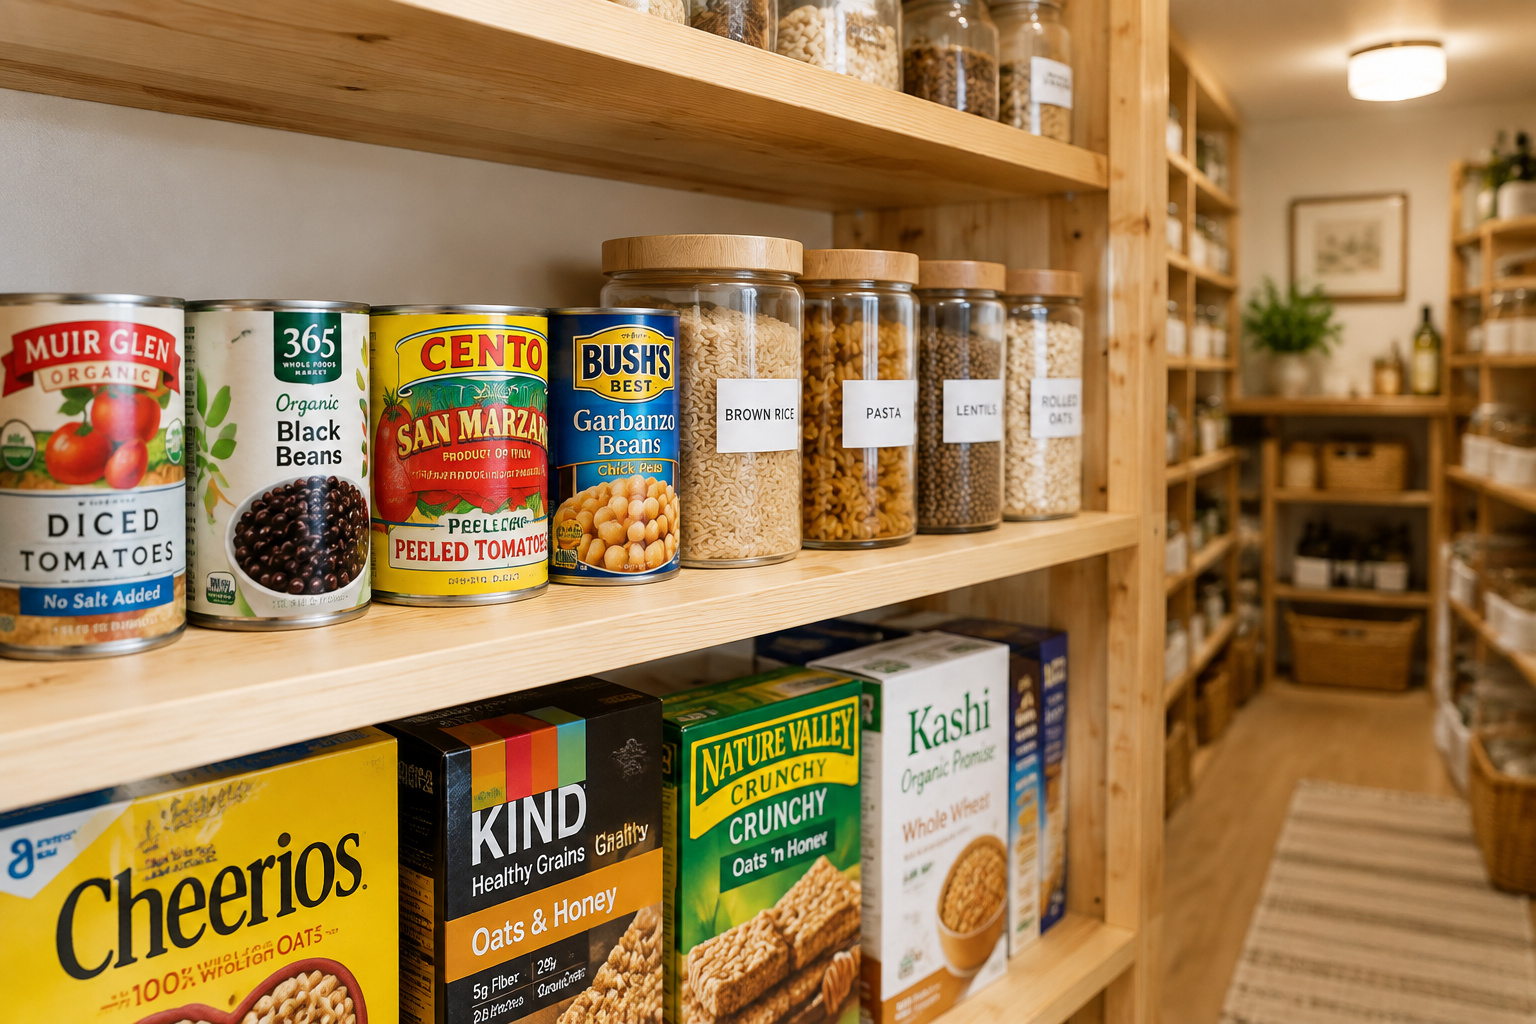
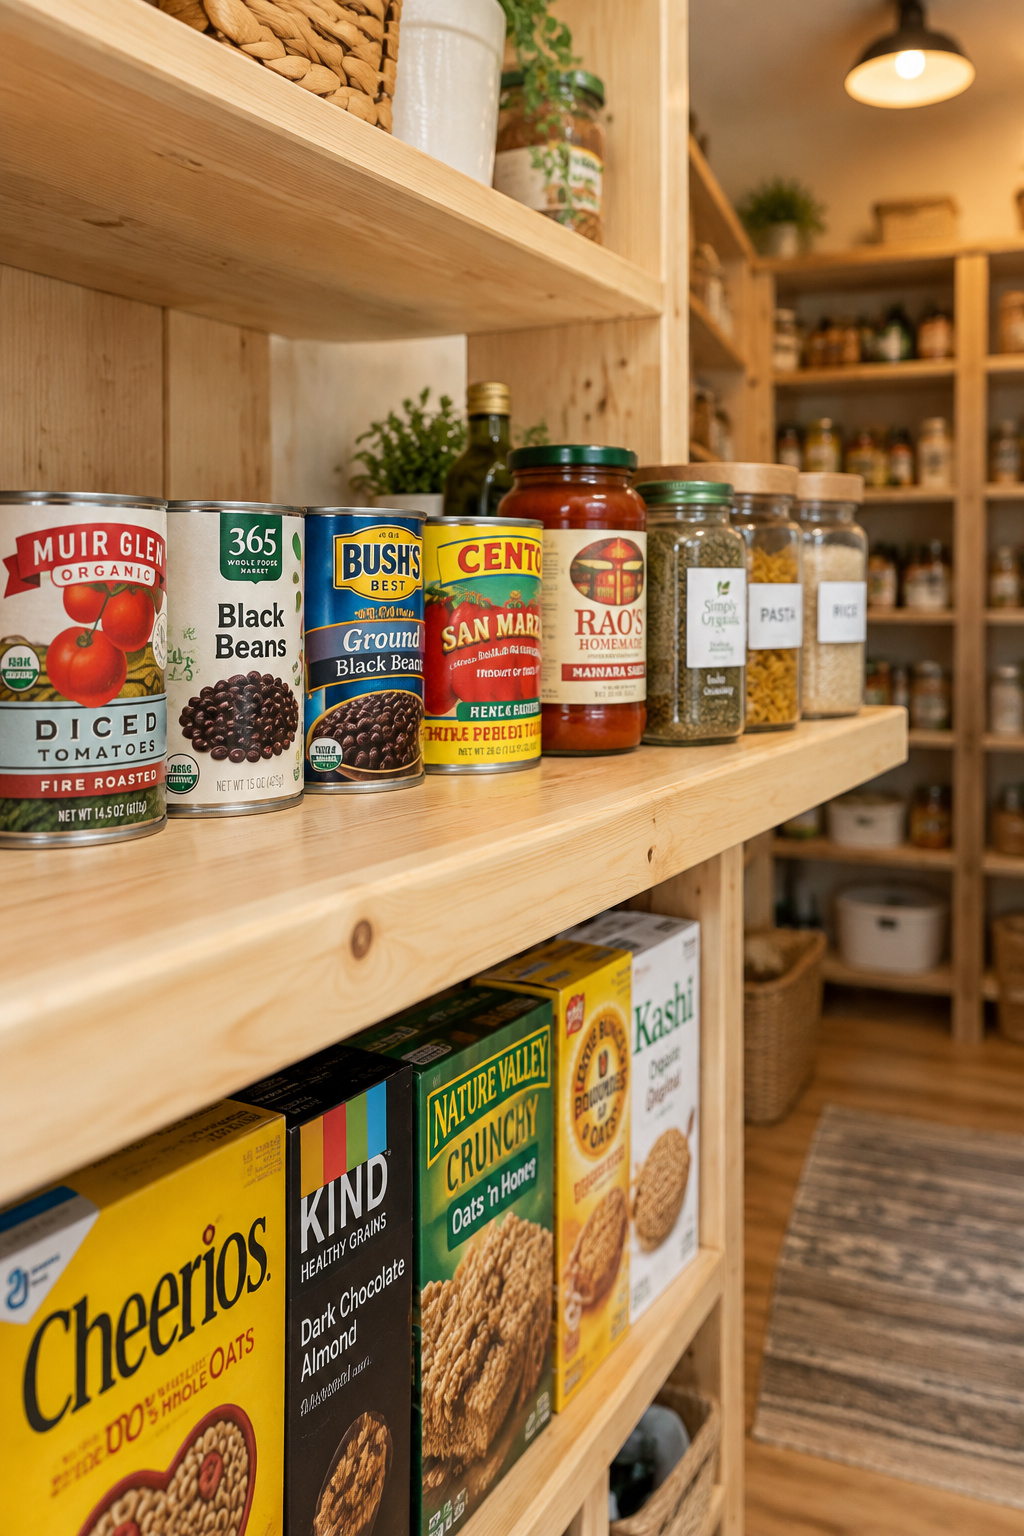
Across five independent sources, the published depths fall into two bands. The shallow band, 6 to 14 inches, is for anything that should stay visible. The deeper band, 14 to 20 inches, is for bulky goods and things you reach for twice a year. Every source agrees the failures come from going deeper; none of them warns against going shallower. A 10.5-inch run sits inside the shallow band: one row of cans, labels facing you, nothing behind them.
Shelf by shelf, here is what the sources recommend:
| Shelf use | Depth | Source |
|---|---|---|
| Spices, single row of cans | about 6 in | Kitchen Cabinet Kings; Dimensions.com |
| Canned and dry goods, eye level or above | 6–8 in | Edible Pantry |
| High, less-used shelves | 10–12 in | Dimensions.com; Scott Davis (about 12 in) |
| Eye-level cereal boxes and canisters | 12–14 in | Kitchen Cabinet Kings |
| Typical general shelf | 14–16 in | Dimensions.com |
| Bottom shelf, bulky items | 16–18 in | Kitchen Cabinet Kings |
My call: vary the depth by what sits on the shelf. The costly mistake is building every shelf to one deep dimension because the lumber came that way.
Vertical spacing: sizing shelves to what you store
Scott Davis says to plan two inches of clearance above the tallest item on any shelf, and that one number is the whole spacing rule. Build every gap the same and you’ll either tip cereal boxes on their sides or waste half a foot of air over the soup.
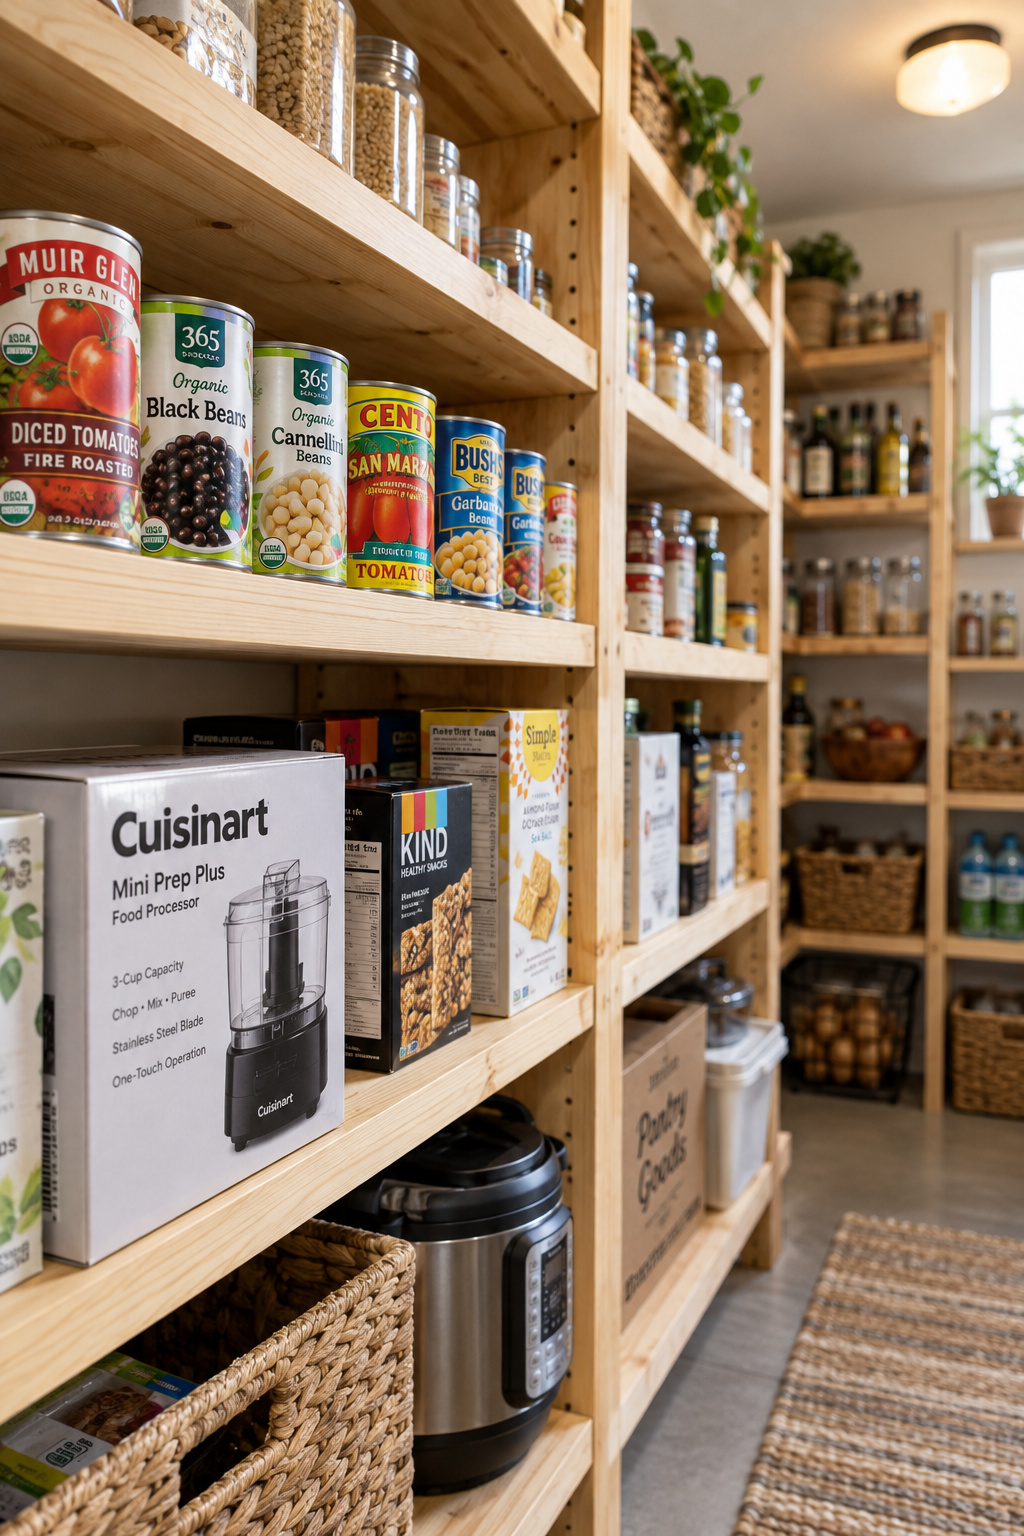
Nobody publishes a spacing standard, so work it out per zone: tallest item plus 2 to 3 inches, enough to tilt a can up and out. Davis gives spacing for two zones, and subtracting his 2-inch minimum shows the item he’s planning around:
- For the can zone, Davis says canned goods need 6.5 to 7 inches. Working backward, 6.5–7 in minus 2 in means a tallest can of about 4.5 to 5 inches. Add 2 to 3 inches: 4.5–5 + 2–3 = 6.5 to 8 inches between shelves.
- For the cereal-box zone, Davis says cereal boxes need 14 to 16 inches. Working backward, 14–16 in minus 2 in means a tallest box of about 12 to 14 inches. Add 2 to 3 inches: 12–14 + 2–3 = 14 to 17 inches between shelves.
Those item heights are backed out of Davis’s spacing, not measured off a box, so measure your own tallest can and tallest box before you mark the wall. Kitchen Cabinet Kings agrees: 14 to 16 inches for cereal and canisters, 18 to 24 for bulky items on the bottom.
Decide depth and spacing together. A shelf spaced for cereal but cut 6 inches deep wastes its headroom, and a can-height shelf cut 16 inches deep just buries a second row. The same goes for what you pour things into, so settle the gap before choosing the containers that fit that space. Keep daily items between knee and shoulder. The bottom shelf goes 20 to 24 inches off the floor, per Davis, so pet food or a rolling crate slides underneath.
Wire, wood, or laminate: choosing your shelf material
The mistake I see most is assuming all wire shelving carries the same rating, when the spread is roughly threefold. ClosetMaid’s own spec sheet rates standard 12- and 16-inch wire shelving at 35 lb per linear foot. SuperSlide Heavy Duty gets 50 lb at standard support spacing (24 inches max), and 20-inch Close Mesh drops to 25. I’d trust the manufacturer’s sheet over any “holds X pounds” figure on a retail page.
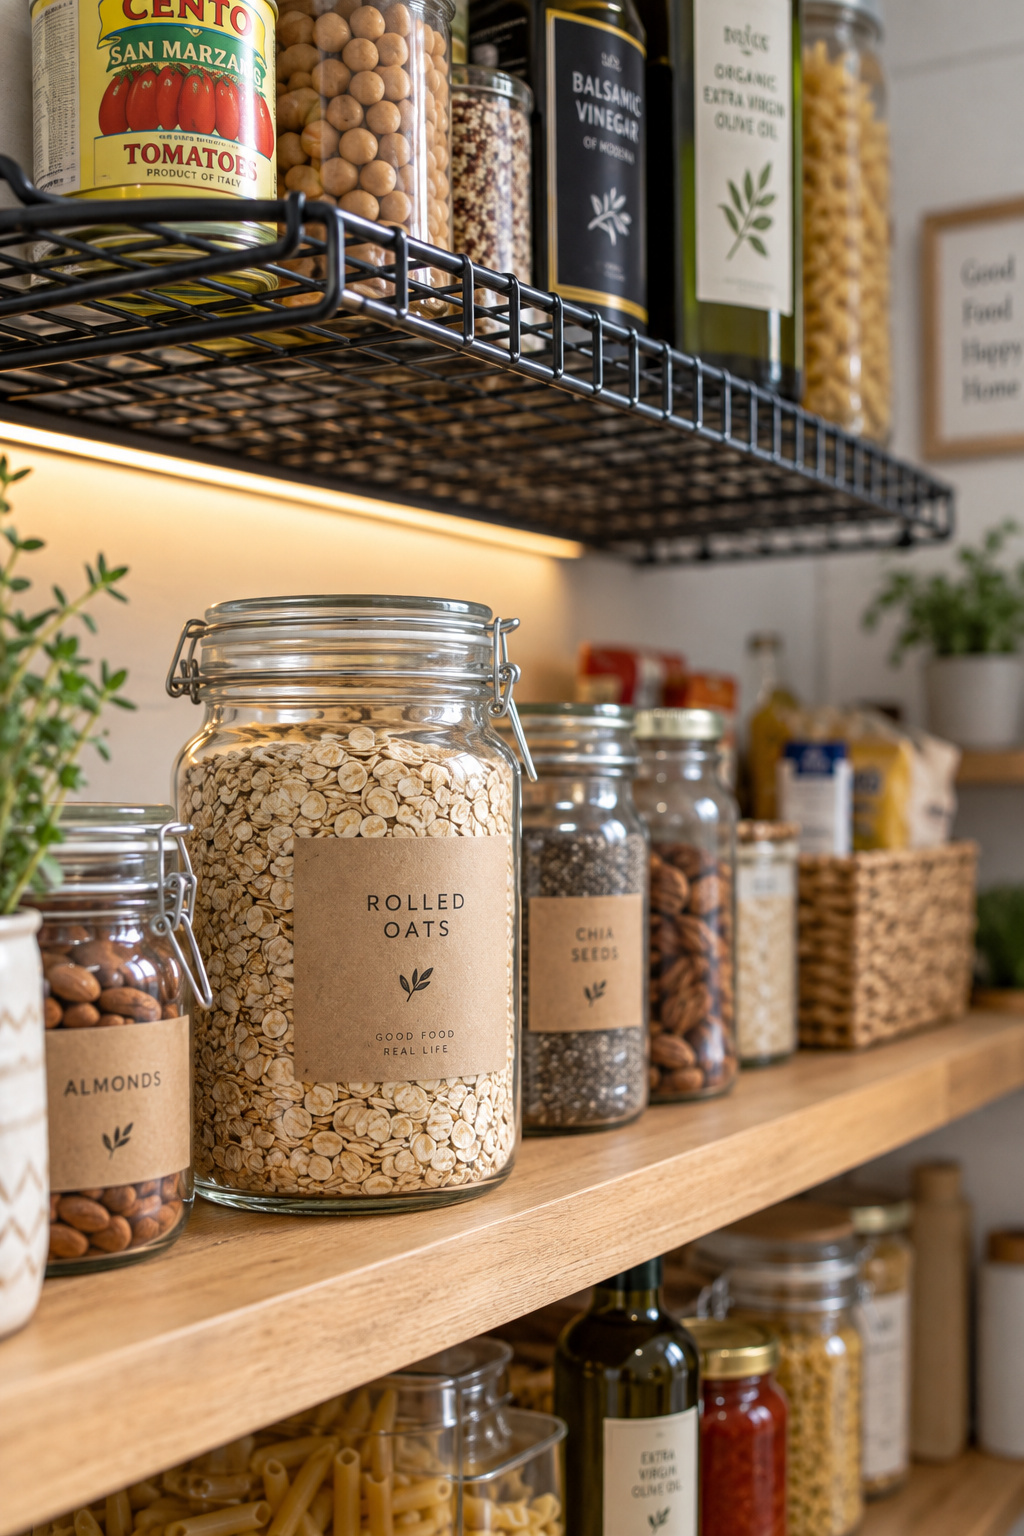
Wire is the cheapest and the best ventilated, and airflow around food matters more in a pantry than in a clothes closet. Solid wood carries the most weight and holds a long span without bending, but it also costs the most and needs sealing against humidity. For a 3/4-inch plywood shelf, working cabinetmakers on the WoodWeb forum cap the unsupported span at about 32 inches. Laminate sits in between on cost and capacity, though that middle ranking comes from one trade source (Closet Creation), not a spec sheet.
| Material | Cost | Load | Airflow and cleaning | Moisture |
|---|---|---|---|---|
| Wire (standard) | Lowest | 35 lb/linear ft (ClosetMaid, 12–16 in) | Best airflow; crumbs fall through | Tolerant |
| Wire (heavy-duty) | Low | 50 lb/ft SuperSlide HD; 100 lb/ft MaxLoad stud-mounted | Same | Tolerant |
| Laminate | Middle | Middle (single trade source) | Wipes clean | Middle |
| Solid wood or 3/4-in plywood | Highest | Highest; span about 32 in before visible sag | Needs a finish | Vulnerable unless sealed |
For a typical dry pantry, I’d build paint-grade plywood for the eye-level shelves you see every day and use wire down low for bulk bags, where the airflow matters. Have the hardware store’s cut counter rip the plywood to depth; it’s a legitimate tool.
Adjustable standards vs. fixed cleats: load and mounting
When a loaded pantry shelf fails, the wall is usually what gives up, rather than the shelf itself. Adjustable standards let you re-space later but depend on brackets clipped into a track. Fixed cleats are wood ledger strips screwed into the studs. They’re simpler, and stronger than anything hanging on drywall alone, though they can’t move. No manufacturer rates a cleat; its strength is the screws’ pull-out in solid framing. Choose cleats if your spacing is settled, and standards if you’re still learning what you store.
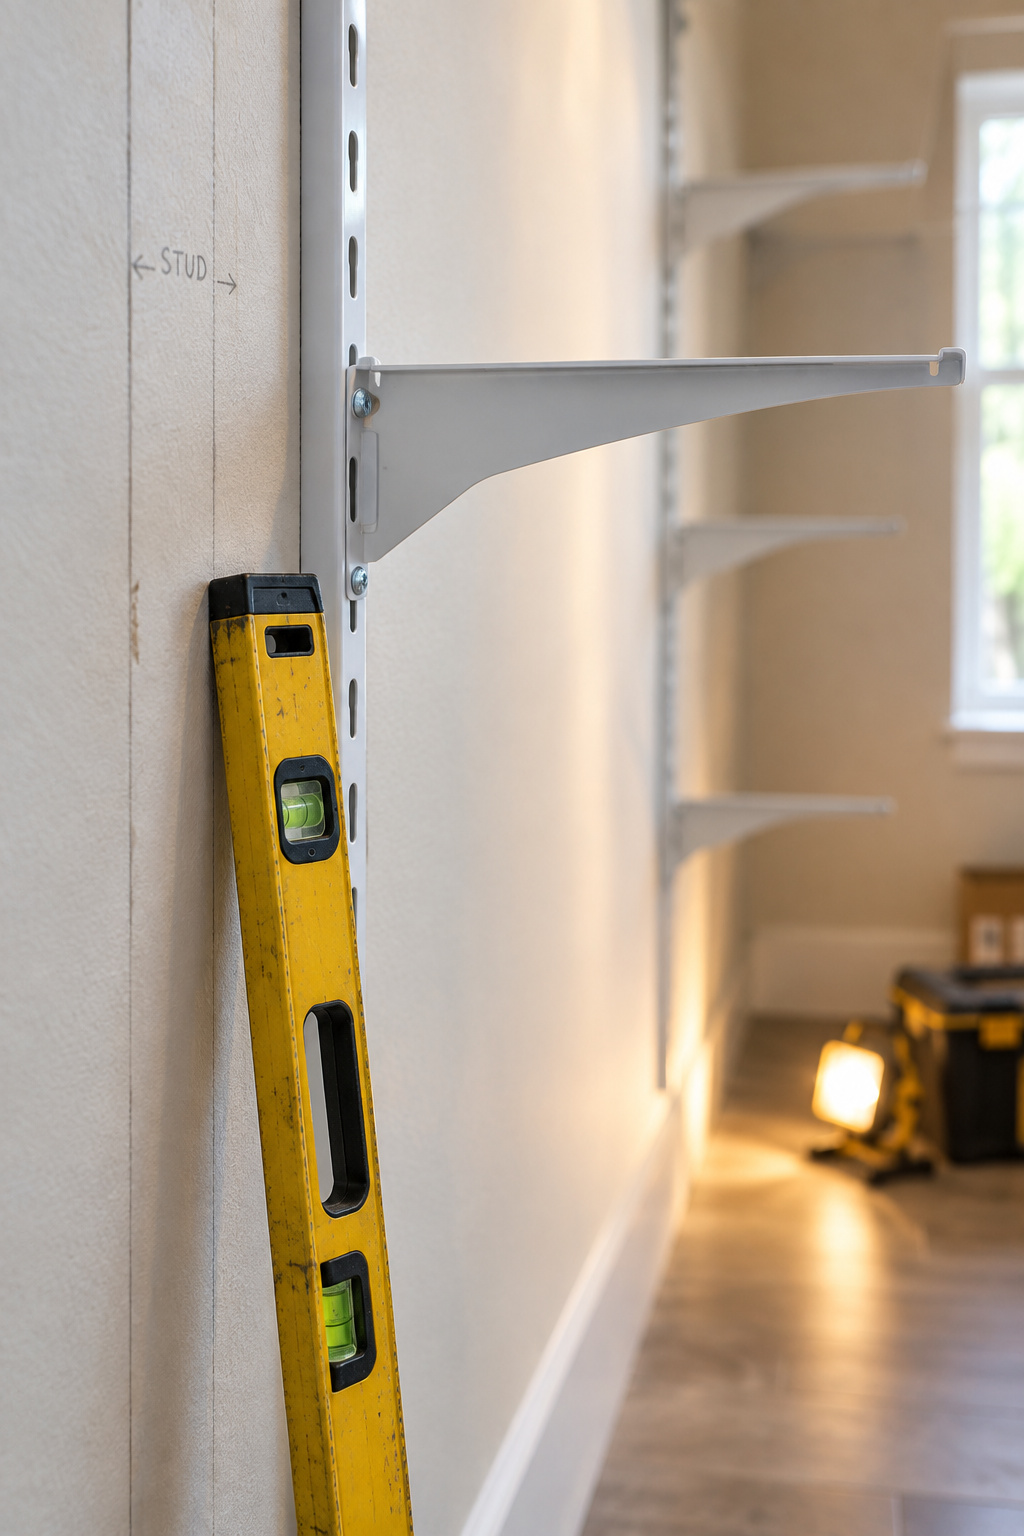
A standards run is a “some builds” job that needs a drill, a level and some patience. Work in this order:
- Find and mark every stud with a stud finder, or tap and probe with a finish nail behind where the standard will hide the hole.
- Hang the standards on studs. ClosetMaid’s MaxLoad only hits 100 lb per linear foot with standards stud-mounted no more than 16 inches apart.
- Level one standard, then set the rest off it with a 4-foot level (or a laser, if you already own one).
- Fit front support at least every 36 inches, tightened to 24 inches for heavy-use shelves, and back-edge wall clips every 10 to 12 inches, per ClosetMaid’s fixed-shelving spec.
- Load the shelf gradually and check for movement before stacking the heavy cans.
There’s always a mistake, and the common one goes like this: someone hangs a track where there’s no stud, uses drywall anchors all the way up, and loads it like a stud-mounted run. It holds for a month, then the anchors creep out of the board and a row of jars comes down. If a track is pulling away, empty it that day and remount it through a stud-anchored ledger rather than adding anchors. Budget one extra trip to the store for longer screws, because it’s always the screws.
Weight limits by shelf type
ClosetMaid’s wire ratings and a common drywall toggle, side by side:
| Shelf or fastener | Rated load | Condition |
|---|---|---|
| ClosetMaid Close Mesh, 20 in | 25 lb/linear ft | Standard support spacing |
| ClosetMaid standard wire, 12–16 in | 35 lb/linear ft | Standard support spacing |
| ClosetMaid SuperSlide Heavy Duty | 50 lb/linear ft | Supports 24 in max |
| ClosetMaid MaxLoad | 100 lb/linear ft | Stud-mounted, standards 16 in max apart |
| TOGGLER TB plastic toggle, 1/2-in drywall | 143 lb ultimate, about 36 lb working | Working load at 1/4 of ultimate |
The toggle row matters most. At a quarter of ultimate, 143 lb × 0.25 = 35.75, or about 36 lb of safe working load per anchor. A 4-foot run of standard wire at 35 lb per foot is rated for 4 × 35 = 140 lb, so carrying that on toggles alone would take every anchor in the run working at its limit. Put the screws in studs.
Retrofits for an existing pantry: risers, pull-outs, and lazy Susans
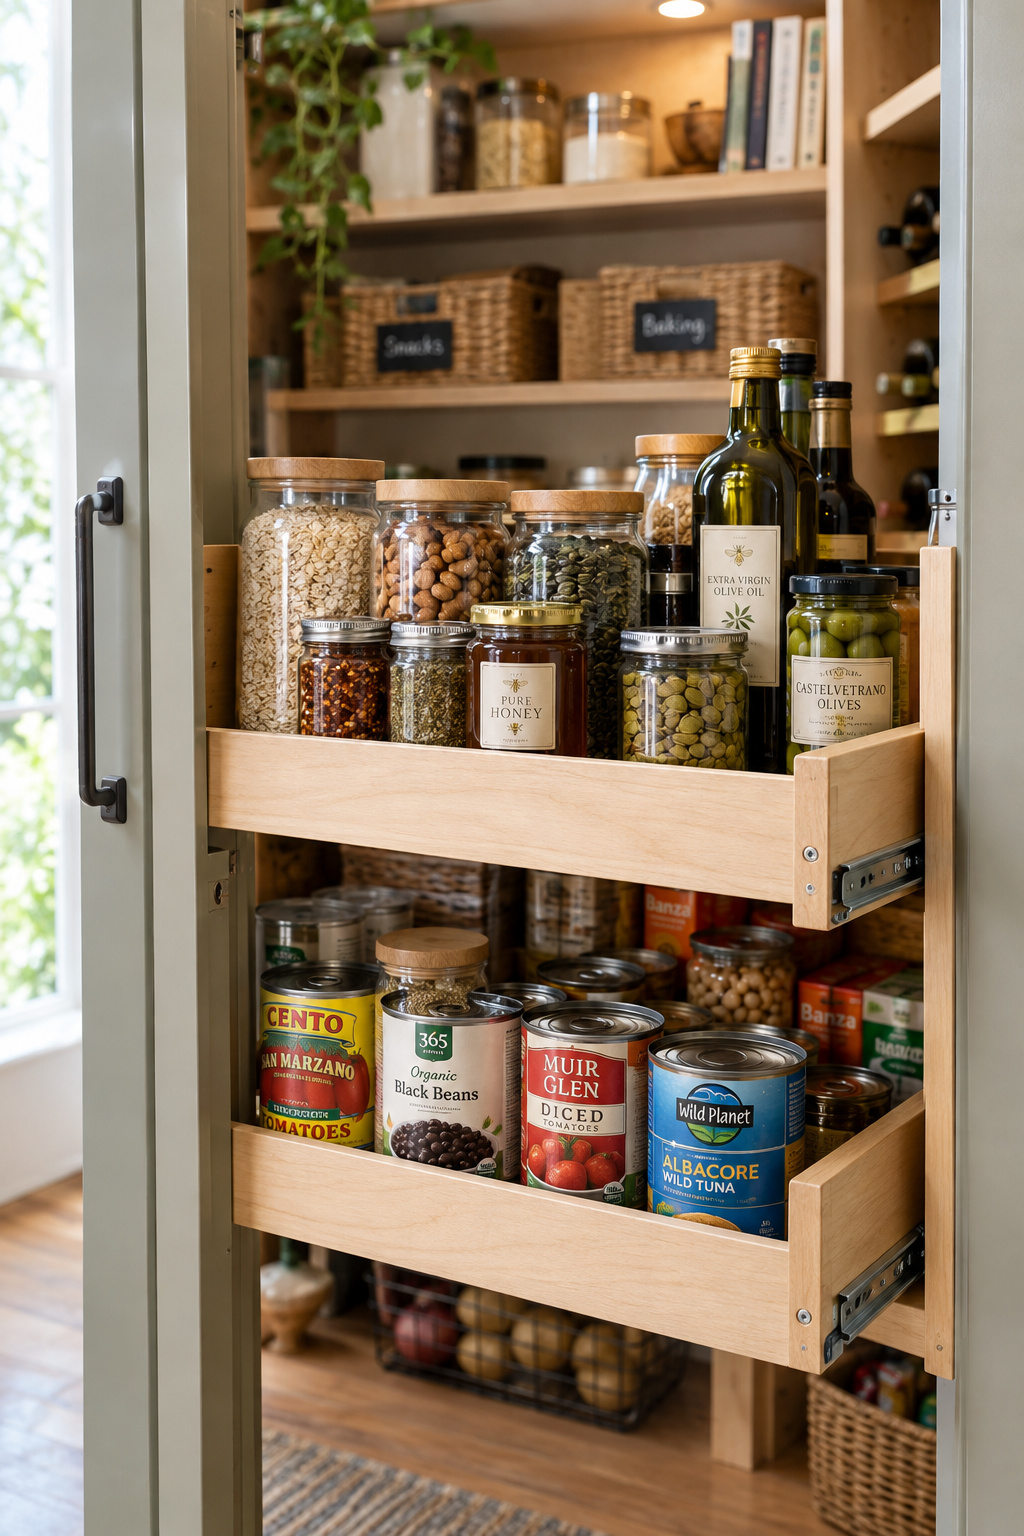
If you’re not rebuilding, match the retrofit to the failure: a riser fixes a hidden back row, a pull-out fixes a deep cabinet’s dead back, and a lazy Susan fixes a corner. Cost and skill climb together:
| Retrofit | Approx. cost | What it fixes | Skill |
|---|---|---|---|
| Tiered can or spice riser | Roughly $10–$40 (marketplace range, not a fixed price) | Back row hidden behind front row on an existing shelf | No tools |
| Corner lazy Susan (Rev-A-Shelf) | $270.99–$367.99 wood kidney; $427.99–$442.99 polymer full-circle | Corner dead space | Some builds |
| Pull-out shelf, pro-installed | $500–$1,000 added (Deslaurier) | Deep cabinet’s unused back | Confident builder, or hire it out |
Buy the riser first. It lifts the back row on the shelf you already have, and if it doesn’t help, you’re out the price of a takeout lunch. A pull-out on full-extension slides brings a deep cabinet’s whole depth out to you, and a DIY slide-and-shelf kit costs a fraction of the installed price in materials. Our tall pantry cabinet guide covers slide hardware.
Lazy Susans in corner pantries
A lazy Susan earns its place only where the cabinet suits a pivot. In a round or square corner cabinet, the turntable wastes little space. In a standard rectangular cabinet, the corners around it go dead, and a pull-out uses that room better.
Putting pantry shelving ideas together, from depth to install
Start by taking everything off one shelf. Whatever was at the back tells you that shelf ran too deep for what sat on it. Then rebuild in the same order as above. Use 6 to 14 inches of depth for what should stay in sight and 14 to 20 for the bulky or rare. Space each zone to its tallest item plus 2 to 3 inches. Choose a material rated for the load. Land every bracket or cleat on a stud. If you’re working in a walk-in, fit the depths into the run you settled on for your layout. Then move on to organizing the rest of the pantry.
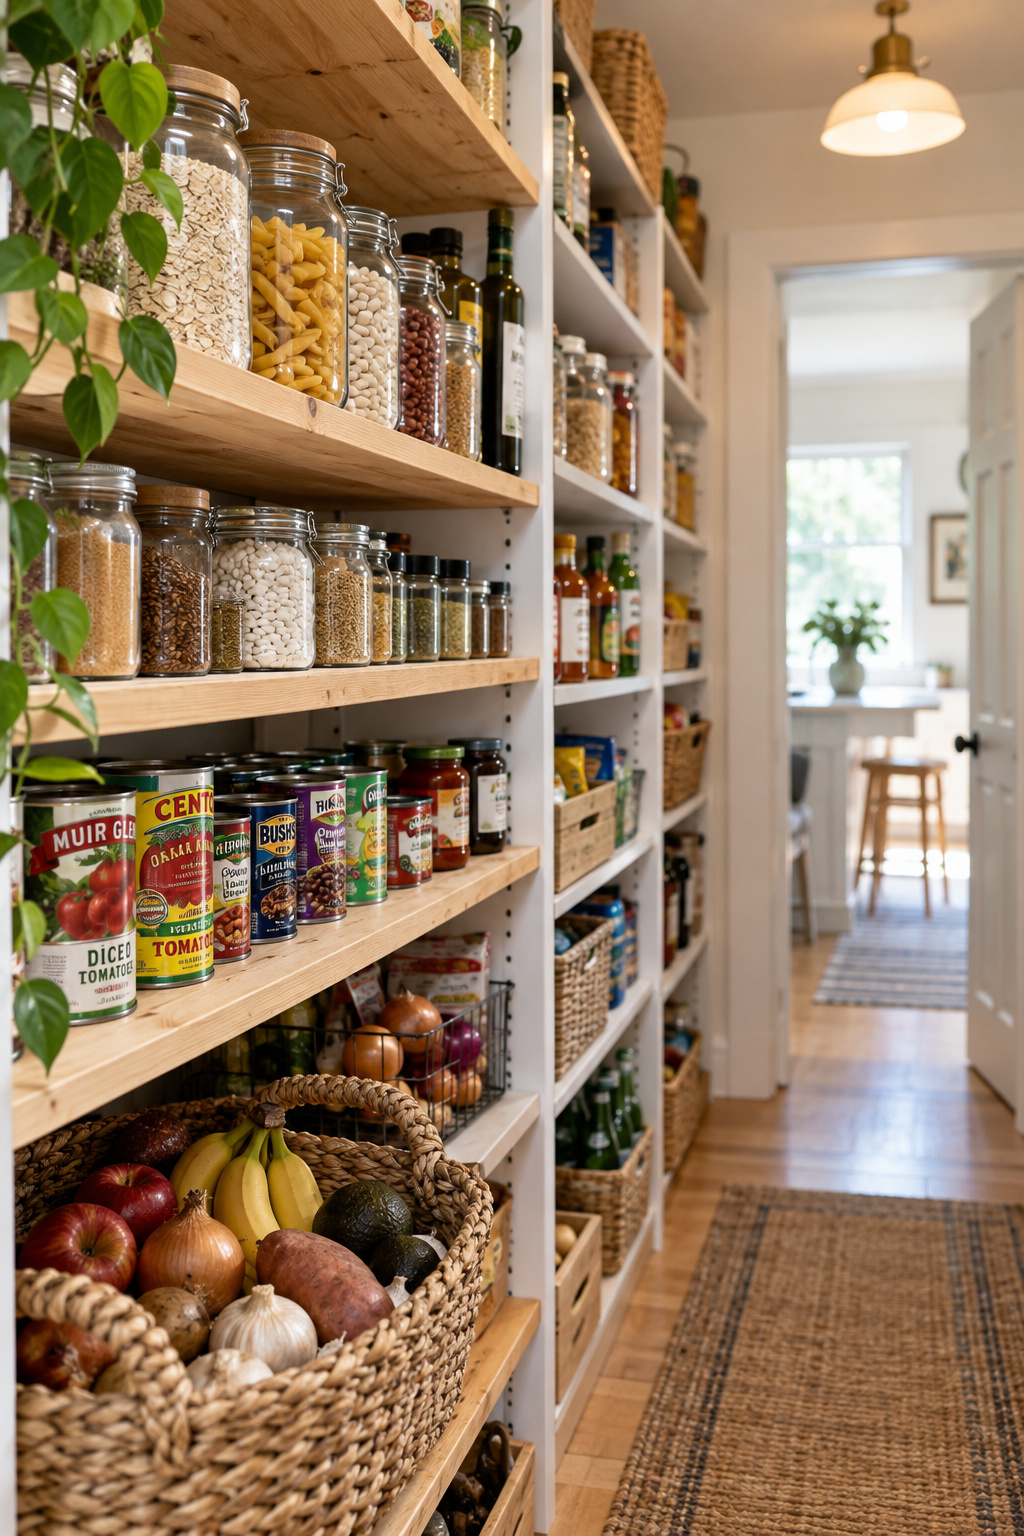
A deeper shelf just gives you more places to lose a can. If you remember one number, make it the anchor: 143 lb ultimate × 0.25 = about 36 lb per toggle, and that assumes 1/2-inch drywall and the standard quarter-of-ultimate safety factor. A loaded shelf asks for more than that, so give it a stud.
FAQ
Can I mix wire and wood shelving in the same pantry?
Yes, and it’s a sensible split. Wire’s ventilation suits the lower bulk shelves, where produce and bulk bags benefit from airflow. Wood’s higher load capacity and finished look suit the eye-level shelves you see every day. Respect each material’s own load rating, and mount both to studs wherever the shelf carries real weight.
How do I fix a sagging pantry shelf?
Add a center support. Halving the unsupported span roughly quarters the deflection. A screwed front edge strip cuts long-term sag to about 60% of a simply pinned shelf, and a glued front-and-back strip gets it to roughly 38%, per Sagulator. For 3/4-inch plywood spanning more than about 32 inches, laminate a thicker shelf with nosing.
What’s the best height for the bottom shelf in a pantry?
Set it 20 to 24 inches off the floor, which is what ClosetMaid’s Scott Davis recommends. That height leaves room underneath for bulk items like pet food, paper towel multipacks or a rolling crate that works like a drawer. Raise it further if your bulkiest item is taller, and keep the shelf itself deep enough for what sits on it.