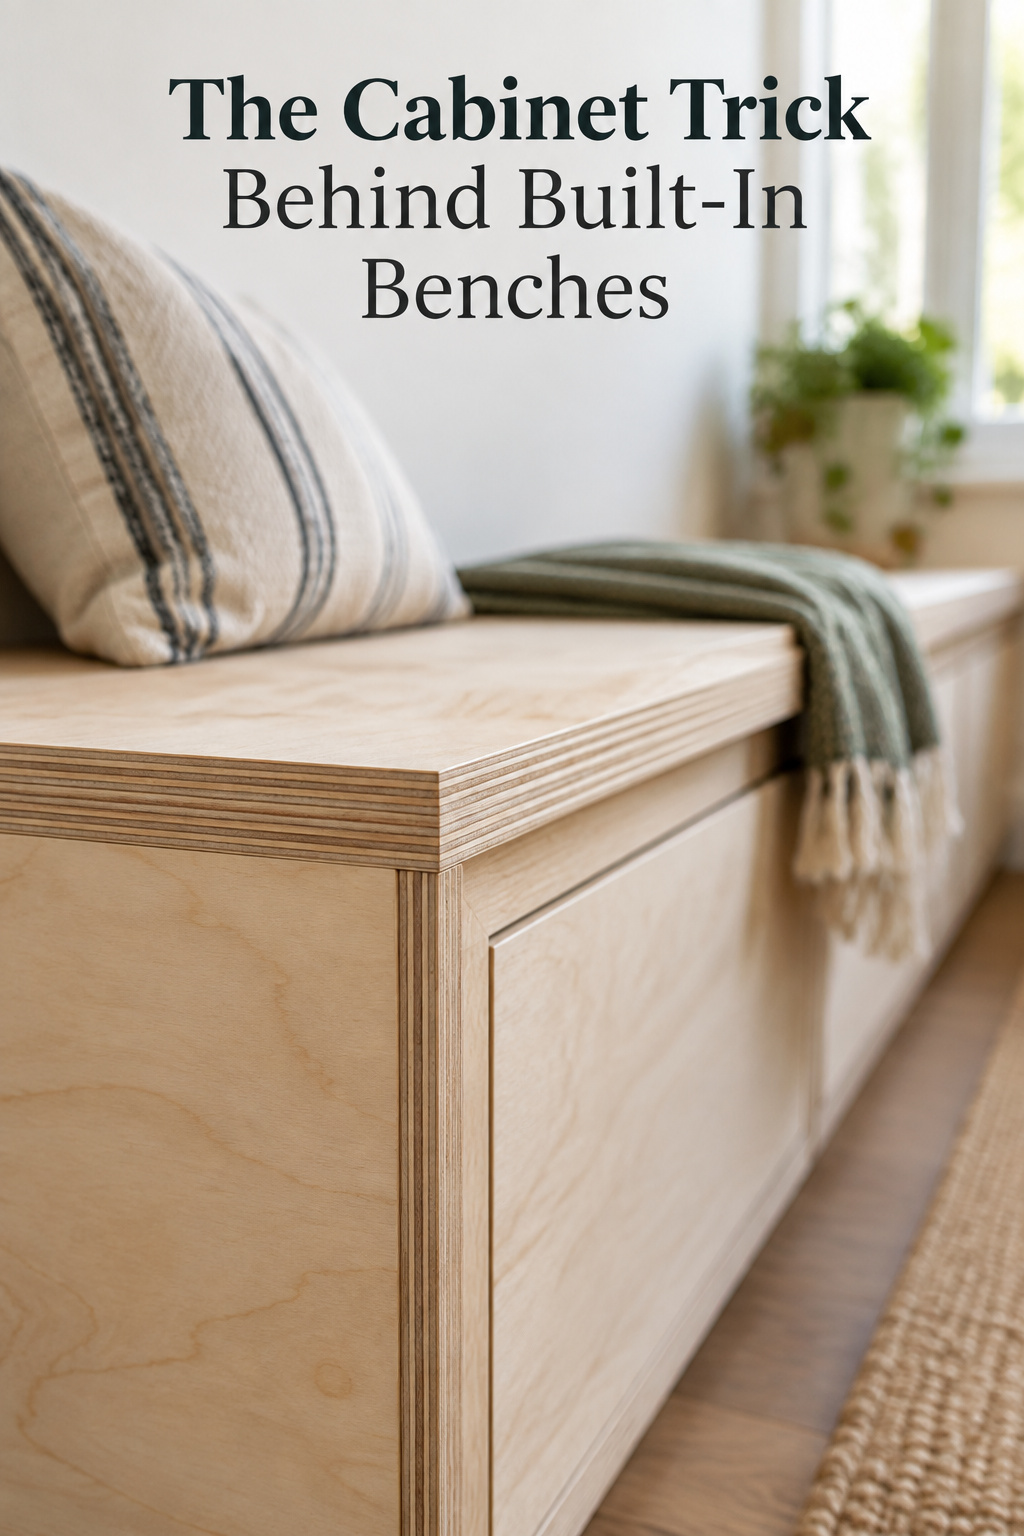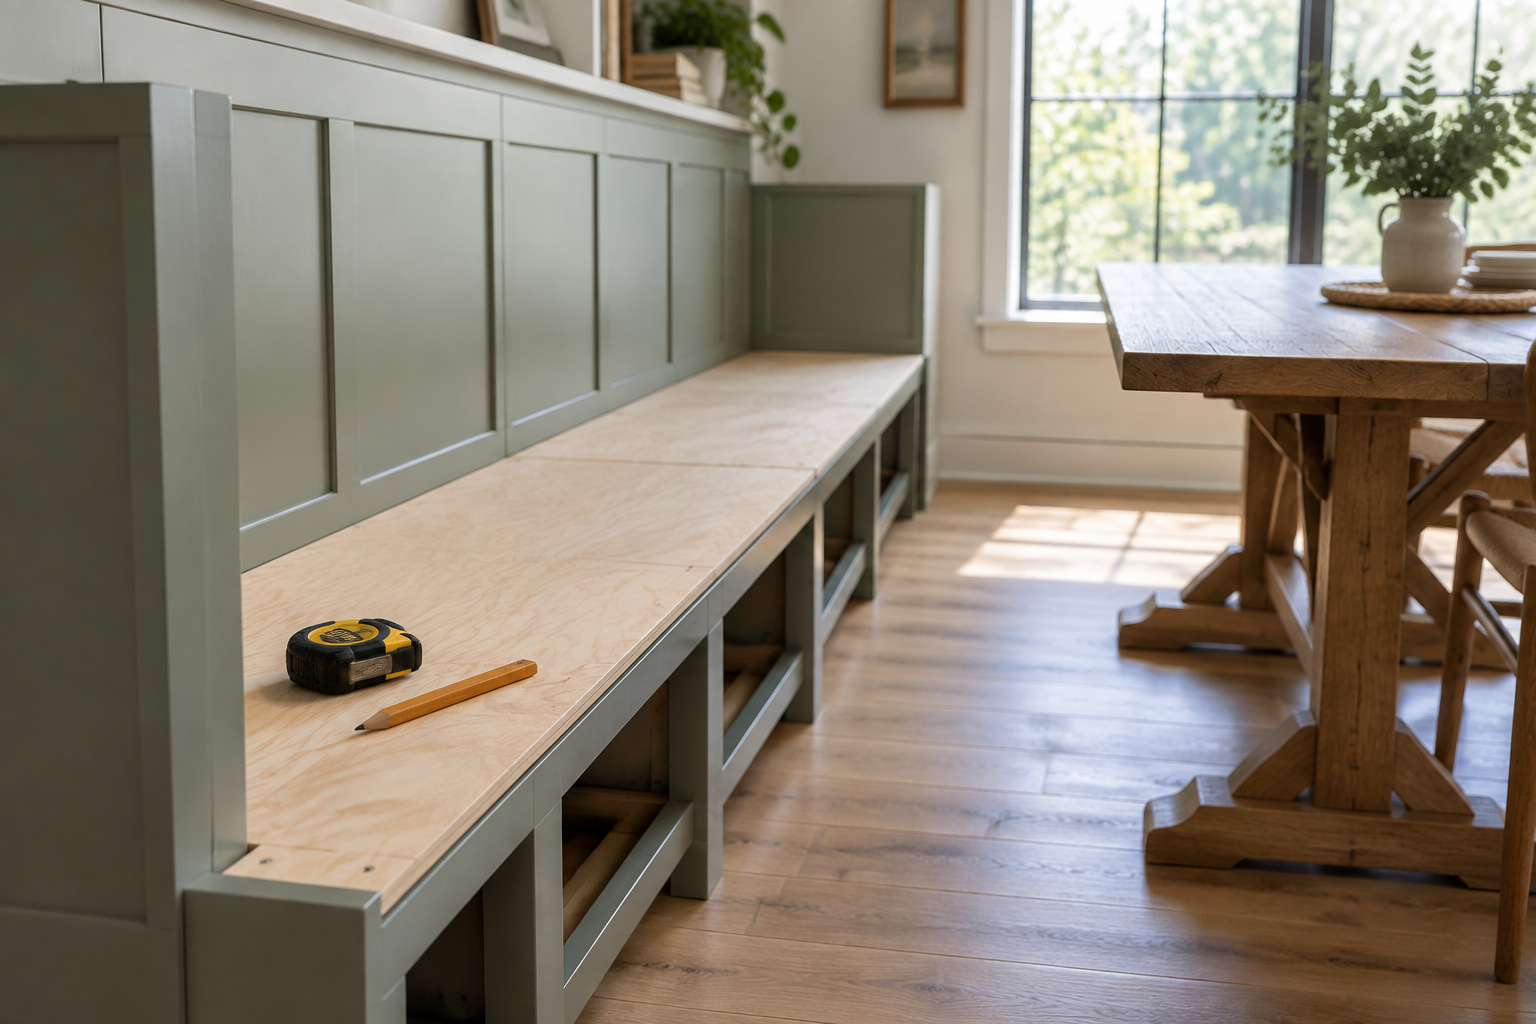

Stand in the cabinet aisle long enough and the project changes shape. The box under a built-in bench already exists, 12 inches deep, square, boxed and priced on a shelf. A DIY banquette bench comes down to three stock wall cabinets, a site-built frame under them and one sheet of plywood on top. The tutorial photos never show the wall those cabinets had to be fitted to, and most home walls run further out of square than a beginner expects. Fitting the run to that wall is most of the job.
TL;DR
- Materials for a 6-foot run: $418.91 unfinished, $724.93 pre-finished, priced 2026-09-02. That’s materials only, with no labor or cushion.
- Level the ladder base once and every cabinet dropped on it lands level. Build it from ripped plywood instead of solid 2×4.
- The hard step is scribing a filler strip to a crooked wall: measure the gap top, middle and bottom, trace the contour with a compass, cut to the line.
This DIY banquette bench skips custom carpentry
Materials run $418.91 to $724.93 for a six-foot run, and a first-timer should expect the build to take three to five days spread across weekends. Those figures are materials only. Labor and installed pricing are covered in a sibling article, linked at the end.
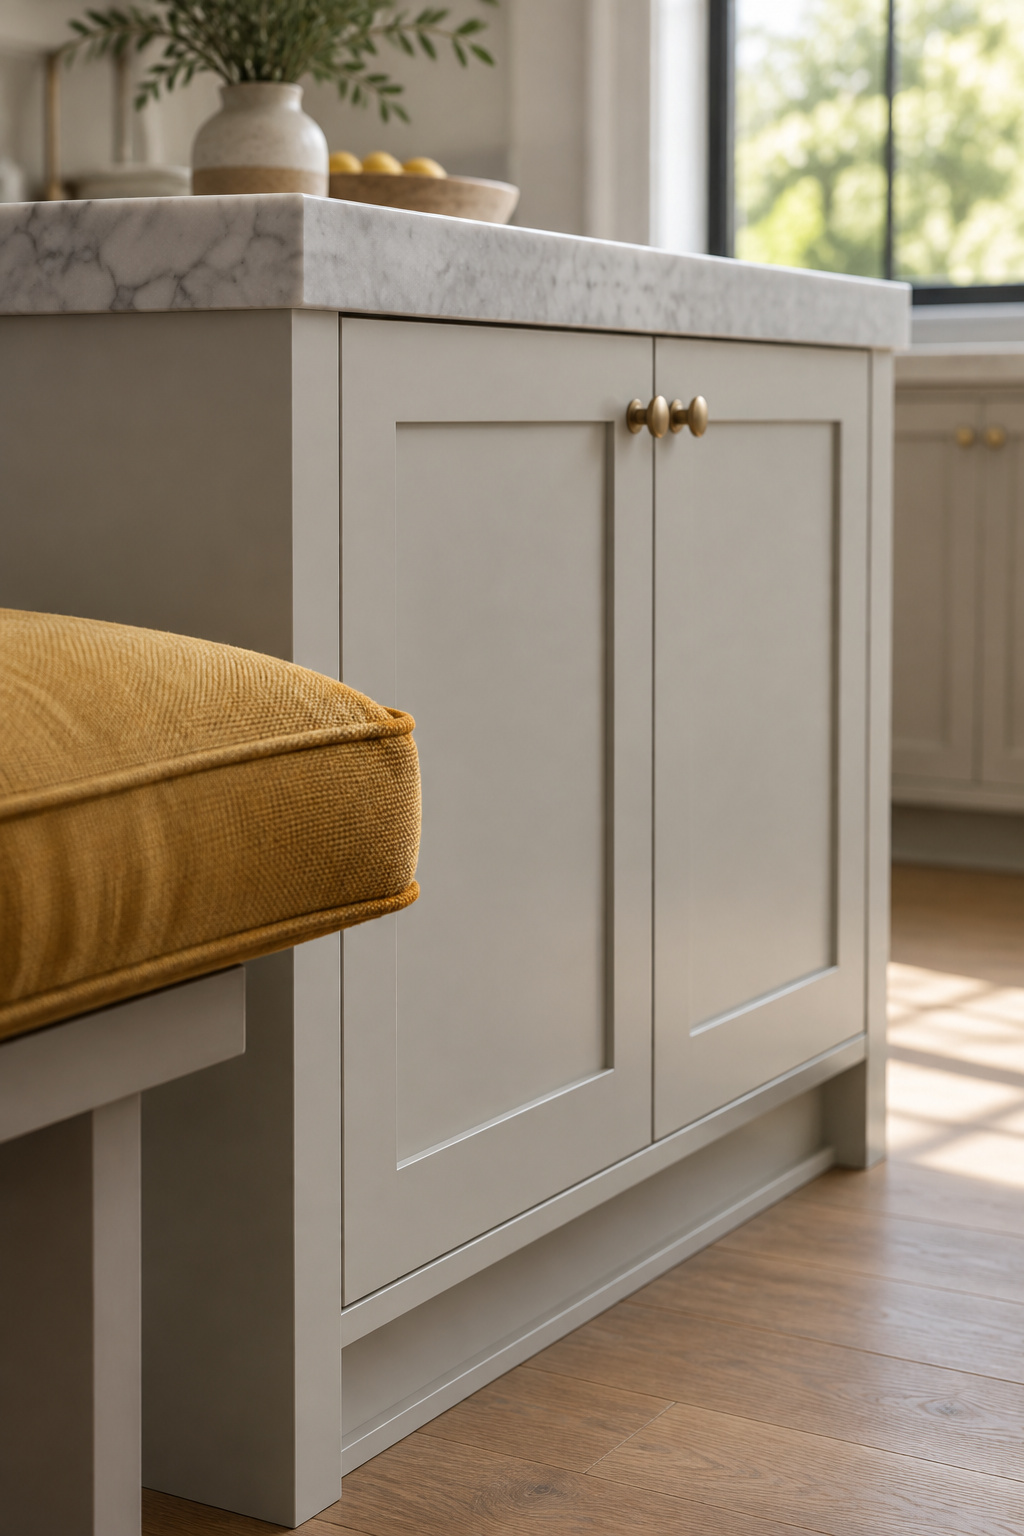
Lowe’s publishes its own how-to for this bench: build a base frame, set stock wall cabinets on it, and cap the run with a three-quarter-inch panel. It rates a simple version (two or three cabinets, no scribing) as intermediate and finishable in a weekend. A wall that isn’t square puts you into the longer range.
The boxes are made for a homeowner to install. Hampton Bay’s guide describes its own instructions as “a general guideline on how to install frameless cabinets in a reasonably simple installation,” written for a non-professional following a defined order. The method scales down a long way, too: one documented build framed two six-foot strings of ReStore wall cabinets with scrap 2x4s for $55 total.
Read your corner before you buy a single cabinet
Go stand in the corner with a tape before you order anything. Measure the run at the floor and again at seat height, then check the diagonals. If the two don’t match, that tells you more than the drawn plan does.
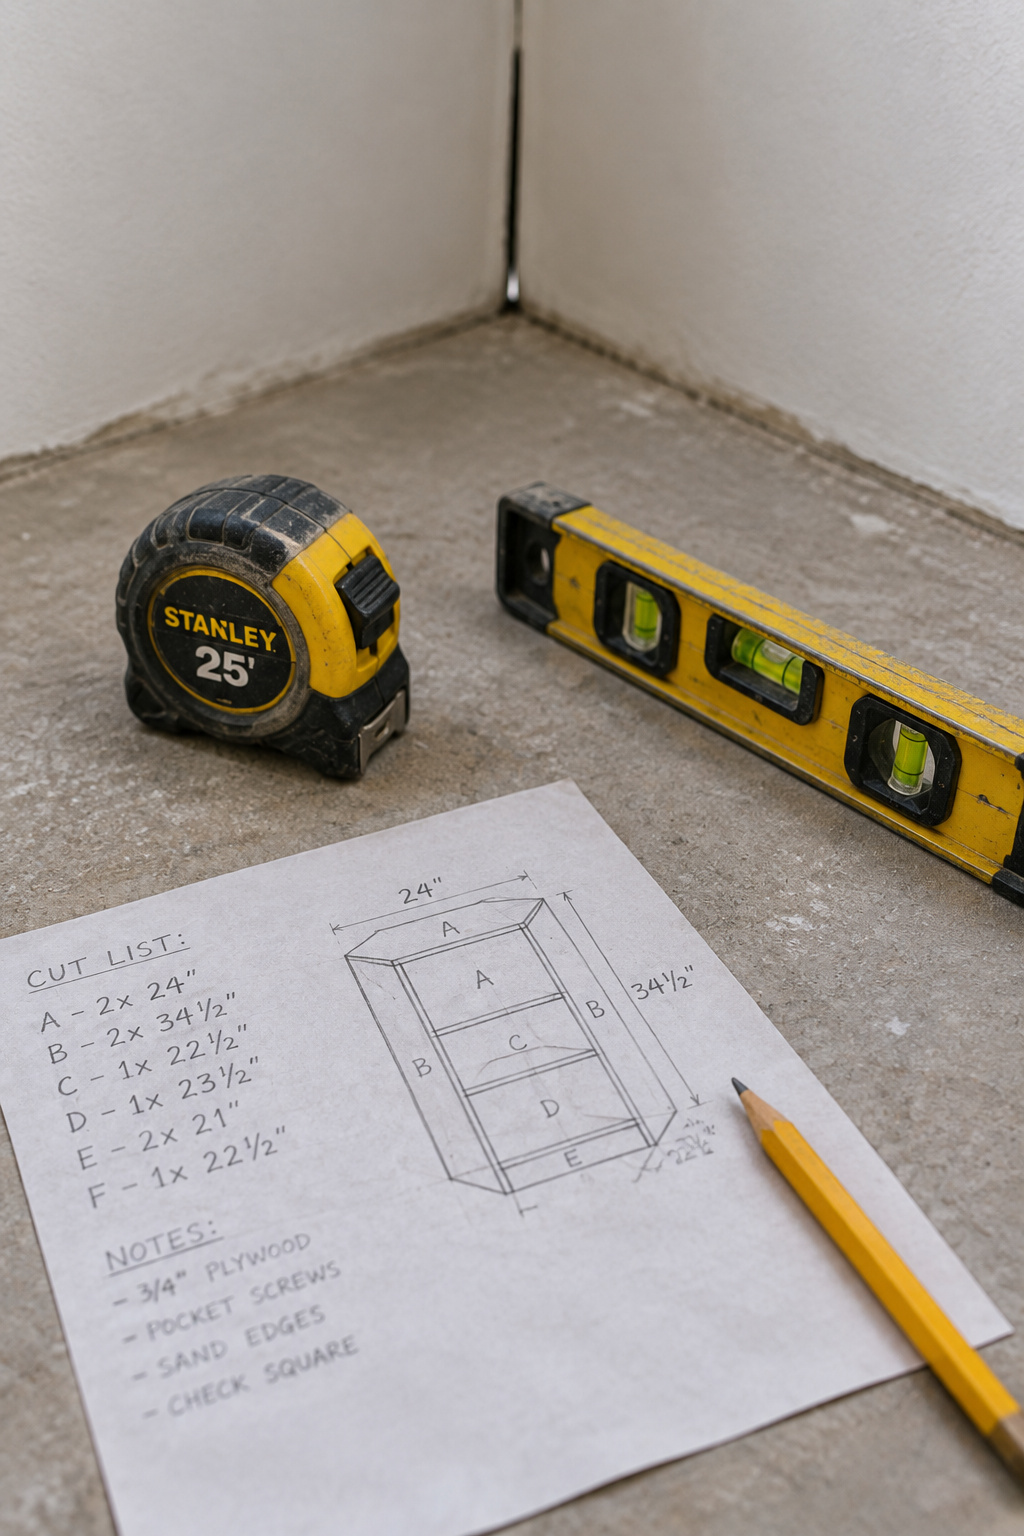
Wall cabinets are the right box. They’re a standard 12 inches deep, against 24 for base cabinets, which are heavier and deeper than a seat needs. They go in on their backs, doors up, so the 12-inch depth becomes the seat box’s height while the 30-inch width runs along the wall. That makes it a lift-lid, which is worth choosing on purpose; how the bench stores things underneath covers what each mechanism costs you daily.
Before the order goes in:
- Find the floor’s high point with a straightedge and level, then mark a level line off it on each wall. Every manufacturer guide starts there, in almost identical words.
- Mark the studs (16-inch centers in typical framing) along the whole cabinet line.
- Put a filler strip on the list now, and measure the wall gap at top, middle and bottom before you cut it.
Leaving off that last one is the mistake. Stock cabinets ship in fixed three-inch width increments, so almost no real wall divides evenly across them. You close the leftover gap with a purchased filler scribed to fit instead of exchanging a cabinet.
Build the ladder base before the cabinets
Set stock cabinets straight on the floor and you get a crooked bench and broken hardware. One first-time builder who tried it found that “if the cabinets just sit on the floor, you can’t open the cabinet door… it would hit and scrape the floor.”
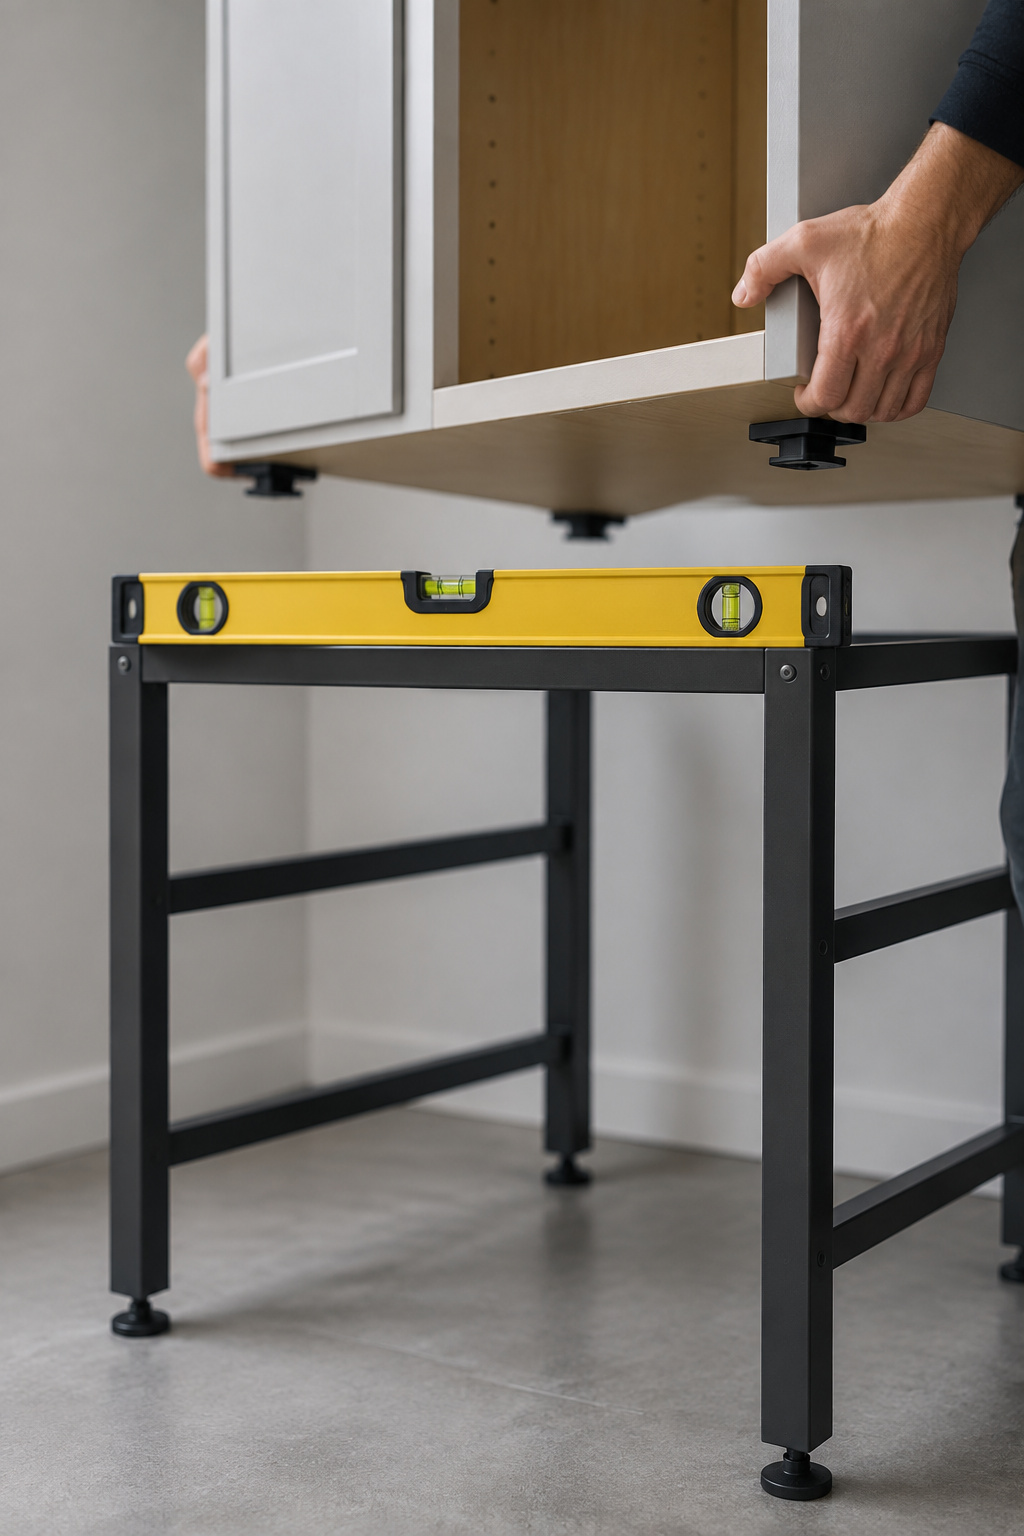
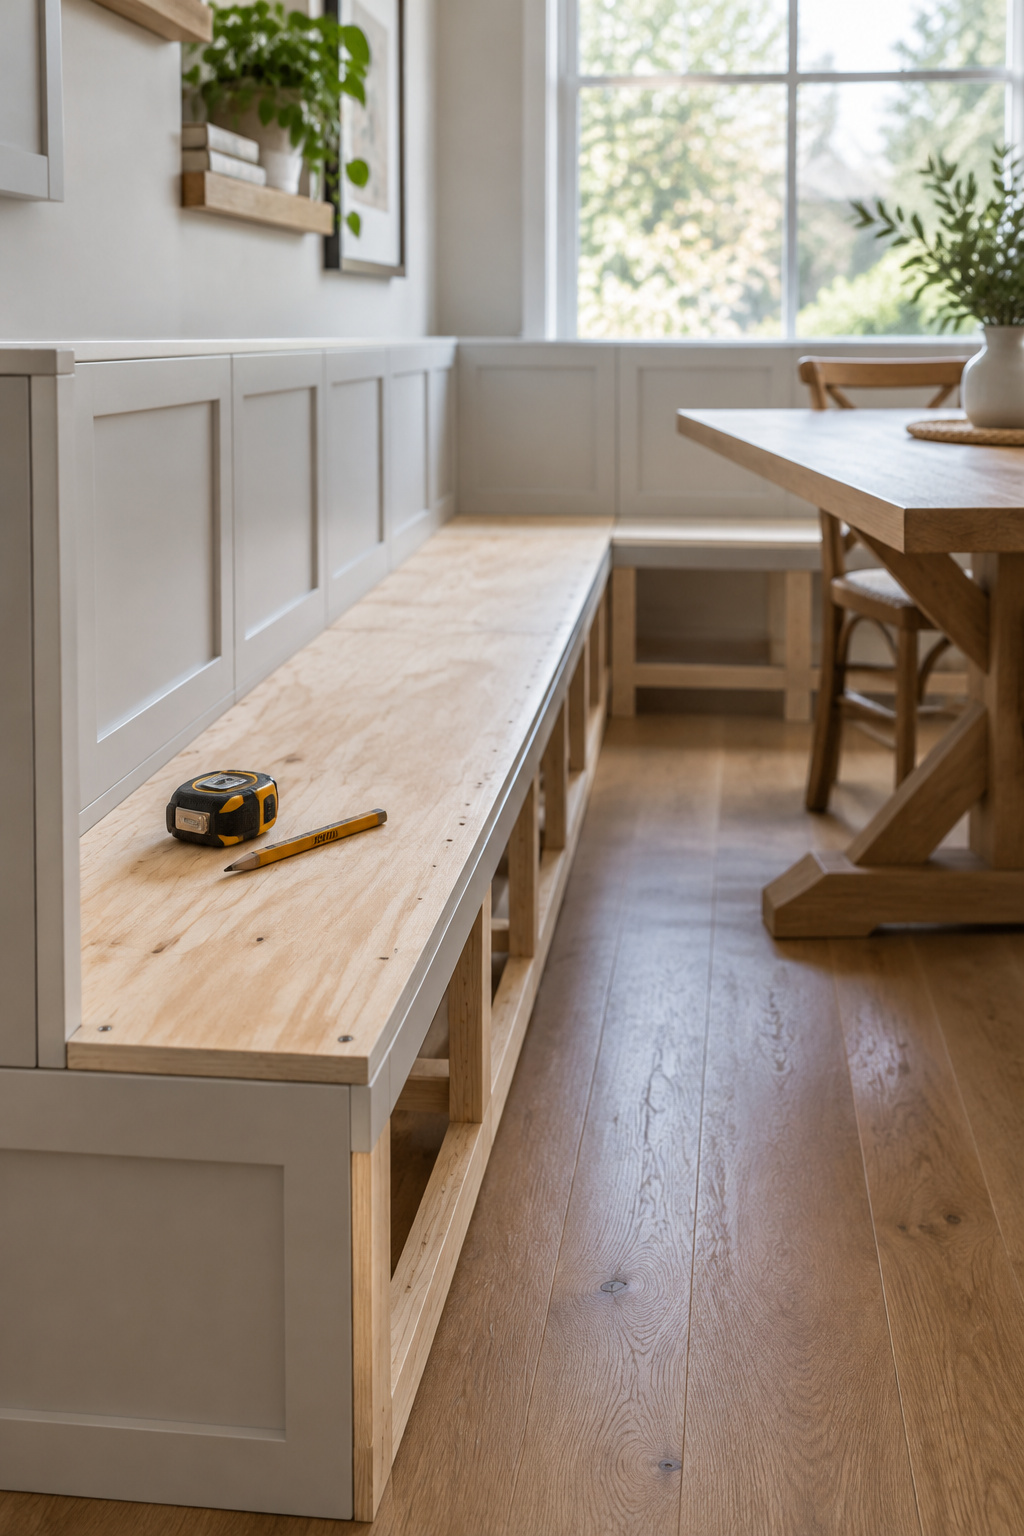
A ladder base prevents that. It’s a low, open-back frame the boxes drop onto, and once that one frame is level, everything above it is level as well. One working cabinetmaker who had tried legs and one-piece bases settled on it: “a level ladder base is the way to go… you get kick level.”
How high? There’s no single codified figure. NKBA’s own cabinetry and casework education chapter puts a toe kick at 4½ inches, while DIY and cabinetmaking trade convention (the forum ladder-base crowd, the how-to writers) converges on 3½ to 4 inches. Nobody arbitrates between the two, so work out your own from the top down. I build the deck to a finished 16¾ inches and let the cushion take it from there.
Take ¾ inch of plywood and the 12-inch cabinet box off that 16¾-inch finished deck and you’re left with 4 inches of ladder base.
Build it from ripped plywood or melamine strips instead of solid 2×4. That goes against nearly every DIY tutorial, but professional cabinetmakers, independently of each other, warn that unacclimated kiln-dried studs shrink enough to tilt the finished top forward. In one documented case the cabinets dropped an eighth of an inch and the laminate tore loose from the backsplash months later.
- Rip your base stock to 4 inches wide.
- Build a ladder: two long rails, rungs every 16 to 24 inches, open back.
- Fasten the rear rail through the wall into studs.
- Shim level front-to-back, side-to-side and across the diagonals.
- Trim the shims flush.
- Now set the first cabinet.
If the base is out by an eighth of an inch, you’ll be fighting that same eighth when you fit the deck.
Set and scribe the cabinets to the wall
Start by finding out how far out of square the wall is: measure the gap between cabinet end and wall at top, middle and bottom. If those numbers are close, rip the filler straight. If they aren’t, you scribe, and scribing is the step people quit on.
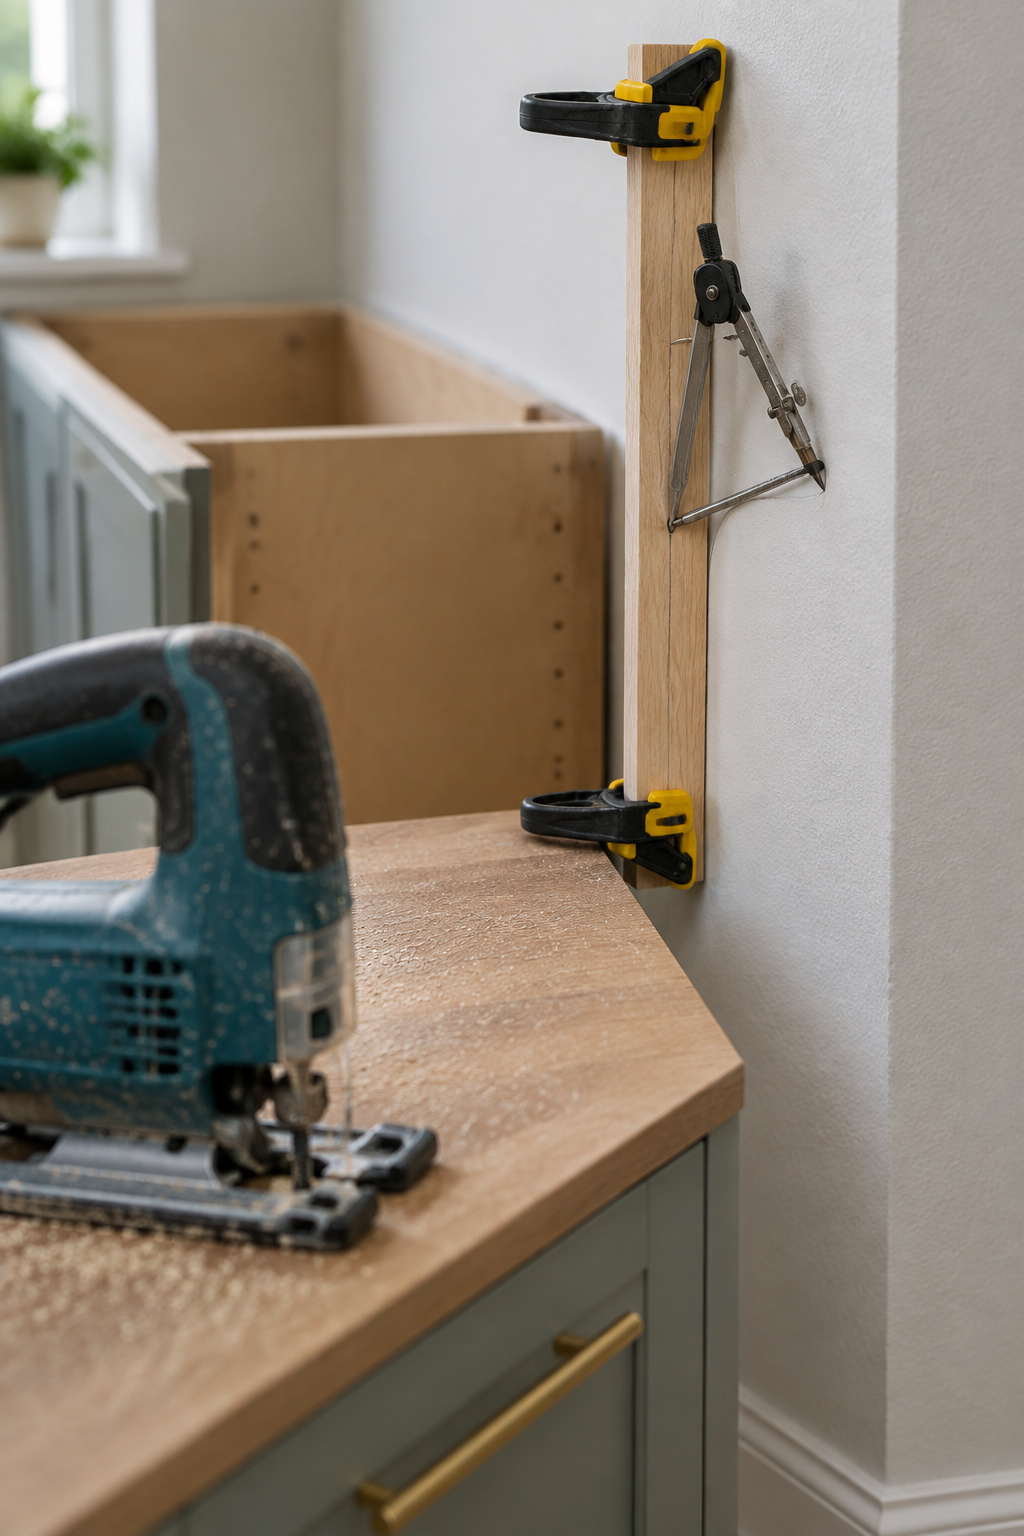
Every version of this method is a variant of the one in IKEA’s kitchen installation guide. Hold a flat block against the wall with a pencil riding its edge and slide it down the wall’s contour; the pencil traces that contour onto the clamped filler. Most builders swap the block for a carpenter’s compass, the grade-school art-class kind.
- Clamp the filler in position, edge against the wall.
- Set the compass to the widest measured gap.
- Run its point down the wall so the pencil marks the strip.
- Cut to the line: jigsaw for a tight curve, circular saw for a shallow one. Without a jigsaw, a coping saw does it more slowly for a fraction of the price.
- Sand a back bevel into the wall side so only the front edge touches.
- Fix it with screws, glue or silicone.
Don’t fight a properly bowed wall at the face. The manufacturer’s troubleshooting sheet scales the fix: a minor bow gets a shim behind the cabinet until it’s plumb, and an extreme one gets that shim fastened to the stud first.
One unglamorous tool earns its place here. On the crews I ran, nobody respected the $40 oscillating multi-tool at the bottom of the box, and it saved every install. A proud shim, a baseboard in the way, a filler an eighth too long once it’s screwed home: it fixes each of those in place, without pulling a leveled cabinet back out. Buy nice tools slowly, but buy that one early.
Cap the run with a flat seat deck, even over uneven cabinets
None of the manufacturer guides I could find, Hampton Bay’s and IKEA’s included, lists “flatten a deck across cabinets whose tops don’t line up” as a step. They assume a countertop fabricator handles it, so this part is worked out from first principles.
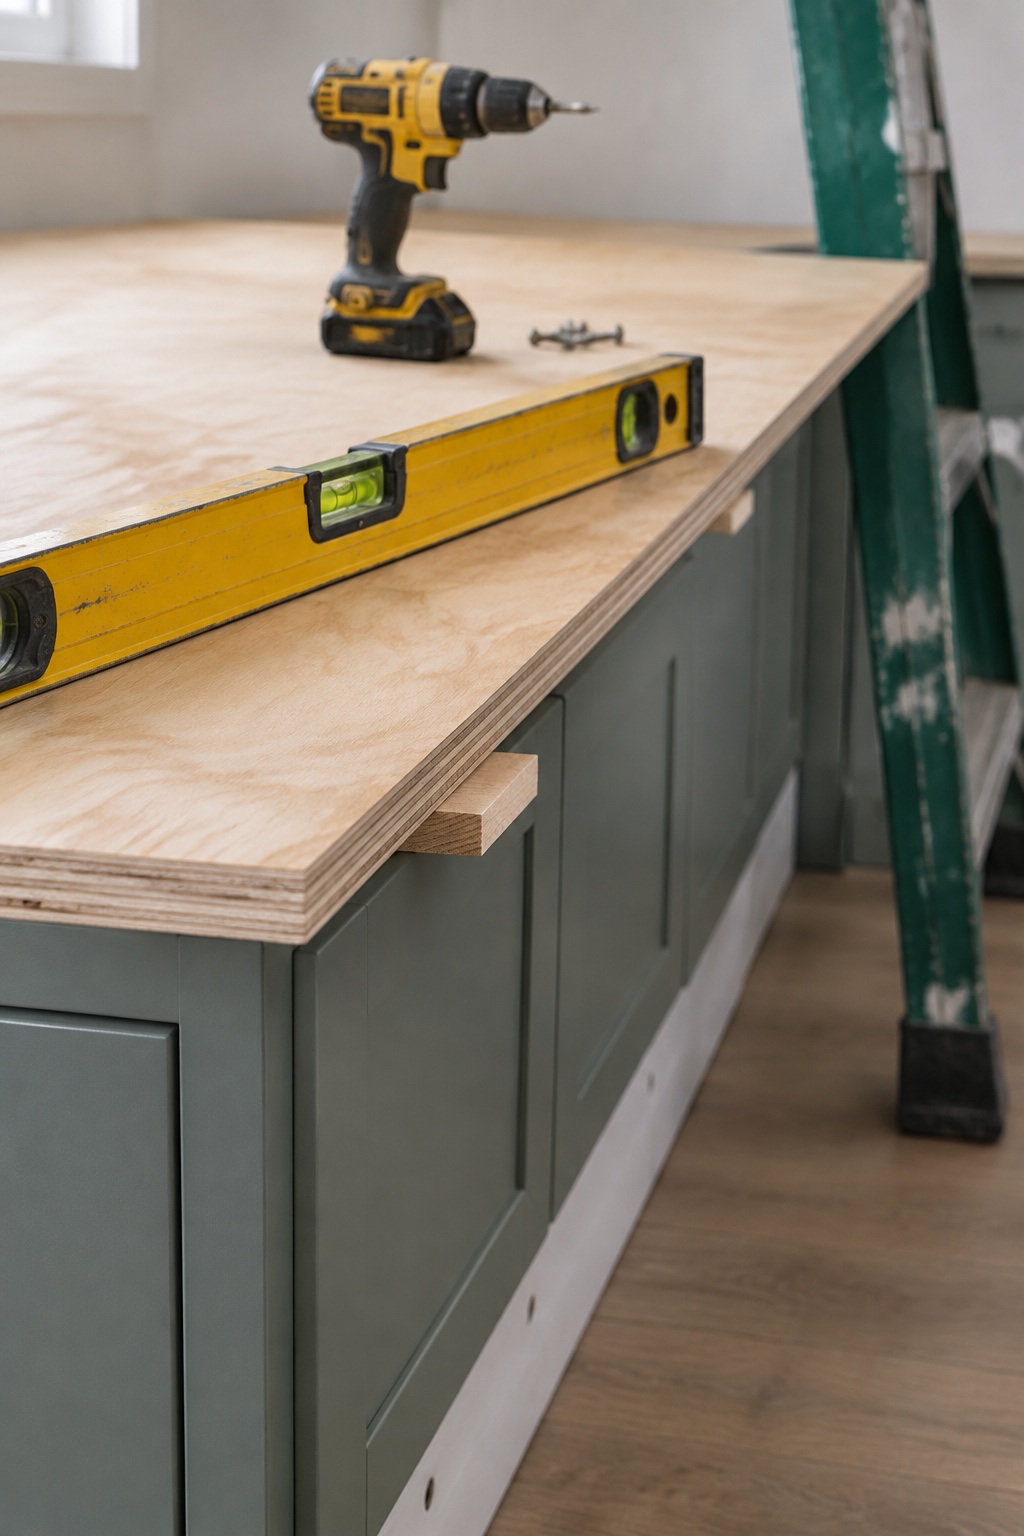
The deck is one three-quarter-inch panel across the whole run, glued to the cabinet tops with construction adhesive and clamped while it sets. Lowe’s specifies MDF; a current build used plywood. Three-quarter inch is the working thickness either way, because thinner sheet goods flex between boxes under a seated adult. When the tops don’t share one plane, borrow the leveling method from the base step:
- Run a long level across every cabinet top and mark the low points.
- Shim there until a straightedge sits flat everywhere.
- Fasten the deck across that shimmed line, into the cabinet frames, so its load transfers into the boxes instead of spanning unsupported.
This build ends at the deck. High-resilience foam goes on top, and its spec belongs to the upholstery article, so I won’t give numbers for it here.
The IKEA route: the same logic, on the line IKEA still sells
The two most widely circulated IKEA banquette hacks online both build from AKURUM wall cabinets. AKURUM was discontinued on 2 February 2015, after 20 years, and replaced by SEKTION. The originating 2008 post says, “I then came up with an idea to use Ikea kitchen wall cabinets (Akurum),” and its most-cited 2014 successor lists them by name too. Both still rank, so following either one’s product numbers means shopping a line that has been dead for over a decade.
SEKTION works for the same route, but the numbers are different: frames come in 12- to 36-inch widths and are 14¾ inches deep. One current build set three SEKTION frames on a 2×4 ladder base ripped to about 2½ inches and kept the same order of base, cabinets, then deck.
What the materials cost, from this cut list
Prices come from live Home Depot and Ace Hardware listings on 2026-09-02, for a 72-inch run. They cover materials only, with no labor, installation or cushion.
| Item | Qty | Materials-only cost |
|---|---|---|
| Wall cabinet, 30″W x 12″D x 30″H, unfinished (HD #325134504) | 2 | $252.00 |
| Wall cabinet, 12″W x 12″D x 30″H, unfinished (HD #302969868) | 1 | $63.98 |
| Pre-finished alternative: same footprint, Satin White Shaker | 2 + 1 | $622.00 |
| 2x4x8 stud — ladder base rails, rungs and wall cleat | 3 | $12.00 |
| 3/4″ sanded plywood, 4×8 sheet — deck plus scribe offcuts | 1 | $39.98 |
| GRK #8 x 2-1/2″ star-drive cabinet screws, 100 ct | 1 | $16.98 |
| 16 oz wood filler + 1 qt satin polyurethane | 1 each | $33.97 |
| Total — unfinished cabinet route | $418.91 | |
| Total — pre-finished cabinet route | $724.93 |
The unfinished route adds up as $315.98 cabinets + $12.00 base + $39.98 deck + $16.98 fasteners + $33.97 finish = $418.91. Swap $622.00 into the cabinet line and it’s $724.93.
The studs are priced at $4.00 each, the low end of the current $3.97 to $4.65 band. Stud stock covers both the base and the wall cleat, where you might otherwise buy a dedicated furring strip, because those retailer pages wouldn’t return live pricing. The unfinished total also buys bare boxes, so budget another $30 to $50 for primer and paint.
To compare this with buying a bench or hiring the job out, see what all three build routes cost, with dates attached. For where the bench sits among the other ways to fill a corner, start with our full guide to kitchen banquette seating.
The mistake that adds a second trip to the store
The second trip is for fasteners and filler stock, and the manufacturer warns about it. Cabinets come in three-inch width steps, your wall doesn’t, and the strip that closes the difference is sold separately from the boxes.
The videos skip the finishing. Base, cabinets and deck fit into two weekends, and the finish takes a third: filler in every screw hole, sanded back, two coats of polyurethane with real drying time between, plus primer and paint if you bought unfinished. Nobody films that weekend, but you will spend it, so budget for it from the start. Then go measure your corner, because the wall is the one variable you can’t buy your way past.
FAQ
Can you really build a banquette from stock cabinets instead of custom carpentry?
Yes. A major home-improvement retailer publishes its own how-to for this build: stock wall cabinets on a site-built base frame, capped with a three-quarter-inch panel. Documented builds range from $55 using salvaged ReStore cabinets to past a thousand dollars with new ones, so the method works across very different budgets.
How long does a stock-cabinet banquette build actually take a first-time builder?
Plan on three to five days spread across weekends. The retailer’s own guide rates a simple version (two or three cabinets, a basic frame, no scribing) as intermediate and finishable in one weekend. Add an out-of-square wall, a scribed filler and a finish schedule, and the timeline stretches.
Do base cabinets or wall cabinets work better for a banquette bench?
Wall cabinets, by a wide margin. They’re a standard 12 inches deep, against 24 inches for base cabinets, which are deeper and heavier than a seat needs. A major retailer’s build guide, several IKEA-hack case studies and a Habitat ReStore salvage build all chose wall cabinets independently.