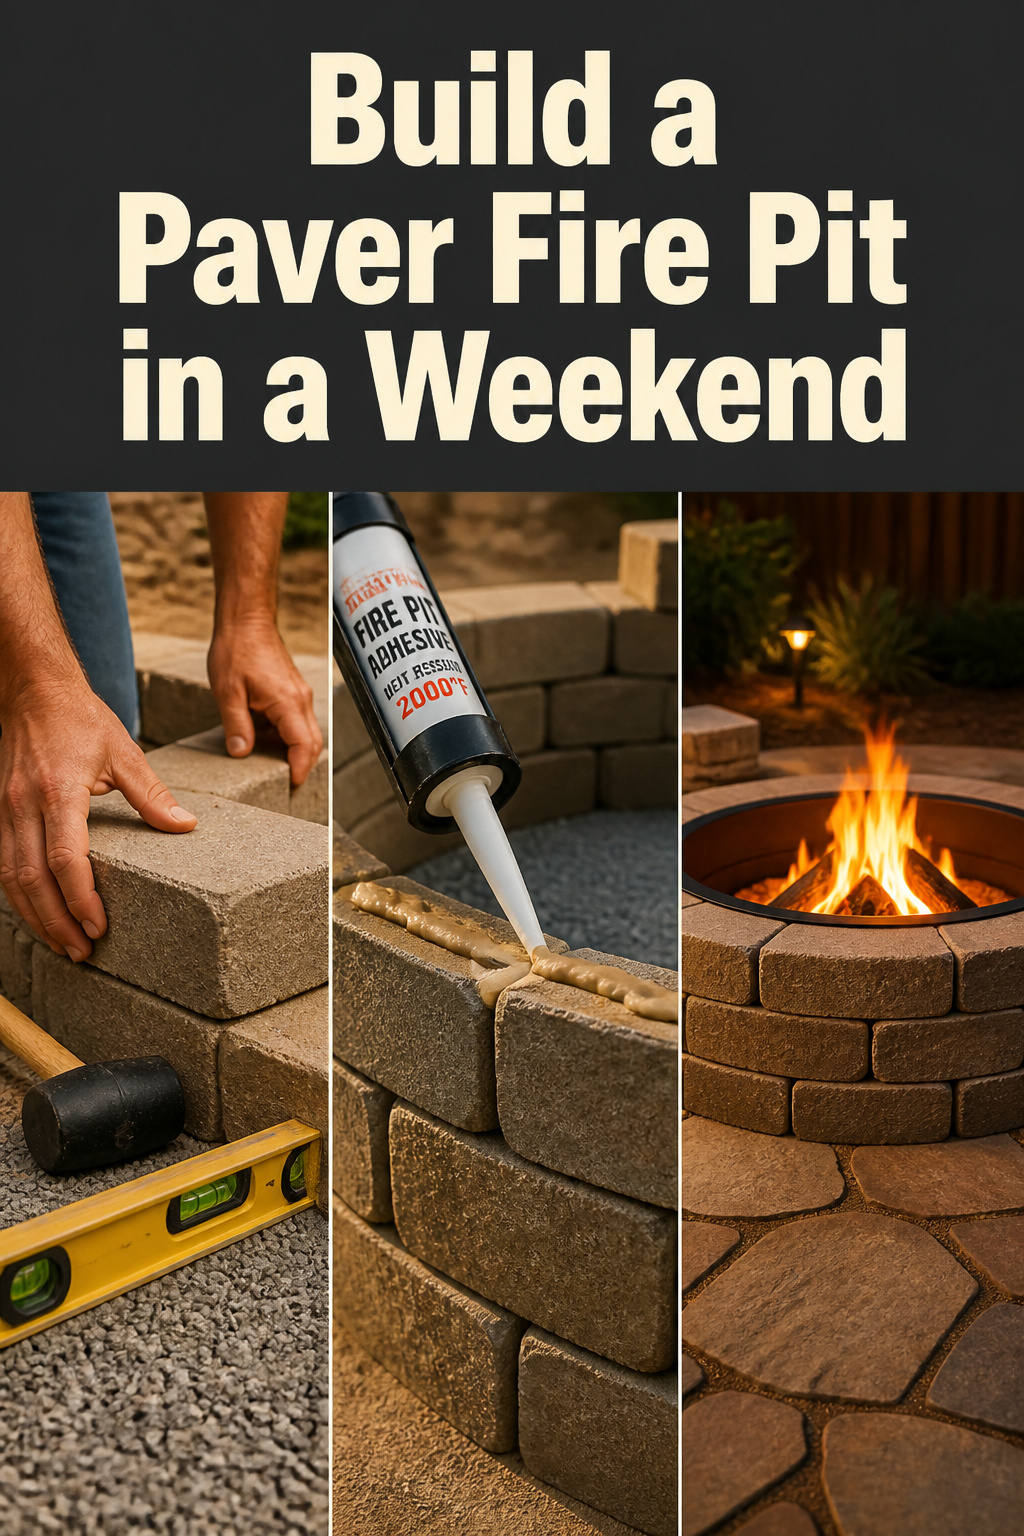
The first paver fire pit I helped plan went sideways before we’d set a block. The homeowner had watched a “two-hour” video, bought garden-section retaining blocks, and lit a roaring fire two days later. By morning the adhesive had fractured and a block had popped at the inner face. The video skipped the cure time, the right block, the base under it all — the boring parts that are the whole job. So here’s how to build a paver fire pit properly: real cost, real hours, steps in the order they happen.
TL;DR
- A 36–48 inch paver ring with a compacted gravel base, high-heat adhesive, and a steel insert runs $200–$650 in materials and takes 6–8 hours of active work for a first build.
- The adhesive needs 2–7 days to cure before the first fire — lighting it early is the most common build mistake, so budget Day 1 to build and the following week to wait.
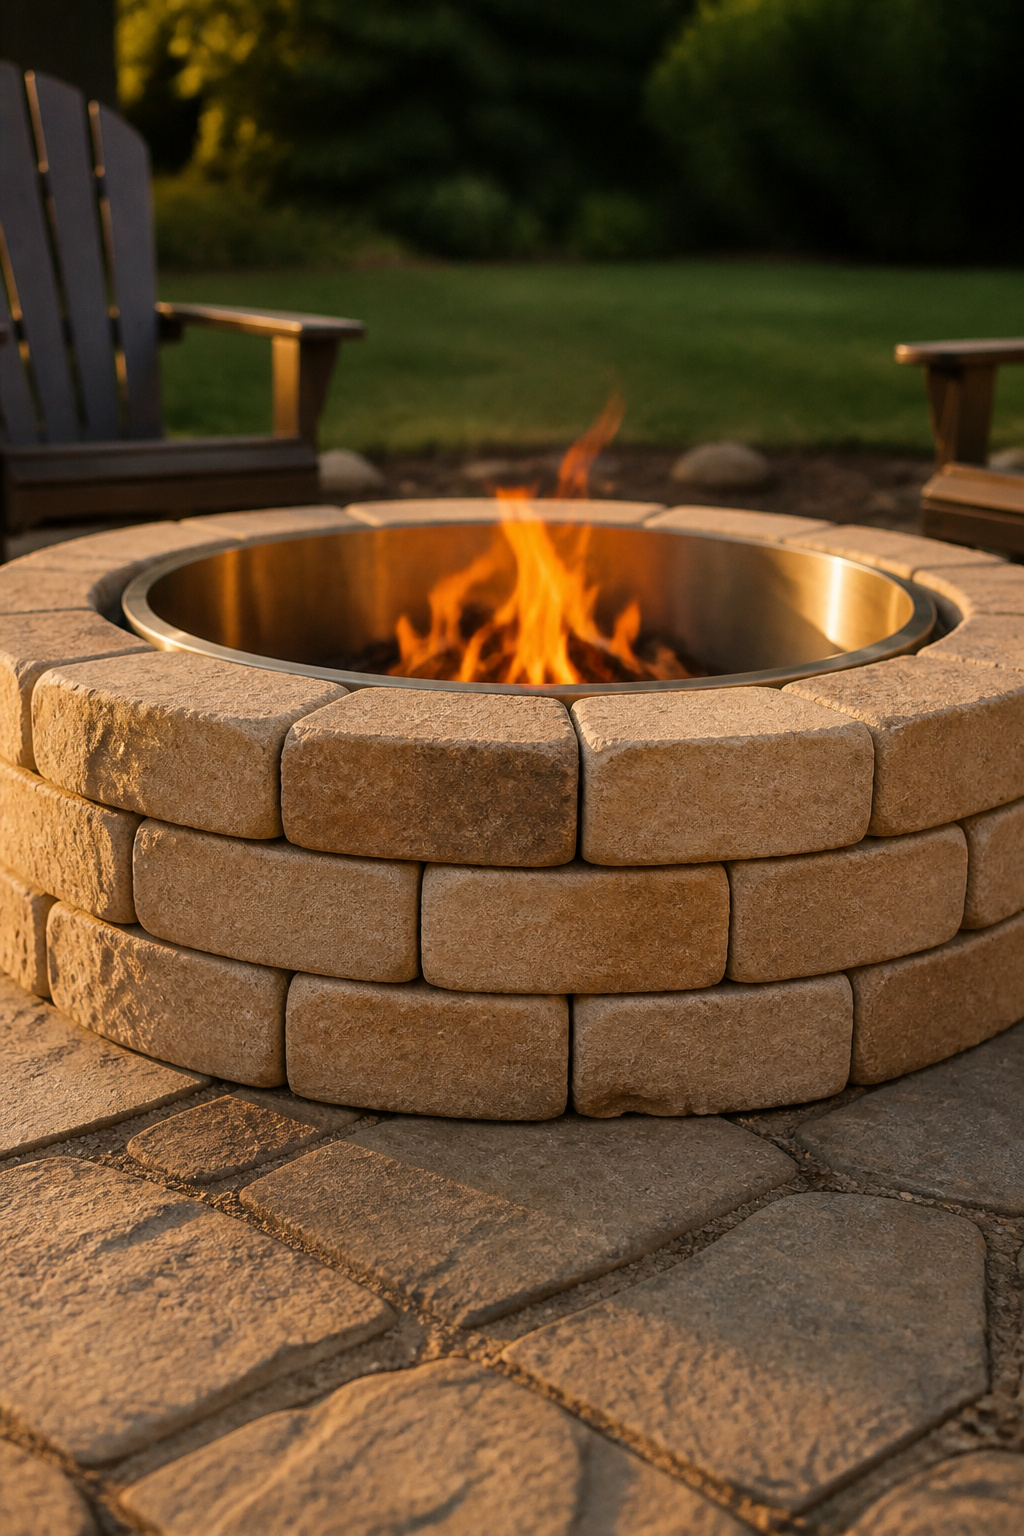
- Use fire-rated trapezoidal blocks (no cutting), build a 6-inch compacted crushed-stone base, and add a steel insert sized 2–4 inches under your inner diameter so it can expand.
What This Build Costs, Takes, and Demands — Before You Start Digging
The numbers come before any inspiration — they decide whether this is your weekend. A from-scratch ring costs less than a kit; Oldcastle’s Weston kit at Home Depot runs $471–$639. If you’d rather start smaller, look at cheaper fire pit options first, or see the complete guide to backyard fire pits for the full survey of types and layouts.
Full materials list with big-box prices
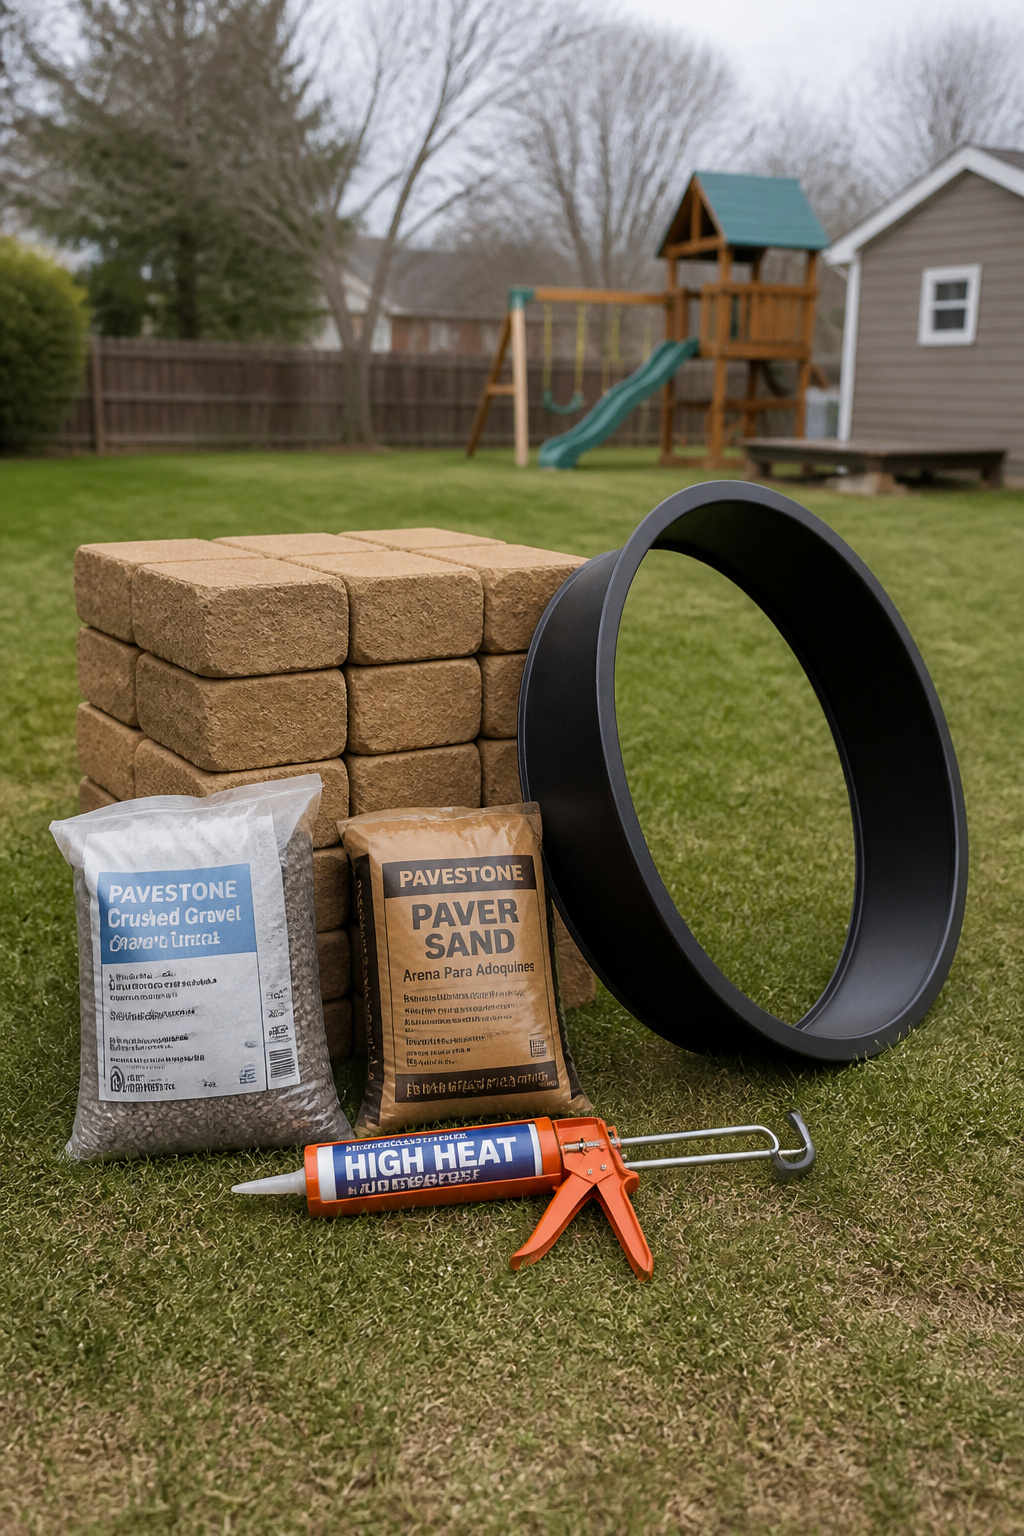
Here’s what a 36–48 inch, three-course ring costs. The per-block prices are approximate — worked back from kit totals and block-count math — so treat that line as a check-in-store figure, not a quote.
| Item | Approximate cost | Notes |
|---|---|---|
| Fire-rated trapezoidal blocks (3 courses) | $120–$400 | 40–47 blocks for a 36-in ring; 60–70 for a 48-in ring (incl. 10% waste) |
| Crushed gravel base (¾-in minus) | $20–$40 | 5–6 in compacted under a 48-in footprint |
| Paver sand (1-in setting layer) | $8–$15 | Coarse, not fine play sand |
| High-heat adhesive | $6–$15/tube | 1–2 tubes for a 3-course ring |
| Steel fire ring insert | $40–$120 | 3.0 mm steel; corten runs $150–$300 |
All in, plan on $200–$650 for materials.
Tools required and the honest workarounds
The working list, with the cheaper way out where one exists:
- Tape measure and spray paint or a chalk line, to mark the circle
- Flat spade for excavation; 4-foot level and a rubber mallet for setting blocks
- Hand tamper, or rent a plate compactor for $50–$80/day — worth it for a 48-inch ring on soft soil; on firm clay, a hand tamper plus a good wetting does the job
- Caulk gun for the adhesive, and a garden hose
One tool you can skip: a saw. Trapezoidal kit blocks taper to make the ring with no cutting required. Square retaining-wall blocks need a diamond-blade grinder — so for a first build, buy trapezoidal.
Skill rating, weekend timeline, and the weather windows that matter
I rate this a first build — no mortar, no concrete mixing, no cuts with the right blocks. Active time runs 6–8 hours on a 36-inch ring: marking and digging (1–2 hr), the base (1–1.5 hr), three courses (2–3 hr), insert and cleanup (30–60 min). Schedule one hardware-store run into your morning.
Two weather rules: most adhesives need temperatures above 40°F to cure, and don’t build with rain forecast inside 24–48 hours. Then wait — Home Depot’s guide specifies 2–7 days before the first fire. That wait is where most people fail.
Choosing Fire-Rated Pavers and Block: What Holds Heat and What Cracks
Get the block wrong and it cracks at the first hot fire — that’s what happened to my homeowner. The decision comes down to density and porosity.
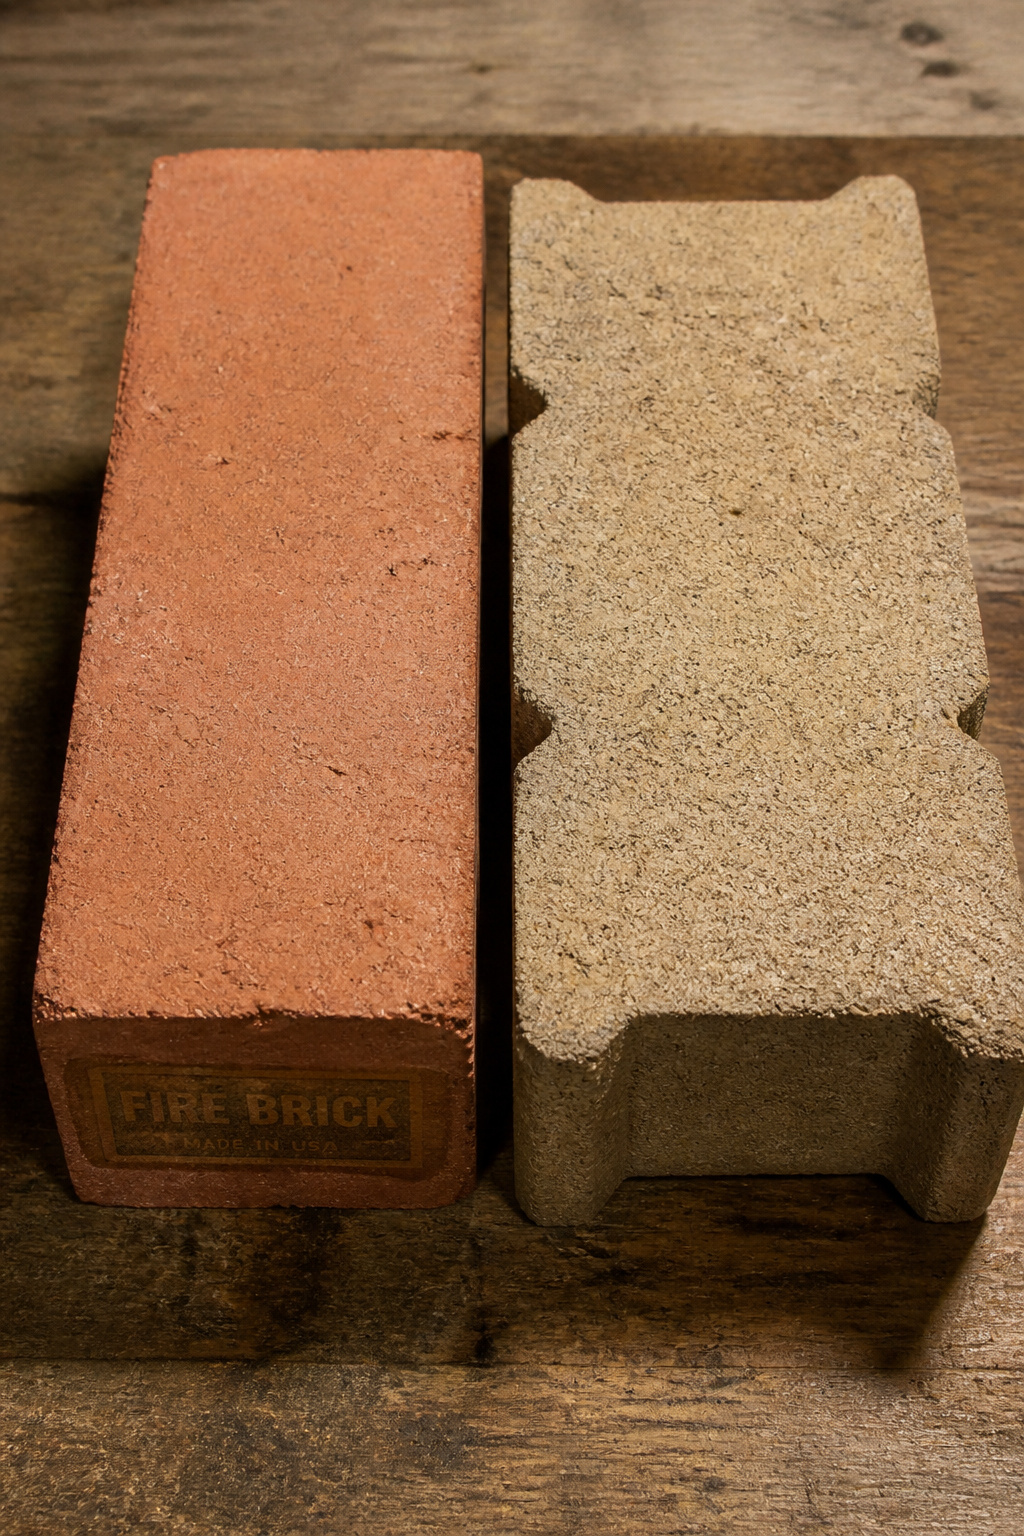
Fire brick vs concrete paver vs retaining-wall block
True fire brick is refractory clay fired above 1,800°F — dense, rated for temperatures over 2,500°F, the gold standard for an interior. But it costs $2–$5 a brick and needs refractory mortar, turning a stacked-block weekend into a masonry project.
Standard concrete blocks are porous and absorb rainwater. Heat them fast and “the moisture turns to steam and the pressure cracks the block from the inside,” as Western Interlock puts it. Retaining-wall blocks suit the exterior ring but chew up without a steel buffer against direct flame.
What “fire-rated” means and which big-box products qualify
The practical middle ground is fire pit-specific concrete block, kiln-fired to 1,800°F so it handles the thermal cycling — flame inside, ambient outside. Standard pavers cure much cooler and don’t qualify. At Home Depot and Lowe’s, Oldcastle fire pit lines (Countryside, Weston, Hudson Stone) and Pavestone kits state fire-contact suitability on the label. Buy those, not generic garden-section blocks.
How many pavers you need for a 36-inch and 48-inch ring
For a 36-inch ring, figure 12–14 trapezoidal blocks per course — 40–47 total for three courses with 10% waste. A 48-inch ring runs 60–70 blocks (18–21 per course). Three courses of 4-inch block give a 12-inch wall, the minimum for containing embers; go four courses (16 inches) for big wood fires.
Excavating and Building the Gravel Base: The Step Most DIYers Underdo
The base is what keeps the ring level through winter. This is the step people rush — exactly why rings heave out of square by spring.
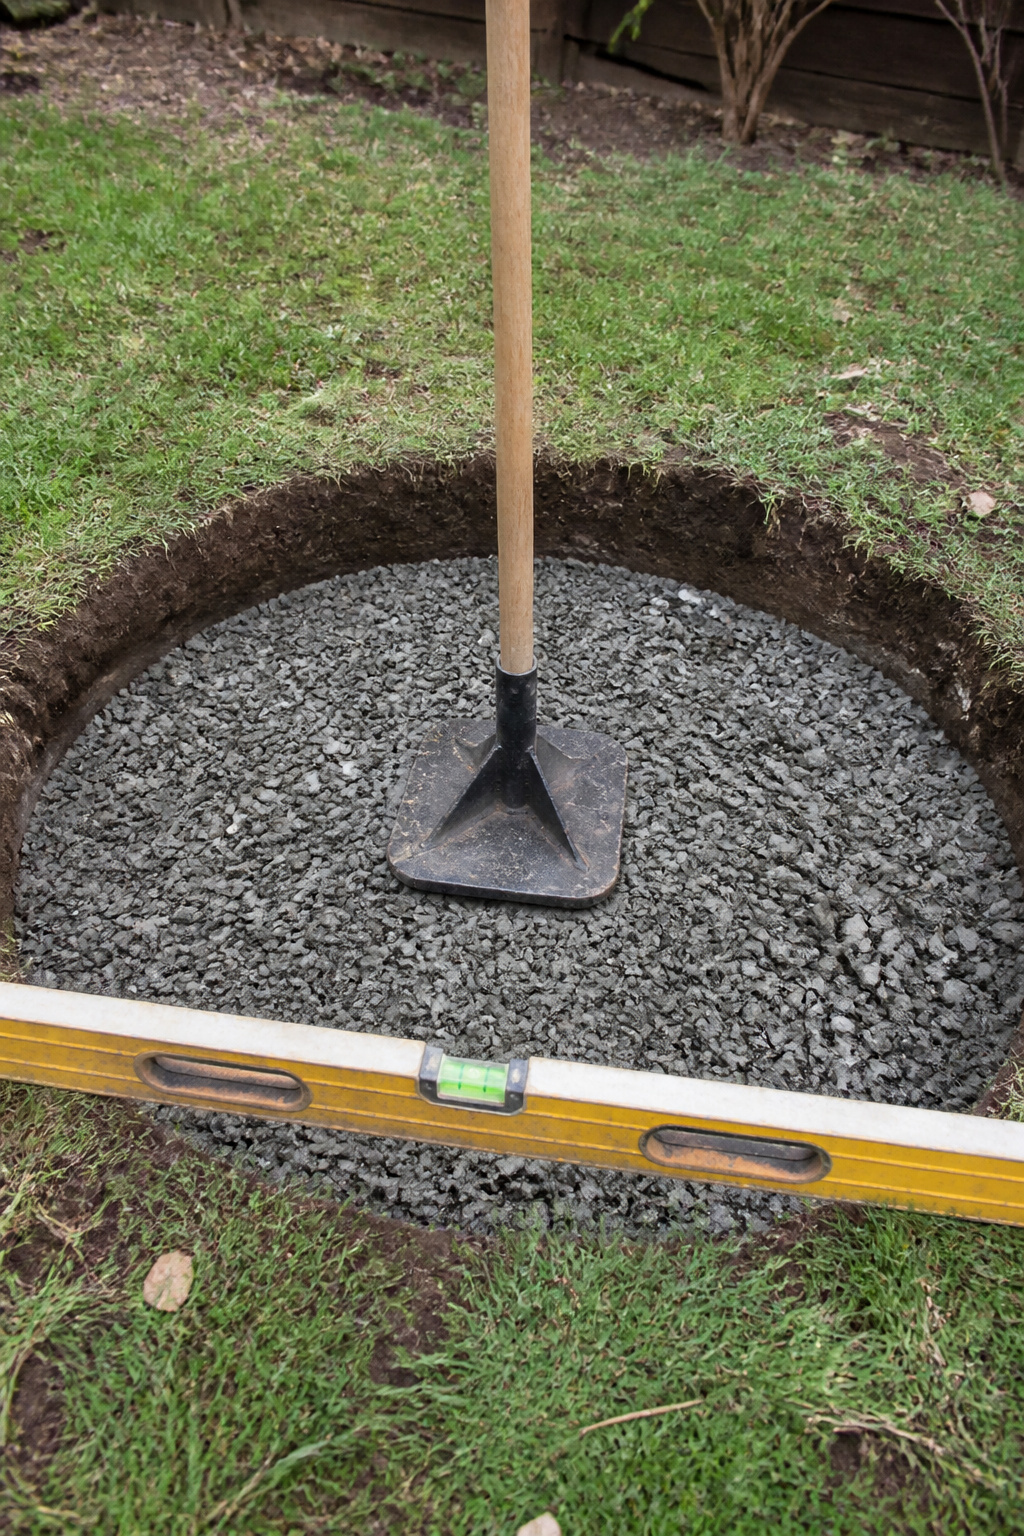
- Mark the circle. Drive a center stake, tie a string at your inner radius — 18 inches for a 36-inch pit — and swing it like a compass to scribe the dig line.
- Excavate 7–10 inches below grade. That holds 6–7 inches of gravel and a 1-inch sand layer; Home Depot’s guide calls for about 7 inches of soil removed.
- Fill with crushed stone, not pea gravel. Angular “crusher run” locks together; round pea gravel rolls past itself and shifts.
- Compact in 2–3 inch lifts. Add a couple inches, tamp hard, add more. As Ernest Maier’s paver guide warns, stone dumped deep and tamped once “looks firm but will settle unevenly.”
- Check level across the whole circle — north-south, east-west, both diagonals. More than ¼ inch over 4 feet, and you rake and re-compact.
- Screed a 1-inch coarse sand layer flat with a straight board. That’s the bed the first course nudges into.
The gravel spreads the load so the ring doesn’t sink unevenly, and drains water so freeze-thaw doesn’t lift it off level. In hard-freeze country (frost depth 12–24 inches), 6 inches is the floor; 8–10 is better.
The mistake to watch for: skipping lift-by-lift compaction. I’ve seen a ring on a base dumped and tamped once — fine in October, listed after the first winter, no fix short of pulling it apart. Compact in layers, check level twice, and you never meet this problem.
Laying the Paver Ring: Courses, Offsets, and the High-Heat Adhesive
With a flat, drained base, the ring goes up fast — the trick is doing the first course slowly so the next two are easy.
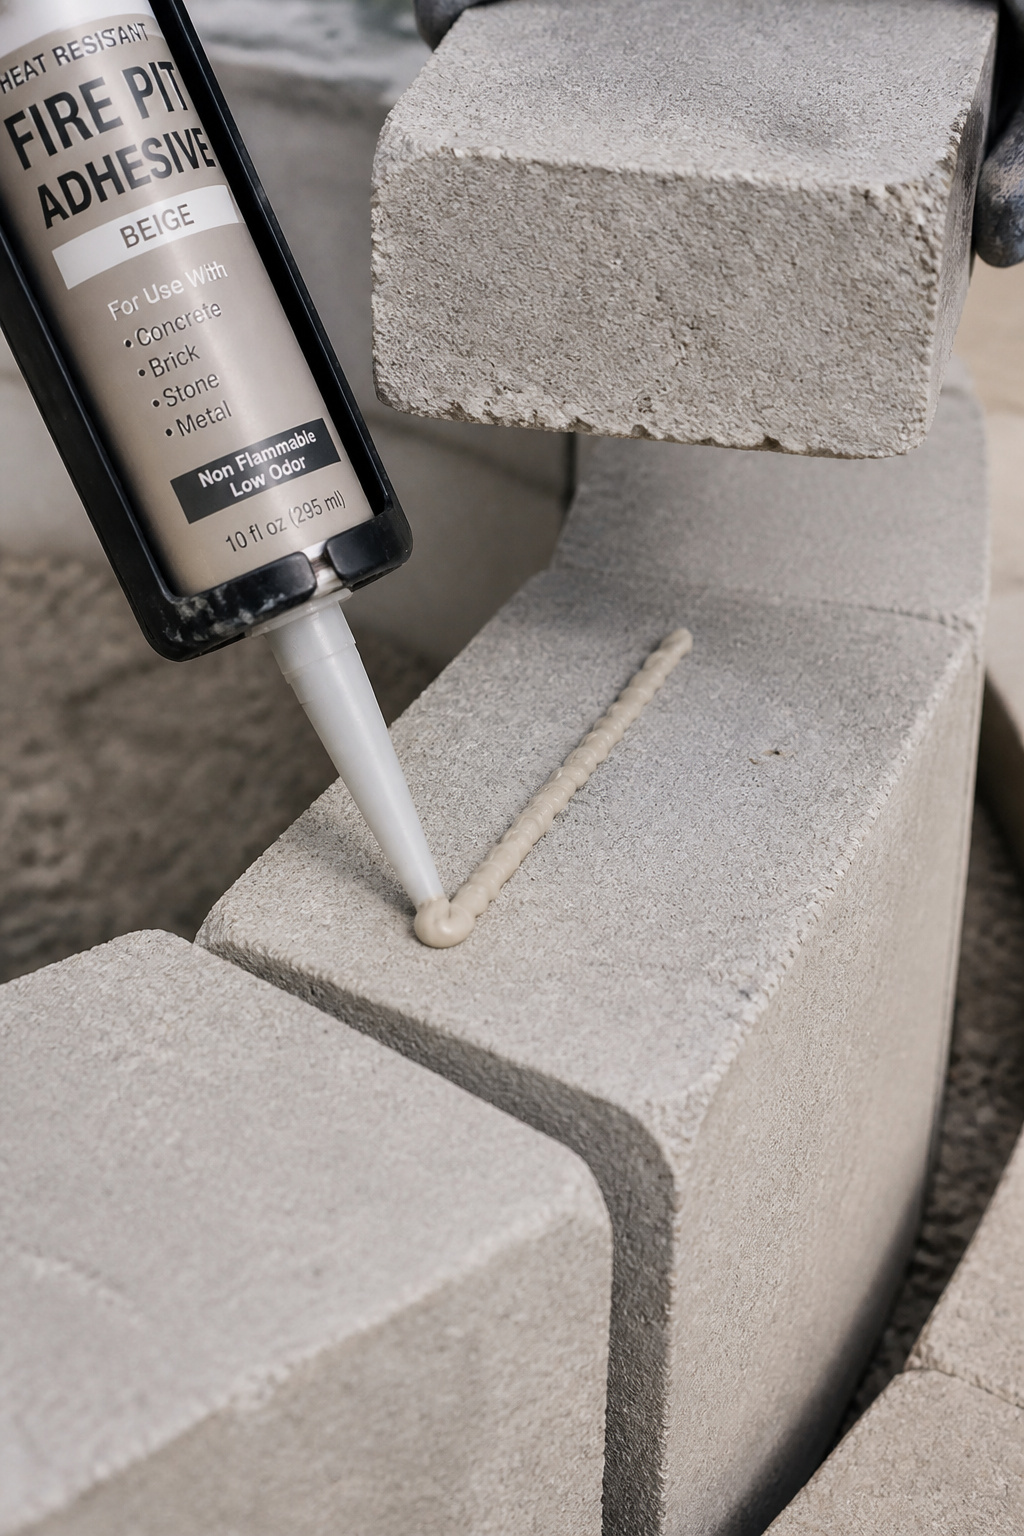
- Lay the first course dry — no adhesive — on the sand bed. Push blocks tight, tap high ones down with the mallet, add sand under low ones.
- Check level four ways, then re-run your center string to confirm every block’s inner face sits at the target radius. Any high spot here gets amplified in every course above.
- Only now apply adhesive. Correcting the first course after the glue sets means breaking blocks free, which damages them.
- Stagger every upper course. The joint between two blocks in course two should land over the middle of a block in course one. This running-bond offset stops a single crack running base to cap; on a round ring of uniform wedges, even a quarter-block rotation does it.
Now the adhesive. Use only a product rated for fire pit or high-heat masonry — Liquid Nails FUZE*IT, MEECO’s Red Devil Outdoor Fireplace adhesive, or Gorilla Heavy Duty. Standard landscape adhesive fails at the first full fire. Run a ⅜-inch bead 1–2 inches back from both edges (too far forward and it squeezes onto the face). Press firmly to seat each block.
Then you wait. Liquid Nails FUZE*IT advises 24 hours minimum, but most fire pit adhesives need 2–7 days for a full cure — Home Depot’s guide states that range as standard. Most products also want application between 40°F and 90°F; the upper limit is a general guideline, so read your product sheet and check the forecast for the whole cure window.
Installing the Steel Insert and Finishing the Surround
The ring’s built. The insert is the cheapest insurance on the project.
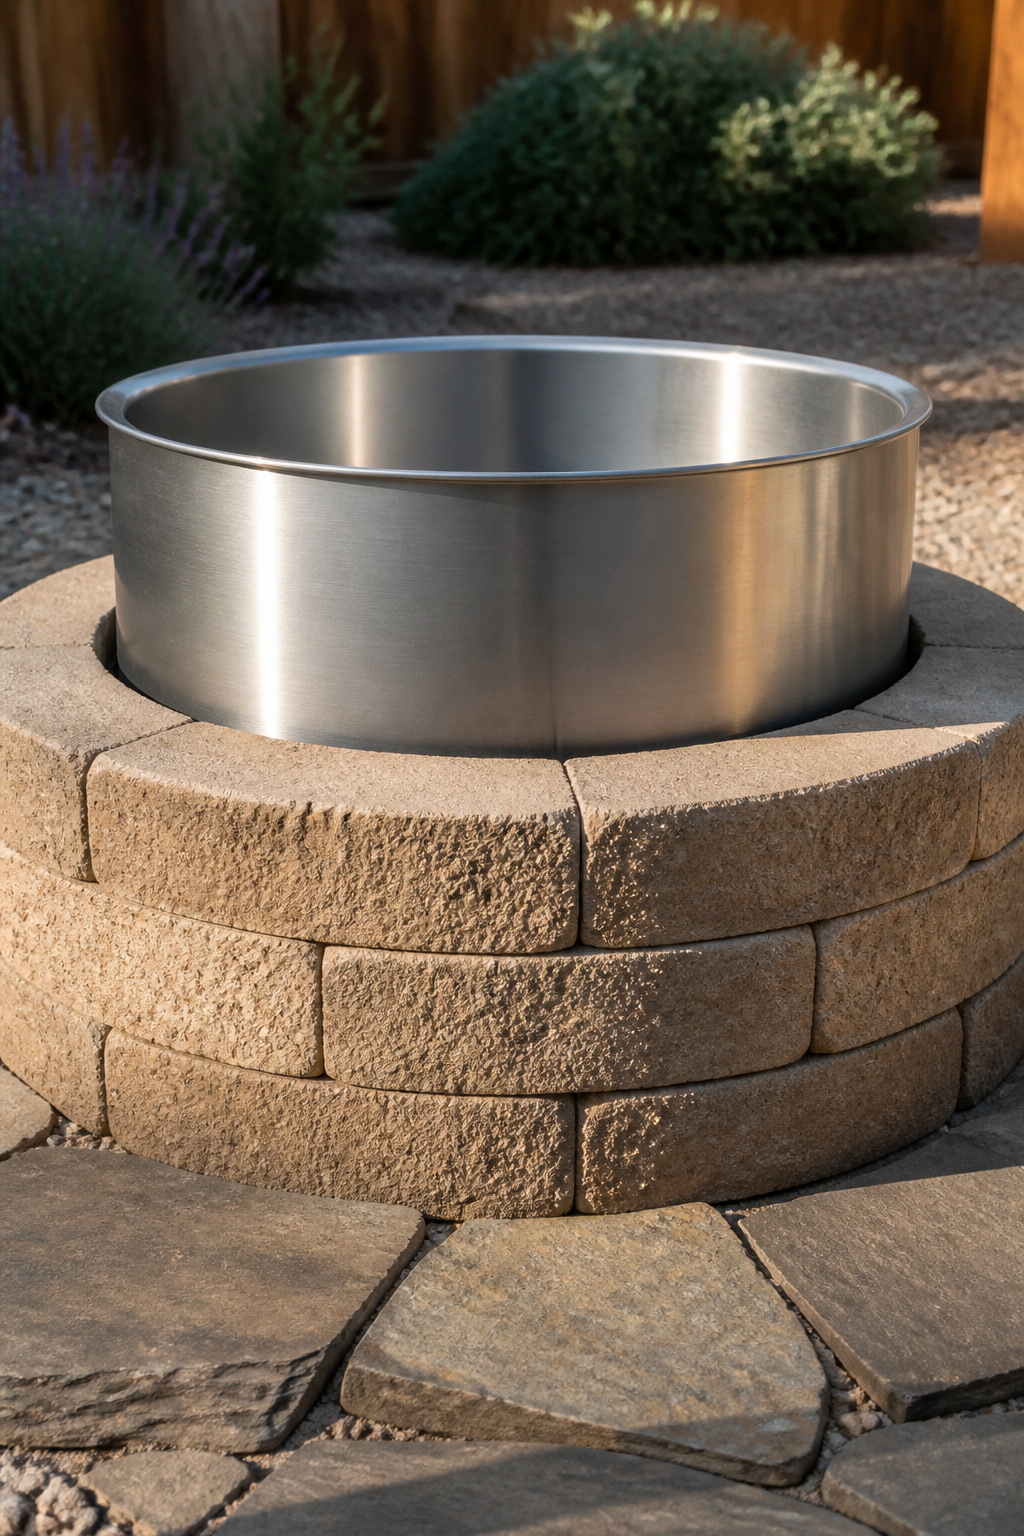
A steel ring liner takes direct flame and radiant heat off your pavers. As Sunnydaze’s guide puts it: “The ring keeps fire from drying out the pavers and causing them to crack.” It also keeps ash in a cylinder you can lift and empty, rather than letting embers work into the base gravel or the joints — which matters without a mortared floor.
Size it 2–4 inches under your inner diameter: a 36-inch pit takes a 32–34 inch insert, a 48-inch pit takes 44–46 inches. Go heavy — 3.0 mm (11-gauge) steel or thicker; thin sheet under 2 mm warps within a couple of seasons. A rolled lip rests on the top course and self-centers; a lipless insert you center by hand.
To finish the joints, sweep polymeric sand into the gaps — it hardens when misted, resisting weeds and wash-out. A flagstone apron (two to three flat stones wide on a sand bed) catches embers and gives stable footing. Once it’s in, you can landscape the surround properly — plantings, edging, and lighting to tie the pit into the yard.
First Firing and Ongoing Maintenance: Making the Build Last
The job’s not done when you set the last block — it’s done after the cure fire, and then maintenance keeps it standing.
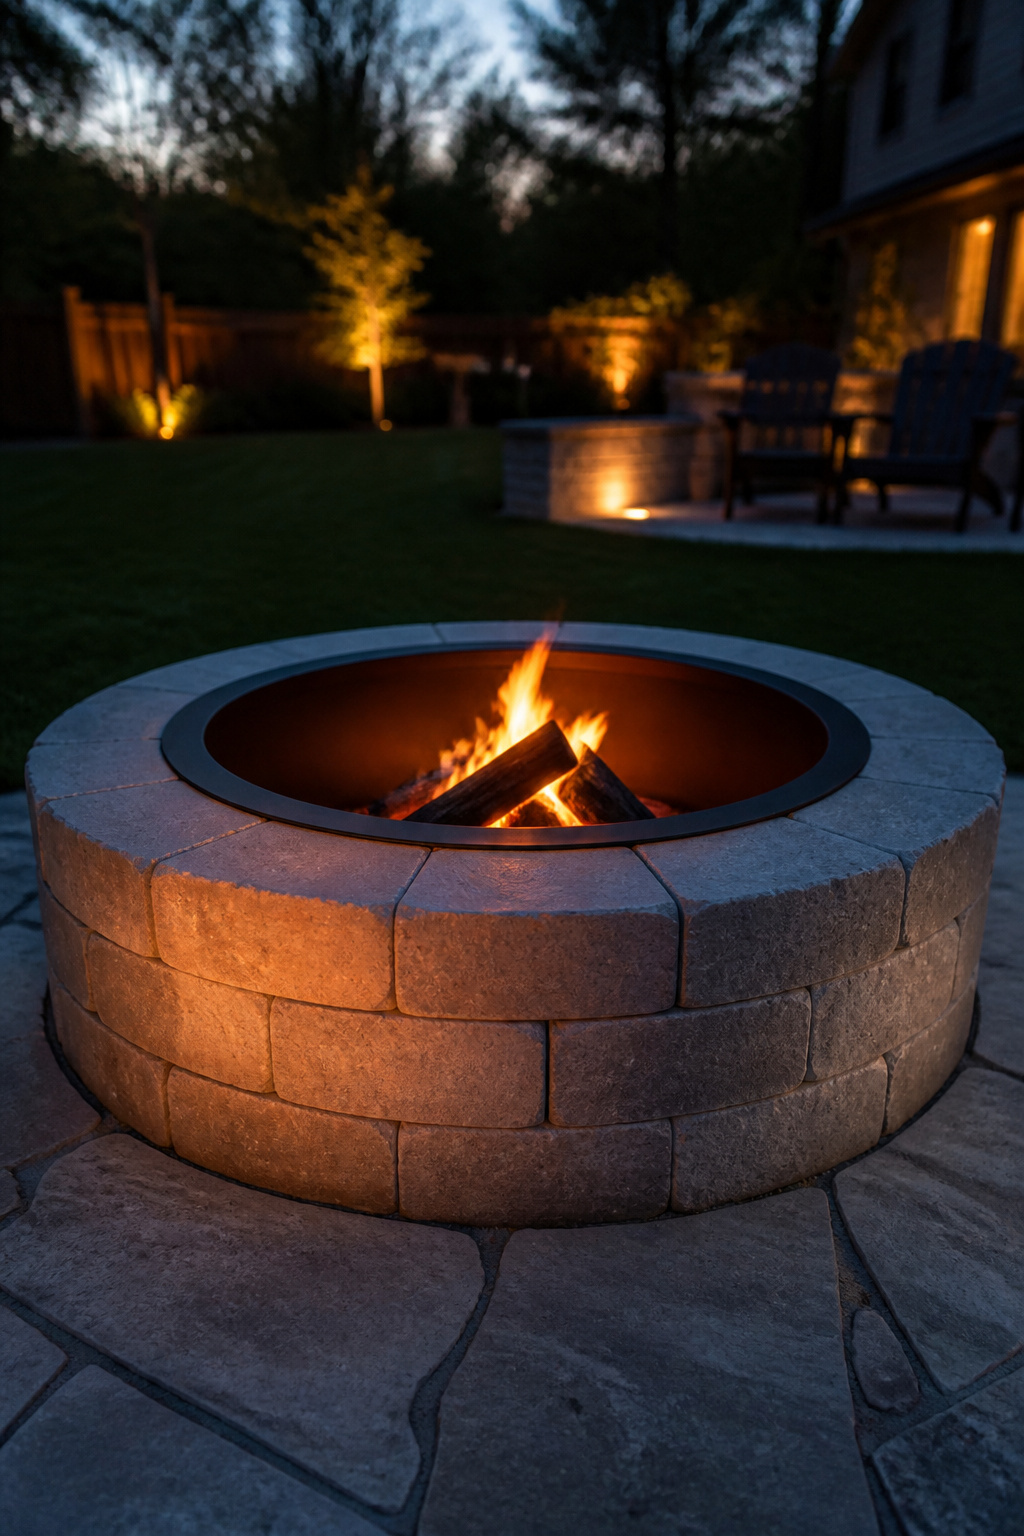
The cure fire: why you don’t go full burn on day one
Your first fire’s job isn’t celebration — it’s curing the adhesive. Wait out the full cure window, then build a small, controlled fire for 1–2 hours. As Dube Property Maintenance puts it, “the heat from this initial burn is what fully hardens that bond” — it drives residual moisture out gradually without thermal-shocking new adhesive. Let it cool on its own for at least 24 hours. Don’t douse it; cold water on hot block causes the same cracking you were trying to avoid.
Annual maintenance: what winter does to the adhesive
Every spring:
- Press each block — any that rock have shifted on the base.
- Look for adhesive cracks wider than ⅛ inch, and re-point them: rake the bad bond out to ¾ inch, dampen, pack in fresh high-heat adhesive.
- Check the insert for warping or rust breakthrough.
- Note white efflorescence — that’s moisture moving through the block, a cleaning job, not a crisis.
Going into winter, cover with a breathable cover, never a sealed plastic tarp — plastic traps moisture and speeds freeze-thaw damage. Clear the ash first so it doesn’t hold water against the block.
When it’s done vs when to rebuild
Most of what you’ll see is cosmetic: heat discoloration, efflorescence, hairline cracks. A real rebuild is structural — blocks that sound hollow when tapped, a ring visibly listed, or adhesive failure in half the joints at once (a drainage or base problem). Built right, a paver fire pit lasts 10–20 years in most climates; in hard freeze-thaw zones without a cover, expect 5–10 years before the first serious repoint.
Mark your circle this weekend. The digging is the honest start, and the rest is just doing the steps in order.
FAQ
How long does a paver fire pit take to build in a weekend?
Active build time for a 36-inch three-course ring is 6–8 hours for a first-timer — covering excavation, base compaction, sand leveling, and laying three courses with adhesive. Most people finish in a single day. The catch is the 2–7 day adhesive cure before lighting it.
Do paver fire pits need a permit?
Often, yes. A built-in pit made with block commonly counts as a permanent structure and requires a building permit in many U.S. jurisdictions — rules vary by municipality, so check your local zoning office or fire department first. Common code requirements include a 10–25 foot setback from structures, trees, and fences.
What type of adhesive is safe for a fire pit built with pavers?
Use only adhesive rated for fire pit or high-heat masonry — Liquid Nails FUZE*IT (LN-2000), MEECO’s Red Devil Outdoor Fireplace Block Adhesive, or Gorilla Heavy Duty. Standard landscape adhesive isn’t rated for sustained heat and will fail. Most fire pit adhesives need 2–7 days to fully cure before the first fire.