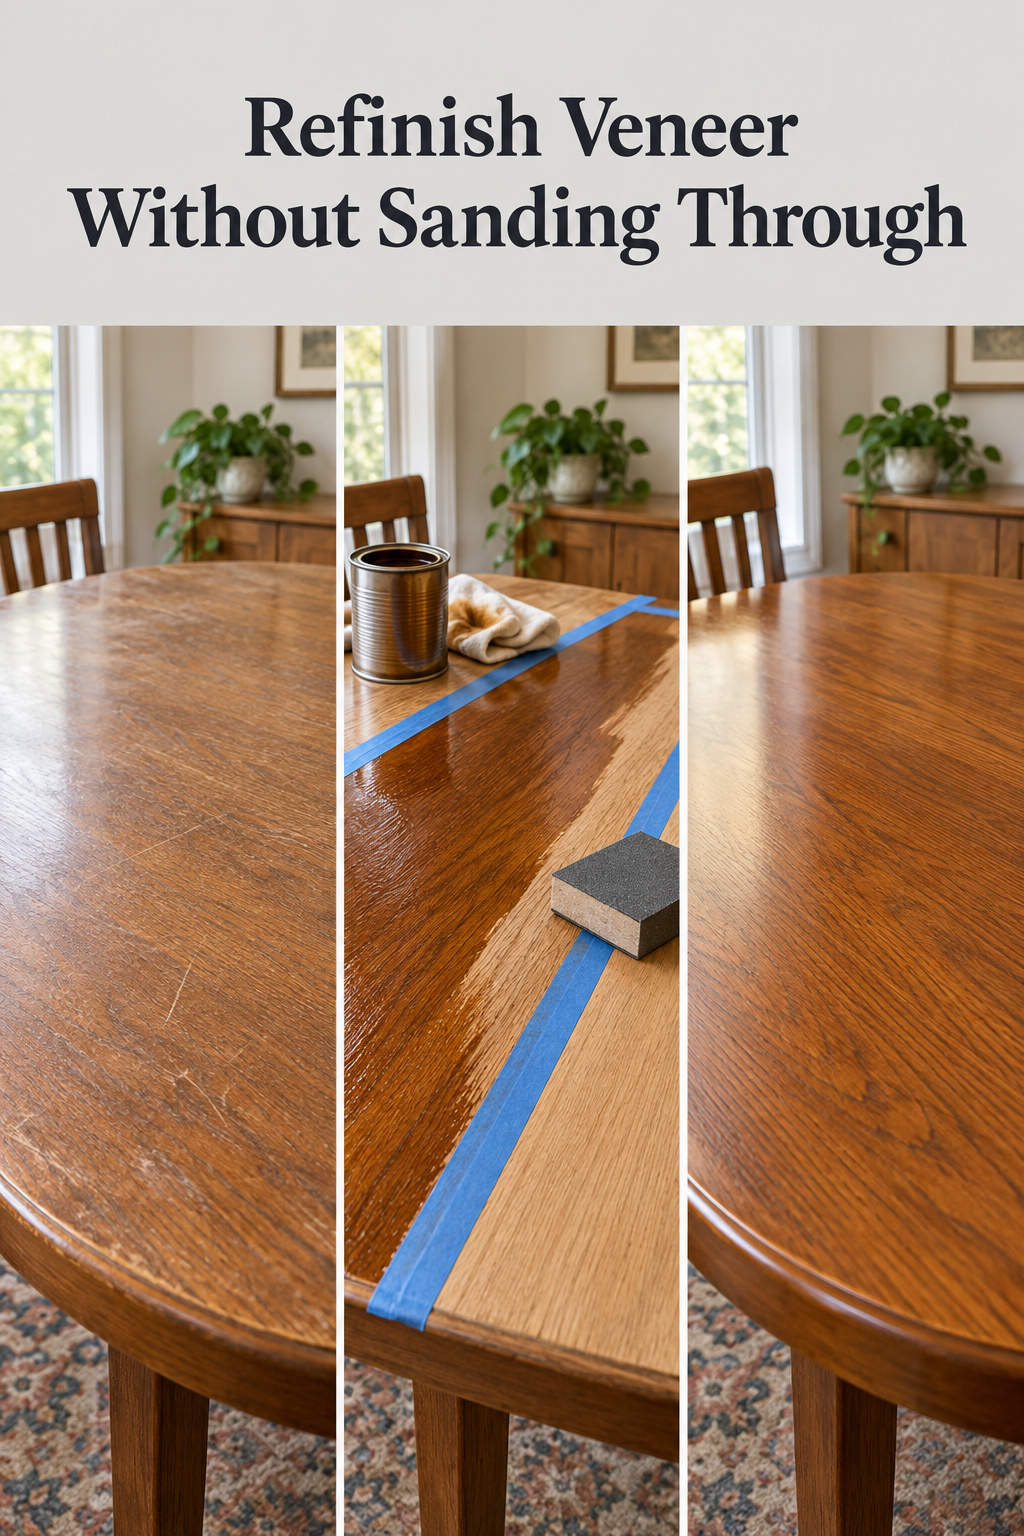
Which is more likely to ruin your veneer dining table this weekend, the tired finish or the random-orbital sander sitting beside it? Most people who plan to refinish veneer dining table tops fear the finish and trust the sander, and that has it backwards. A table with sound veneer is an ordinary, refinishable piece of furniture. The damage comes from sanding back to bare wood, a habit learned on solid oak, applied to a layer that may be a third of a millimeter thick. What the job calls for is a different set of rules.
TL;DR
- Your table’s era sets how much sanding it can take: veneer sliced since about 1995 usually runs 0.6 mm down to 0.3 mm or thinner, older sliced veneer about 0.9 mm, and sawn veneer 1.2 to 2.5 mm or more.
- Recolor without sanding back. Gel stain goes over the old finish after an alcohol-and-water clean and a 220-320 grit scuff, and a toner tints the clear coat, but neither can make wood lighter.
- Glue and clamp lifted edges before any color goes on, and swab-test anything finished before 1978 for lead before sanding top or base.
The Veneer Table Everyone Tries to Sand First
The sequence rarely varies. A dull, water-ringed top comes out of the dining room, the job looks just like refinishing solid wood, and the owner picks up the usual sander and coarse paper. The finish looks like the enemy, but the sander is the real risk.
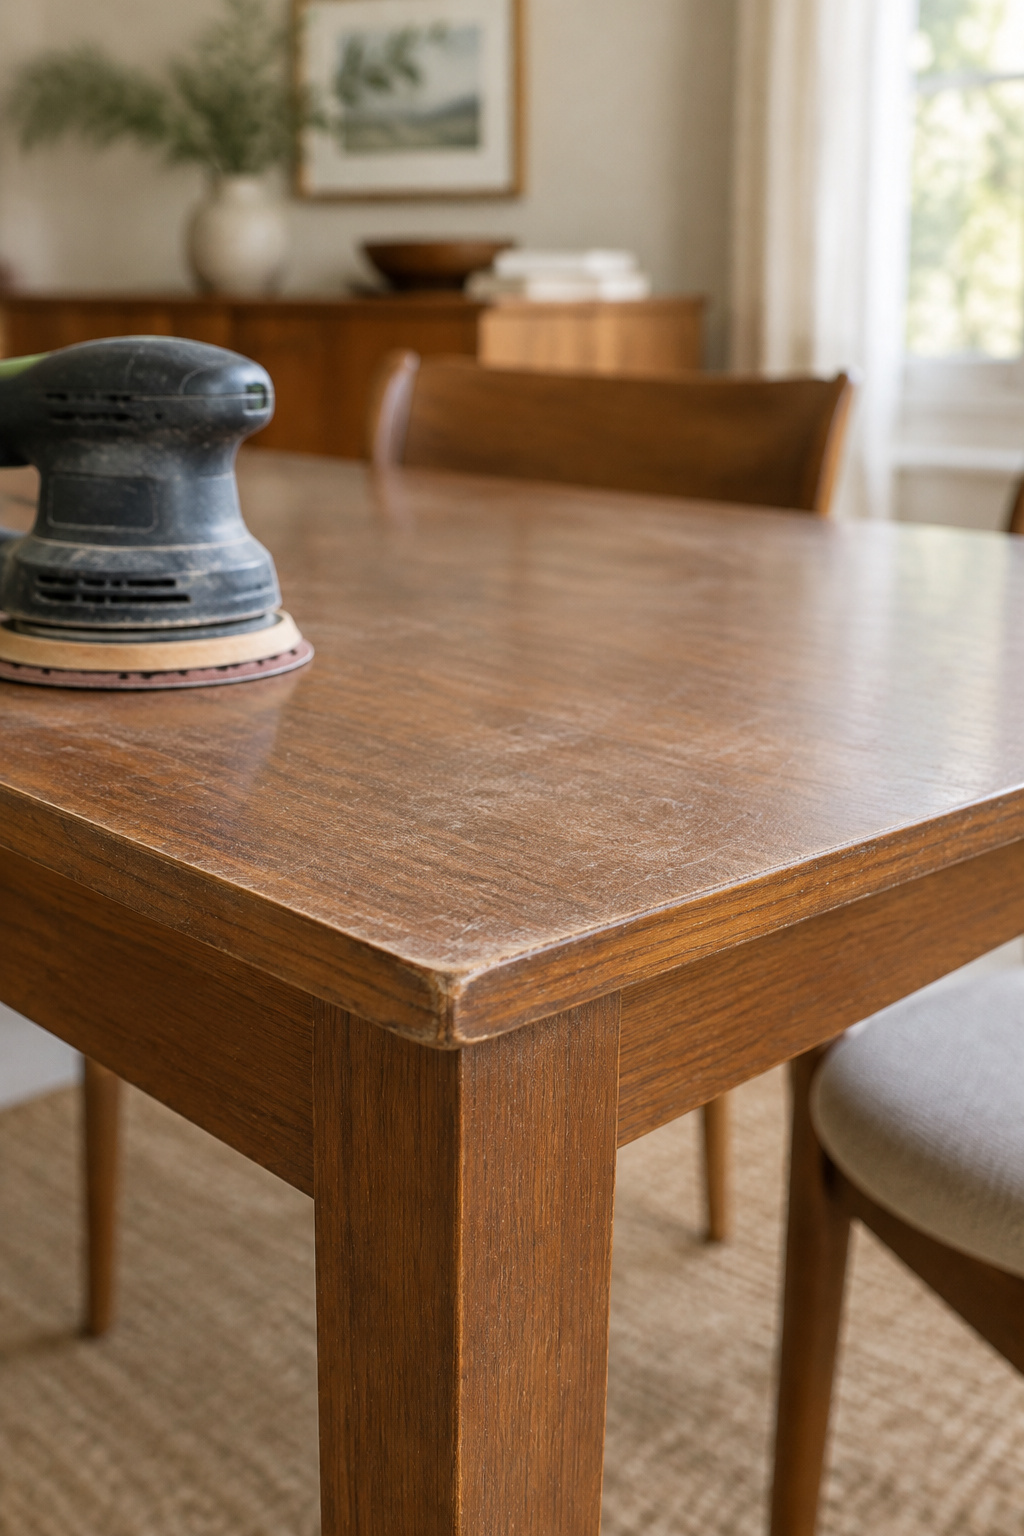
The assumption fails in two directions. One owner decides veneer is fragile and unfixable, and a good table goes to the curb. Another treats veneer as plain wood and sands to the glue line in an afternoon. Both skipped the same step, which is looking closely before acting.
I learned that habit on something bigger than a table. The clients in an 1890s farmhouse kitchen wanted a deteriorated built-in torn out, but a second, slower look showed me it could be rebuilt as the island. A veneer top deserves that same second look before a sander touches it.
Everything below assumes you already know the top is veneer. If you haven’t checked, start with confirming what’s actually under the finish. Age matters as well. Factory furniture from the 1850s through the 1960s, which covers most inherited veneer tables, can generally be refinished without meaningful loss of value, but a true antique over a century old makes a strong case for leaving its finish alone.
What a Hair’s Width of Veneer Won’t Forgive
How thick is veneer? That depends on era and maker. No single number exists, only a converging range, and the trend is steady thinning. Furniture restorer W. Patrick Edwards puts standard sliced veneer at about 0.9 mm from 1850 to 1995, after which most production moved to 0.6 mm and down to 0.3 mm or thinner. Two veneer manufacturers list 0.5 to 0.6 mm as their standard sliced facing today. Sawn veneer, still cut for high-end and restoration work, runs 1.2 to 2.5 mm and up, and hand-sawn veneer from before 1850 is thicker again at a few millimeters, though uneven.
At the bench:
| Veneer era | Typical thickness | The tell | What it means for sanding |
|---|---|---|---|
| Hand-sawn, before 1850 | A few mm, irregular | Saw and toothing-plane marks on the glue side | Most forgiving, but uneven; stop when tool marks show through |
| Sliced, 1850 to 1995 | About 0.9 mm | No tool marks; fine hairline cracks across the surface as the core moves | Light hand work only, and only where needed |
| Sliced, since about 1995 | 0.6 mm down to 0.3 mm or thinner | Same as above | Treat as unsandable beyond a de-gloss scuff |
| Sawn, current high-end or restoration | 1.2 to 2.5 mm and up | Thicker, even leaves | Tolerates careful hand sanding |
Edwards also supplies the detail I most want a first-time refinisher to remember. Old sawn veneer warns you. Near the glue line, the saw and toothing-plane marks from its underside start to show through, and you stop. Sliced veneer has no tool marks on its glue side, so the first sign of going too far is the substrate.
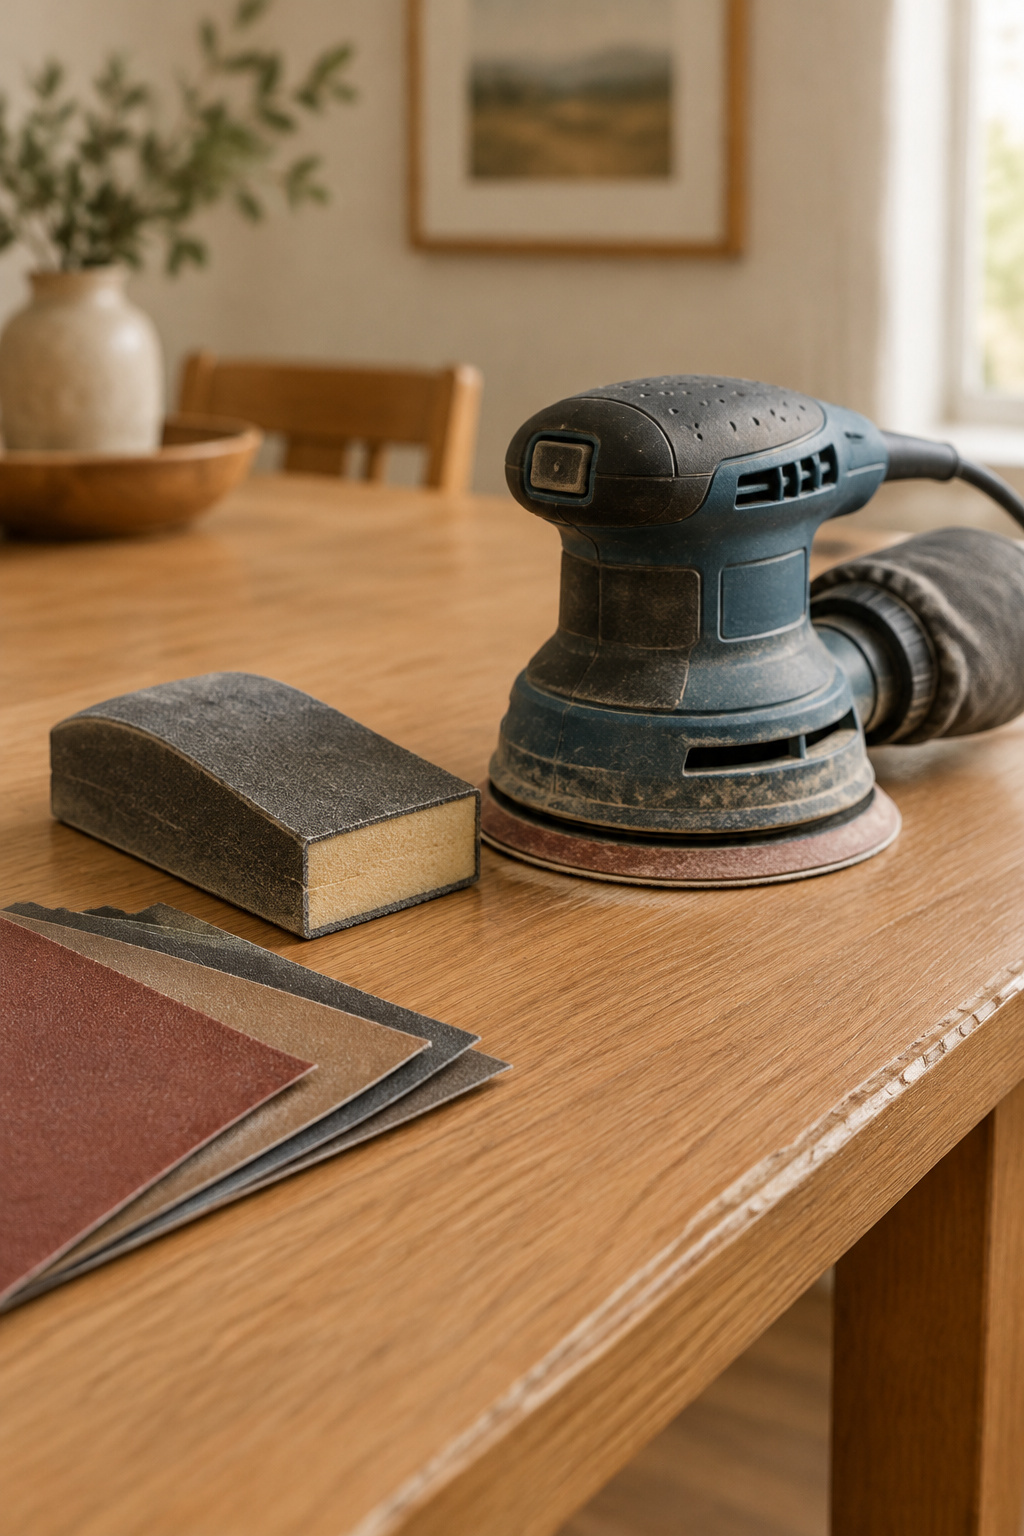
The tool therefore matters more than the grit. A random-orbital sander removes material fast and unevenly, and on 0.3 to 0.6 mm one heavy pass over a raised grain line or an old patch can reach the glue. A light hand fails more slowly, but on the thinnest veneers it still isn’t sand-through-proof. No source measures material removed per pass, so read this comparison as practice, not measurement:
| Approach | What it risks on veneer | Verdict |
|---|---|---|
| Random-orbital sander | Fast, uneven removal; one heavy pass can reach the glue line | Keep it off the top |
| Hand sanding, fine grit, light pressure | Slower to fail, but can still break through the thinnest veneer | Only on older, thicker veneer, and only locally |
| No sanding beyond a de-gloss scuff | Nothing structural | The default for any top you can’t date |
Recolor Without a Single Pass of the Sander
Start with the limit, since it governs everything else here: gel stain and toner cannot make wood lighter. Both lay color over what is already there. They can deepen a tone, warm it or even out blotches, but going paler means stripping or bleaching, and veneer may not survive either.
Gel Stain: Building Color Over an Existing Finish
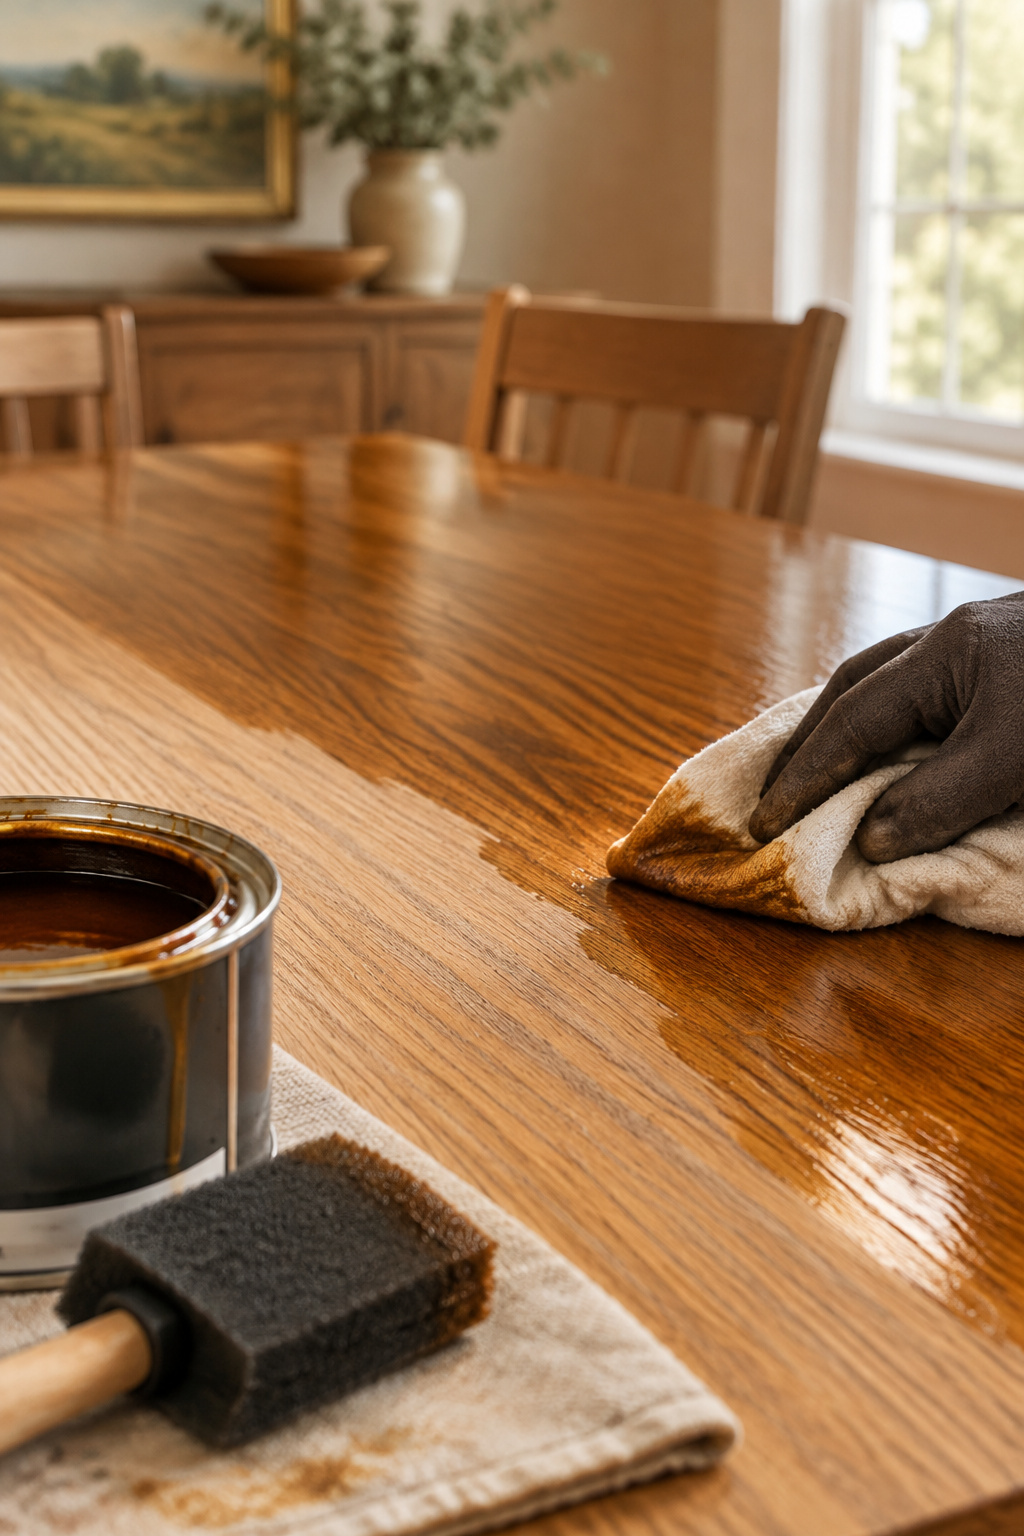
General Finishes lists recoloring over an existing finish as a primary use for its gel stain, and the data sheet never goes near bare wood:
- Clean with a 50/50 mix of denatured alcohol and water on a maroon non-woven pad, and let it dry (Woodcraft says at least two hours).
- De-gloss with a 220-320 grit foam pad or the maroon pad. Scuff the surface; don’t strip it.
- Wipe on the stain, then wipe off the excess.
- Seal with three coats of a compatible topcoat.
Skip the alcohol clean and contaminants on the old finish will stop the stain adhering evenly. Then be patient. Over an existing finish the sheet gives 8 or more hours to touch-dry and 30 days to full cure, because the stain cures as a film and doesn’t soak in.
Toners: Adjusting Tone Without Stripping
A toner is clear topcoat with a little dye or stain mixed in. General Finishes’ ratio is 5 to 10 percent by volume, roughly one to two ounces per quart, strained and tested somewhere hidden. The company warns bluntly that a radical color change is impossible with one coat. Its worked example, taming a pink cast in Douglas fir, shows the purpose: correction, not redesign.
When the Answer Is Paint the Base, Save the Top
A veneer top almost always sits on a solid-wood base, and the legs, apron and stretchers can be sanded and painted like any solid base, free of the limits on the top.
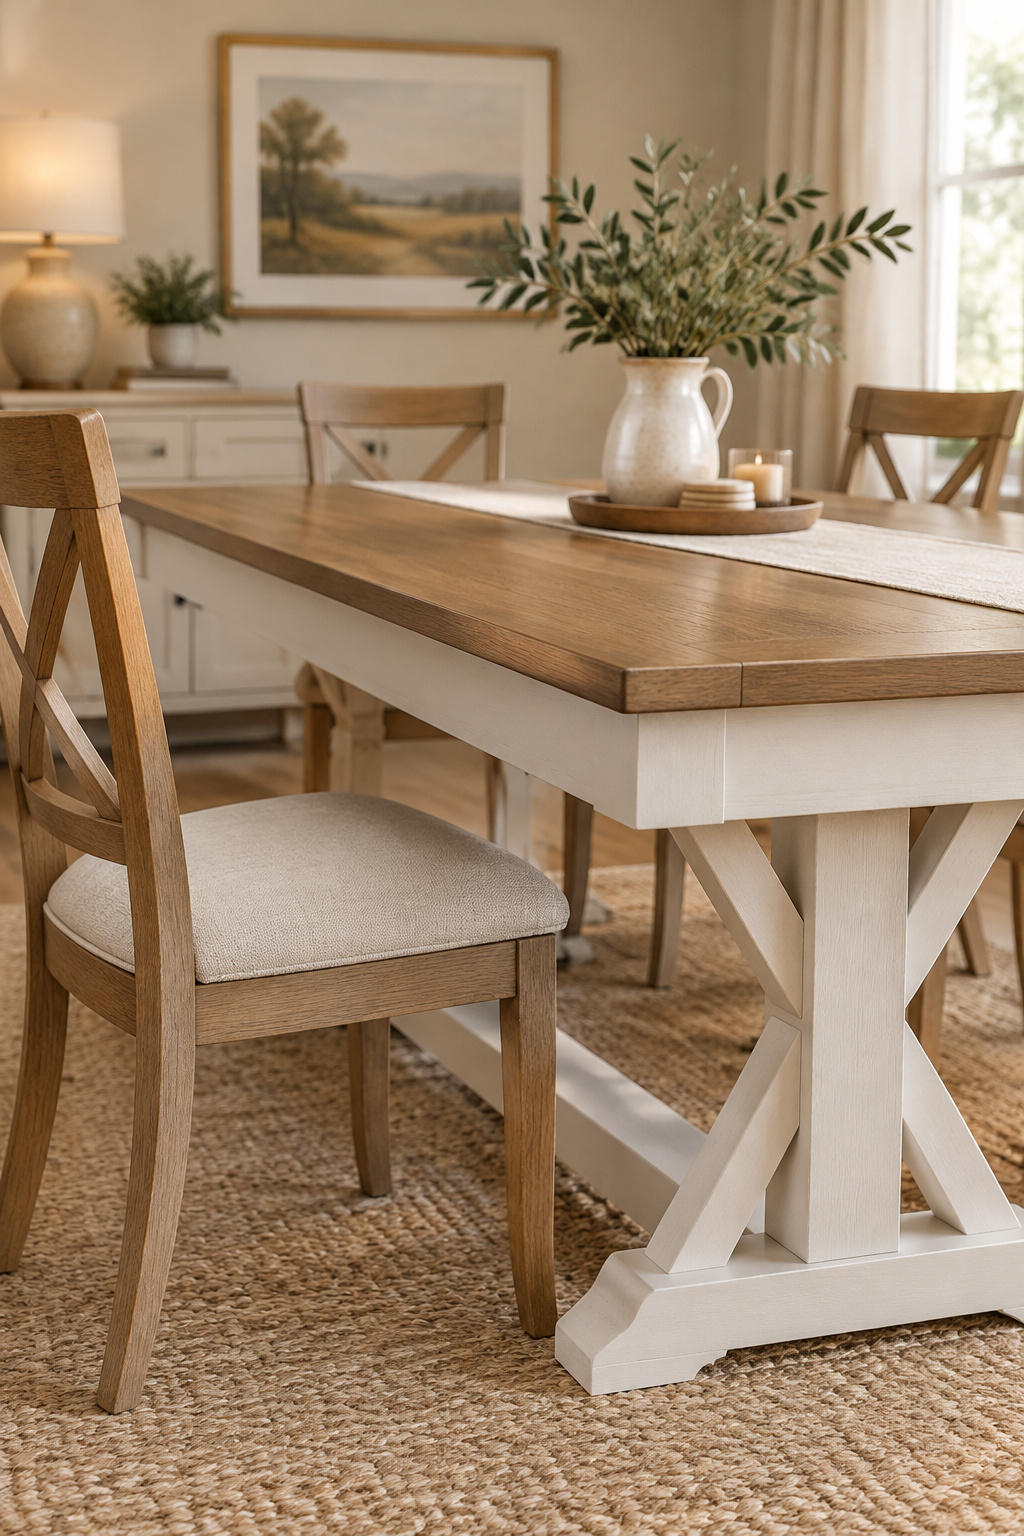
Splitting the job like this is the safest version of the project. Recolor the top and paint the base, and the veneer is only ever cleaned and scuffed, never stripped, so the sand-through risk drops out. It is also the most reversible route. Whoever owns the table next can deal with a recolored film, and nobody can deal with a sanded-through top.
Veneer changes the prep on the top and nothing else. For the base’s sanding, priming and curing, follow the full paint-base, stain-top sequence. One caution: if the table is a genuine antique, the preservation case covers its base as well, so don’t repaint it just to match.
Lifting Edges, Chips, and the Pre-1978 Check
Edges fail first, and stain finds a gap and emphasizes it, so repairs come before color. The method below comes from a single restoration-supplies guide, so treat it as one well-described account and not the last word.
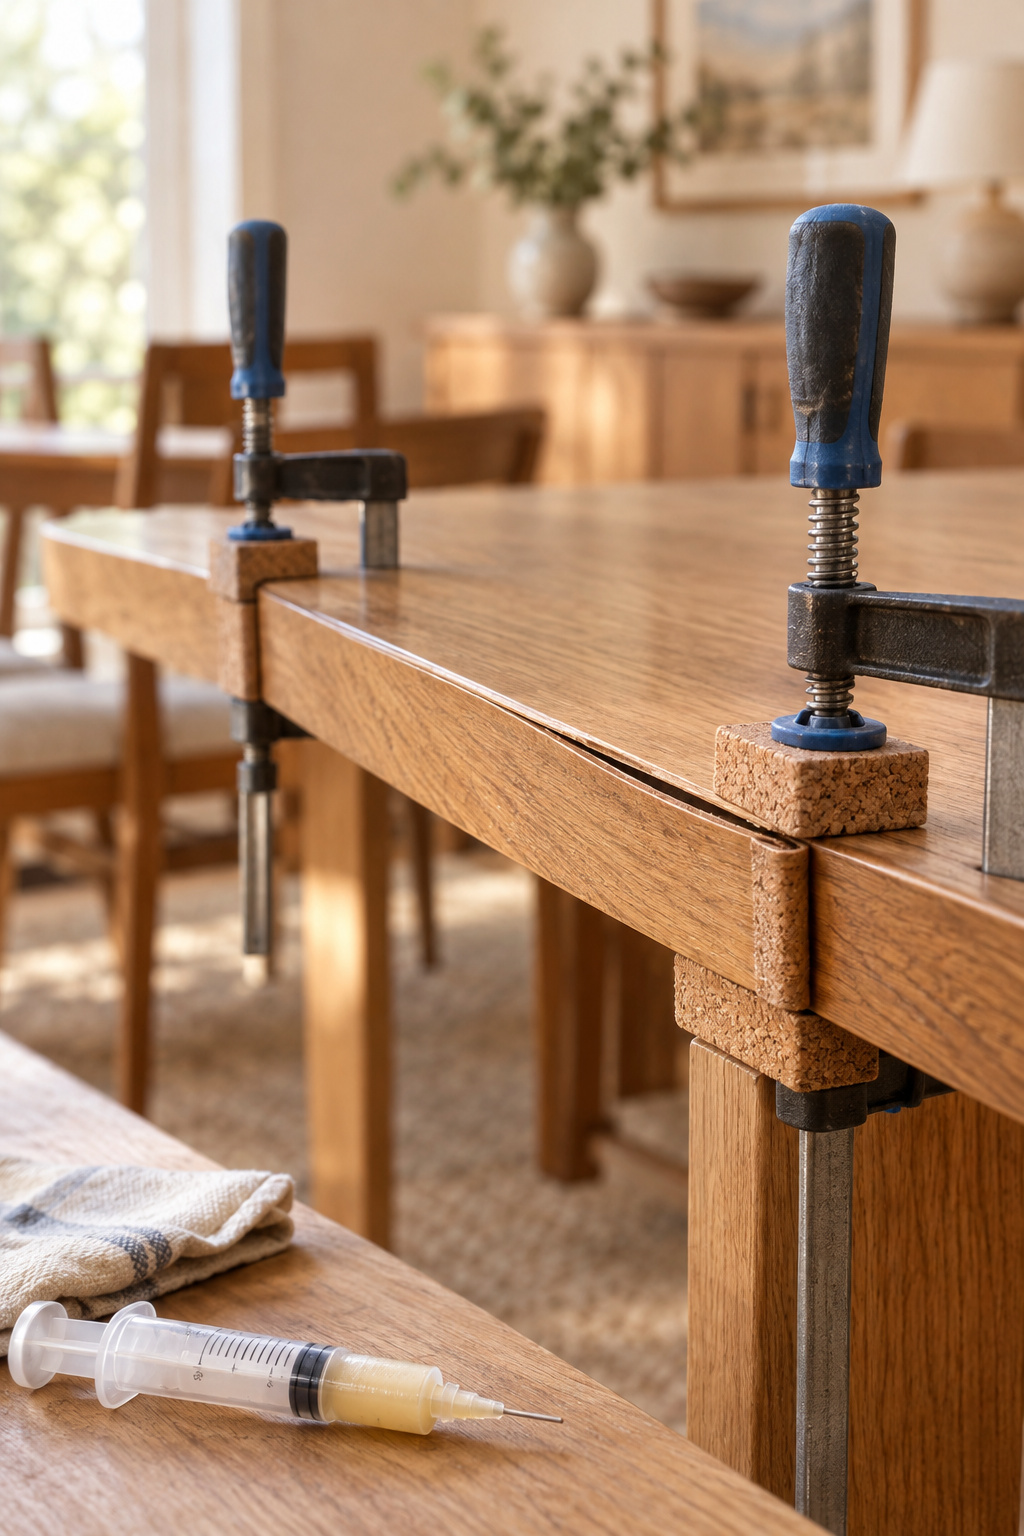
- Lifted veneer: syringe glue underneath, spread it with a palette knife, and clamp under a flat hardwood caul over cork. Press firmly, not crushingly, since over-clamping starves the joint.
- Glue: hide glue releases with heat and moisture, so a later repair can undo it. Yellow PVA is the dependable default, thinned up to 5 percent with water for the syringe and clamped 8 to 12 hours.
- Small chips: thin cyanoacrylate with matching wood flour, sanded flush.
- Missing pieces: a grain-aligned veneer patch cut oversized, glued and scraped level; rebuild damaged core with structural epoxy putty first.
On an old table I reach for hide glue, because a repair the next owner can reverse respects the piece.
Testing for Lead Paint Before Anything Gets Sanded
Under 16 CFR Part 1303, furniture made after February 27, 1978 cannot carry paint above 0.06 percent lead by weight, a limit tightened to 0.009 percent from August 14, 2009, and the rule covers a dining table and its base. Treat anything finished before 1978 as a candidate. The CDC notes that white paint from before 1955 could run as high as 50 percent lead.
Judy Echavez of the U.S. Consumer Product Safety Commission locates the risk correctly: exposure comes when old paint is damaged or disturbed during refinishing. The standard check, as This Old House describes it, uses a swab kit such as LeadCheck. Cut a small notch through every paint layer to the base material, activate the swab and rub the cut for about 30 seconds. Pink or red means lead. Missing a layer is the leading cause of a false negative.
A swab shows presence at that spot, not amount. The EPA’s recognition of these kits is written for housing under its renovation rule. Using them on furniture is an extension, one the CPSC warning, HGTV and This Old House support, but still an extension. For anything beyond a go/no-go answer, use a certified inspector or a lab-tested paint chip.
The Refinished Veneer Dining Table: What You Actually Changed
The wood itself is unchanged. What changed is the color of a thin, real layer of timber, and your sense of how thin it is. The second change lasts. You stop asking whether veneer is good enough and start asking which moves this particular table can take.
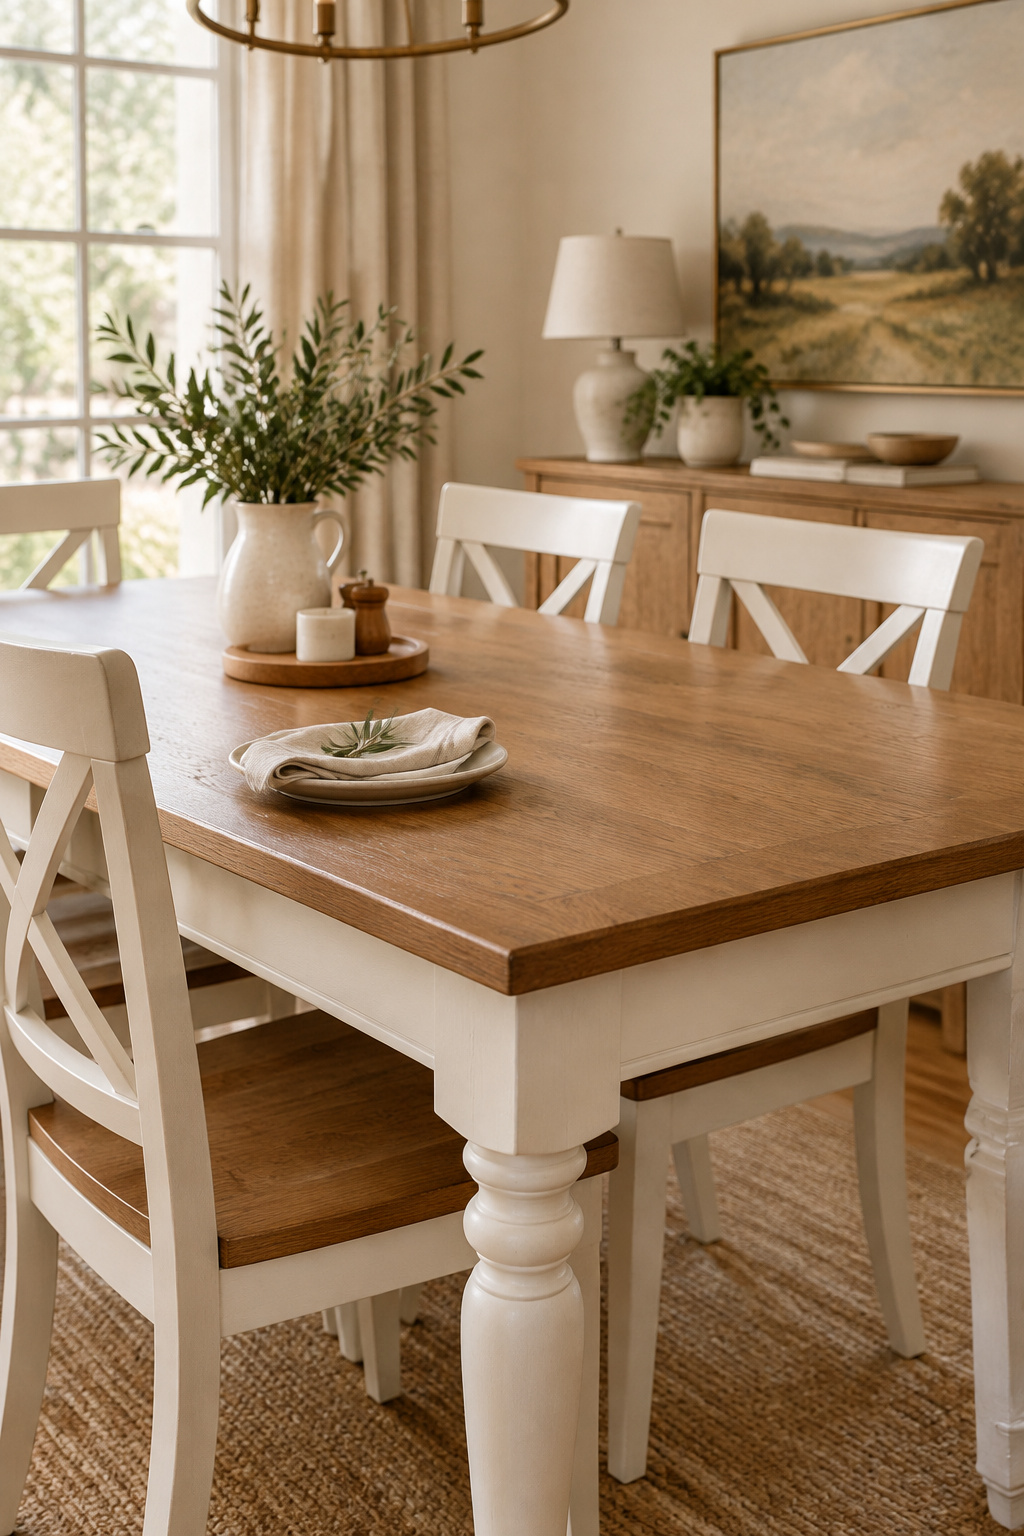
The order is short. Confirm it’s veneer, date it, repair the edges, test anything painted before 1978, then recolor the top and paint the base. You end up with the same two tone dining table a solid piece would give you, minus the one mistake veneer never forgives.
The sander from the first paragraph still has work to do, on the legs and apron, where there is solid wood to spare. It never needed to touch the top.
FAQ
Can gel stain go over an existing finish without stripping it first?
Yes. General Finishes lists recoloring over an existing finish as a primary use for its gel stain. Clean the top with a 50/50 mix of denatured alcohol and water, de-gloss with a 220-320 grit pad or maroon pad, then stain and seal with three coats of topcoat. Give it about 30 days to full cure before heavy use.
What’s a safe way to test an old table for lead paint before refinishing?
Use a swab kit such as LeadCheck. Clean the spot, cut a notch through every paint layer to the base material, then rub the activated swab on the cut for about 30 seconds. Pink or red means lead. The swab confirms presence only, so for a firmer answer use a certified inspector or a lab-tested paint chip.
Can a badly chipped veneer edge be repaired, or does the whole top need replacing?
Usually it can be repaired, and edge damage alone rarely justifies replacing the top. Fill small chips with thin cyanoacrylate glue and matching wood flour, sanded flush. Patch larger gaps with a grain-aligned piece of veneer cut slightly oversized, then glue it and scrape it level. Rebuild any damaged core underneath with structural epoxy putty first.