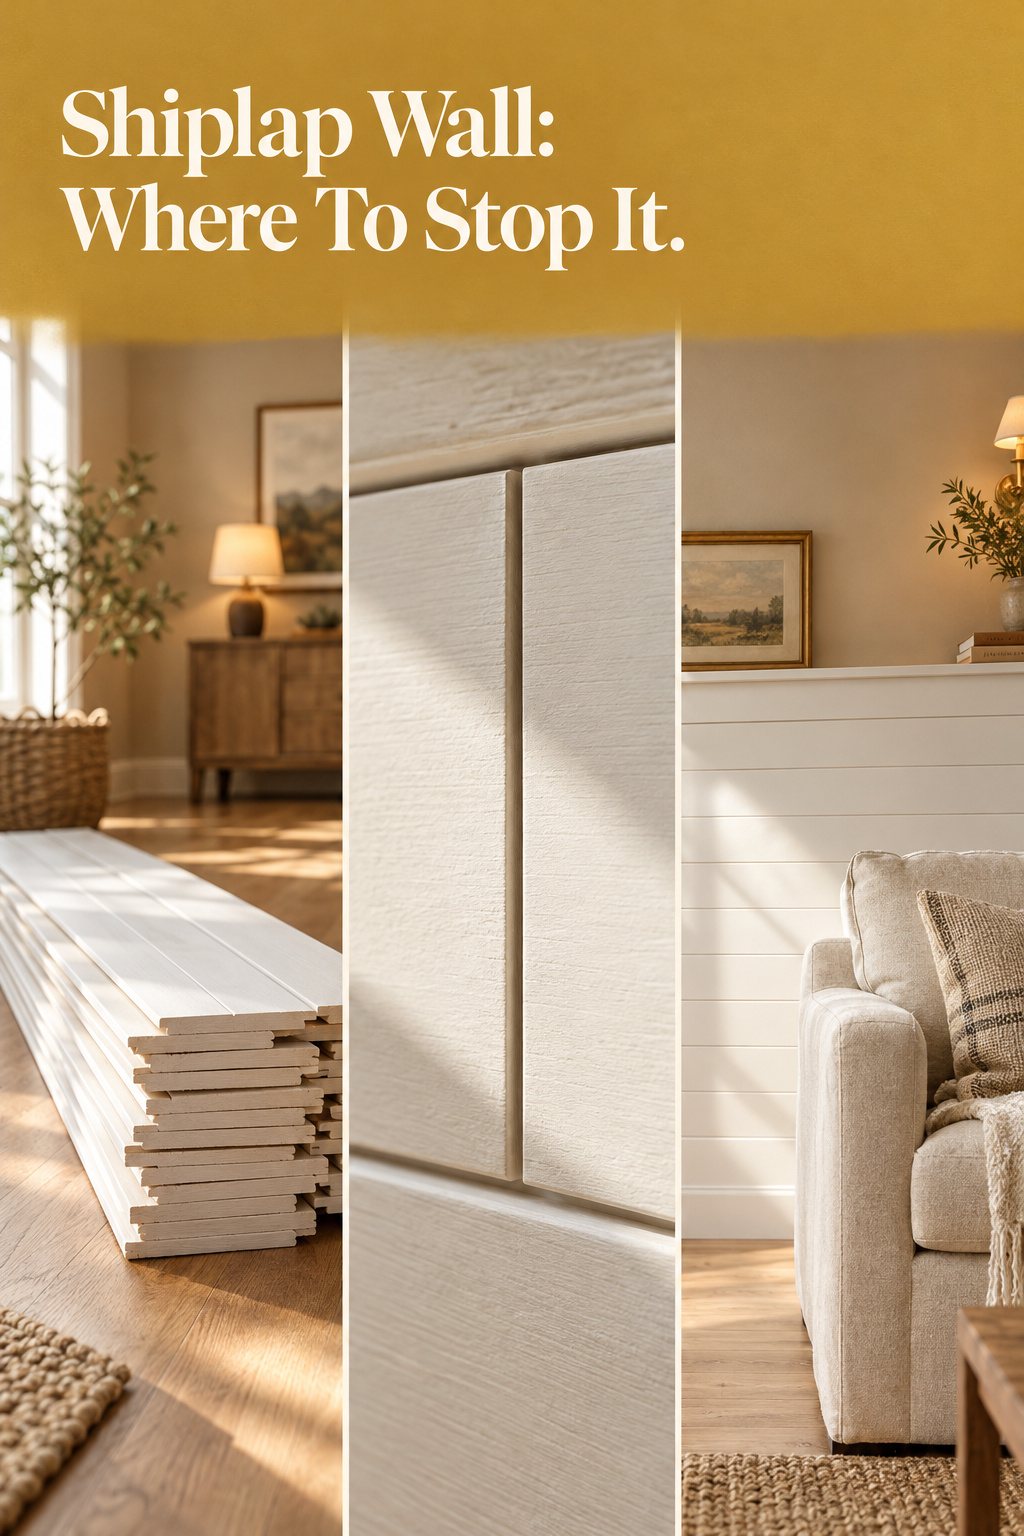
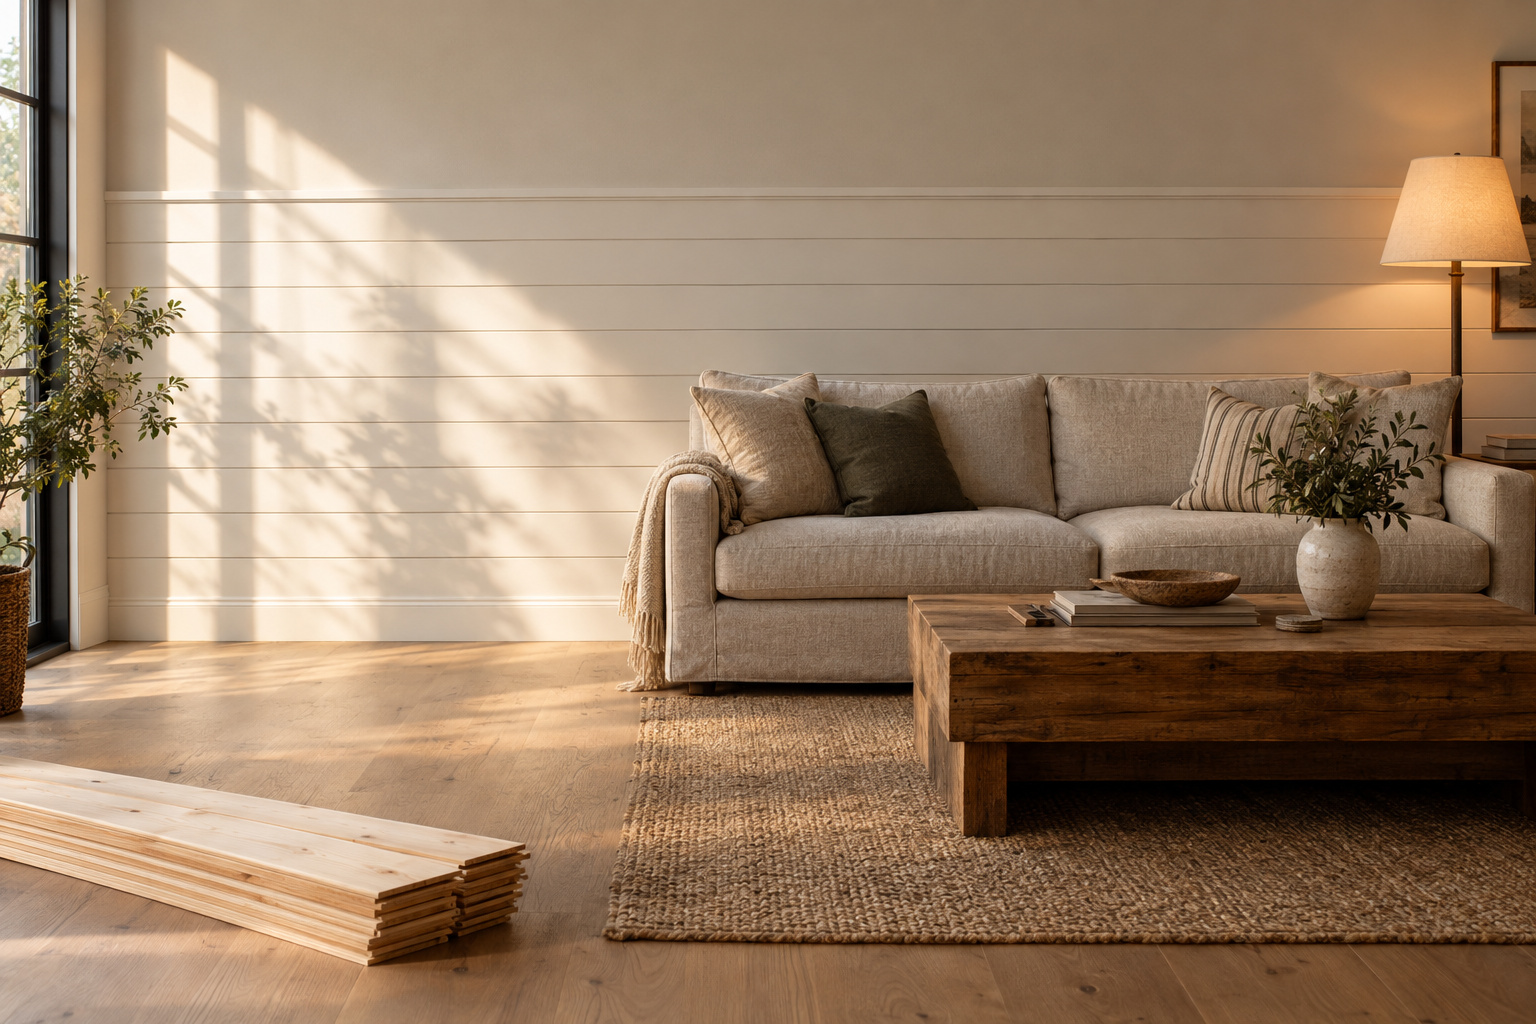
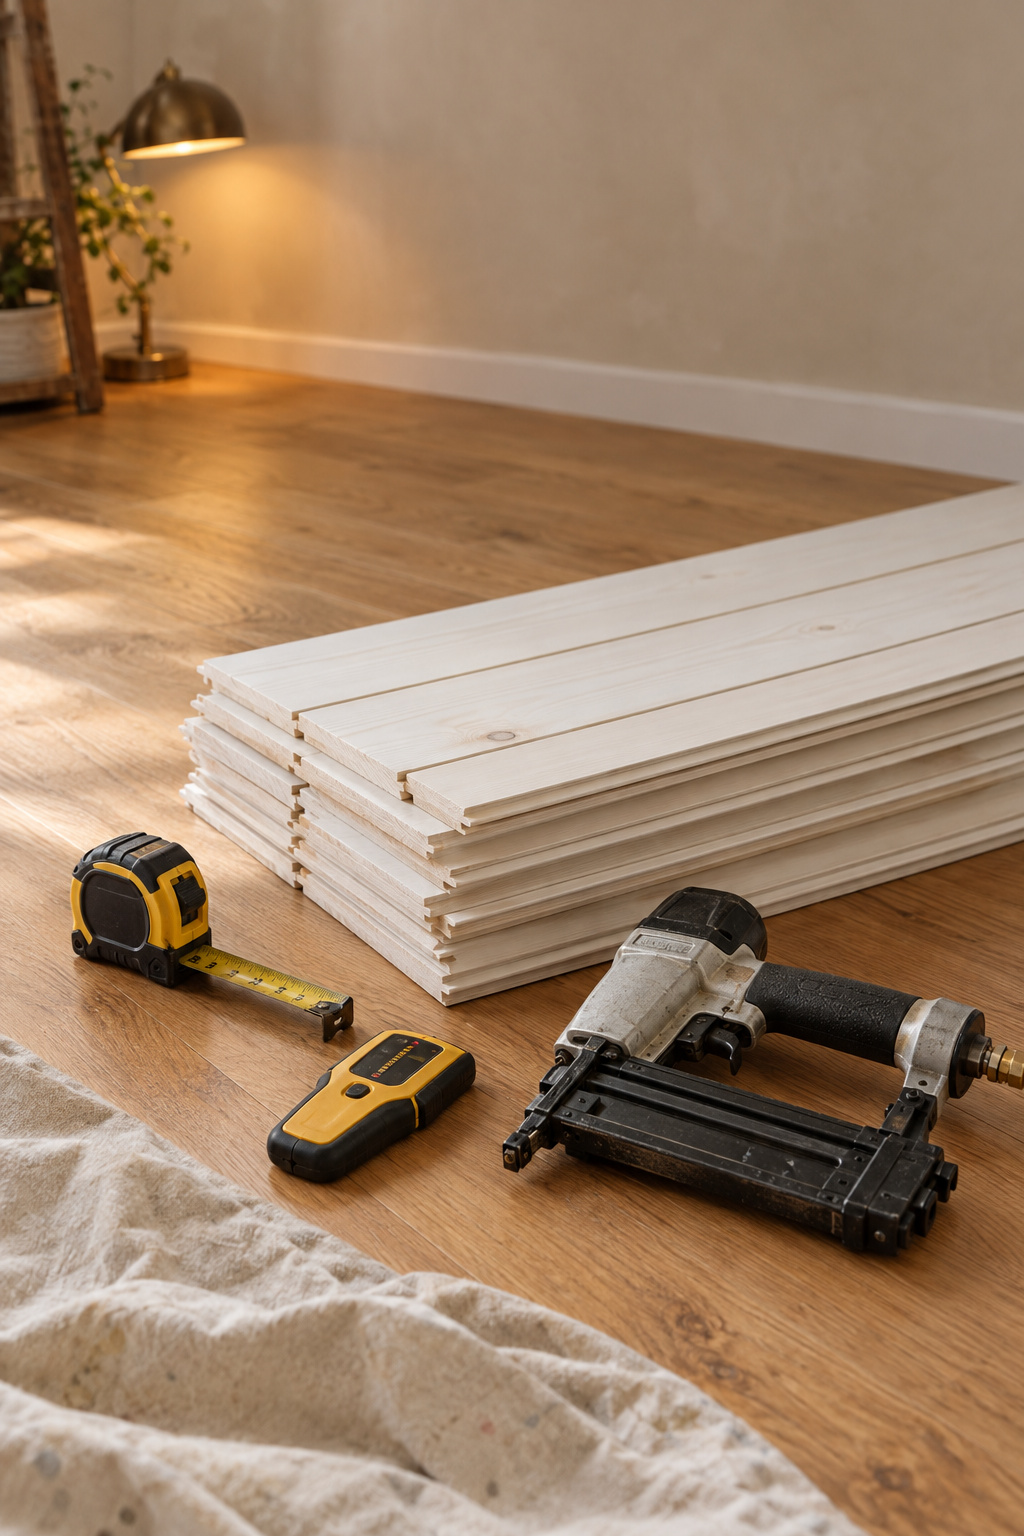
The video said two hours. It took me a Saturday, most of a Sunday and a Monday trip back to the store for anchors nobody had mentioned, and that was one floating shelf, not a wall. Nearly every shiplap wall living room plan I read starts the clock when the first board goes up. The real start is two days earlier, with the boards lying flat on the floor doing nothing. That waiting is what keeps the wall tight.
TL;DR
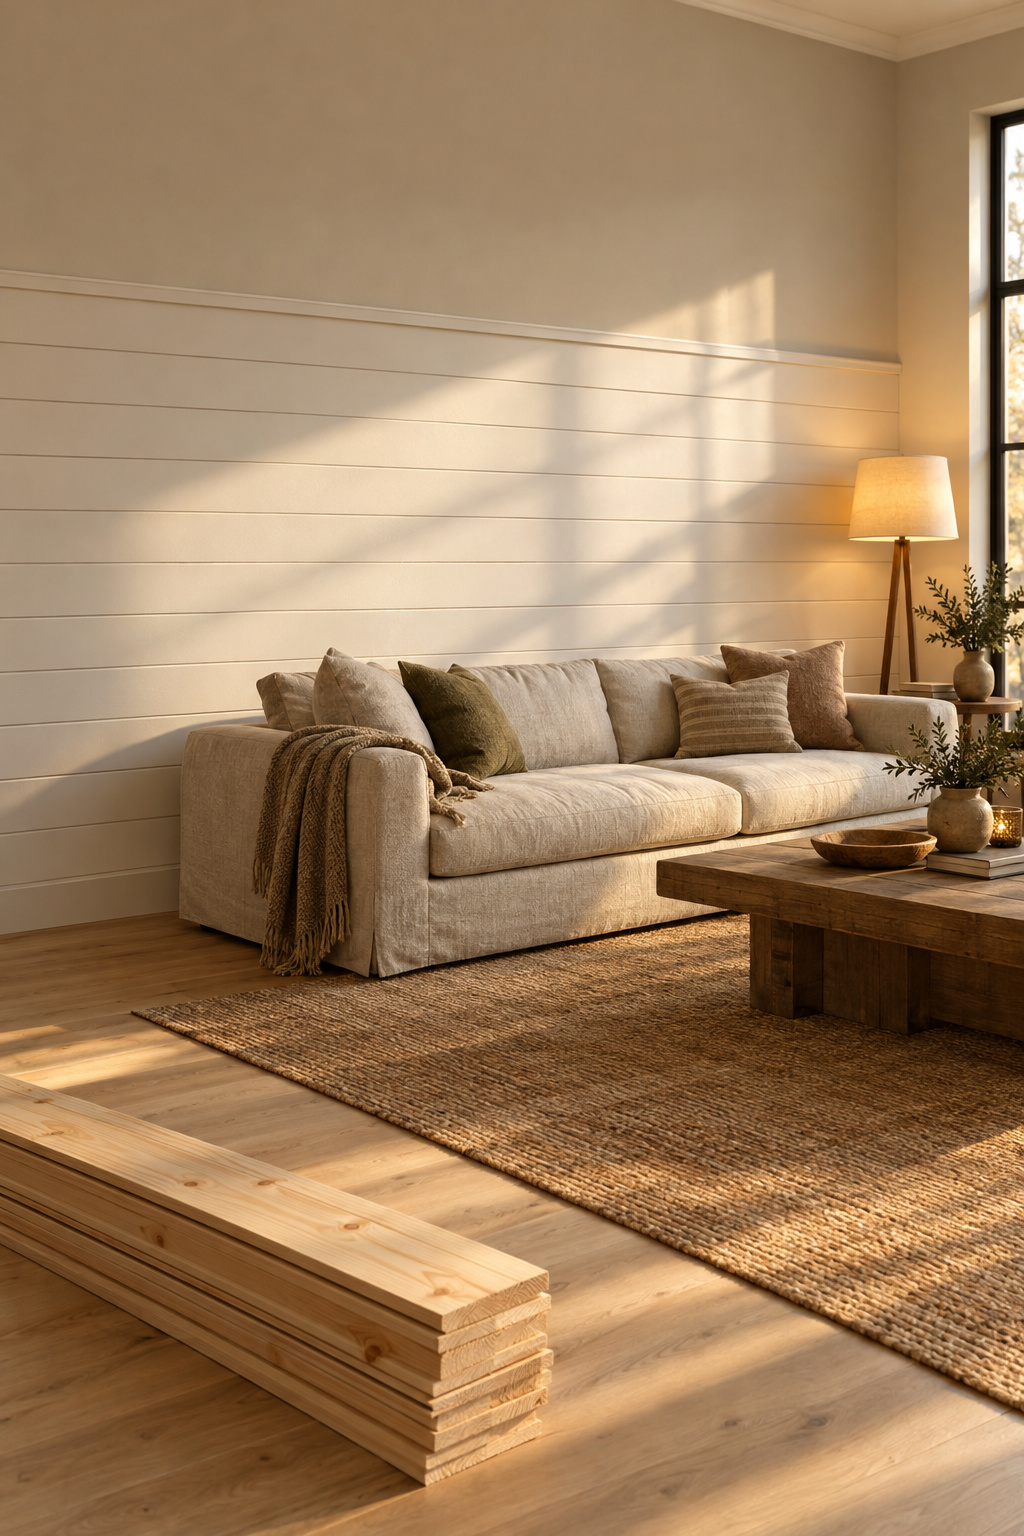
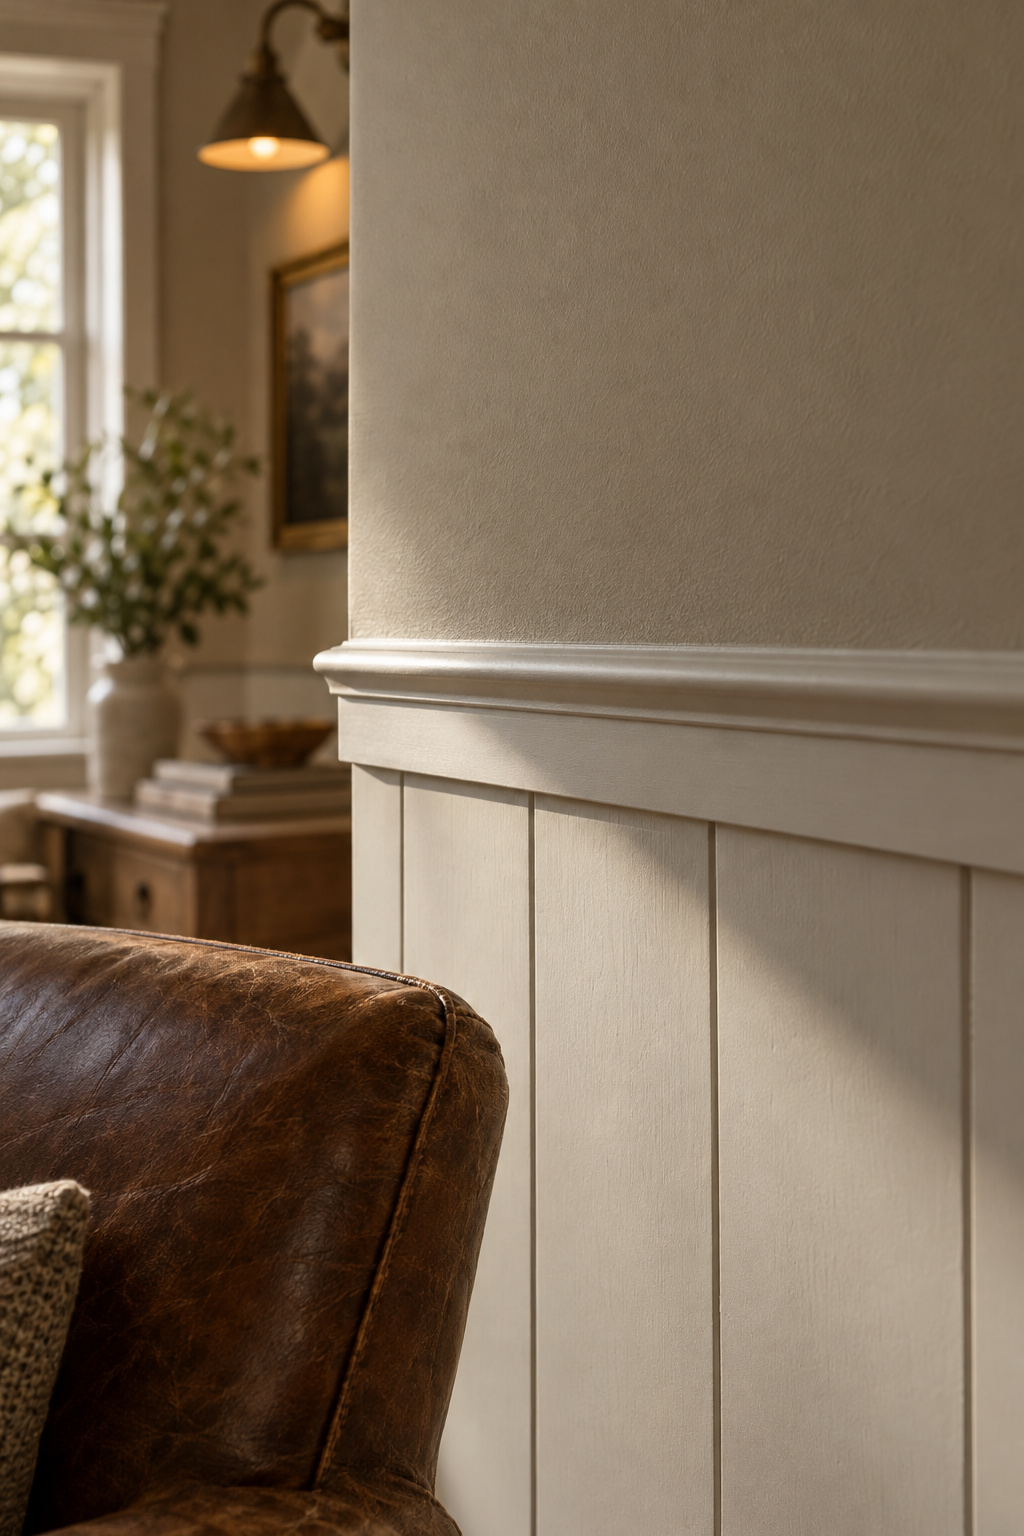
- Stop height matters more than material: a dado band lands at 38–40 in on an 8 ft ceiling, 42–48 in at 9 ft, 48–54 in at 10 ft, and never at the midpoint.
- One accent wall of 80–150 sq ft runs $240–$1,700 installed or $160–$1,050 DIY, though a third guide puts a typical wall at $1,000–$3,000.
- Boards need 48–72 hours acclimating in the room before you nail, and outlets need box extenders once the wall gains 0.25–0.75 in.
The Shiplap Wall Living Room Decisions That Matter Most
What this project actually costs and takes
The number, with its spread intact: one interior accent wall of 80–150 sq ft runs $240–$1,700 installed or $160–$1,050 in DIY materials only (HomeGuide’s band, corroborated by Angi’s 2026 average of $1,000). A third guide runs meaningfully higher, at $1,000–$3,000 for one wall, about $4–$12 per square foot installed. Region and DIY-versus-pro labour drive that spread, not the boards.
| What you’re pricing | Cost |
|---|---|
| Accent wall, 80–150 sq ft, professionally installed | $240–$1,700 |
| The same wall, DIY, materials only | $160–$1,050 |
| Angi’s 2026 average for a shiplap project | $1,000 (typical $500–$1,500) |
| A third guide’s typical accent wall | $1,000–$3,000, about $4–$12/sq ft installed |
The timeline is less flexible. Boards need 48–72 hours in the room’s actual humidity before nailing. That is a trade rule of thumb, corroborated for pine and poplar generally, not just shiplap-branded product. Skip it and the wall opens gaps or bows over the first heating season. My lost weekend and that 48–72 hours teach the same lesson: the step nobody films decides whether the result holds.
The three decisions in order
Make them in this order, because each narrows the next.
- Where the boards stop. Sets the proportions and most of the bill.
- Which way they run. Changes what the room appears to be.
- What they’re made of. Sets the cost and the sanding.
Where to Stop the Boards
Partial height versus floor-to-ceiling
Three rules float around this question. They look like a contradiction until you notice they count different things.
| Rule | What it counts | The numbers |
|---|---|---|
| Dado stop by ceiling height | height of a wainscot-style band measured up from the floor | 8 ft ceiling → 38–40 in; 9 ft → 42–48 in; 10 ft → 48–54 in |
| Rule of thirds | a fraction of the wall, not an absolute height | traditional one-third = 32–36 in; two-thirds = 48–60 in |
| Full height | the whole wall plane | floor to ceiling, no stop line |
So “42–48 in” is a dado band measured off the floor of a 9 ft room, and “48–60 in” is whatever two-thirds of your wall works out to. The two don’t compete: the dado table is a millwork trade guide, and the thirds convention is design proportion. Bob Vila’s wainscoting guide treats the number as a starting point to test. If the line feels awkward once it’s taped up, bring it down.
One rule outranks both: never stop dead centre. Splitting an 8 ft wall at exactly 48 in looks heavy, as if the boards ran out. The 42–48 in band above doesn’t conflict, because it belongs to a 9 ft wall, where 48 in is nowhere near the midpoint.
Now the complication. That same table also recommends full-wall coverage once the ceiling reaches 9 ft or above, and the figure stands. It answers a proportion question: if you’re going floor to ceiling anyway, 9 ft is where the treatment stops looking bottom-heavy. The style question runs the other way, since wall-to-wall is the version most often named as the tired part of the 2018 farmhouse formula.
The dado heights that read current for an 8–10 ft ceiling
Not everyone agrees with stopping short. Chloe of Boxwood Avenue argues against shiplap accent walls outright, calls them dated and lacking, and recommends full-room coverage instead. It is a current, named position aimed straight at the recommendation I’ve just made.
Look at the mechanism before picking a winner. Hers is an argument about whole-room commitment as a style statement: half-measures look like half-measures. Mine is about proportion and cost control on one wall. If you’re boarding every wall, commit, as she says. If you’re boarding one, the stop line is the whole job. One DIYer stopped vertical boards at 6 ft on a 9 ft wall, exactly two-thirds.
Horizontal or Vertical Boards
The visual effect each direction creates
Horizontal draws the eye across the room and looks wider. It’s the classic choice because it echoes original barn walls. Vertical draws the eye up and makes a ceiling feel higher. It is less common, which makes it distinctive, and slightly more formal with crown molding.
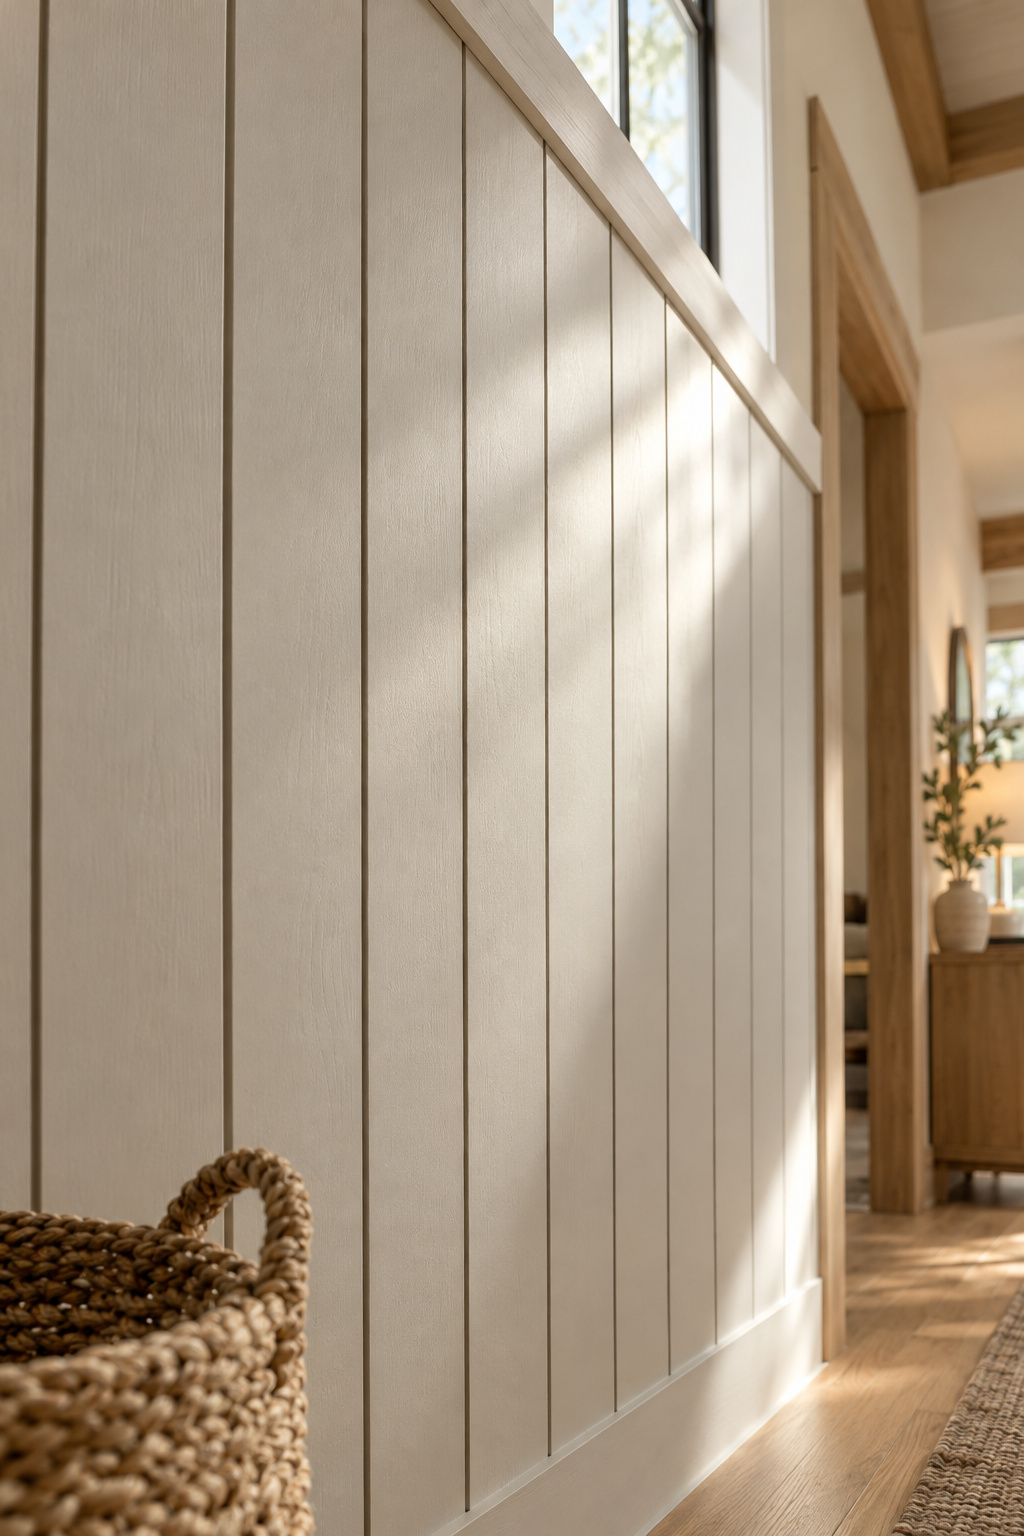
Width compounds whichever direction you pick, and the board is narrower than its label says.
| Nominal size | Actual milled width | Exposed reveal once installed |
|---|---|---|
| 1×6 | ~5.25–5.5 in | ~4.5–5 in |
| 1×8 | ~7–7.25 in | ~6.25–7 in |
| “Nickel gap” | — | 1/8 in (3 mm) |
The nickel gap is named for the thickness of a US nickel, which crews used as a spacer before the reveal got milled into the profile. Product pages don’t mention that every technical sheet carrying these dimensions is a siding line republished for interior use. No manufacturer publishes an “interior accent wall shiplap” spec category at all. It’s one product under two labels. The dimensions hold, but no interior standard sits behind them.
Which one suits a farmhouse living room
Horizontal, most of the time. Wider planks make a small area look larger, and narrow ones feel intimate. On the flat 8–10 ft ceiling this room usually has, though, vertical’s height-lifting effect is the more useful lever, so choose it to solve a low ceiling.
What Pine, MDF and Cedar Actually Cost
Per-square-foot material ranges
Materials only, before labour:
| Material | Materials, $/sq ft | The workload it buys you |
|---|---|---|
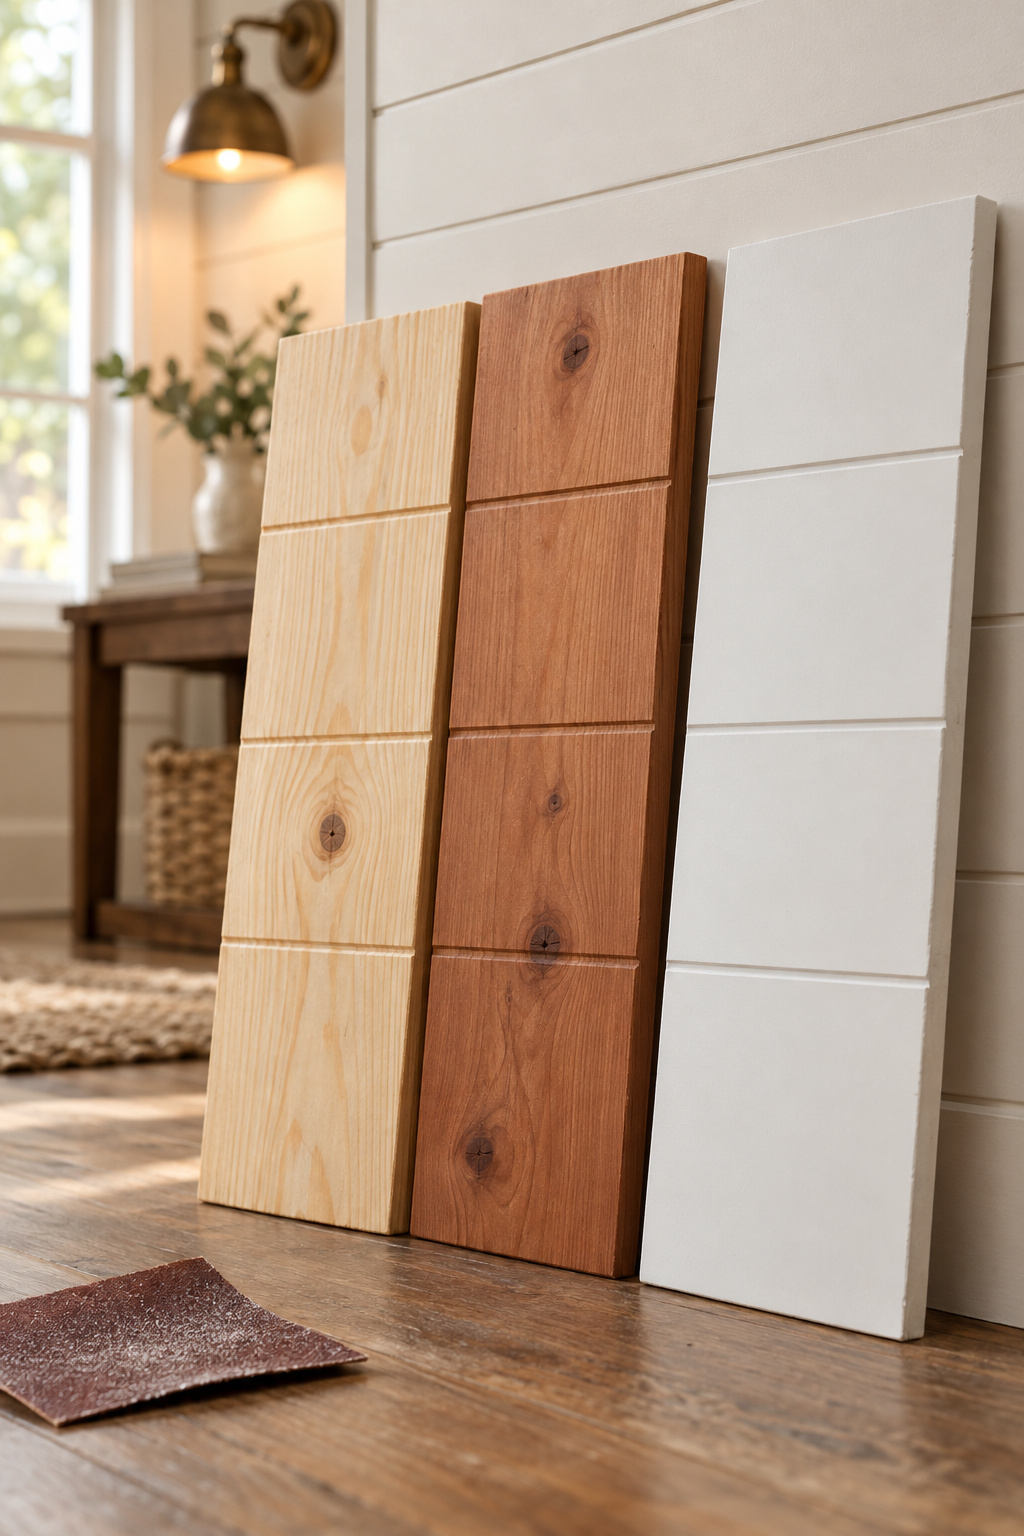
| Pine | $2–$7 | Light to handle; full sanding sequence before primer |
| MDF | $2–$10 | Heavy and dense; factory-primed, paint-ready out of the box |
| Cedar | $2–$8 | Natural moisture resistance; still needs sanding prep |
Add labour and the installed figure lands at $3–$11/sq ft. Pine and cedar want a 60 → 120 → 220 grit pass before primer, and if you skip the 120 you get scratches you’ll only see once the paint is on. MDF needs no sanding, which is most of why it competes.
A full feature wall, start to finish
Take a 72 sq ft wall and order 5–10% extra for waste, because the offcut you need is always the one you just binned. Paint adds almost nothing, since a gallon covers 350–400 sq ft per coat. What swings the total between the low and high ends is labour, not lumber.
Boarding the Fireplace Wall Instead of a Flat One
Why the same boards behave differently there
Once the wall has a firebox in it, your pine or MDF is a combustible surface near a heat source, and a style decision becomes a code decision. Fireplace code governs how close facing and trim can run to the opening, and for gas or factory-built units the manufacturer’s tested listing governs instead. Read those numbers first, because boarding the fireplace wall is a different project wearing the same boards.
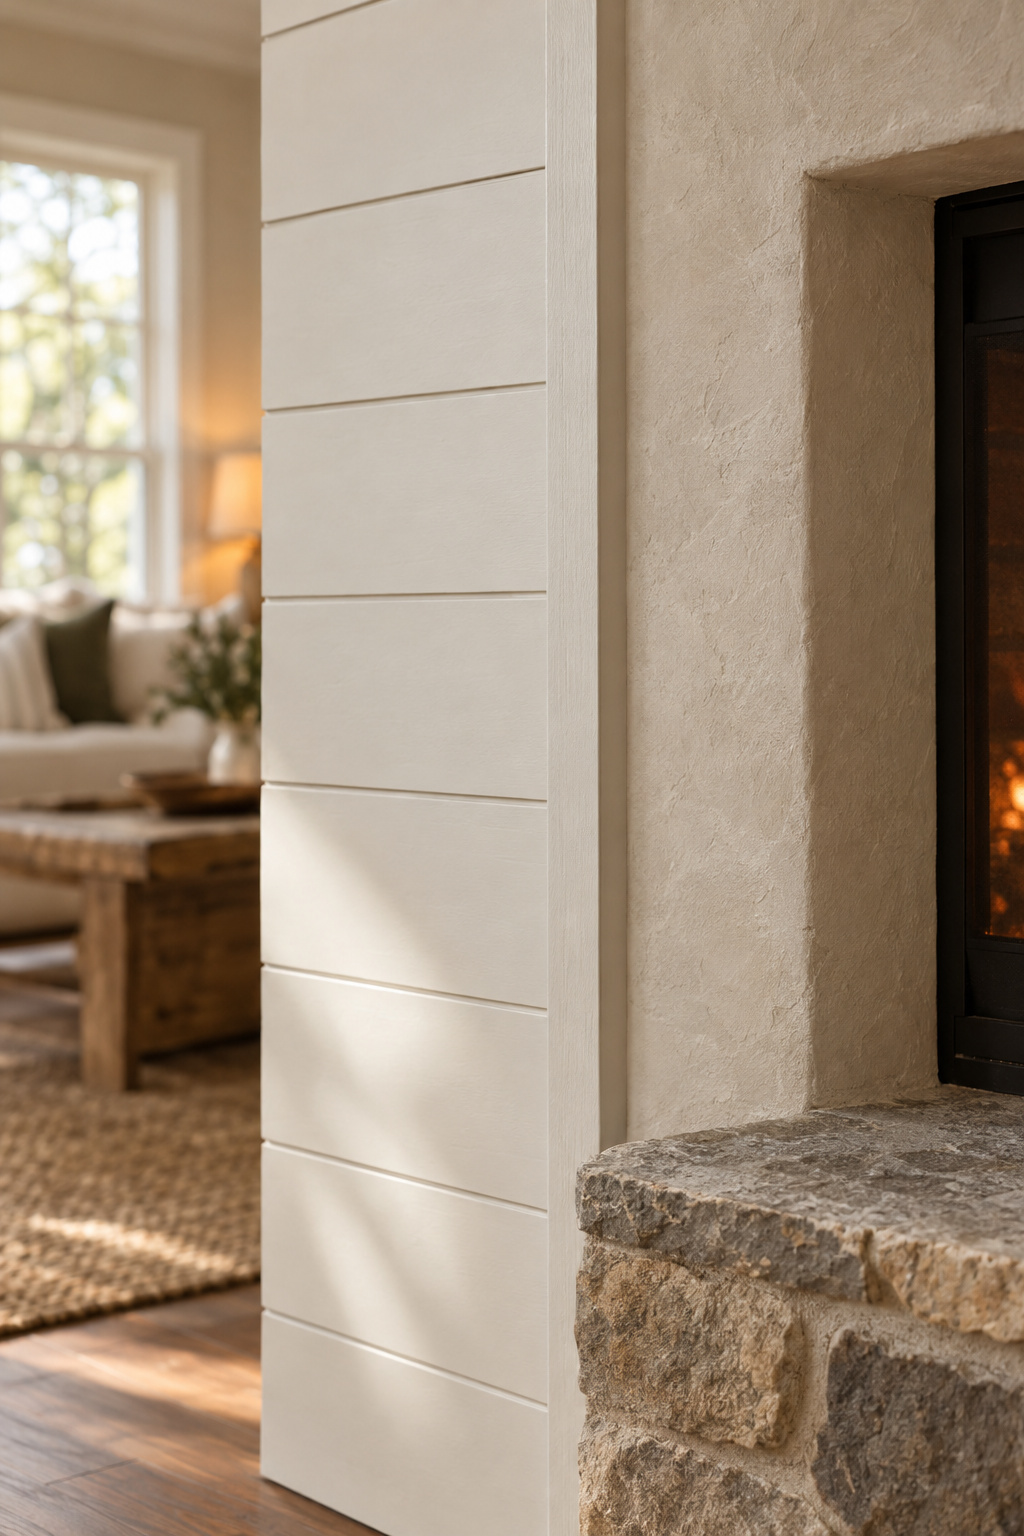
What changes: the clearances, not the material
Pine, MDF and cedar are all still fine here. What changes is where the run stops and how that edge gets trimmed, which is a measurement problem.
The Elements Worth Updating Before You Start
The mistake that makes a wall look dated on day one
Boards butted too tight. The reveal is the whole point, since that shadow line is what your eye registers as shiplap, and with no gap you’ve built a plain wood wall. Use pennies or tile spacers, even with a self-gapping profile. Two more details: lay the run out top down so the cut row isn’t at the ceiling, and drive each nail where the next board’s lip hides it.
Before you commit, the elements worth updating covers which parts of this look have aged, and it may change your stop height.
Getting the acclimation and outlet steps right
Four steps, in order, none of them skippable:
- Stack the boards flat in the actual room for 48–72 hours before nailing.
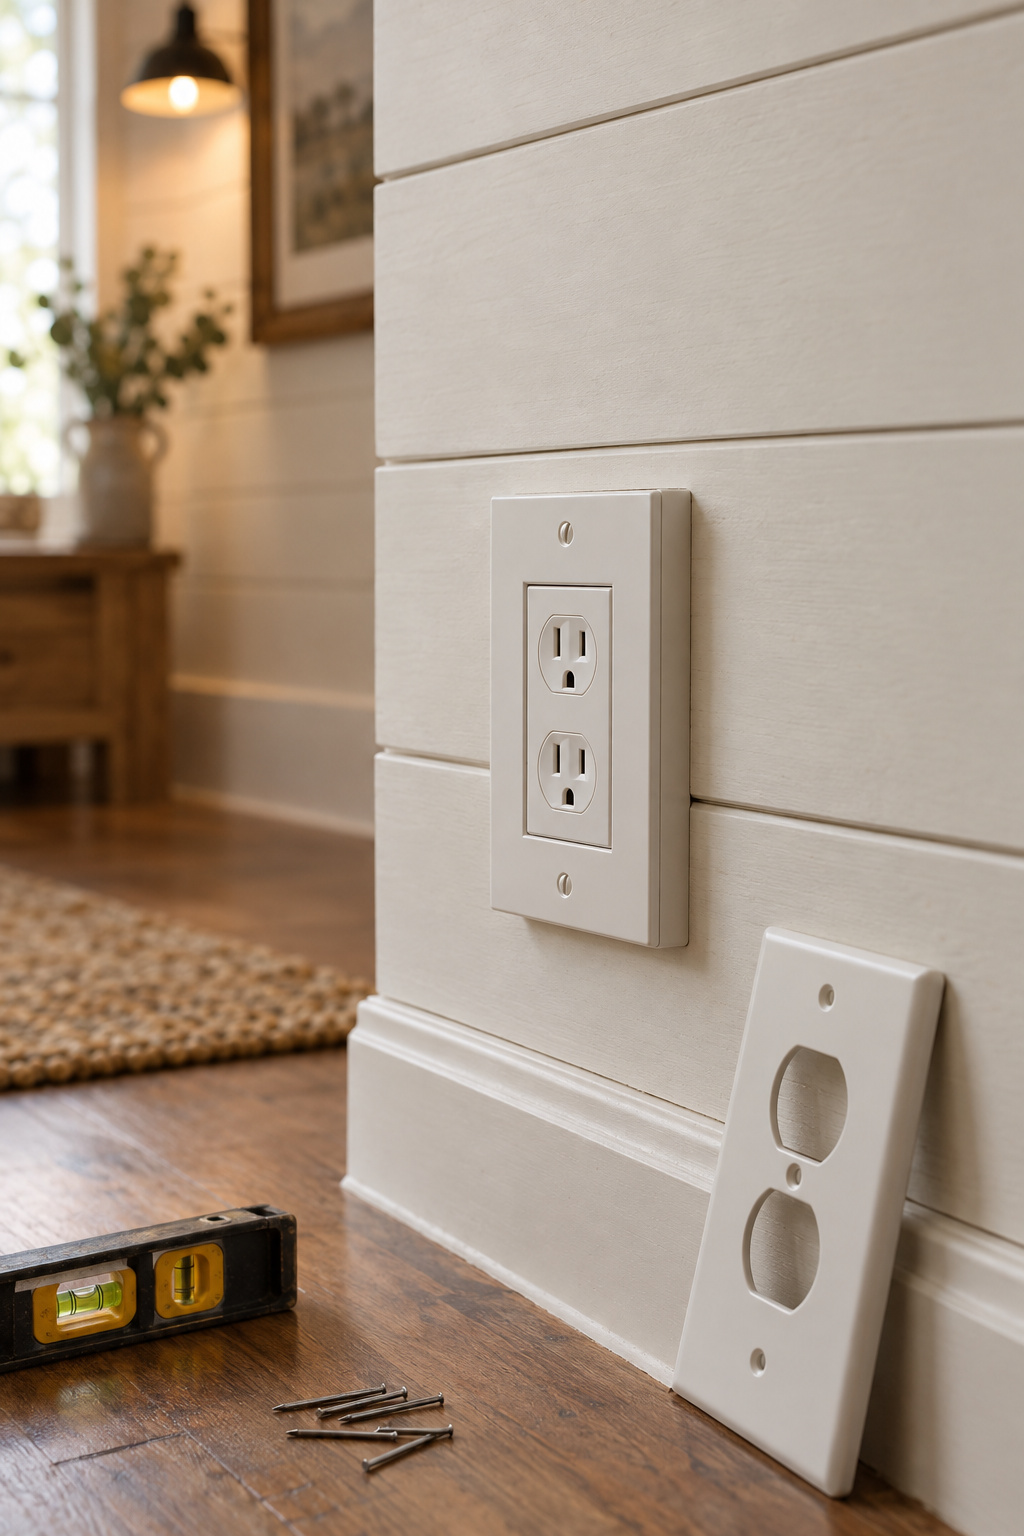
- Kill the circuit at the breaker, then pull the cover plates on that wall.
- Fit a code-rated box extender on every device box. Shiplap adds 0.25–0.75 in of depth, and code allows a box to sit no more than 0.25 in back from the finished wall.
- Check the casings and baseboard. That added depth may need extension jambs or wider trim, a cost one-weekend timelines omit.
Then pick up the nailer. If you do one thing this week, do the boring one: buy the boards, stack them in the living room and tape a line at your stop height while they sit. By the time the wood is ready you’ll know whether that line is right, and it’s the only decision here that’s expensive to change. For where this wall sits in the room, the modern farmhouse living room ideas guide walks the space in build order.
FAQ
Can you install shiplap over drywall without removing it first?
Yes. Installing straight over existing drywall is standard practice if you repair loose or damaged drywall first and mark the studs, which are the real fastening points. Shiplap can go onto bare studs too. Either way the wall gains 0.25–0.75 in, so fit box extenders first.
Does shiplap make a small living room feel smaller?
Board width matters more than material. Wider planks around 7.5–8 in make a small area read larger, and narrow 5.25–6 in planks feel closed in. Vertical runs draw the eye up and suit genuinely small or low-ceilinged rooms. Stopping below full height also keeps a room from feeling boxed in.
How do you clean and maintain a shiplap wall?
Vacuum the reveal grooves first with a brush attachment, since that’s where dust settles, then wipe with a microfiber cloth in one direction. Mild detergent on a damp cloth handles marks, and a 50/50 vinegar spray handles stubborn ones. Dry it afterwards, dust monthly and keep magic erasers off painted wood.