Picture a wet Tuesday in November. Boots come off, an umbrella drips, and the puddle creeps inward a foot or two before anyone wipes it. That puddle is the whole reason your entry is tiled and your hallway is wood — and the tile to wood floor transition is not a trim decision. It is a working boundary between the wet world outside and the dry house beyond. Most people specify it last, taking whatever strip the tile happens to end at. Place that join wrong, and the puddle finds the wood.
TL;DR
- The join is a functional wet/dry boundary: solid hardwood should not begin within 24–36 inches of an exterior door, and the transition belongs where the wet zone actually ends, not at the first convenient grout line.
- Leave a 1/8-inch gap between tile and wood filled with colour-matched 100% silicone, never rigid grout — the two materials move at different rates and a fixed join cracks within a heating season.
- Match the method to the height difference: T-molding under 1/8 inch, a reducer for 1/8–1/2 inch, a threshold for 1/2–3/4 inch, and subfloor work above that.
The Tile to Wood Floor Transition Isn’t Cosmetic — It’s a Functional Boundary
The join between your entry tile and the wood floor a few steps in is doing a job, not just finishing an edge. Get it wrong and you get squeaks, cupped planks, cracked tile and a repair bill. Two forces decide everything — moisture and movement.
Why the wet/dry line matters: what moisture does to hardwood if the boundary lands wrong
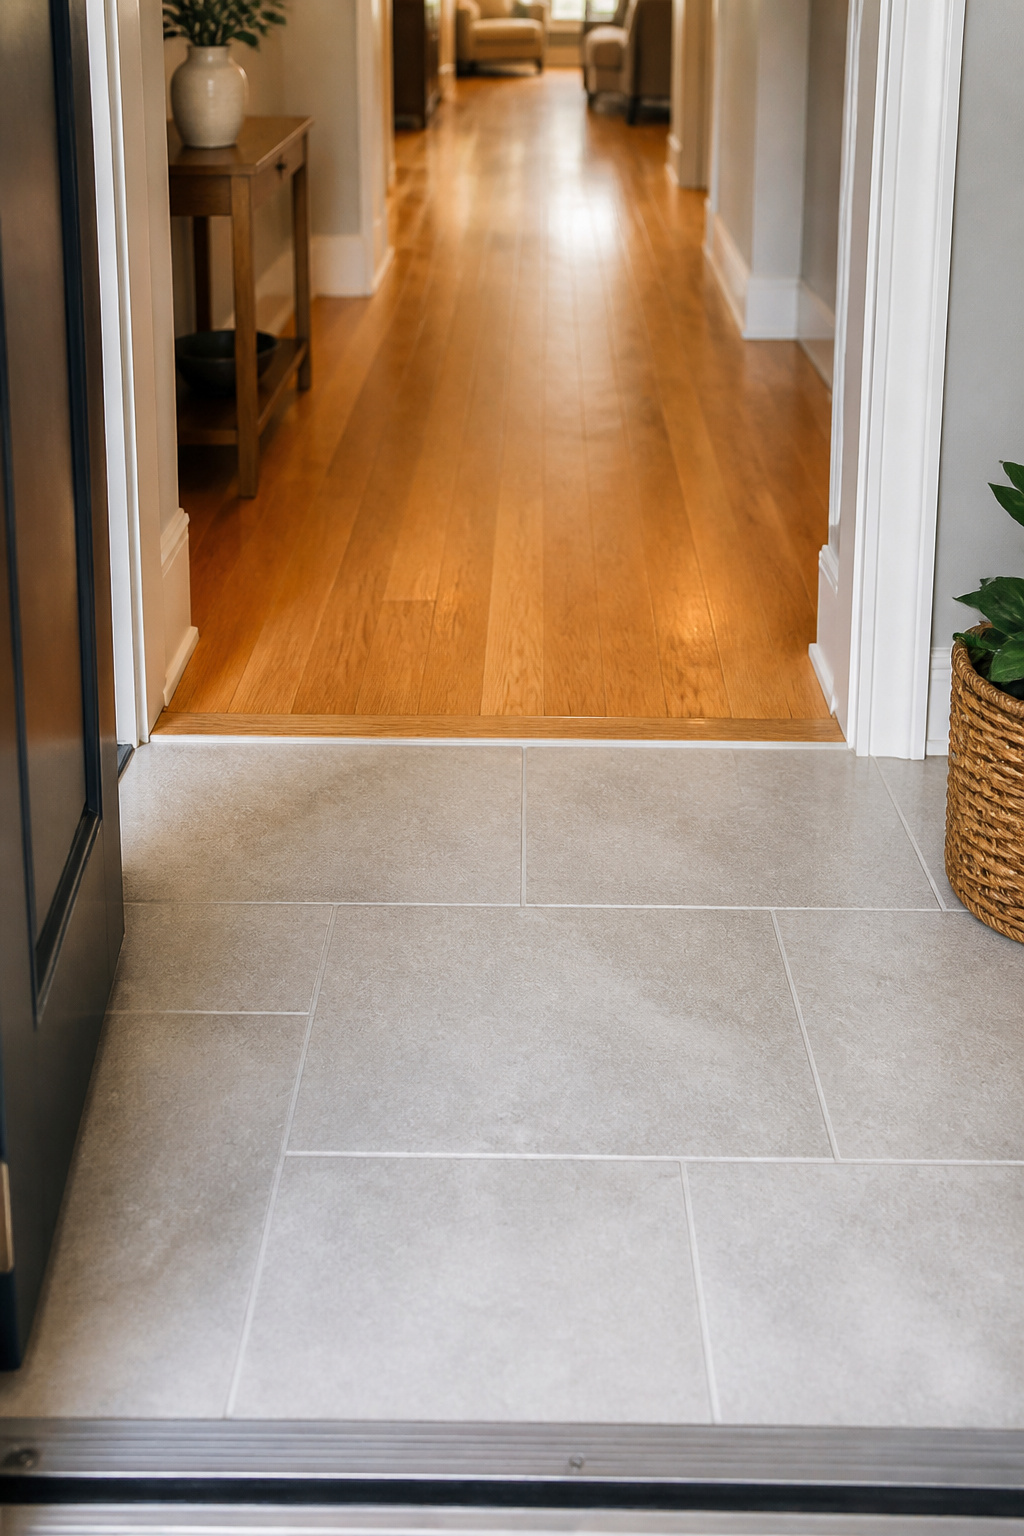
Tracked-in rain and snowmelt create a wet zone that reaches 18–30 inches into an entry. After nine wet months a year in Portland, I learned to treat that zone as a given, not a worst case. Solid hardwood should not begin within 24–36 inches of an exterior threshold, because water absorbed into the end grain swells and cups the planks permanently — and fixing that later runs $500–$1,500 per affected spot. Put the join where the wet zone actually ends (typically 24–30 inches inside the door), not at the nearest convenient grout line. Start from planning an entryway tile floor for the wider picture.
Thermal expansion: why tile and wood move differently and what that means for the join
Wood and tile never move in step. Solid oak shifts roughly 1% in width for every 4% change in relative humidity; tile is rigid and brittle, moving with temperature and cracking if it has nowhere to go. Lock them together with hard grout and one of them loses. The fix is a compressible joint: a 1/8-inch gap between the two edges, filled with 100% silicone colour-matched to the grout. Silicone flexes as both materials move; grout fails.
Metal Transition Strips and Schluter Profiles: The Practical Default
A metal strip is the workhorse of this job. It is not the prettiest option, but it handles height differences cleanly, protects the fragile tile edge, and now comes in finishes that no longer look like builder afterthoughts.
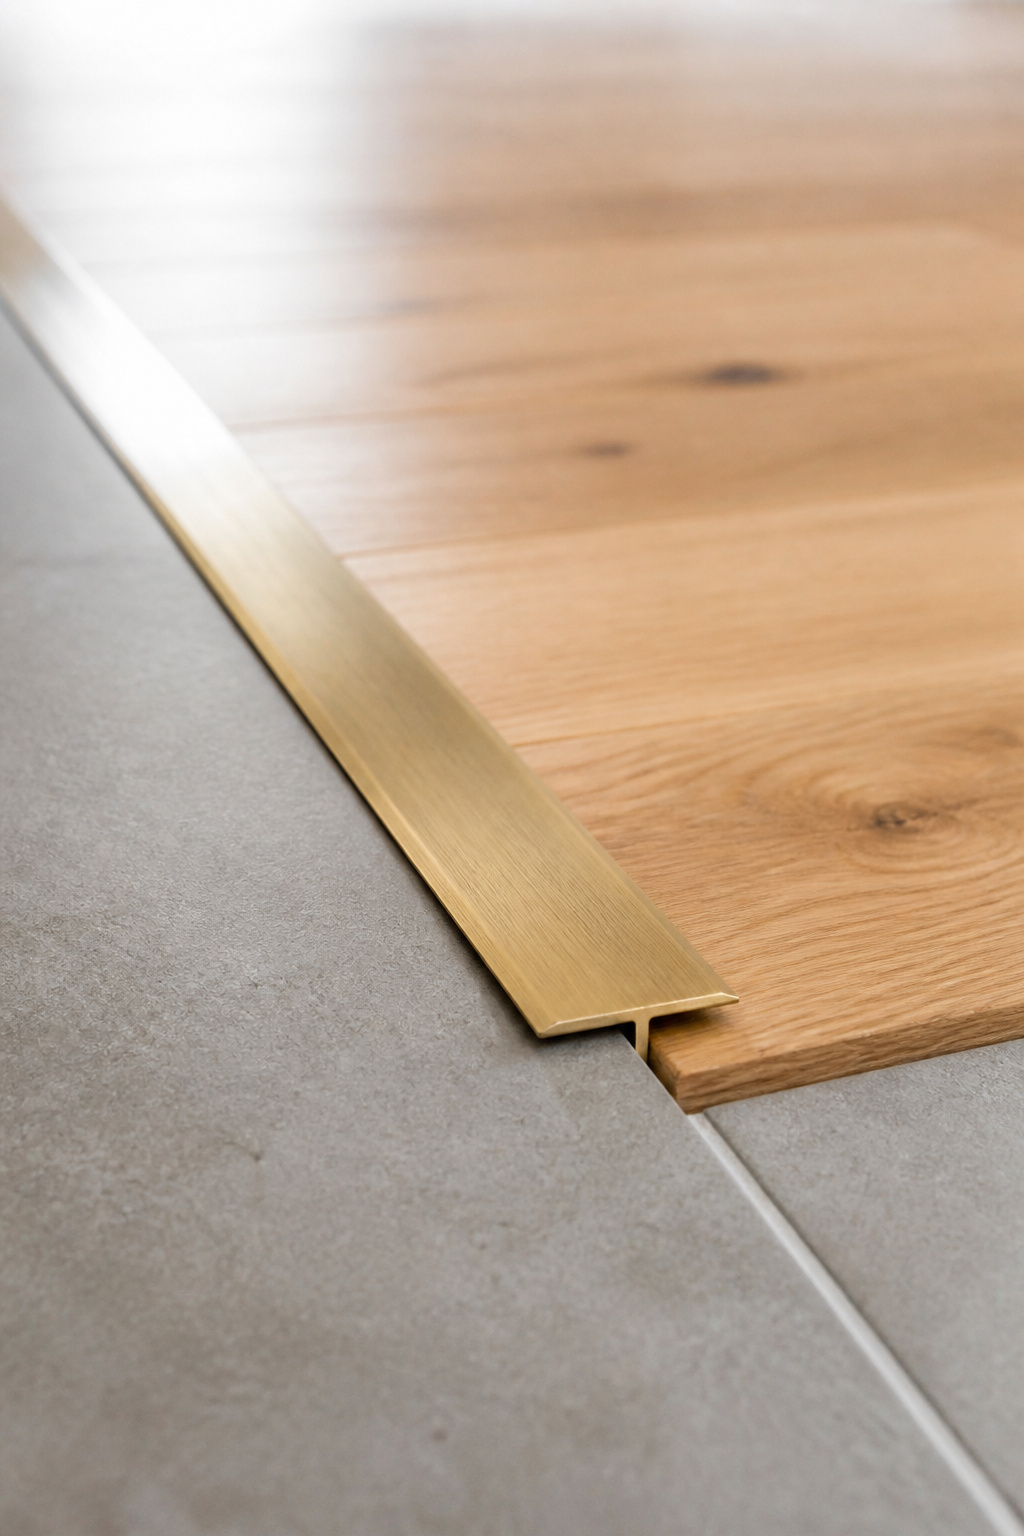
T-bar, reducer and Schluter RENO-T: which profile for which height differential
Profile choice is governed by one measurement: the height difference between the two finished floors.
| Profile | Height differential it handles | Good finish for a wet entry | When it goes in |
|---|---|---|---|
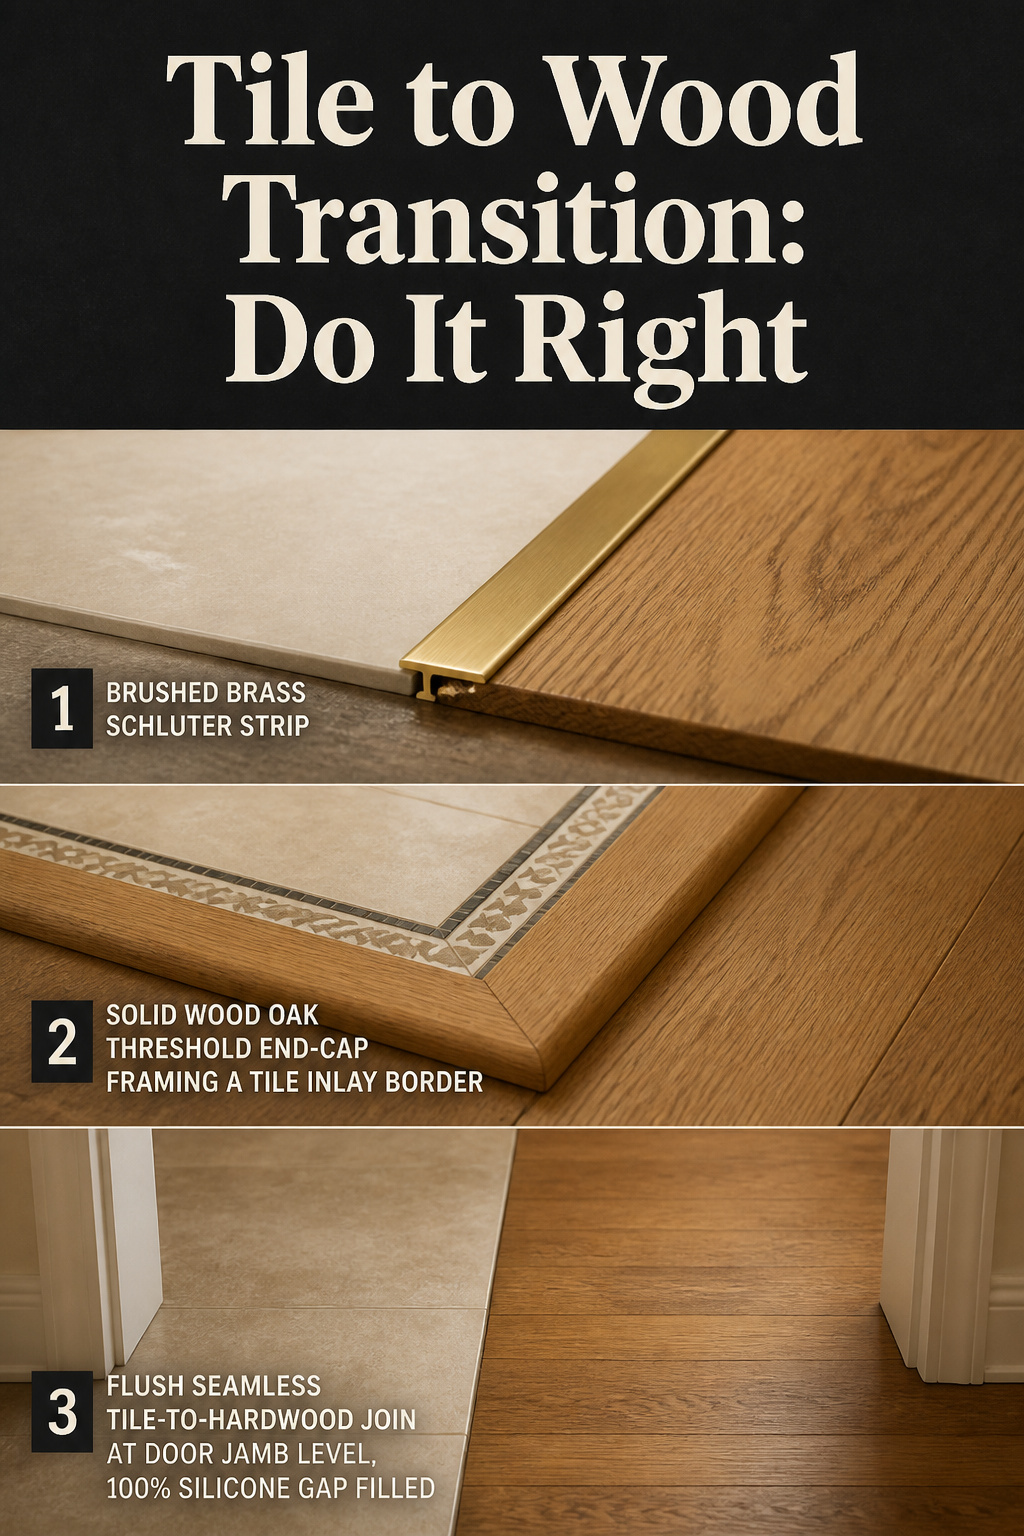
| T-molding / Schluter RENO-T | Flush, within 1/8 inch | Solid brass | Before grouting |
| Reducer molding | 1/8–1/2 inch | Matching wood or metal | Before grouting |
| Schluter RENO-TK (sloped) | Tile higher, ramps down | Anodised aluminium | Before grouting |
The RENO-T is built for same-height joins and needs a joint cavity at least 3/8 inch deep. A standard reducer, the common fix when tile sits proud of the wood, costs $20–$60 in materials. Above 3/4 inch of difference, no strip performs well alone — that is a subfloor problem, covered below.
Stainless, brushed brass, matte black: choosing a finish that doesn’t date
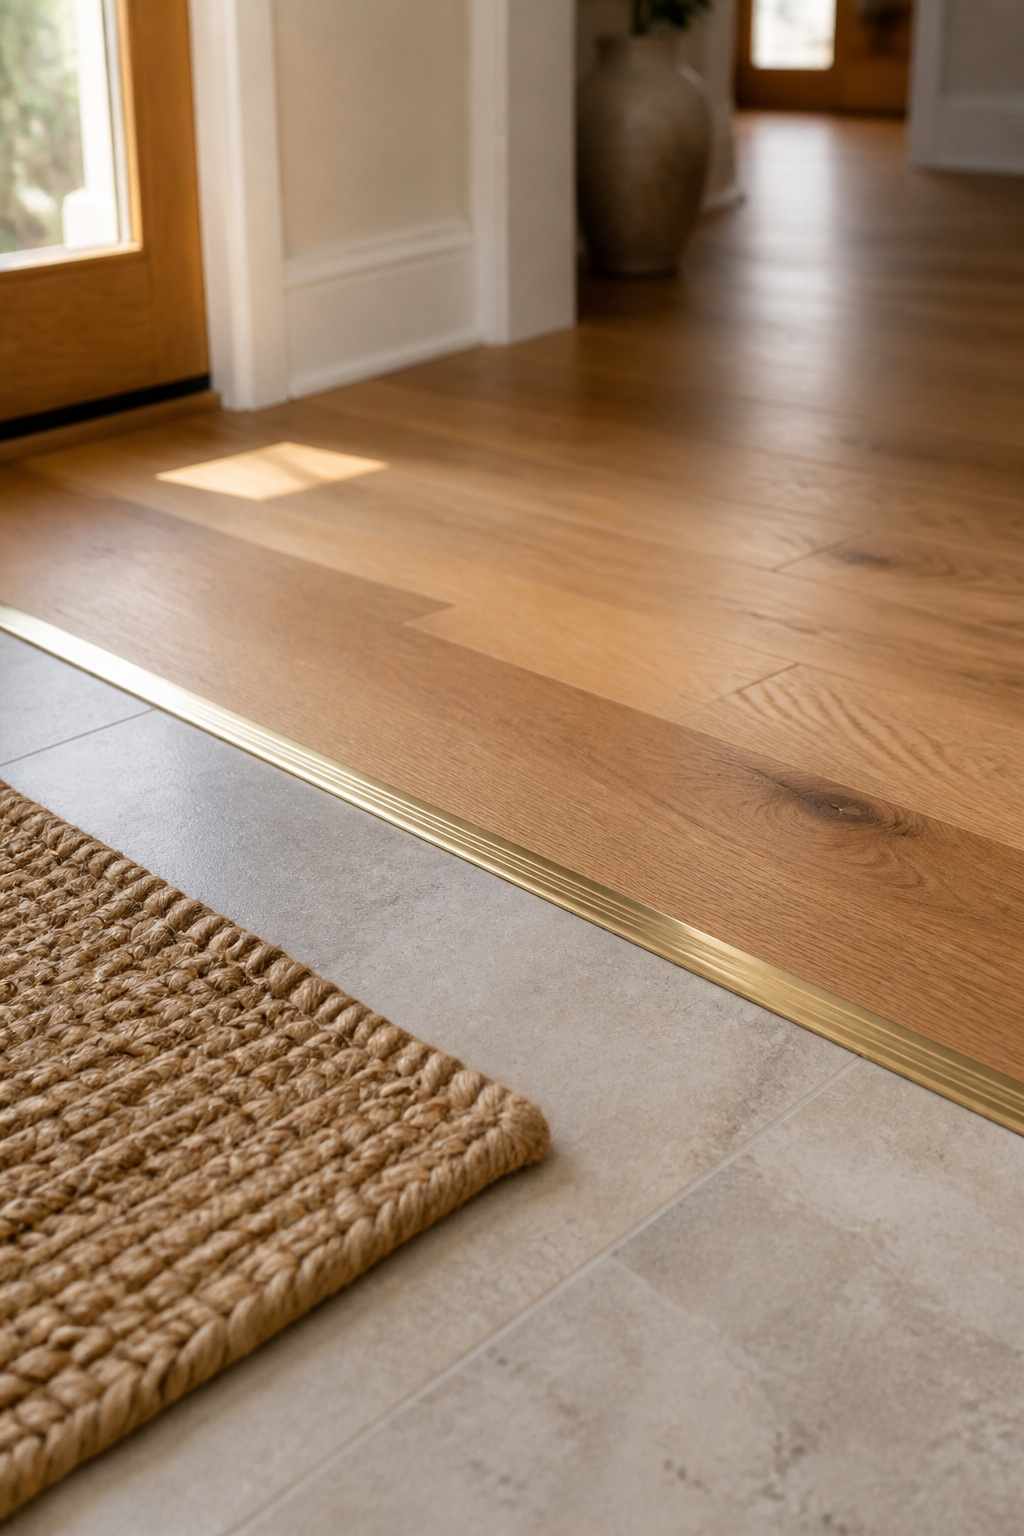
Finish is where a metal strip stops looking industrial. Schluter profiles come in stainless, solid brass, brushed nickel, antique bronze and matte black. The trick that keeps it from dating is to match the strip to the door hardware — a brushed brass lockset pairs with a brushed brass profile. For a wet entry, solid brass is the long-term pick: it resists corrosion where cheap anodised aluminium can delaminate over years of damp boots.
Installation sequence: why the strip goes in before grouting, not after
The most common mistake: both floors go down, the grout cures, and only then does someone realise a strip is needed. By then the grout has to be chiselled out and the track rarely sits level. The mounting track belongs in the centre of the expansion gap, fastened to the subfloor, before grouting — never to the floating planks. Leave a 1/4-inch gap at each end so the metal can change length with the seasons instead of bowing in July.
Hardwood Threshold End-Caps and Wood-to-Tile Borders
Sometimes a metal strip is the wrong note — too cool for a warm, traditional entry. Wood-to-wood and tile-inlay transitions give the same protection with a softer face, in exchange for more precision around species and the expansion gap.
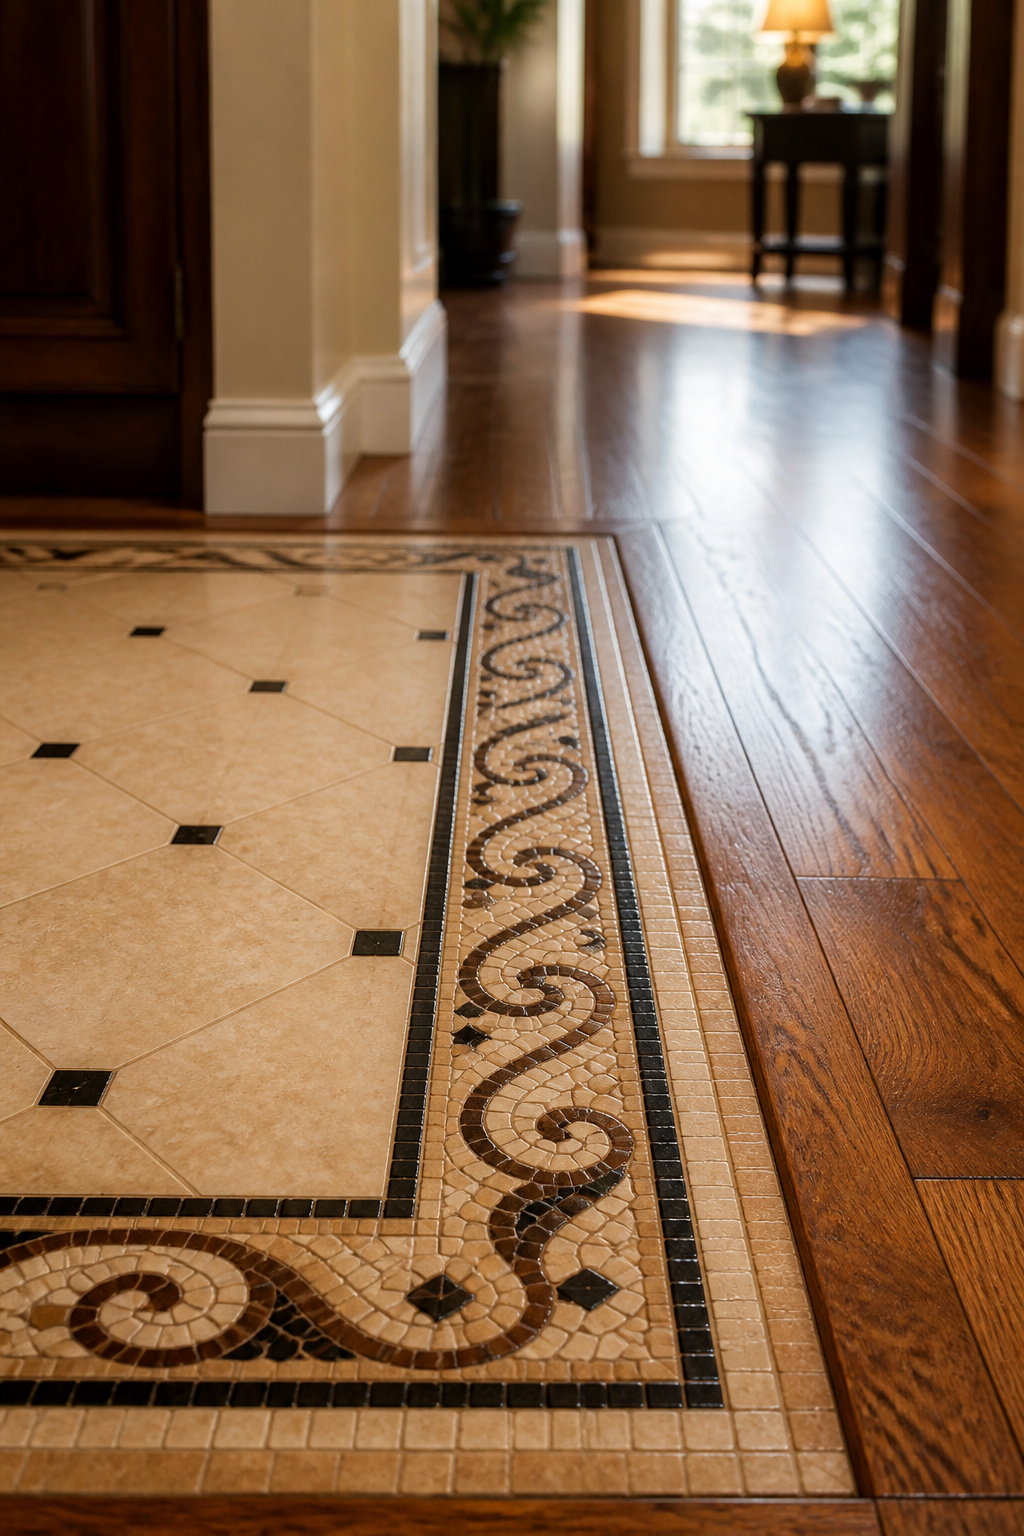
Solid wood threshold: species, thickness and why it needs an expansion gap
A solid wood threshold — the old word is a saddle — is typically 3/4 inch thick and 2.5 to 4 inches wide. It fastens to the subfloor, not the planks, so the floating floor stays free to move; leave a 3/8-inch expansion gap between threshold and tile. On cost, treat the figures with care: solid oak, maple or walnut thresholds run about $4–$12 per linear foot from a specialist supplier, which skews premium, so price your species first. Solid wood also sands and refinishes alongside the floor, where plastic trim never will.
Matching the threshold species to the adjacent hardwood floor
The threshold should read as a zone change, not an applied part. Match species and finish exactly — a white oak saddle in the same satin sheen beside white oak planks all but disappears. Where an exact match is not on the shelf, stain a complementary species to match, but test on an offcut first: oak takes colour very differently from maple. Where the planks run perpendicular to the tile, a row or two of the same plank bordering the wood field caps the cut ends cleanly.
Tile border inlays: running tile into the wood floor as a visual frame
For a more decorative join, run two to four rows of tile — or a mosaic strip — into the wood zone as an inlay, framing the entry field like a rug border with no metal visible. It defines the zone and catches grit; you cannot trip on it. Sequence matters: the inlay goes in first, grouted and sealed, then the planks butt against its outer edge. Cost and labour are project-specific, so get a firm quote before committing. Where the inlay is porcelain, wood-look tile blurs the line further.
Flush Joins: When the Goal Is No Join at All
The cleanest transition is the one you barely see — both floors at the same height with only a hairline silicone gap between them. It is beautiful when it works, and it punishes poor planning hardest, because it is decided at the subfloor.
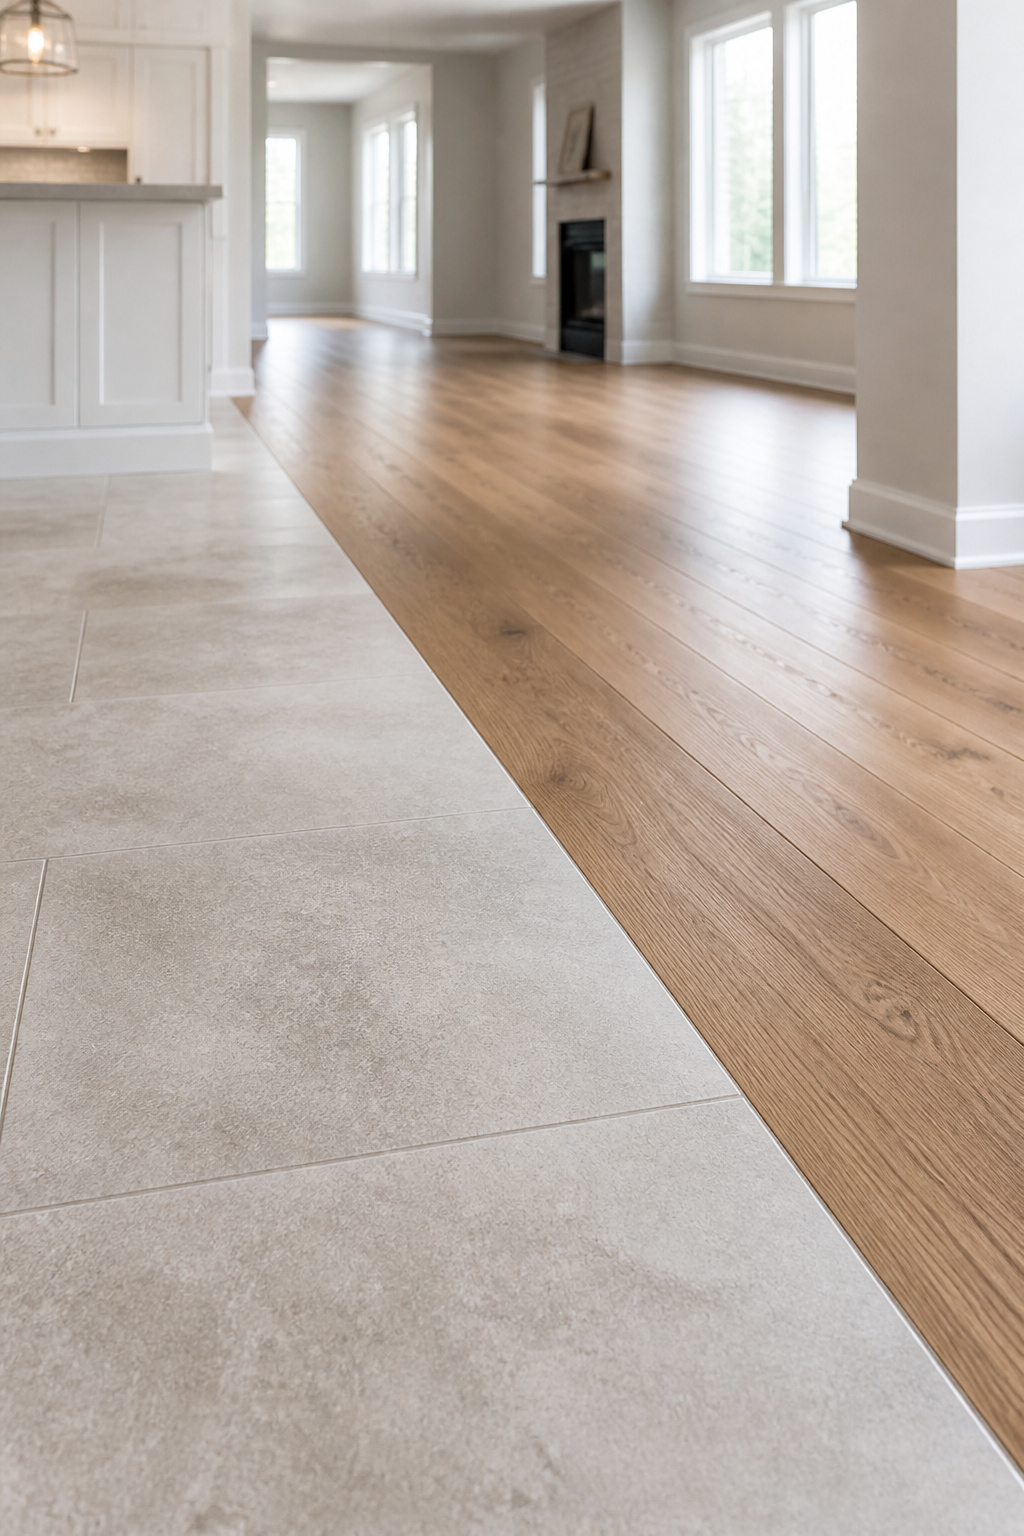
Flush installation: the subfloor planning it requires before either floor goes down
The whole trick is making the tile assembly equal the wood’s finished height. A 3/4-inch solid hardwood floor lands at about the same height as 3/8-inch tile on 1/4-inch cement board with 1/8-inch thinset — both reach roughly 3/4 inch above the subfloor, but only if you calculate it before installing. The subfloor must also be flat to within 1/8 inch over 6 feet, or one floor sits proud of the other and no finish trick hides the lip. Even flush, keep the 1/8-inch silicone gap — never grout.
Floating floors and tile: why flush joins are harder than they look on a floating installation
Floating wood floors complicate the picture. Click-lock systems are usually thinner than solid hardwood, so the tile tends to sit higher even with minimal underlayment, killing the flush look. A floating floor also needs its own perimeter expansion gap — the exact figure depends on the manufacturer, so check their spec. Two rules hold regardless: the planks must stay free to move, and no strip can be screwed through them. The track goes to the subfloor only.
The two situations where a flush join is worth the complexity
Flush earns its effort in two cases: an open-plan entry where tile and wood share one sightline with no door to hide a strip under (a metal line there reads as a hard interruption), and solid-nail 3/4-inch hardwood next to tile on 1/4-inch cement board, where the heights already match. A flush floor also cleans easier, with no raised edge.
Handling Height Differences: When the Floors Don’t Land Level
This is the question that ends most online searches without a real answer: the tile finished higher than the wood, and now what? The fix is tiered — pick by the size of the gap.
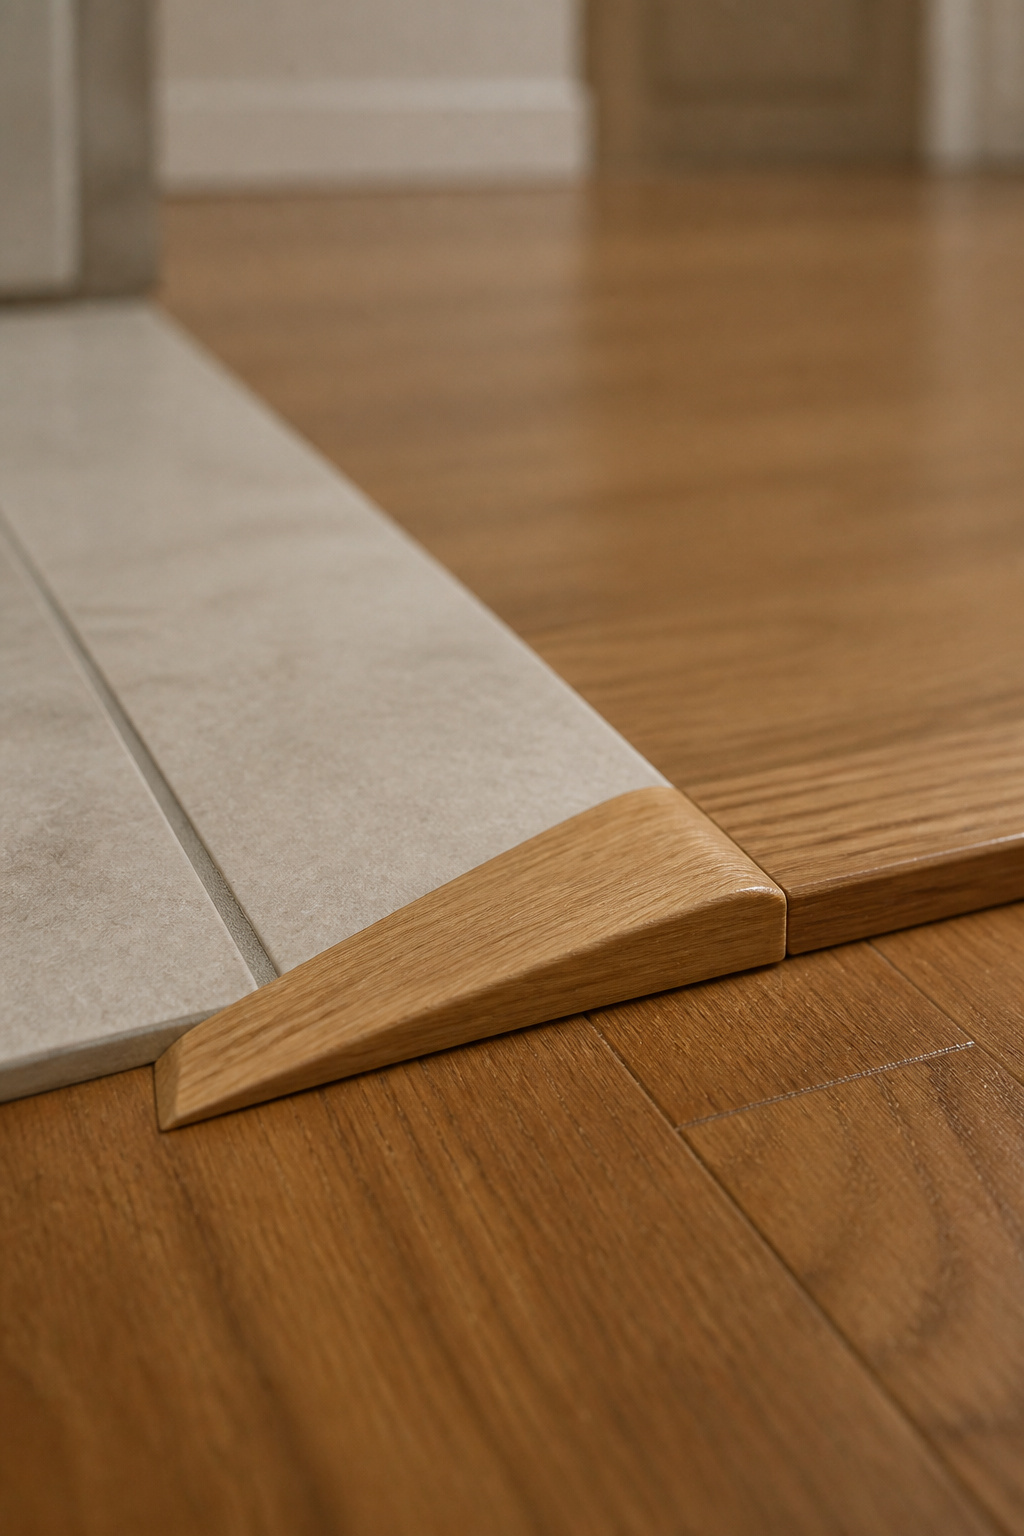
Why tile installations often sit higher than adjacent wood floors
Standard porcelain or ceramic tile is 5/16 to 3/8 inch thick. Add the cement backer board or membrane that code requires, plus thinset, and the assembly reaches 3/4 inch or a touch over. That matches solid hardwood but sits well above engineered and floating products, which often land under 1/2 inch and need a reducer or threshold to bridge the step.
Feather-edge mud beds and self-levelling compound for minor differences
Several honest fixes work, by the gap they suit.
| Height difference | Recommended method | DIY or pro |
|---|---|---|
| Under 1/8 inch | T-molding over the gap | DIY |
| 1/8–1/2 inch | Reducer molding | DIY |
| 1/2–3/4 inch | Threshold saddle, or build up the low side | DIY with care |
| Over 3/4 inch | Subfloor correction first | Pro |
The cleanest fix is prevention: adding a strip of 3/8-inch plywood to the subfloor on the wood side before the floor goes down raises that zone by 3/8 inch, turning an awkward 1/2-inch step into a tidy 1/8-inch gap a T-molding handles well. Per the Easiklip installation guide, that prep takes about twenty minutes. If the subfloor is fixed, feathering extra thinset under the last tile row softens a minor difference.
When the height difference is too large for any transition strip: the pro call
Past 3/4 inch, stop looking for a strip — a ramp that steep is a trip hazard, not a transition. The right fix is structural: build up the low side or thin the tile assembly before either floor is laid. If both floors are already down with a big step, that is a flooring contractor’s call, not a DIY afternoon. Settle these heights while you are finishing the install.
Placing the Transition in the Right Spot
You can pick the perfect profile and still get the transition wrong by putting it in the wrong place. Where the join lands decides how long it lasts and whether anyone catches a toe on it — and I think about placement the way I think about where the evening sun falls on a patio: it is the design.
Under the door vs at the door edge vs mid-corridor: the functional argument for each
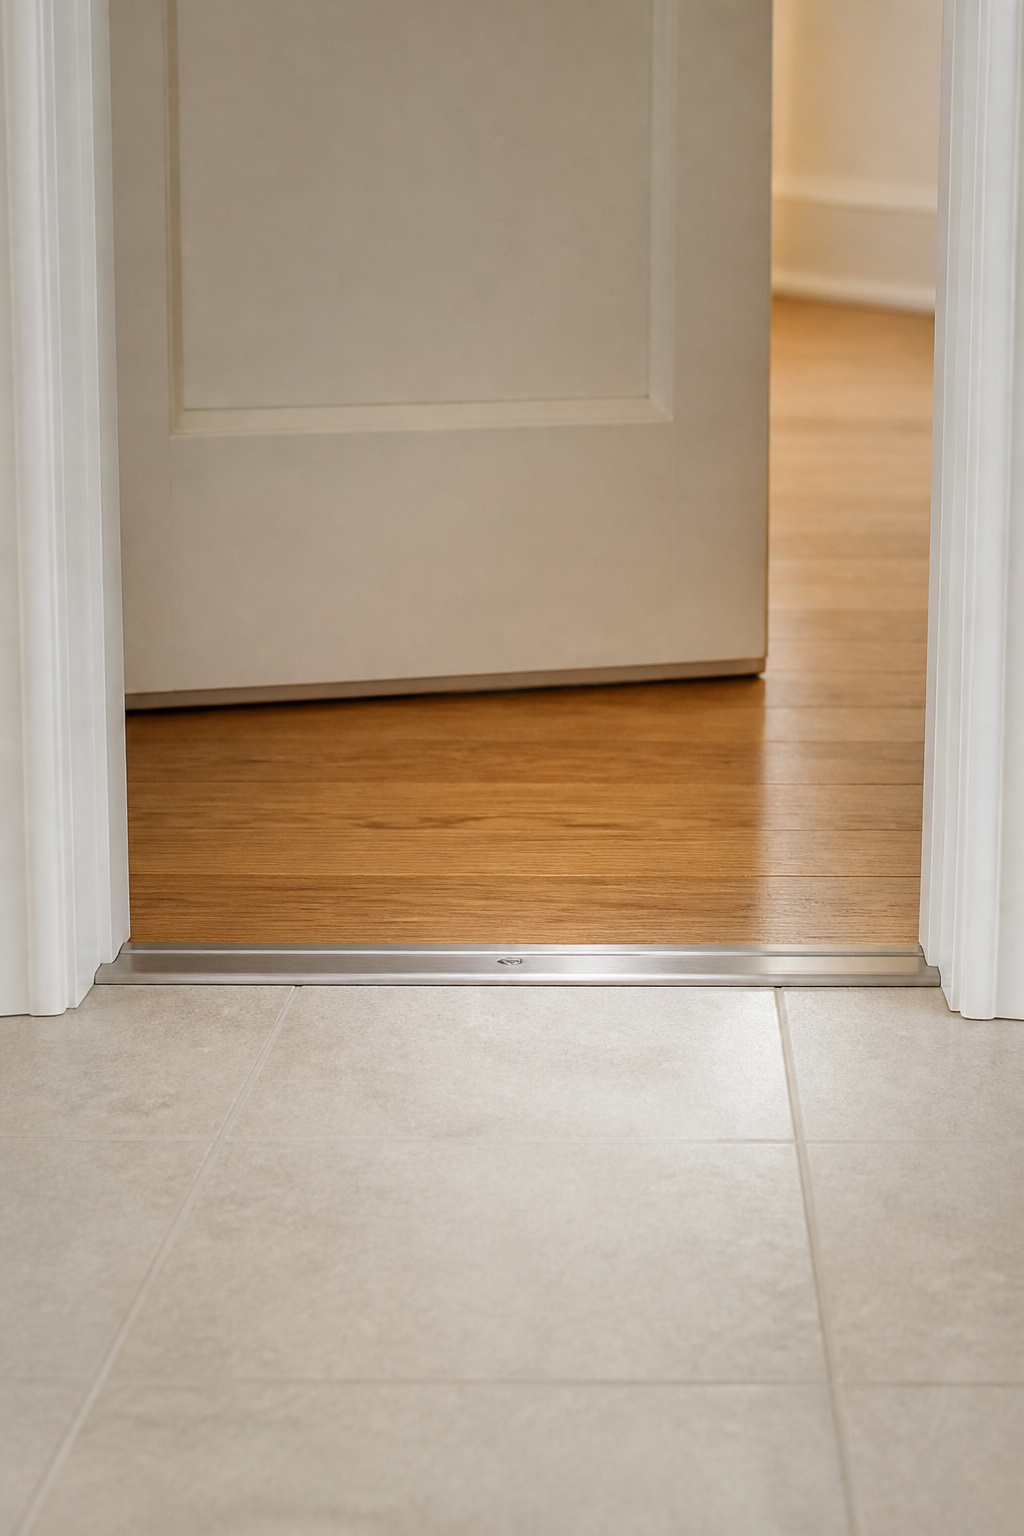
The gold standard is simple: put the join under the closed door. Run the tile 3/4 inch past the jamb face so the seam sits at the door’s midpoint, hidden from both rooms when the door is shut and shielded from foot traffic. Setting the strip at the inner jamb instead leaves it exposed in the room and in the traffic path. Avoid mid-corridor placement in a busy run — a raised strip in open floor catches shoes and luggage wheels.
What happens when the transition is placed at the centre of high foot traffic
A strip stranded mid-corridor with no door over it becomes the most-worn point in the floor; on a busy entry the finish degrades within two or three years. In low light it is also a trip hazard — ADA guidance caps a trip-free interior rise at 1/4 inch. A door spares the strip: people step through the opening rather than stopping on the threshold.
Doorway jamb clearance: the measurement check before cutting any threshold
Before cutting any threshold, confirm the door still closes over it — the finished strip height plus both floor heights must clear the door’s bottom edge by at least 1/8 inch, or the door drags and wears its paint off in weeks. Undercut the jamb and casing with an oscillating tool, using a tile scrap as a depth guide, so the flooring slides under for a clean hidden edge.
Settle method, height and placement together and the transition stops being the part you dread. You can walk into a showroom, name the profile you need, and tell your installer exactly where the seam goes — which is the whole job.
FAQ
What is the best transition strip between tile and hardwood floor?
It depends on the height difference. For floors at the same level, a T-molding or Schluter RENO-T is cleanest, sitting over a 1/8-inch gap so both floors move independently. For a 1/8–1/2 inch step, a reducer in matching wood or metal is the durable default, around $20–$60 in materials.
Does tile to wood floor transition need an expansion gap?
Yes. Leave a 1/8-inch gap between the tile edge and the wood edge, filled with 100% silicone colour-matched to the grout — not rigid grout, which cracks within a heating season as the two materials move at different rates. The transition strip’s track must fasten to the subfloor only, so the wood’s perimeter expansion gap stays free to move.
Can you have a flush transition between tile and hardwood?
Yes, but it takes pre-planning. Standard 3/4-inch solid hardwood and tile on 1/4-inch cement board both finish near 3/4 inch above the subfloor, so a flush join works if both heights are calculated before installing. Thinner floating or engineered wood usually sits lower and needs subfloor buildup. Even flush, keep the 1/8-inch silicone gap.