The advice you’ll hear most about an entryway floor is the worst: pick a tile you love and go. Every solid set of entryway tile floor ideas starts with the same five decisions, made in the same order — and most guides skip that entirely. The entry is the wettest, grittiest, most-walked patch of floor in the house, and the first thing anyone sees. Choose for the look alone and you’ll re-tile a cracked, slippery floor in a few winters or live with a beautiful one that fails the second a wet boot lands. Make those decisions out of order — pattern before performance, budget before subfloor — and you get the paralysis that sends most people back to a gallery to scroll. Make them in order and the whole thing gets simple.
Why Your Entry Floor Is the Hardest-Working Tile in the House
Tile has held the front door of European homes for hundreds of years because it takes whatever the weather, kids, and the dog drag in and cleans up with a mop. That’s the job. But “tile” covers everything from a glass-glazed wall tile to a through-body porcelain rated for a shop floor, and the gap between them at an entry is the difference between a floor that lasts thirty years and one that doesn’t see five.
The three performance demands: wet boots, heavy traffic, first impressions
An entry floor has to do three hard things at once. It has to grip when it’s wet, because it’s the wettest floor in the house after rain or snow — ANSI A326.3 sets a minimum wet DCOF of 0.42 for any interior floor walked on while wet, and a glossy tile below that is a genuine slip hazard. It has to survive grit, because outdoor sand on shoe soles grinds at a glaze like sandpaper; the recommended minimum wear rating is PEI 4 (heavy residential), stepping to PEI 5 for big dogs or commercial-level traffic. And it has to look like something, because it’s the first impression your home makes. Most decorative tiles can do the third thing. Far fewer do all three.
What happens when you pick for looks and ignore spec
The failures are predictable, and I’ve seen every one. Slick wall tile laid on a floor sits below the 0.42 wet threshold and shows every footprint besides. Ceramic at 3–7% water absorption gets chosen to save money, then stains and deteriorates at a door it was never built for. Natural stone or cement tile goes down without sealing first, and grout slurry stains it permanently the day it’s installed — a failure you can’t fix without stripping the whole floor. And tile set with no expansion joint at the walls cracks, pops, or tents straight off the subfloor as pressure builds. None of these is bad luck. Each is a spec ignored.
The decision sequence that makes everything else easier
So here’s the order this whole guide follows, and the order I’d use on any entry. The Tile Council of North America makes the same point in plainer industry language: a specifier should pick tile for the project’s actual conditions — use, traffic, contaminants, maintenance, wear — not for aesthetics. Decide these five things, in this sequence, and each one narrows the next.
- Material and durability — the impervious-or-not call, made first because it eliminates the most options
- Format and size — large or small tile, square or plank, chosen for your entry’s footprint
- Pattern and colour — checkerboard, directional, or plain, once the material can carry it
- Transition — how the tile meets the floor a few steps in
- Installation — subfloor prep, set, grout and seal, DIY or pro
Choosing the Right Tile Material: Porcelain, Ceramic, Stone & Cement
Material is decision one because it kills the most options fastest. The popular belief that “ceramic is fine for any floor” is exactly the kind of thing that gets a floor cracking by the second winter. The number that settles it is water absorption, and the categories are not close.
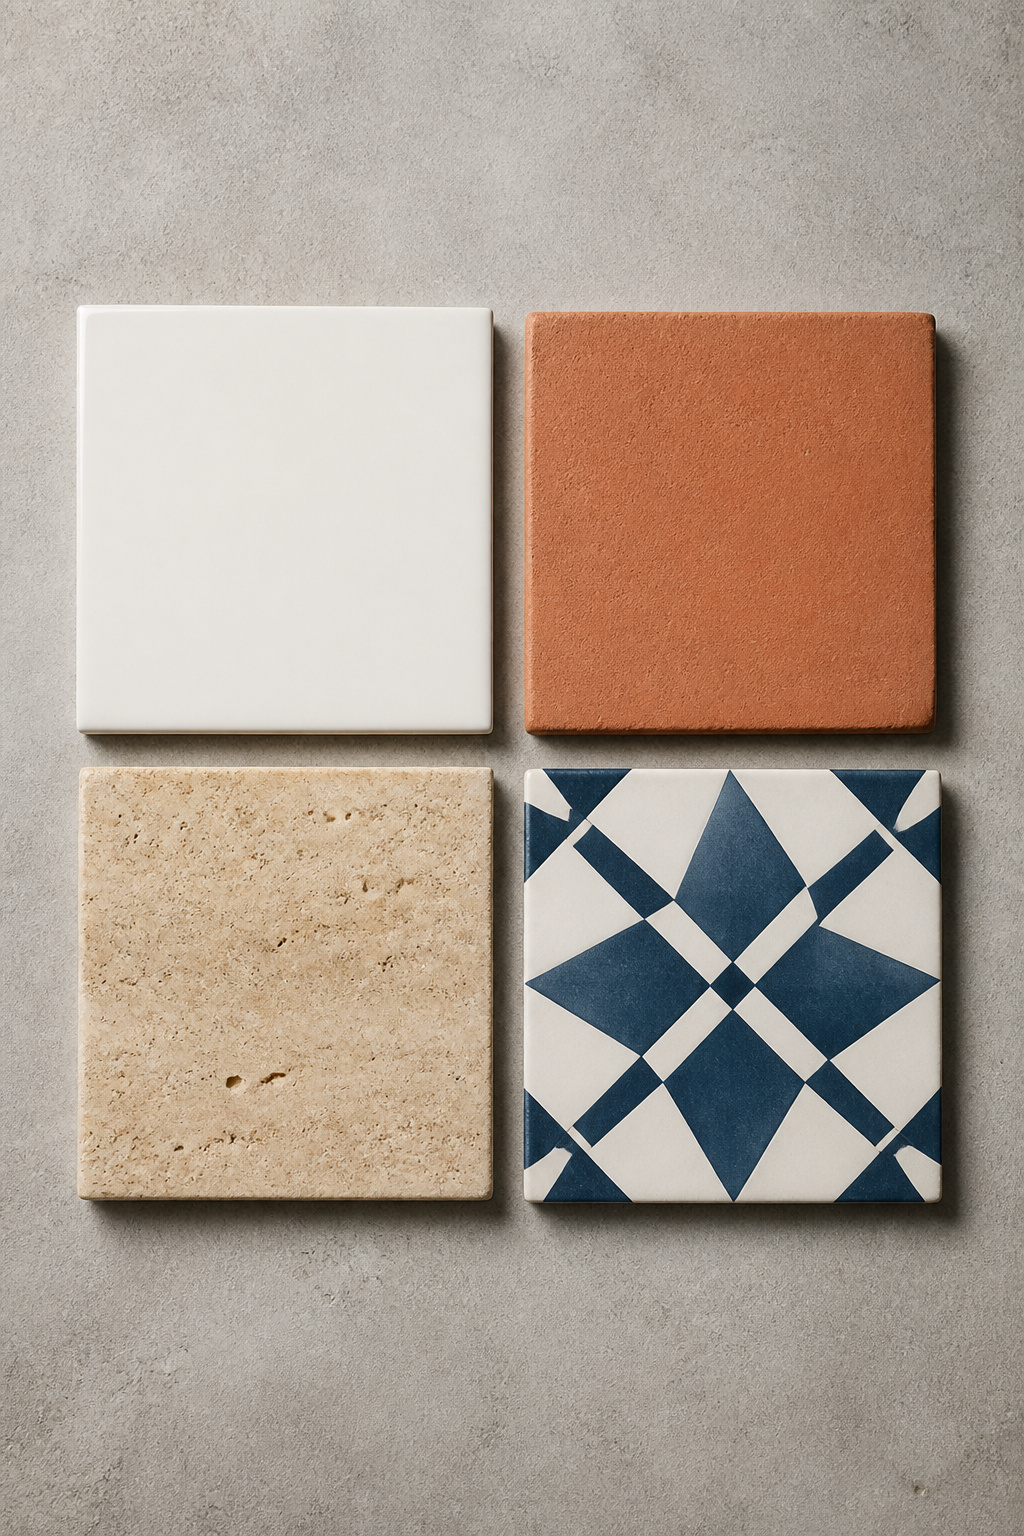
Here’s how the four common materials line up on the specs that actually decide an entry. Read across the row, not down the price column.
| Material | Water absorption | Hardness (PEI / Mohs) | Sealing needed | Cost per sq ft (tile) |
|---|---|---|---|---|
| Porcelain | ≤0.5% (impervious) | PEI 4–5 | Grout only | $3–$10 |
| Ceramic | 3–7% (semi-vitreous) | PEI 2–4 | Grout only | $1–$5 |
| Natural stone | 0.4–12% | Mohs 3–6 | Before grouting + every 1–3 yrs | $3–$30 |
| Encaustic cement | porous (~6%+) | unrated | Before and after grouting + reseal | $7–$14+ |
Porcelain: why ≤0.5% water absorption matters at the front door
Porcelain is the front-door default for one boring, decisive reason: under ASTM C373 it’s classified impervious, soaking up 0.5% of its weight in water or less. Ceramic sits at 3–7%, six to fourteen times more. That gap is the whole story at an entry, where snowmelt and rock salt seep into a porous body, then freeze, expand, and crack it. Porcelain earns that density in the kiln — fired up to 2,500°F against ceramic’s 1,800–2,000°F — and the same firing makes it harder. Installed, standard porcelain runs roughly $8–$18 per square foot, climbing toward $25 for large-format laid by a pro. If you want the full material-by-material breakdown on slip ratings, finishes and cost over ten years, that’s the job of the guide to choosing the most durable entryway tile.
Ceramic: where it earns its place and where it doesn’t
Ceramic isn’t disqualified — it’s conditional, and cheaper, at $6–$13 installed against porcelain’s higher band. The single question is whether wet boots land on it. In a fully sheltered, climate-controlled foyer with a covered porch and a mat outside the door, vitreous ceramic at PEI 4 holds up fine and saves real money. In any entry hit by rain, snow, or mud, its absorption makes it the wrong call. And watch the wear rating: a PEI 3 ceramic, fine for a quiet living-room floor, will look tired in a busy family door inside two or three years.
Natural stone and encaustic cement: beauty, sealing, and the real maintenance cost
Stone and cement tile bring character nothing manufactured matches, and a maintenance bill you sign up for on day one. Natural stone — marble, travertine, slate — needs a penetrating sealer before grouting and again on a schedule; marble and travertine in a high-traffic entry want resealing every 6–12 months, slate every one to two years, budgeting roughly $100–$400 a year in upkeep depending on stone type and traffic. Encaustic cement is porous straight through, so it must be sealed before grouting or grout colour bleeds in permanently; cement grout then needs 48–72 hours to cure before that second seal. Ceramic tile, the Fireclay Tile team notes, is hardier and easier to maintain over time than cement or stone in a busy entry — and porcelain versions of encaustic and motif patterns give you the look on an impervious body. On cost, treat the $7–$14 tile-only figure for genuine cement tile as a starting floor — handmade and imported patterns run $20–$30-plus, and installed figures reach $20–$45 once sealing labour is counted.
Tile Size and Layout: Making Your Entry Feel the Right Size
With the material settled, the next decision is format, and it’s driven almost entirely by one thing: how big your entry is. Tile size and lay direction measurably change how large a space reads, which matters more at the front door than almost anywhere, because entries are so often small and dark.
Large-format tile and the fewer-grout-lines trick for small entries
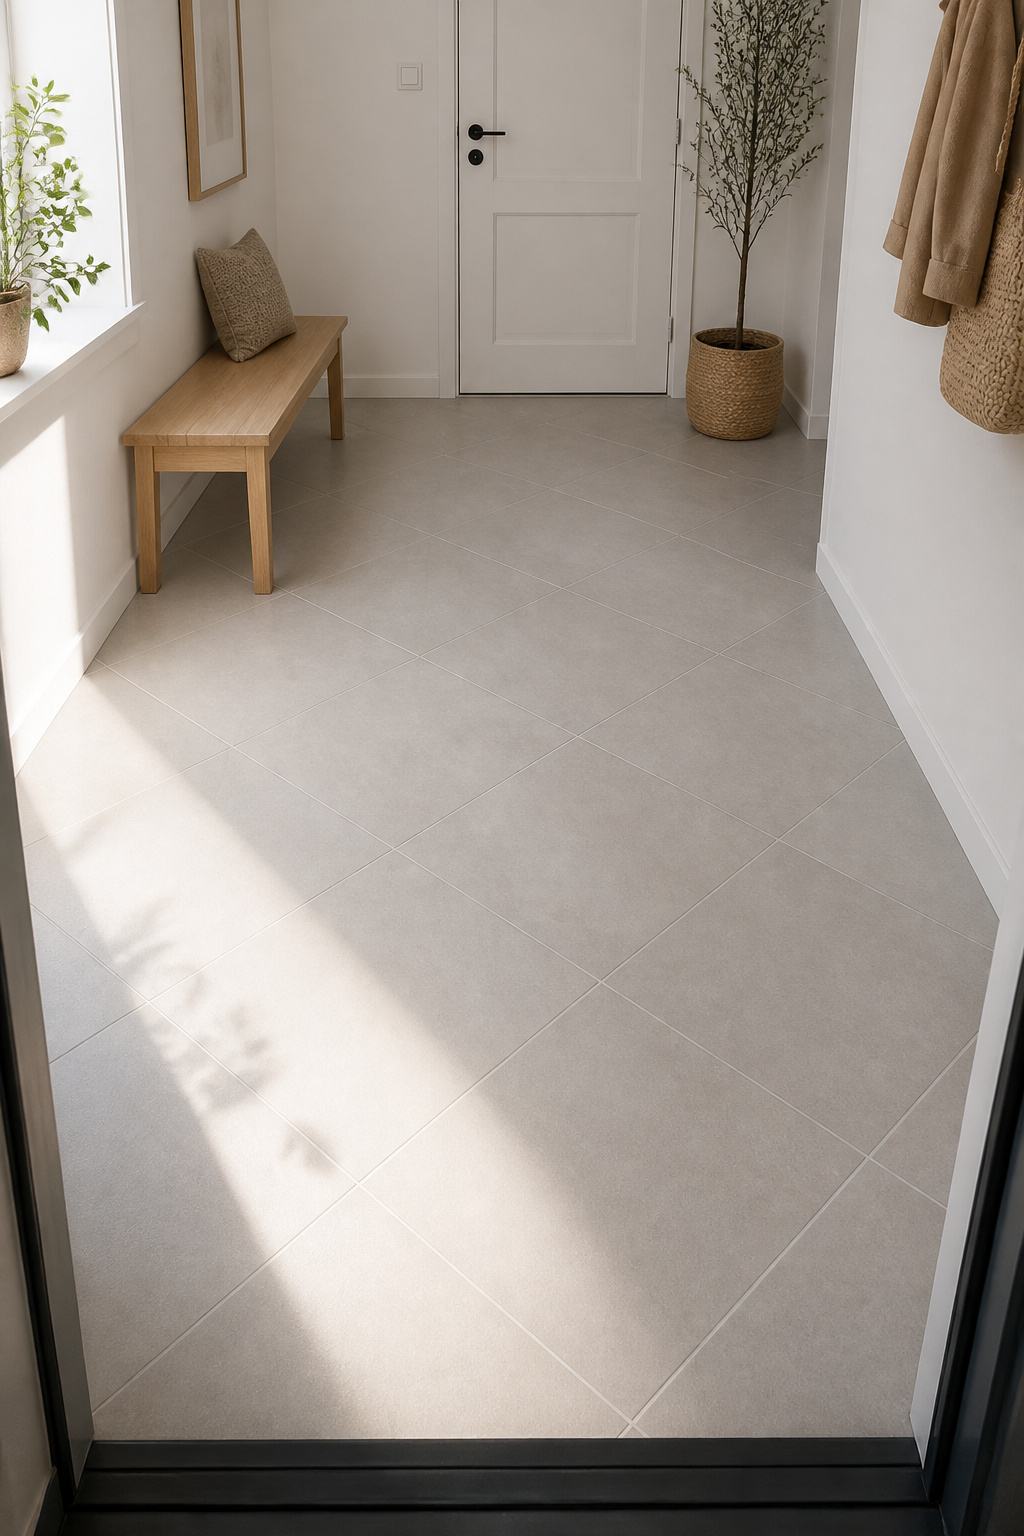
The reliable trick for a small foyer is large-format tile — 16×16 or 24×24 — set with a tight grout joint. Fewer grout lines means fewer visual breaks, so the floor reads as one continuous surface and the room feels bigger. Arizona Tile’s design team makes the point directly: large tiles minimise grout lines and give the illusion of an unbroken, more open expanse. Keep the joint tight to hold that effect — ANSI A108.02 allows down to 1/16 inch, though rectified tiles over 15 inches want a 1/8-inch minimum in running bond. A light, polished-but-rated tile adds a second advantage by bouncing light around a north-facing entry. Here’s the quick version of how size reads:
- 24×24 and up — most continuous surface, best for expanding a small or narrow foyer
- 12×12 to 18×18 — the versatile middle, works in almost any entry
- Mosaic and small format — more grout, more grip, best as a feature zone not wall-to-wall
When smaller tile and mosaic still earn their place
Small tile isn’t just the loser of the spaciousness contest. All those extra grout lines add traction, a real safety gain at a wet door, and mosaic shapes — hexagon, penny, star-and-cross — are back in favour for 2026. The rule is placement: concentrate small or busy tile in a central “rug” zone or a border, and keep the surrounding field calm. Cover a whole foyer in a busy small pattern and you fracture the space instead of furnishing it.
How lay direction (diagonal, straight, running bond) changes a room
Direction does as much work as size. A diagonal lay rotates the grid 45 degrees, pulling the eye toward the corners and the long diagonal run, which makes a tight entry feel wider — the reason it’s so often recommended for small foyers. Running bond, the staggered brick-joint, keeps the eye travelling forward and suits a narrow hallway-style entry. A straight grid reads calm and formal. As a baseline, run the tile so the first row greets the door full and aligned. The deeper playbook for sizing and direction in a tight space lives in the dedicated tile ideas for a small foyer, where Henrik Larsson treats the constraint as the design brief.
Pattern and Colour: From Checkerboard Classics to Geometric Statements
Now the floor turns from a performance surface into a design statement. This is where most galleries start and where this guide arrives only fourth — because a pattern is only as good as the material carrying it. With that settled, the range is genuinely wide, and it sorts into three families.
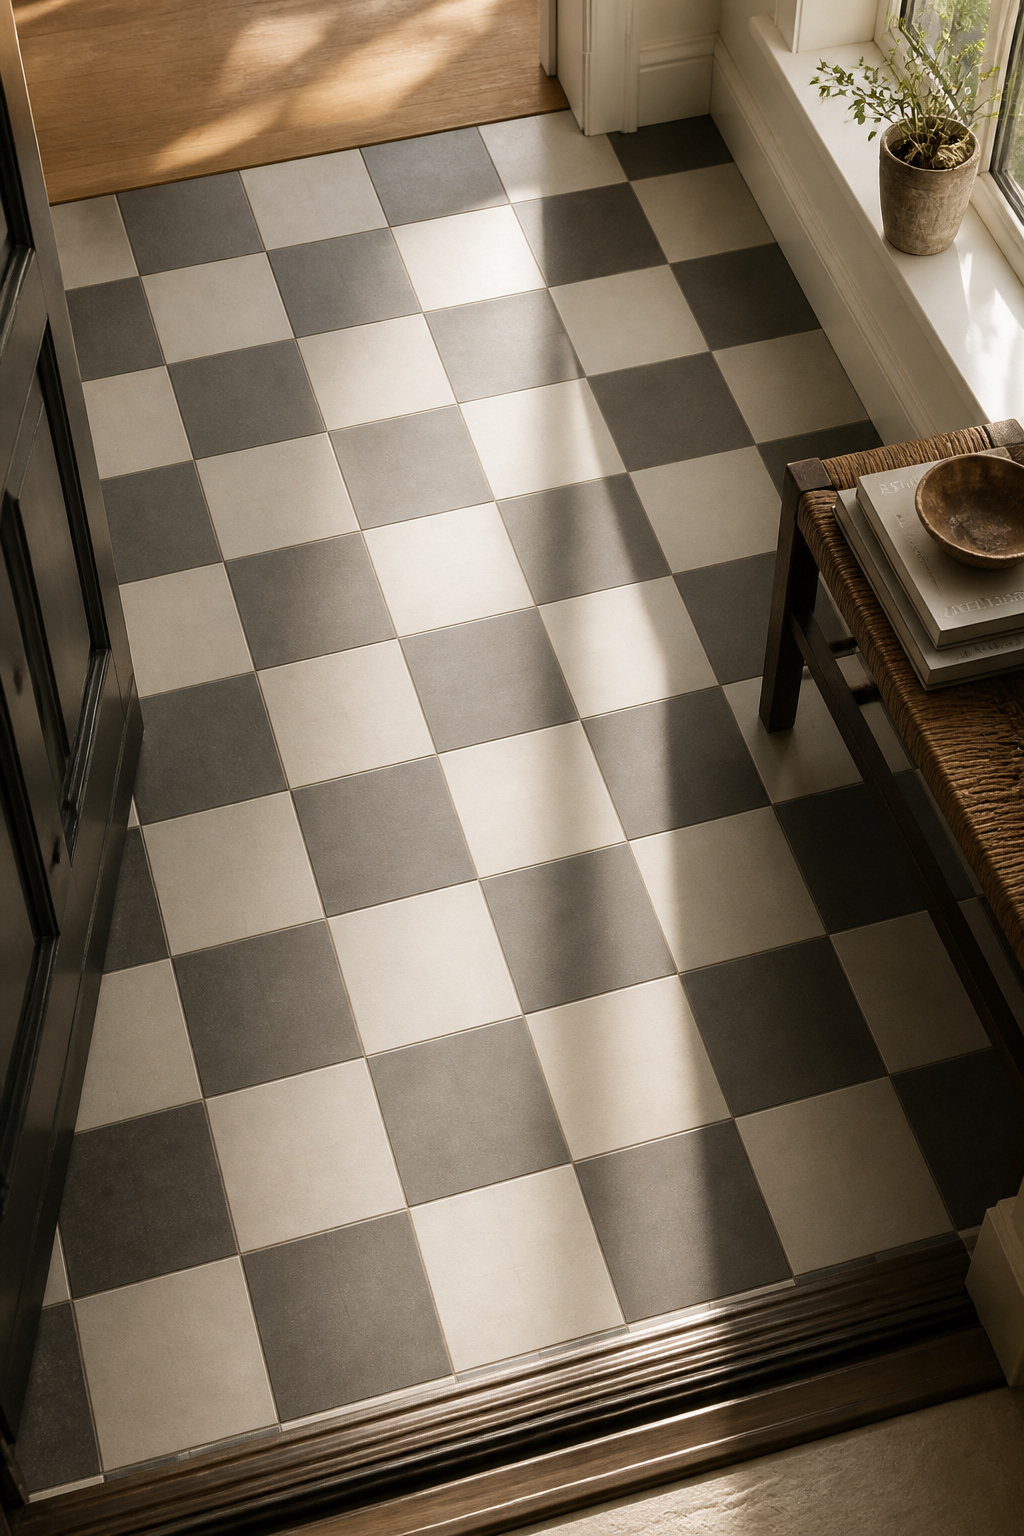
Here are the main pattern families and what each one is for:
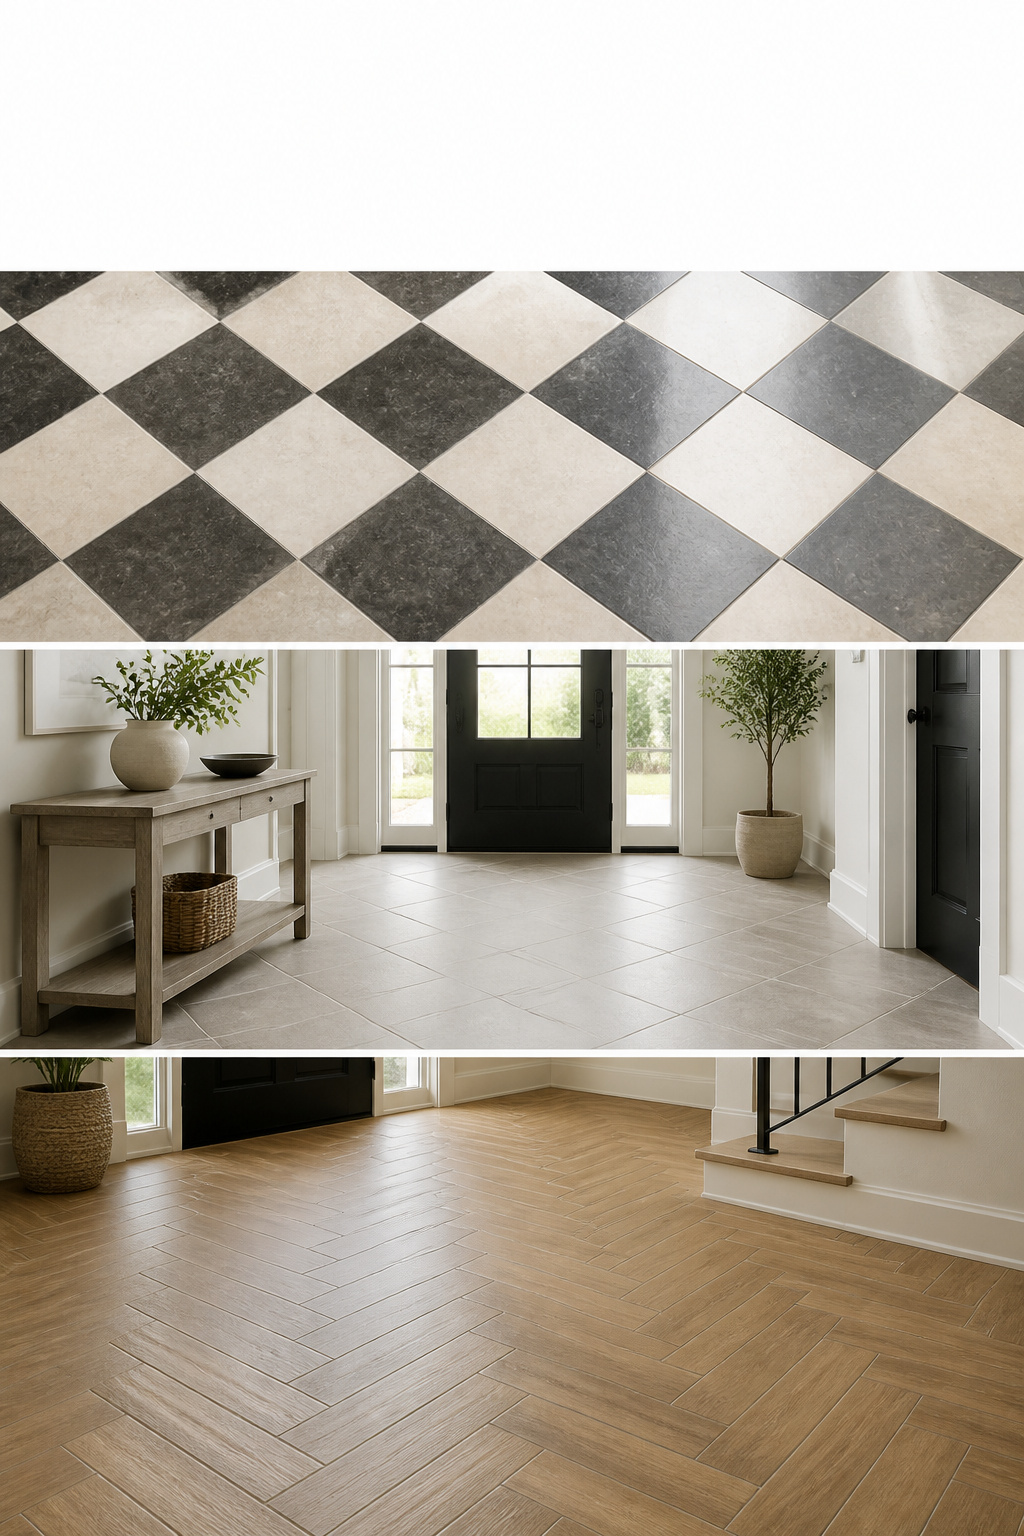
- The two-tone grid (checkerboard) — classic order, reading as either heritage or graphic-modern depending on palette
- Directional patterns (herringbone, chevron, basketweave) — movement and custom character, made by how plain tiles are laid
- Encaustic and motif tiles — the pattern is inlaid in the tile itself, no special layout required
The two-tone grid: checkerboard in classic and 2026 palettes
The checkerboard is having a genuine moment — Houzz reported “checkerboard floor” searches up 38% through Q3 2025 — and the 2026 version has grown up. Instead of stark black-and-white, designers are pairing warm neutrals: bone and clay, fog and charcoal, sage and cream, oxblood and ivory. Studio Cement Tile’s design editorial sums up the shift well: the new checkerboard leans tone-on-tone, creating movement without the visual aggression of the old high-contrast grid. The pattern has Victorian and Edwardian roots, which is part of its appeal, but the modern application is softer and often matte. The scale, set direction and palette decisions that make it land — and the period lineage behind it — are Rachel Blackwood’s subject in a checkerboard entry floor.
Directional patterns: herringbone, chevron, basketweave
Directional patterns make a statement out of plain tiles by the way they’re laid. Herringbone offsets rectangular tiles into a zigzag that adds movement and can widen a narrow entry by pulling the eye sideways; chevron cuts the tile ends at an angle so the points meet in a sharper, more contemporary V. Basketweave alternates perpendicular pairs for a tactile, period-leaning look common in Craftsman entries. There’s a practical bonus, too: the visual motion of these layouts helps everyday wear blend in rather than reading as scuffs on a plain field. The geometry, the tile shapes each pattern needs, and the cut-waste they cost are covered in herringbone, chevron and other tile patterns, also from Rachel.
Encaustic and motif tiles: when the pattern is the tile
Sometimes the pattern is the tile. Encaustic cement carries its design in coloured clays pressed through the body, so it can’t wear or fade off the surface the way a printed ceramic can — at the cost of the sealing routine covered above. The modern shortcut is porcelain printed with encaustic and motif patterns: the same graphic impact, PEI 4 or 5, no sealing. In a small entry, use either as a single “wow” zone — the central rug, a border, a medallion — and keep the surrounding field plain so the eye has somewhere to rest.
Wood-Look Tile: The Entry Floor That Has It Both Ways
One option sidesteps the usual trade-off entirely: wood-look porcelain. It’s consistently the top-recommended entry floor for anyone who wants the warmth of timber at a door where real wood would be a mistake.
Why porcelain plank tile works where real wood doesn’t
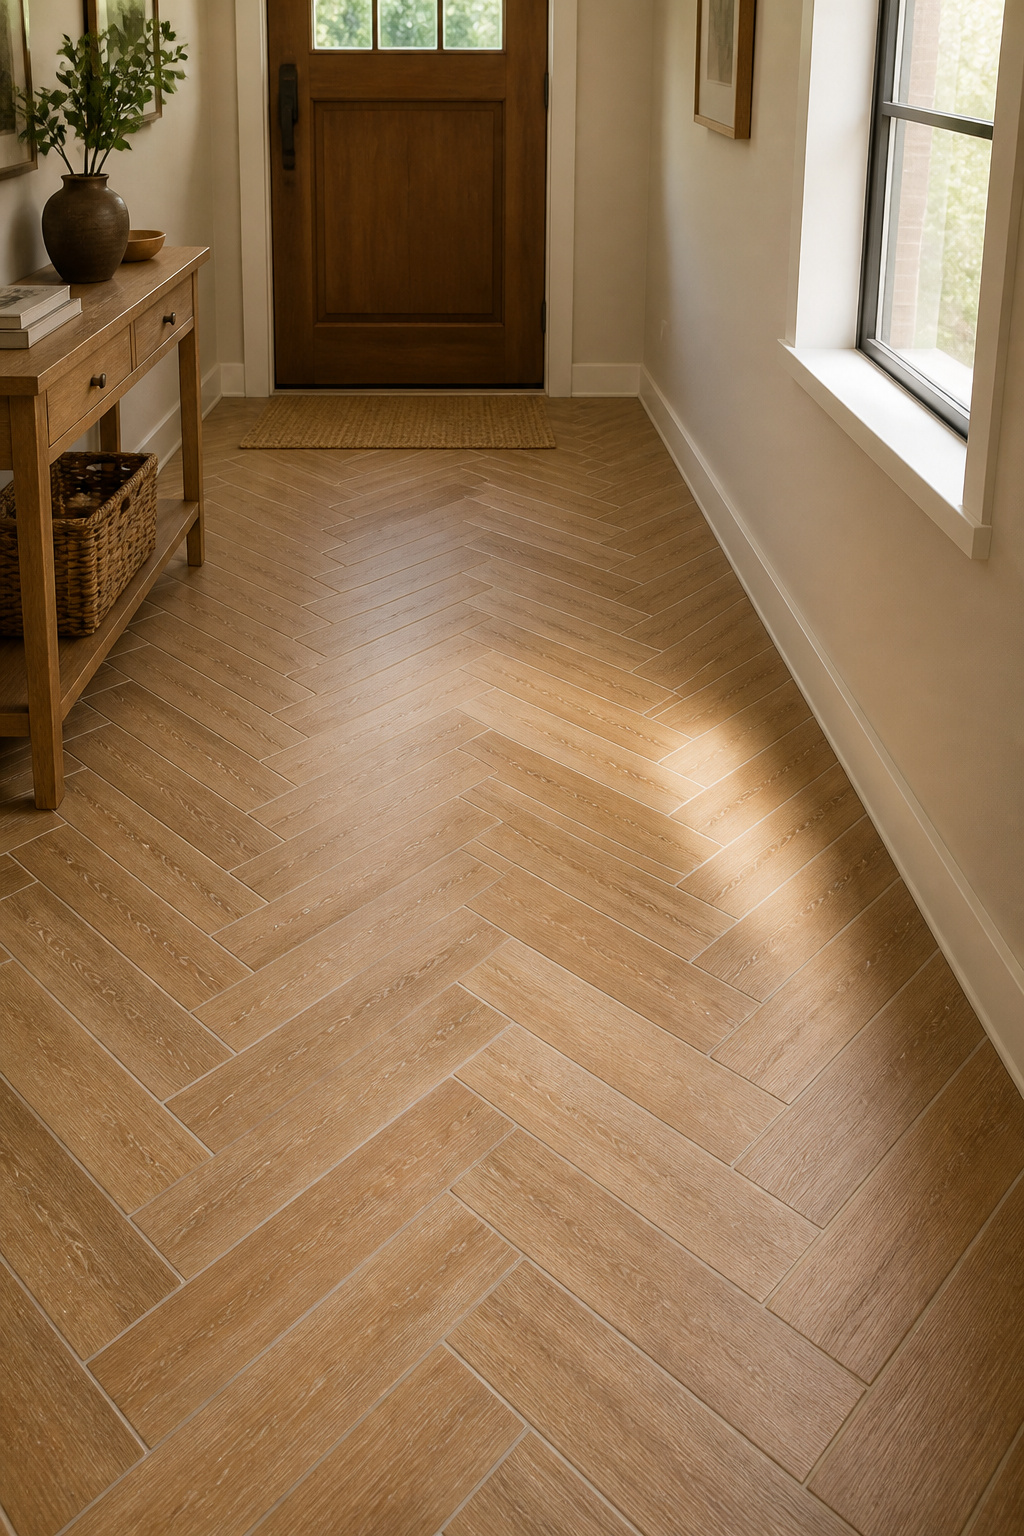
The case is simple. Porcelain plank is impervious — under 0.5% absorption — so the leaking umbrella and the puddle of snowmelt that would buckle and stain a hardwood floor do nothing to it. It can’t be scratched through in daily use, won’t fade, and never needs sanding or refinishing, which at a busy front door is a real, recurring saving. Real wood at an entry asks for refinishing every few years, a costly and disruptive job exactly where you can least afford the floor to be out of action. Porcelain plank is a one-time investment with routine cleaning and nothing more.
Picking a convincing wood-look: texture, plank size, matte finish
The difference between convincing wood-look tile and the kind that announces itself as fake comes down to a few choices. Plank size matters: 6×24 inch suits herringbone, while 8×48 inch grand planks reduce grout lines and read more like real boards. Finish must be matte or low-sheen — gloss telegraphs footprints and water streaks and instantly breaks the illusion. And grout colour should match the darkest tone in the tile, not the mid-tone, because grout darkens with wear; start mid and you’ll see the joints darken within a year at a high-traffic door.
How it pairs with — and sometimes replaces — a real-wood transition
Wood-look porcelain is a natural partner where the entry tile meets real hardwood deeper in the house: matching the plank direction across the threshold blurs the join between the two materials. In some open-plan homes it goes further, running the porcelain deep enough into the living space to skip the real-wood transition altogether and carry the timber look across a whole zone. The full selection-and-laying detail — plank realism, grout matching, herringbone runs — is the subject of wood-look tile for the entry, where Henrik Larsson covers the aesthetic end to end.
The Floor Transition: Where Entry Tile Meets the Rest of Your Home
The entry tile almost never runs the whole floor. A few feet in, it meets hardwood, carpet, or vinyl, and that meeting point is decision four. People usually leave it for last and take whatever strip the tile happens to end at — which is how you get a trip hazard or a puddle creeping onto wood it shouldn’t reach.
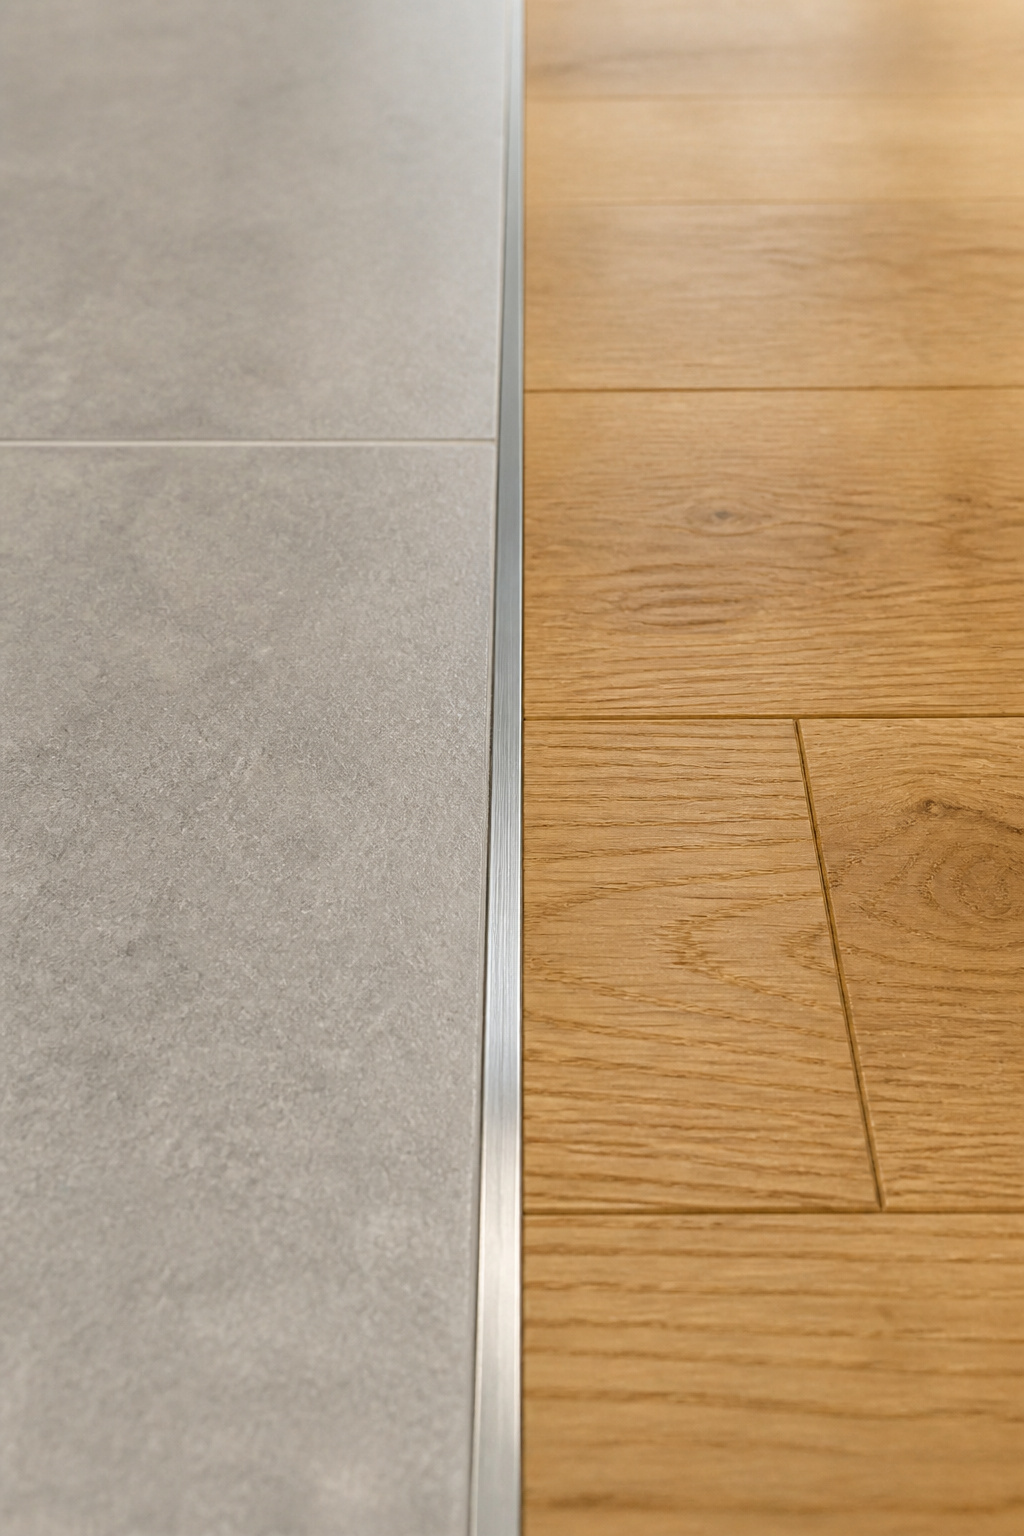
The wet/dry boundary: why the transition line matters
The transition isn’t a trim detail; it’s a working boundary between the wet zone at the door and the dry house beyond. The practical rule is to extend the tile as far as wet footwear is actually worn — at minimum to a mat or bench point — so that water-sensitive flooring begins past the splash zone. Get the line in the wrong place and you’ve put the join where the puddle still reaches the wood.
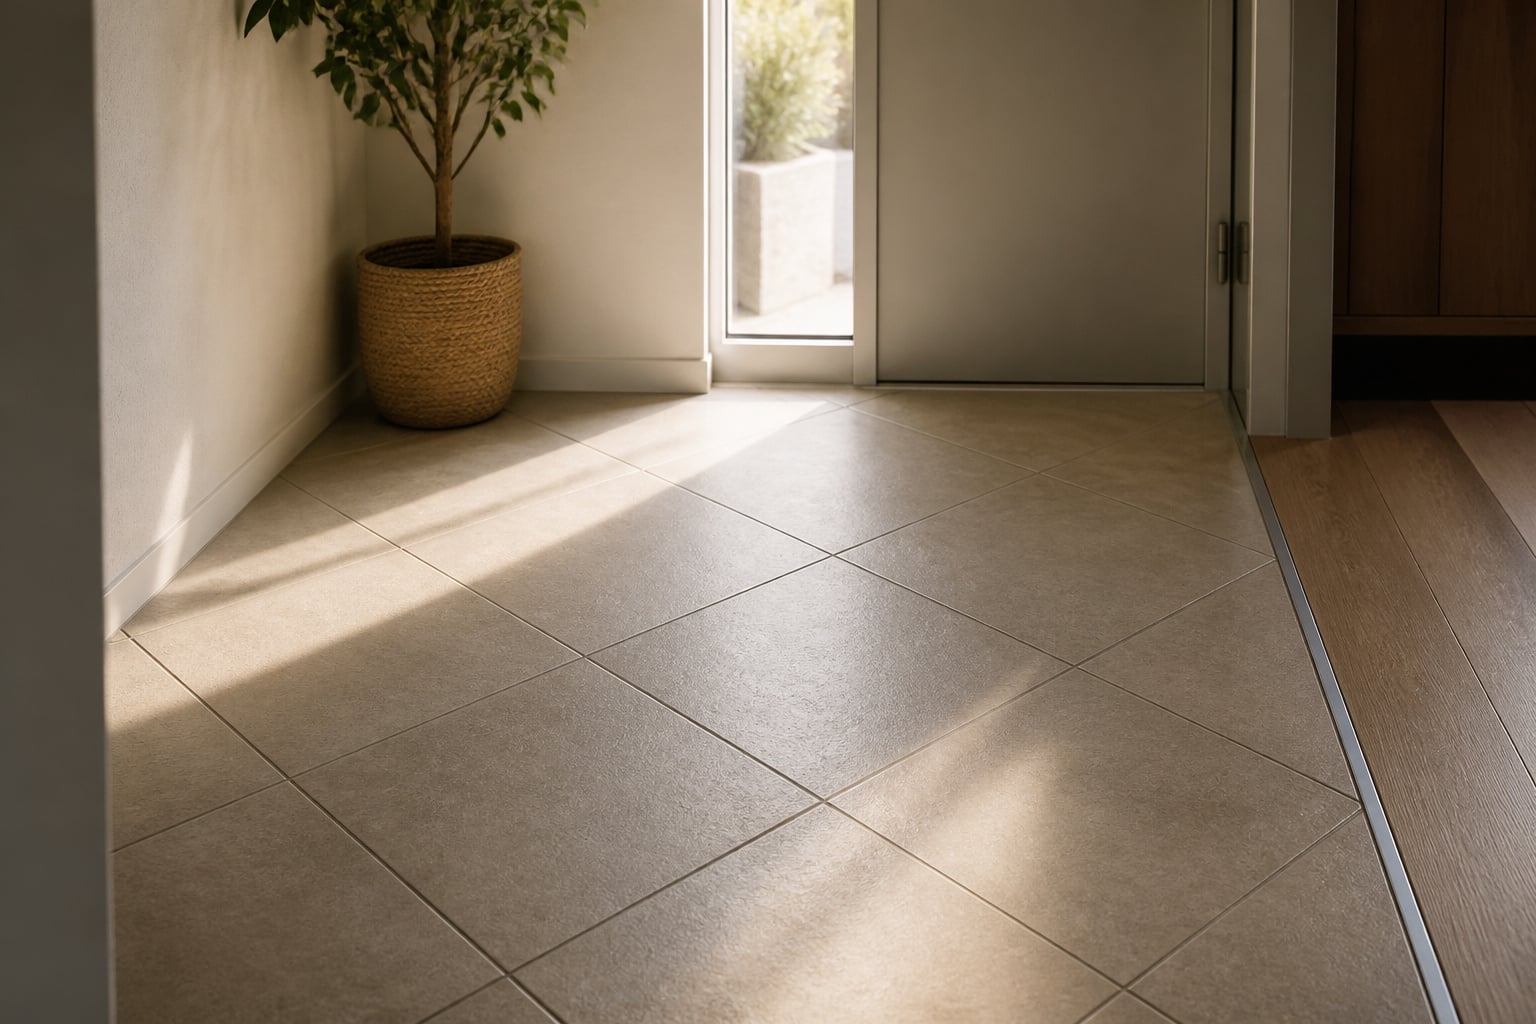
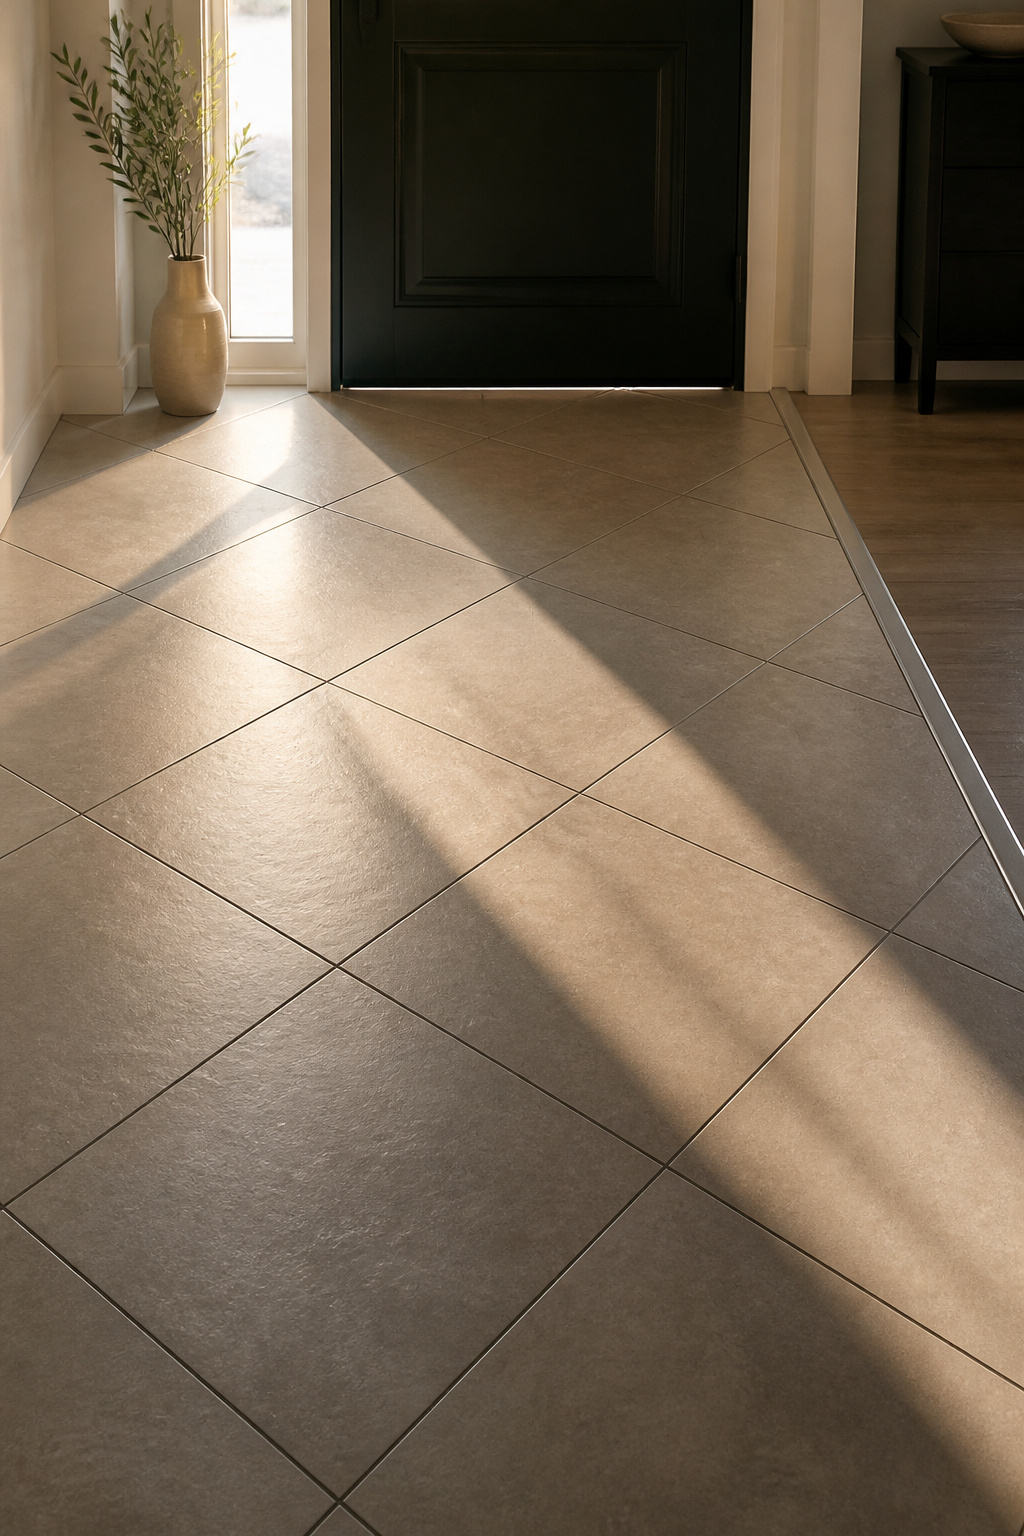
Metal strips, Schluter profiles, and hardwood threshold end-caps
The hardware depends on the height relationship between the two floors. Same-height joins use a flat profile — Schluter SCHIENE or DECO, in stainless, brass, or coated aluminum — that protects the tile edge and bridges cleanly. Where the tile sits higher, a sloped profile like Schluter RENO-V ramps the change down and removes the trip hazard. A hardwood threshold end-cap, a tapered strip matching the adjacent floor, gives the warmest look where both surfaces finish within about 1/4 inch of each other. Whichever you choose, coordinate the metal finish with your door hardware so the join reads intentional.
Flush joins, height differences, and when to call a flooring pro
A truly flush join, where both floors finish at exactly the same height, has to be planned before either floor goes in — tile thickness, adhesive bed, underlayment and hardwood all stack up differently. The pro sequence is usually to lay the hardwood first, since wood has a fixed thickness while tile height can be adjusted through the mortar bed. A height difference over 3/8 inch is a trip hazard and needs a sloped reducer or, better, the lower floor raised during install. This is the spoke I’d point you to if your two floors weren’t planned together: transitioning tile to a wood floor, where Owen Gallagher works through every join and height case.
Installing Entry Tile: What the Project Actually Costs and Takes
Decision five is how the floor goes in — and what it really costs. I’ll give you the honest numbers, because an entry tile floor is a reasonable DIY job and also one with a couple of steps where rushing wrecks the whole thing.
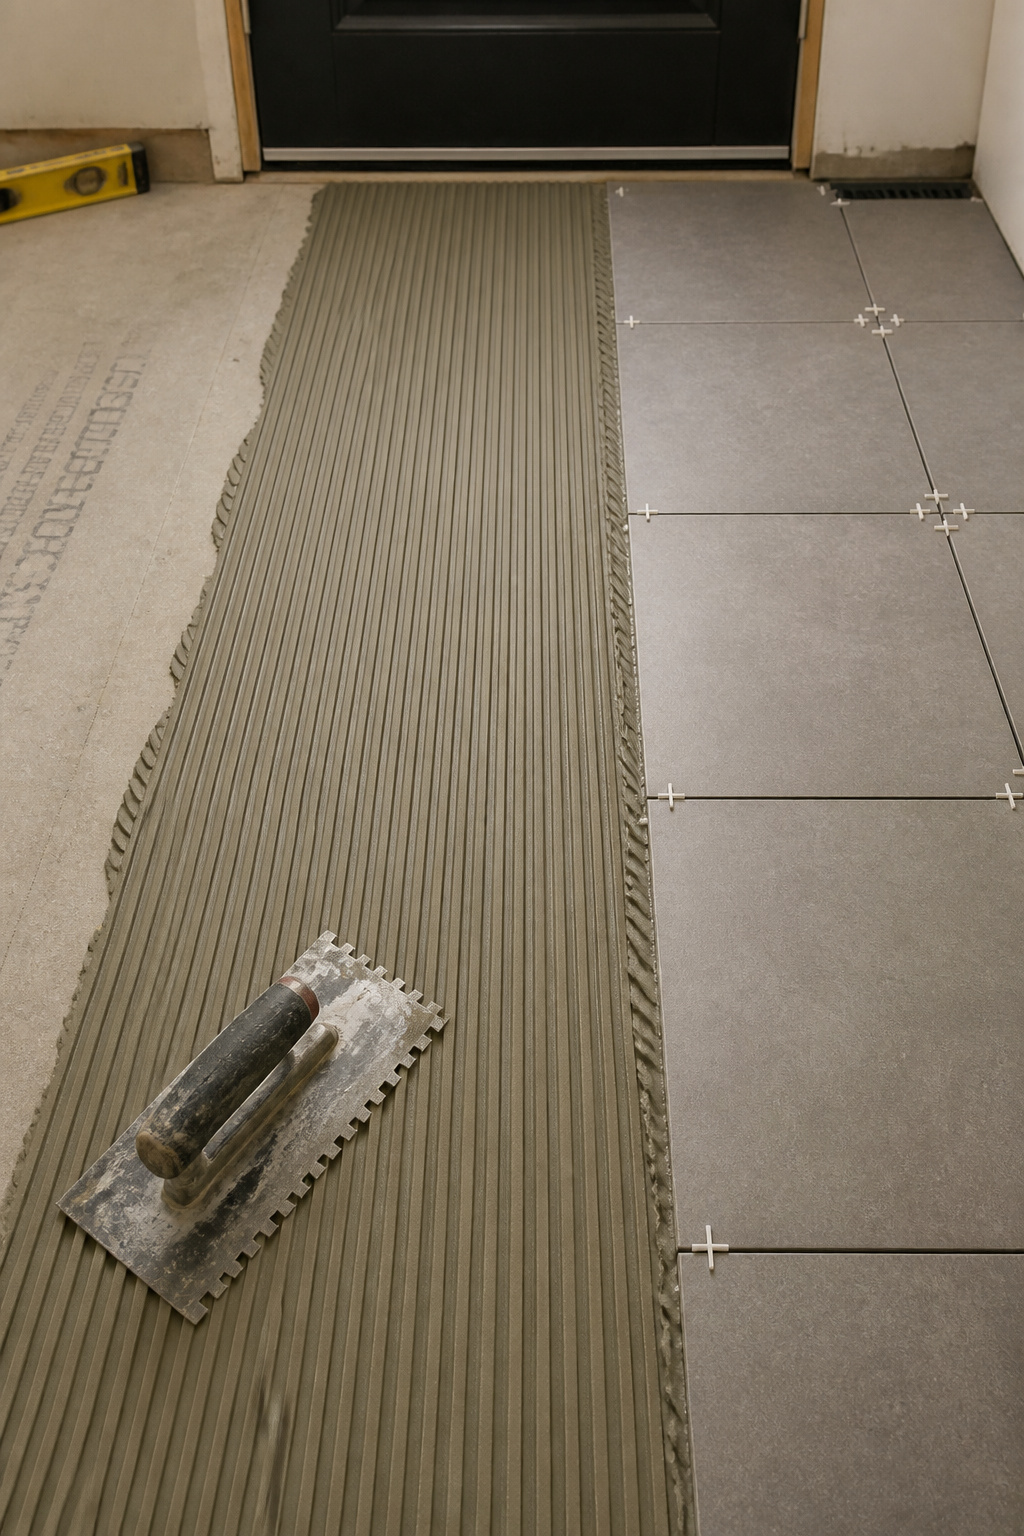
Here’s the cost picture for a typical entry, DIY against professionally installed.
| Cost item | DIY (40–60 sq ft) | Pro installed |
|---|---|---|
| Porcelain tile | $3–$10/sq ft | $3–$10/sq ft |
| Thinset, grout, sealer | $1–$3/sq ft | included in labour |
| Labour | your weekends | $5–$22/sq ft |
| Typical all-in total | $800–$1,200 | $1,500–$2,500 (premium/pattern) |
Subfloor prep: the step that determines everything else
The single step that determines whether your floor survives is the subfloor, and it’s the most-skipped one. Tile is rigid, so if the floor under it flexes, the grout cracks first and the tile second. The standard is a maximum deflection of L/360 for porcelain and ceramic (stricter, L/480, for large-format stone), which in practice means 3/4-inch tongue-and-groove plywood over joists at 16-inch centres — not the 1/2-inch subfloor common in older homes. Here’s the mistake that costs people the whole floor: tiling over a bouncy 1/2-inch subfloor anyway, because it looks fine on day one. Months later the grout cracks, and the only fix is pulling every tile and starting over. Cement backer board helps bond and reduces small movement, but as the Ceramic Tile Foundation is careful to note, it is not a structural stiffener — it can’t rescue a flexing floor, only sit on a sound one.
DIY versus pro install: where the line falls honestly
A straight, square-set porcelain floor over a confirmed-flat subfloor is genuinely learnable, and the labour saving is real. The line I’d draw: call a pro if the subfloor needs structural repair, if you’re adding in-floor heating, if the layout is a complex diagonal or herringbone (cut waste jumps to 15–25%), or if there’s a curbless threshold. The RUBI tiling blog puts the DIY risk plainly — material prices are high, and a single box of ruined large-format tiles can wipe out the labour you saved. The full weekend-by-weekend method, with the cure windows and the mistake at each step, is laid out in how to lay an entryway tile floor yourself.
Cost breakdown: tile, thinset, grout, sealant and labour
For a standard porcelain entry of 40–60 square feet, plan on $800–$1,200 all-in DIY; a premium tile in a herringbone pattern with professional labour pushes to $1,500–$2,500. Materials alone are modest — thinset around $0.50–$1 a foot, grout $0.30–$0.75, penetrating sealer $0.50–$2 — so most of a pro quote is labour at $5–$22 a foot depending on pattern and subfloor condition. Budget the boring extras too: if the subfloor needs levelling, self-levelling compound adds $2–$5 a foot, and grit-driven entries want their grout resealed every 12–18 months.
Putting It Together: Which Entryway Tile Floor Fits Your Entry
Five decisions, one order. Here’s how to run them against your own entry so you finish with a real answer instead of more options. The matrix is just the decision sequence applied to four variables.
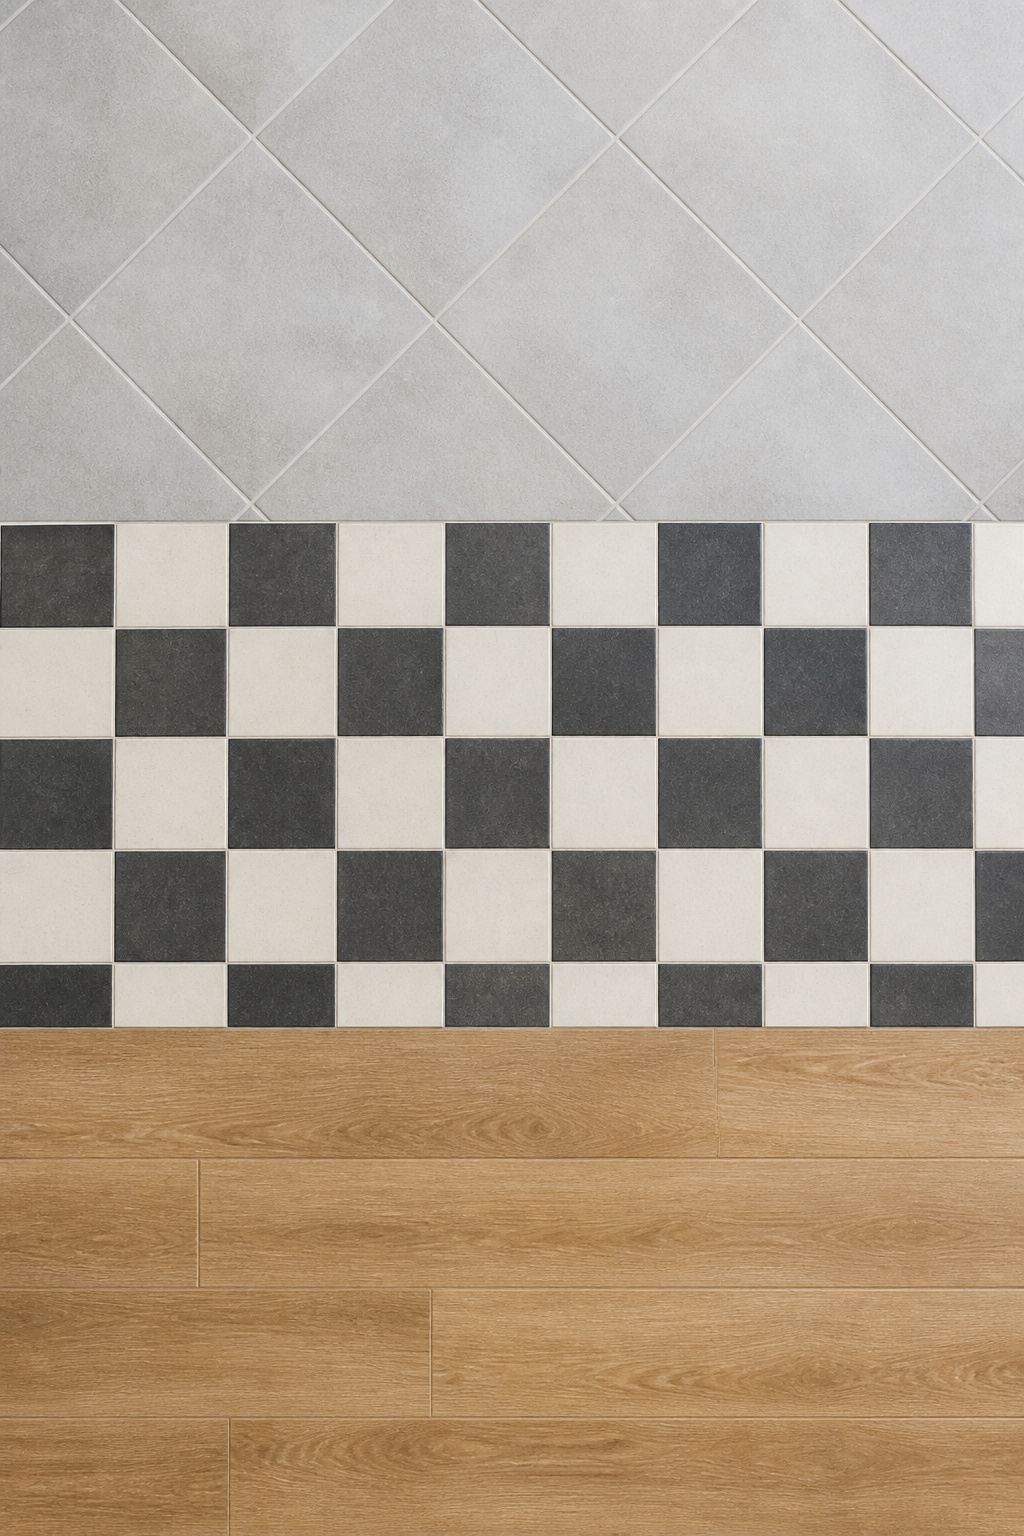
The decision matrix: traffic level, foyer size, adjacent floors, budget
Work top to bottom. Traffic decides material first: a family of four-plus, pets, or a snowy climate means porcelain at PEI 4–5, matte or textured, DCOF 0.42 or higher — no exceptions, with pattern and format as secondary calls. Size decides format: under about 40 square feet, reach for large-format 16×16 to 24×24 with a tight joint and a light-to-medium tone, and skip busy small patterns. Adjacent floor decides the transition: next to real hardwood, consider wood-look plank or a clean metal profile, matching plank direction to the wood grain. Budget decides ambition: under $1,000 points to standard 12×24 porcelain, square-set, DIY on a confirmed-flat subfloor.
Three entry scenarios with recommended material-pattern-format combinations
Most entries fall close to one of three situations. The cost figures below are ballpark ranges, not quotes — they bundle material and labour, which varies widely by region and subfloor.
| Scenario | Tile | Format | Pattern | Estimated cost |
|---|---|---|---|---|
| Small urban apartment (<25 sq ft, concrete, next to LVP) | Light grey porcelain | 12×24 | Square-set | $400–$600 |
| Suburban family home (40–60 sq ft, plywood, next to hardwood) | Porcelain PEI 4 | 18×18 | Diagonal or bone+charcoal checkerboard | $900–$1,500 |
| Period or character home (30–50 sq ft, design-led) | Encaustic-look porcelain | varies | Herringbone or motif with border | $1,200–$2,500+ |
Scenario A is DIY-friendly with a metal Schluter join to the vinyl. Scenario B leans toward a hardwood threshold end-cap and, with a diagonal or patterned layout, a pro install. Scenario C deliberately swaps true cement tile for encaustic-look porcelain to skip the sealing routine while keeping the period look, with professional installation worth it for the pattern cuts.
Maintenance calendar: sealing, resealing and keeping grout clean
A tiled entry asks for very little, but the little matters. Weekly, sweep or dry-mop to clear grit, which is the abrasive that wears both finish and grout. Monthly, damp-mop with a pH-neutral cleaner — never vinegar or bleach, which strip sealer. At twelve months, run the water-drop test on the grout: if it beads, the seal holds; if it soaks in, reseal, and expect to reseal a busy entry every 12–18 months. Run mats on both sides of the door — a scraper mat outside, an absorbent one inside — and you cut the grit and water reaching the floor, extending both the finish and the sealer.
That’s the whole decision, start to finish: material, format, pattern, transition, install, in that order. The paralysis that sends people back to scroll a gallery comes from trying to answer all five at once; answer them one at a time and the gallery becomes useful again, because now you know which ideas your entry can actually wear. Pick the row above that matches your door, follow the material call first, and reach for the deep-dive spoke at whichever decision you’re standing on.