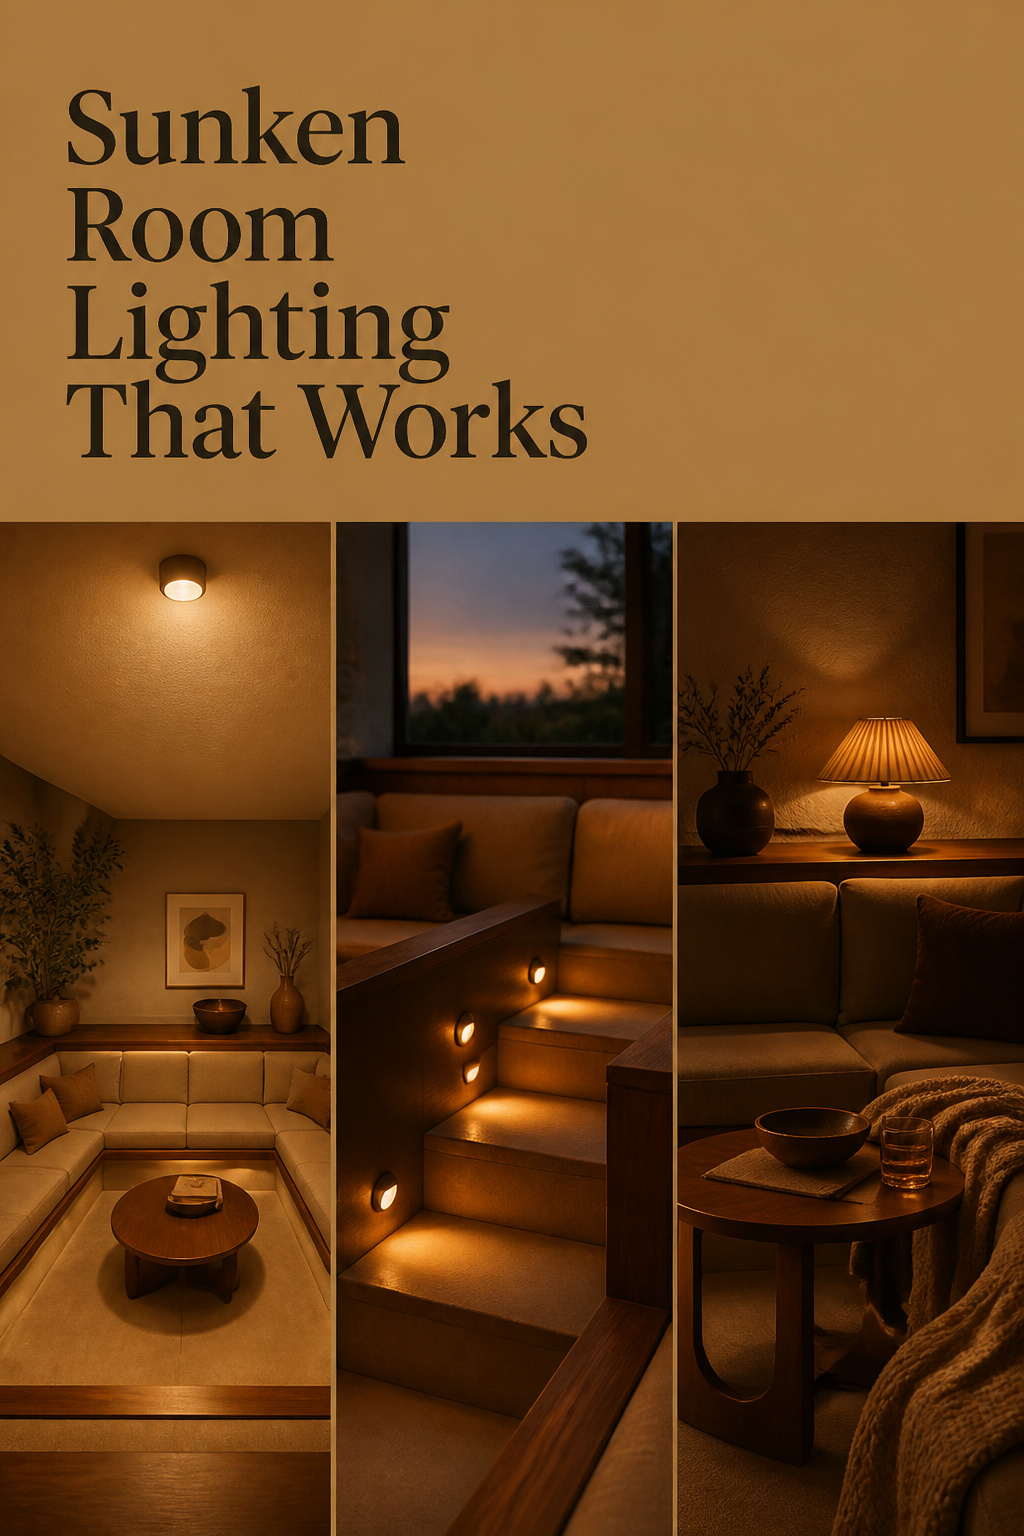
The first sunken living room I ever lit at night had already been “fixed” once. The owner had swapped the ceiling fixture for something brighter, then brighter still — and the room only looked worse. Flat. Exposed. Lit like a waiting area. That is the counterintuitive thing about sunken living room lighting: the most common mistake isn’t too little light. It’s one overhead source trying to do every job at once, and the drop in the floor only makes that single fixture harsher.
TL;DR
- One overhead fixture flattens a sunken room — lighting designers Jo Mann and Daniel Blaker both use that exact word for what it does to a space, and Blaker names the “grid of downlights” as the classic culprit. The fix is layering ambient, task and accent light on separate switches, not adding wattage.
- Light the step as a safety baseline: interior stairways want at least 1 foot-candle (about 11 lux) at each tread under IRC R303.7, and recessed step lights of 50–150 lumens, set at nosing height and aimed down, hit that without glaring into seated eyes.
- Put the overhead layer on a dimmer and keep the conversation scene warm, around 2700–3000K. Two plug-in lamp dimmers get you most of the way for far less than a wired dimmer’s roughly $80–$200 installed.
The Lighting Mistake That Flattens a Sunken Room
Why one bright overhead fixture kills the intimacy the drop creates
The single fixture isn’t dim — it’s dominant. Jo Mann, founder and director of Light House Designs, puts it plainly: “when the light can’t be directed, it often produces strong contrast that flattens a room’s atmosphere.” Daniel Blaker, creative director at Nulty Lighting, names the culprit. A “grid of downlights,” he says, “flattens a space, casting unflattering shadows and giving everything a one-dimensional look.” A sunken room is built to feel enclosed. One hard source from above erases precisely that.
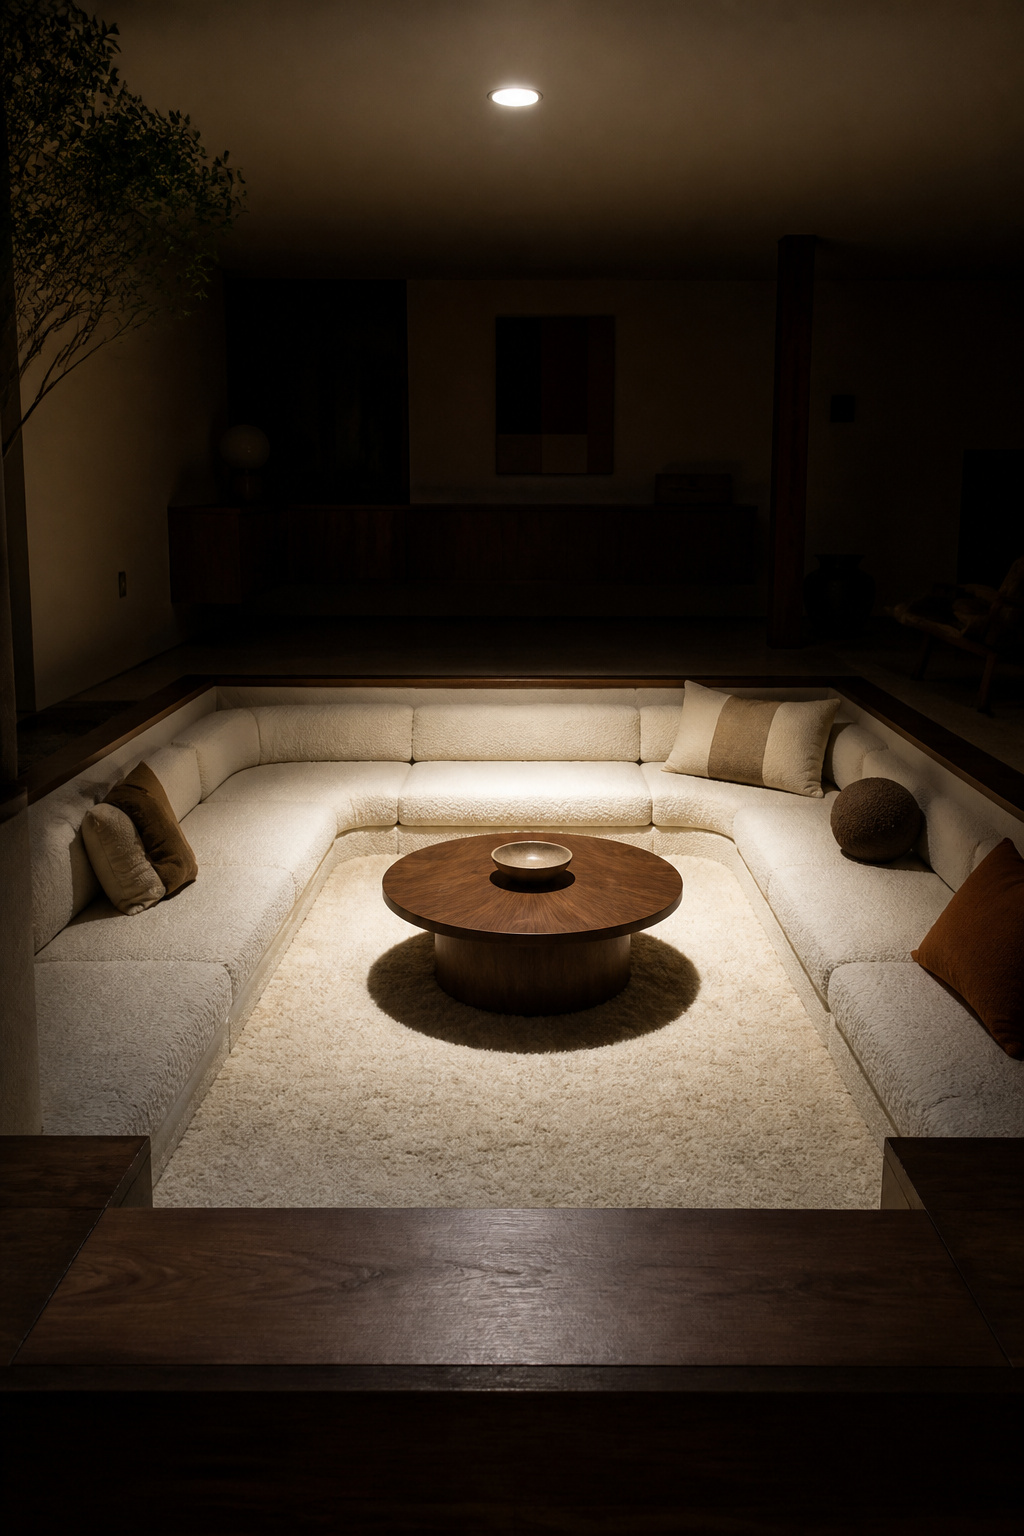
What a lower ceiling plane does to how light reads
The physics explains why the pit fares worse: light falls off with distance, so bringing the same fixture closer to a lower seated plane doesn’t spread it — it concentrates the output into a smaller, harsher pool. The fixture behaves like a spotlight instead of a wash. And because the pit is a smaller, enclosed volume, light bouncing off the main ceiling barely reaches into it. The drop is its own little room, and it needs its own light.
The fix in one sentence, then the layers behind it
The professional move is simple to say and takes the rest of this article to execute: replace the one overhead source with independently switched ambient, task and accent layers, so light arrives from more than one direction and height. That is the same layered thinking the sunken living room design guide applies across the whole space. Mark Holloway of Holloways of Ludlow frames it as a sequence: a practical foundation, then task lighting, then decorative pieces. Three jobs, not one switch.
Layering Sunken Living Room Lighting for a Lower Ceiling Plane
Ambient light: the base layer and where it should NOT come from
The instinct is to hang ambient light overhead. In a pit, that’s the one place it shouldn’t be. Ambient is the base you sit inside; it should rise off the walls and floor. Wall sconces, cove lighting and floor uplighters bounce light off surfaces instead of aiming at your face. A useful baseline is roughly one floor lamp per 100 square feet. One placement note changes with the drop: sconces normally sit 60–72 inches up, but here, measure from the pit floor, where the fixture reads at a seated eyeline, not from the room above.
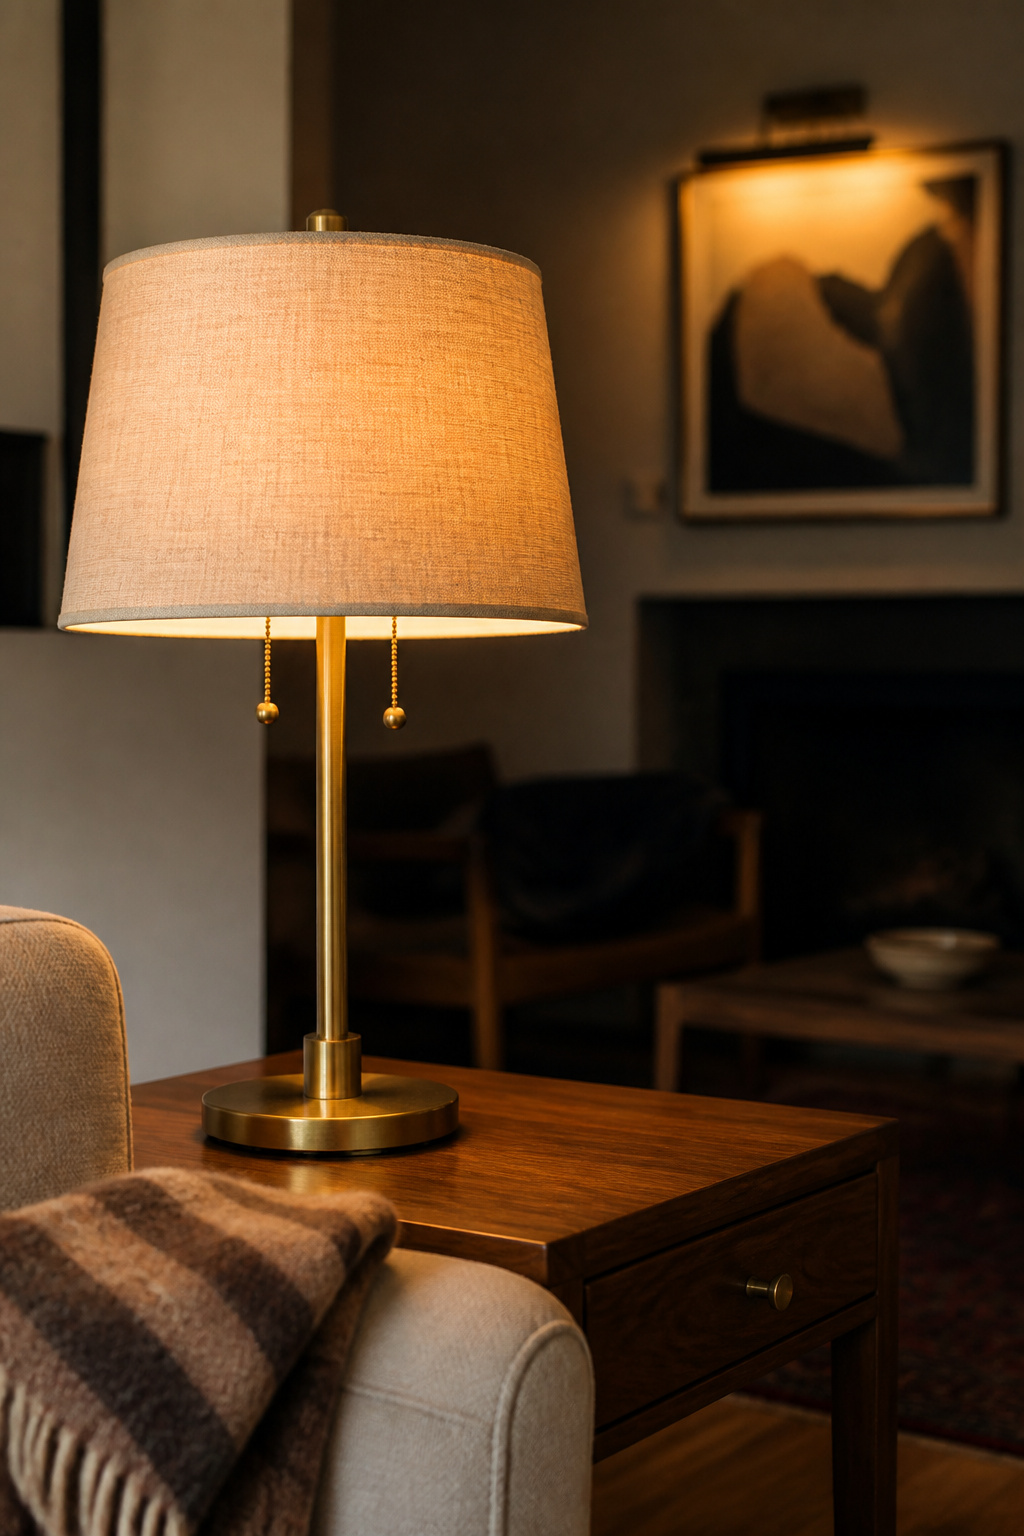
Task light for reading and screens in the pit
Task light is narrow and specific: aim for 300–600 lumens for comfortable reading, with about 450 — a 40W-equivalent LED — as the sweet spot that doesn’t over-brighten the scene around it. Screens are the exception. If the pit doubles as a viewing area, the bias glow behind the display should be neutral 6500K, not warm, held at roughly 5% of peak brightness — a separate setting from the warm reading lamp, never on together. Where those lamps land follows the furniture layout: you light where people actually sit.
Accent light that gives the room depth after dark
Accent is the layer that does the opposite of ambient’s even wash — it introduces contrast on purpose. Wall washers, LED strips and picture lights break up flat shadow and give the enclosed lower volume depth after dark. Jeanne Barber of Camden Grace Interiors calls this accent’s own job: drama, distinct from ambient’s background role and task’s function. Think of the night interiors in Blade Runner 2049 — pools of light and deliberate shadow, never one flat fill. That contrast is what a single downlight can never produce.
Step and Edge Lighting That Doubles as Safety
Recessed step lights versus rope and strip options
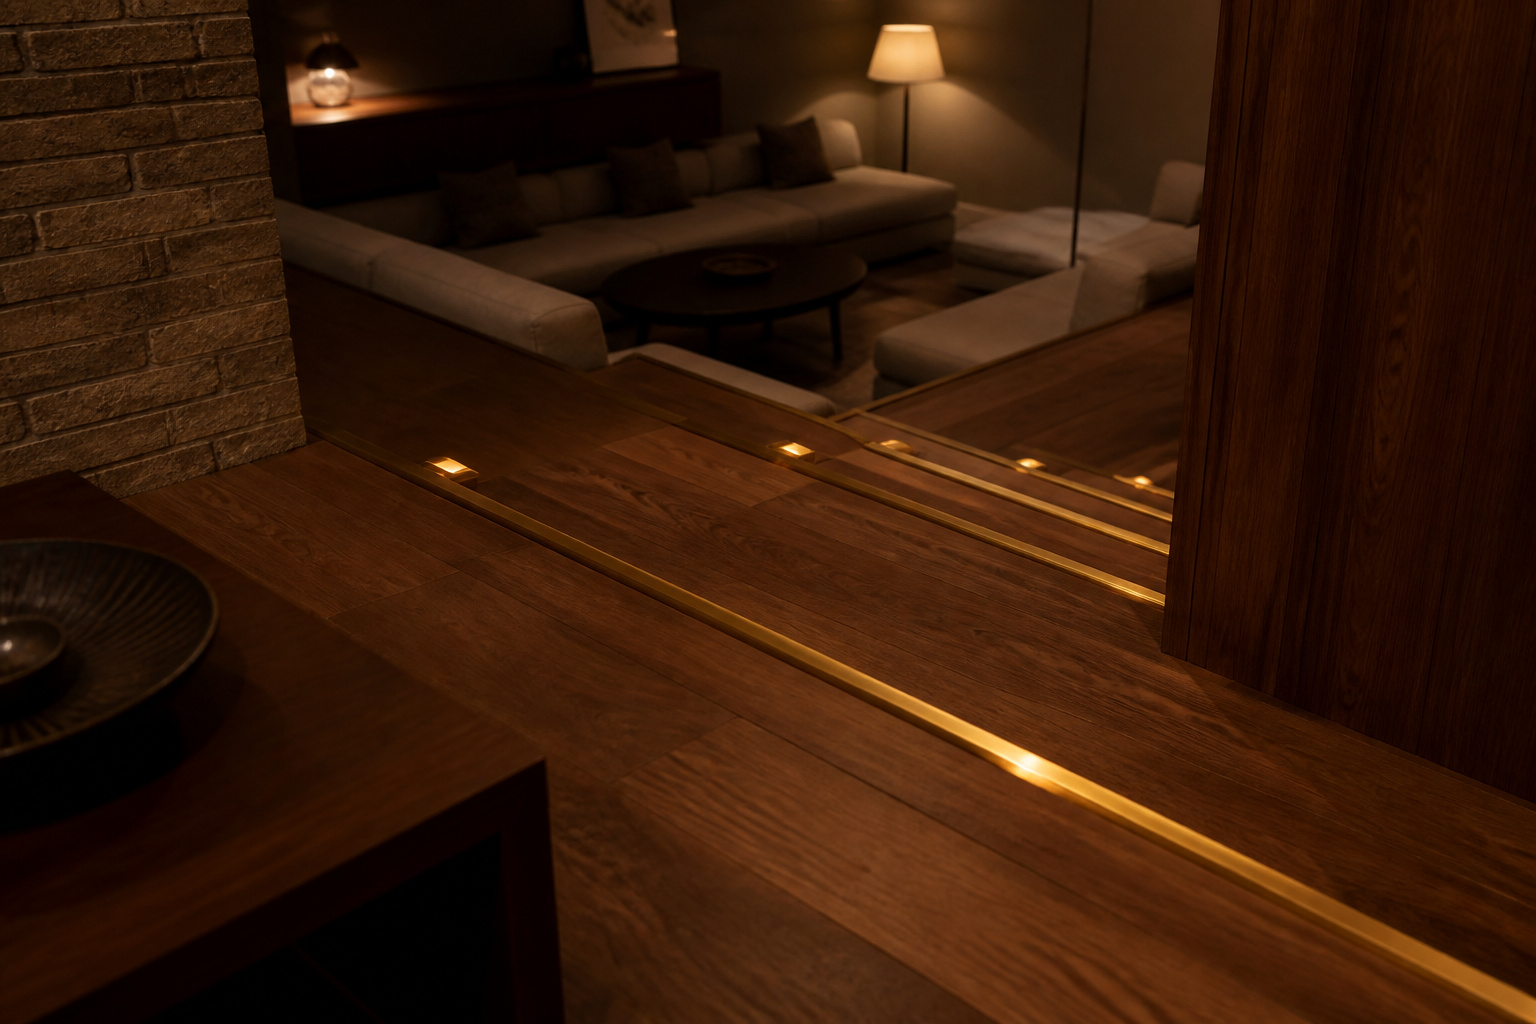
Two honest options. Recessed step lights install flush into the riser or wall, come in square, round and rectangular trims, and look the most finished — but they mean cutting into the surface and usually calling an electrician. LED strip installs along the tread edge with adhesive backing, needs no cutting, and can be trimmed every two or three LEDs at marked points. It’s the easier DIY path, just more visually exposed. For a one-step drop, labour barely differs — choose the finish you prefer.
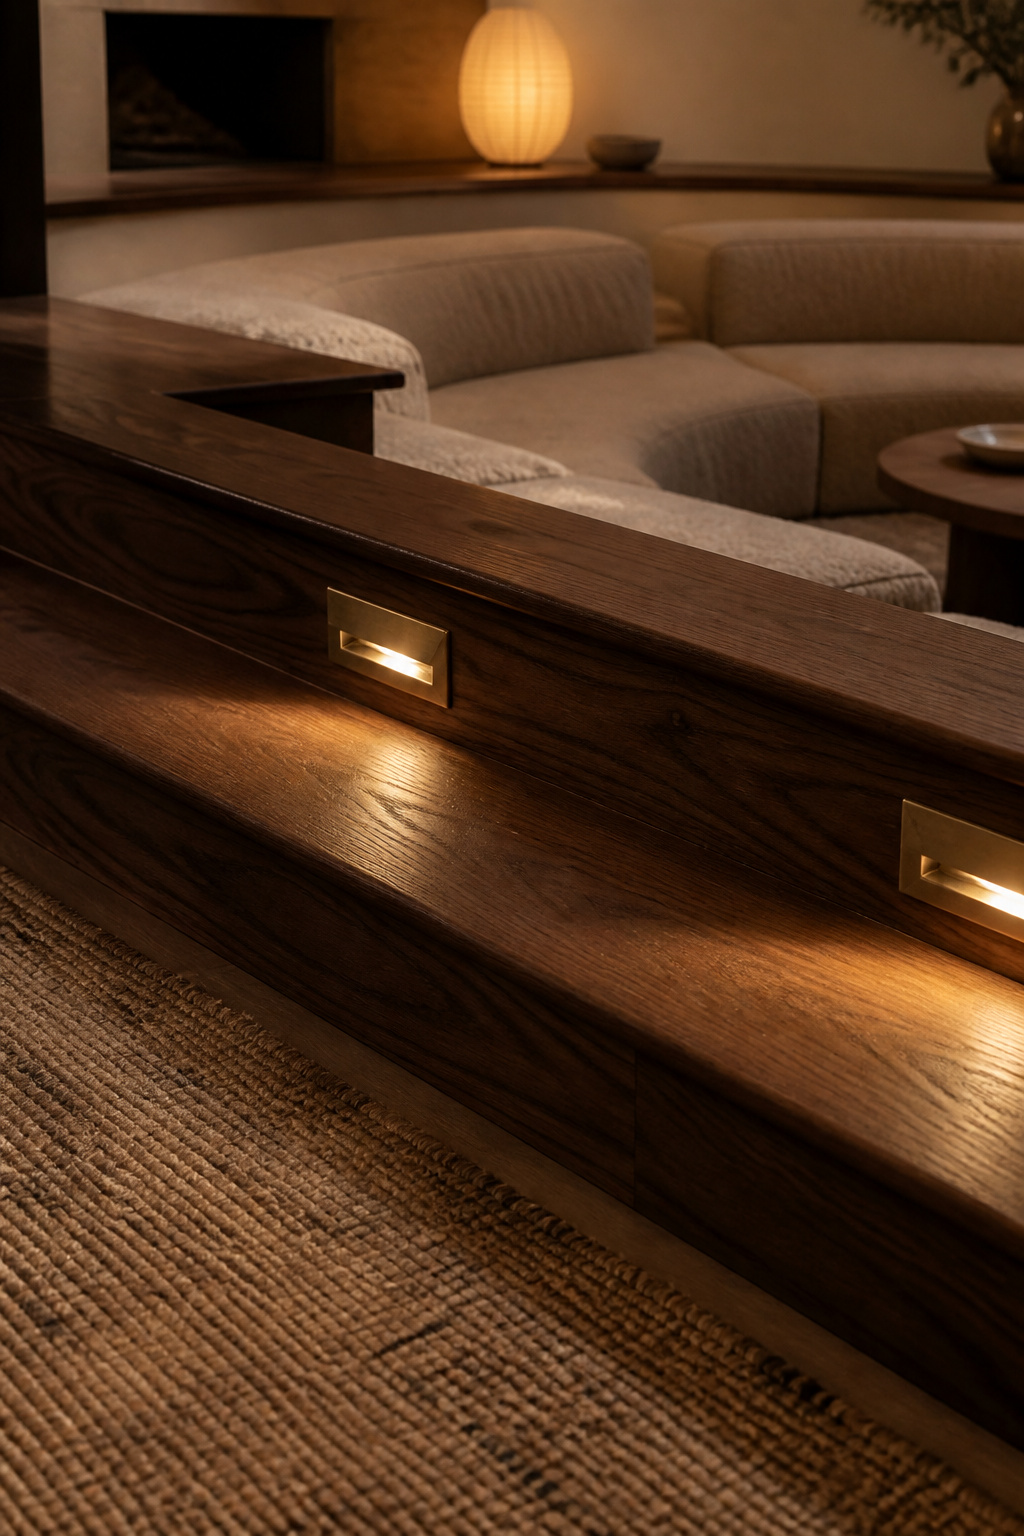
Placement that marks the edge without glaring at seated eye level
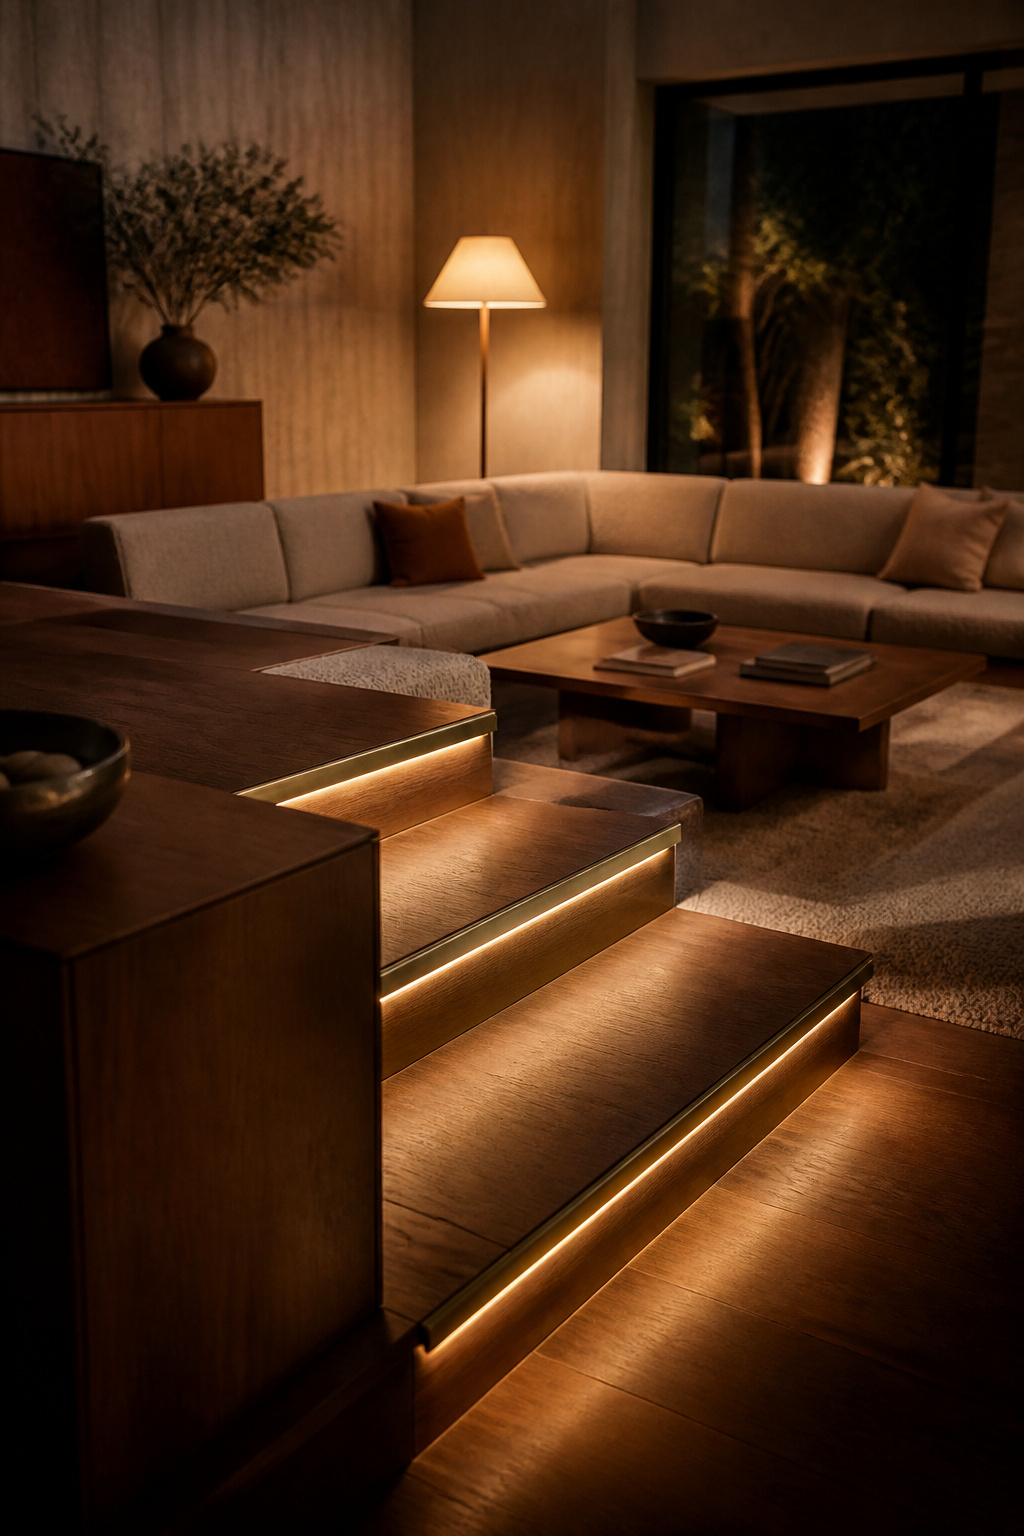
Placement is everything with step lights. Set them low — at the bottom of the riser or right at nosing height — so the light aims down onto the tread rather than out into the room. That keeps the fixture below a seated sightline. The principle behind it is measurable: fixtures with lower output at viewing angles of 60 degrees and above cause less discomfort, and a step light sits at exactly that shallow, close angle to a seated eye.
How this layer overlaps with, and differs from, fall-prevention design
This is where lighting meets code. IRC Section R303.7 requires interior stairways to provide at least 1 foot-candle — about 11 lux — at the center of each tread and landing. Step lights typically output 50–150 lumens each; run them on every step for task-level brightness or every other step for atmosphere, but always light the top and bottom. Whether a single-step drop legally counts as a “stairway” is genuinely inconsistent between jurisdictions — the handrail and switch rules key off riser counts a one-step change doesn’t hit, but the illumination clause has no such minimum. Treat the standard as a floor, not a loophole. This article owns the mood case; the safety spoke owns marking the step edge safely.
Controlling Glare and Shadow in the Pit
Why low seated eyelines make glare worse than in a normal room
Glare has a number attached to it: the Unified Glare Rating scores discomfort on a scale where 19 is the accepted upper limit for a comfortable interior. Here’s the catch for a pit, and I’ll flag it as reasoning rather than a measured rule: UGR calculations assume an observer’s eyes about 1.2 meters — roughly 4 feet — above the floor. Drop the seat into a pit and eye level falls well below that reference, relative to fixtures hung at the room’s ceiling. The angle worsens. A bare-filament bulb that looks characterful from a standing height becomes, as Vanessa Macedo of John Cullen Lighting warns, a direct source of “glare and visual discomfort” at pit-seated level.
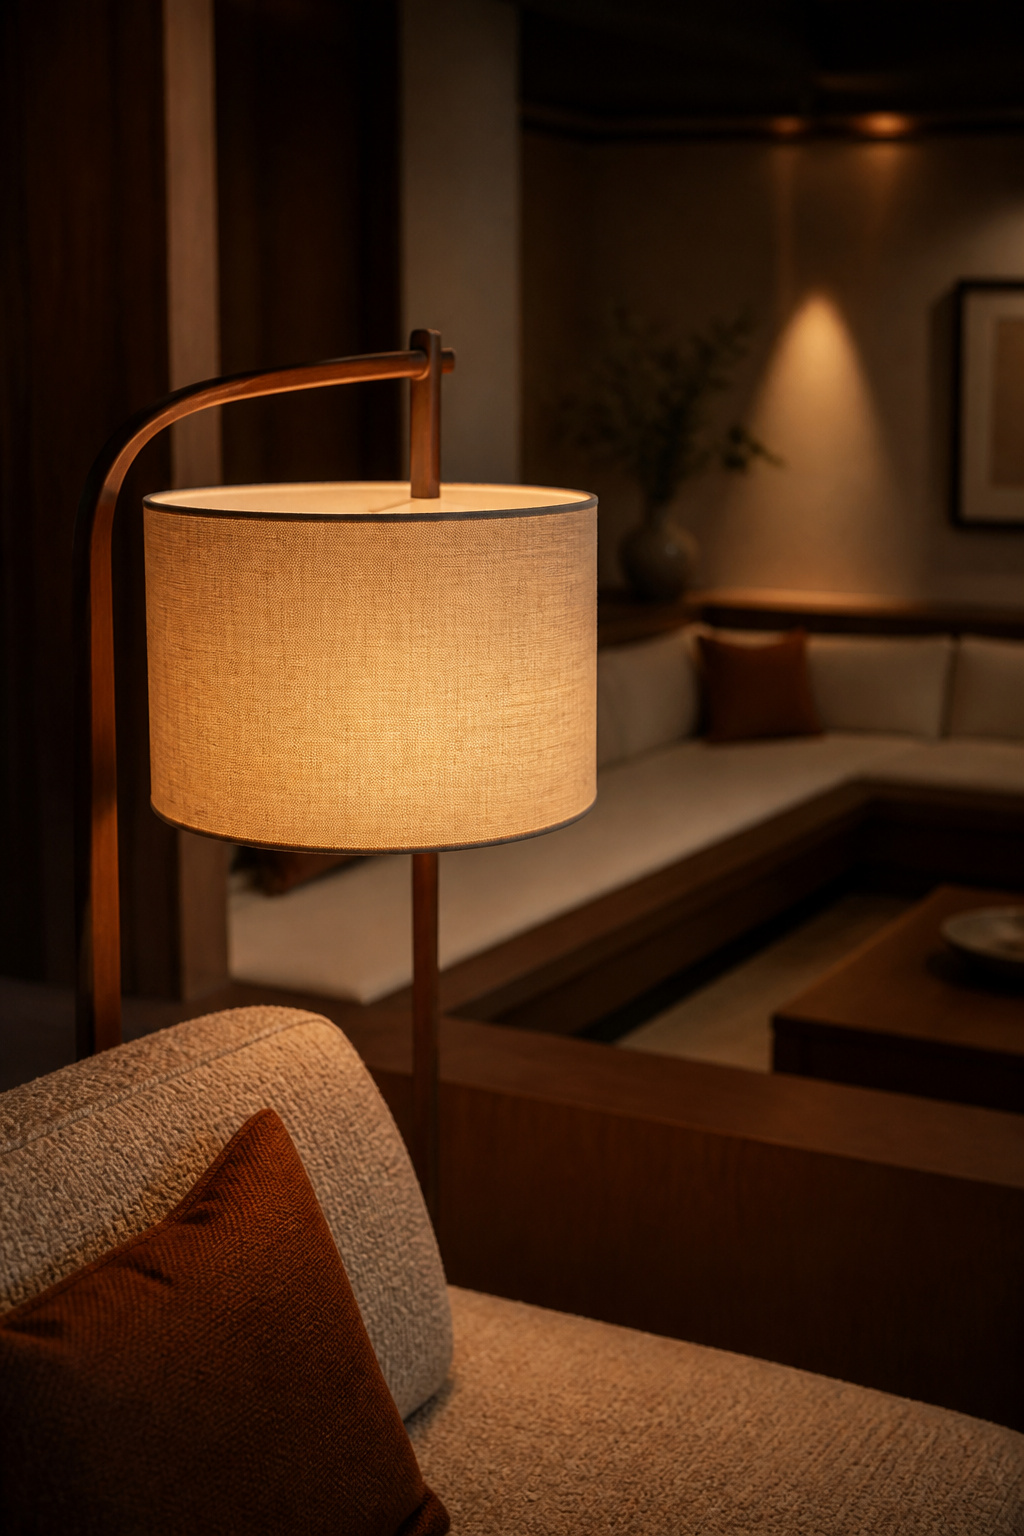
Shading and fixture angles that avoid a harsh cross-light
The fix for cross-light is structural, not just dimming. Choose fixtures with lower candela output at steep angles, or add baffles and shielding that cut the visible brightness at eye level. Better still, swap exposed downward-only fittings for shaded lamps, cove lighting or wall-washed sources that hit a surface first and an eye second. A shade over the bulb does what a dimmer alone can’t: it stops a low-slung seat from staring straight into a light source, however low you’ve turned it.
The pit’s blind spots most plans miss
Two spots get missed almost every time, both from the geometry. First, a fixture at the main room’s ceiling sits at a steeper downward angle to pit-seated eyes than it would in a standard room — so light that looks fine from the walkway can glare from the seat. Second, the corners and far side of a U- or L-shaped built-in tend to fall dark, because ambient sources aim at the pit’s center and forget its perimeter. Light the edges people lean into.
Dimmers, Scenes and Controlling the Mood at Night
One scene for conversation, one for screens
When I finish a home theater, I run the same three reference scenes through it — a quiet dialogue moment, a loud action sequence, a dark night interior. If any one falls apart, the room isn’t done. I test a sunken room’s lighting the same way, with scenes instead of film clips:
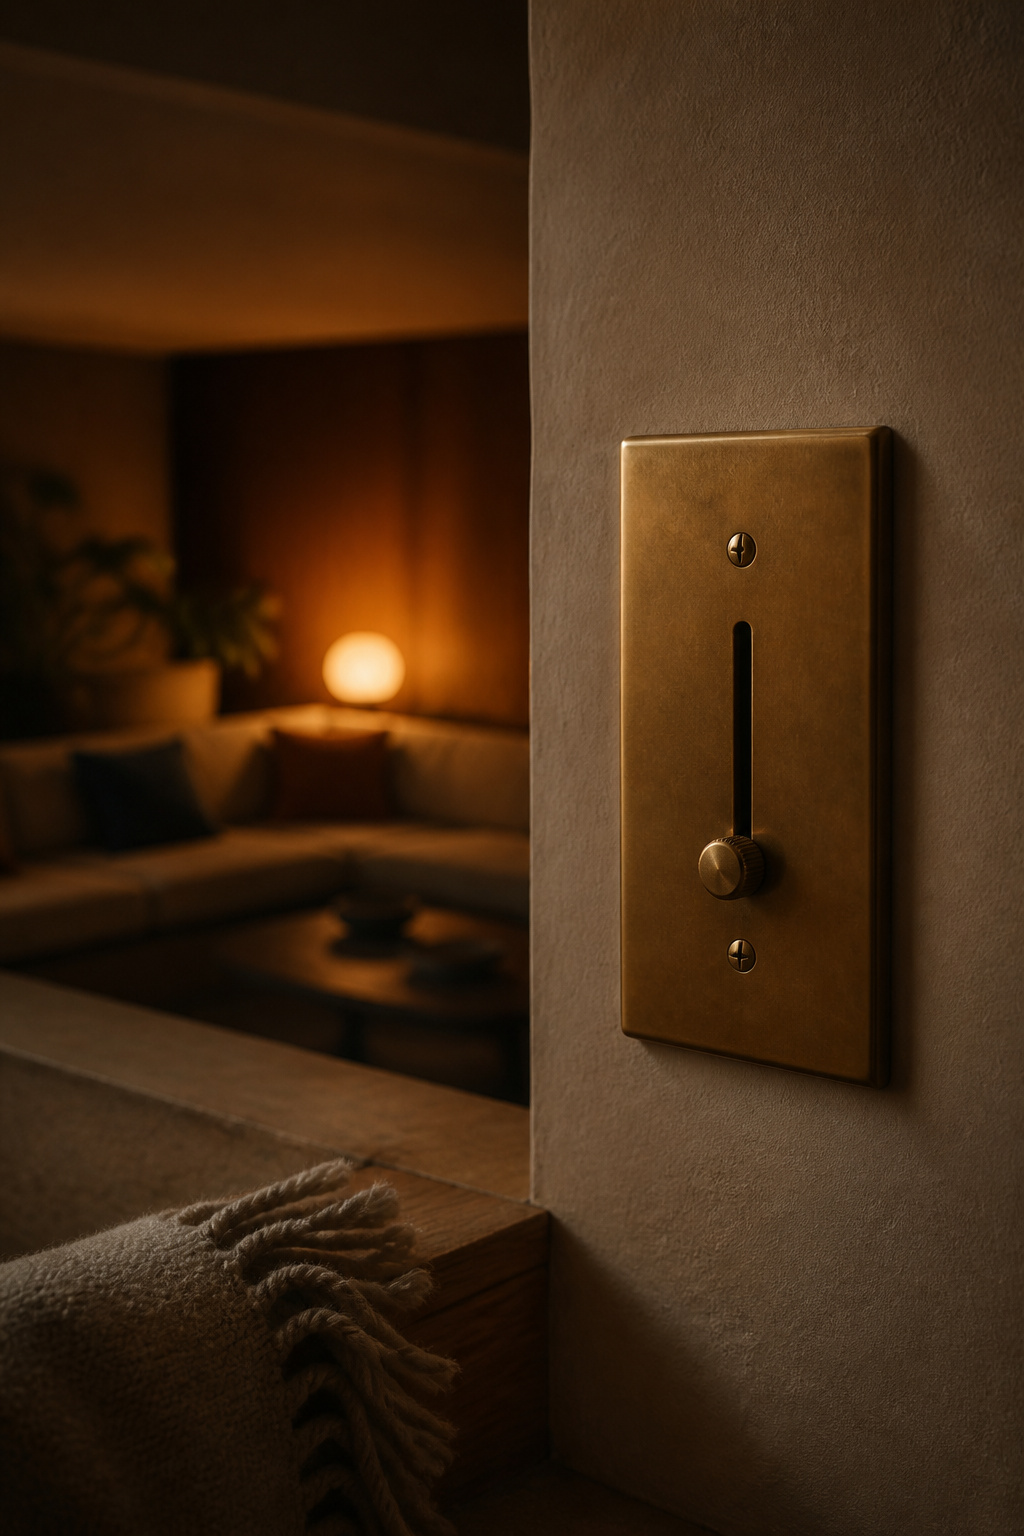
- A talking scene — lamps and accents only, overhead off or nearly off.
- A screen scene — everything down except a neutral bias glow behind the display, near 5% of peak brightness.
- A reading scene — one 300–600 lumen task light over the chair that actually gets used.
Former Domino editor Jessica Romm Perez summed the whole principle up in three words: “Dimmer or death.” A dimmer is the thing that makes an overhead fixture acceptable at all — it stops being the room’s only light and becomes one setting among several.
Why dimming the overhead layer matters more than dimming accents
If you only wire one dimmer, wire the overhead. That layer is the brightest and least directional source in the room, so it dominates the feel — dimming it is what shifts a space from “lit” to “moody.” Accents are already low-output by design; dimming them changes little. For the warm end, lighting designer David Warfel recommends 2700–3000K through most of a home, which holds for the conversation scene. Push to 2200K extra-warm white when you want that dimmed-incandescent glow at its coziest.
Simple controls that don’t require a smart-home overhaul
You don’t need a rewire to get scenes. A basic wired dimmer runs roughly $80–$200 installed; a smart or Wi-Fi dimmer with app and voice presets runs $80–$250-plus. But before any of that, two or three plug-in lamp dimmers on the pit’s floor and table lamps deliver most of the same scene-switching for a fraction of the cost and no electrician. Start there, and rewire switches later once you know which scenes you reach for.
Fixture Choices by Budget
Where the money matters and where it’s diminishing returns
I’ll be straight about where the last dollars stop mattering. Recessed ceiling downlights run roughly $125–$300 per fixture as a retrofit, or $65–$175 wired before drywall — but more ceiling cans are usually the wrong place to spend, since that’s the flattening layer you’re moving away from. Put real money into the step and edge layer instead. It’s a handful of fixtures, and recessed over strip is a few dollars more for a better finish. The ambient and accent layers — lamps, a dimmer swap — are where a tight budget saves, since plug-in fixtures need no electrician and go in one at a time.
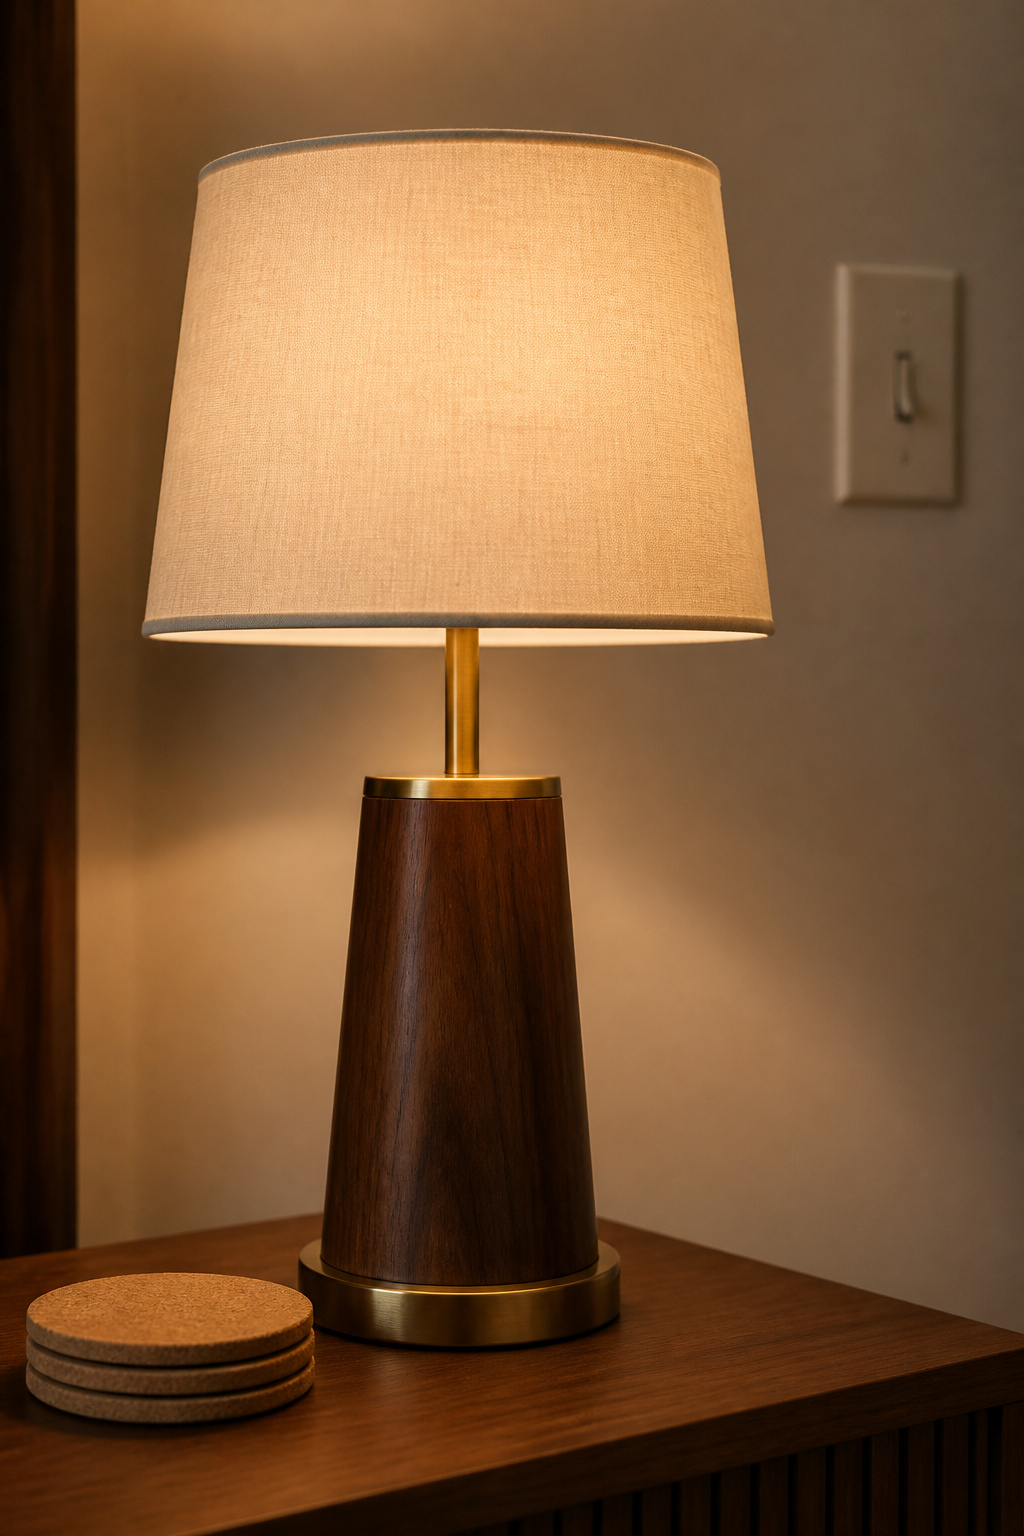
A simple fixture comparison by layer and cost tier
One caveat on the step-light figures below: they come from deck and outdoor step-light pricing used as a proxy for indoor recessed units of similar size, so treat them as a fair estimate, not an indoor-catalog quote.
| Layer | Option | Installed cost | Who installs it |
|---|---|---|---|
| Ambient | Plug-in floor or table lamp | Fixture cost only | You — no electrician |
| Step / edge | Recessed riser light | $15–$67 per fixture (up to $180 for premium units) | Pro (cheaper in new build) |
| Step / edge | LED strip along the nosing | $10–$40 per kit | You — low-voltage DIY |
| Control | Basic wired dimmer | $80–$200 | Pro |
| Control | Smart / scene dimmer | $80–$250+ | Pro |
Take one thing from this: the order of operations. Move the work off the single overhead fixture and onto three layers — ambient from the walls and floor, task where people read and watch, accent for depth after dark. Light the step to at least the code minimum and aim it down. Put the overhead on a dimmer and keep the warm scene warm. Do that, and a sunken room stops feeling like a dim pit you tolerate and becomes the most inviting seat in the house after sundown — which was the whole point of dropping the floor.
FAQ
Do sunken living rooms need extra lighting?
Yes. A sunken room’s lower ceiling plane and enclosed pit block most of the ambient light that would otherwise spill in from the surrounding room, so it needs its own dedicated ambient and accent sources rather than borrowed light. The step itself also needs illumination as a safety baseline — at least 1 foot-candle (about 11 lux) under IRC R303.7.
What color temperature works best in a sunken living room?
For the ambient and task layers, 2700–3000K warm white is the professional recommendation for most living spaces, including a sunken room’s conversation area; lighting designer David Warfel favors that range through the home. For an especially cozy dimmed evening, 2200K comes closest to a dimmed-incandescent glow. Reserve neutral 6500K only for screen bias lighting.
Is step lighting required by code in a sunken living room?
IRC R303.7 requires interior stairways to be illuminated to at least 1 foot-candle (about 11 lux) at tread and landing centers, and that illumination clause carries no minimum riser count the way handrail and switch rules do. Whether a building department treats a single-step drop as a “stairway” varies by jurisdiction, so light the step to the code minimum regardless.