
Raising a sunken living room floor is one of those jobs the internet can’t agree on. One forum thread swears it’s a weekend with a circular saw; the next has a contractor telling you not to bother. Both can’t be right, and neither hands you a number. So here’s the number first: a real raise runs about $8,000 to $25,000, sometimes more. The honest way to decide isn’t taste — it’s weighing that cost against what the drop is actually costing you every day.
TL;DR
- Budget by scope: about $8,000–$15,000 for a cosmetic patch, $12,000–$25,000+ for a full raise that also moves outlets, reroutes HVAC and refloors the level, and $30,000-plus for a rebuild. These price framing on top of an existing floor, not cutting a new room into the slab.
- Sleeper framing — pressure-treated lumber on 16-inch centers over the existing floor — is the standard method for drops deeper than about 8 inches. A solid concrete fill suits recesses under 6 inches and avoids the hollow underfoot feel some pros warn about.
- Raise it if the drop is a genuine fall risk, a mobility problem, or furniture that never works around the step. If it just looks dated, restyling costs far less than a $10,000-plus raise.
Deciding Whether to Fill It In At All
Start with the standard, not the method. The real question isn’t how to raise the floor — it’s whether you should, and that answer changes with the household.

The standard: cost versus what the drop costs you day to day
Living with the drop costs nothing extra, but it’s an ongoing trip hazard you manage indefinitely, and a raise is real money — a number the decision has to clear. So use a functional test. If the drop causes daily friction — a fall risk, someone with mobility needs, furniture that never arranges around the step — the cost clears the bar. If the only objection is that sunken rooms look dated, the raise rarely pays for itself in anything but perception. Still weighing keep-versus-remove? The wider guide to sunken living room styles and options covers the alternatives.
Reasons owners usually choose to keep it
A sunken zone creates drama and intimacy and separates areas of an open plan without a single wall — and that same separation makes the lower level a natural media or theater spot. Filling in also touches more than the floor: outlets, HVAC vents, trim, often flooring across the whole main level. Owners who don’t want that scope keep the drop.
Reasons owners usually choose to raise it
Leveling adds functional square footage, improves accessibility, and appeals to more buyers. Realtor Nicholas French is blunt: sunken rooms read as “dated eyesores” to many modern buyers, and his fix is “raising the ducting and adding a sleeper floor.” Even value-neutral sources agree the drop is a real fall hazard in homes with young kids or older adults.
Sleeper Framing: The Standard Way to Raise the Floor
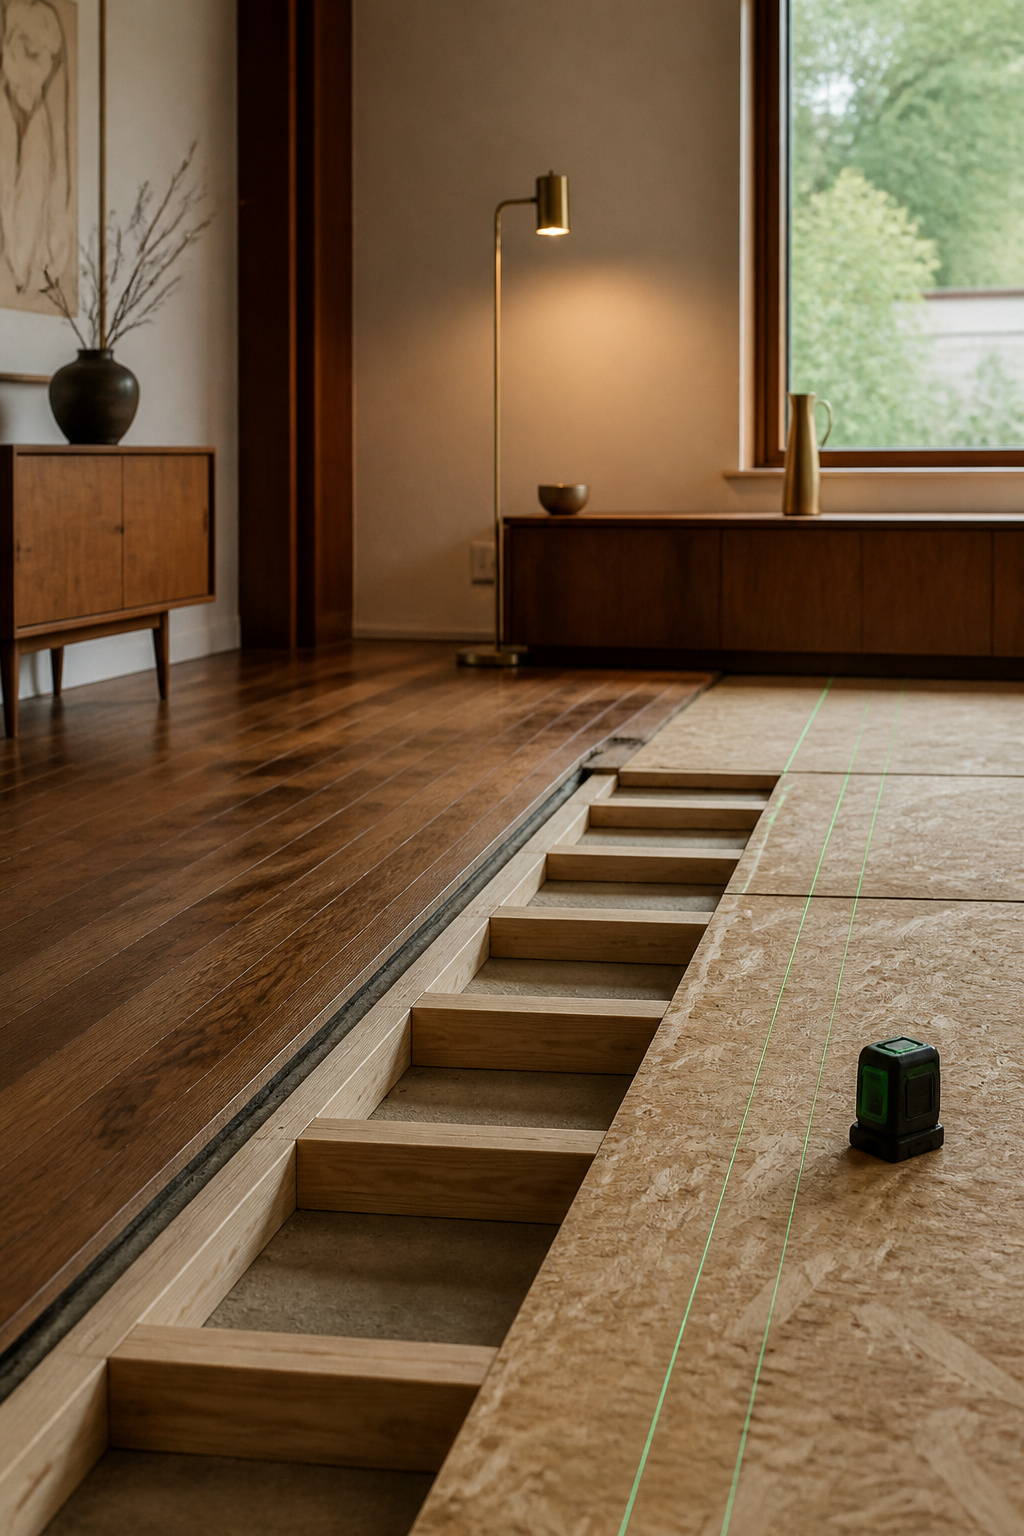
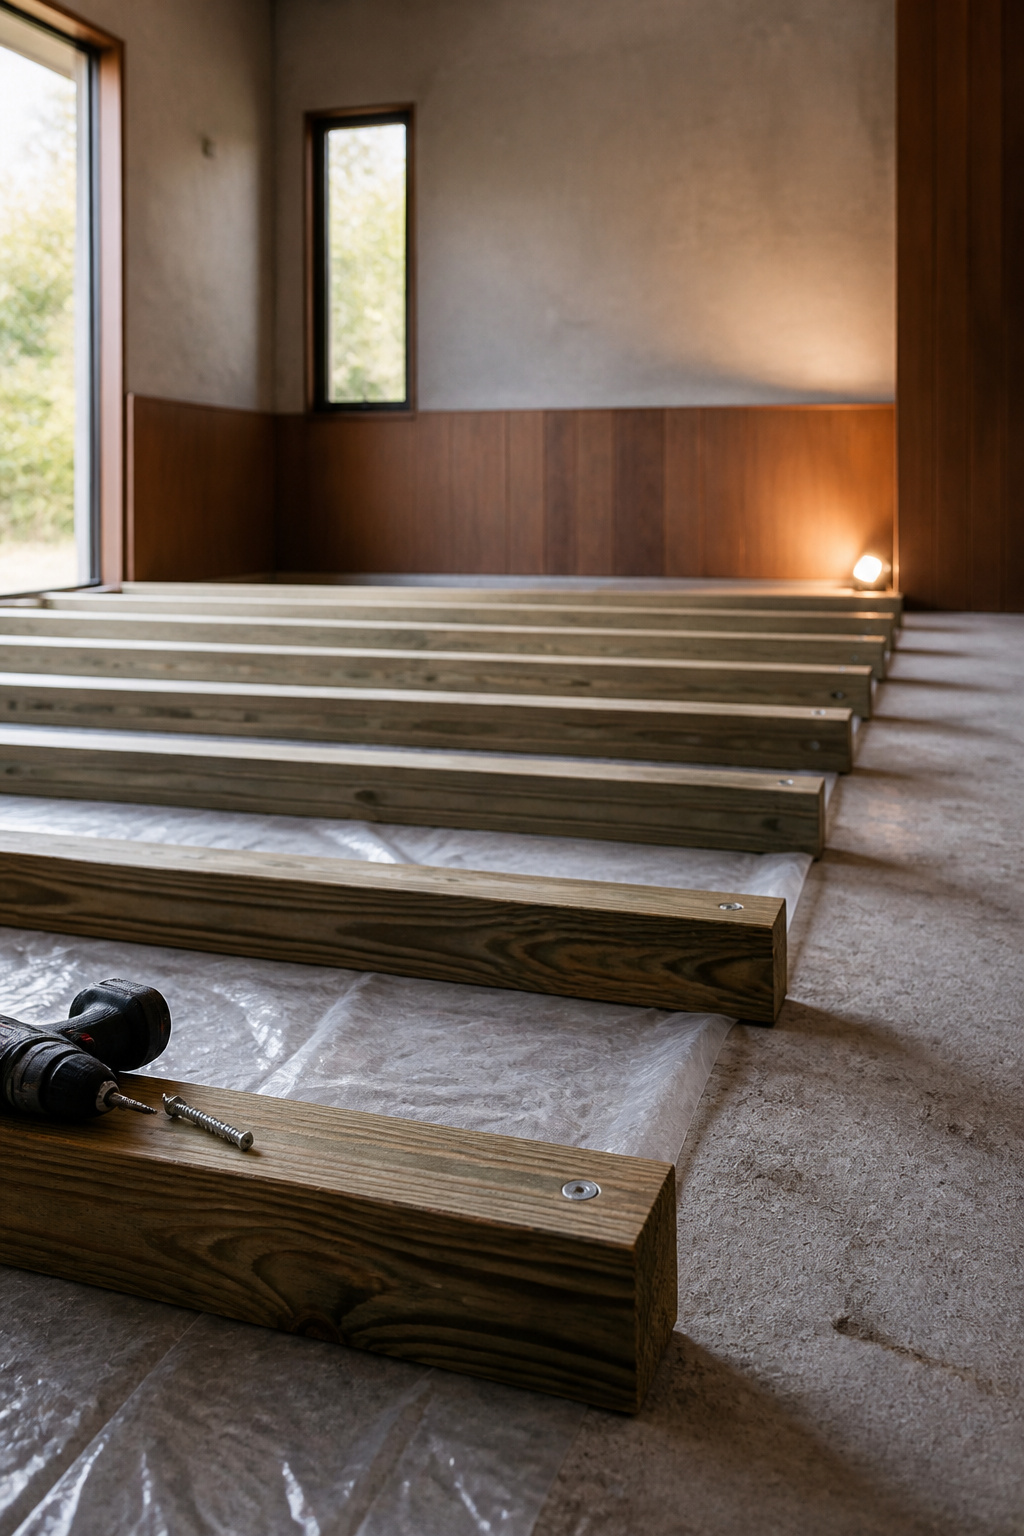
The depth of the drop decides your method, but for most raises the answer is sleeper framing: pressure-treated lumber laid across the existing floor and built up to the height you’re matching. It’s the boring option, and it’s usually the right one.
What sleeper framing is and why it’s the usual method
The framing creates an air space under the new subfloor for utilities, and it’s preferred for drops deeper than about 8 inches. For recesses under 6 inches, a solid concrete or lightweight fill works instead, trading the cavity for stability and sound dampening at the cost of weight. Either way, this is the exact reverse of building a sunken room from scratch: nothing gets cut into the foundation. You add framing on top of what’s there.
Sizing the sleepers to the depth of the drop
Sleepers go down on 16-inch centers, fastened with concrete screws pilot-drilled every 12 inches or so, about an inch of embedment. Where the floor isn’t level — and it won’t be — you don’t shim. You cut each sleeper to a different thickness, thickest at the low point and tapering to about an inch of treated 2×4 at the high point, marking the cut off a laser level and chalk line. Ledger boards fastened to the perimeter walls at the exact height of the surrounding floor give every sleeper a fixed target, and a poly vapor barrier goes over any insulation to keep slab moisture out.
Where this approach runs into trouble
Here’s the honest counterpoint. At least one remodeling company, Mike’s Guys, won’t raise a floor with wood at all — they use concrete fill, arguing that framing risks “a hollow feel and sound when stepping from the original floor onto the raised area” and causes problems tiling over a material different from the slab. That runs against the framing approach in every other build guide, but it’s a real professional position worth weighing before you commit to lumber.
I lost an entire weekend once to a video that swore a build was a two-hour job. It wasn’t — the video skipped the drive back to the store for the fastener nobody mentioned, and the part where the surface underneath was a half-inch out of level. A floor raise is that same gap at full scale: online it looks like a weekend, and the honest answer is weekends, plural. One documented DIY raise even framed the whole floor without a continuous support beam and had to tear back in to add one. On my usual scale the framing itself is a some-builds job, not a starter one — but the outlet and HVAC work is a call-a-pro, full stop.
Building Up the Subfloor and Matching Height
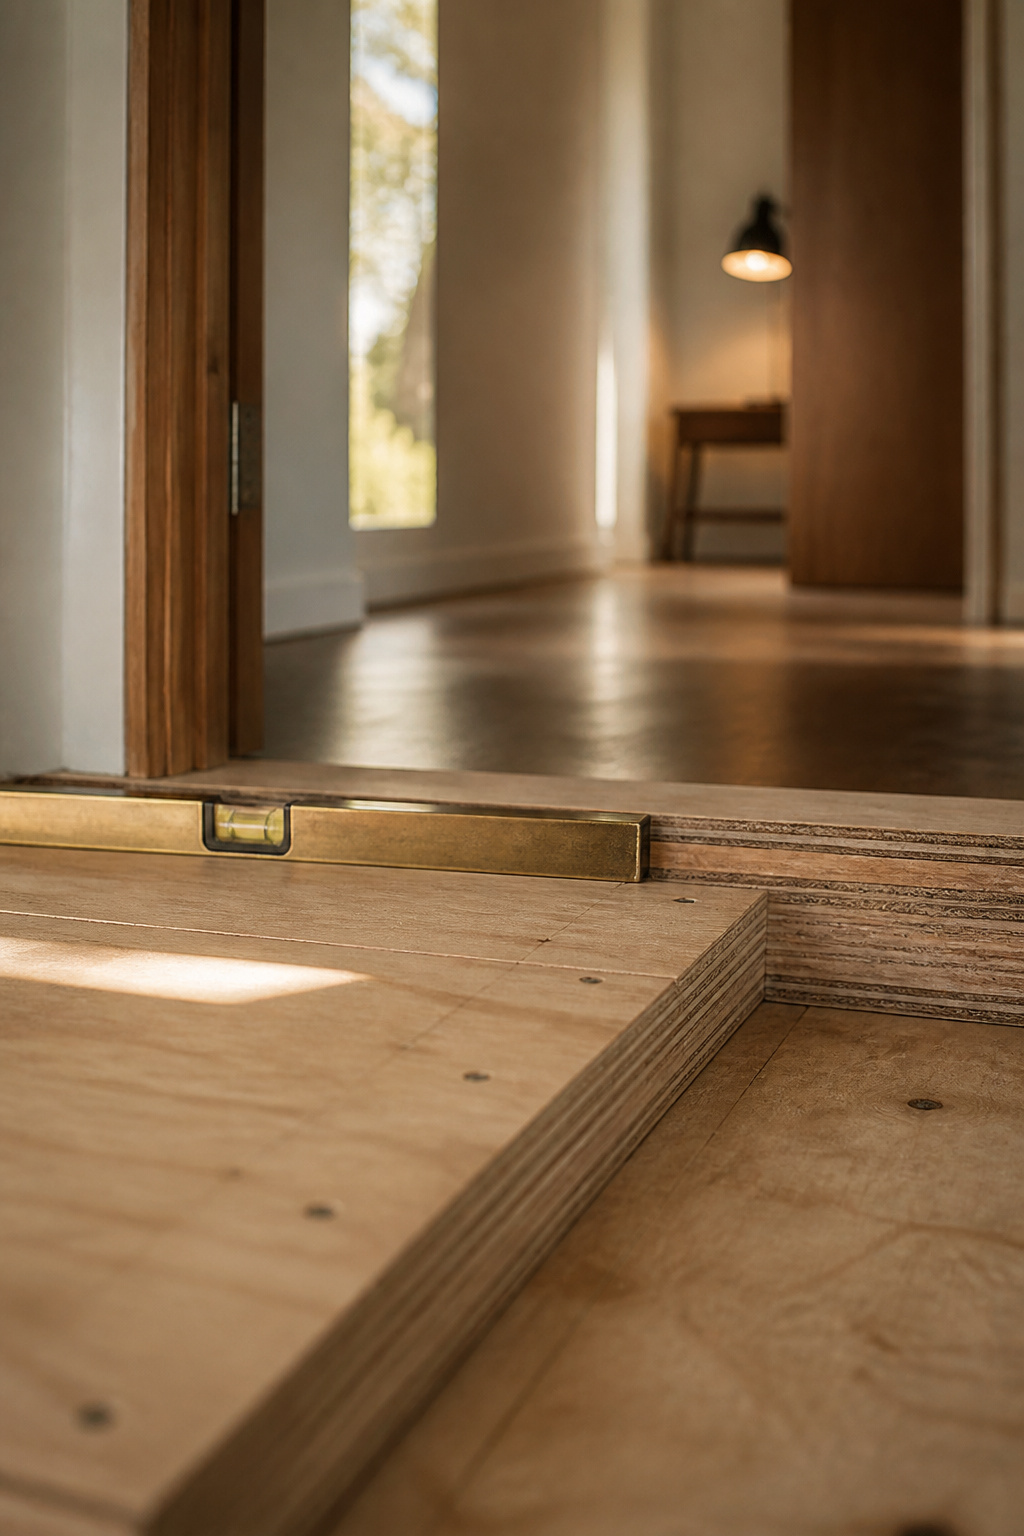
The frame gets you within an inch of level. The subfloor has to land on zero.
Layering plywood to hit the adjoining floor height exactly
The ledger boards set the target; the sheathing on top of the sleepers closes the last gap. One real raise used 3/4-inch tongue-and-groove OSB screwed down across the whole floor. If tile is your finish, that layer isn’t optional stiffness — the minimum under ceramic or porcelain is 3/4-inch tongue-and-groove plywood or 23/32-inch OSB over joists at 16 inches on center. Thinner sheathing flexes and cracks tile.
Checking for level across the whole run
A laser level sets one reference line for the whole room, and you snap a chalk line onto each sleeper from it so the board can be cut to the right angle before it goes down. Get the frame dead level first; the subfloor only ever follows the frame under it.
Common gaps in the math that leave you an inch short or long
The mistake that trips everyone up: sizing the stack to bare sheathing and forgetting the finish flooring’s own thickness. Hardwood adds about 3/4 inch, tile with thinset and backer an inch or more, carpet with pad another 1/2 to 3/4 inch. Plan around the finished surface, not the plywood. And if you’re tiling, don’t thin the subfloor to buy back height — TCNA and ANSI deflection limits (L/360, tightening to L/480 for large-format tile) set a structural minimum.
Matching the Existing Floor Finish
How do you make new flooring disappear into old? Getting the height right is only half of it — the finish has to read as one floor, not a repair.

Matching hardwood, tile or carpet across the seam
For hardwood, chase the undertone, not the grain; warm-to-warm looks cohesive even when the boards are a different batch. For carpet, the best match is leftover remnant from the original run, since it carries the right dye lot. Watch for metamerism, too: two samples can match under one light and clearly not under another, so check under both day and evening light — and align the nap direction, or the seam shows even when the color is perfect.
When matching isn’t realistic and a deliberate break works better
Sometimes the old floor is discontinued and there’s no honest match. Then a transition strip a tone or two darker than the existing floor looks like intentional contrast instead of a failed match. And because a raise usually forces new flooring in the old sunken area anyway, it’s often the practical moment to refloor the whole main level rather than fight a seam in one room.
Ordering enough material, and then more
Order 5–10% extra hardwood for cutting mistakes and repairs, and keep the spares — styles get discontinued. Tile waste scales with the pattern: about 10% overage for a straight grid, 15% for a diagonal layout, 18% for herringbone, because angled cuts at the walls throw off more unusable offcuts.
Transition and Threshold Details That Don’t Look Patched
Here’s the detail that gives away a DIY fill-in every time — not the floor field, the edges.
Handling the old step edge once the floor is level
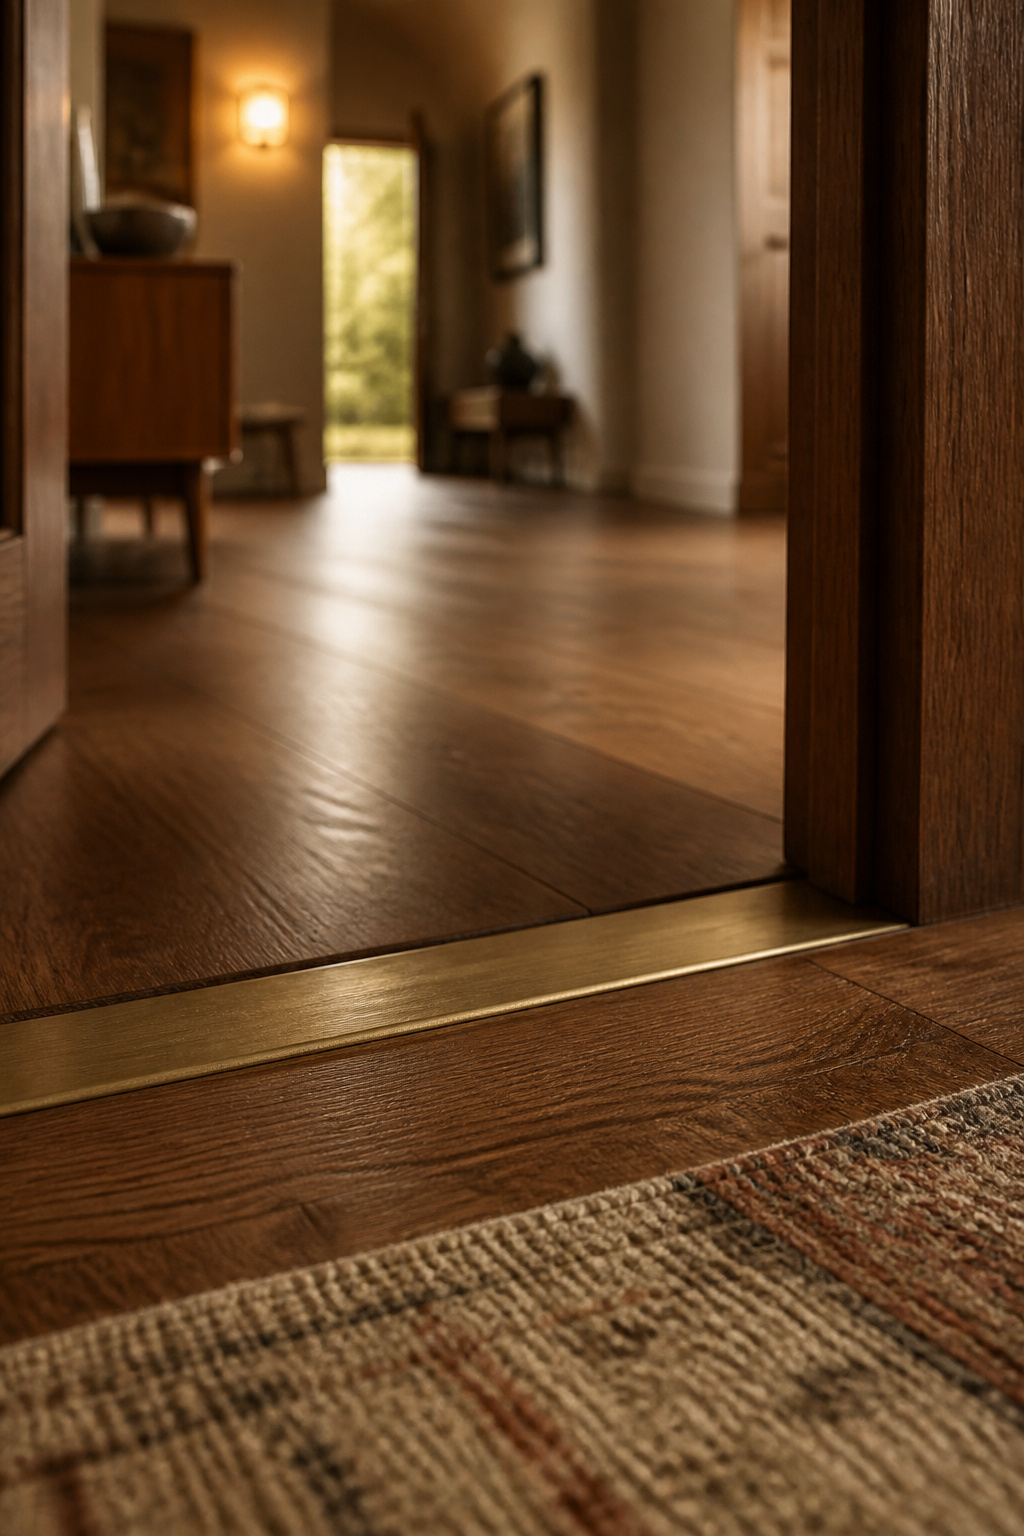
Good news first: once the subfloor is genuinely built up to the adjoining height, the old step edge is gone — eliminated in the construction, with no lip left to trim. If a partial step survives instead of a fully flush floor, cap that edge with a stair nosing so it looks deliberate, not like a bare cut.
Trim and threshold options at doorways
At any doorway where a small height difference remains, the size of that difference picks the trim.
| Height difference at the seam | Right transition |
|---|---|
| Within 1/8 in | T-molding |
| 1/8 to 1/2 in | Reducer molding |
| 1/2 to 3/4 in | Threshold saddle |
| Over 3/4 in | Fix the subfloor, don’t trim it |
Where a transition piece stays, run slip-resistant metal trim or heavy-duty nosing the full length, in a contrasting color. That’s best practice, not code — but a contrasting strip reads as a chosen detail, not an afterthought.
The mistake that gives away a DIY fill-in
Fasten the transition strip to the subfloor, never to the flooring planks. Screw it to the planks and you block the wood’s natural movement, and it cracks or lifts at the seam within a season. Too few fasteners lets the strip rock and gap; a reducer pitched too steep creates a fresh trip hazard exactly where you spent $15,000 removing one. And the quietest giveaway, even when the floor is flawless: new baseboard that doesn’t match the existing profile. Match the trim profile, or the whole project reads as a patch.
What Raising a Sunken Living Room Floor Costs vs. Living With the Drop
So what does it actually cost? Enough that the decision deserves a real number, broken out by scope.

Realistic cost range for a DIY versus hired raise
A typical raise lands between $5,000 and $25,000, and the scope drives where you fall:
| Scope | What it covers | Ballpark cost |
|---|---|---|
| Cosmetic patch | Framing and flooring in the pit only | $8,000–$15,000 |
| Full raise | Adds outlet moves, HVAC rerouting, whole-level reflooring | $12,000–$25,000+ |
| Full rebuild | Everything, back to studs and slab | $30,000+ |
Doing the carpentry yourself, the materials triangulate to a range, not one tidy quote: framing lumber and sleepers run roughly $4–$10 per square foot, and subfloor sheathing adds about $2.20–$4.75 per square foot installed, before finish flooring. A contractor quoted on a real 225-square-foot room put it plainly: “I wouldn’t consider anything less than 10K.” Keep the scope straight, though — these are costs to raise an existing floor by adding framing on top, not the excavation and underpinning of cutting a new sunken room into a slab, which is a different project entirely.
How the mid-century value of the original feature factors in
One more thing on the scale isn’t dollars. Sunken living rooms are a signature mid-century and 1970s feature, and filling one in removes an original detail you can’t put back without doing the whole project in reverse. That’s worth real weight — the case for keeping a period feature is stronger than most trend-chasing allows. As for resale, be honest that it’s contested — one realtor calls the drop a liability, another guide says it barely moves value — and no source puts a dollar figure on it. Treat it as a soft factor, not a number to bank on.
The final call, stated plainly
Make the call the way you’d make any renovation call: on use, not on trend pressure. If the drop is a real daily problem, the $10,000-plus raise is a reasonable place to put the money — and you now know the method well enough to plan it: sleeper frame, level subfloor, matched finish, honest thresholds. If it just feels dated, restyle the room as it stands and keep the cash. That’s the whole decision, and you can make it now.
FAQ
How much does it cost to raise a sunken living room floor?
A typical raise runs $5,000–$25,000, with framing materials alone around $4–$10 per square foot before finish flooring. A fuller scope with outlet relocation, HVAC rerouting and whole-level reflooring reaches $12,000–$25,000 or more, and a full rebuild can pass $30,000. One real contractor quote put a comparable job at “nothing less than 10K.”
Can you raise a sunken floor yourself?
The sleeper-framing carpentry — laying and leveling sleepers, screwing down subfloor sheathing — is documented as DIY-accessible across multiple build guides and real homeowner projects. But outlets usually have to move up to meet code at the new height, and floor vents often need rerouting. Both are jobs for a licensed electrician and HVAC tech, not DIY carpentry.
Does filling in a sunken living room lower home value?
It’s genuinely contested. A realtor calls sunken rooms dated eyesores that hurt resale and recommends raising the floor, while a separate resale guide says a sunken room likely doesn’t move market value either way. No sourced figure quantifies the impact in either direction, so treat resale as a soft factor, not a number to count on.