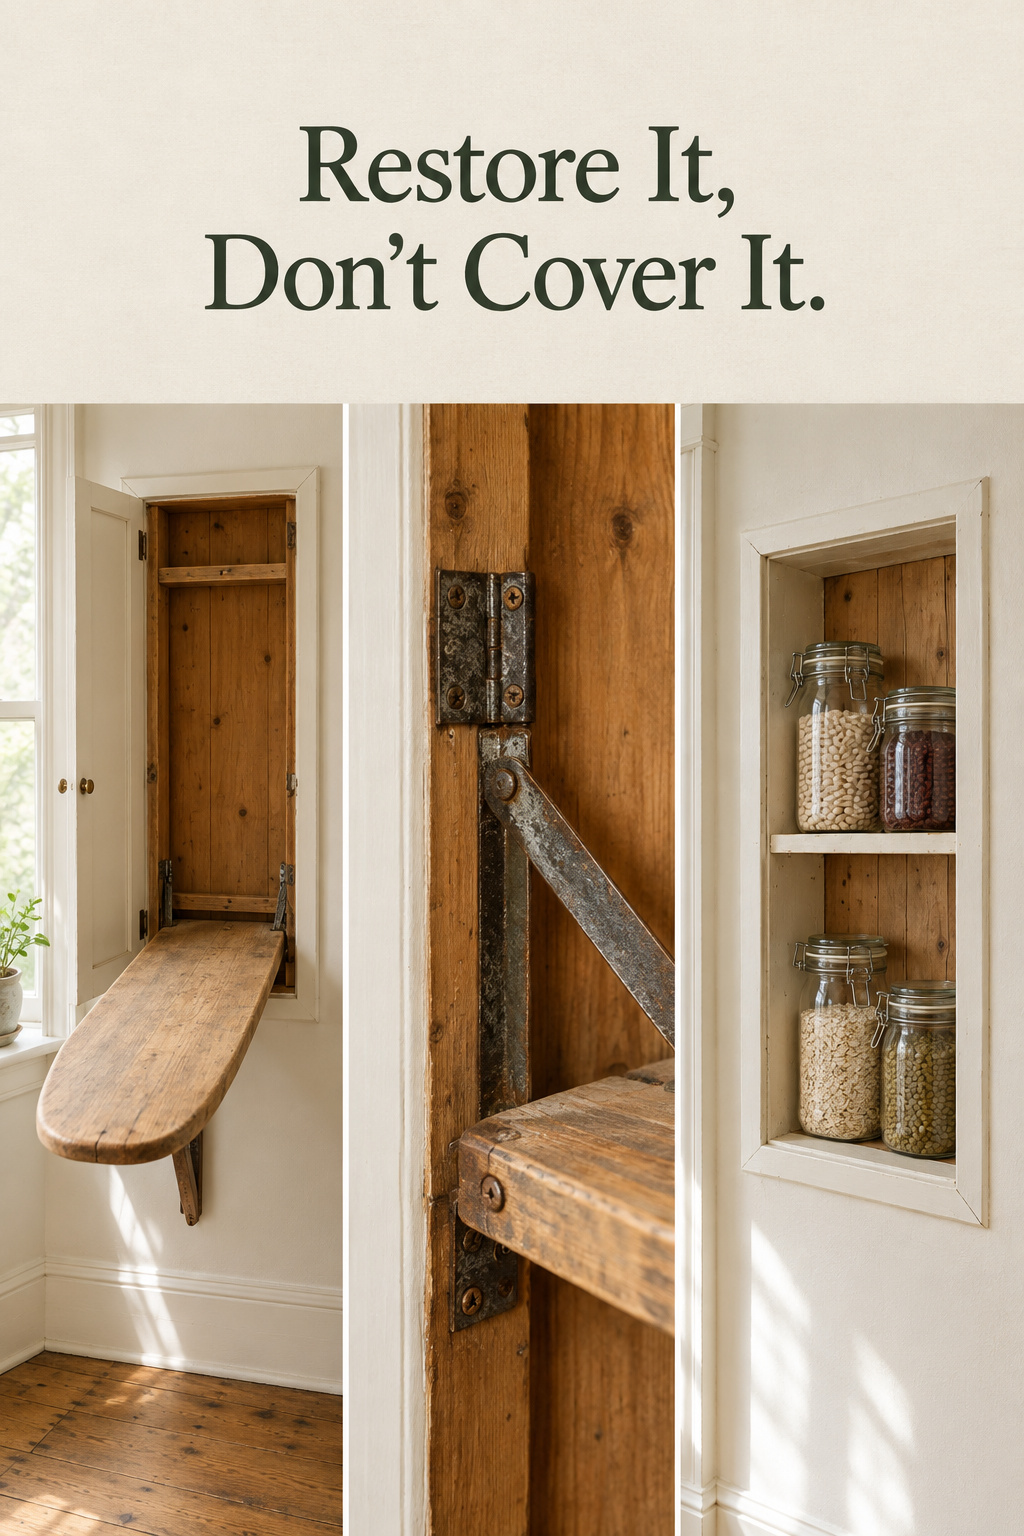
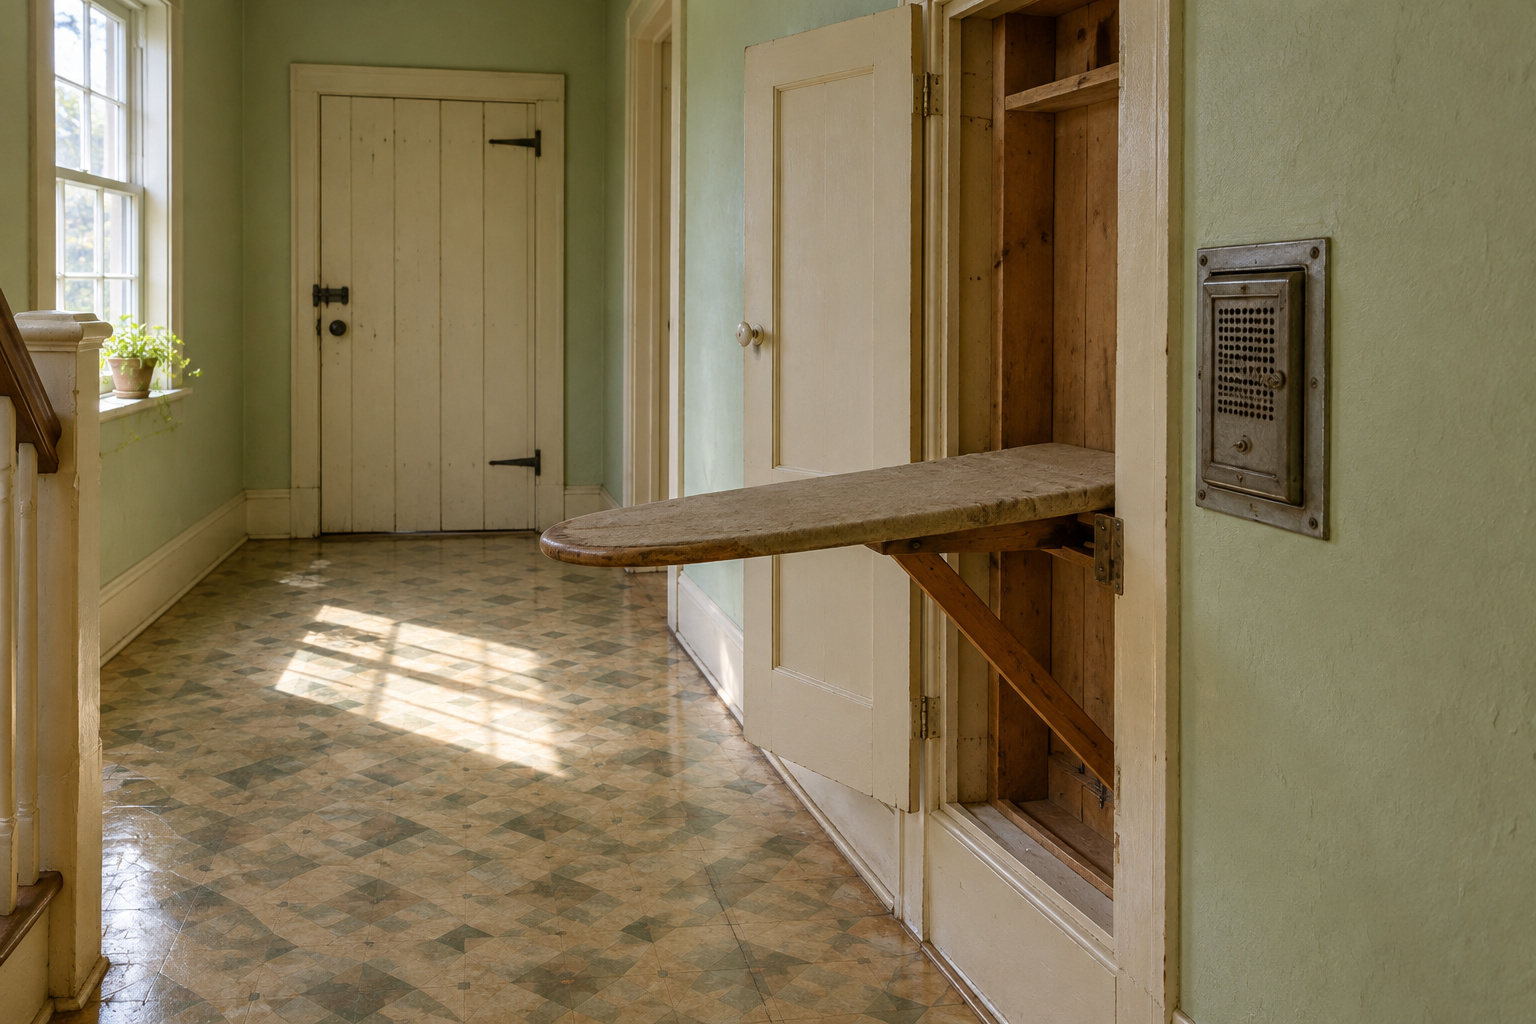

The door is barely wider than your hand span, and when you pull it the board swings down on its brace and settles level with a soft knock. The wood under the cover is dark from a century of warm irons, and the latch is brass worn bright where thumbs found it. That is what a built-in ironing board cabinet gives you when it works. Many are painted shut, and someone is about to cover the door or pull the whole thing out before anyone has looked at the three parts that matter.
TL;DR
- Built-in ironing boards were patented as early as 1910 and were common in houses through the 1930s, usually in a narrow cabinet between two studs near an outlet.
- Treat an unknown old pad or cover as possible asbestos and leave it undisturbed, and treat the old door paint as lead until it is tested.
- Check the hinge and brace, the board, and the cavity before deciding; where they are sound, repair in place, because a new recessed kit needs a 14 3/8 in by 3 7/8 in rough opening an old wall may not give you.
How to Tell If You Have a Built-In Ironing Board Cabinet
If you already have one, skim ahead to the hazards and the check. If you suspect one behind paint, the tells below are for you. If your house never had one, skip to the kit comparison or the freestanding board near the end.
These cabinets belong to the years between about 1910 and the late 1930s. You will often read that they arrived in the 1920s, but a wall-cavity ironing board was patented by Williams in 1910, and the patents kept coming through 1938. They grew out of the push to make kitchens save steps, which is why so many sit in a kitchen, dining room or back hall rather than anywhere near the washing. One study of period plan-book houses found a fold-down board in the kitchen of about a third of them.
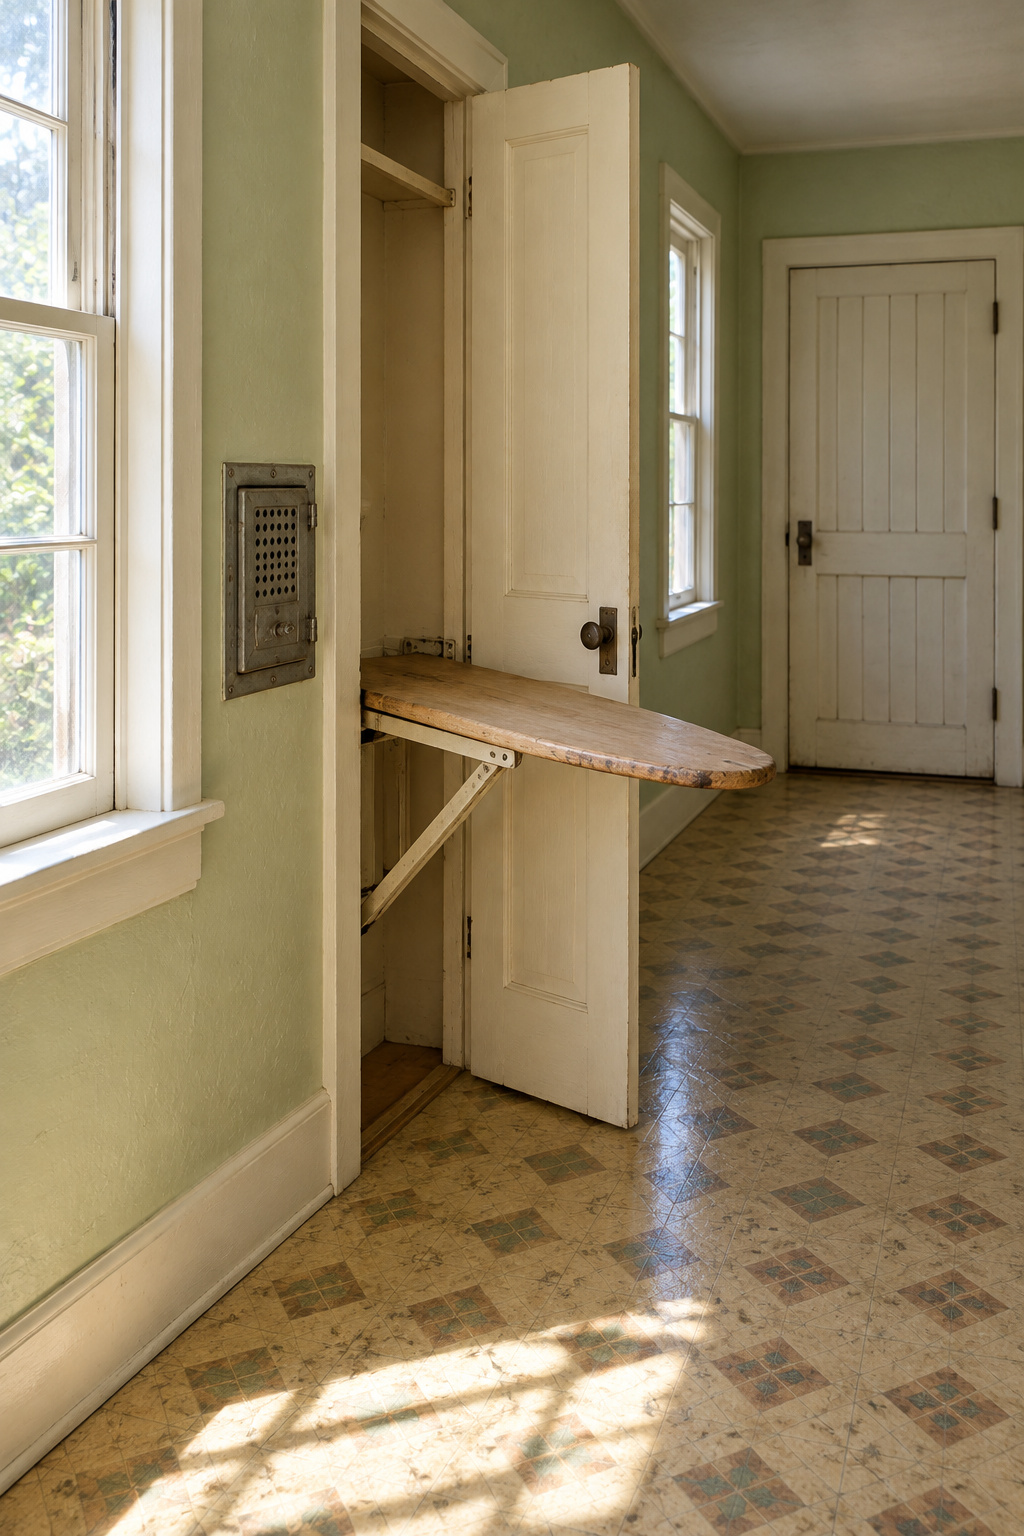
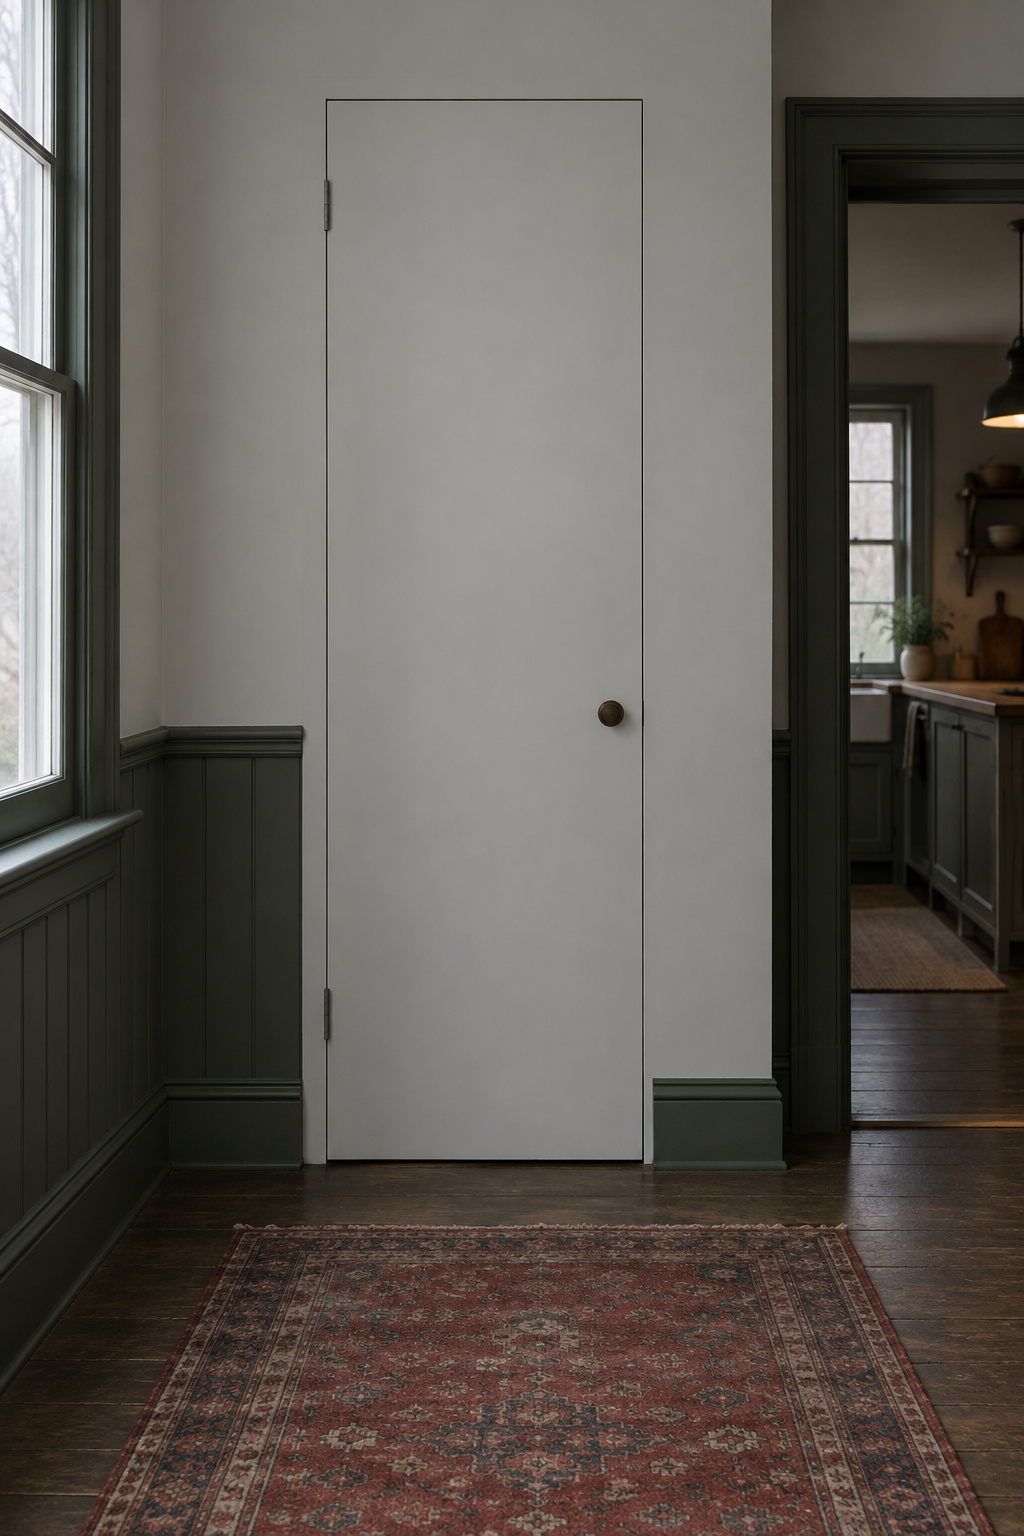
A hidden one shows as a long, narrow door, often painted over so many times it no longer opens, in front of a shallow cabinet about the width of one stud bay, with an outlet close by for the iron. Some have a small vented metal box in the wall beside them, a rest for the hot iron.
Don’t assume shelves mean there never was a board. Plenty were turned into spice cupboards with the board taken out, so if you find shelves, look for screw holes and a ghost of the brace. It is the same kind of small door that hides the laundry chute in many old houses, and both get painted over because nobody remembers what is behind them.
Two Things to Treat as Suspect Before You Touch It
Start with the pad. The Consumer Product Safety Commission lists ironing board covers among older household products that may contain asbestos, and at least one 1927 patent specified a layer of asbestos built into the board itself, under the plate where the iron rested. You cannot tell by looking. No one knows what share of old pads contain it, so treat any pad you didn’t put there as suspect. In good condition and undisturbed, it is unlikely to be a risk; the fibers come loose when it is torn, cut, sanded or shaken. So don’t shake it out, don’t pull it apart to see what’s inside, and don’t sweep or vacuum crumbs from it. If it is worn or damaged, bag it whole and ask your local health or environmental office about disposal.
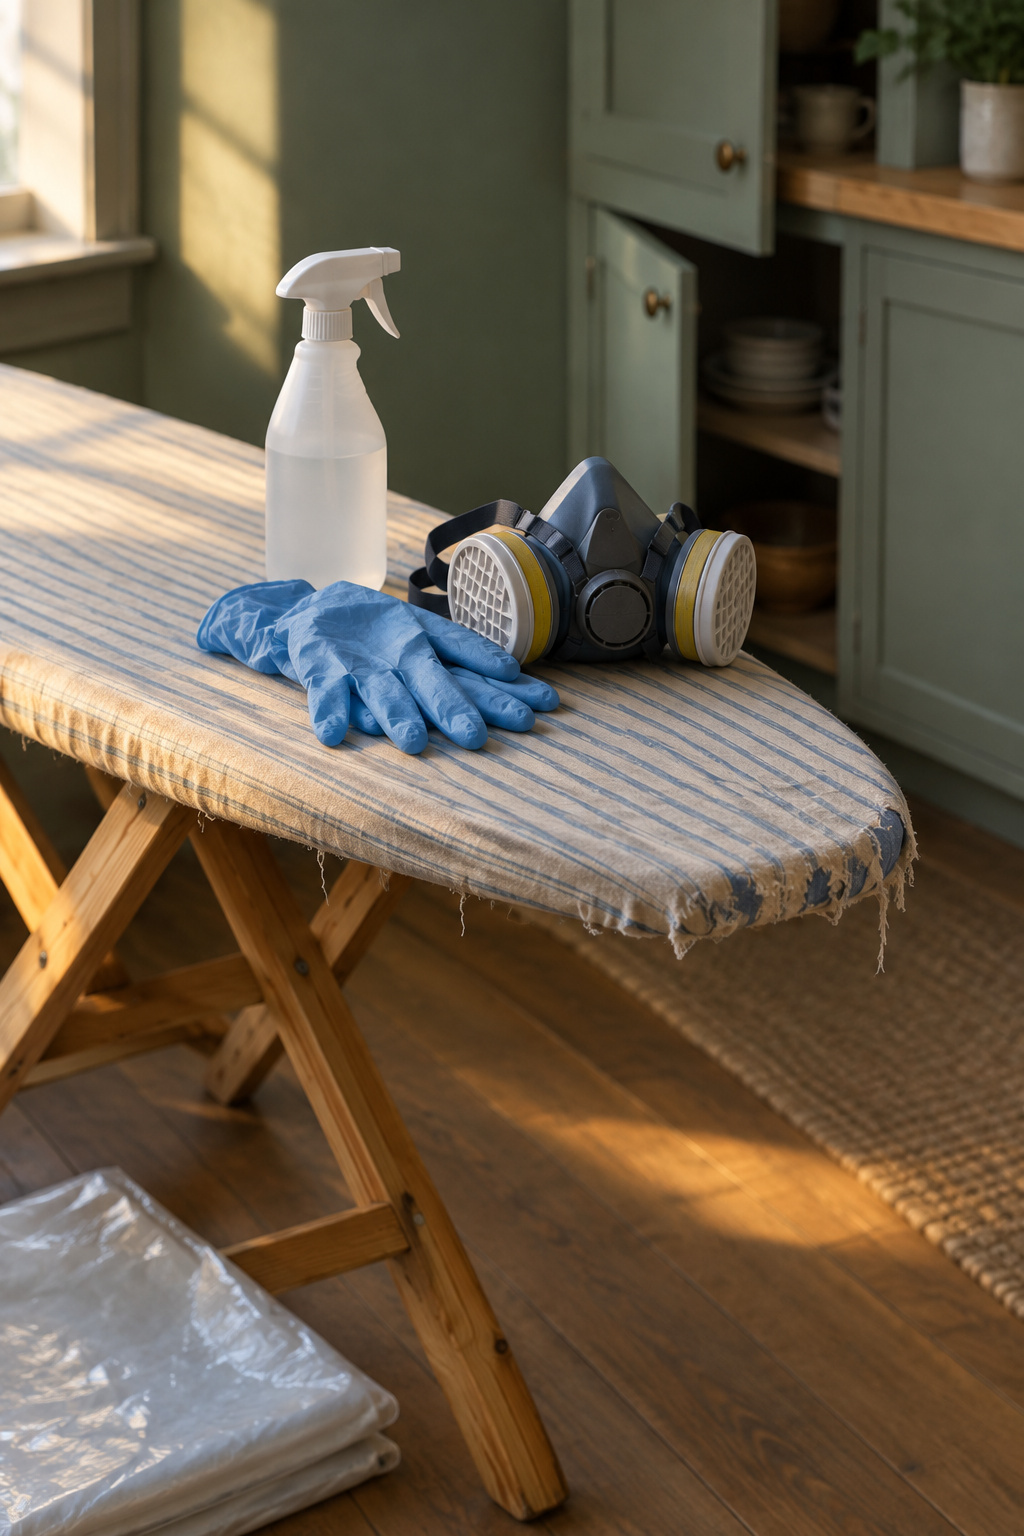
Then the paint. Assume a door painted this long ago carries lead until a test says otherwise; the presumption and the swab test are covered properly in our guide to lead paint on old painted wood. For this job it means one habit: score the paint seam with a sharp knife and chip gently with the surface damp, rather than dry-scraping or sanding the edge.
Check the Hinge, the Board and the Cavity Before You Decide Anything
Let’s see what it’s made of. The classic mechanism is simple. In a 1928 patent by R. J. Thompson, the board has a brace hinged to its underside and to the bottom of the cabinet; you pull the board’s inner end out, it rocks down to level, a cross piece drops into notches in the side pieces, and a latch on the board engages a catch on the cabinet. Other makers used spring hinges or tracks inside the wall, so look for the pivot and the support rather than expecting one design. The support carries the load, not the board.
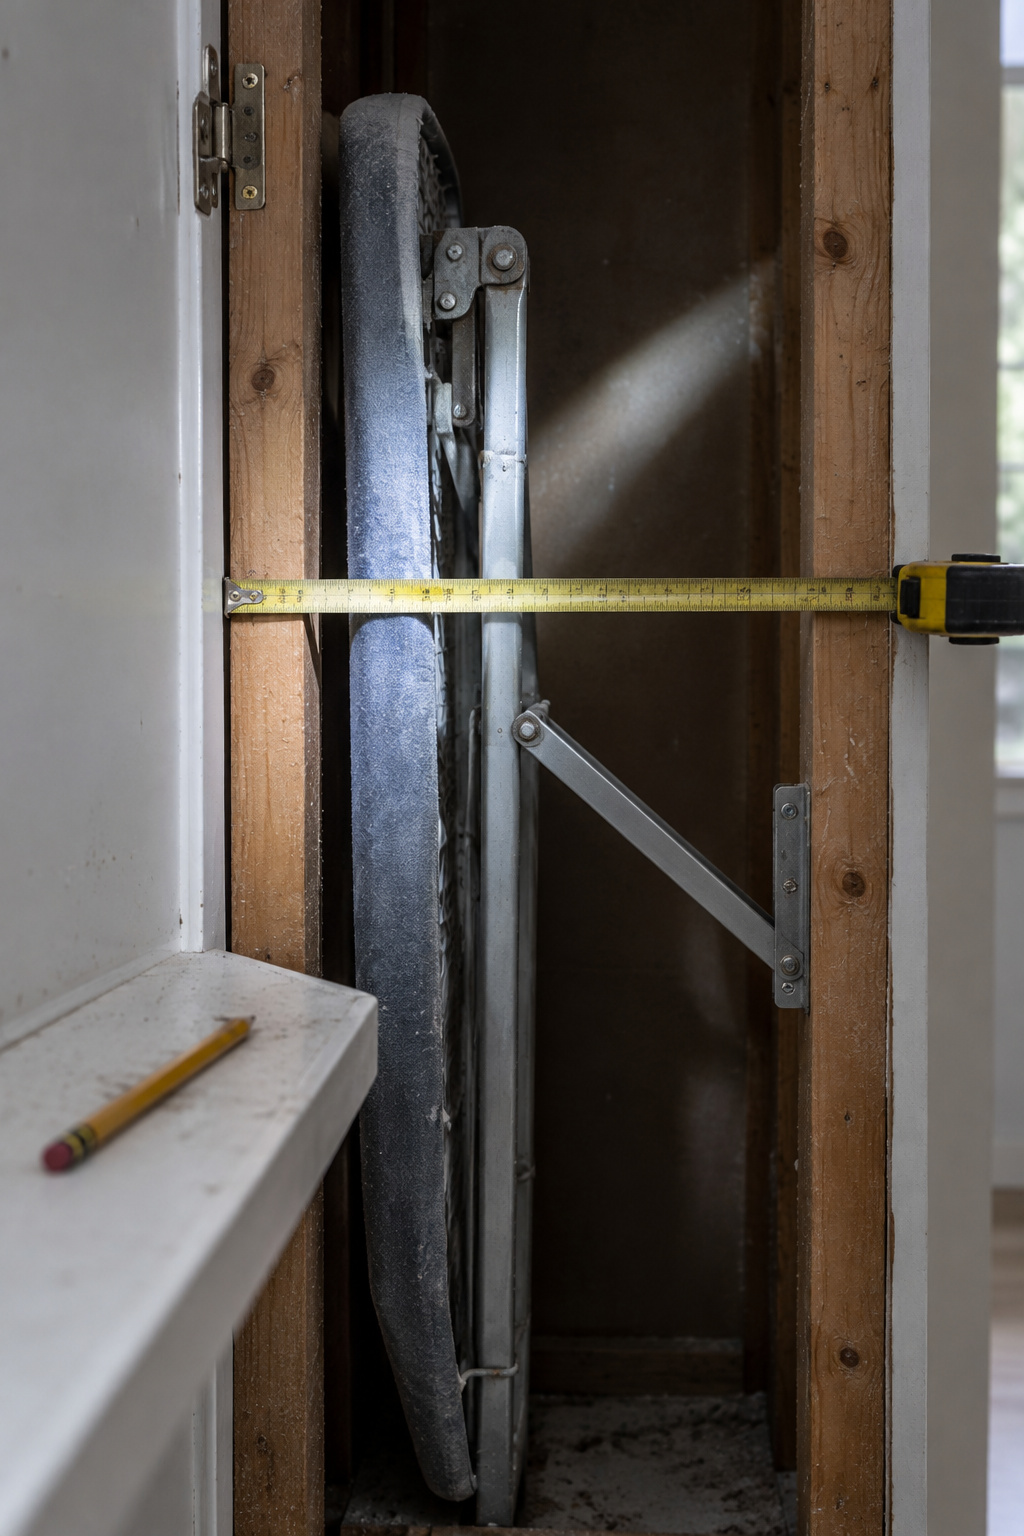
One owner who took out a 1930s board found its support was solid iron fixed into the framing, which is good news for a repair and bad news for anyone who wants it gone.
What I look at, part by part:
| Part | What to look at | How to check | Likely fix |
|---|---|---|---|
| Hinge or pivot and brace | Seized, loose, bent, or bolts missing | Lower the board slowly by hand and watch the pivot | Free, clean, re-seat; replace a bolt, not the brace |
| Board and cover | Splits, scorch marks, an unknown pad | Look without touching the pad; check the board’s end for cracks | Oil the board; bag the old pad and re-cover |
| Door and latch | Paint-bound edges, a sprung latch, anything screwed to the door | Open it; see whether the latch holds | Free the seam, adjust or replace the latch |
| Cavity and back | Damp, pests, a loose cabinet | Shine a light in; push on the cabinet sides | Dry it and fix a cleat under the cabinet if it moves |
Measure the cavity’s width and depth inside, not the door. In a standard 2×4 wall you have about 3.5 in of depth to work with, and old houses don’t always have standard stud spacing.
Opening a cavity like this is a conversation with whoever built it. Taking off a baseboard once, I found a pencil note from a carpenter, dated 1931, with his name on it. I have left a dated note behind every job since.
In my experience most need a weekend of repair, not removal. Never trust a contractor in a hurry to demolish; if he says it all has to come out, ask him to lower the board first.
Repair It in a Weekend: What to Fix and What to Replace
Replace only what can’t be repaired, and fix the replacement with screws and bolts that whoever comes next can take out again.
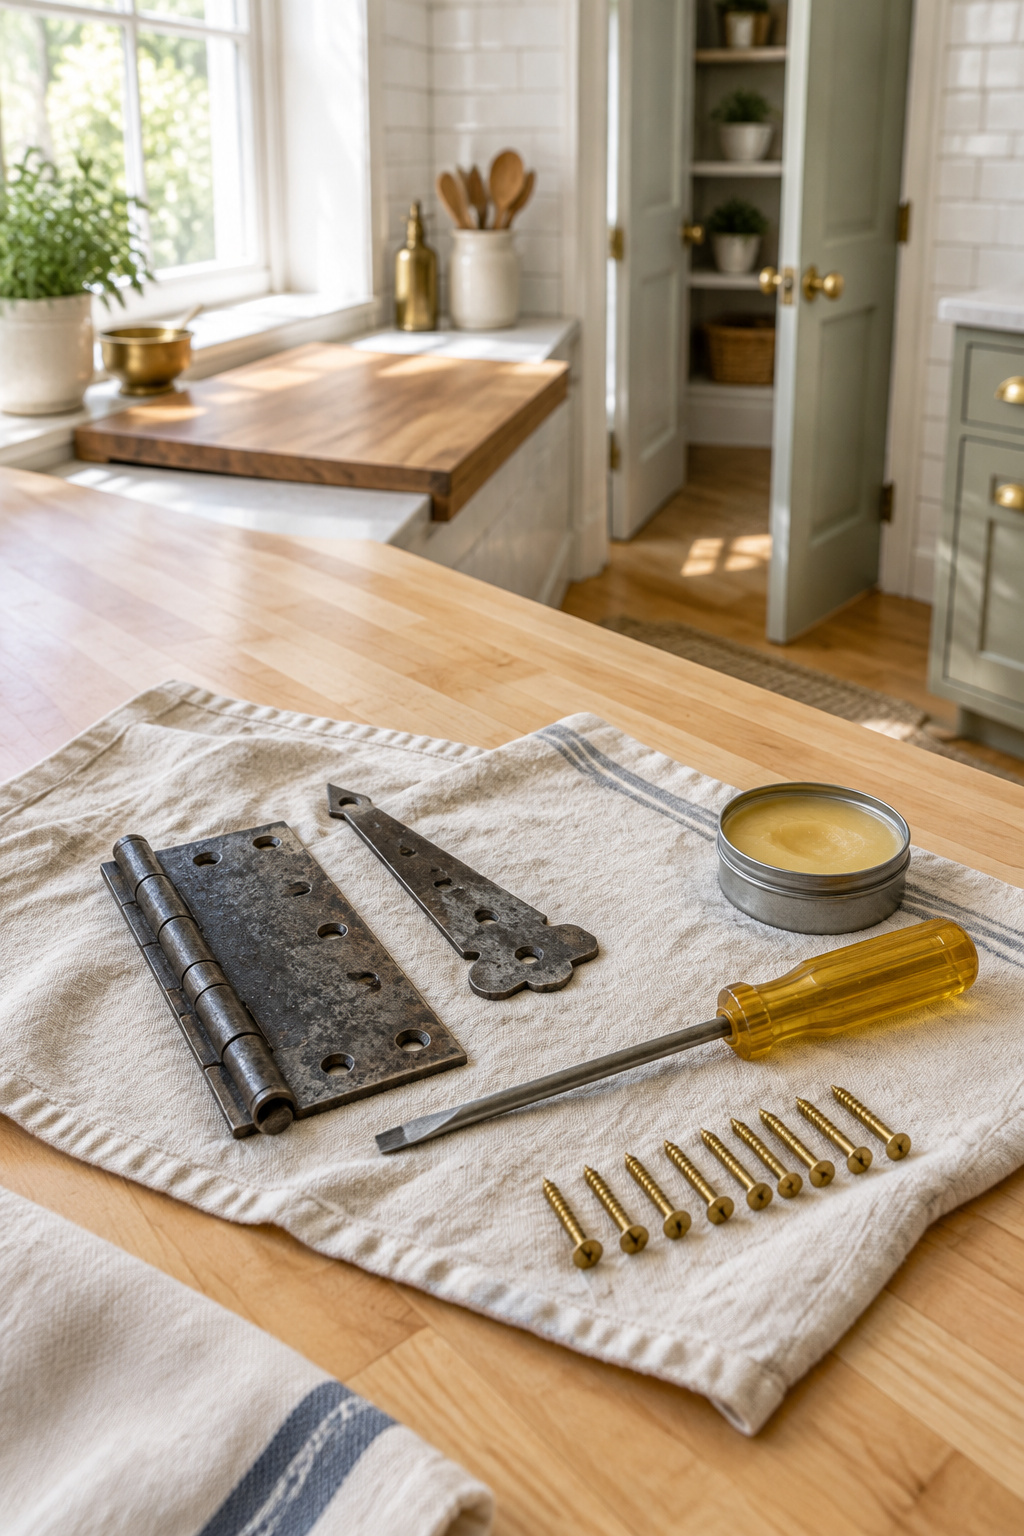
Hinge and support
- Score the painted seam all the way around the door and chip it free with the surface damp.
- Wipe the cabinet with a vinegar-soaked rag and leave it open a few hours to clear the closed-in smell.
- Lower the board by hand without forcing it. A seized pivot gets cleaned and worked loose a little at a time; forcing it bends the brace.
- Lubricate the pivot and latch with a dry PTFE or silicone lubricant.
- Tighten loose fixings into sound wood. Where a screw hole has split, plug it with glued wood and re-drill rather than reaching for a longer screw.
Use a dry lubricant, because an oily spray holds lint, and a laundry has plenty of it. If the brace itself is broken, a new oak leg on a shoulder-bolt pivot will do, but keep the old one in the cabinet for whoever comes after you.
Board, cover and door
Start with the cover.
- Take the cover off, and bag the old pad if you don’t know what it is.
- Rub the bare board with furniture oil and leave it about a day to soak in.
- Re-cover it with new pad and fabric cut on the bias, which stretches tight over the curve.
- Remove anything screwed to the door since, then adjust the latch until it catches.
Built-In Ironing Board Cabinet vs a New In-Wall Kit: An Honest Comparison
If the original is gone, a new in-wall kit is a fair answer. Recessed kits are built for the stud bay: Iron-A-Way asks for a rough opening 14 3/8 in wide by 3 7/8 in deep, and NuTone wants about 4 in of depth. Between 16 in studs the clear gap is 16 minus 1.5, or 14.5 in, so the width works with 1/8 in to spare. Depth is where it falls short: a 2×4 wall gives about 3.5 in, so an old wall may need furring out or a deeper section before a kit sits flush.
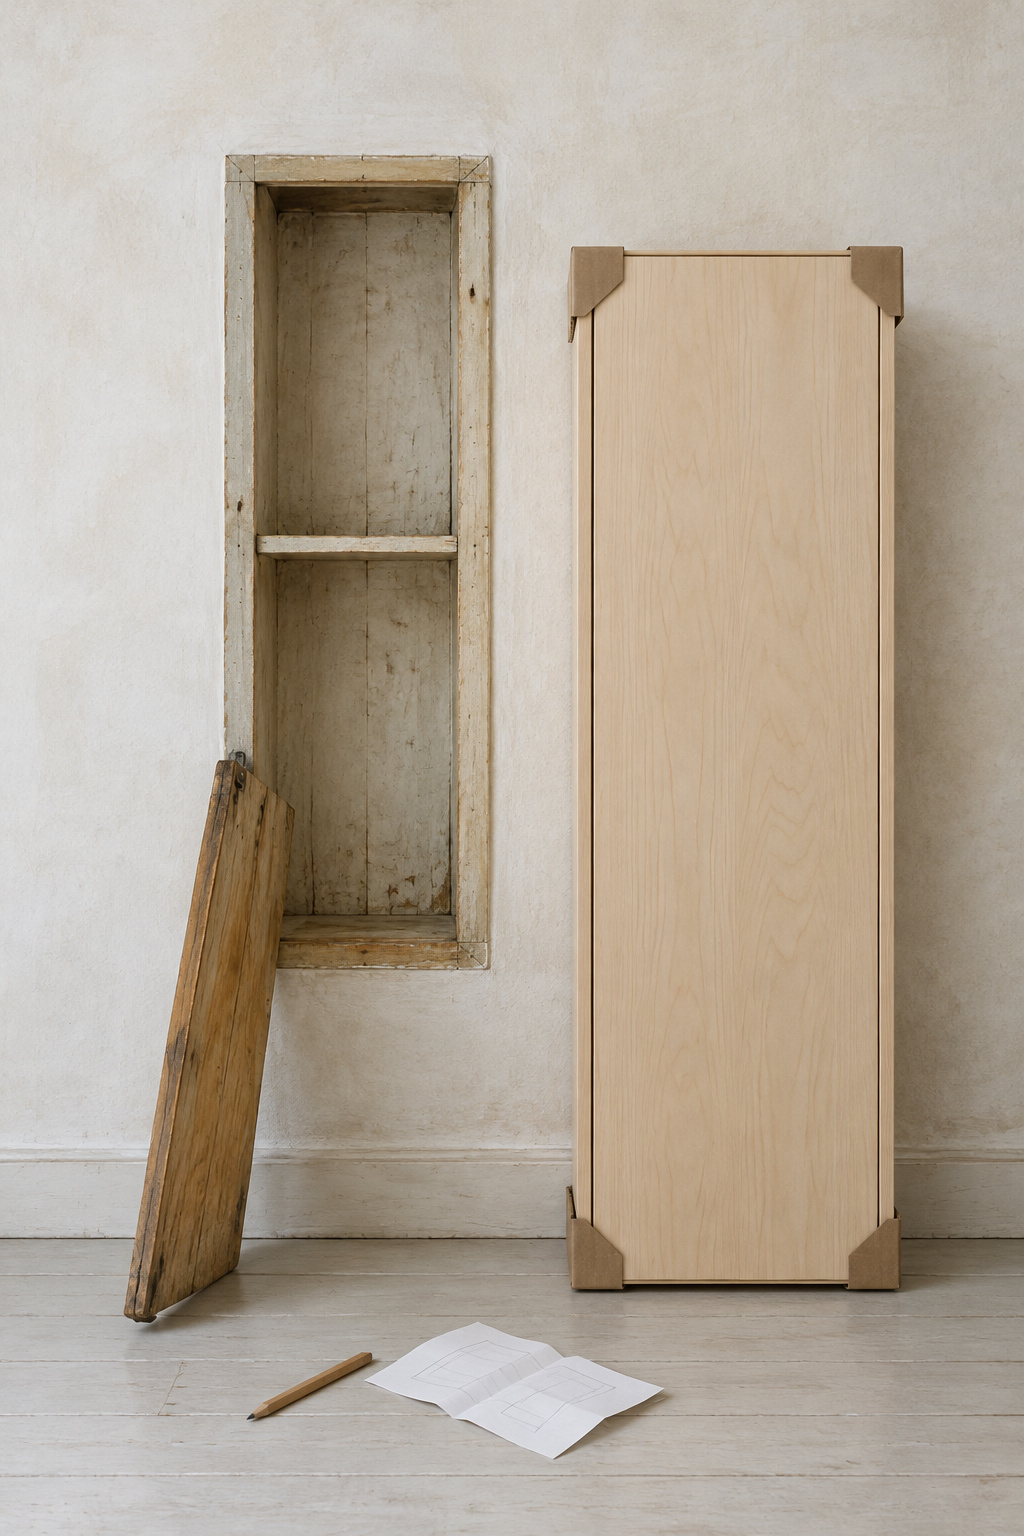
| Original cabinet, restored | New recessed kit | New surface-mount kit | |
|---|---|---|---|
| Fit | Already fitted to its own wall | 14 3/8 x 3 7/8 in opening, 2×4 cleat underneath | Fixed to a stud on the wall face |
| Work in the wall | None | Cut an opening; perhaps fur out for depth | A few fixings |
| Projection into the room | Flush | About 3 7/8 in | About 7 3/4 in |
| Reversibility | Nothing removed | Opening stays when the kit goes | Holes only |
| Cost | No kit to buy | $100–$200 basic; about $304 for an Iron-A-Way 42 in | Same; the Iron-A-Way mounts either way |
The kit instructions assume drywall, cut with a utility knife or drywall saw. Cutting through plaster and lath, which an old house probably has, is not something they cover. And never cut a new opening beside an old cavity you haven’t opened.
Not Ready to Iron? Turn the Cavity Into a Shelf, or Choose a Freestanding Wooden Board
Turn the cavity into a shallow shelf, reversibly
Surviving cabinets are typically turned into spice racks, and the conversions on record took the board and brace out first. You don’t need to. My approach leaves the board, brace and hinge where they are, with the board folded up. Slim cleats screw to the cabinet sides, clear of the mechanism, and thin shelves rest on them. Every fitting I do remove goes in a labeled bag taped inside the door. Whoever comes next can lift the shelves out and lower the board again. Don’t paint over the hinge, either; the next owner needs to read the mechanism.
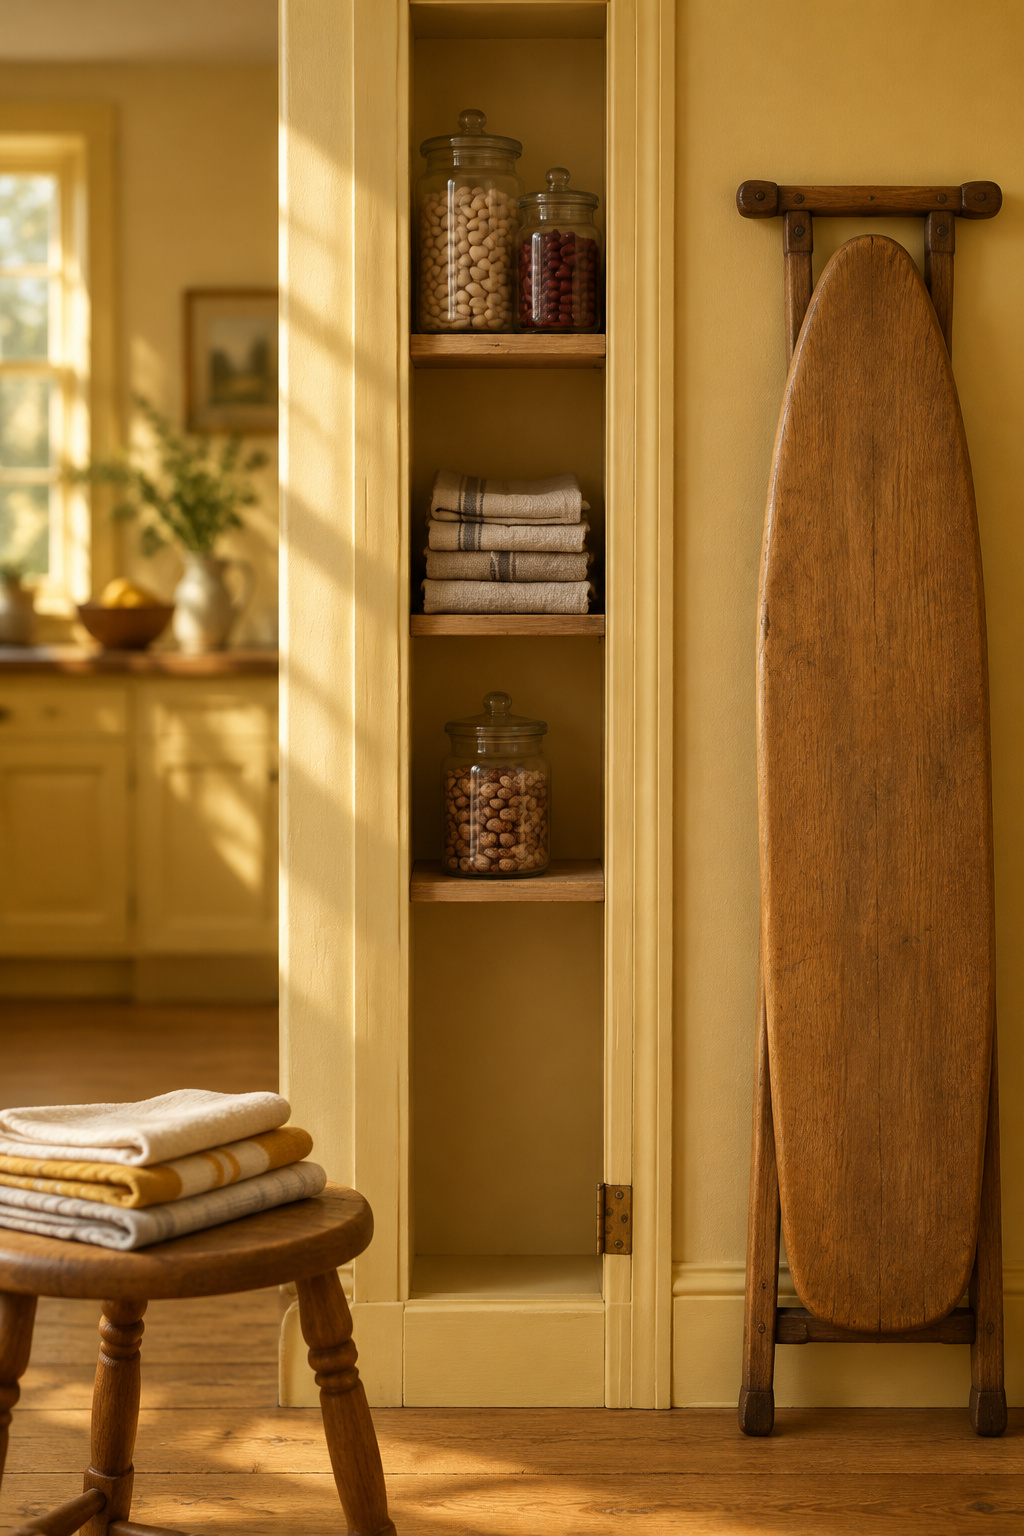
A freestanding wooden board as a working piece
If your house never had a cavity, a vintage ironing board in wood gives you the same period piece. It has to be stored, which a built-in saves you. One sewer bought hers for $6 at a thrift store and has used it every day for about ten years, oiling the bare wood now and then and re-covering it on the bias.
So before anyone covers that narrow door or pulls the cabinet out, open it safely and check the three parts. Score the seam, lower the board and look at the pivot. When you close the job up, leave a dated note inside for whoever opens it next. Old houses are never finished; I’ve been half-restoring the kitchen of my 1898 brick house in Bucks County for years, and the note is how a job gets handed on. For the rest of the room, see how to keep other period features in a vintage laundry room.
FAQ
Do built-in ironing boards add value to an old house?
There is no appraisal or resale figure for one, so don’t count on a price bump. What a working board adds is an original feature of the house, and Hunker reports renewed interest in them for small-space storage, which is sentiment, not a valuation.
Why were ironing boards built into walls in the first place?
They came out of the household-efficiency movement of the 1910s and 1920s, which tried to save steps and floor space for families without servants. Builders put the board where light and an outlet already were, often in the kitchen, and a built-in board meant no closet space lost to storing a freestanding one.
Can you keep or restore a built-in ironing board in a rental?
Ask your landlord first; I can’t point you to a rule on it. One Brooklyn tenant reopened a painted-shut board and asked before removing a table someone had attached to its door; the landlord agreed. If the answer is no, an over-the-door board with removable hooks is the renter-friendly fallback.