The box says waterproof, and the warranty behind it says something else. A Mohawk-line plank sold through Lowe’s covers “topical moisture or topical water exposure” and, in the next breath, “does not cover moisture or water coming from below/underneath the product.” IVC’s residential warranty goes further and names “leaky pipes, faucets, or household appliances” as excluded. That is the washer. Every one of these laundry room flooring ideas gets judged from underneath, where the washer’s water goes, because a laundry floor can cost $2 a square foot or $50, and both can fail the same way.
TL;DR
- “Waterproof” means the plank, not the floor. LVP warranties from Mohawk-line, IVC and Provenza cover spills on top and exclude water from below, which is exactly where a washer leak goes.
- For a leak-prone room, pick by seams. Porcelain (0.5% or less water absorption), glue-down LVP ($4–$16/sq ft) and seamless sheet vinyl ($2–$7/sq ft) leave water the fewest paths underneath. PEI 3 is enough tile for a laundry.
- Test the slab before you buy. An ASTM F2170 moisture test and a straightedge check for flatness (3/16 inch over 10 feet for vinyl) decide whether any warranty holds at all.
The ‘Waterproof’ Plank Myth, and Where Water Actually Gets In
The belief: buy a waterproof plank and the leak question is closed. It isn’t. The core of the plank does shrug off a spilled bucket, but a click-lock floor has a seam around every plank, and water finds seams and edges and then sits on the subfloor under a surface that looks dry.
Provenza says as much in its own install guide. Its MaxCore planks are “waterproof but are not intended for use as a moisture barrier,” and over concrete or below grade it requires a 6-mil poly film with taped, overlapped seams underneath. A manufacturer is telling you the plank alone doesn’t stop water from below.
Then the volume. A burst washer supply line runs until someone closes the valve. Big Dog Restoration puts it at more than 300 gallons an hour, while RCS Builders puts it closer to 650 gallons an hour at full line pressure. They assume different pressures, so keep both numbers. The leak that ruins floors, though, is usually the slow one nobody sees for hours, found when the baseboard swells.
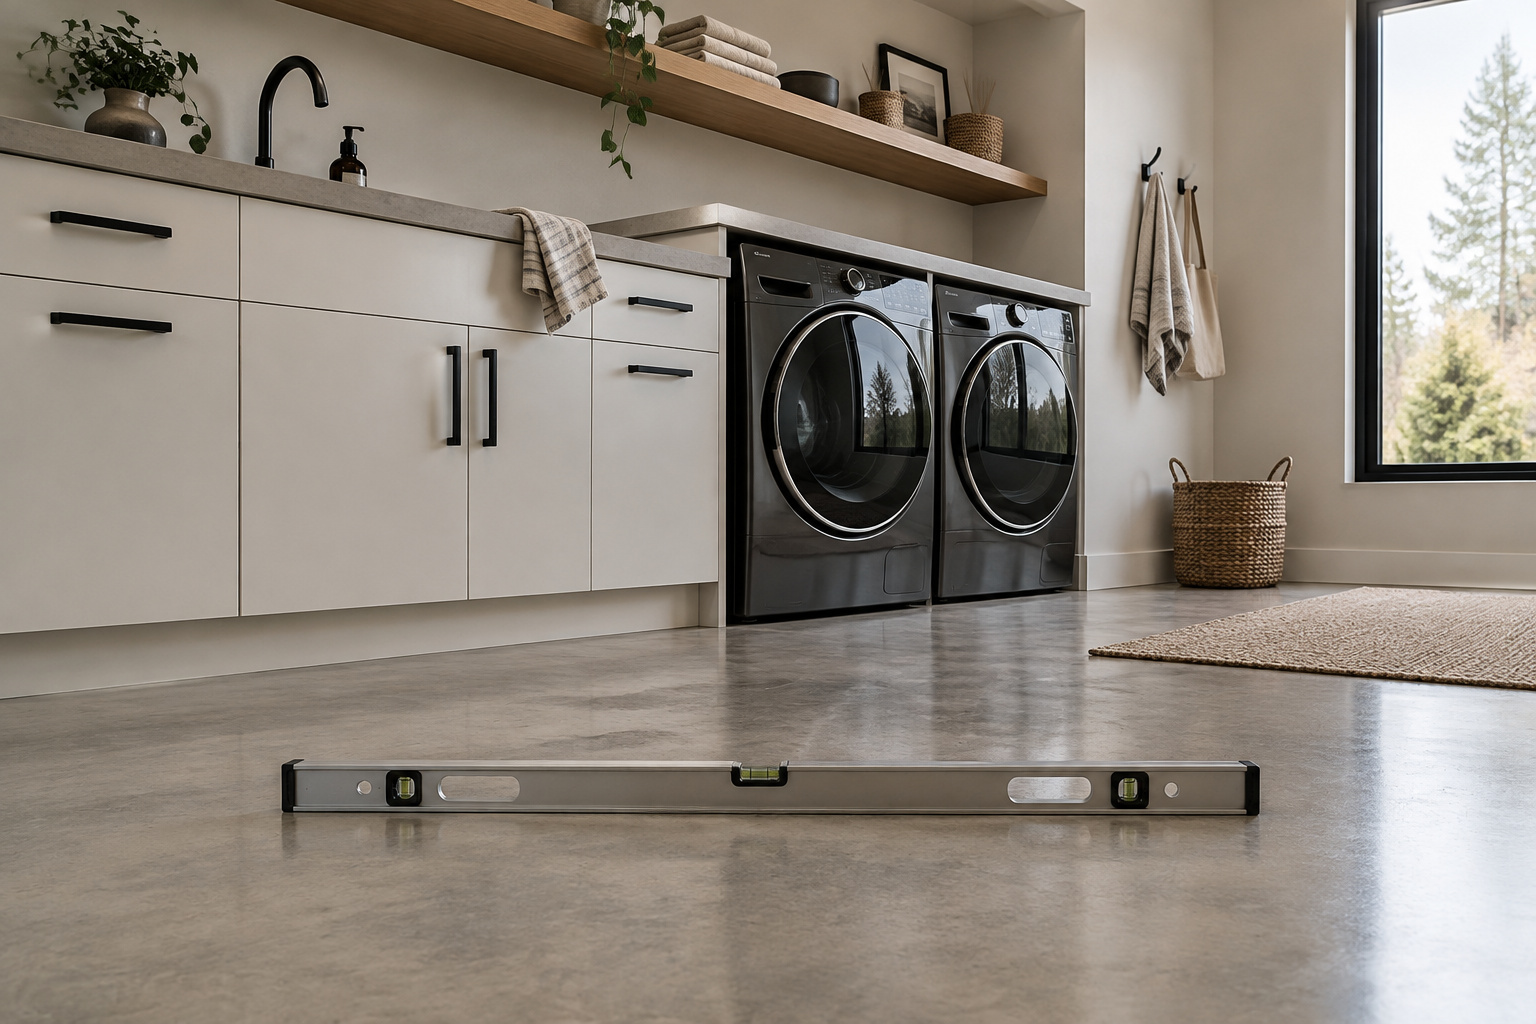
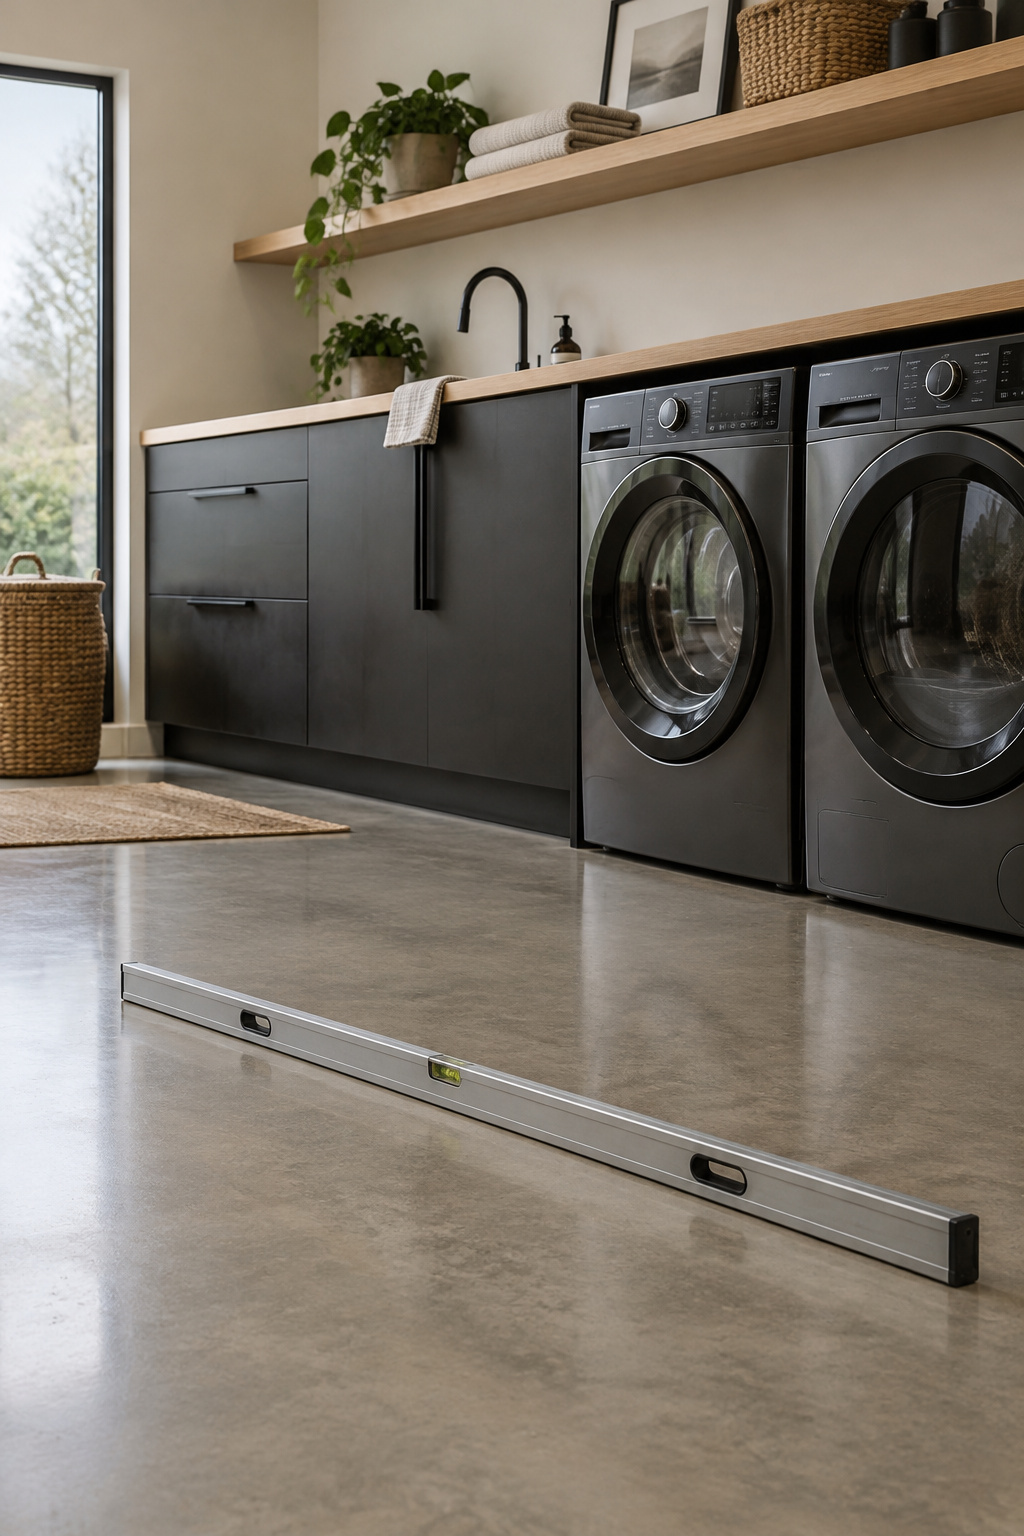
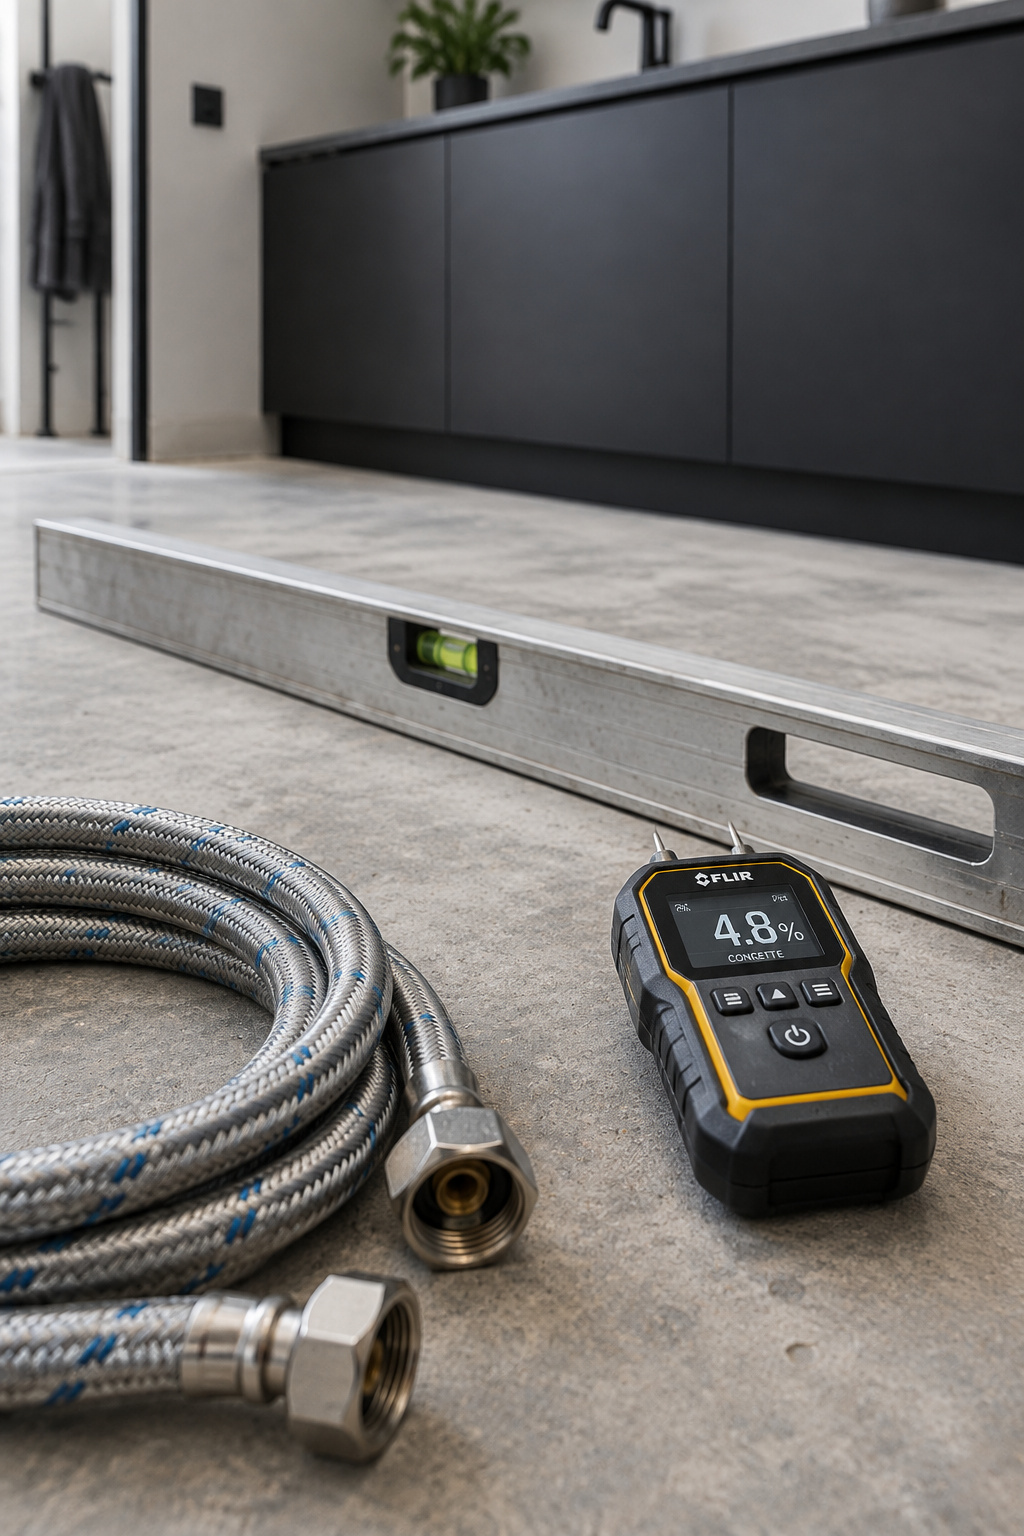
So the question stops being “is the plank waterproof?” and becomes “where can water get under this floor, and what’s under it when it does?” That’s why a straightedge, not a sample, is the first thing I put down in any laundry room, and why the grey slab dust on its edge tells me more than the showroom did.
Five Laundry Room Flooring Ideas Compared on Water, Cost and the Modern Look
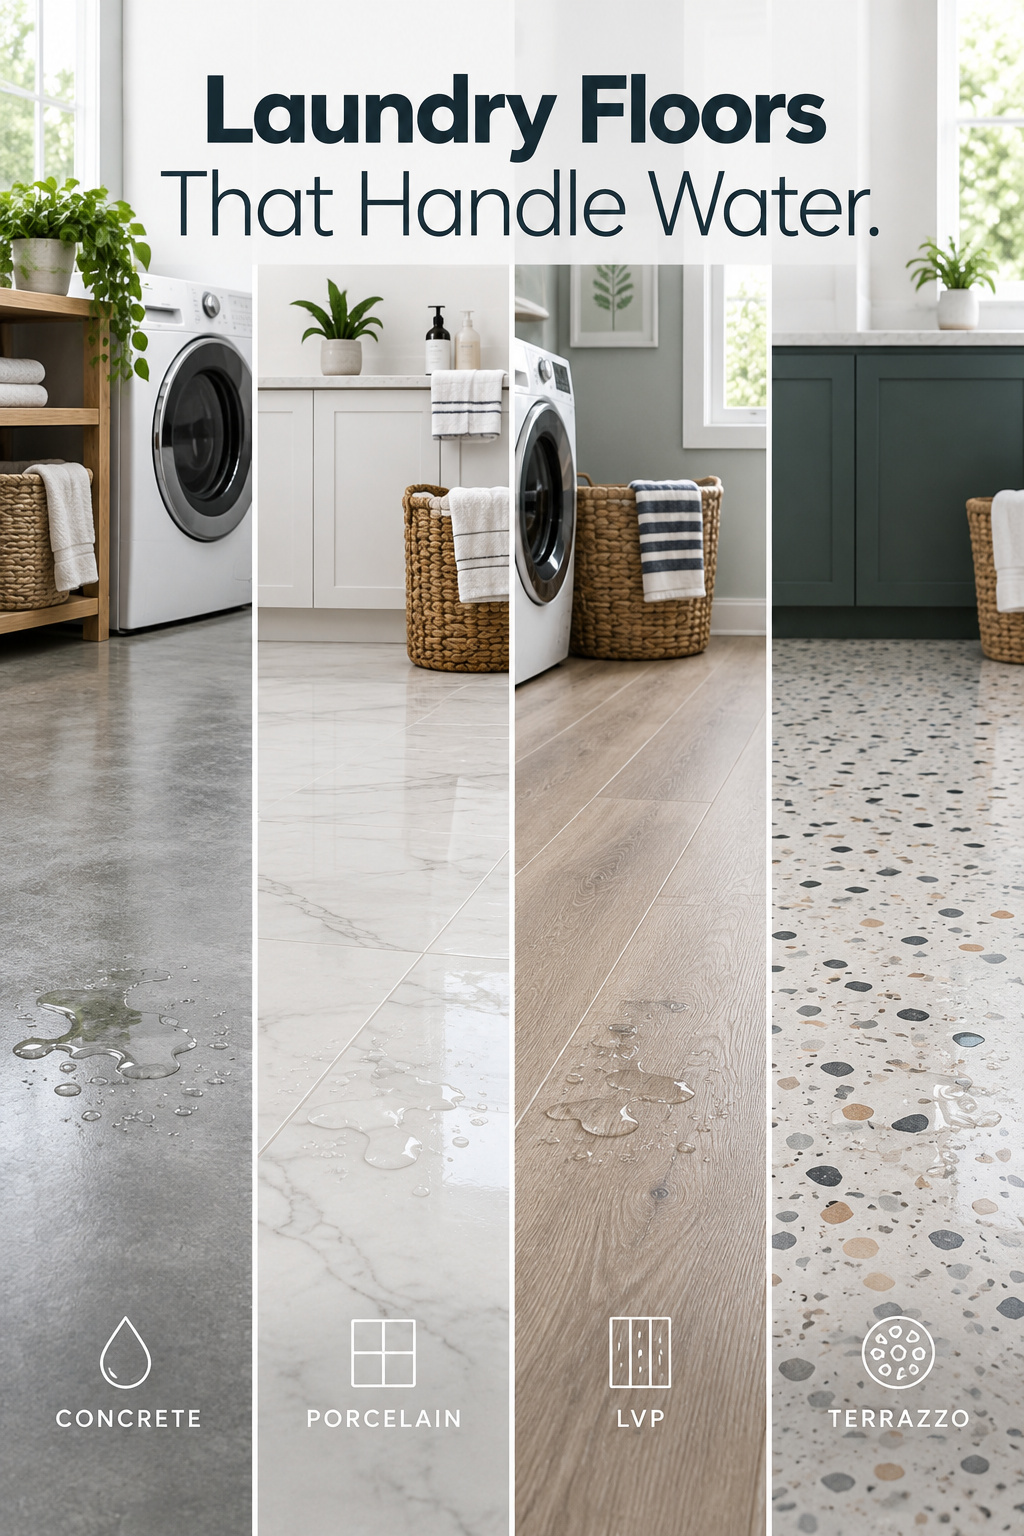
These five floors make sense in a modern laundry, compared on what decides a wet room. Costs are installed unless marked.
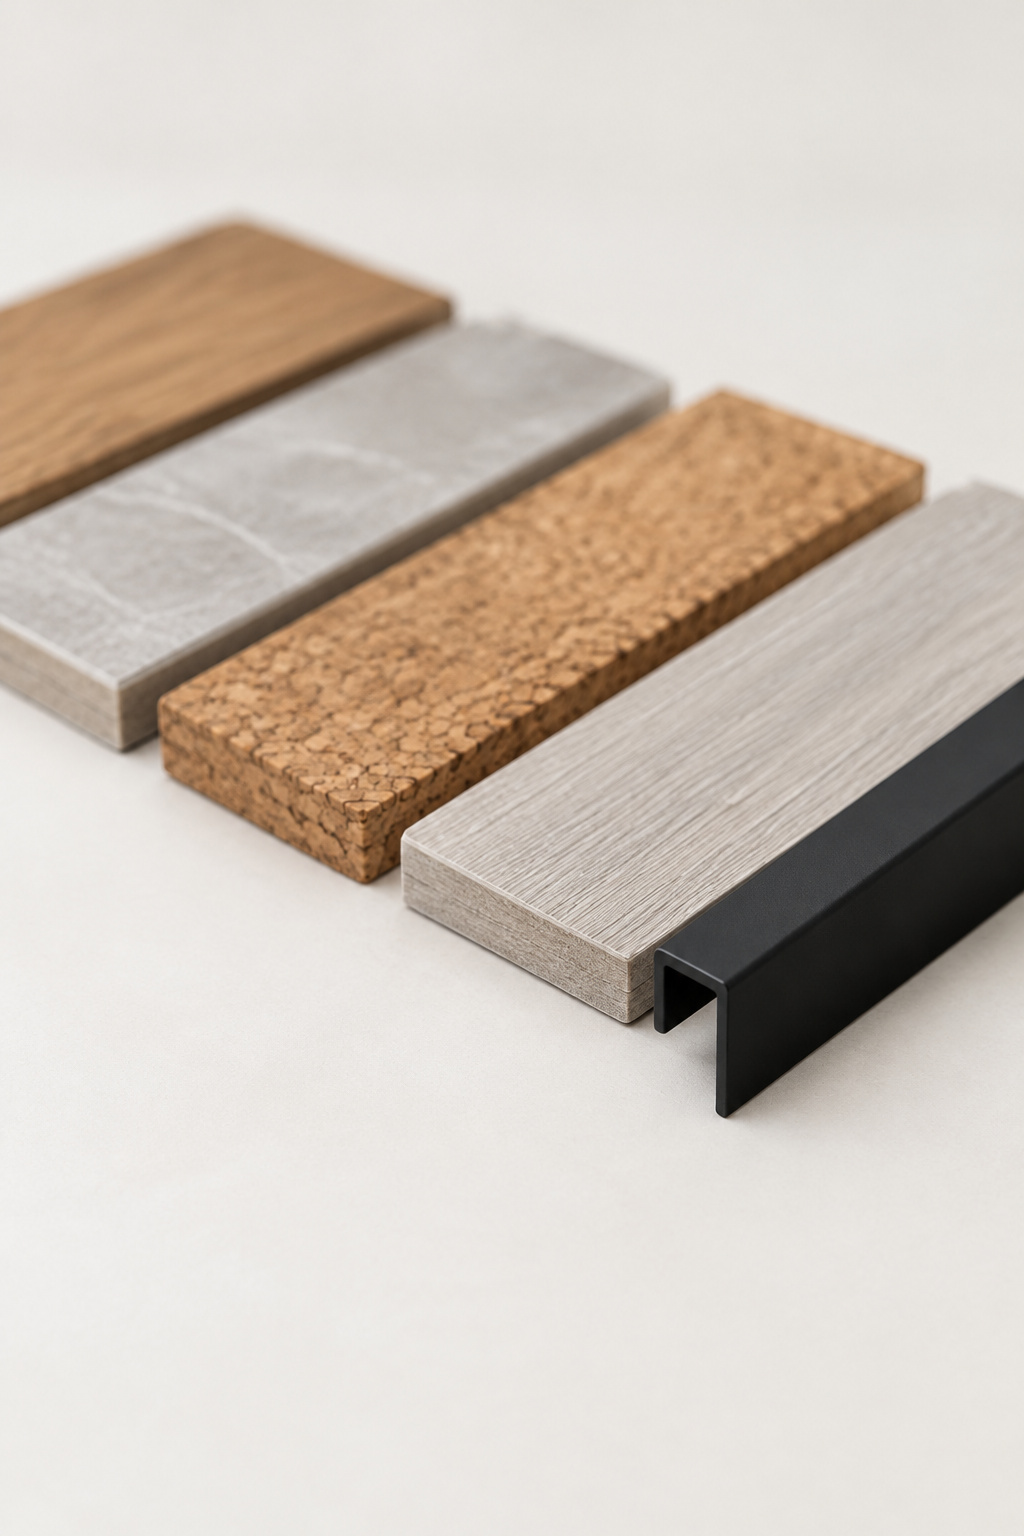
| Floor | Where water gets in | Cost per sq ft | Rating to ask for | DIY level |
|---|---|---|---|---|
| Porcelain tile | Grout joints; the tile itself absorbs 0.5% or less | $15–$50 (HomeGuide porcelain page) | PEI 3; wet DCOF ≥0.42 | Confident builder |
| LVP, click-lock | Every seam that isn’t fully locked | $4–$16 (HomeGuide general guide) | Wear layer in mil | Some builds |
| LVP, glue-down | Edges only; no open seam path | $4–$16 (HomeGuide general guide) | Wear layer in mil | Confident builder |
| Sheet vinyl | Perimeter only; no field seams in a room this size | $2–$7 (HomeGuide vinyl page); 10–25 years | — | Confident builder |
| Sealed concrete | Surface wear; slick when wet | $1.00–$1.75 to apply | — | Some builds |
| Polished concrete | Resists slip and moisture failure | $3.50–$5.00 | — | Hire it out |
| Terrazzo | Very little, once sealed | $15–$35 tile / $20–$70 poured (HomeGuide); up to $30–$120 cement | — | Hire it out |
A few cells need a sentence each.
Porcelain. It sits in ANSI A137.1’s “impervious” class, the tightest of four. Two HomeGuide pages price it differently. The porcelain page says $15–$50 installed (material $3–$20), and the general flooring guide says $10–$50 for porcelain and ceramic lumped together. They answer different questions, so keep them apart. Ask for PEI 3, not 4: independent charts from The Spruce and Conestoga Tile put Class 3 at “all residential applications” and reserve Class 4 for entries, kitchens and light commercial grit. A laundry sees socks, not boots. For slip, ANSI A326.3 sets its “Interior, Wet” class at a minimum wet DCOF of 0.42. The standard names home interiors, kitchens and bathrooms, not laundry rooms, so I’m applying it by analogy, since a laundry floor gets wet the way a bathroom does.
LVP. Wear layers are quoted in mil and planks in mm, and 1 mm is about 40 mil, so a 0.5 mm wear layer is 0.5 × 40 = 20 mil, nearly double a 12-mil layer. Twenty mil is Mill Creek’s minimum for an entryway or mudroom under grit, and a laundry can run thinner. The bigger choice is click versus glue. Glue-down bonds the whole floor to the substrate and leaves no seam path underneath.
Concrete. Sealed is cheap, slippery when wet and hard to fix once scratched. Polished costs more and resists both.
Terrazzo. No single number holds: HomeGuide, an independent 2026 guide ($18–$85 epoxy, $30–$120 cement) and regional labor swings of 10–30% disagree at the top. Get a local quote.
For a leak-prone room I’d pick sheet vinyl on a budget, glue-down LVP in the middle and porcelain if you’ll pay for it. Click-lock is fine where a leak shows fast and wrong where it doesn’t.
Hardwood and Laminate: The Honest Verdict
Wrong room. Under a washer both fail the same way: they swell, and the swelling doesn’t come back out.
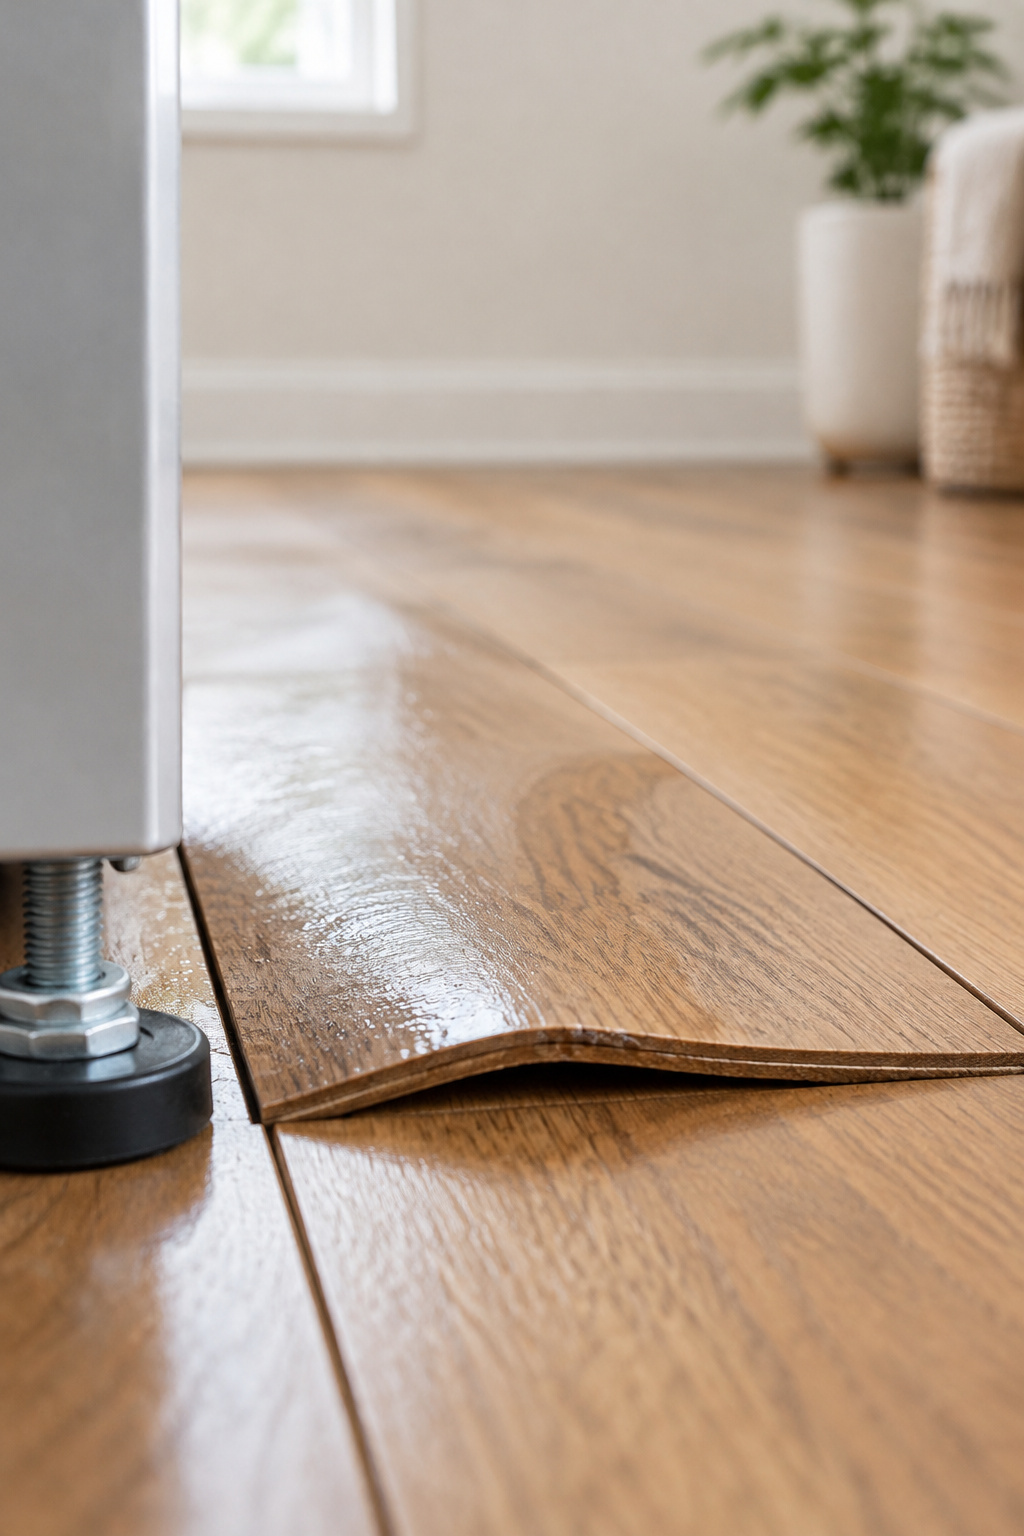
Standard laminate seams start to swell once standing water sits for about 30 minutes, and appliance leaks, not mopping, are its classic failure. A 2022 Travelers report, cited by the Wood Floor Conservancy, found non-weather water damage from household appliances behind 19% of home insurance claims. Those leaks do their harm by being slow and undiscovered, so the floor fails on the day somebody notices the cupping, not on the day of the leak.
Hardwood can be refinished, and that’s where cost per year matters. A standard refinish runs $3–$8 per sq ft, and once the damage includes cupping it’s $6.00–$8.50 or more.
Here is my sum: one cupping refinish in five years at $6.00–$8.50/sq ft works out to $6.00 ÷ 5 = $1.20 to $8.50 ÷ 5 = $1.70 per sq ft per year, on top of whatever the hardwood cost to install. A one-time LVP install at $4–$16/sq ft spread over the same five years comes to $0.80–$3.20 per sq ft per year, and nothing recurs. Read it as directional only, not a full cost-of-ownership model.
My verdict is no hardwood or standard laminate under a washer. If you love wood, put it on the cabinet fronts and shelves instead, and read where wood does belong in a laundry room before you choose a species.
Floor Height Under the Machines and the Counter
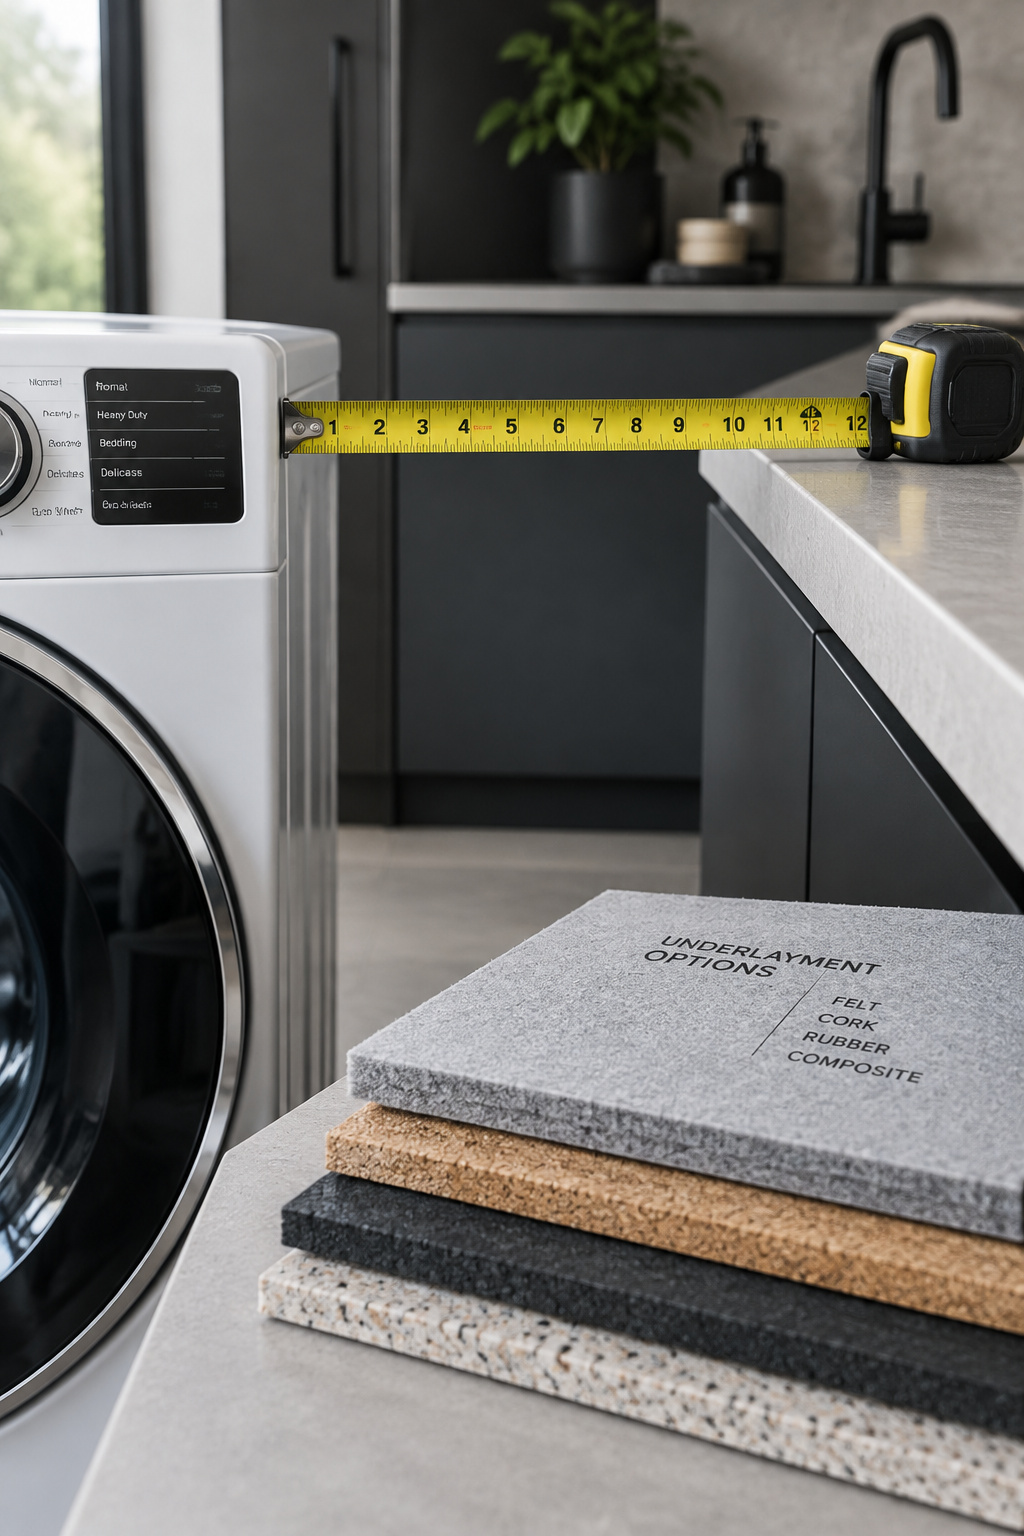
A new floor raises everything sitting on it. In kitchens, a thicker floor can lift the level by roughly 3/8 to 3/4 inch, enough to stop a dishwasher fitting back under the counter. The same arithmetic applies here by analogy: if a counter runs over the washer and dryer, the new floor comes out of the gap between machine tops and counter underside.
Before you order anything:
- Measure the current gap from each machine’s top to the counter above it.
- Check whether the leveling feet are already wound all the way down, because then you have nothing left to give.
- Add the new floor’s total thickness, underlayment included, and subtract.
Flatness depends on the material you picked. ASTM F710 lets resilient flooring (vinyl and LVP) sit on a subfloor that deviates by no more than 3/16 inch over 10 feet. Large-format tile, meaning any side 15 inches or more, needs 1/8 inch over 10 feet, because rigid tile can’t flex over a dip the way vinyl can.
Drain pans and floor drains aren’t flooring decisions, but a basement slab is a flooring factor, and it’s why the next section exists.
The One Check Before Any Floor Goes Down
Skip this check and the material choice doesn’t matter. Every warranty quoted above excludes moisture from below, and ASTM F2170 tells you whether that moisture is there. The standard exists because “excessive moisture in floor slabs after floor covering has been installed can cause floor covering system failures such as debonding, peaking and deterioration.” That’s the failure the warranties carve out.
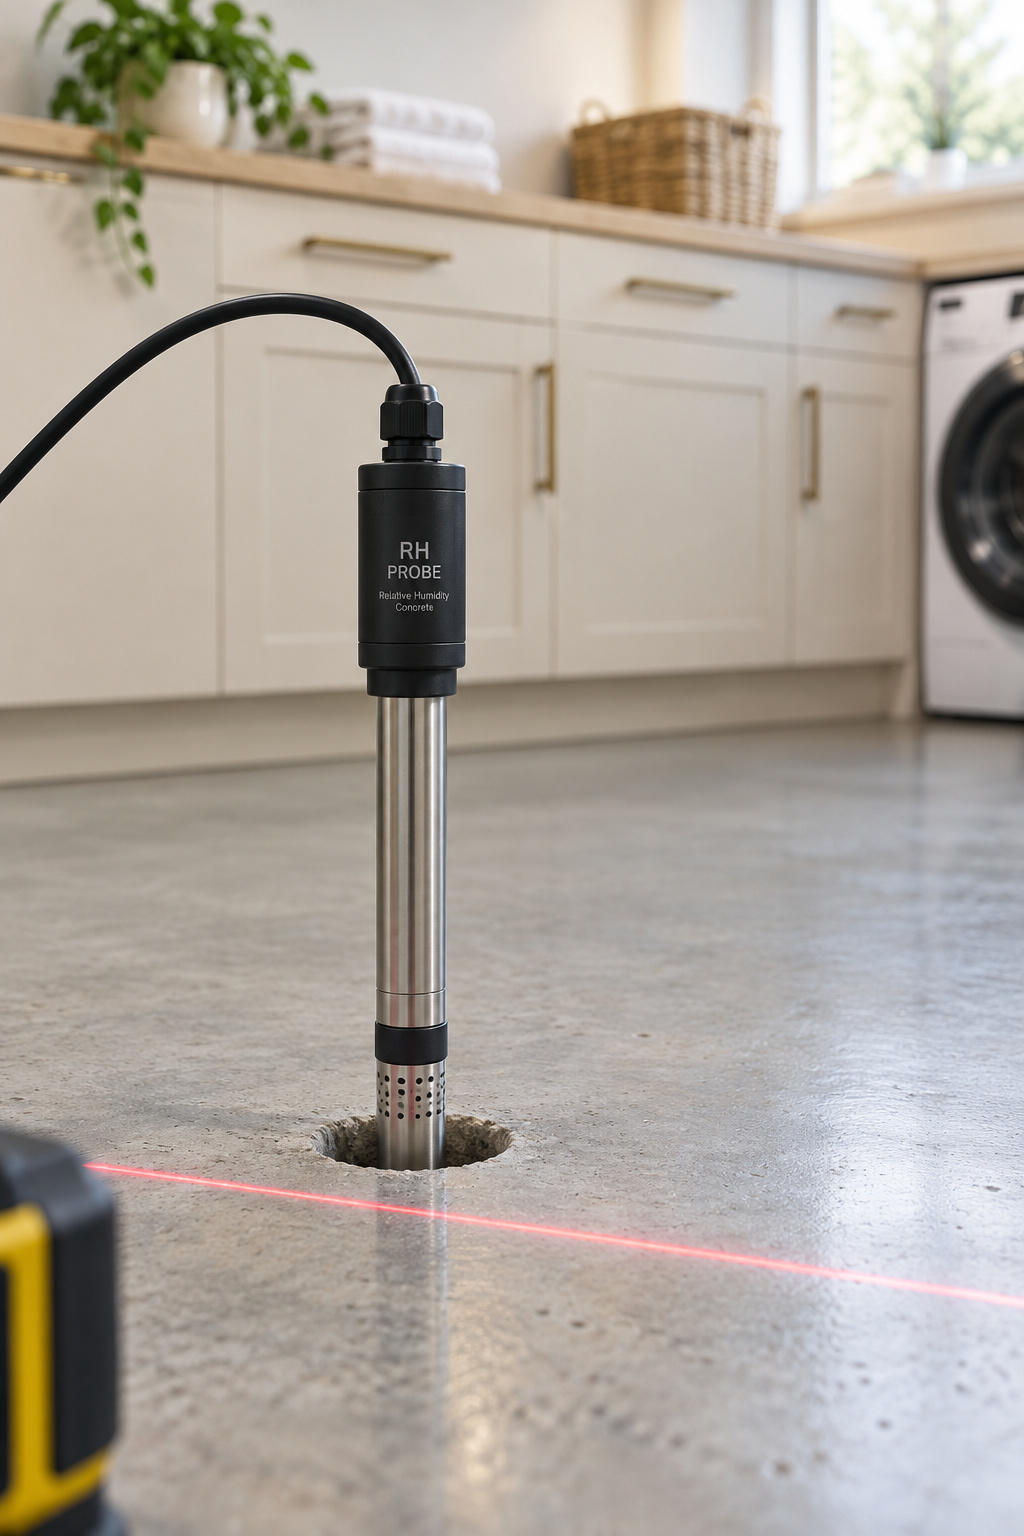
On a concrete slab, the check goes like this:
- Run a straightedge across the slab in several directions and mark any dip beyond your material’s F710 tolerance.
- Drill at least three test holes for the first 1,000 sq ft (one more per extra 1,000 sq ft).
- Drill to 40% of slab thickness if the slab dries from the top only, or 20% if it dries from both faces.
- Set the in-situ probes, then wait out the 24-hour equilibration before you read.
- Compare the readings with your flooring manufacturer’s written limit before you buy.
Budget the day, since the waiting is the boring part and people skip it.
Here’s the mistake. The slab looks dry and somebody reads the probe early because the flooring is already in the garage and the weekend is running out. The reading is wrong, the floor goes down, and later the planks peak along the seams while the warranty points at the exclusion you didn’t test for. Recovery means lifting the floor and doing the whole job again. A reading describes only that hole at that depth, so one dry-looking corner can’t stand in for the room.
Do this first even if you’re after a bold pattern, because it’s the prep behind the graphic black-and-white floor this checklist sets up.
The Professional’s Short List
Three rules cover everything above.
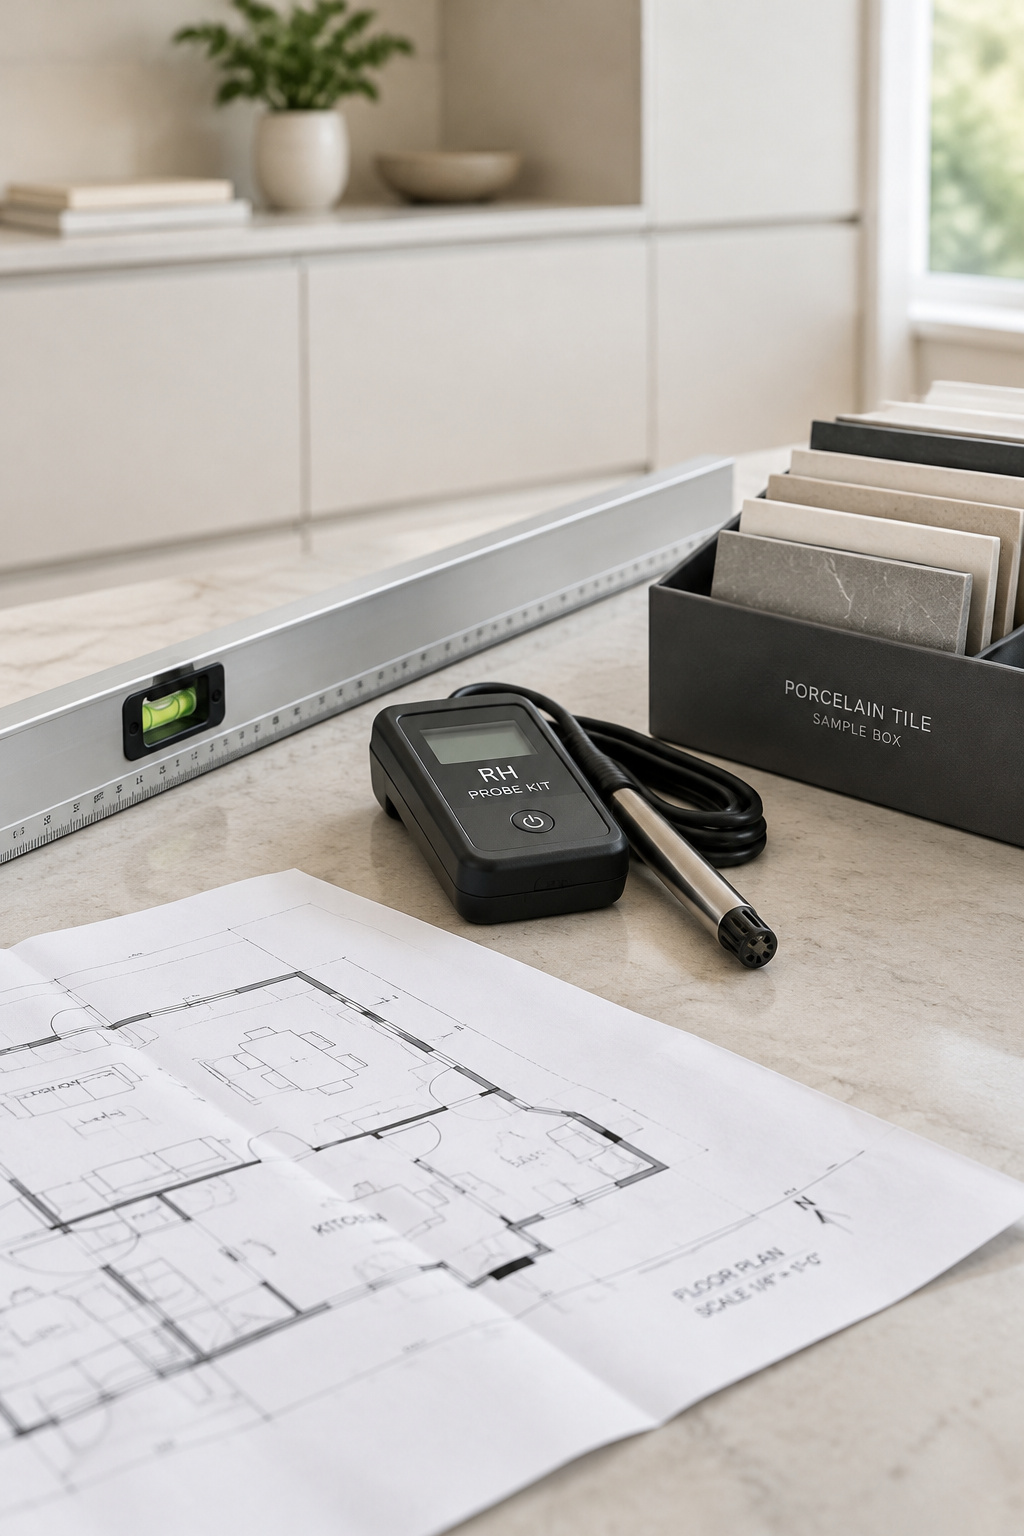
Test before you buy. An F2170 moisture test and an F710 flatness check are what the warranties assume already happened.
Budget for the trim-out. A floor that adds 3/8 to 3/4 inch can mean new toe-kick trim, shims or re-leveled machines. None of that is on a per-square-foot quote.
Don’t trust the box. “Waterproof” describes the plank’s core. Pick by where water gets in, with the fewest seams you can afford over a slab you’ve measured.
Avoid click-lock anywhere a leak could run unseen for hours, and skip PEI 4 tile if you’re paying extra for it and don’t need it. The floor is one layer of modern laundry room design, the layer that has to survive the rest, and it can’t manage the leak itself. Drain pans, shutoff valves and floor drains are covered in the site’s second-floor laundry flood-prevention article, in the upstairs laundry room series, and that’s where your next hour goes.
FAQ
Can you put a regular vinyl floor in a laundry room?
Yes. Sheet vinyl installs at $2–$7 per square foot, lasts 10–25 years with maintenance and has no field seams in a room this size, so it’s a real option, not a compromise. Click-lock LVP also works, but its warranty covers spills on top only, so every seam must be fully rolled and locked.
Does a laundry room floor need to be sloped to a drain?
Not as a flooring decision. Slope, floor drains and drain pans are drainage questions, and they’re covered in the site’s second-floor flood-prevention article not here. Your floor’s job is simpler: be flat enough for the material you chose, with as few seams as possible, over a slab you’ve tested for moisture.
What flooring holds up best in a basement laundry room?
Porcelain or glue-down LVP. Porcelain absorbs 0.5% or less water, and Provenza requires a taped 6-mil poly barrier under its LVP over concrete. Either way, run an ASTM F2170 test first. I’m applying its general hole-depth rule here, since no source I have addresses basement laundry slabs specifically.