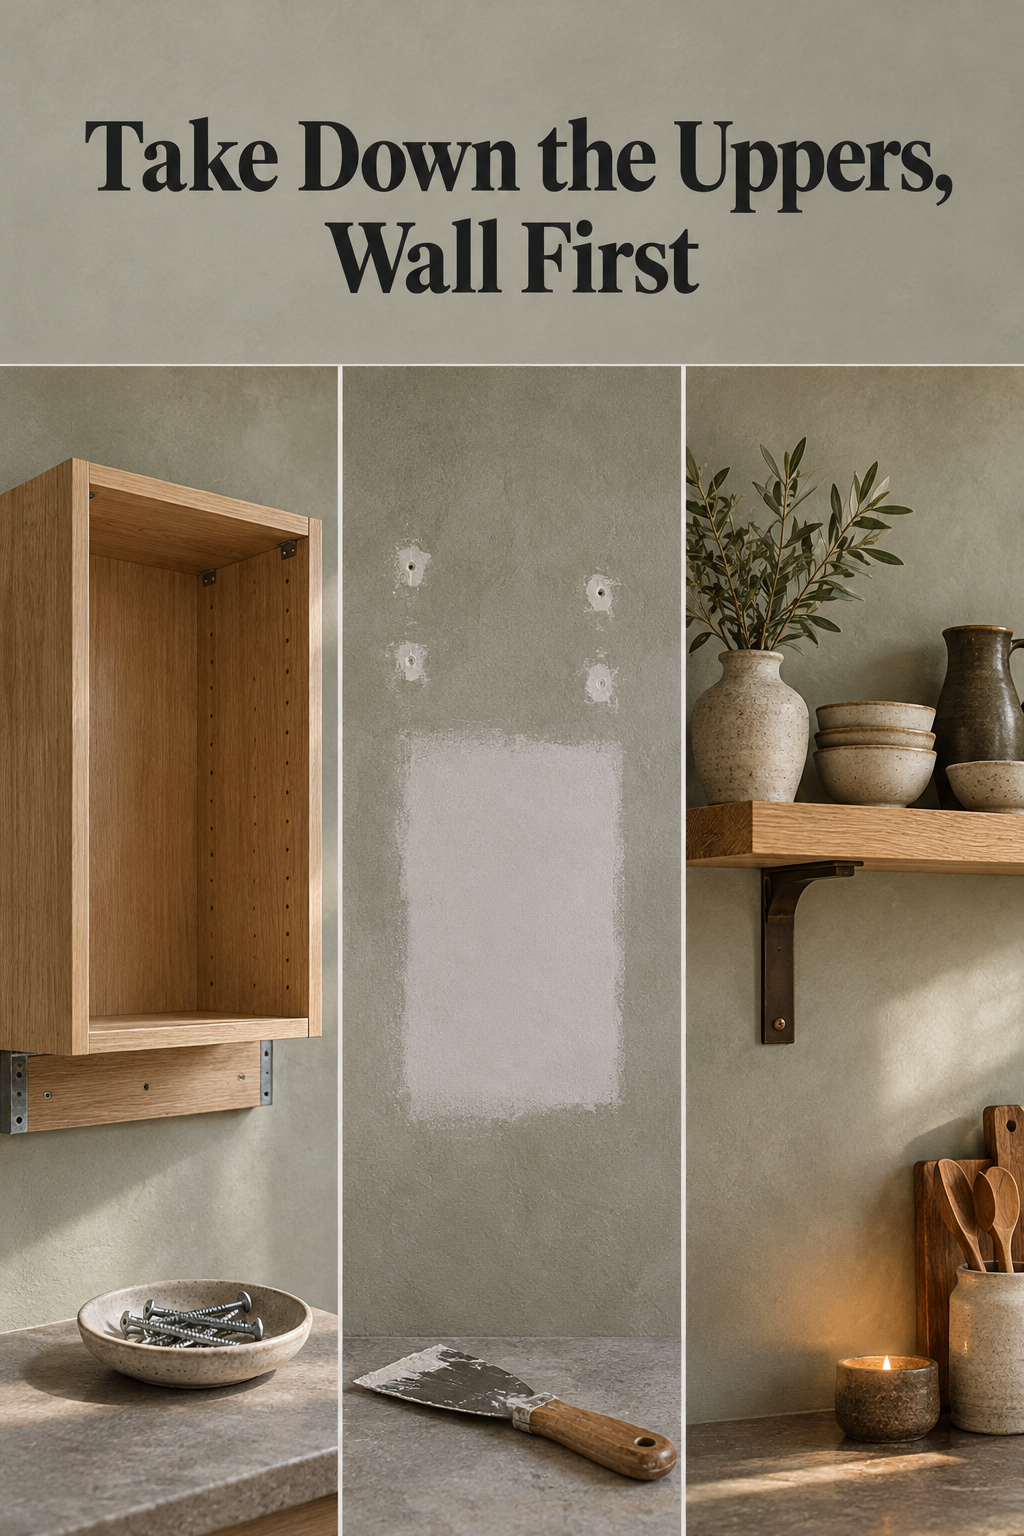
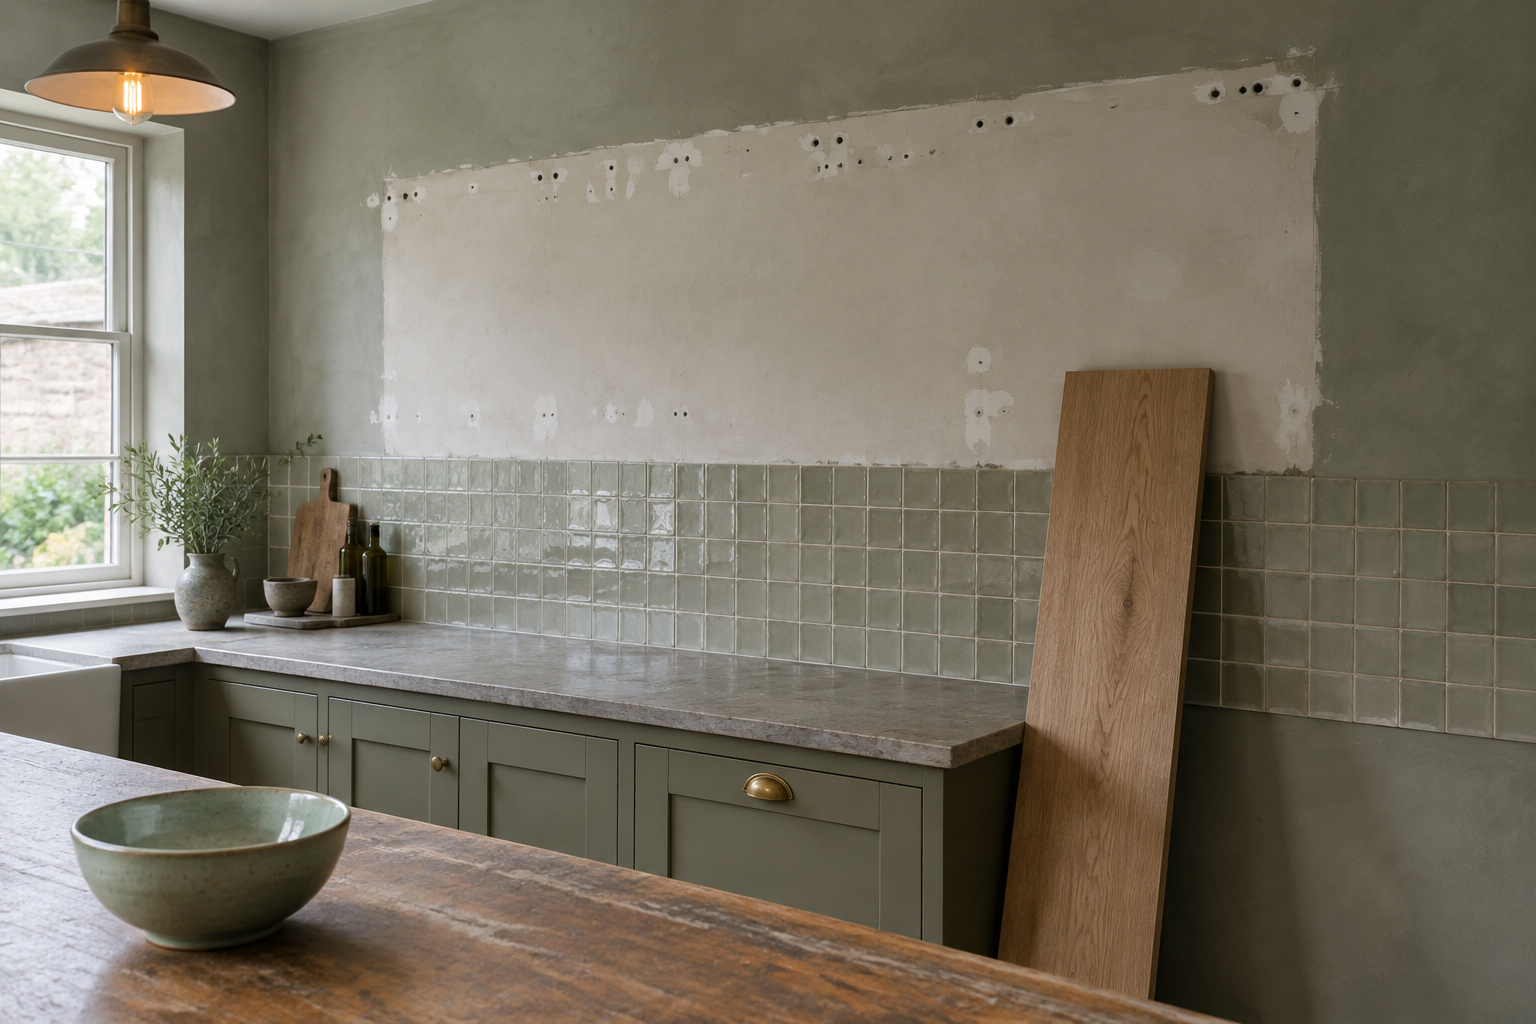

The wall behind your upper cabinets is the worst-finished wall in the house. Nobody expected to see it again. The installer drove long screws through it, sometimes added construction adhesive, and in plenty of kitchens the painter simply worked around the boxes. Replacing upper cabinets with open shelving hands that wall back to you, at eye level, in daylight. The boxes are the easy part. The wall is the job, and it decides whether the shelves look as if they belong there.
TL;DR
- Start with the quiet run: nothing wired inside it, nothing hanging from it, no tile tied into it. Leave the cabinet over an over-range microwave alone, because the microwave is bolted to it.
- Turn off and test the circuit, empty the boxes, get support underneath before the last screw, and pencil the studs on the wall as each box comes off.
- An 8 ft run costs roughly $320 to $660 to have removed, patched and repainted, or about $60 to $70 in materials if you do the wall yourself.
The Worst-Finished Wall in the Kitchen
Wall cabinets have been about 12 in deep for a long time. My partner teaches high-school history and argues with me about dates on principle, so here is one we can both live with: in 1949 a University of Illinois Small Homes Council study of factory-made cabinets was already charting wall cabinets at about 12 in deep, at a time when, by its own account, there were no universally accepted standards for planning a kitchen. They still are, in heights of 30, 36 or 42 in.
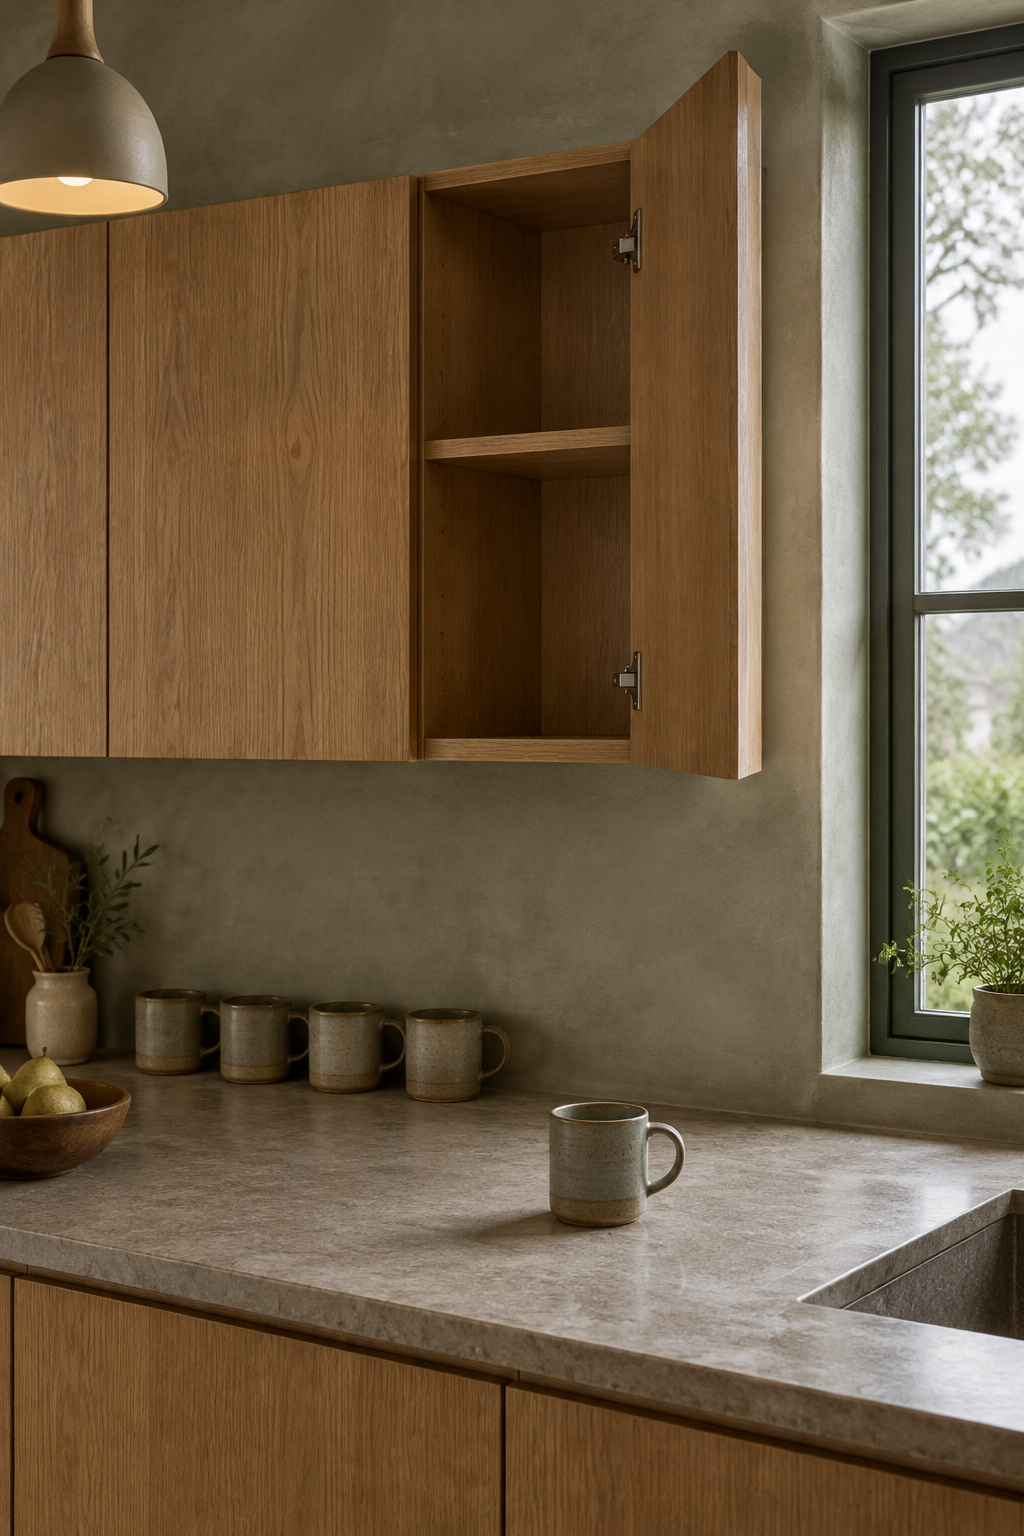
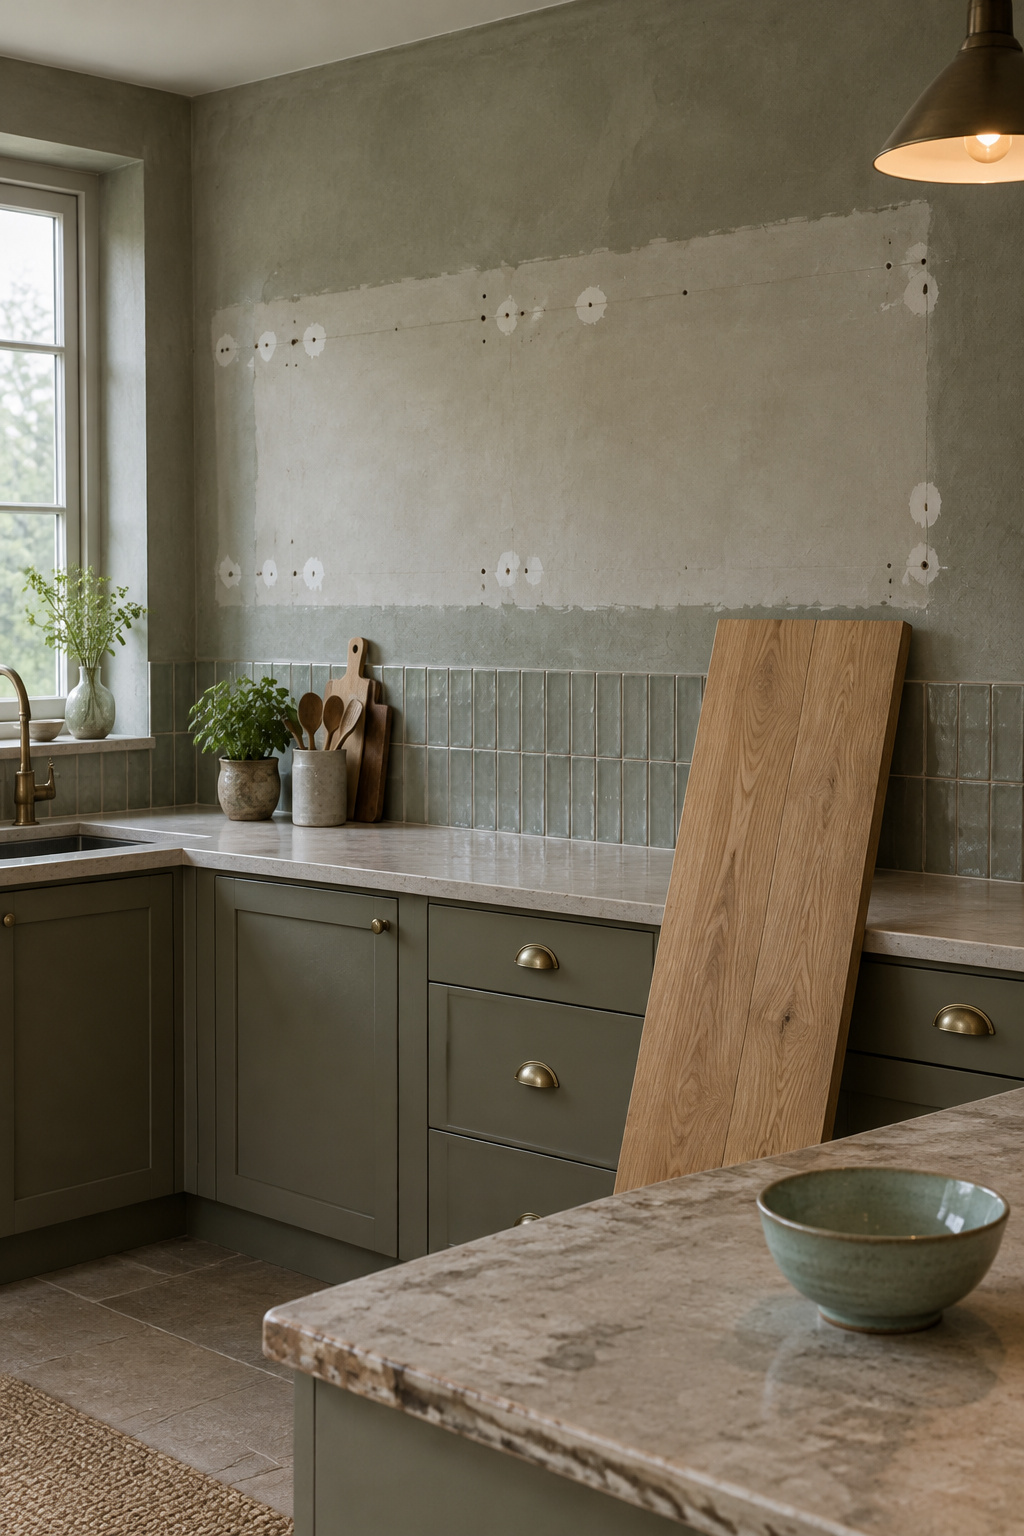
Picture four flat-front uppers beside a window, 8 ft long and 30 in tall. Take them down and you are looking at 20 sq ft of plaster or drywall that has spent its whole life in the dark. A drywall contractor who sees this damage weekly calls that wall “rarely in usable condition,” and I have never had cause to argue. Expect screw holes, torn paper where adhesive let go, raw drywall, and a rectangle in a color the rest of the room has never met.
None of that is a reason to keep the cabinets. It is a reason to plan the wall before the shelves.
If you only want plates within reach, taking the doors off one run is a far smaller job, covered in the cottage kitchen budget makeover. Taking the boxes off the wall commits you to the wall as well.
Which Run Comes Down First, and Which One Stays
Everyone wants to start with the ugliest run, and the ugliest run is usually the one over the stove. Leave it. Start with the run that does nothing but hold dishes.
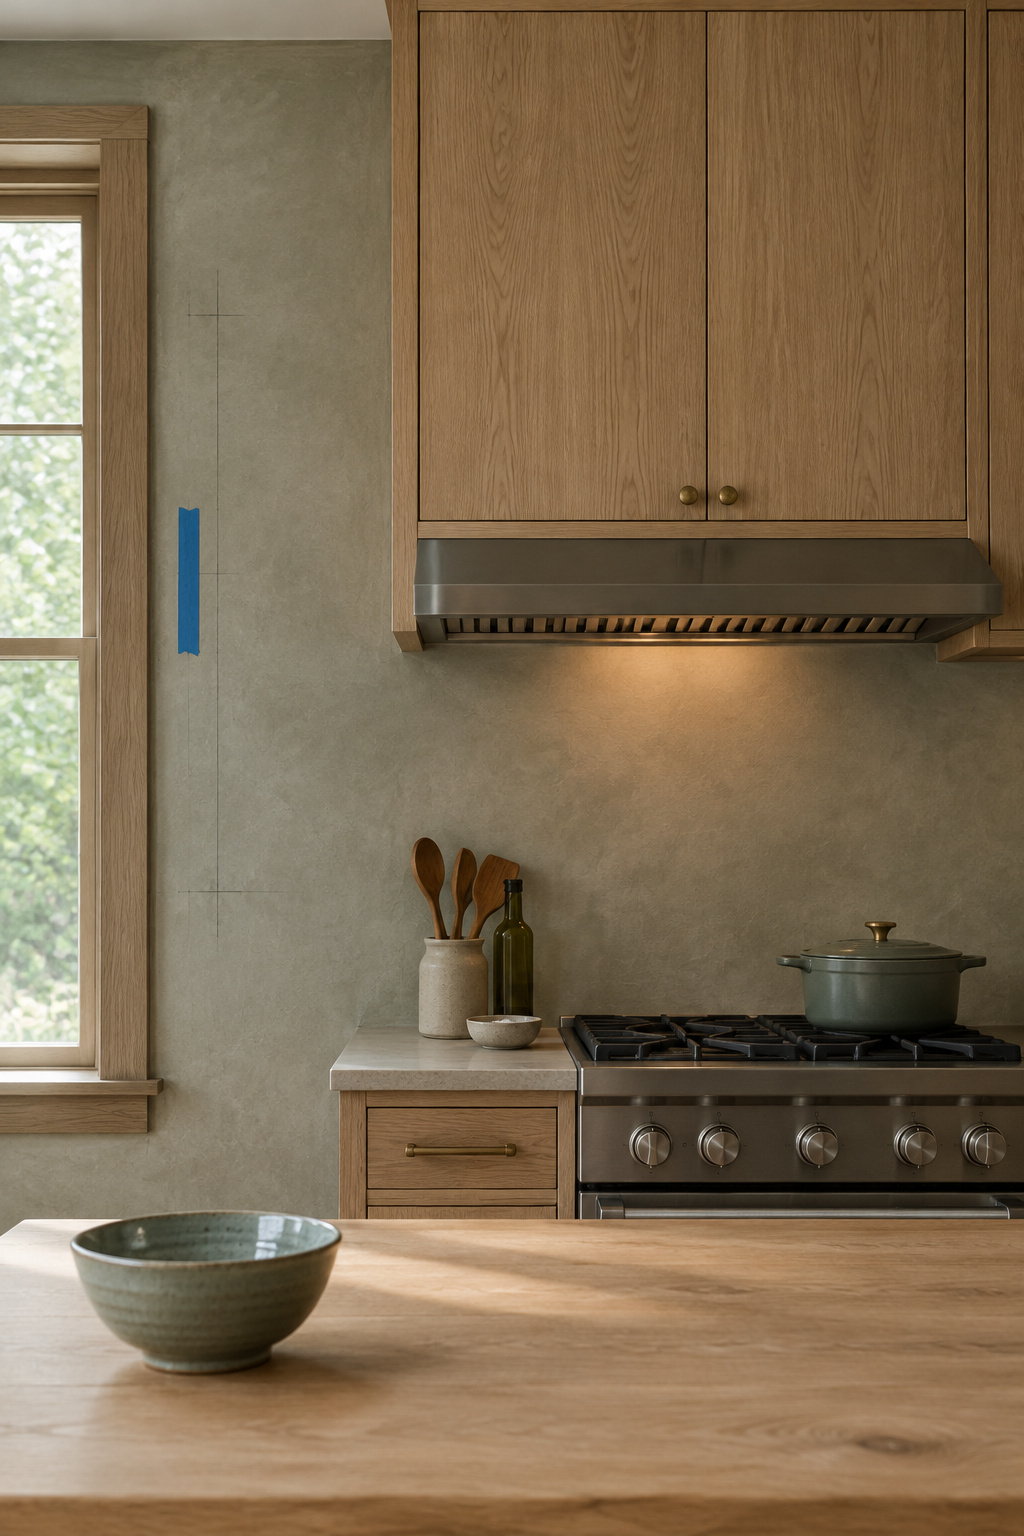
Open every upper first. Let’s see what it’s made of. An outlet or a light inside a cabinet, or a cabinet tied into the tile backsplash, is what adds time and cost to taking it down. A run with none of those is cheap and low-risk, and it shows you how your cabinets were hung before you touch anything difficult.
You might expect a restorer to argue for keeping everything. Kitchens are the one room where modern function should usually win, and that cuts both ways. It is why I am glad to see boxes come down for shelves you will actually use, and why the cabinet over an over-range microwave stays exactly where it is. That box is half of the microwave’s mounting. Summit’s installation instructions say its microwave “must be mounted to BOTH a top cabinet AND a wall,” and they put the outlet box inside the cabinet above. Bolts usually run down through the cabinet floor into the top of the appliance, and Summit’s unit weighs 50 to 70 lb. Take the box away and the microwave loses one of its two mounting points.
A range hood may be wired or vented through the box above it as well. Open it and look.
| Run | What is usually attached | What to do |
|---|---|---|
| Beside a window or at a run end, nothing inside | Rail screws into studs, perhaps a caulk line | Take down first |
| Fitted with under-cabinet lights or an outlet | A circuit running into the box | Wait for an electrician |
| Above an over-range microwave | Bolts into the microwave, outlet inside | Leave in place |
| Above a hood | Wiring or venting, often | Leave in place until you have looked |
| The only closed upper storage you have | The things you would rather not dust | Leave in place for now |
I like a run beside a window or at a wall’s end: easiest to read, least tangled with its neighbors. The new boards needn’t follow the old cabinet line; decide where the new shelf line should sit for the hands that will reach for those plates.
Taking the Boxes Down Without Taking the Wall With Them
The worst damage usually happens at the last screw. Until then the cabinet carries itself. After it, every pound sits on whatever you put underneath. There is always one screw somebody painted over, and it is always the one you find last. Miss it and it tears a chunk of drywall off with the box.
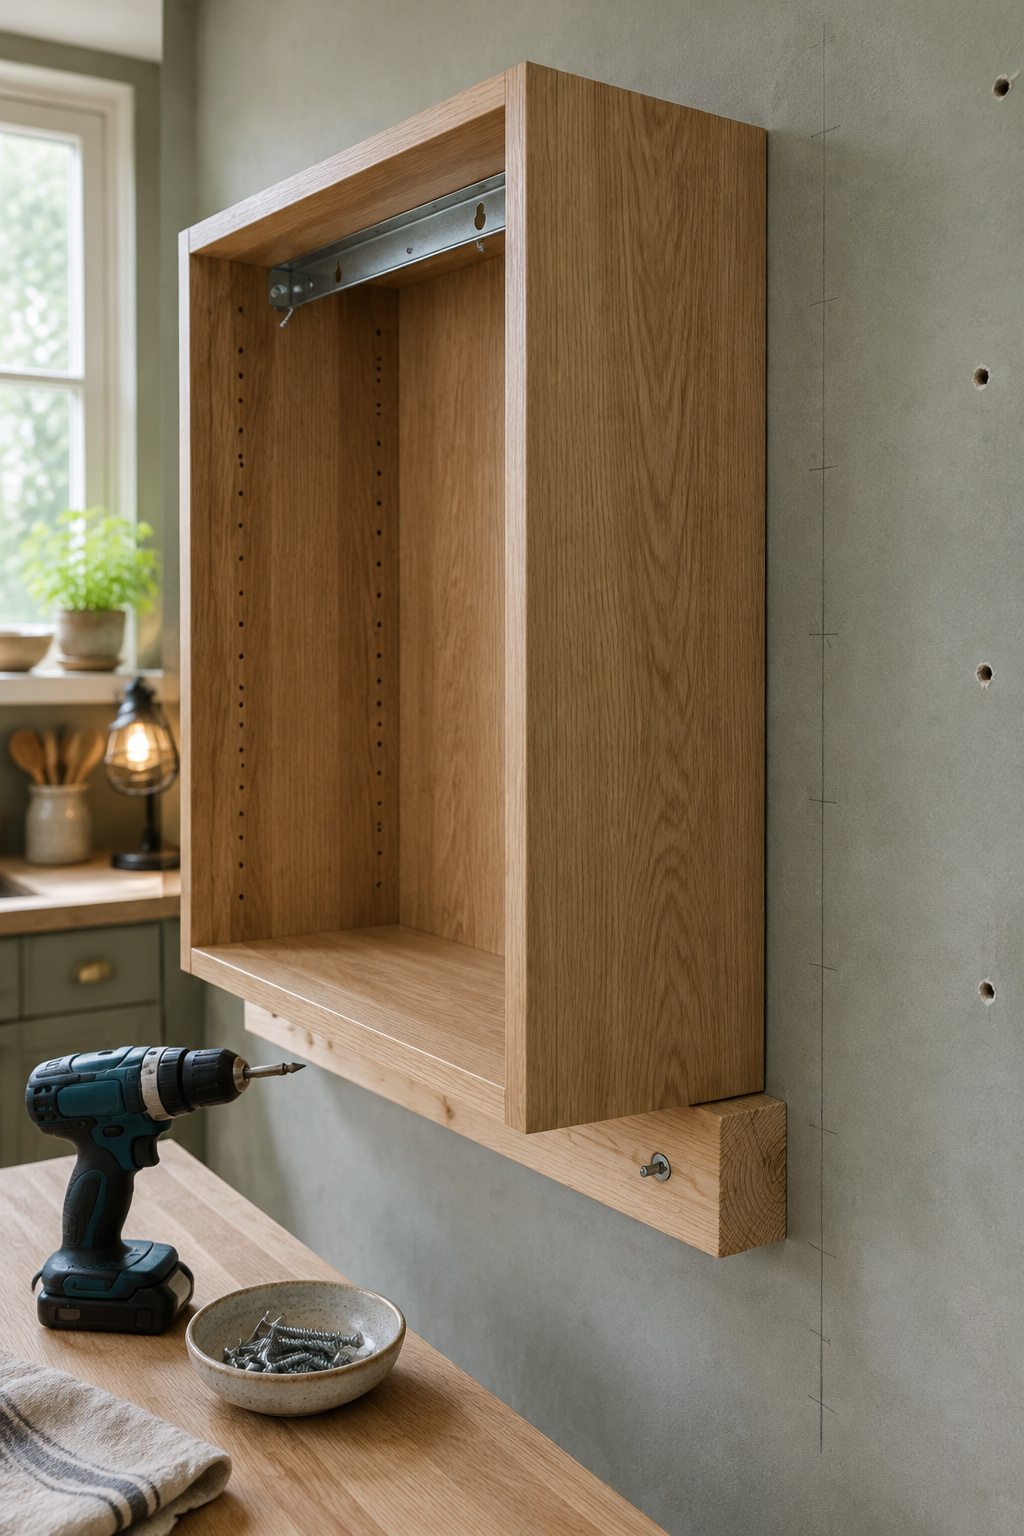
Wall cabinets hang on four or more screws each, through rails along the top and bottom of the back into the studs, with short screws joining neighbors. My order:
- Turn off the circuit for that run and confirm it is dead with a tester.
- Empty each box and take out the doors and shelves. A cabinet with loose doors can tip forward on you.
- Score the caulk and paint line along the top and sides with a utility knife, so the seal doesn’t take the drywall paper with it.
- Put support under the box: a helper’s hands, or a temporary 2×4 ledger screwed into two or three studs just below it.
- Back out the side screws between boxes, then the rail screws. Run your fingers along each rail for heads hidden under paint.
- Lower the box straight down. If it sticks, put a scrap of plywood between the pry bar and the wall. If it was glued, soften the adhesive with a heat gun first.
- Pencil every stud position on the wall before anyone fills a hole.
A light fixed under the run is a job for an electrician, who can cap it or move it. Wiring is not my trade, and it shouldn’t be your weekend experiment.
Label each box and bag its hardware with it; a cabinet that comes down whole can go to a reuse store. There is usually a salvaged door or two riding in the back of my pickup, so you can guess how I feel about cabinets that go into a dumpster in pieces.
Those old rail screws already found solid wood, and that is where choosing brackets for the new shelves begins.
Replacing Upper Cabinets With Open Shelving Means Finishing the Wall First
No board goes up until the wall behind it is done. A shelf on a half-patched wall puts your best plates in front of your worst plaster, and fixing it later means emptying the shelf.
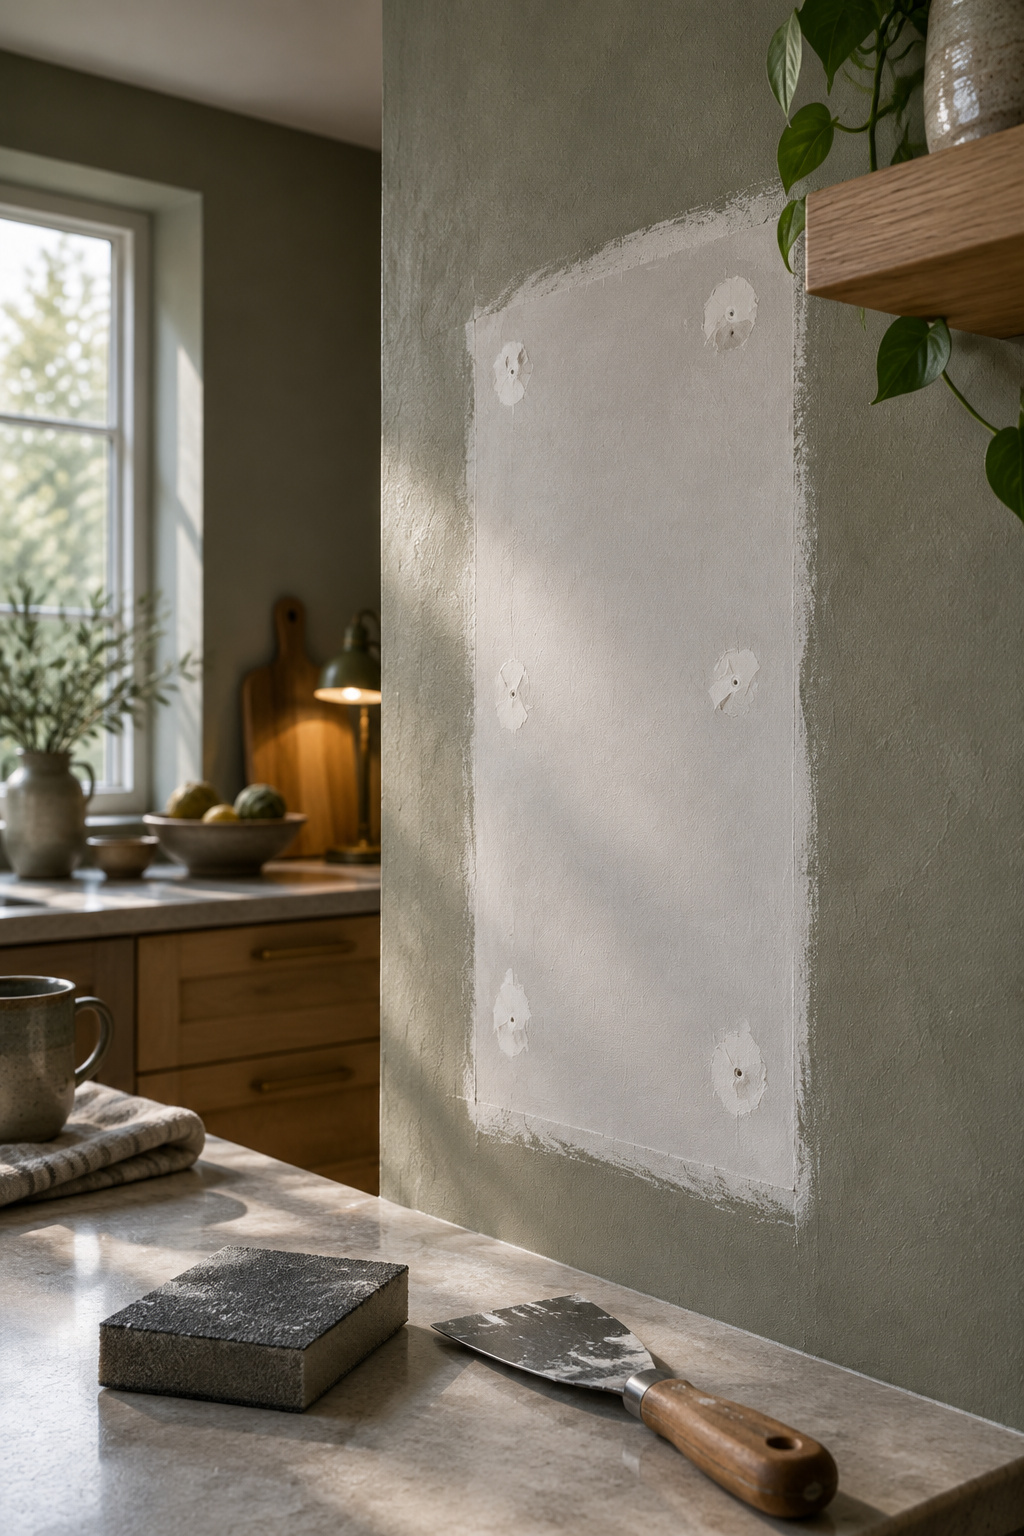
Start with a camera. I photograph every wall before I touch it: each screw and anchor hole, each torn patch of paper, each raw or oddly colored area. Those pictures are your repair plan.
For a handful of small holes, press setting-type compound in with a 4 in knife, feather a second coat 2 in past each hole, sand with 220-grit and spot-prime. When the damage covers most of the wall, stop chasing holes. Seal any torn paper with shellac or an oil-based primer, then skim coat the whole area in two thin coats, sand, and give it a night to dry.
I learned to stop chasing the slow way. I once told a client to keep a crumbling plaster wall, then spent three weekends patching it before admitting that new drywall would have been the honest choice. Old isn’t the same as original, and a wall you are patching every weekend is telling you something.
Bare compound and raw drywall drink paint unevenly, so prime first. If you use KILZ Drywall Primer, read the can: it is meant for uncoated drywall under low-sheen topcoats, and it covers 300 to 400 sq ft per gallon. Then paint the whole wall, corner to corner. Paint only the old rectangle and the patch flashes through, a pale ghost of the cabinets you took down.
Last, look at where the tile stops. A standard backsplash rises about 4 in above the counter, and now it ends in the middle of an open wall. Finish the wall above it first, then judge that top edge in daylight. If it needs to go higher, the backsplash height guide in the kitchen backsplash ideas series covers the choice.
What One 8 ft Run Costs to Take Down and Make Good
Published prices for this work are all over the place, mostly because they price different jobs.
| Cost item | Typical range | What it covers |
|---|---|---|
| Removal, per linear foot | $10 to $30, often $15 to $20 | Unscrewing and taking down; disposal may be extra |
| Upper wall cabinets, full contractor job | $700 to $2,000+ | Overhead work, fastener removal, wall protection |
| Drywall repair, small holes | $20 to $120 | The repair itself |
| Drywall repair, standalone call | $300 to $500 | The same small job once a minimum fee applies |
| Wall patching and repainting after removal | $200 to $500 | Filling screw holes and repainting |
The two drywall rows aren’t really a disagreement. Contractors typically charge a minimum job fee, so a few screw holes cost what a visit costs. On anything under 25 sq ft, ask for a flat job price. Ask too whether a removal quote includes haul-away and cleanup; a low number may only cover unscrewing empty boxes.
For the 8 ft run, removal at $15 to $20 a foot is $120 to $160. Add $200 to $500 to patch and repaint and you land between $320 and $660. That wall figure already includes the paint.
Doing the wall yourself mostly costs patience. A basic patching kit runs about $45 and a quart of paint $15 to $25, so $60 to $70 in materials before primer and disposal. At 300 sq ft per gallon, a quart of primer covers about 75 sq ft, one coat on an 8 ft by 8 ft wall. Prices vary a lot by city.
Start With One Run, Then Live With It
Take a roll of painter’s tape into the kitchen. Open every upper and look for wires, outlets and light fittings. Find the run with none of them, nothing hanging beneath it and no tile running into it, and tape it. Turn off its circuit and test it. Photograph everything. If any wire will be cut or new wire added, call your building department first.
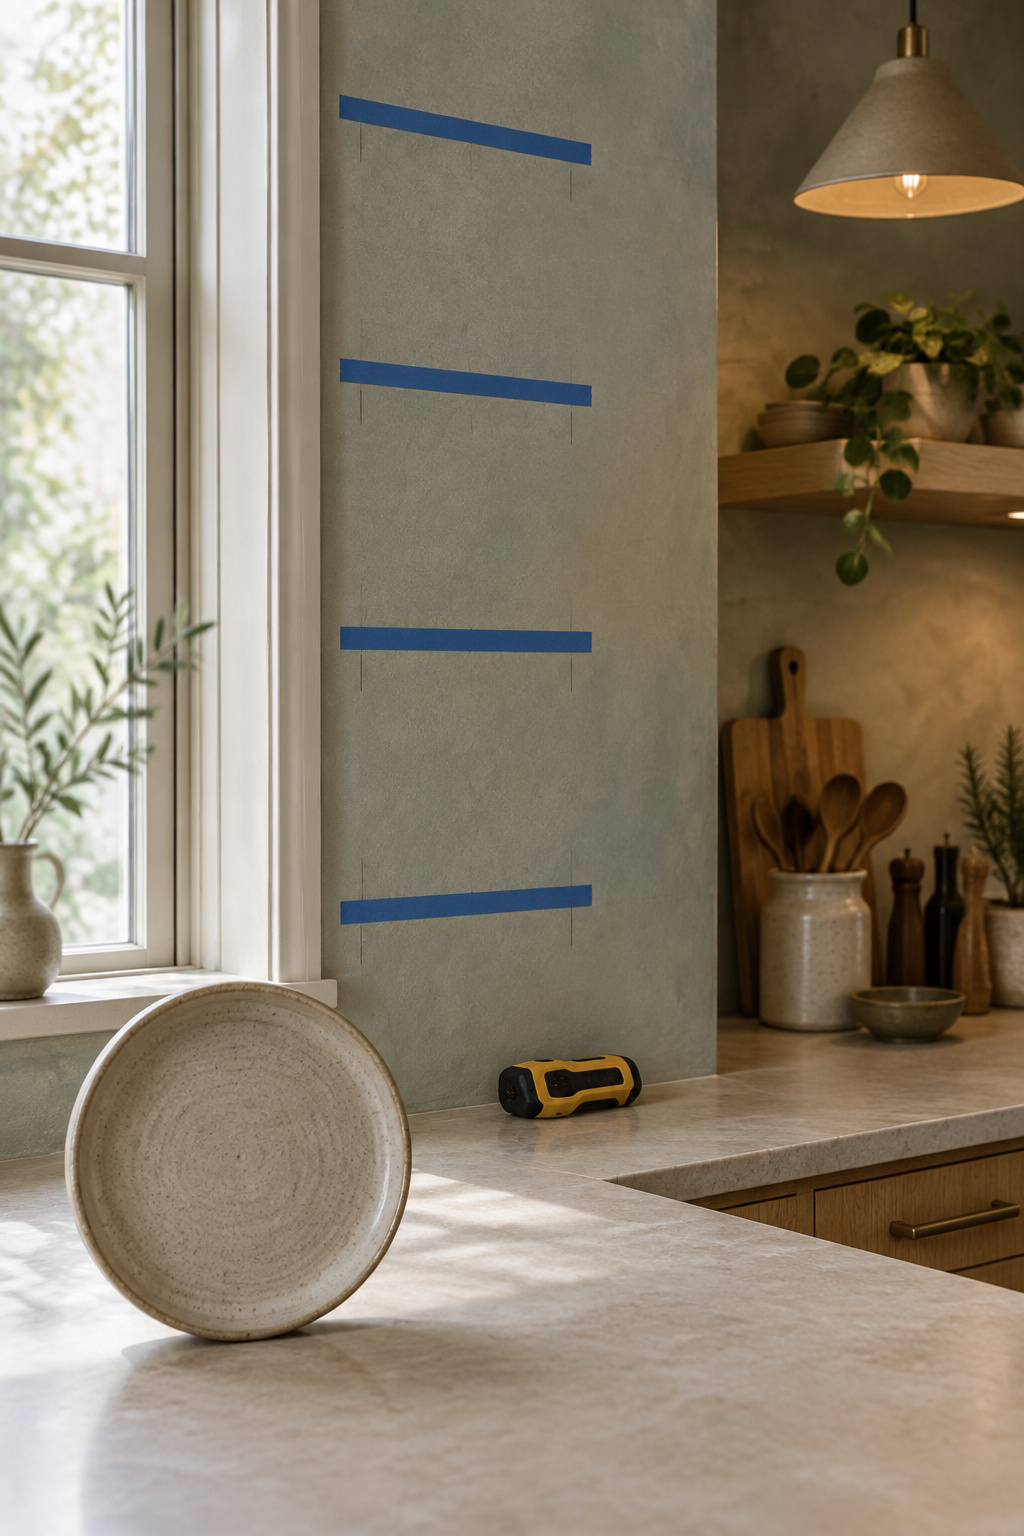
Then take down that run, finish its wall, and stop.
My own kitchen is the case for stopping. It is in an 1898 brick house, and right now it has a modern range and one wall of open shelves while I work out what the original layout was. It looks like procrastination. It has been the most useful thing I have done in that room: you learn how a kitchen works by cooking in it, not by drawing it. Live with your one open wall for a while before you decide on the next, and let it shape your open shelving kitchen plans for the rest of the room.
The wall behind your cabinets was the worst-finished wall in the house because nobody ever expected to see it. Give it the patch, primer and paint it never got. You will be looking at it every morning now.
FAQ
Do I need a permit to remove upper kitchen cabinets?
Often not, as long as the walls, plumbing and wiring stay as they are. California’s building code and the City of Miami both treat cabinet replacement on those terms as exempt. Miami Springs, also in Florida, says replacing cabinets does need a permit. Rules are local, so ask your building department, especially if lights or outlets are involved.
Can I reuse the upper cabinets I take down somewhere else?
Yes, if they come down whole. Habitat for Humanity ReStores take cabinets in good, resellable condition with no broken or missing parts, though each store sets its own rules and some turn away painted or water-damaged units. One run may not count as a complete set, so call first, and keep each box’s doors, shelves and hardware with it.
How long does it take to remove one run of upper cabinets?
Nobody publishes a figure for one run; the quotes are for whole kitchens. A small or medium kitchen, base cabinets included, is usually quoted at 2 to 4 hours with a helper, and a standard kitchen at 3 to 6 hours. One run is a fraction of that. The wall takes longer, since each skim coat wants a night to dry.