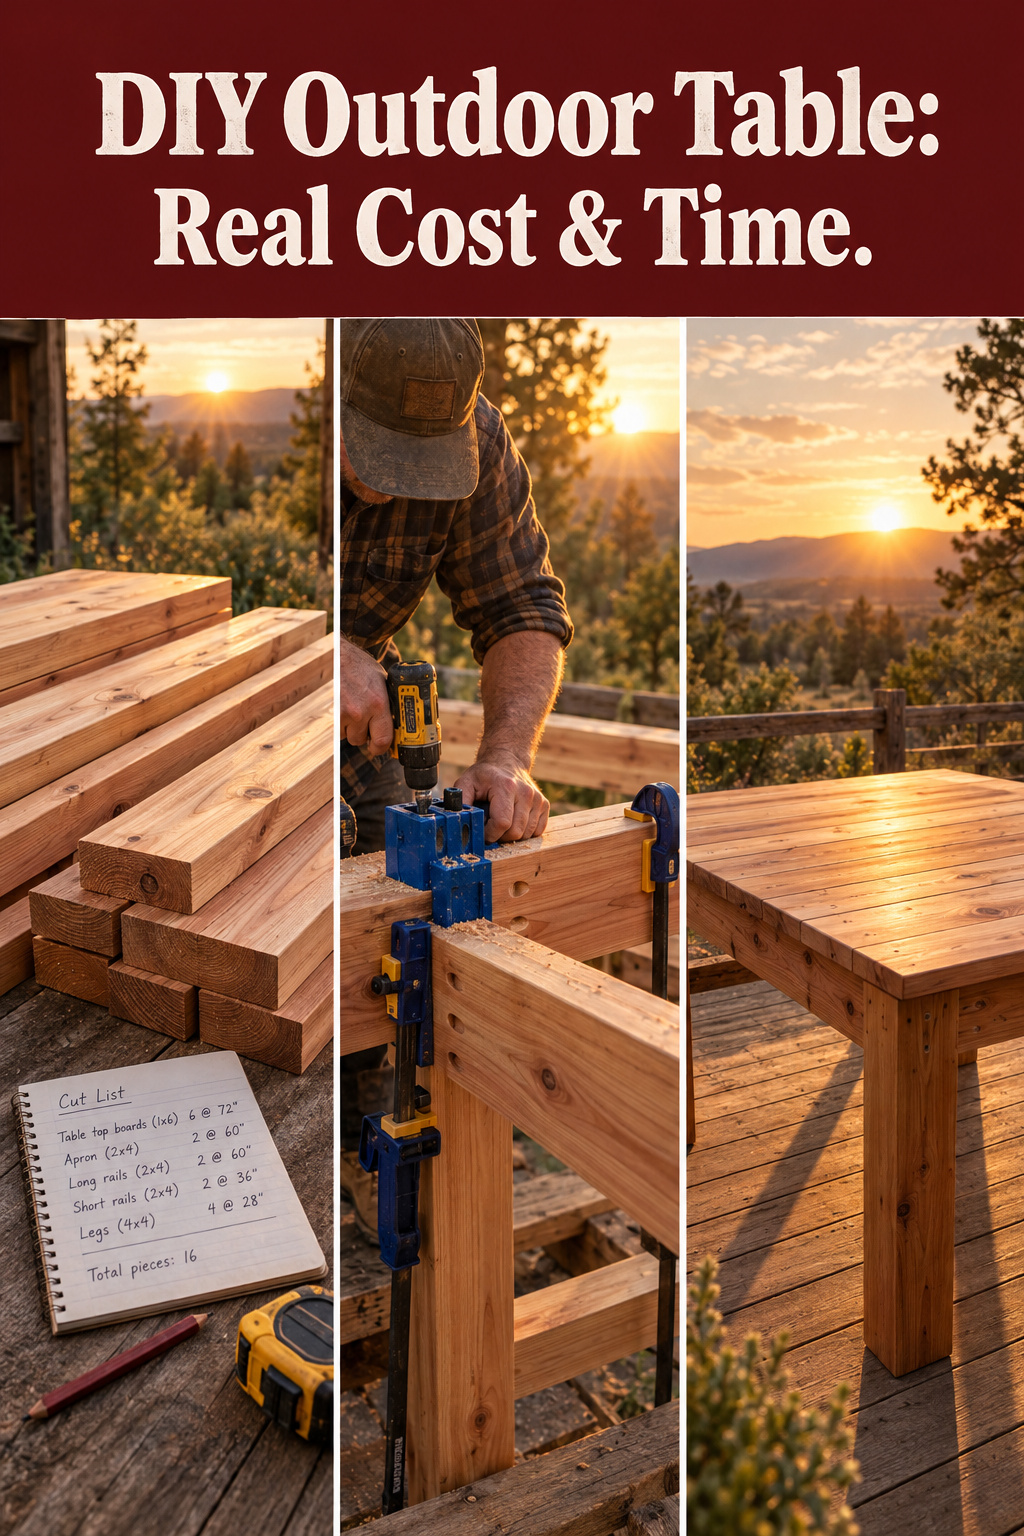
The cheapest mistake in a first outdoor table isn’t a crooked cut. It’s assuming glue is glue. Independent bending tests put a glued butt joint at 42 pounds to failure and a bare pocket hole, no glue at all, at 99. Free plans for a DIY outdoor dining table skip that comparison, the hardware bill and the second trip to the store. So: what it cost, what held it up, and where you’ll get stuck.
TL;DR
- Budget about $506, not the couple of hundred free plans imply. My sum: $406 cedar + $40 hardware + $60 spar urethane = $506, September 2026; $635 with a jig.
- Pocket holes more than double glue-and-screw, and glue barely helps one. Bending tests: butt joint 42 lbs, bare pocket hole 99, with glue 111, glued mortise-and-tenon 202–236.
- Not a one-weekend table, and nobody credible publishes an hour count. Two 24-hour cure windows, glue then finish, set the calendar.
What This DIY Outdoor Dining Table Actually Costs and How Long It Takes
Five hundred and six dollars, in September 2026, for a six-seat cedar table finished in spar urethane, a sum I can show you, because nobody prices a complete build as one figure.
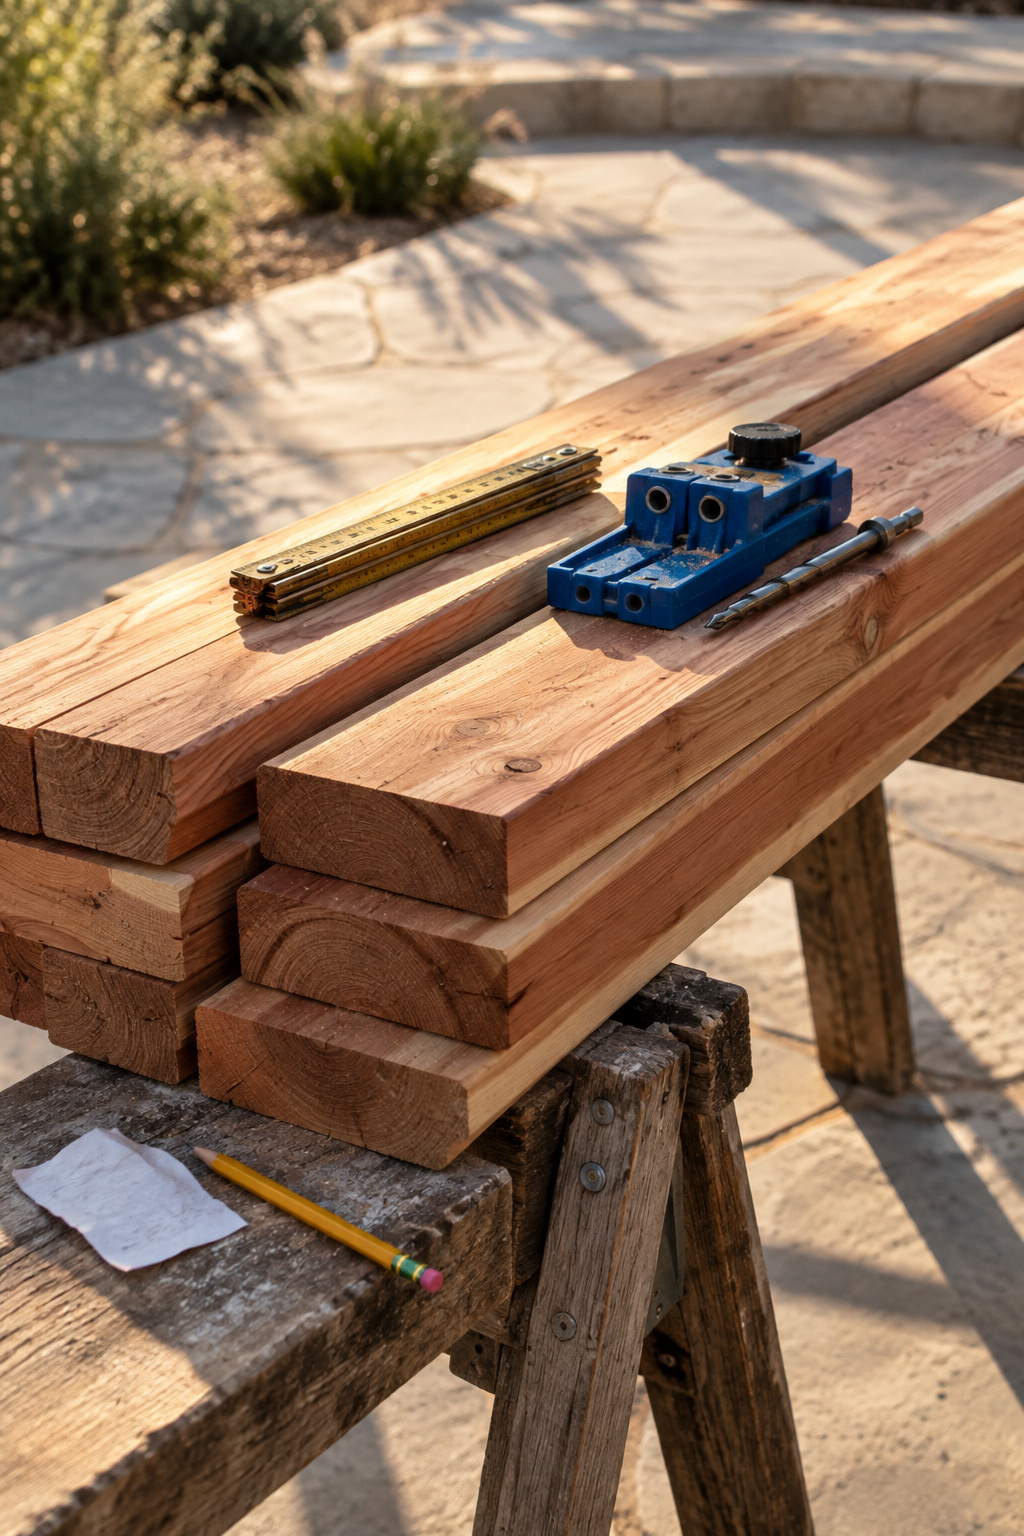
Here is the sum: $406 lumber + $40 hardware, glue and consumables + $60 finish = $506. Add a Kreg K5 pocket-hole jig at $129 and it’s $635, though that $129 is a tool you keep, not a table cost.
| Line item | Cost | Basis |
|---|---|---|
| Cedar 2×6, 36 linear ft (tabletop) | $315 | $8.75/linear ft, named lumberyard, July 2026 |
| Cedar 2×4, 32 linear ft (legs, aprons, stretcher) | ~$91 | 14 bd ft at $6.50, midpoint of the $4–$9/bd ft 2026 range |
| Exterior glue, coated deck screws, consumables | $40 | 60 screws at 9–11c each, plus glue and small items |
| Minwax Helmsman spar urethane, 1 gal | $60 | $59.99, Ace Hardware, September 2026 |
| Total, glue-and-screw | $506 | |
| Kreg K5 pocket-hole jig (optional, one-time) | $129 | Home Depot, September 2026 |
| Total with a jig | $635 |
Skill level: some builds.
The first thing I built on my own, at twenty-two, was a workbench out of two sheets of plywood. The joints show from across the garage, one corner out of square by an amount I can measure now and couldn’t then. It’s dented end to end and has carried every load since. I’ve thrown out prettier furniture. Ugly-strong beats pretty-weak, and an outdoor table is where that stops being a slogan, because it lives in the weather whether or not you’re proud of it.
On timing I have to be straight. I can’t give you an hour count, because nobody honest publishes one; every estimate I found came from the free-plan sites that forget the hardware bill. Two delays set your calendar however fast you cut, a full day for the glue to reach load-bearing strength and another after the last coat of finish. Where the table then sits belongs to planning the eating space outside.
Why This Build Uses Cedar, and Leaves the Rest of the Comparison to a Sibling
Cedar, specifically cedar heartwood, is the whole species decision, and it rests on decay resistance, the only property that matters outdoors.
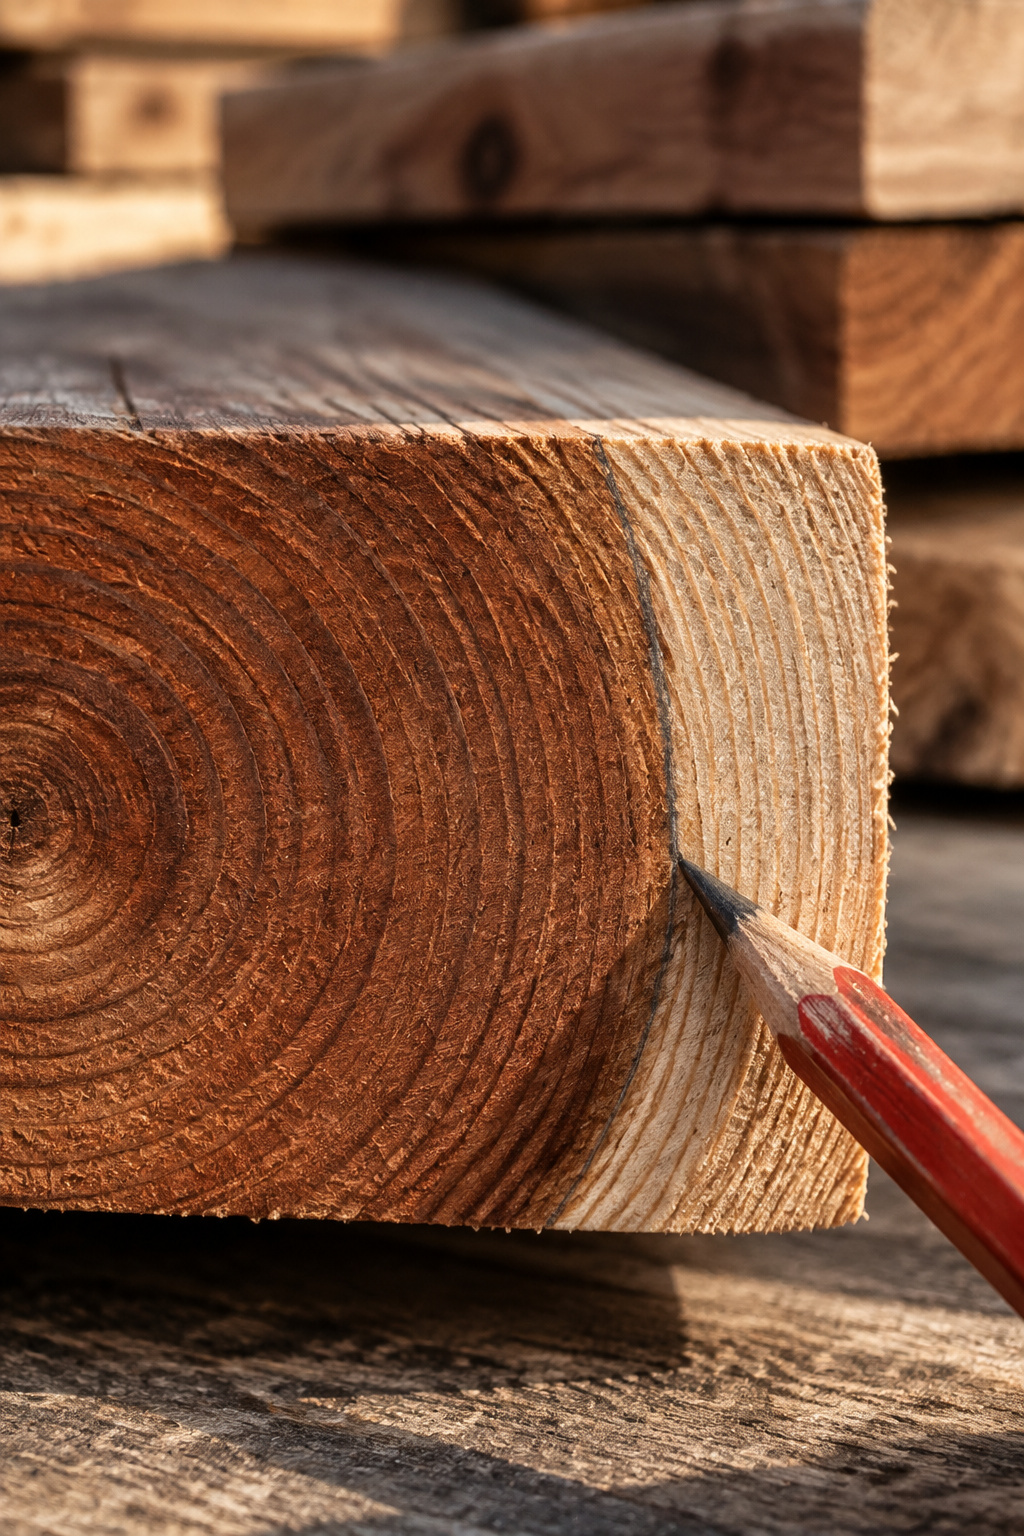
The USDA Forest Products Laboratory’s technical sheet on western redcedar rates the heartwood “resistant to very resistant to heartwood decay.” In a 22-year above-ground field test run in Wisconsin, the lab put cedar heartwood in the “most resistant” group, 20-plus years of expected service life above ground. The Wood Handbook, from the same lab, is cooler: cedar sits among “resistant” species, one tier below “very resistant.” Have both, not just the flattering one.
Whether any of that reaches your table depends on the heartwood. The FPL is blunt: sapwood of essentially every species has low decay resistance, reputation notwithstanding. Heartwood is the reddish-brown core of cedar and sapwood the pale band at the board’s edge. A cut list full of pale boards is a pine table wearing a cedar receipt, so sort at the rack.
Cedar’s weakness is strength. The FPL rates it low as a beam or post, which is why joinery matters more here than in oak.
Comparing species isn’t my job here; choosing the species and the top sets lifespans and weather figures side by side.
The Cut List, the Joinery a Beginner Can Actually Cut, and the Tools You Need
Print this and don’t improvise at the rack. The table is 72 inches long, a length I didn’t derive: the length to build it to works that out from seat count.
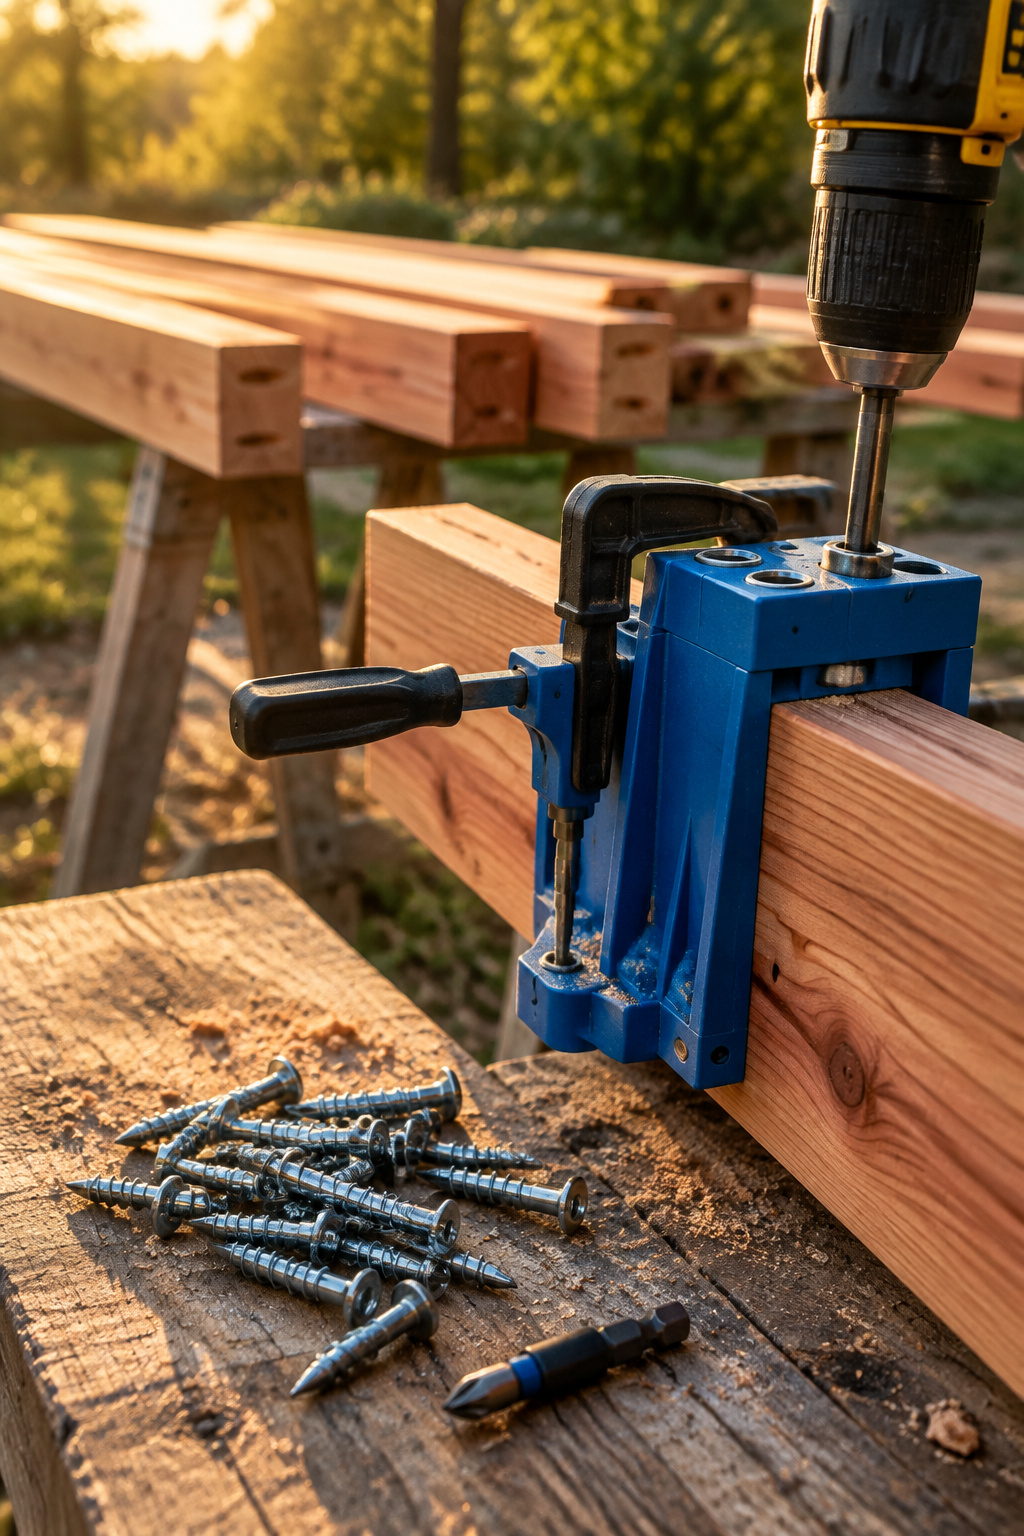
The Cut List
Provenance first: this is my own synthesis for a six-seat trestle table, not a tested plan. Six feet of top means no rip cuts.
| Component | Material | Pieces | Length each | Linear ft |
|---|---|---|---|---|
| Tabletop boards | Cedar 2×6 | 6 | 72 in | 36 |
| Long aprons | Cedar 2×4 | 2 | 66 in | 11 |
| Short aprons | Cedar 2×4 | 2 | 30 in | 5 |
| Legs | Cedar 2×4 | 4 | 29 in | 10 |
| Stretcher | Cedar 2×4 | 1 | 72 in | 6 |
Screws: 2-1/2 inch coarse thread, matched to 2x lumber’s 1-1/2 inch actual thickness, coarse because cedar is soft.
Pocket-Hole Jig or Glue-and-Screw
Two joint-strength numbers circulate online. They contradict each other, and both are true.
The first comes from independent bending tests by Matthias Wandel at woodgears.ca. A glued butt joint (two faces, glue, screws through) averaged 42 pounds. A bare pocket hole held 99. Adding glue got him 111, about 12 percent more, because the screw cracks the glue line before the glue itself fails. A glued mortise-and-tenon averaged 202 pounds with Titebond III, 222 with yellow glue and 236 with epoxy.
The second is a shear test, Rockler-cited and repeated everywhere with no named lab: 707 pounds for a pocket screw against 453 for a mortise-and-tenon. That reverses the ranking, and it isn’t a lie. It’s a different load. Shear slides a joint across itself. Bending racks it, which is what your table does when somebody leans on the end to stand up. Never average them.
At the store:
- A drill/driver, the one tool with no workaround.
- A circular saw with a straight-edge guide, or the yard’s cut counter. Guided, it substitutes for a table saw at this size, provided the board’s edge is straight. Freehand cuts aren’t furniture-grade.
- A pocket-hole jig ($129, Kreg K5), or glue-and-screw if you’d rather not buy one.
- Titebond III, or another ANSI/HPVA Type I exterior glue, the tougher of the two water-resistance classes.
Building It: The Sequence, Weekend by Weekend
The build splits across two weekends, whatever your cutting speed. Clear a flat surface first: a table built on a sloped floor comes out with a twist no sanding removes.
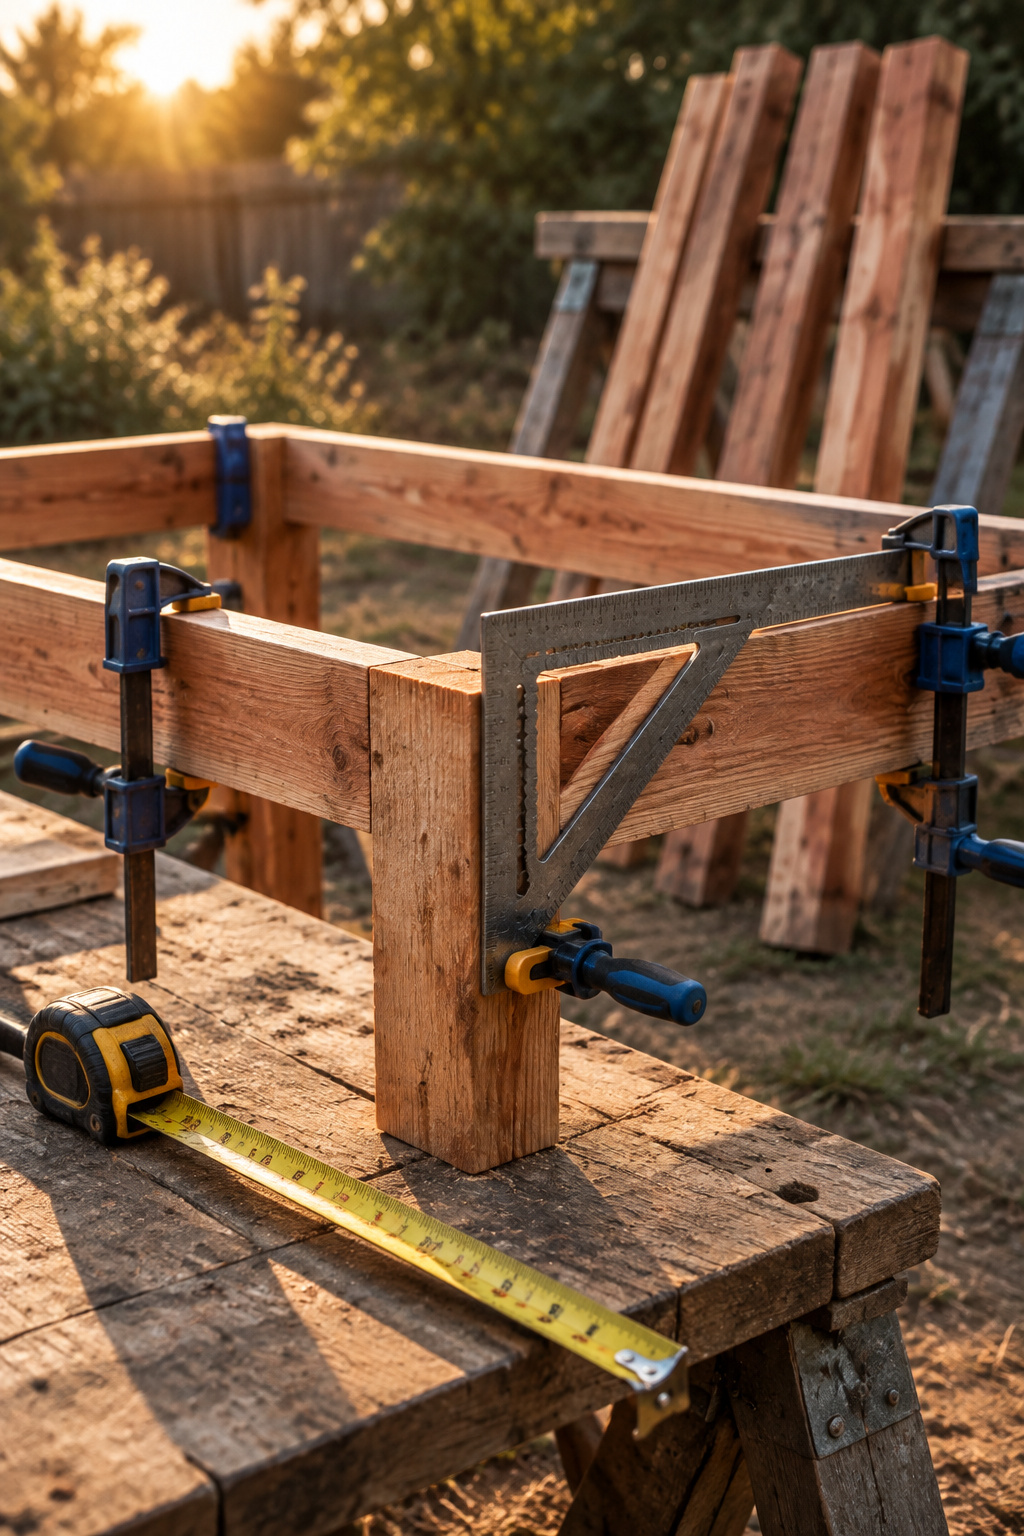
- Cut every piece to the list and label each in pencil.
- Sort for heartwood; palest boards go to the stretcher.
- Drill pocket holes in both ends of all four aprons, widely spaced and back from the edge.
- Assemble the two long sides (leg, apron, leg), glued and screwed, flat on the floor.
- Square each side before the glue sets: measure both diagonals, adjust until they match.
- Stop for 24 hours. Exterior glue needs a full day before a joint carries load.
- Add the short aprons and stretcher, square again, wait another 24 hours.
- Screw the top boards on from underneath, leaving a gap for drainage and movement.
- Sand to 120 or 150 grit and stop; past 180 closes softwood grain against an oil-based finish.
Where Beginners Usually Mess Up (and How to Fix It)
The failure is always the same shape, and it’s never the crooked cut you feared. In shelf-bracket strength testing, the pocket-hole joint didn’t fail at the screw. The wood between two closely spaced pocket screws pulled out as a single plug, letting go instead of snapping.
Two pocket holes drilled close together near the edge of a 2×4 leave a thin bridge of cedar carrying both screws, and cedar is soft. The fix costs nothing and comes before the drilling: widen the spacing and move the jig further from the edge. If the bridge has already split out, you aren’t starting over. Back the screws out, glue a scrap into the void, give it the full day and re-drill a half inch over.
The other mistake is time. A joint clamped “for a while” and then stood on is the most common assembly failure there is. Twenty-four hours looks like padding in a plan, but it is the plan.
The Finish That Actually Survives Outdoors
Which finish lasts longest outdoors is the wrong question. The useful one is which failure you’d rather face in year three, and two independent sources answer from opposite ends.
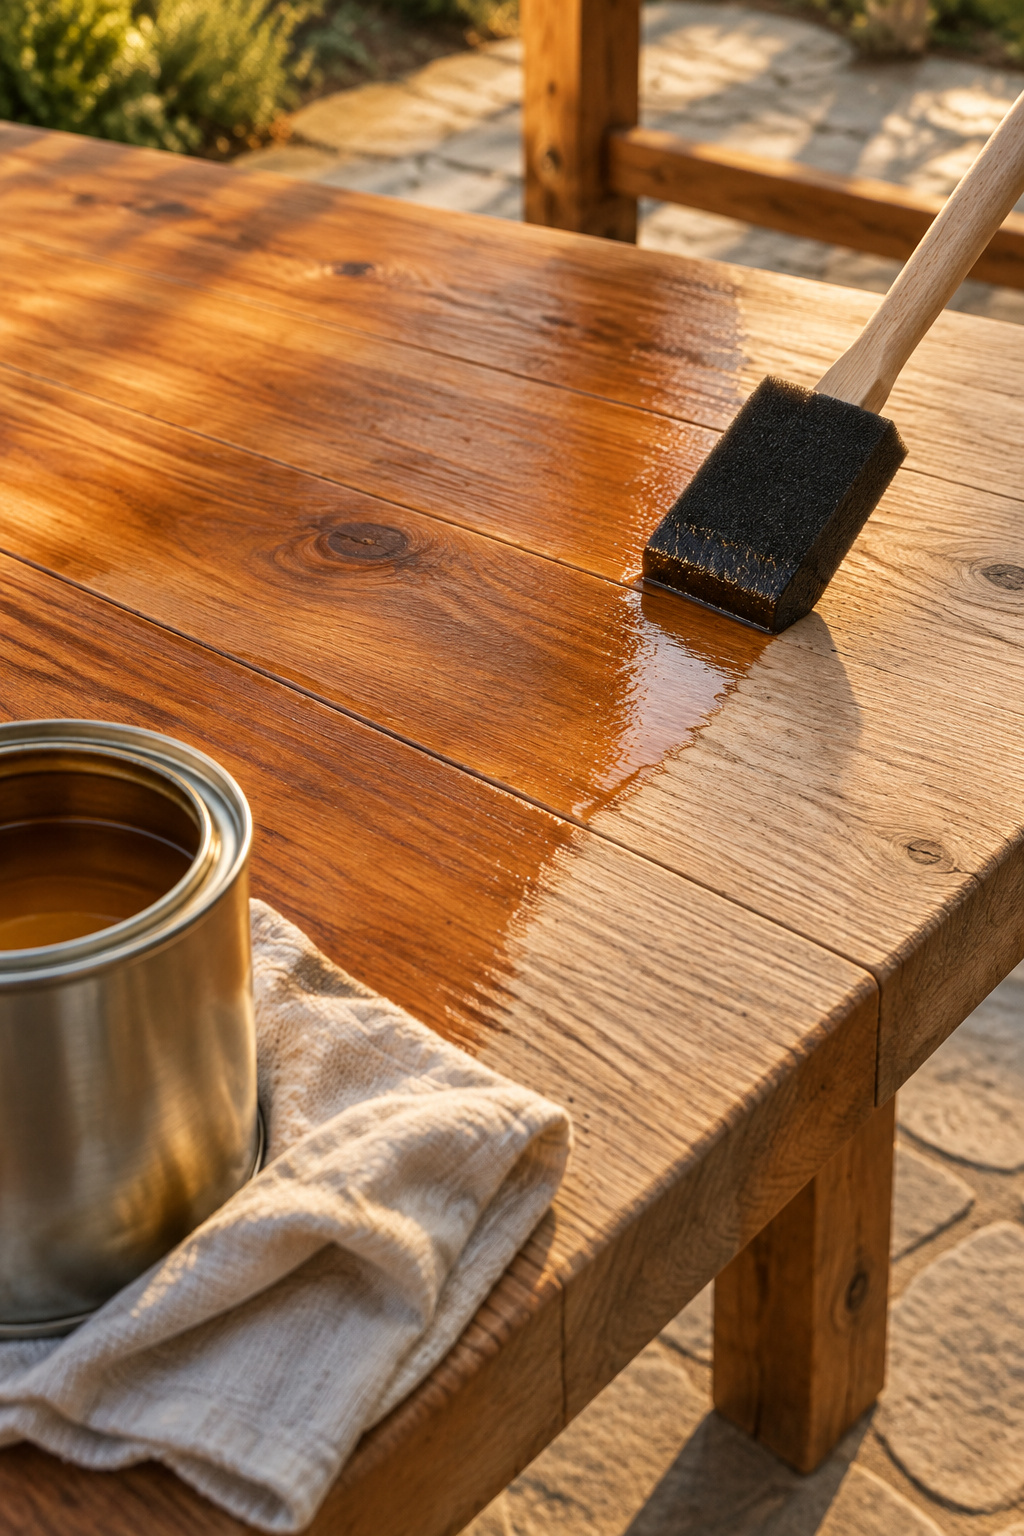
Rockler’s guidance talks lifespans: pure oils are cheap and easy to touch up but “won’t last very long,” so expect to recoat yearly, though you never have to strip the piece. Traditional spar varnish, tung oil cooked with phenolic resin, carries real UV resistance and goes chalky as it ages instead of peeling, so it sands and recoats without a strip.
The Wood Whisperer frames it by failure mode, and more bluntly: film finishes like spar urethane give the strongest initial barrier, but “when they fail, they tend to flake off and look like crap.” Paint behaves the same way.
Oil, Stain, or Paint: What Each One Actually Buys You
| Finish | Reapplication | How it fails | Changing your mind |
|---|---|---|---|
| Pure oil | Yearly | Fades, goes dry | Easy — recoat, or sand and switch |
| Deck stain | Every 1–2 years | Wears through | Clean and reapply |
| Spar varnish | Longest of the three | Goes chalky at the surface | Sand and recoat, no strip |
| Paint | Like varnish | Flakes off | Full strip |
The schedule, per the can: the Helmsman gallon above specifies at least four hours between coats and 24 hours after the final coat before normal use, at 77°F and 50 percent humidity. Cooler or damper, and both stretch.
What I’d Change If I Built This Table Again
Two things, and neither is a mistake I’d warn you off.
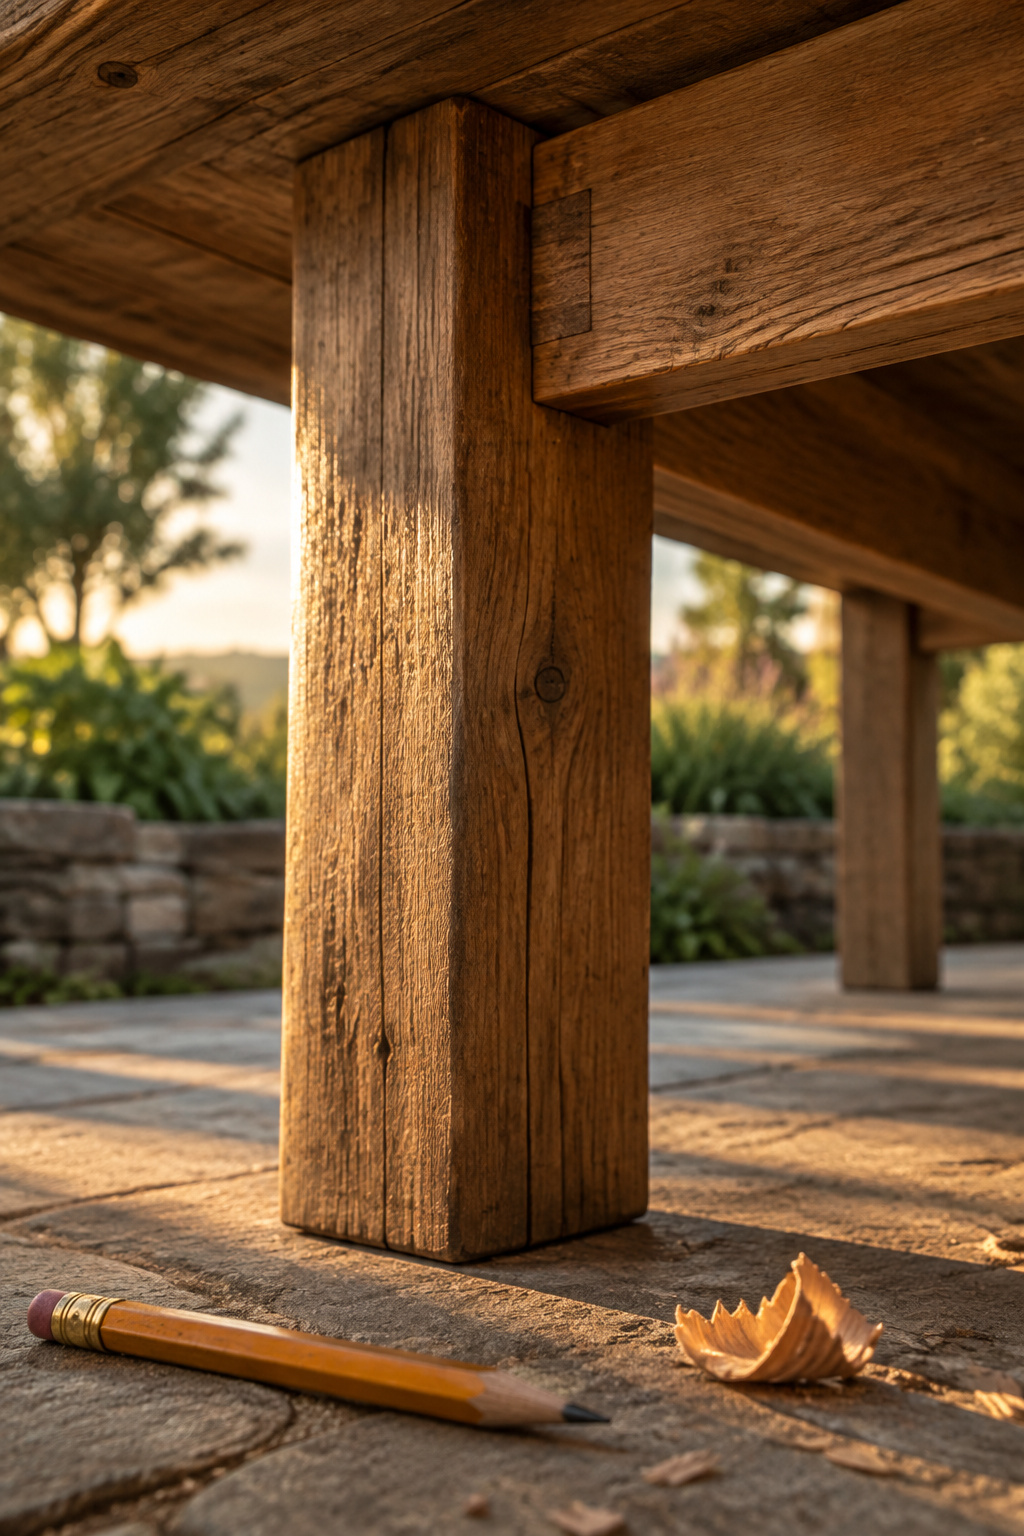
I’d buy the jig for the first table instead of the second. That $129 looks enormous beside a $40 hardware bill until you set 42 pounds next to 99.
And I’d finish it in oil rather than urethane, the version I’d tell you to build. The cheapest reversible version of this table is the oiled one. Oil is the only finish on that list you can change your mind about: recoat it in an hour next spring, or sand it back and put spar urethane over it in year two, once you know how the table lives. Go the other way and a film finish that flakes takes a full strip with it. Reversibility beats protection on a first outdoor piece.
First move today, before another video: take the cut list to the yard, sort the rack for reddish heartwood, and have the cut counter break the 2x6s to six feet. That bench in my garage has been out of square for years and has never once failed. Your table gets to be that.
FAQ
Do I need a pocket-hole jig to build an outdoor dining table?
No, but the cheaper route is genuinely weaker, not merely slower. Independent bending tests put a glued butt joint at 42 pounds against 99 to 111 for a pocket hole. A Kreg K5 runs $129, and either method needs an ANSI/HPVA Type I exterior glue.
How long does an outdoor table finish need to cure before you can use the table?
Twenty-four hours after the final coat, with at least four hours between coats, per Minwax Helmsman’s data sheet, measured at 77°F and 50 percent humidity, so cooler or damper conditions extend both. That window is separate from the glue’s own 24 hours before a joint carries load.
Can I build an outdoor dining table without a table saw?
Yes. A circular saw run against a straight-edge guide, shop-made or bought, gives repeatable rip cuts and substitutes fine at this size. The catch: the guide only cuts true if the board’s starting edge is already straight. Freehand cuts are not furniture-grade.