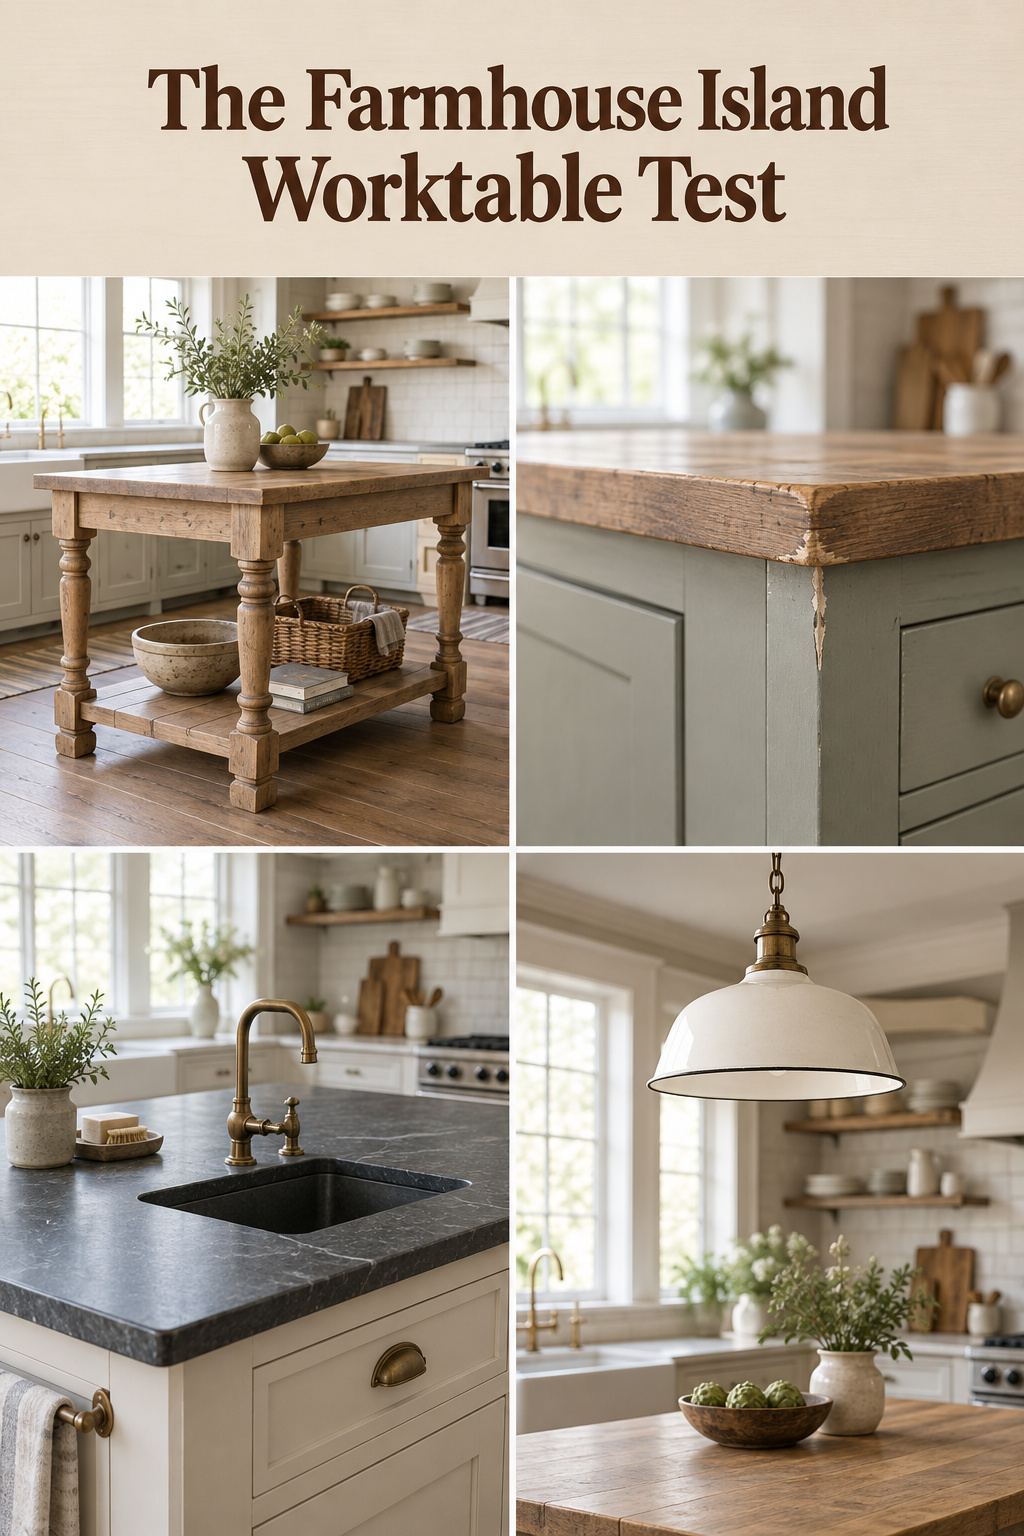
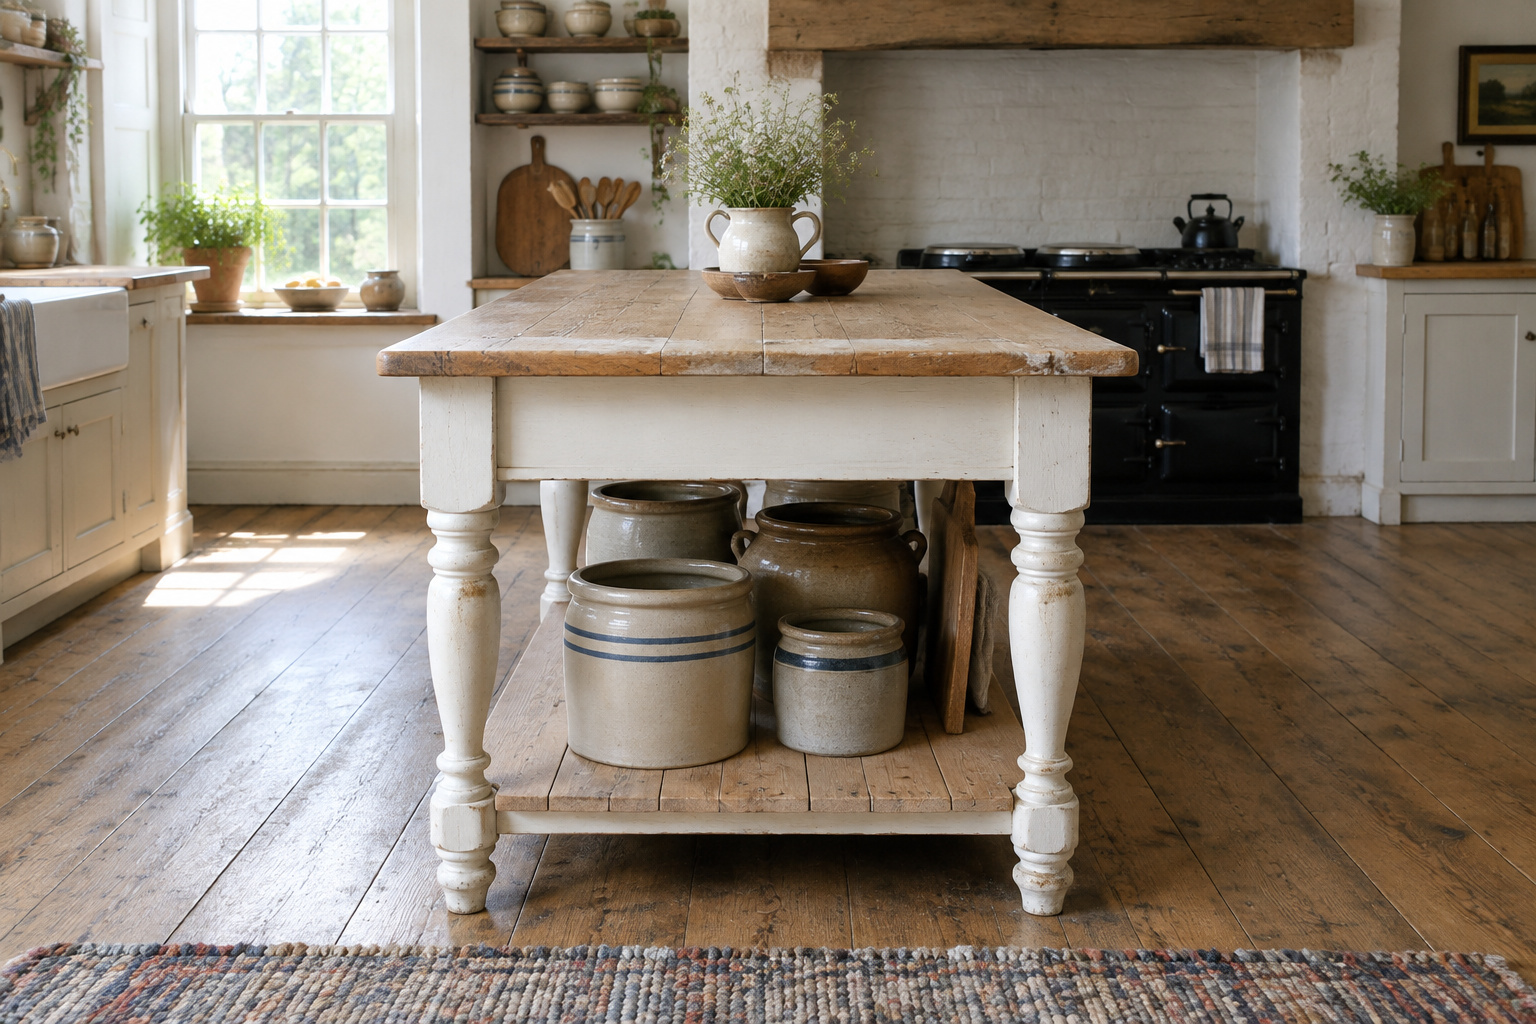
Stand in front of the farmhouse kitchen island at the end of a showroom aisle, the one with “farmhouse” printed on its tag. The base is painted the color of oatmeal, a pair of turned legs holds up one end, and the plank top carries a dark stain. Pale wood shows through the paint on every corner and along every edge, worn to the same depth in the same places, as if four identical cooks had leaned on it for forty years. Let’s see what it’s made of. Open a door and look at how the legs meet the box, then crouch and see whether the base runs to the floor on all four sides. Those two looks tell you more about an island than the paint ever will.
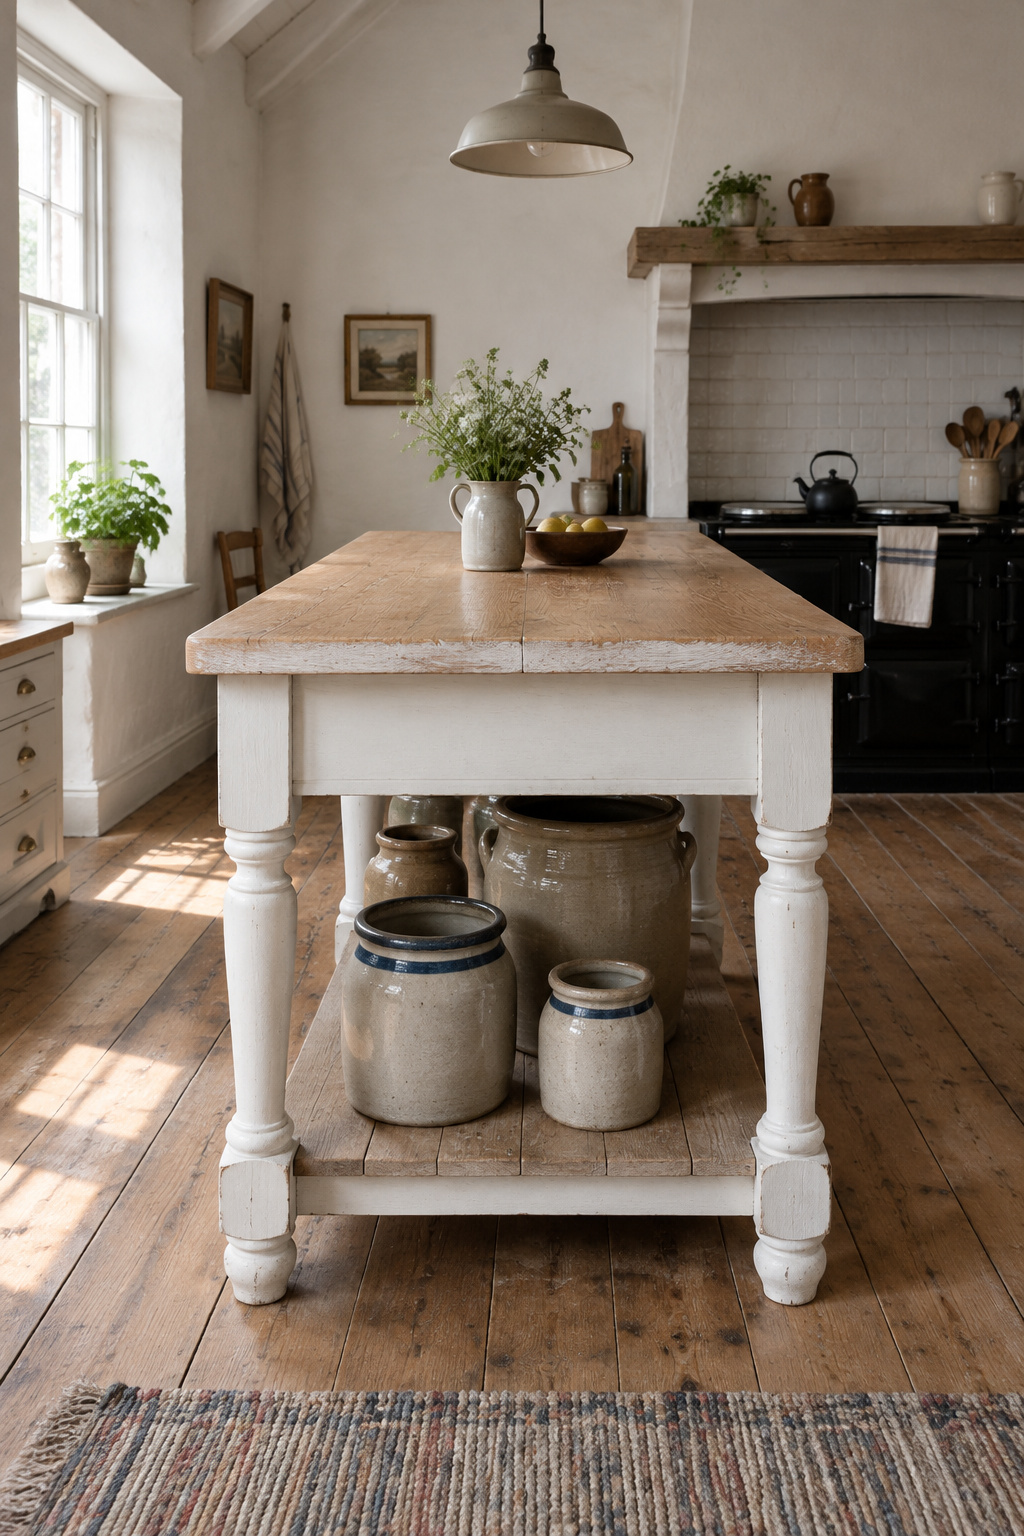
You probably have a folder of these saved. Some look right and some look staged, and every listing beside them claims the same word. The finish is what the photographs sell, whether it’s shiplap, factory distressing or a sign over the range, and it is the least useful thing to judge by. The worry underneath is fair, because an island is a big, fixed purchase and the wrong one makes a kitchen harder to cook in for as long as it stands there.
I sort them with one test. Before kitchens had built-in islands, the farm kitchen’s working surface was a freestanding worktable. So I ask of any island whether it still works like one: legs that hold the top as part of a frame, a base open enough to stand at, and a top you can work from every side. Below is that test applied to the ideas worth saving, then the seven decisions that fit an island to a real kitchen, in the order I would make them.
Farmhouse Kitchen Island Ideas, Each Tested Against the Worktable
The big central island is now the usual fixture of a renovated kitchen. In a 2019 survey of homeowners who had remodeled, 61% of the finished kitchens had one, and a third of those homeowners had added an island where there was none before. So I ask which version of one still behaves like the table it descends from, and what each asks of you in return.
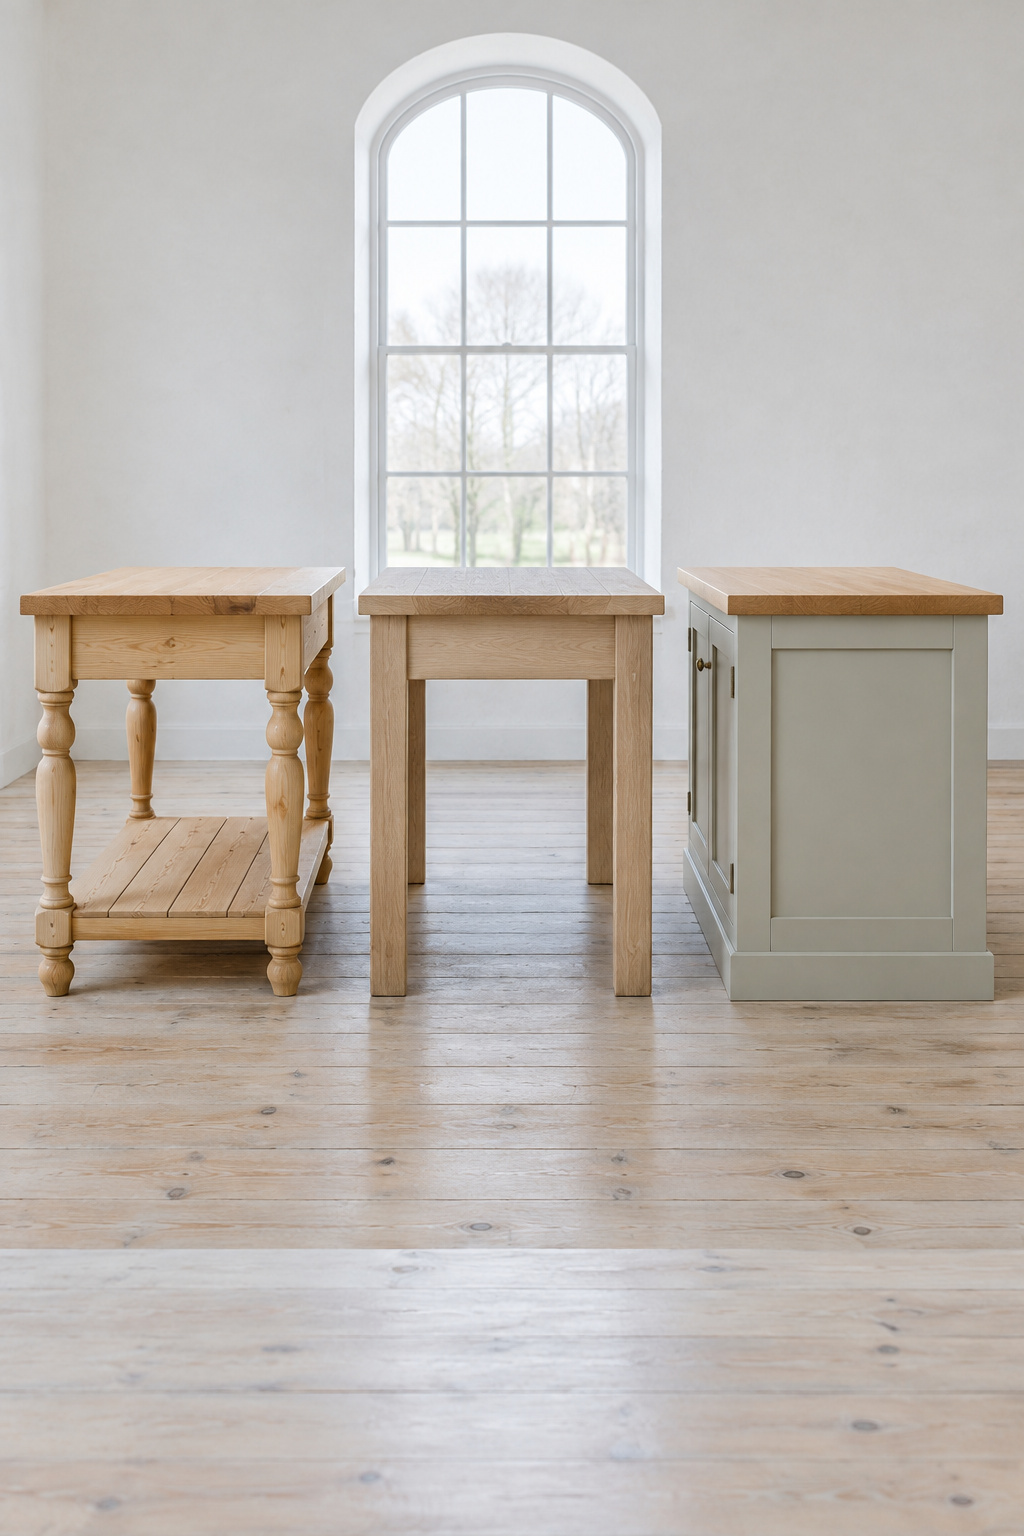
| Idea | Passes the worktable test? | What it costs you |
|---|---|---|
| Turned legs | Yes, if they are joined into a frame that carries the top | More craft or more money than square legs |
| Square or tapered legs | Yes | Less ornament, same frame underneath |
| Open shelf below | Yes, it keeps knee and toe room | Whatever sits on it is on show |
| Closed cabinet base | Yes for storage, no if it closes every working side | Nowhere to stand close on the closed sides |
| Painted base | Yes, if the wear on it is real | Repainting as it wears |
| Wood top | Yes | Knife marks, and no hot pans set straight on it |
| Seats on one side | Yes, if three sides stay free to work | One side given up to sitting |
Turned Legs or Square Legs
Leg style is a decision about feel. Fine Woodworking once built the same small Shaker table twice, once on tapered square legs and once on turned ones, and the maker’s verdict was that the simple leg change alters the whole feel of the table. The frame underneath was identical: legs joined to the aprons with mortise-and-tenon joints. That joint is what grades a leg. On a worktable the leg is structure, and the top rests on a frame the legs belong to.
So when you look at a kitchen island with turned legs, find where each leg meets the rest of the piece. A leg tenoned into an apron is doing work. A leg screwed to the side of a cabinet box, with the box carrying the top, is ornament. Ornament is allowed, as long as you know that is what you are paying for. Turned legs take more skill to make, which is why cheaper islands often imitate them, and on at least one made-to-order maker’s list, leg style sits among the paid add-ons beside distressing and castors.
Open Shelf Below or Closed Base
A government farmhouse bulletin from 1934 put the worktable’s specification in a single line: it should have knee space and toe space, which is all an open base has to do. A plank shelf low between the legs keeps both and gives the big bowls somewhere to live. A closed cabinet base holds far more and takes the knee room away on every side it closes.
Neither is wrong, and plenty of good islands mix the two, with cupboards facing the cooking side and an open end where someone can sit. The test is only whether the sides you work from are still sides you can stand close to.
A Top You Can Work From Every Side
An island, like the worktable before it, lets two people face each other while they work instead of lining up along a wall. A top with a working edge on all four sides keeps that. Push it against a wall, or ring it with stools, and you lose most of it.
Kitchens are the one room where I think modern function should usually win, and the worktable test makes room for it. An outlet on the island doesn’t fail the test, and neither does a top hard enough to take daily punishment. The test asks how an island works, not how old it looks, so anything that makes it work better passes.
Where the Built-In Island Came From, and What It Replaced
In a farm kitchen of 1860 the work surface was a table. In some houses the family ate at it too, which left it too low to work at in comfort, and the room around it was big enough to earn the nickname “half-acre.” Other households kept the two apart: a Massachusetts farm museum, its kitchen restored to the years 1825 to 1840, labels its own table plainly as a worktable for preparing food, not for dining. Storage stood apart from it. Until late in the nineteenth century, a kitchen’s furniture amounted to a worktable and sink, a storage cupboard and a few open shelves.
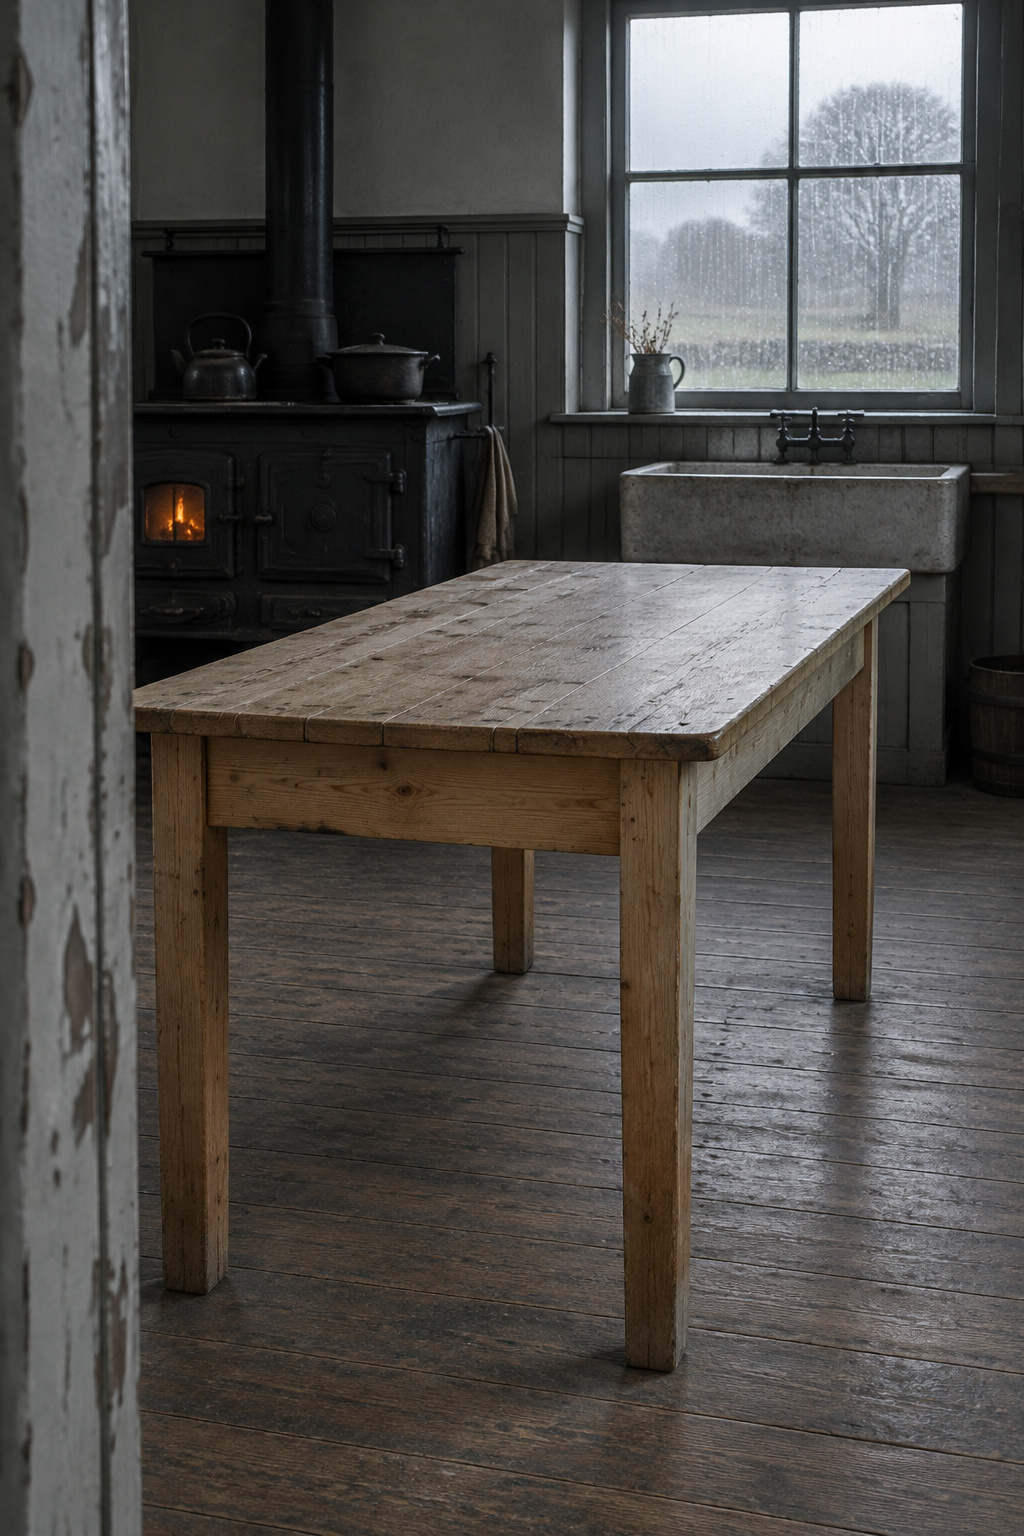
That table was one of the movable pieces, along with the dry sink and the kitchen cabinet. Continuous built-in counters were introduced in the early 1920s, and the island came after them. The architectural historian Sandy Isenstadt finds the island’s precedents in the freestanding tables of nineteenth-century farm kitchens, and dates its popularity in private homes to the building boom that followed the Second World War. Isenstadt adds that islands only became possible once stoves started to be sold in parts, in the late 1930s. The earliest documented modern island was drawn for a magazine series in 1944, as part of a picture of how families would live after the war.
When it became ordinary is harder to say. Islands gathered momentum through the 1960s and 70s, and Sarah Leavitt, a curator at the National Building Museum, puts them in the mainstream only by the 1980s and 90s. The exact decade is unclear.
The old farm table still turns up as an island today, with its own checks before it comes home. What I take from the lineage is the test itself: a farmhouse island deserves the name by working the way that freestanding table worked.
Will a Farmhouse Kitchen Island Fit? Aisles, Footprint and the Size Test
How big should it be? As big as the room leaves after the aisles, and no bigger. A freestanding table was always sized to be walked around, and Isenstadt has a fine phrase for the island’s version of that: rocks rounded by a sea of circulation, and the sea has to be planned first. Most disappointing islands were chosen in a showroom and then pushed into a kitchen until the aisles gave way.
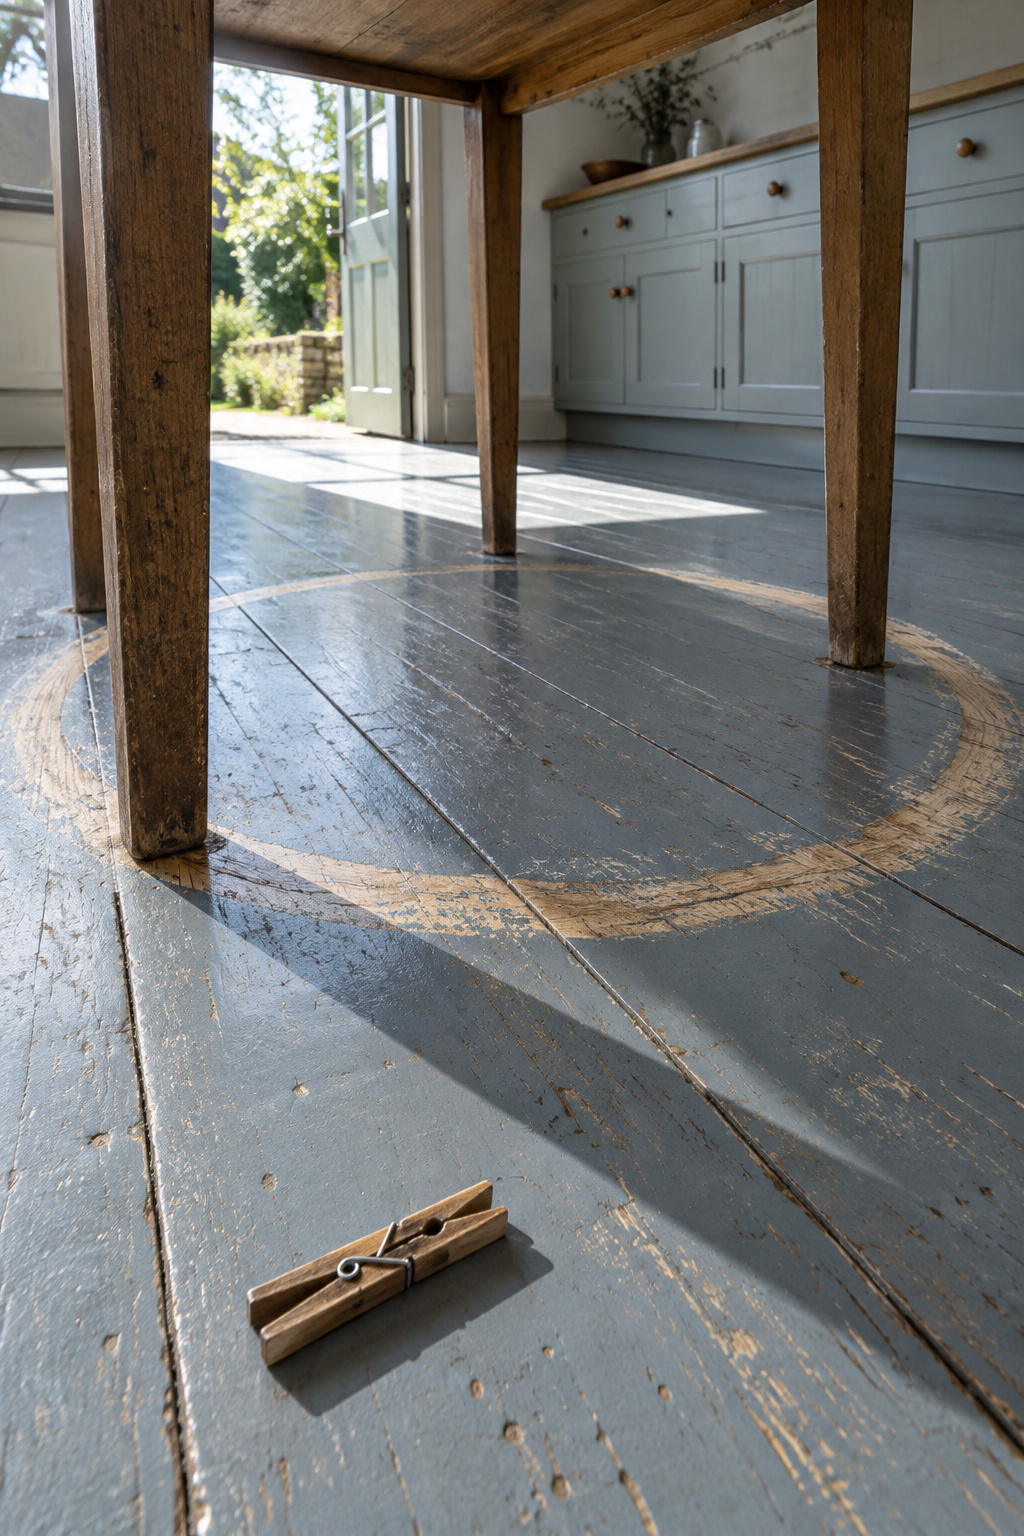
So an island’s size is a sum you run backward. Take the distance between the counters that will face it, keep a working aisle on every side where someone cooks, washes up or opens an appliance door, and what is left is your island. The aisle widths, the worked rooms and what to do when the answer comes back “not here” are all in whether your kitchen is big enough for an island.
The measurement to take before any of that runs from the finished front edge of one counter to the finished front edge of the counter facing it. Wall to wall is the wrong number, because the counters have already spent some of the room.
Seating and Storage: The Two Jobs That Decide the Base
Two jobs decide what the base of an island looks like: who sits at it, and what it has to hold. Settle those first and dress the island farmhouse afterward. Done the other way round, the finish makes decisions it has no business making.
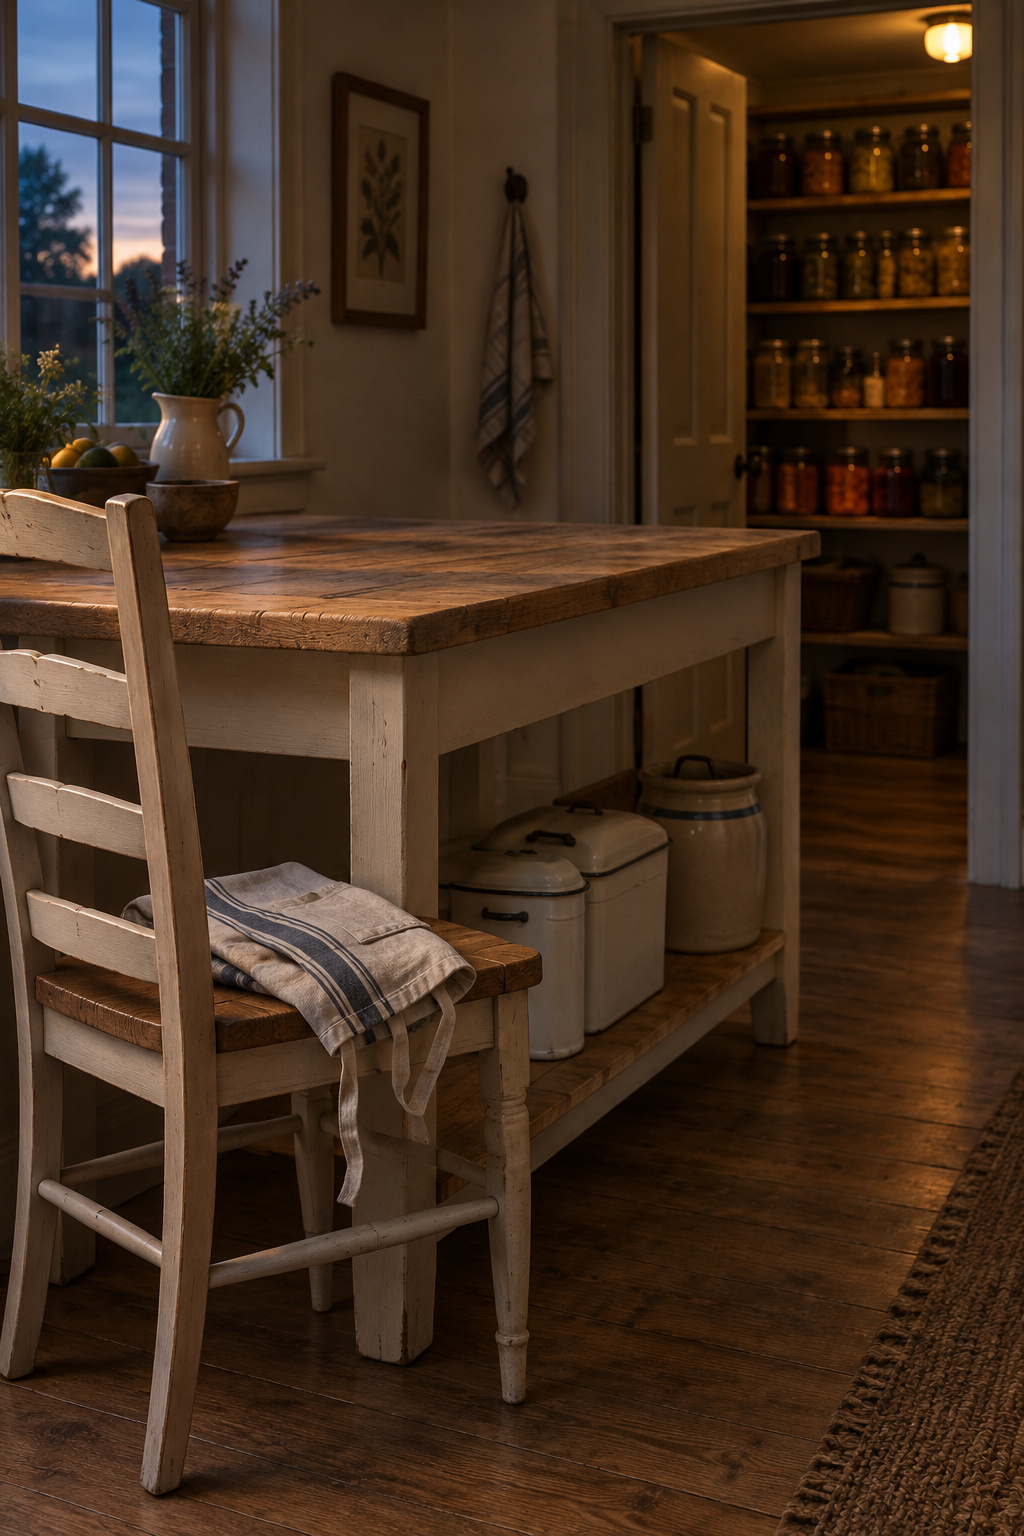
Seats belong on one side, ideally a side nobody works from. Designer Kellie Reynolds puts the rule plainly: never put stools where someone might be cooking, prepping or washing dishes. Stools along one long side leave three sides for work, and the piece is still a worktable. Stools on every side turn it into a breakfast bar with a cooktop in the middle. People have sat at islands for as long as there have been islands; postwar ones came with children anchored along a breakfast bar to study. Not everyone loves the arrangement. Helen Parker of deVol argues for relaxing into a proper chair and spreading out at a table, because counter stools often give the back little support and a row of them points everyone the same way. A dining-height end on the island answers both complaints. How many seats fit, how far the top reaches past the base and what holds it up are worked out in planning island seating for the whole family. For a built-in bench instead of stools, decorfull’s kitchen banquette seating guide covers the build.
Storage, as the history shows, sat beside the worktable rather than inside it, in a cupboard and on open shelves. An open shelf under the top follows that ancestor closely and suits the bowls and boards you reach for at the island. Where the island has to carry serious storage, drawers beat doors because they bring the back of the cabinet to you, and what belongs in the island’s drawers is a shorter list than you would think.
Buy, Build or Repurpose: Three Routes to a Farmhouse Kitchen Island, Priced
You can buy one, build one or adapt an old piece, and the routes differ in cost, wait and what they give you. The buying prices here are single listings dated 7 November 2026, so read them as a snapshot of one day.
| Route | Typical cost | Wait and effort | What passes the worktable test | What to watch for |
|---|---|---|---|---|
| Buy flat-pack | From about $239 for a 59 in “solid wood farmhouse” island with open shelves | No lead time listed | Open shelves below | Wood species and finish not stated |
| Buy made to order | About $3,430 for one Amish-built oak island with a taller base, top sold separately | 19 to 21 weeks’ lead time | Turned legs, if joined to the frame | Factory distressing sold as an option |
| Build from stock cabinets | Depends on the cabinets and top you choose | Carpentry, leveling and painting | Whatever legs and panels you add | A box that isn’t fastened to the floor |
| Adapt an antique table or dresser | Antique tables run into thousands | Shop checks, then raising and steadying | Often a worktable already | Old tables usually sit lower than a counter; test old paint before you sand it |
Those figures sit below the averages that cost sites quote. Their typical island, around $4,800, is averaged across everything from prefab units to custom builds, so it tells you little about what a farmhouse island on legs should cost. The made-to-order price is a sum. The island starts at $2,032 on sale, quarter-sawn white oak adds $1,029 and the taller base adds $369, so it comes to $3,430 before you buy a top for it.
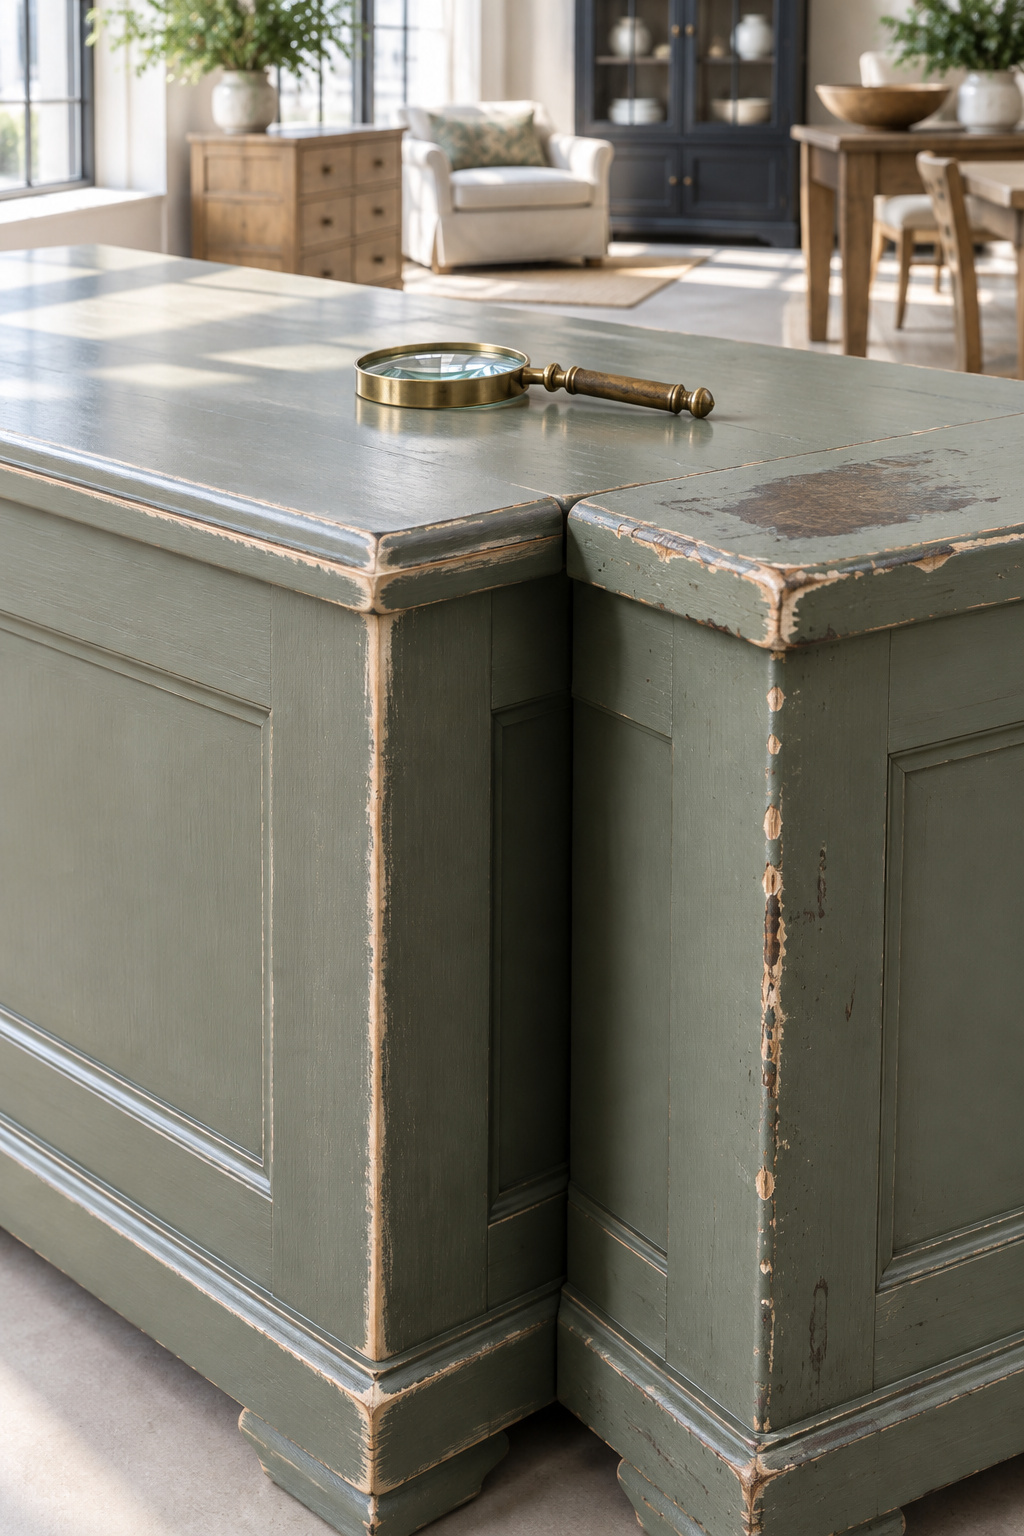
The same listing offers distressing in two strengths, light or heavy, at $275 either way. On a new island, wear is a line item. The usual way to fake it is to sand through the paint along the edges, or wax the corners and scrape them once the paint is nearly dry, and either method tends to leave the same mark on every corner. Real wear has a reason for being where it is. It gathers where a hip leans, where a pan gets dragged and where a hand reaches for the same drawer every morning, and it is uneven because use is uneven. If every corner of an island is scuffed alike, a sanding block put it there.
I keep a coffee can of paint chips because a client once insisted a pink was original, and the layers proved it was from the 1950s. Check before you call it original. That holds for a showroom tag as much as for a house, and an island sold as aged ought to be able to show you where its age came from.
Which route suits you depends on the room and your patience. Buy flat-pack if you want an open-base island this month and can accept a top of unknown wood. Order one made if you can wait 19 to 21 weeks for joined legs and a solid frame. Build when your kitchen needs a size nobody sells, starting with building an island from stock cabinets, where the itemized bill and the floor fixings are set out. And if you would rather start with wear that is already real, turning an antique table or dresser into an island begins with the checks to make in the shop.
The Top and the Sink: Wood, Stone and Whether Water Belongs in the Island
Choosing a Top You Can Work From Every Side
Wood has come back to the island. In Houzz’s 2026 figures, 39% of homeowners choosing an island countertop picked wood, twelve points more than the year before. A contrasting island top is common too, with nearly one in five choosing black in the 2025 study, but that is a fashion and not a farmhouse rule. A wood top can be sanded back when it marks, but it moves with the seasons and doesn’t take a hot pan well. Soapstone is the other farmhouse favorite, and it behaves a little like wood. It is soft, around 2 to 2.5 on the Mohs scale, so it takes knife marks and dents and gives them up again under sandpaper. Its suppliers describe it as non-porous and say it needs no sealing; ask the yard you buy from to stand behind that.
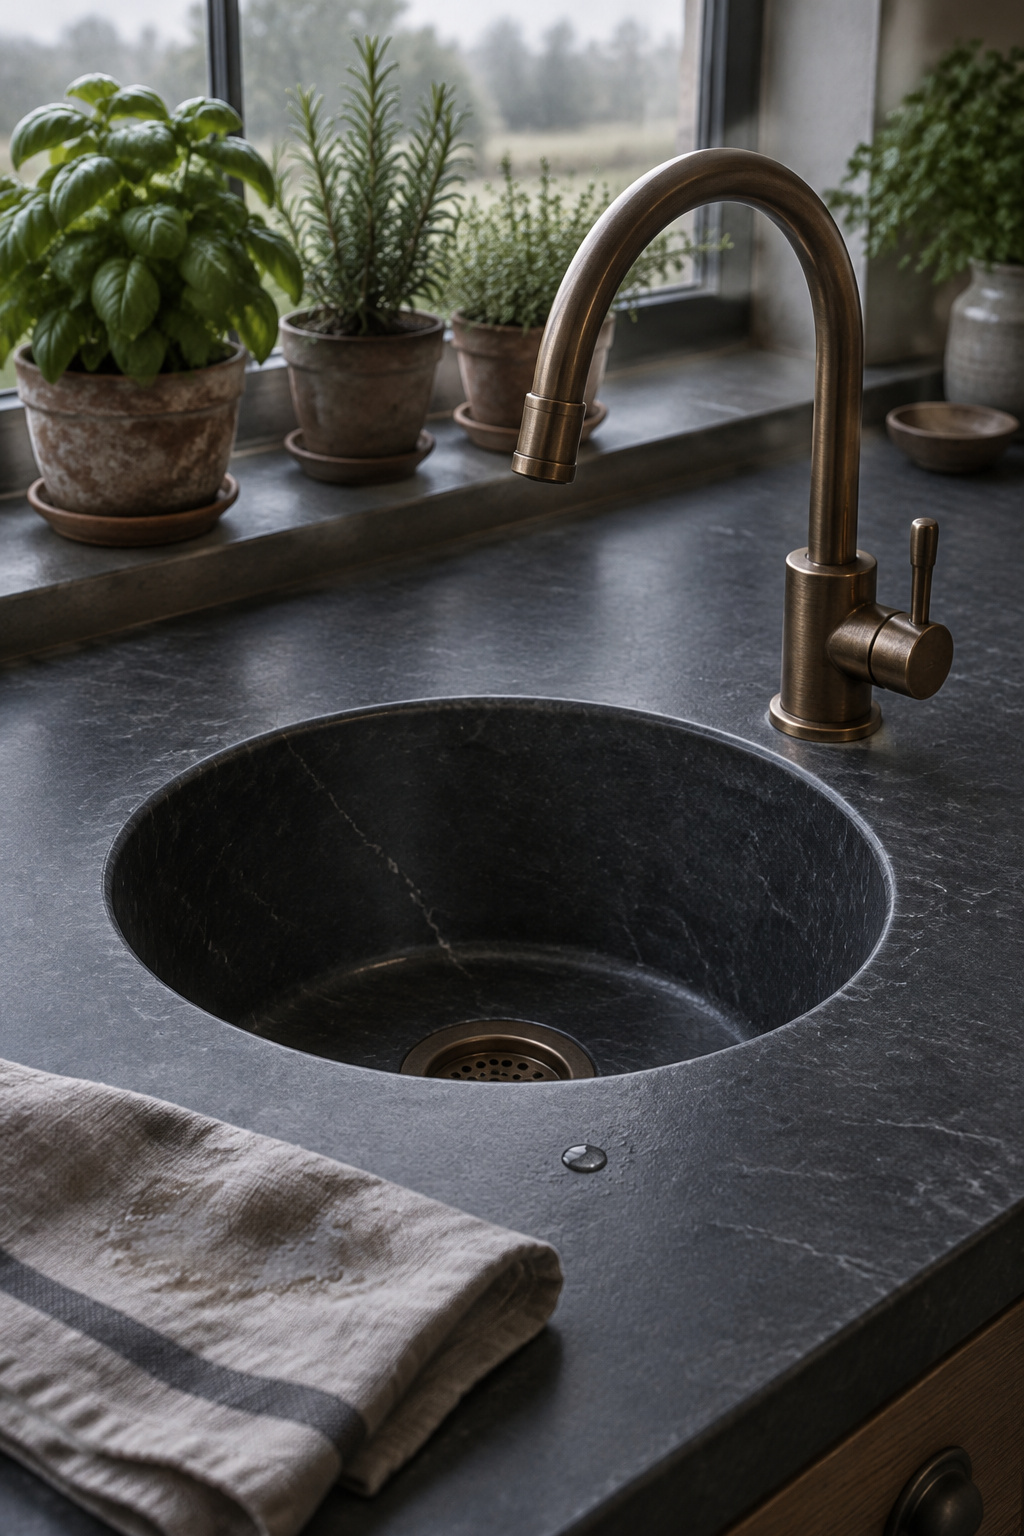
Either one passes the worktable test, and so does any top that suits how you cook, because the test is the open edge on every side, not the material. Choosing a species and a finish for a wood top is covered in decorfull’s butcher block countertops guide.
A Prep Sink in the Island: Yes, No or Not Yet
Water in the island is the modern addition I would think hardest about. One designer’s warning is that a main sink there puts dirty dishes, water and general mess right where people sit and talk. A small prep sink off to one side, away from the stools, is the version few people regret.
The plumbing is the harder part. An island sink has no wall behind it to carry a vent, so the International Residential Code handles it as a special case in Section P3112. The island fixture vent has to rise vertically above the sink’s drain outlet before it turns sideways or down, and it needs cleanouts below the sink’s flood rim. There are three accepted ways to vent one: that island fixture vent, a combination waste-and-vent system, or an air-admittance valve, which many jurisdictions allow but not all. Your local code and your inspector decide which you can use.
Angi’s 2026 figures put the sink at $400 to $1,500 and the plumbing at $500 to $1,900. Adding the two low ends and the two high ends gives $900 to $3,400 for sink and plumbing together, before a faucet. If you aren’t sure, “not yet” is a fair answer, and the island still works as a worktable without one. An apron-front farmhouse sink is a separate choice, and decorfull’s farmhouse kitchen sink guide covers choosing and fitting one.
Base Color, Beadboard and Pendants: The Finishing Choices
The Painted Base Convention, and Why Real Wear Beats Factory Distressing
A painted base under a bare wood top is an old arrangement. Kitchen tables from the first half of the nineteenth century survive, from Virginia farmhouses and British country-house kitchens alike, with original paint on the base and a bare, scrubbed top. The top could be washed down with water. The paint disguised a plain softwood base and could be renewed when it wore.
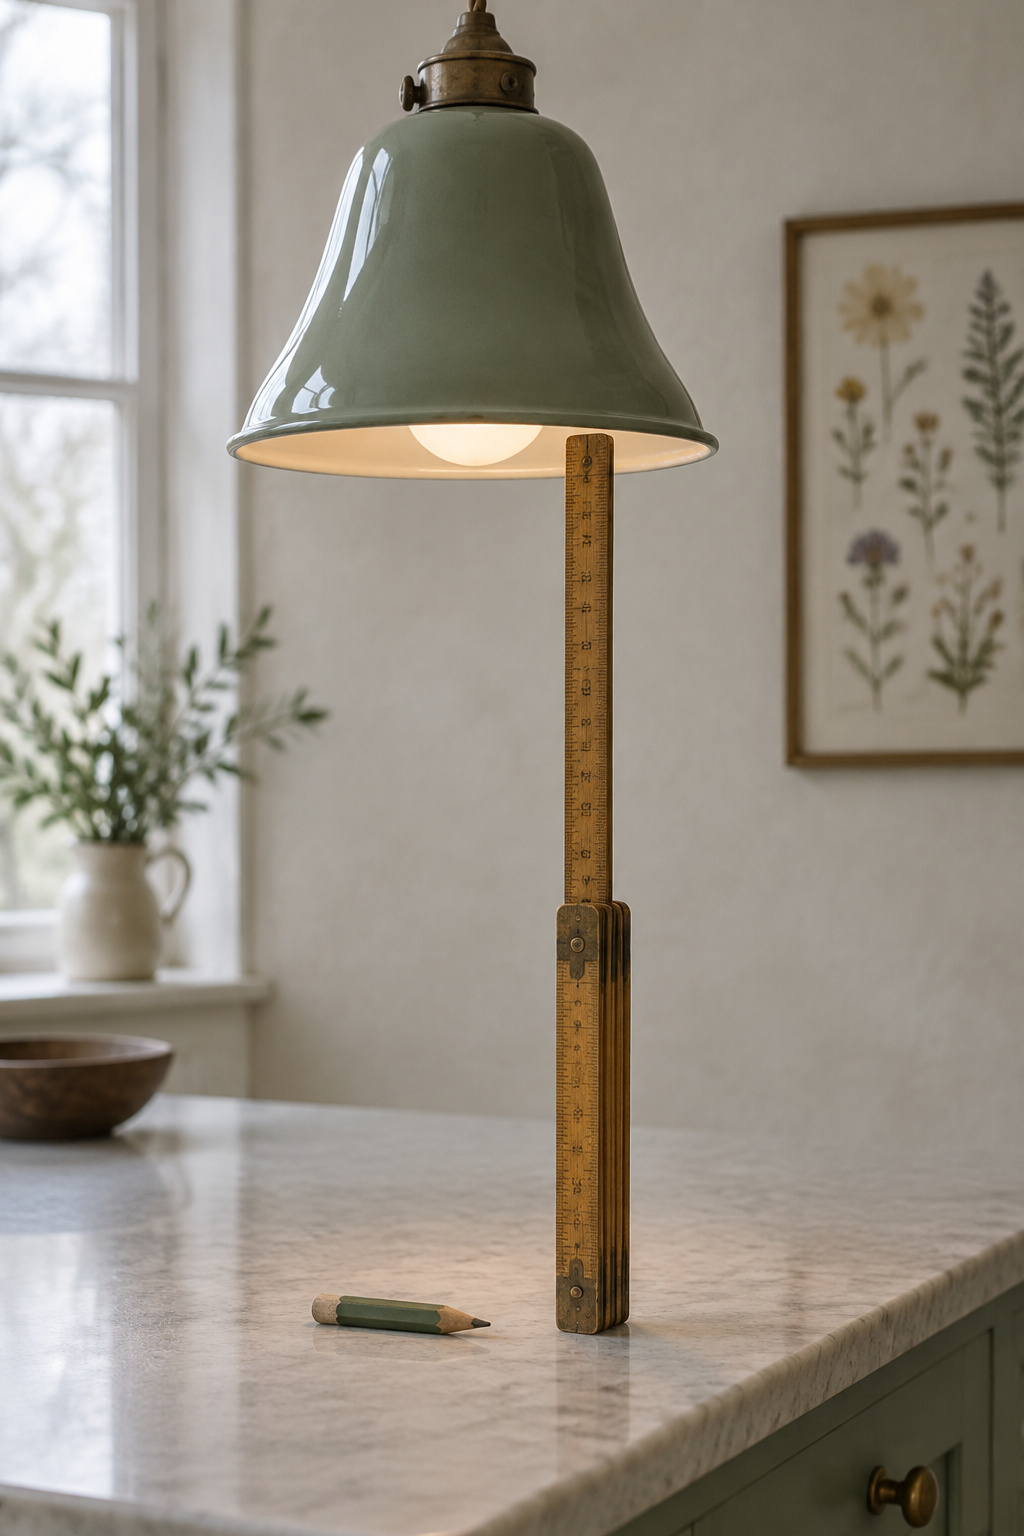
So a painted island base has history behind it, though contrasting it with the rest of the kitchen is a convention, not a rule. Choose the color for what it hides. Pale paint shows scuffs and scratches, and dark paint shows dust and fingerprints more than any other color. Then let it wear on its own. Milk paint chips and flakes over time, in the places the island is actually used, and that is all the distressing a farmhouse island needs. If the base you are repainting is old, test the paint before you sand it.
Beadboard and Plank Panels
Panels give a plain cabinet box a finished back and ends, which matters most on the side where people sit. Choosing the board, fixing it so a later owner can take it off and finishing it for kitchen wear are set out in wrapping an island in beadboard.
Pendants Over the Island: One Hang Height
Hang pendants so the bottom of each shade sits 30 to 36 in above the island top. Measure up from the counter surface, not from the floor; that range is the one the lighting trade gives for an island. Which fixtures to choose, and how many, is a separate lighting decision.
Dress the Top Last, and Start by Measuring Your Aisles
Decor goes on last because every decision before it limits what the top can carry. An island with stools at one end and a prep sink at the other has less bare wood than the photograph did, and the bread board and the bowl have to fit into what is left. Farmhouse island decor that leaves room to work starts from the jobs the counter does and lets the objects move in afterward.
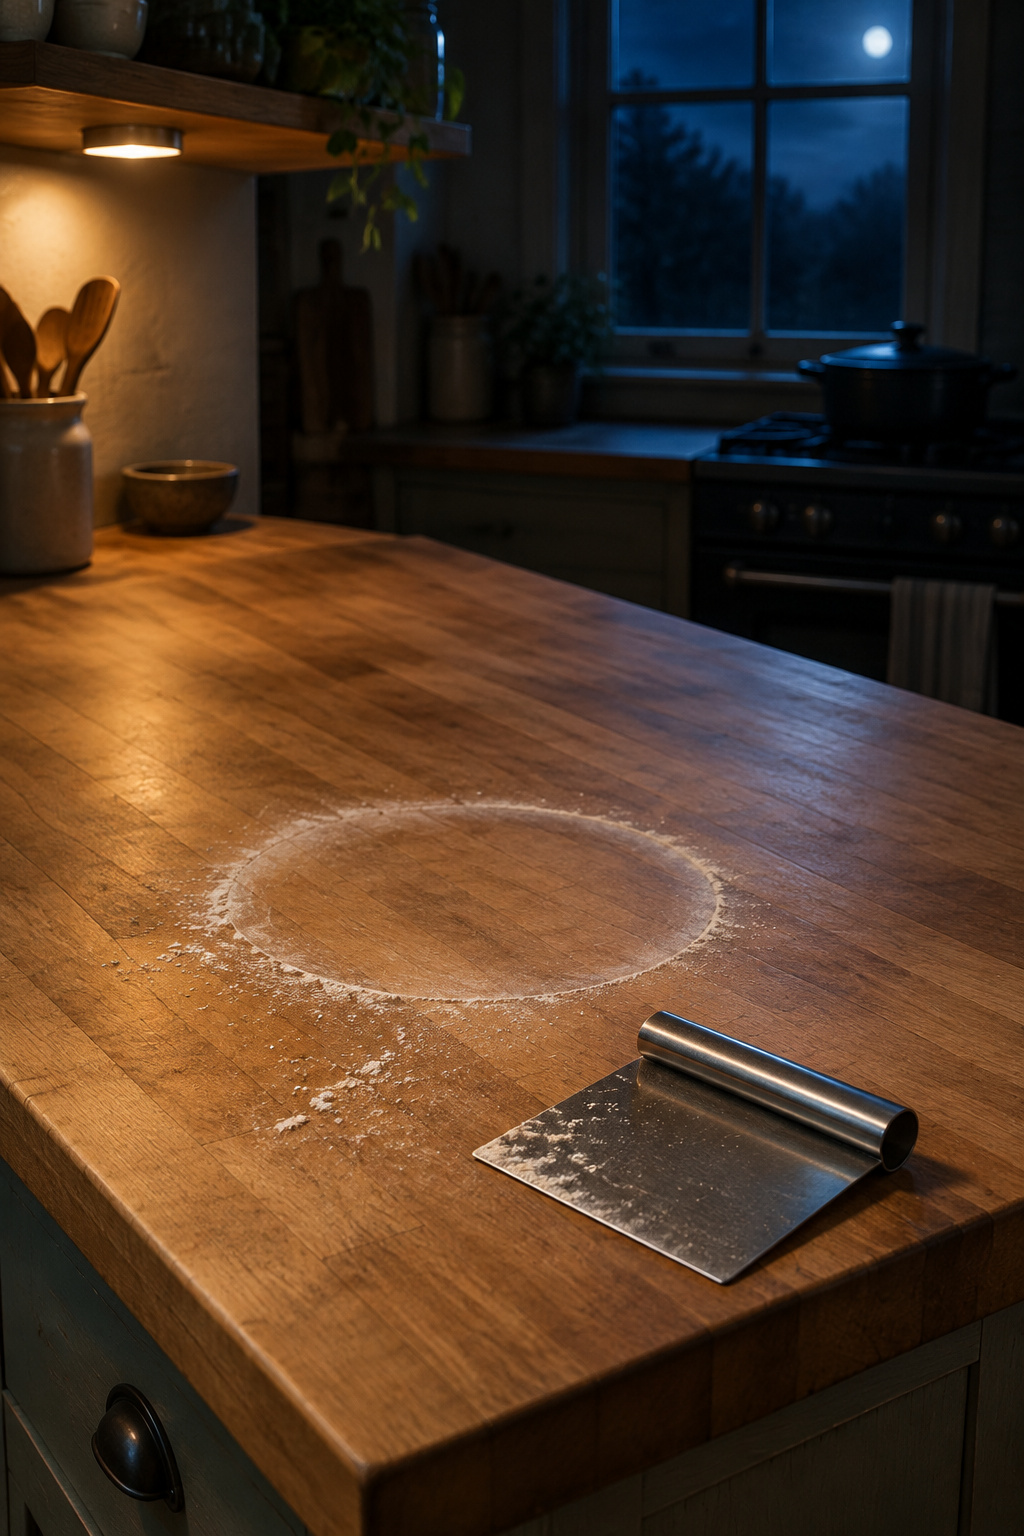
The first move comes before all of that, and it costs nothing. One writer who redesigned his own kitchen sized his island by working out how much counter he used in the old one and how two people moved around it, which is the worktable habit exactly: measure how you work before you choose the piece. Start with the floor. Hook a tape on the front edge of one counter, pull it across the floor to the front edge of the counter facing it, and write down the smallest number you get. Every island in that saved folder either fits inside that number with an aisle on each working side or it doesn’t, and the tape will settle more of the folder than any finish can.