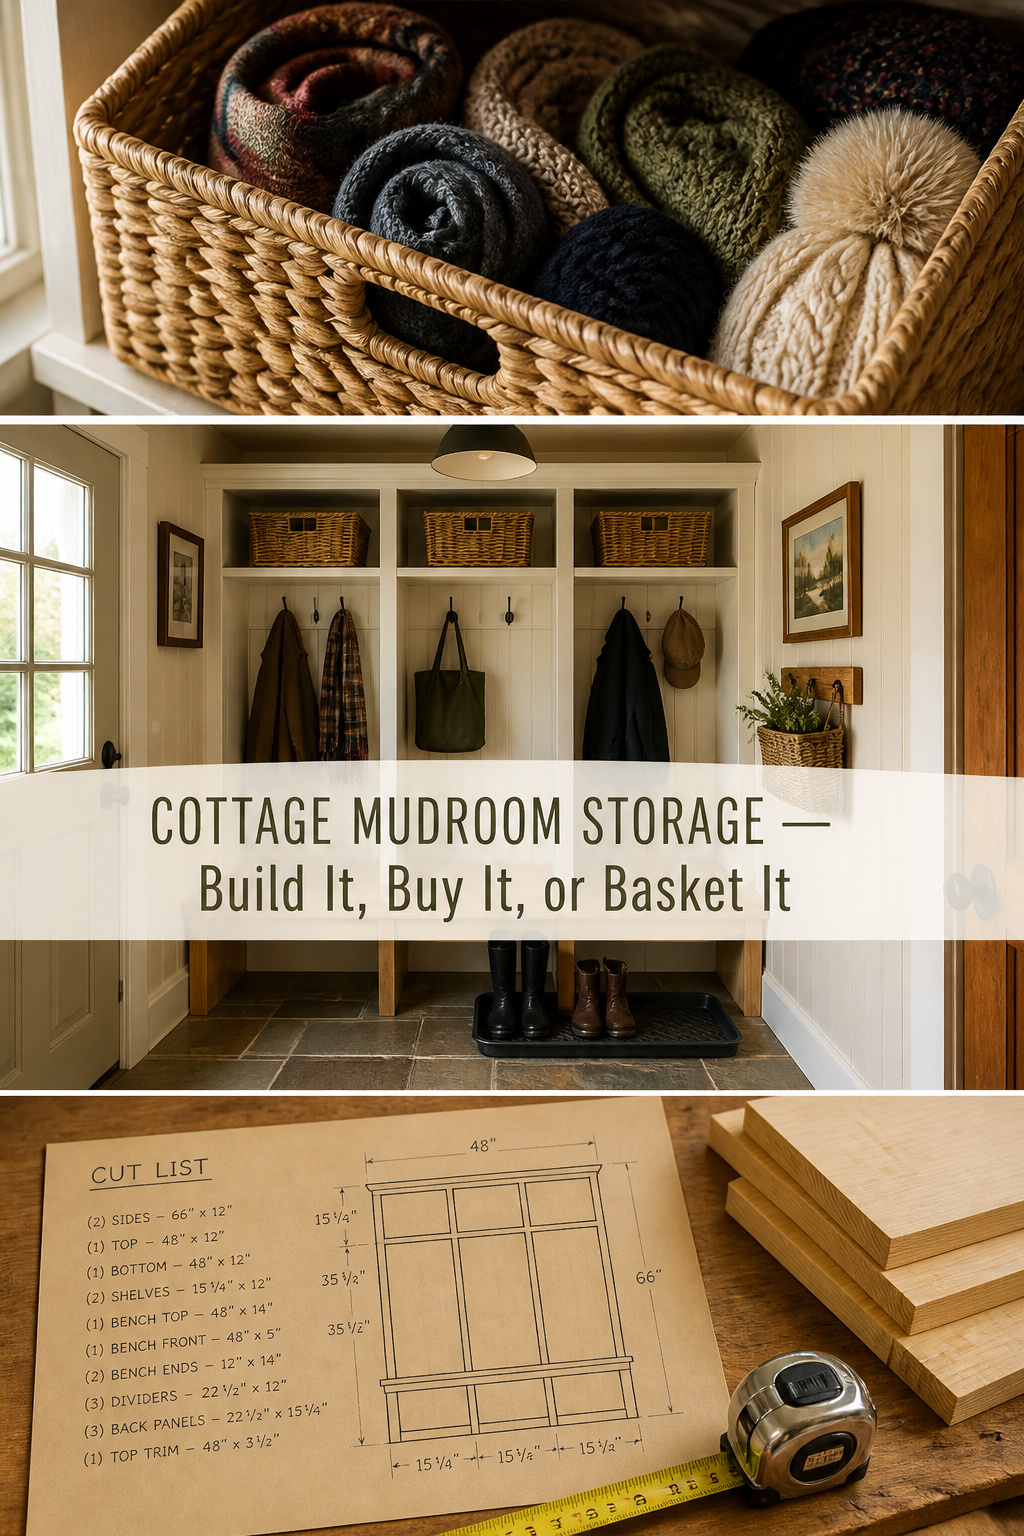
My years running crews for a remodeling contractor in Tennessee taught me one rule the hard way: pros measure, beginners guess. Nowhere does that bite faster than a cottage entry — guess, and the unit ends up three inches too wide for the door swing, or the basket you bought won’t clear the shelf depth and lands in the garage instead.
So the real fix isn’t more storage. Most cottage entries fail because nothing has a designated home, not because they’re short on space — and the right cottage mudroom storage ideas start with measuring the space you actually have, then matching contained storage to it.
TL;DR
- Audit first: measure the wall run and the door swing before buying anything — a unit 15–18 inches deep fits most narrow cottage entries.
- Layer three solutions: no-build baskets and trays now ($20–$60), a freestanding cubby next, or a weekend lumber build (materials roughly $80–$120).
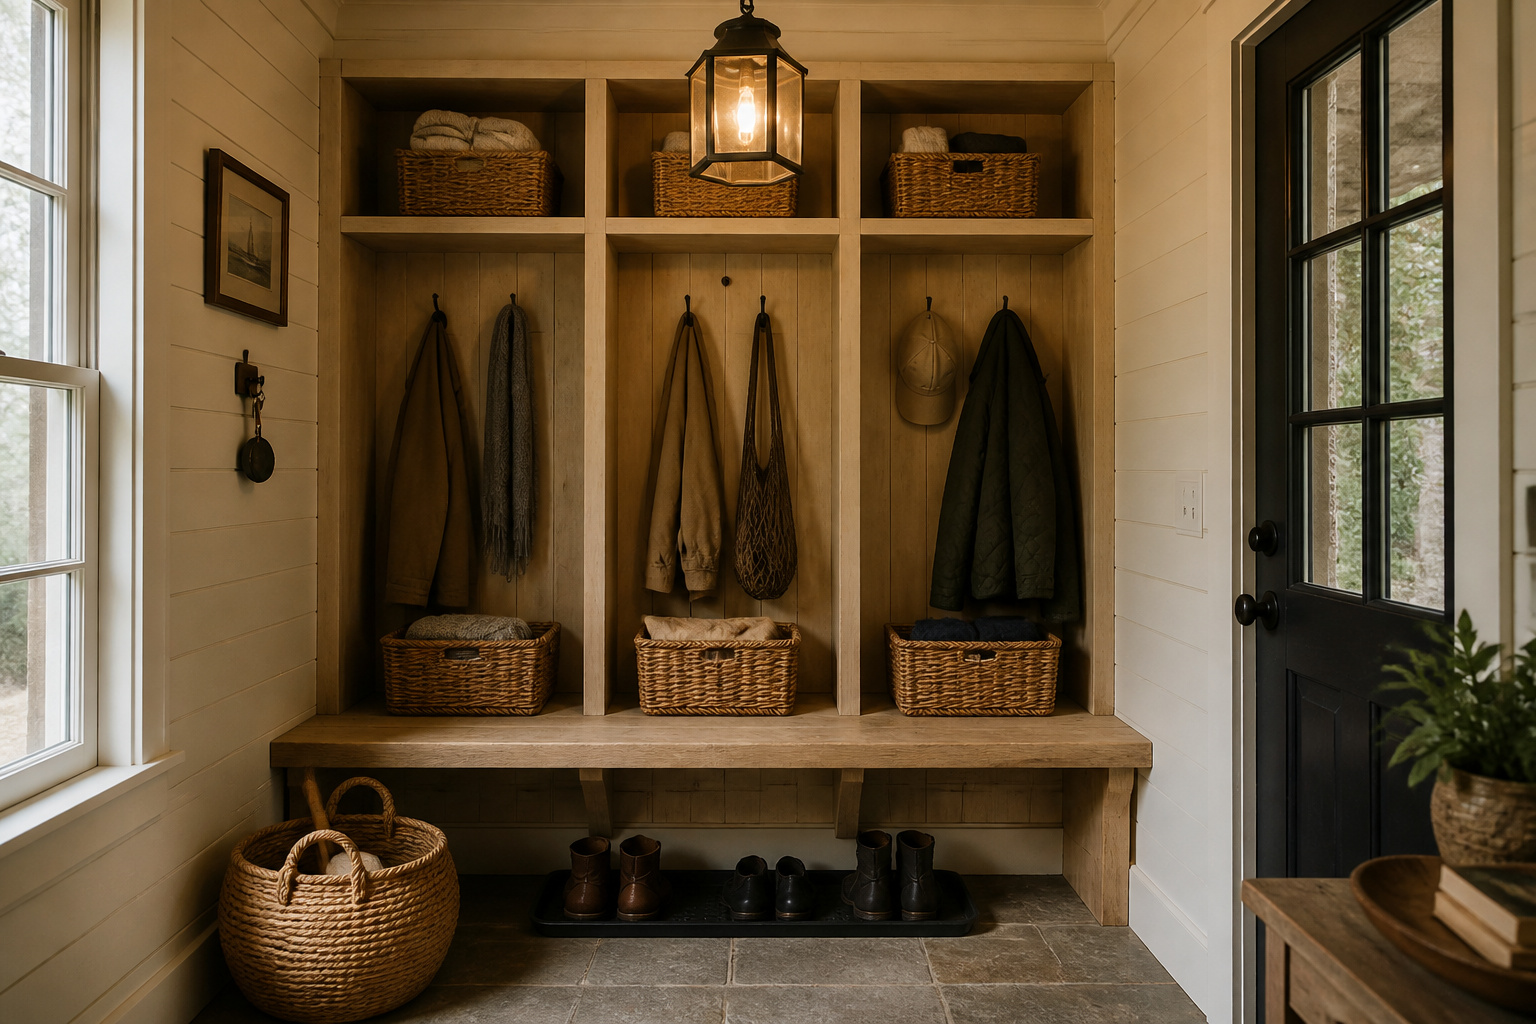
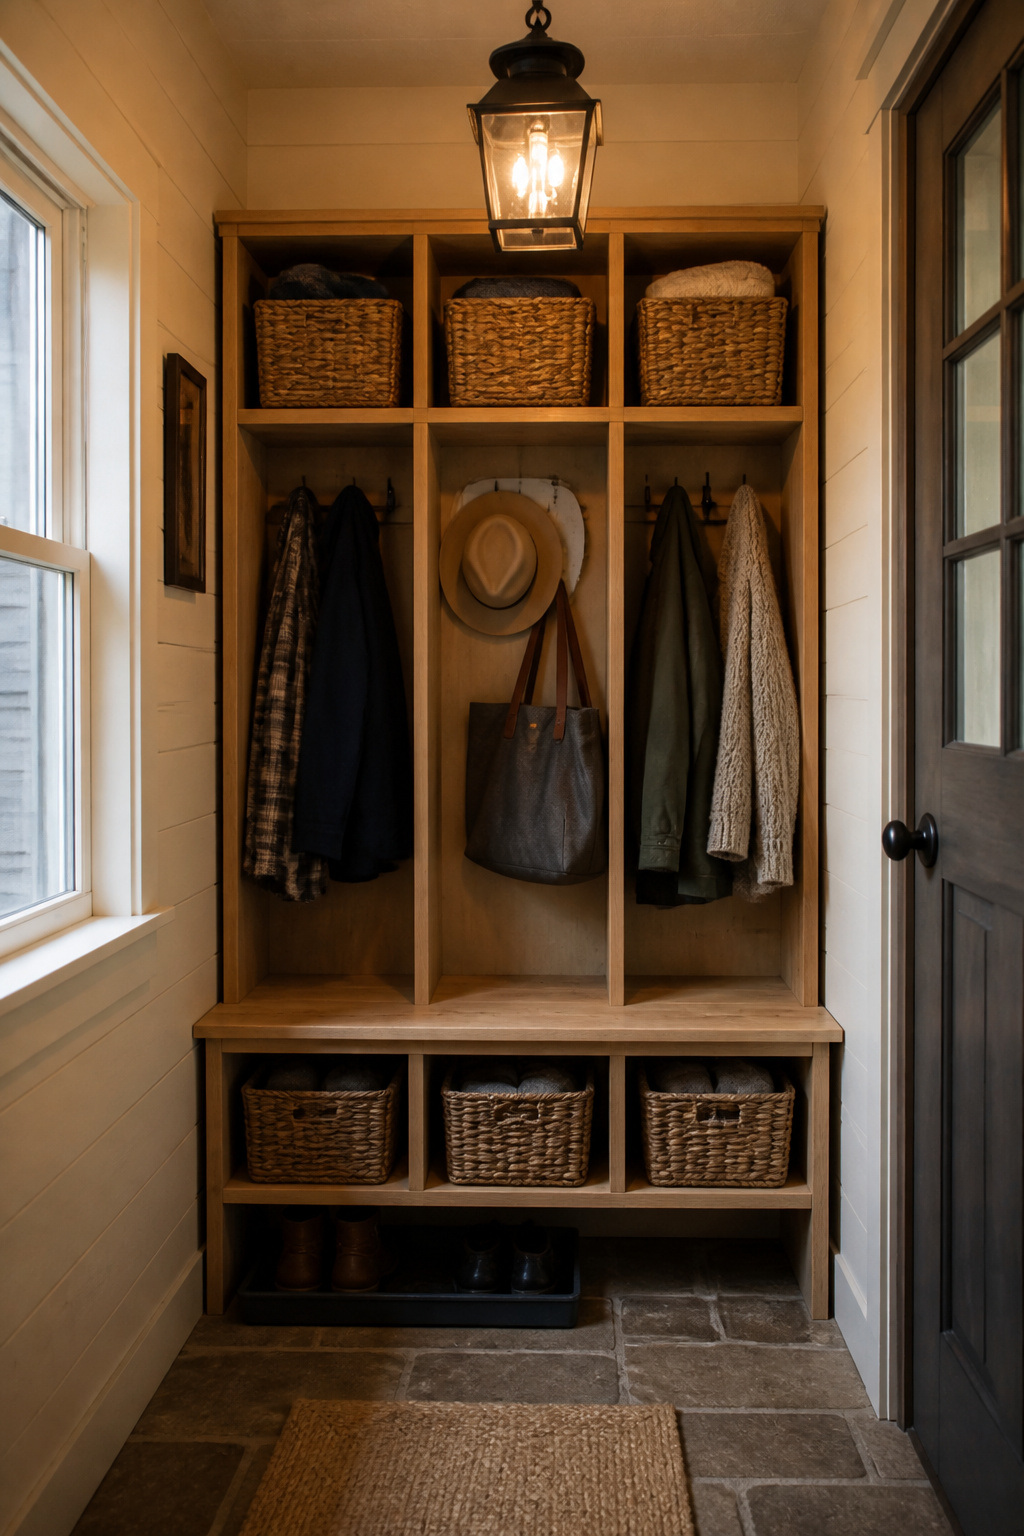
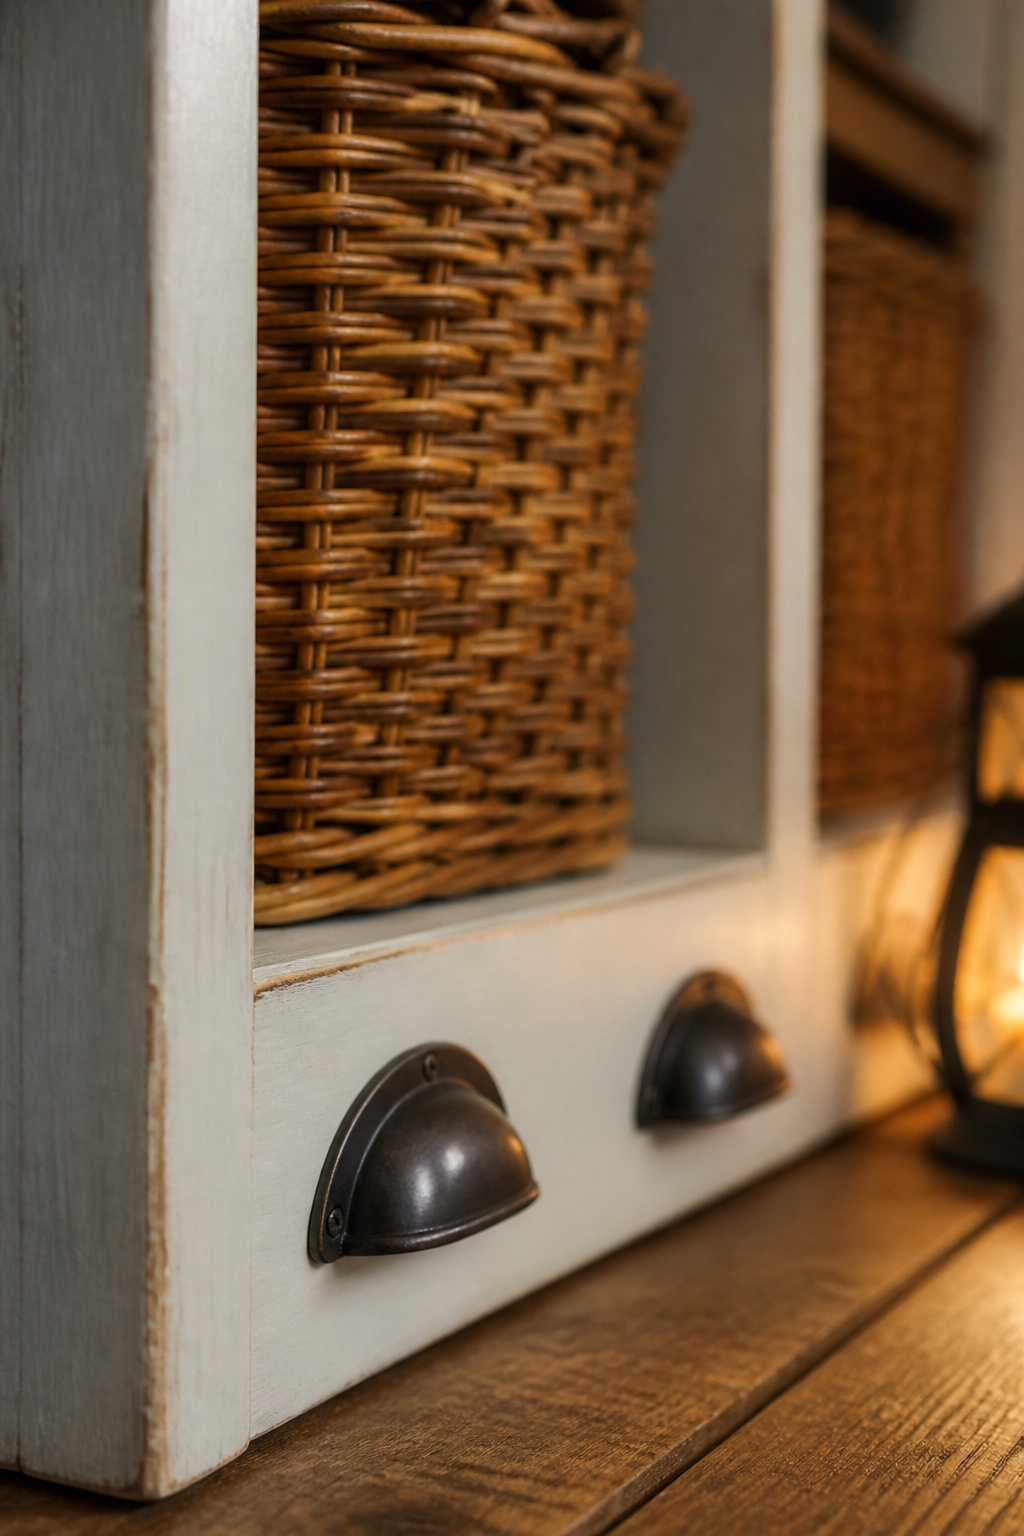
- Keep the charm with matte chalk or milk paint, oil-rubbed bronze hardware, and wicker baskets inside open cubbies — the basket hides the clutter so the door doesn’t have to.
The Entry Audit: What You’re Actually Storing and How Much Space It Needs
Skip this and you’ll buy a 48-inch cabinet for a 36-inch wall. Designer Emily Henderson: the entry eats everything because it has no designated place for anything, not because it lacks storage. Before you build or buy, figure out what lands here and where it can physically go.
Counting real items per household member
Count by person. A full zone — coat, backpack, and bag — needs 15 to 18 inches of width; below 12, jackets bunch and backpacks won’t fit alongside anything. Two people with the odd guest: 30 to 36 inches. A family of four: 60 to 72 inches.
Shoes are where people undercount: a family of four rotates 3 to 4 pairs per person — 12 to 16 pairs needing floor or shelf space. Inventory seasonal gear separately and give it the lower cubbies.
Measuring the entry
Measure the wall run, then the door swing. An inward-opening door can eat 2 to 3 feet of usable wall — the most common planning mistake in a small entry.
- Mark the door swing arc on the floor with painter’s tape, full radius.
- Measure the clear wall run outside that arc — that’s your real footprint.
- Keep 36 inches of walkway clearance in front of any unit; 30 inches is the absolute floor.
- Set unit depth at 15 to 18 inches; pair any boot tray beneath it at 2 inches shallower so nothing protrudes.
The cottage constraint
Standard mudroom systems assume 8-foot ceilings and square entries. Cottage entries have lower ceilings — often 7 to 7.5 feet — uneven plaster, and openings under 36 inches. Full-height lockers need roughly 5 feet of width even for two people; below that, cubbies and baskets outperform them. For how storage fits the other entry zones, see the complete guide to cottage entryways.
Quick Wins: No-Build Cottage Mudroom Storage That Works While You Plan
These cost little, need no tools, and are reversible — useful if you rent.
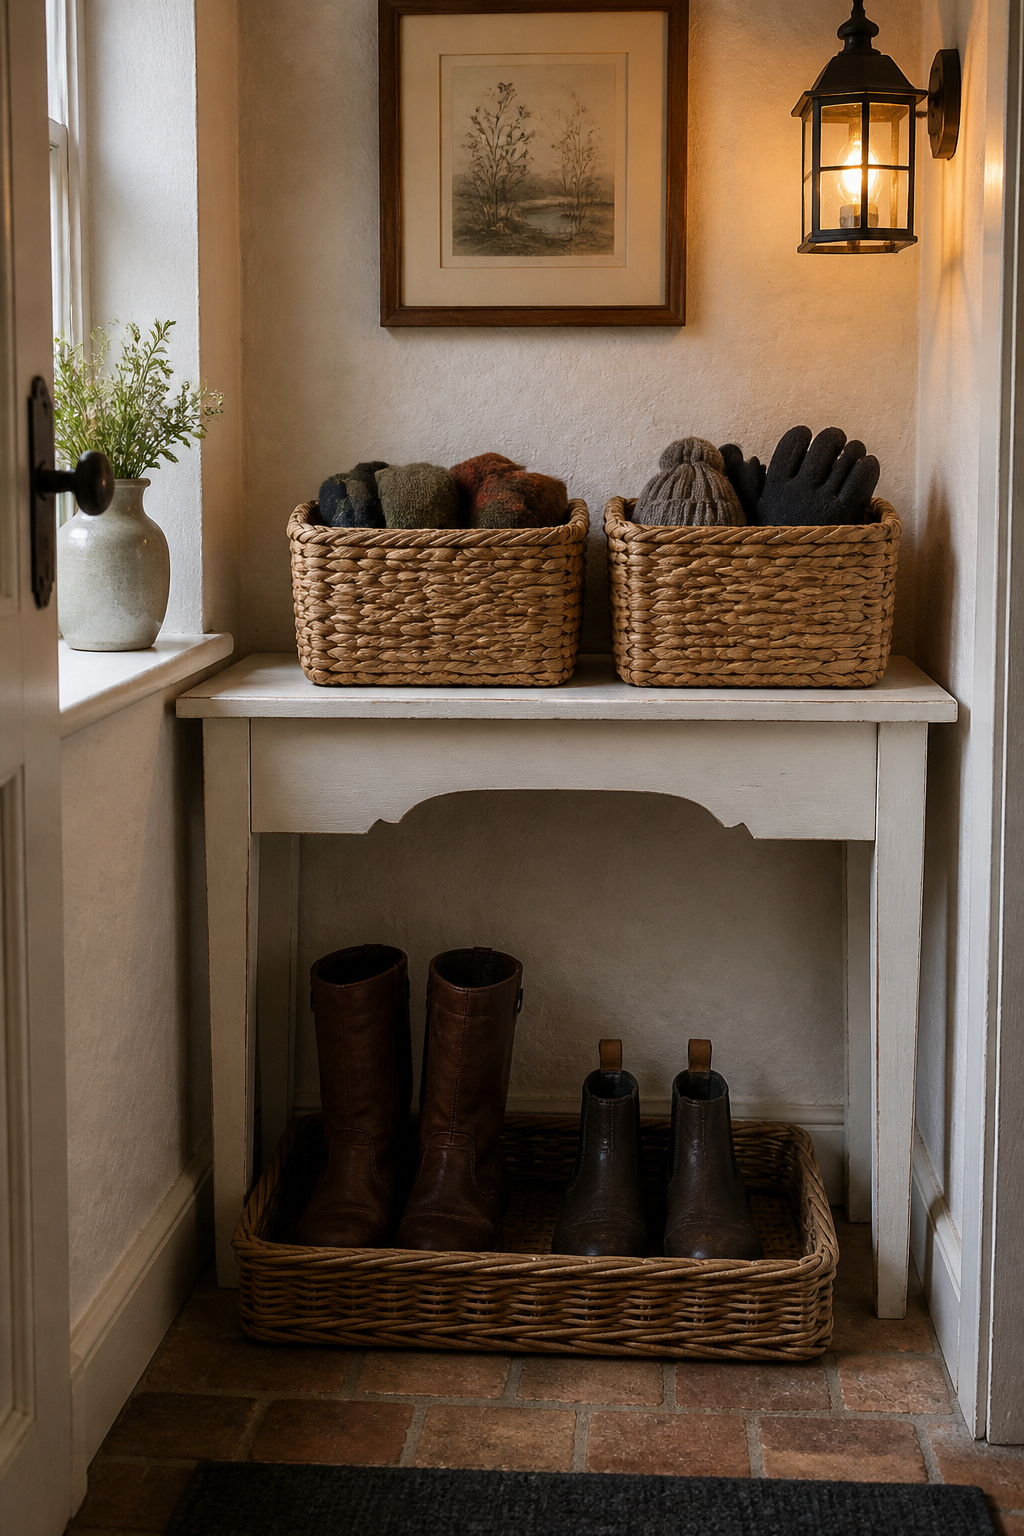
Start with the drop zone: a tray or basket (20 to 24 inches wide) on any flat surface for keys, mail, and daily carry. Keep it at 50 to 60% full and the eye reads “organised” even when it isn’t.
A boot tray is the highest-return purchase in the entry. A 33-by-14-inch tray corrals wet boots, protects the floor, and creates a visual boundary the family actually respects.
For baskets, here’s how the sizes shake out:
| Basket size | Rough dimensions | What it holds | Price band |
|---|---|---|---|
| Small cube | 10–11 in. | Hats, gloves, dog leads | $8–$20 each |
| Medium tray | 12 × 9 × 4 in. | Mail, keys (flat surface) | $10–$25 each |
| Large floor | 16 × 12 in.+ | Shoes, seasonal gear | $20–$40 each |
| Graduated set of 3 | small/medium/large | Mixed | $25.99–$120 |
Two cautions: measure the shelf before you buy — handmade baskets vary up to 1.5 inches per dimension. And don’t buy a 4-inch-deep tray for a job that needs depth. For the cottage look, cube-format wicker baskets stack on a console, a repurposed bookshelf, or straight on the floor.
Freestanding Storage Units: The Right Cabinet or Cubby for the Size
A freestanding unit sits between basket-and-tray and a full build. Keep depth at 15 to 18 inches and check the construction — that’s what determines whether the thing survives five years of daily use.
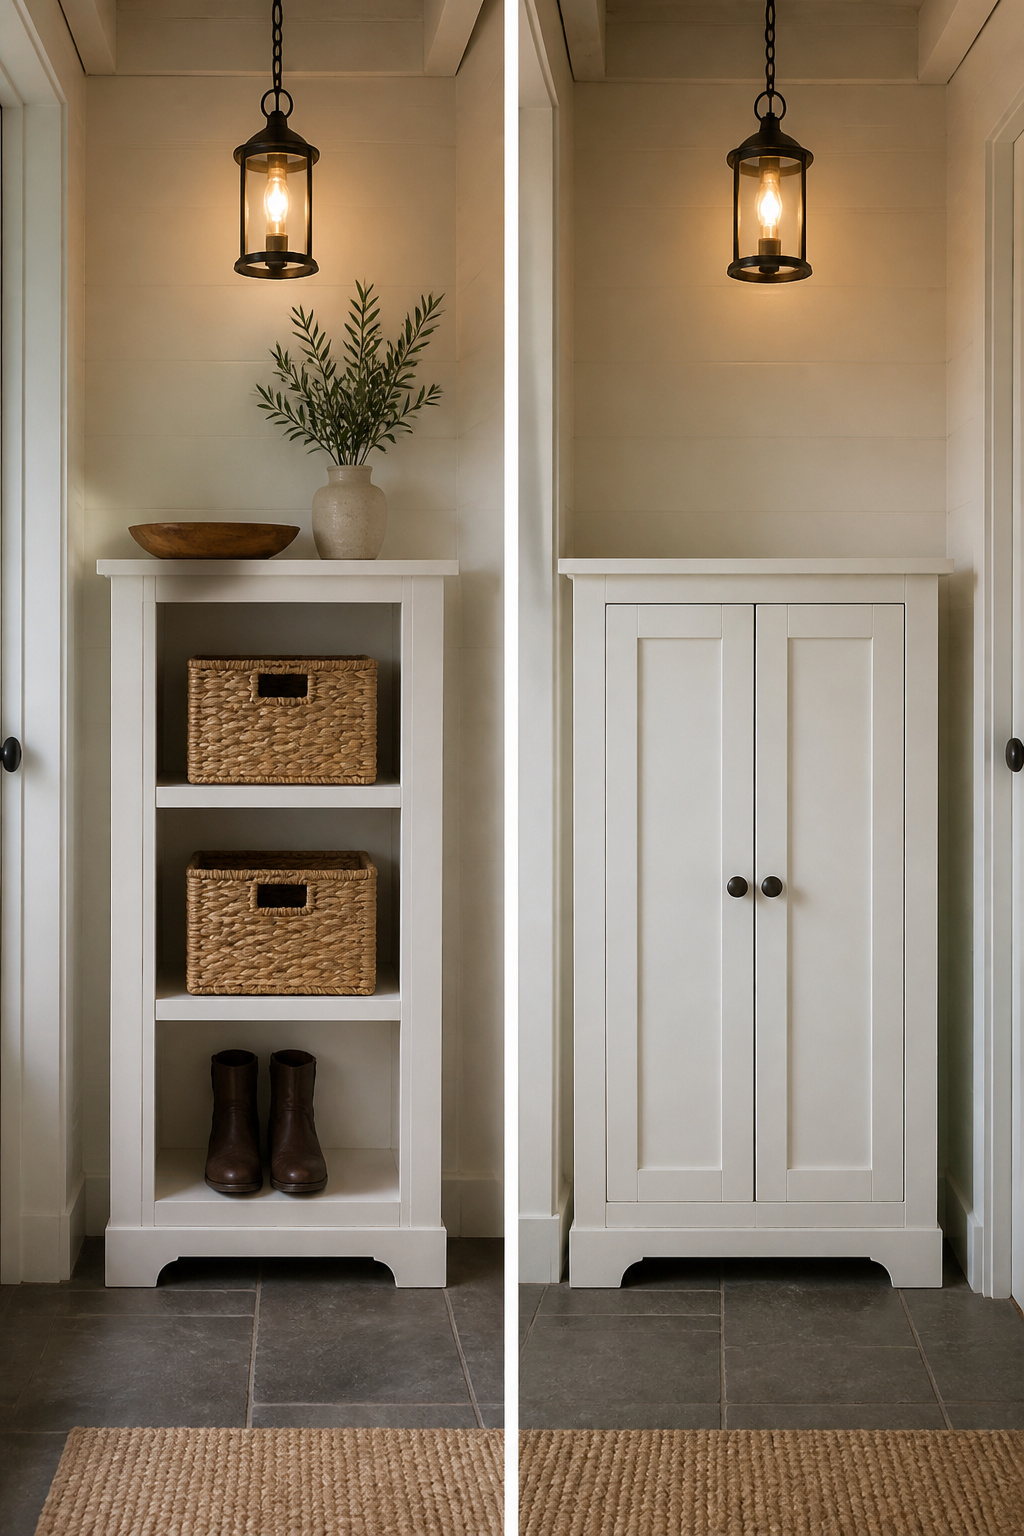
Depth and width for narrow entries
Eighteen inches deep lets a coat hang on a hanger. Fifteen inches works if you hang on hooks instead of a rod. Below 36 inches of width, pick a single tall open-cubby unit over a bench-plus-cabinet combo — the bench eats floor the corridor can’t spare.
Open cubbies vs closed doors
| Open cubbies | Closed cabinet | |
|---|---|---|
| Clutter visibility | Basket hides it | Door hides it |
| Daily use | High — no step required | Lower — door breaks the habit |
| Cost | Lower — no hinge hardware | Higher |
| Best for | Family entries, kids | Entries open to living rooms |
The cottage answer: open cubbies with a wicker basket inside each one — the basket hides the clutter the door would, and nobody has to open anything. A hybrid works too: open cubbies up top for daily use, closed cabinet below for seasonal kit. Pair with wall-mounted coat hooks for the hanging half.
What to check in the construction
Pull a drawer fully out and check the corner joints. Dovetail joints resist racking and last decades; stapled or glued butt joints — the flatpack standard — separate within 2 to 5 years. Quality drawer sides are 5/8-inch solid hardwood. A solid-wood drawer face over a stapled MDF box is a common trick, so judge the box, not the front. Skip anything with printed-paper veneer over MDF — it delaminates within 12 to 18 months in a damp entry.
The Weekend Build: A Simple Cubby Unit From Stock Lumber
This is the build. A three-cubby unit from 3/4-inch birch plywood with 1×2 pine face frames. Materials: roughly $80 to $120 at big-box prices in 2026 — that’s a materials estimate; paint, screws, and the trip back to the store all add to it. Time: one day to cut and assemble, one day to finish. Difficulty: “some builds” — not a first project, but manageable if you’ve used a router.
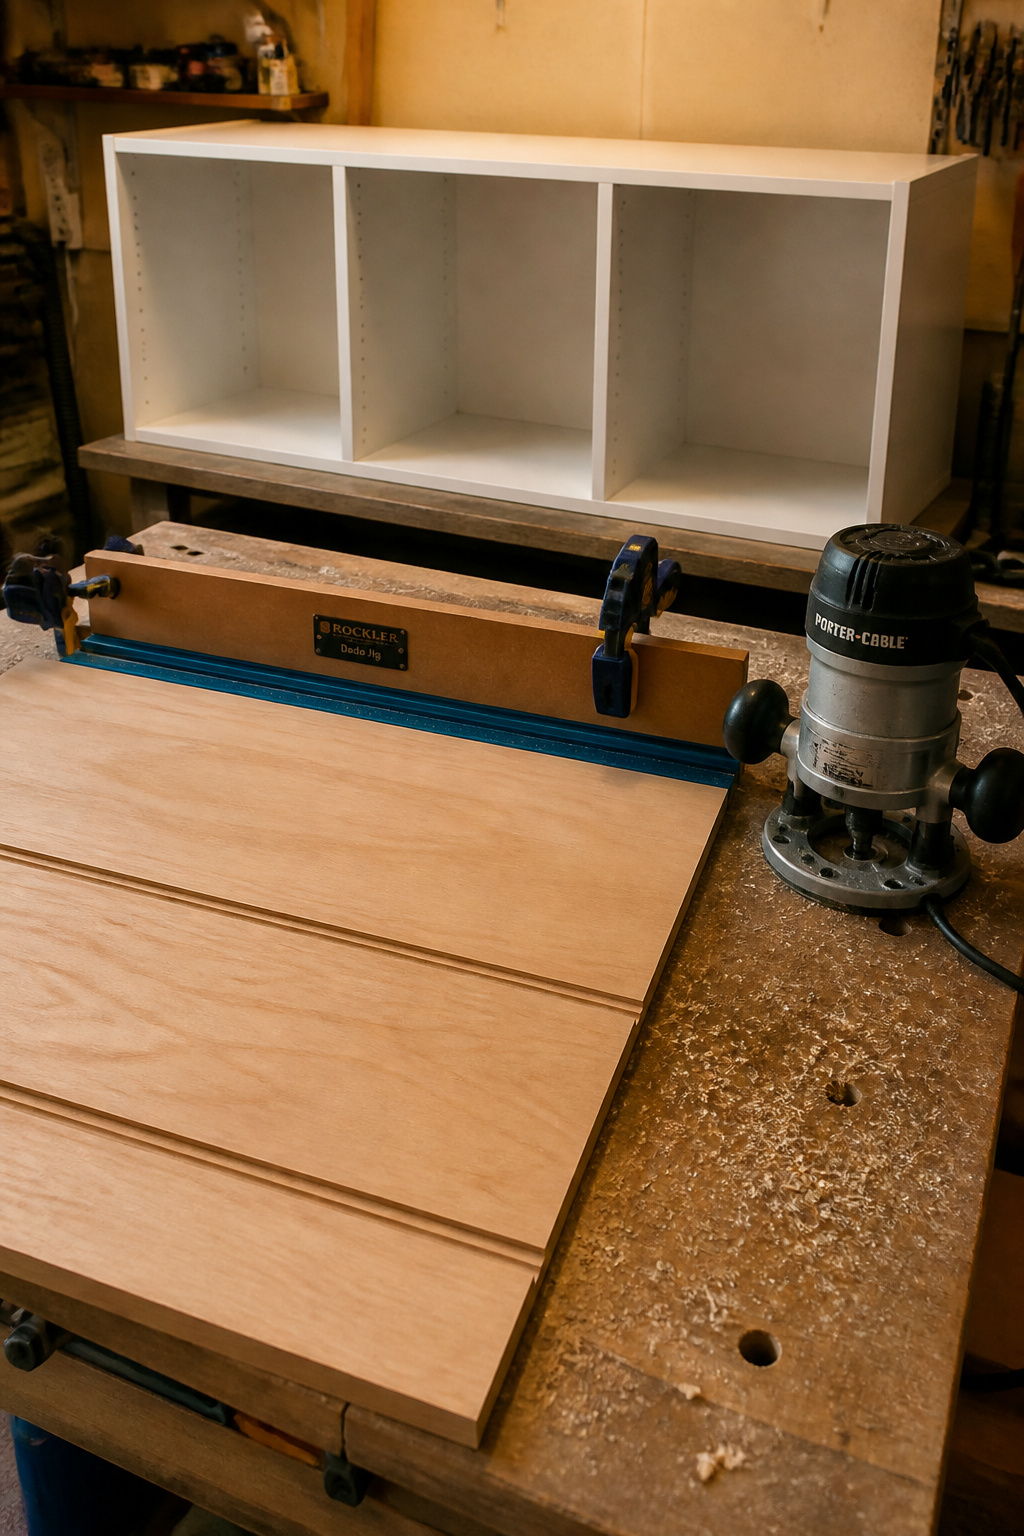
Cut list and materials
Each bay is 15 3/4 inches wide, 80 inches tall, 16 inches deep: six side panels at 16 by 80 inches, eighteen shelves at 23 3/8 inches, 1×2 pine face-frame stock. Cabinet-grade birch plywood runs $55 to $80 a sheet; you need 1.5 to 2 sheets. CDX pine is cheaper ($30 to $45) but birch paints harder and holds screws better. Have the store rip sheets to rough 16-inch width.
Step-by-step assembly
- Set the table saw to 15 3/4 inches and run every panel through at that setting before marking any dado.
- Cut dados with a jig and router, using the first panel as a template for the rest.
- Spread wood glue in each dado, seat the shelf with a rubber mallet, drive screws into pre-drilled pilot holes.
- Wipe squeeze-out before it dries.
- Attach the face frame; join units with connector bolts so the whole thing disassembles for a move.
The mistake paragraph. The dado stage catches first-timers every time: cut all the grooves, start assembly, and shelves sit at angles because the panels weren’t the same width before routing. Tom Silva’s fix is step one — equalise every panel at the same fence setting first. Second trap: skip the pilot hole near a plywood edge and it splits. Pre-drill.
Finishing for a cottage look
Chalk paint needs no sanding or priming on bare plywood; one litre covers about 140 square feet. True milk paint — powder mixed with water, not latex labelled “milk paint” — is tougher: it sinks into the fibre rather than sitting on top. Either way, topcoat with wax or poly; unprotected chalk paint abrades within weeks. For the aged look: two coats, 24 hours to cure, 220-grit on the edges.
Fitting Storage Into the Tightest Entry: Vertical, Floating, and Corner
Under 4 feet wide, the move is always the same: go up and get the footprint off the floor.
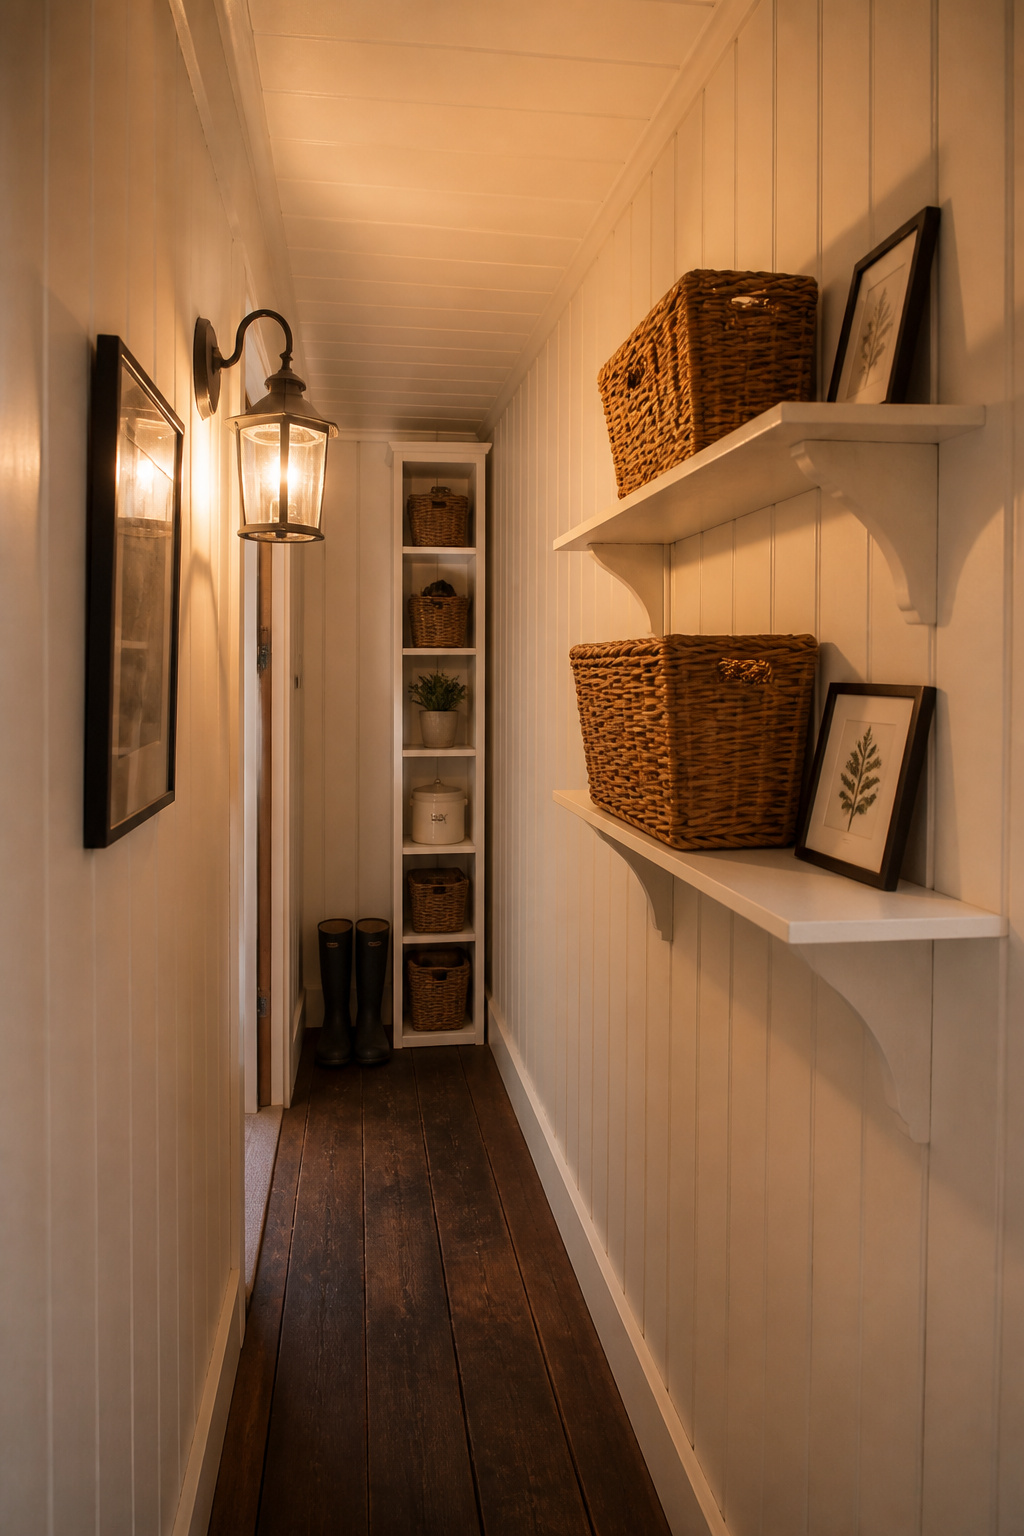
Floating shelves first. A shelf into two studs safely holds 45 to 50 lbs per bracket — roughly 90 to 100 lbs across a 3-foot shelf. Drywall-only fixing drops that to 20 to 25 lbs: not enough for a loaded basket. Studs sit 16 inches on centre in most load-bearing walls. In a cottage with plaster over lath, magnetic finders fail; drill a pilot hole and probe sideways in 1/4-inch steps with wire. Two stud-fixed shelves at 48 and 72 inches give you a freestanding unit’s worth of storage with no floor footprint.
A tall narrow tower is the second move. At 13 to 16 inches wide and 60 to 72 inches tall, a tower keeps its footprint under 2 square feet. Five shelves on a 15-inch-wide unit delivers about 3.5 square feet of surface — the storage of a 36-inch bench in half the floor space. Style with one or two baskets per shelf or it reads as a utility closet.
Third, work the corner. L-shaped corner cubbies use dead space where two walls meet — watch for non-square corners in cottage plaster and shim accordingly. For the full small-space playbook, see narrow entryway solutions.
Keeping the Cottage Charm: Materials and Finishes That Fit
The materials question is really a durability question: what reads as cottage and survives mud, damp, and daily contact?
Basket moisture ranking: seagrass first, rattan second, water hyacinth last. Seagrass shrugs off moisture best — it’s your floor-level choice. Water hyacinth (the honey-toned tight weave sold as plain “wicker storage baskets”) is indoor-only; it rots from the base up on a wet floor. Whatever you pick, ventilate the entry and wipe mud out rather than letting it dry in the weave.
Sheen is the tell, not colour. Matte chalk or milk paint reads hand-applied and period; semi-gloss latex reads furniture-store modern no matter the shade. Annie Sloan: semi-gloss says “just painted,” matte says “always been here.” For hardware, go oil-rubbed bronze, antiqued brass, or aged pewter — bin pulls and wrought-iron forms. Avoid polished chrome, satin nickel, or champagne finishes.
If you already own a flatpack unit, don’t bin it — paint it, swap in period hardware, fill the cubbies with wicker. A painted bookcase with baskets reads as cottage; the unpainted version reads as student digs.
First weekend: Saturday morning, tape the door swing, measure the wall run, count what lands here per person. Saturday afternoon, buy one boot tray and a set of three graduated baskets. That one day moves you from an entry that eats everything to one with a plan and the clutter contained.
FAQ
How do you organise a small entryway with no mudroom?
Start with a drop-zone tray or basket on any flat surface for keys, mail, and daily carry. Then add a slim hall tree (15 to 18 inches deep) or repurpose a bookshelf — baskets on the lower shelves, a tray on top — recreating mudroom function for $60 to $200 secondhand.
What is a good depth for mudroom cubbies in a narrow hallway?
Fifteen to 18 inches is the practical standard: 15 inches keeps walkways clear and fits wicker baskets; 18 inches supports a coat hanger. With under 10 inches available, switch to a shallow shelf with baskets above and hooks below. Always keep 36 inches of walkway clearance in front.
How do you make a mudroom look cottage-style on a budget?
Paint any existing unit — including flatpack — with matte chalk or milk paint; the sheen does most of the work. Swap the hardware for oil-rubbed bronze, antiqued brass, or wrought-iron pulls ($20 to $60 a set). Add a $20 to $40 three-piece wicker basket set inside the open cubbies.