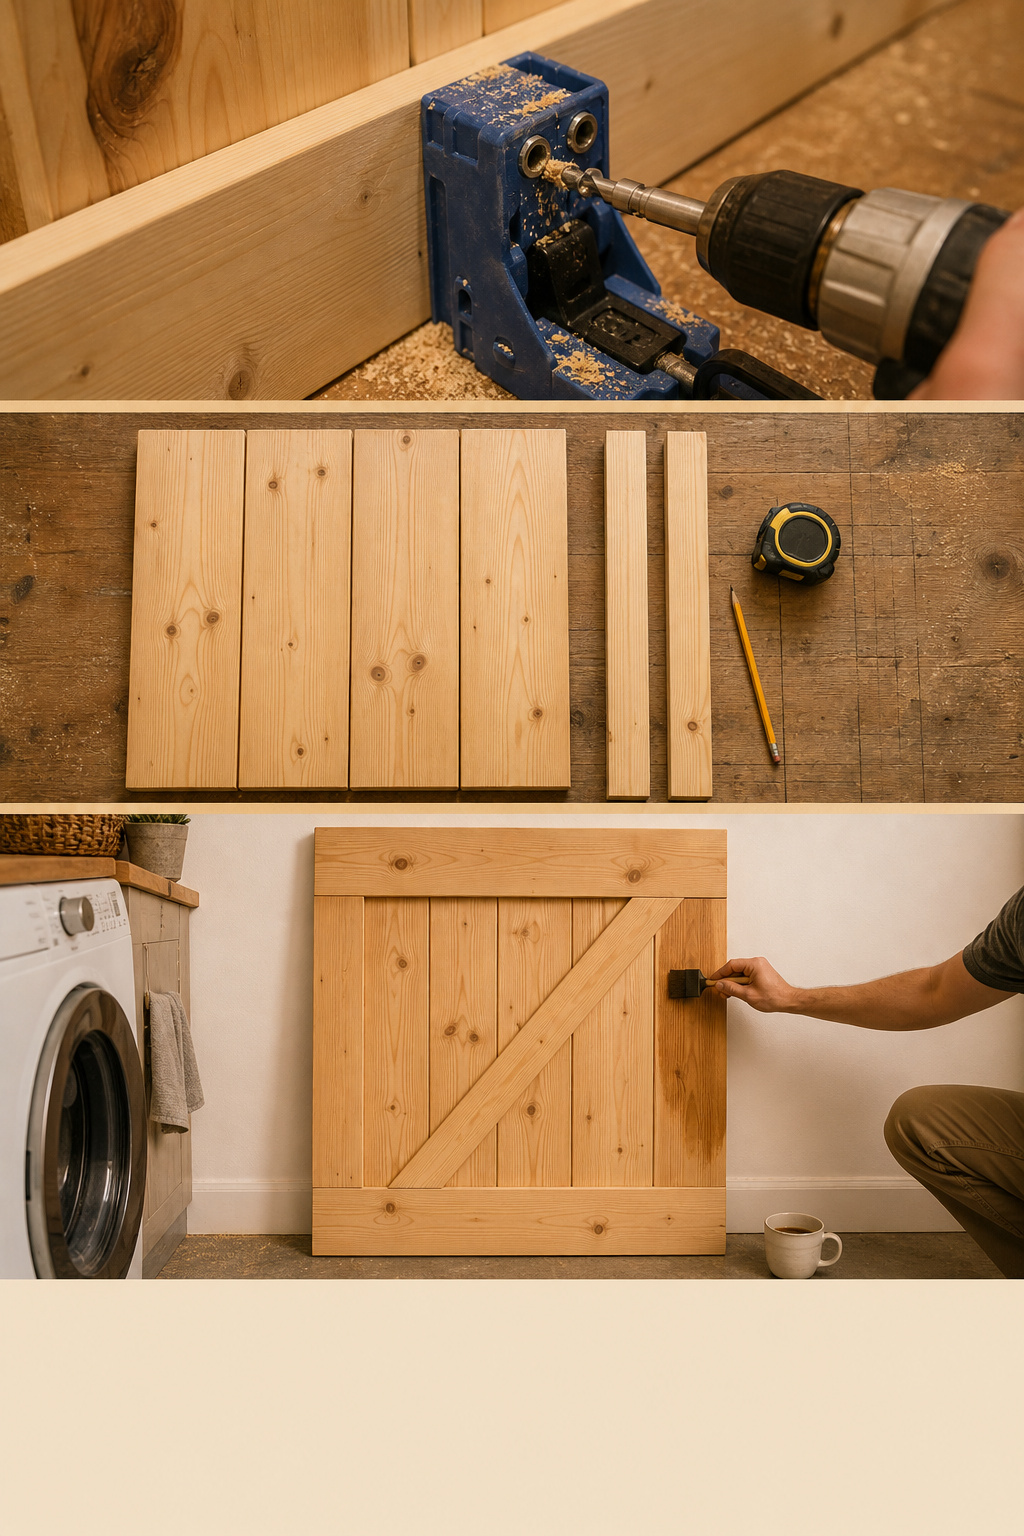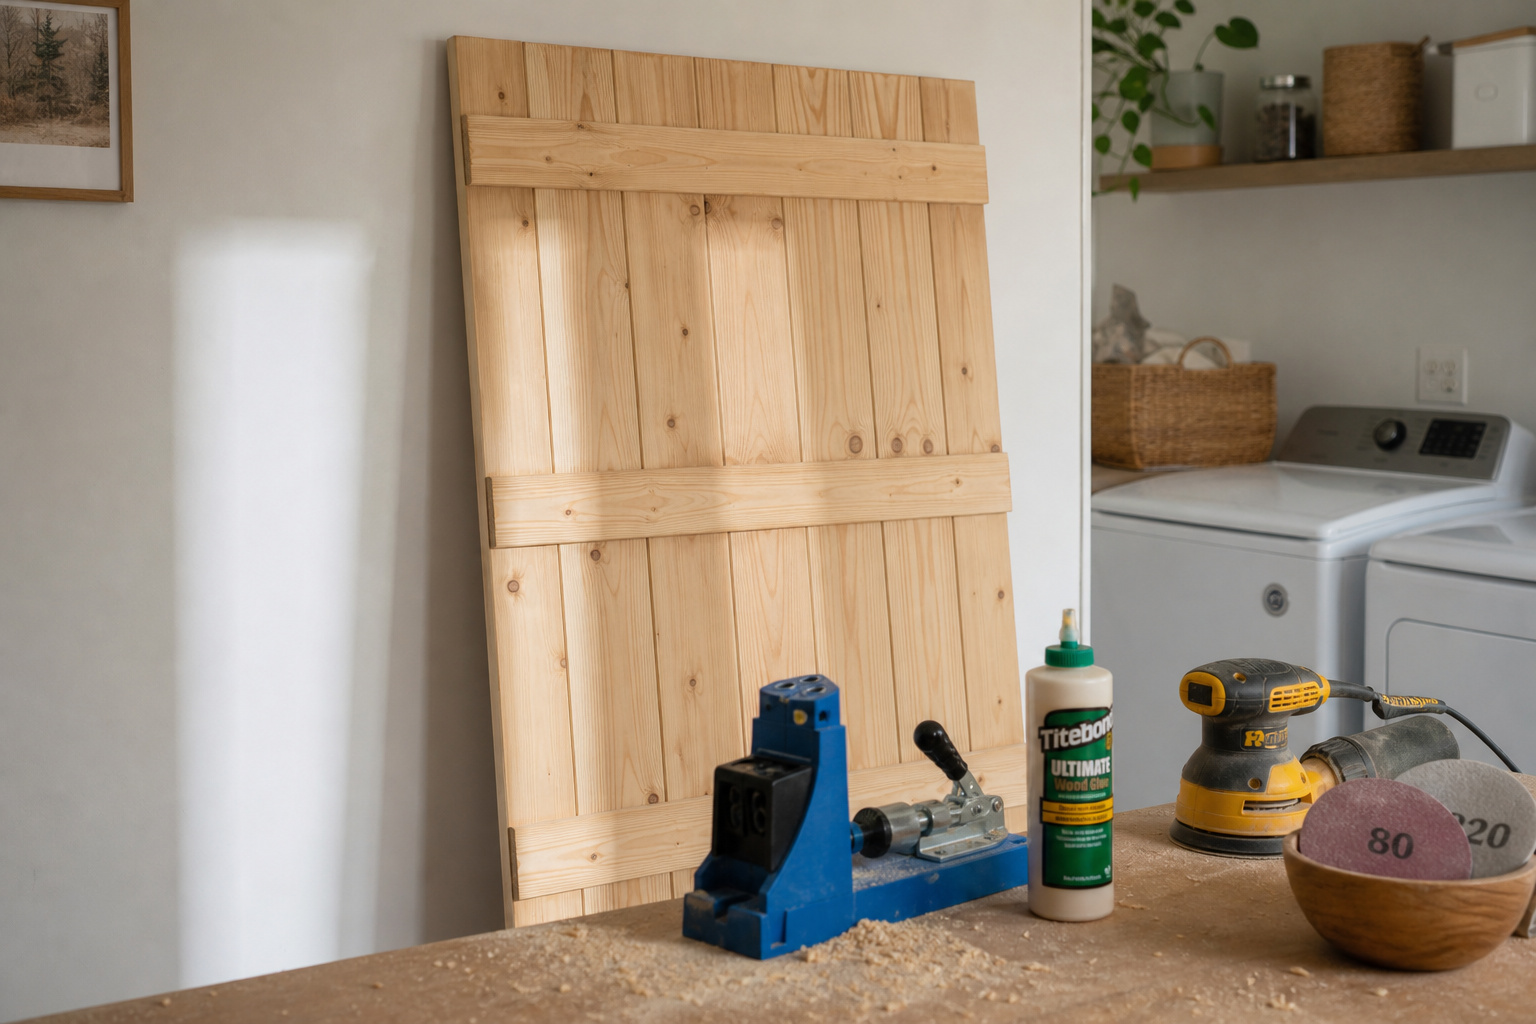
A few years back I lost a whole Saturday to a “two-hour” floating-shelf video, and the lesson stuck: the build is rarely the part that eats your weekend — it’s the second store trip, the 24-hour glue cure, the second coat you didn’t budget for. A DIY sliding barn door is the same animal. So here’s the honest version: cost, time, and how to build a slab that looks bought instead of built.
TL;DR
- A plank-and-batten slab runs roughly $65–$150 in lumber and finish (No. 2 common pine for paint, Select pine for stain) versus $300–$800 for a pre-made door — treat the low end as an approximate floor, since lumber prices swing.
- It’s a first-build project that takes a full weekend, not two hours: Saturday to cut, glue and clamp; Sunday to sand and finish, with a 24-hour glue cure between.
- You don’t need a table saw — a drill, a miter saw (or the store’s cut counter), clamps and a sander do the whole job.
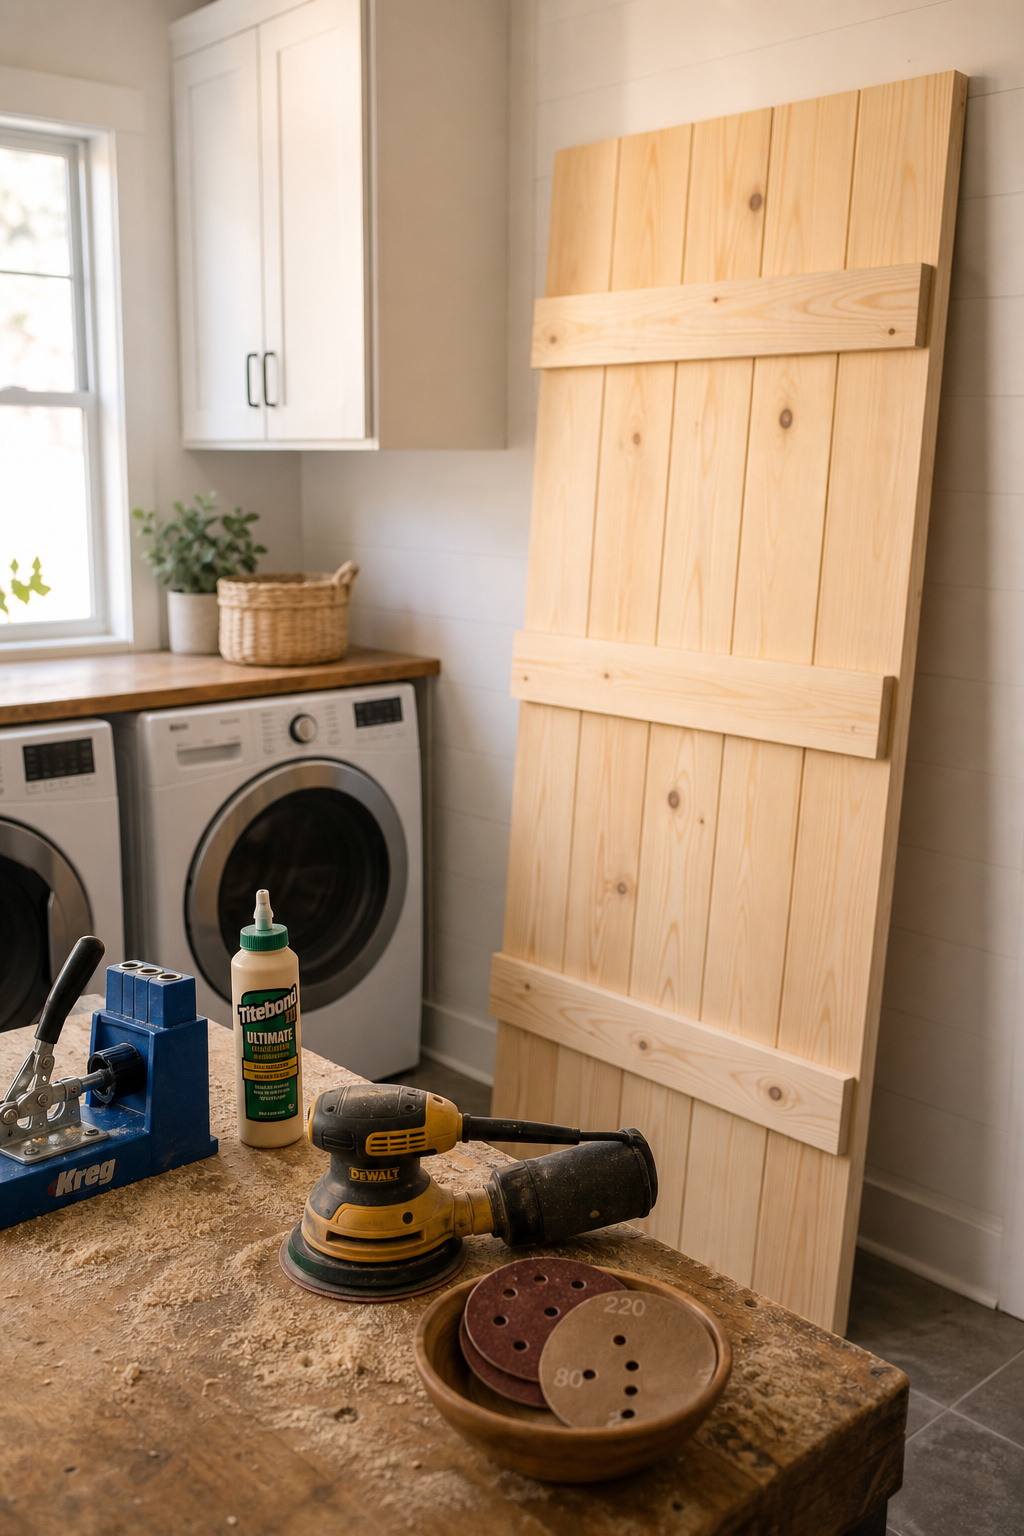
This article covers the door slab only — not measuring your opening or buying hardware. The complete laundry room barn door guide ties the whole project together.
What a DIY Sliding Barn Door Build Costs and How Long It Takes
Materials list and cost breakdown
A 36-by-84-inch pine slab needs five or six 1×6×8-foot No. 2 common pine boards plus two or three 1×4s for battens. At $8–$12 a board, lumber runs $40–$72; with glue, fasteners, sandpaper and a quart of finish you’re at roughly $65–$150 all in — treat the low end as an approximate floor, since pricing moves.
| Item | Approx. cost | Where to buy |
|---|---|---|
| 1×6×8-ft No. 2 common pine (×5–6) | $40–$72 | Home Depot, Lowe’s |
| 1×4 pine for battens (×2) | $12–$20 | Big-box or lumberyard |
| Wood glue (Titebond II or III) | $8–$12 | Hardware store |
| Pocket screws or brad nails | $6–$10 | Hardware store |
| Sandpaper (80 / 120 / 220 grit) | $8–$15 | Hardware store |
| Stain or paint (1 quart) | $12–$25 | Paint section |
Tools you need (and the cheaper workarounds)
Every line has a cheaper way in:
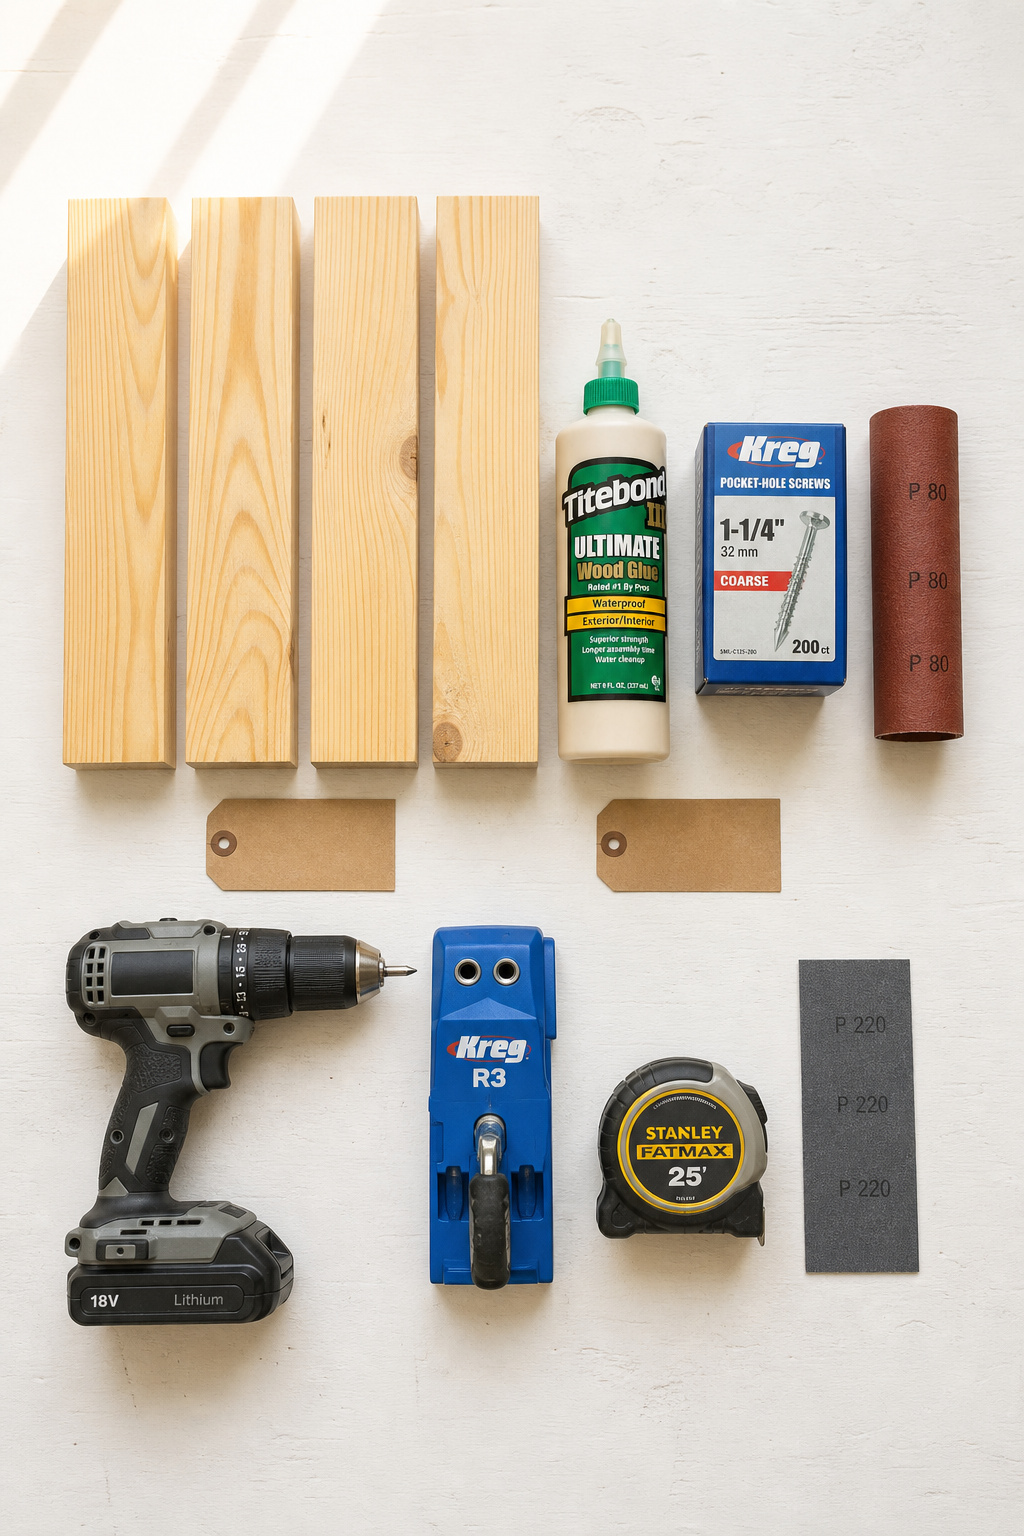
- Drill/driver — non-negotiable.
- Miter saw — or a hand saw and miter box, or the store cut counter at $1–$2 a cut.
- Pocket-hole jig (a Kreg R3 is $30–$40) — or skip it: glue plus 1½-inch brad nails fasten battens just as well for a painted door.
- Random-orbit sander ($35–$60) — or a sanding block, though 36 feet of plank by hand is 45–90 minutes versus about 15.
- Clamps, level, tape measure — borrow the clamps if you don’t own a few.
The Sawdust Sisters built a full 36×96-inch door with only glue and a brad nailer — the jig is optional.
Realistic time estimate including drying time
Active assembly is 2–4 hours; the calendar is longer. Titebond needs 30 minutes clamped and a 24-hour cure before sanding, which splits the build across two days. Budget the second store trip — first builds almost always need one.
Choosing Your Door Design: Plank-and-Batten vs Shaker Panel
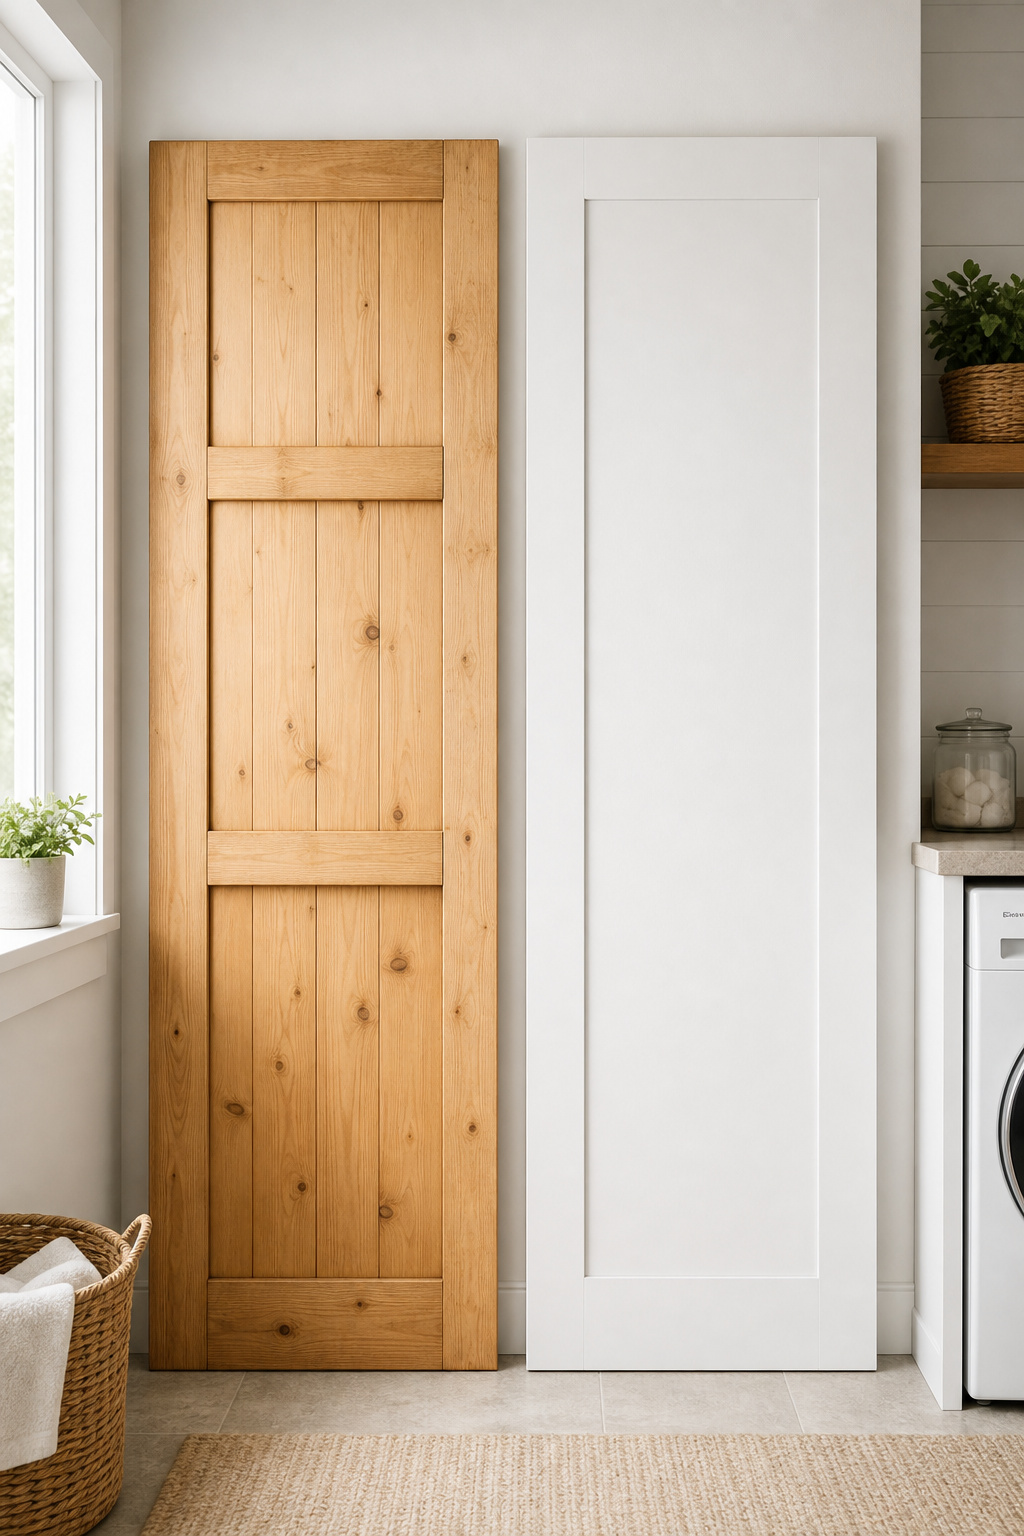
Plank-and-batten: the fastest build with basic tools
Plank-and-batten is vertical 1×6 or 1×8 face boards joined edge to edge, battens and a diagonal brace across the back forming the classic Z. Every cut is a cross-cut — nothing ripped or dadoed — which makes it the first-build default. The fastest variant: a 3/4-inch plywood core with face boards glued on front, no edge glue-up at all.
Shaker panel: cleaner look, one extra step
A Shaker door is frame-and-panel — two stiles, two or three rails, and a flat 1/4-inch center panel in a groove cut into the frame. That groove normally wants a table saw or router; gluing thin strips to the frame’s inner faces is one no-dado option, though it adds build time. Either way, the panel must float about 1/8 inch each side or it’ll crack as the wood moves.
Which design suits your skill level and space
| Design | Tools needed | Skill level | Approx. cost | Best for |
|---|---|---|---|---|
| Plank-and-batten | Drill, miter saw, clamps | First build | $65–$120 | Farmhouse rooms, painted finish |
| Plywood-core plank | Drill, in-store cuts, glue | First build | $90–$150 | Flattest, fastest build |
| Shaker panel | Drill + saw/router (or workaround) | Some builds | $90–$160 | Modern, transitional rooms |
First build: plank-and-batten. Done frame-and-panel before and the room reads modern: Shaker earns the extra step. Either way, build to the 1¾-inch finished thickness standard hardware expects.
The Cut List: Sizing Your Lumber to Fit the Opening
Get your finished door dimensions first — the overlap and clearance math is its own job. Work through how to size the door to your opening, then come back with your numbers.
Working from your opening measurement to door dimensions
Two rules drive the cut list:
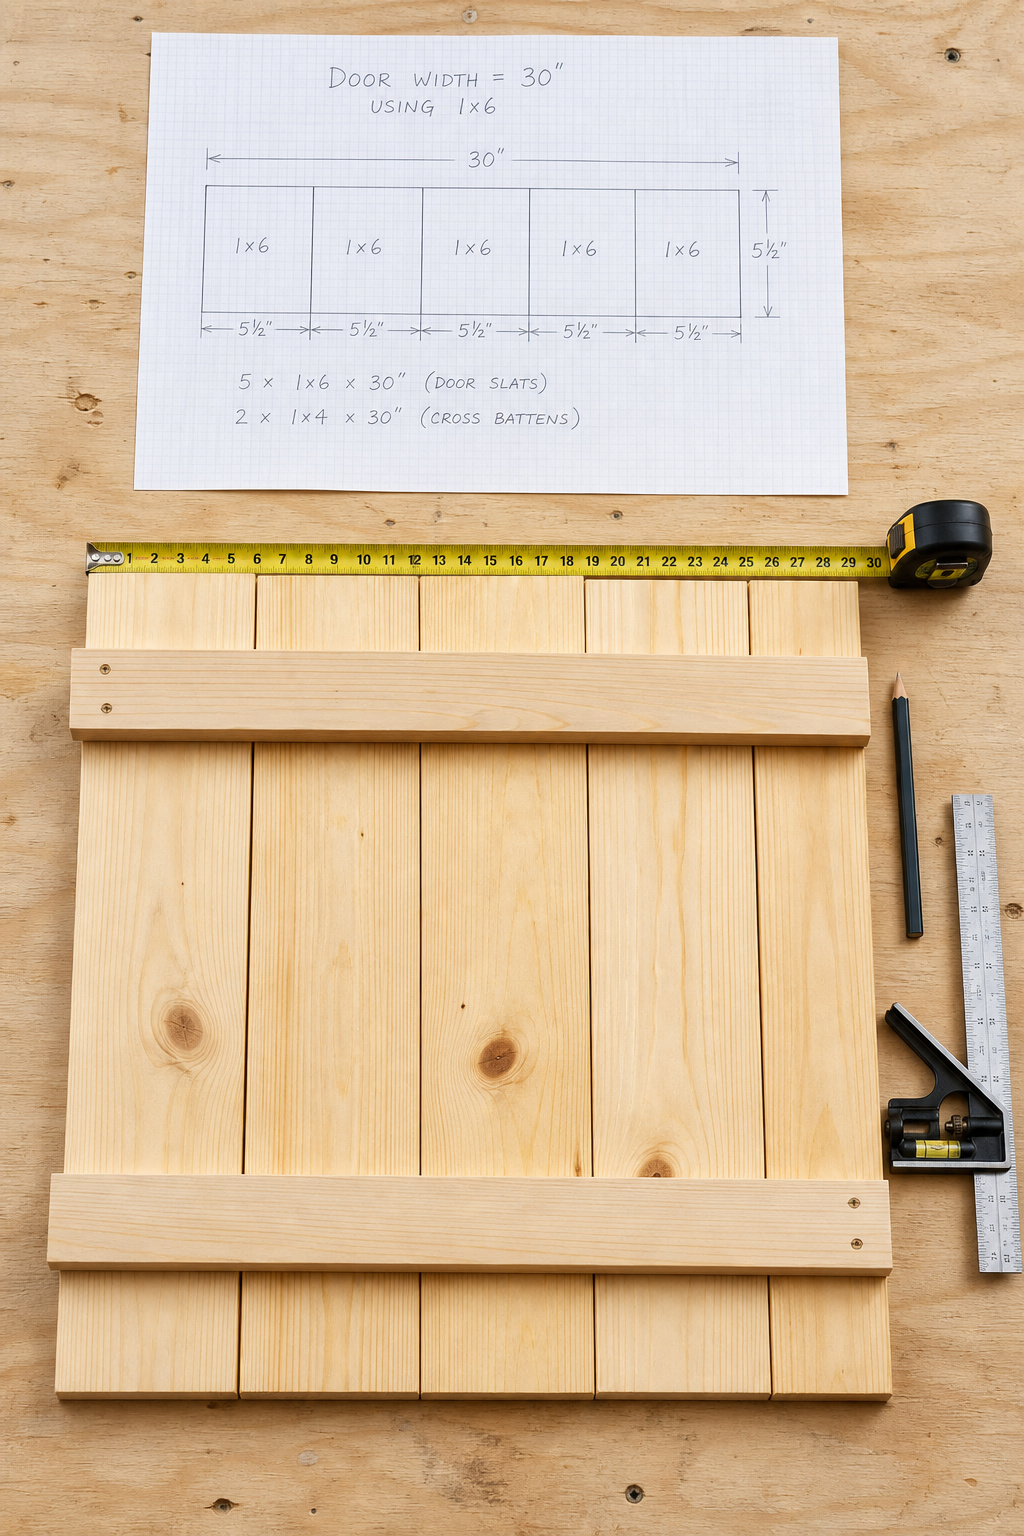
- Divide for plank count. A 30-inch door in 1×6 boards (5.5 inches actual): 30 ÷ 5.5 = 5.45 — use five full boards and rip one to 2.25 inches. Never leave a sliver under 2 inches.
- Cut face boards 1/8 inch short. That floor gap keeps the door from dragging; the battens hide it.
Standard lumber sizes that minimise waste
For most laundry openings — 24 to 36 inches wide, 80 to 84 inches tall — 1×6×8-foot boards are the sweet spot, running full height with little waste; 1×8s cut the plank count but cup more readily. For battens, 1×4 is standard, and three battens plus a diagonal brace come out of two 8-foot 1×4s.
Letting the hardware store do the ripping for you
Ripping is the one cut that genuinely rewards a table saw — and the one you can hand off. Both Lowe’s and Home Depot operate in-store panel saws and will cut to your specs for roughly $1–$2 a cut; it’s a legitimate tool, not a backup plan. While you’re there, sight down every board — any bow or twist telegraphs into the door.
Gluing and Fastening: How to Get Panels That Stay Flat
First-time doors go wrong here — not because the joinery is hard, but because the flatness steps get skipped.
Glue-up sequence and clamping strategy
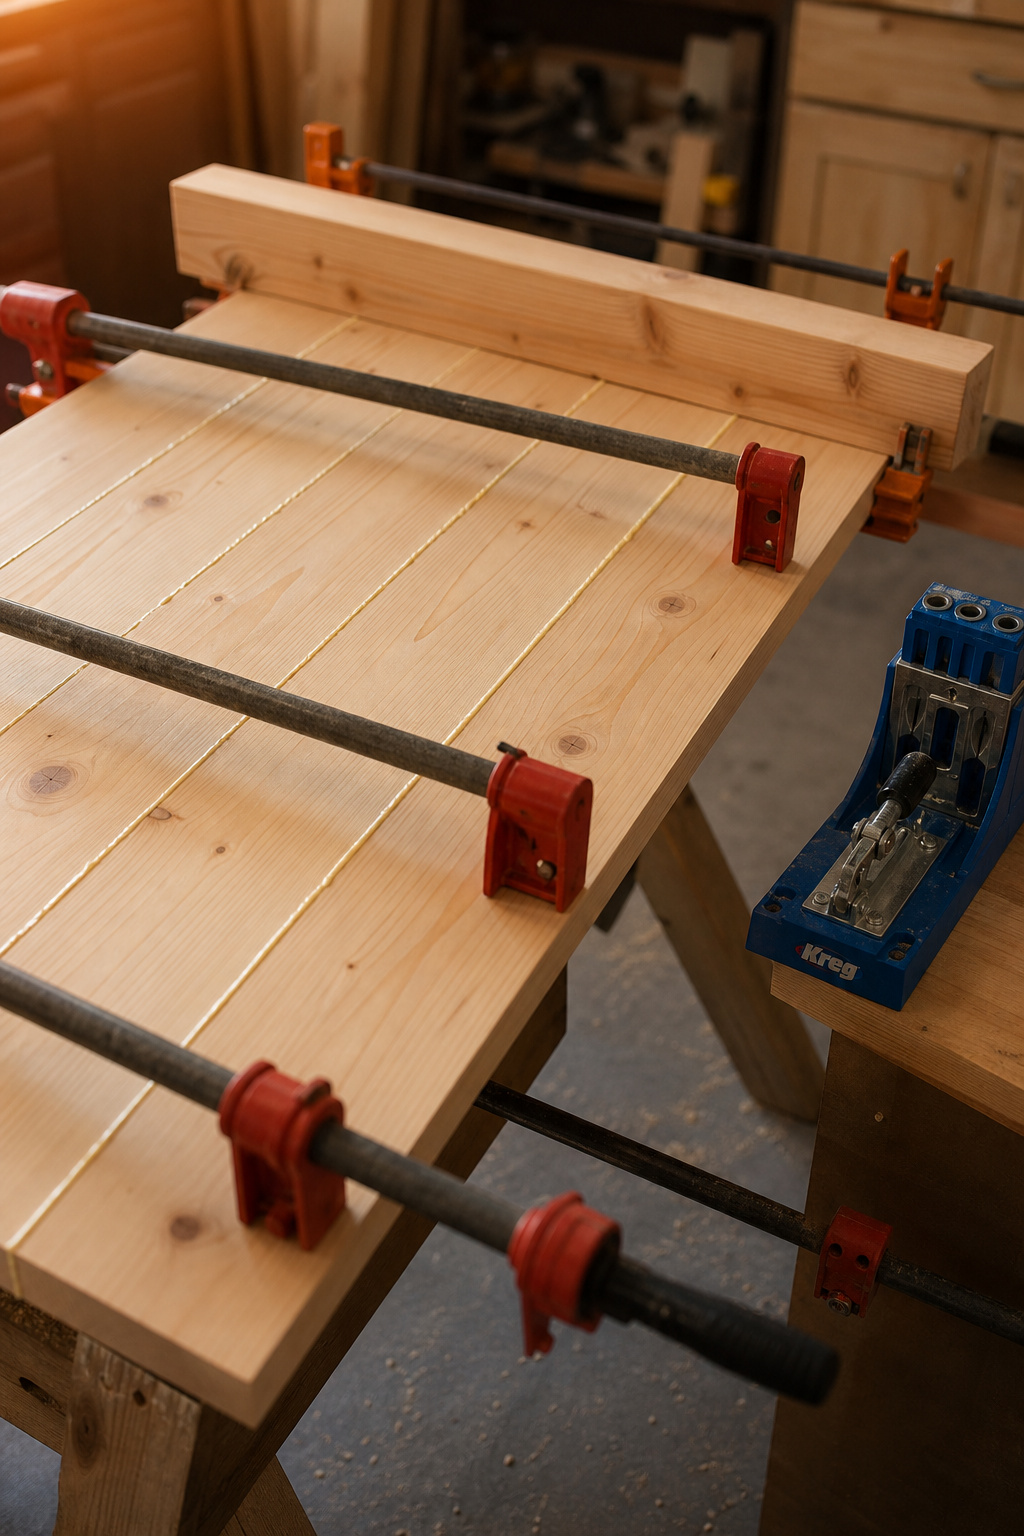
- Run a thin bead of Titebond II or III along one long edge of each board, spread to a 1/16-inch film, and butt them together. Squeeze-out is normal — it means you have enough.
- Set bar clamps alternating one above, one below the joints. Clamping from one side only bows the panel into a permanent arc.
- Lay a straight 2×4 caul perpendicular across each end and clamp lightly to the face — it keeps the panel flat while the edge clamps close the joints.
Pocket-hole joinery vs glue-and-screw
For battens, a Kreg jig with 1¼-inch pocket screws is clean and invisible from the front — the screw clamps the joint while the glue cures. No jig? Glue plus an 18-gauge brad nailer at 6-inch intervals holds a painted door fine. Either way, use glue with the fasteners; the screws or nails just hold alignment while it dries.
The mistake paragraph: what to do when boards cup
So the clamps come off and the panel has a slight cup — don’t start over. The fix is moisture and weight: wet the concave face, lay the panel concave-side-down on a flat surface, pile 30–50 pounds on the crowned edges, and leave it 24 hours. Works reliably on a cup under 1/8 inch in pine.
Sanding and Finishing for a Door That Looks Bought, Not Built
Finishing is the step everybody rushes — and the one that announces “homemade” loudest. The grit sequence and drying windows are what separate glass-smooth from brush-tracked.
Grit sequence: what you actually need
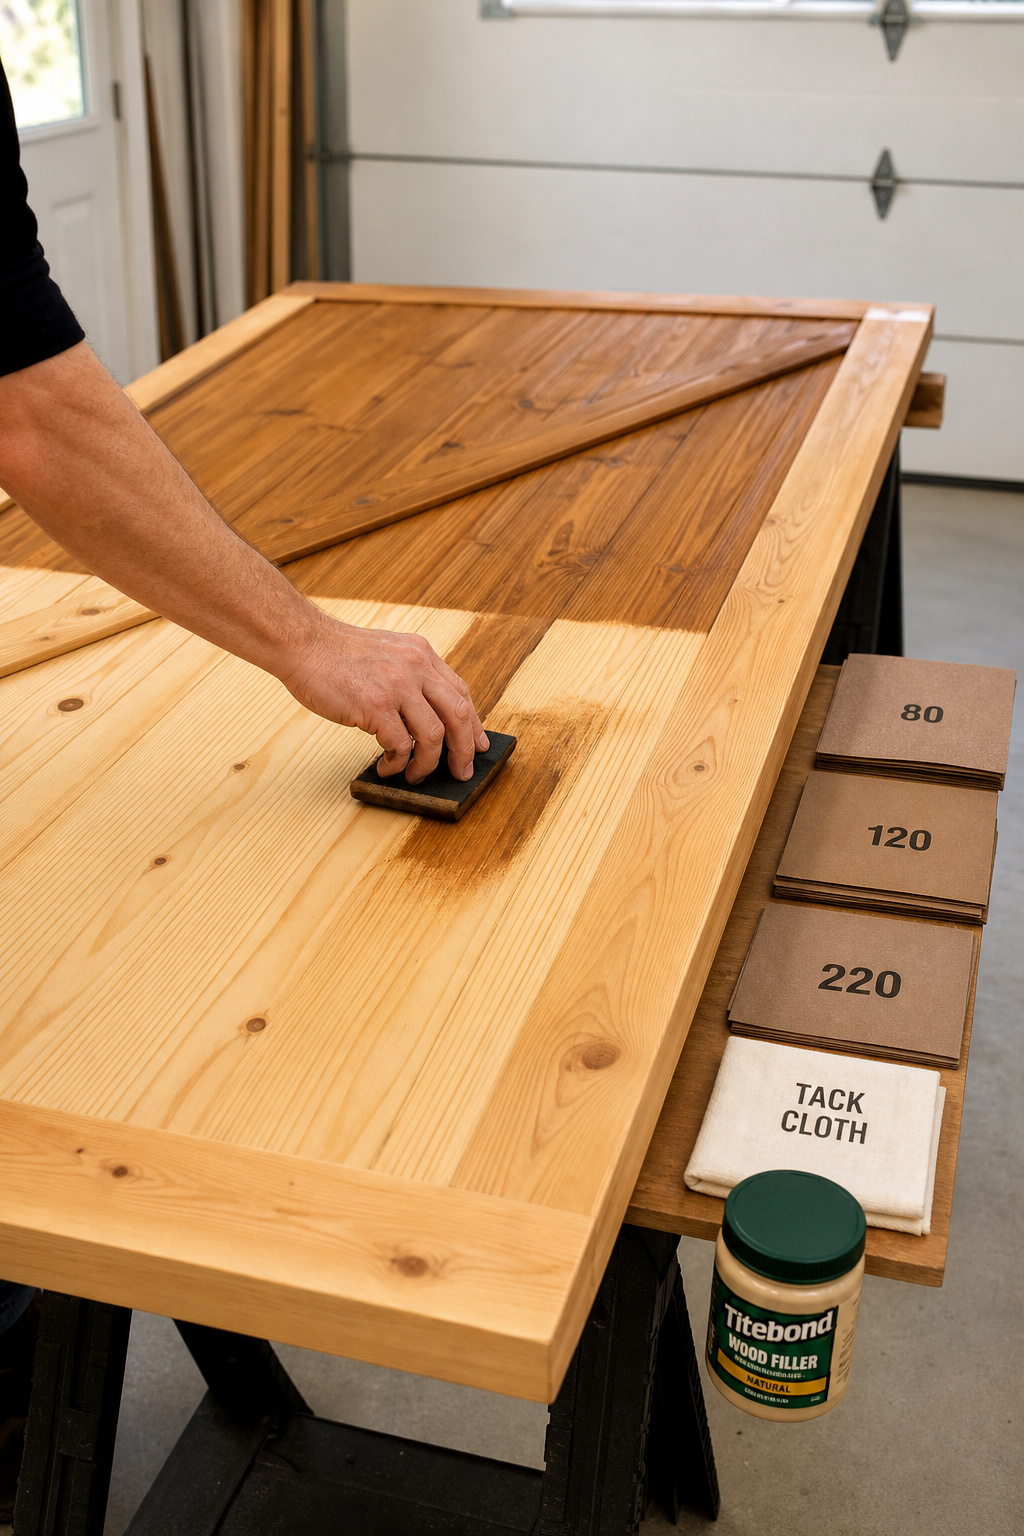
Work the grits in order — 80 to flatten raised grain and squeeze-out, 120 to erase the scratches, 150–180 to smooth, 220 as the final pass. Skipping grits leaves scratch tracks that show through stain and semi-gloss. Paint can stop at 120 before priming; stain needs 180–220, since it amplifies coarser marks. Sand lightly with 220 between coats after the first water-based coat raises the grain.
Paint vs stain vs clear coat — matching the finish to the space
Paint is right when the lumber has knots to hide or the room is modern — go semi-gloss; flat and eggshell show every fingerprint on a sliding door. Stain is right with Select pine, poplar or knotty alder; plan two colour coats plus two of poly, and seal pine with sanding sealer first or it’ll blotch.
How many coats and how long to wait between them
Latex paint needs at least two coats 2–4 hours apart; add a third on a high-touch door. Gel or oil stain: one or two colour coats (6–12 hours apart) then 2–3 clear topcoats. Whatever the finish, coat all six sides — front, back, both edges, top and bottom. An unfinished back absorbs humidity faster than a sealed face, which is the leading cause of warping.
Your Door Is Done — Now Hang It
The slab is done — but don’t drill the roller holes yet. Roller specs (bolt pattern, spacing, hole diameter) vary by kit, so drilling before the hardware arrives risks misplaced holes. Hang it with the right hardware kit covers that; once the kit’s in hand, mounting the rollers takes 15–30 minutes at the bench.
Prepping the top of the slab for roller hardware
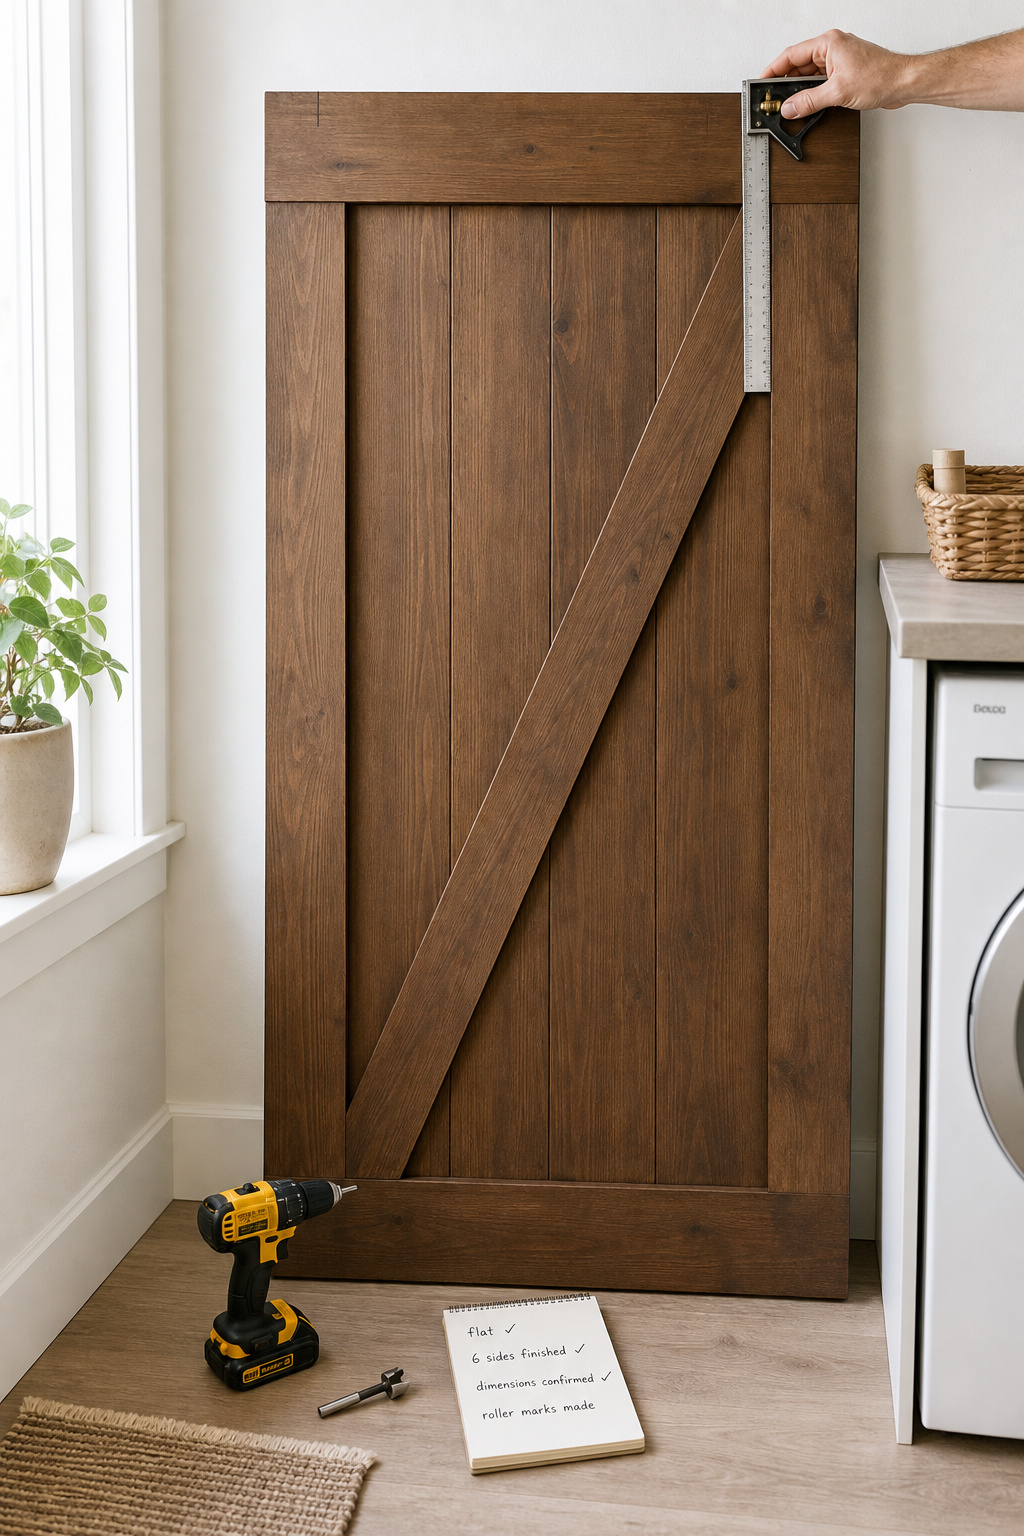
Mark roller positions 6–8 inches in from each end of the top edge, measuring from both ends so they sit equidistant. Drill bolt holes with a spade or Forstner bit — diameter typically falls 3/8–1/2 inch, but confirm to your kit before drilling. Both rollers must be at identical heights; a 1/8-inch difference makes the door tilt.
What to check before you call the door finished
Pre-hang checklist — door flat at the bench:
- Flat? Check the corners with a straightedge. Up to 1/8 inch of twist is fine; more may bind against the wall trim.
- Sealed on all six sides? Run a hand over each face — any rough patch needs a 220-grit pass and one more coat.
- Dimensions confirmed? Measure the slab against your numbers before drilling. A door built too short can’t be rescued.
This is a weekend, not an afternoon, and the boring steps — the glue cure, the grit sequence, the six-sided finish — are what make the door look bought. Start where it starts: pull up your measurements and sketch a cut list before you buy a board.
FAQ
What kind of wood is best for a DIY barn door?
No. 2 common pine ($8–$12 per 1×6×8-foot board) is the right call for a painted door. For stain, step up to Select pine or poplar ($12–$16) — stain shows every knot; knotty alder ($15–$22) suits a farmhouse look. Skip green construction lumber; it cups as it dries.
Can I build a barn door without a table saw?
Yes. A plank-and-batten door needs only a drill/driver, a miter saw (or hand saw and miter box), and a tape measure. No ripping required if you use a plywood core cut in-store. If a rip is needed, a circular saw with a clamped straight-edge guide works, or use the store’s panel saw at $1–$2 a cut.
How do I keep my DIY barn door from warping over time?
Finish all six sides — front, back, both edges, top and bottom — so the door absorbs humidity evenly. Three battens across the back (top, center, bottom) mechanically restrain cupping; a diagonal Z-brace adds more. Acclimate lumber indoors 3–5 days before building so it stabilizes before assembly.