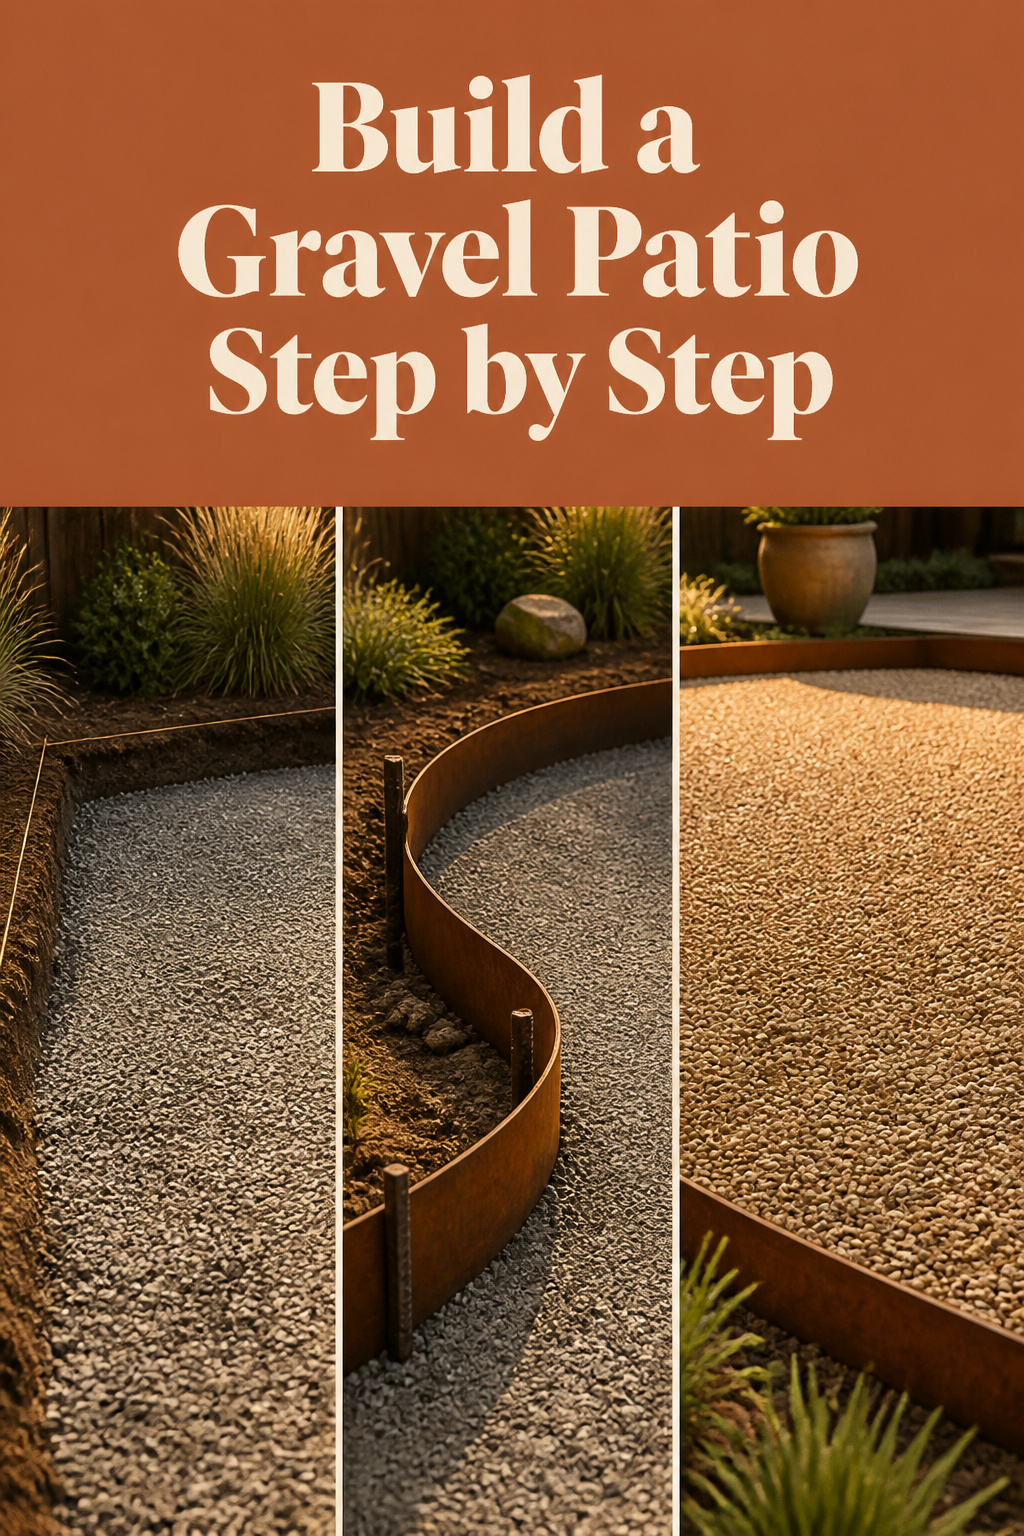
A gravel patio is the cheapest real patio you can build — a weekend and a few hundred dollars in stone for a small one. It’s also the one I watch fail most: someone learns how to build a gravel patio from a two-minute video, spreads pretty stone over bare dirt, and by the first hard rain it’s puddling, sinking, or walking into the lawn. The stone on top isn’t the problem. The base underneath is.
TL;DR
- Dig 6 to 8 inches for a foot-traffic patio: 3 to 4 inches of compacted crusher-run base under 2 to 3 inches of finish gravel, and go deeper for furniture or clay soil.
- Build in order — mark out and slope (1/8 to 1/4 inch per foot, away from the house), dig, base in 4-inch lifts, fabric, edging, then gravel — because roughly 90 percent of hardscape failures start in the base.
- Set the edging into the base before you spread a single scoop of stone — skip it and the patio quietly loses its shape to migration within a few years.
Difficulty: some builds — no single step is hard, but the sequence is unforgiving and the digging is real. You’ll need one rented machine and tools you likely own:
- A spade for the dig, a flat-back rake for spreading.
- Corner stakes, mason’s string, and marking spray paint.
- A rented 14-inch plate compactor — by the day, not bought for one patio.
- A straight 8-foot board for screeding; a spare 2×4 works.
Marking Out the Footprint Before You Touch a Shovel
Measuring and staking the actual space
Stake the corners, run mason’s string, and walk the space with the furniture you own — patios come out too small when sized to the material pile, not the furniture that has to fit. A 12-by-12-foot patio (144 square feet) is a useful gut-check. Read our gravel patio ideas guide first if you haven’t settled the look, then spray-mark just inside the string.
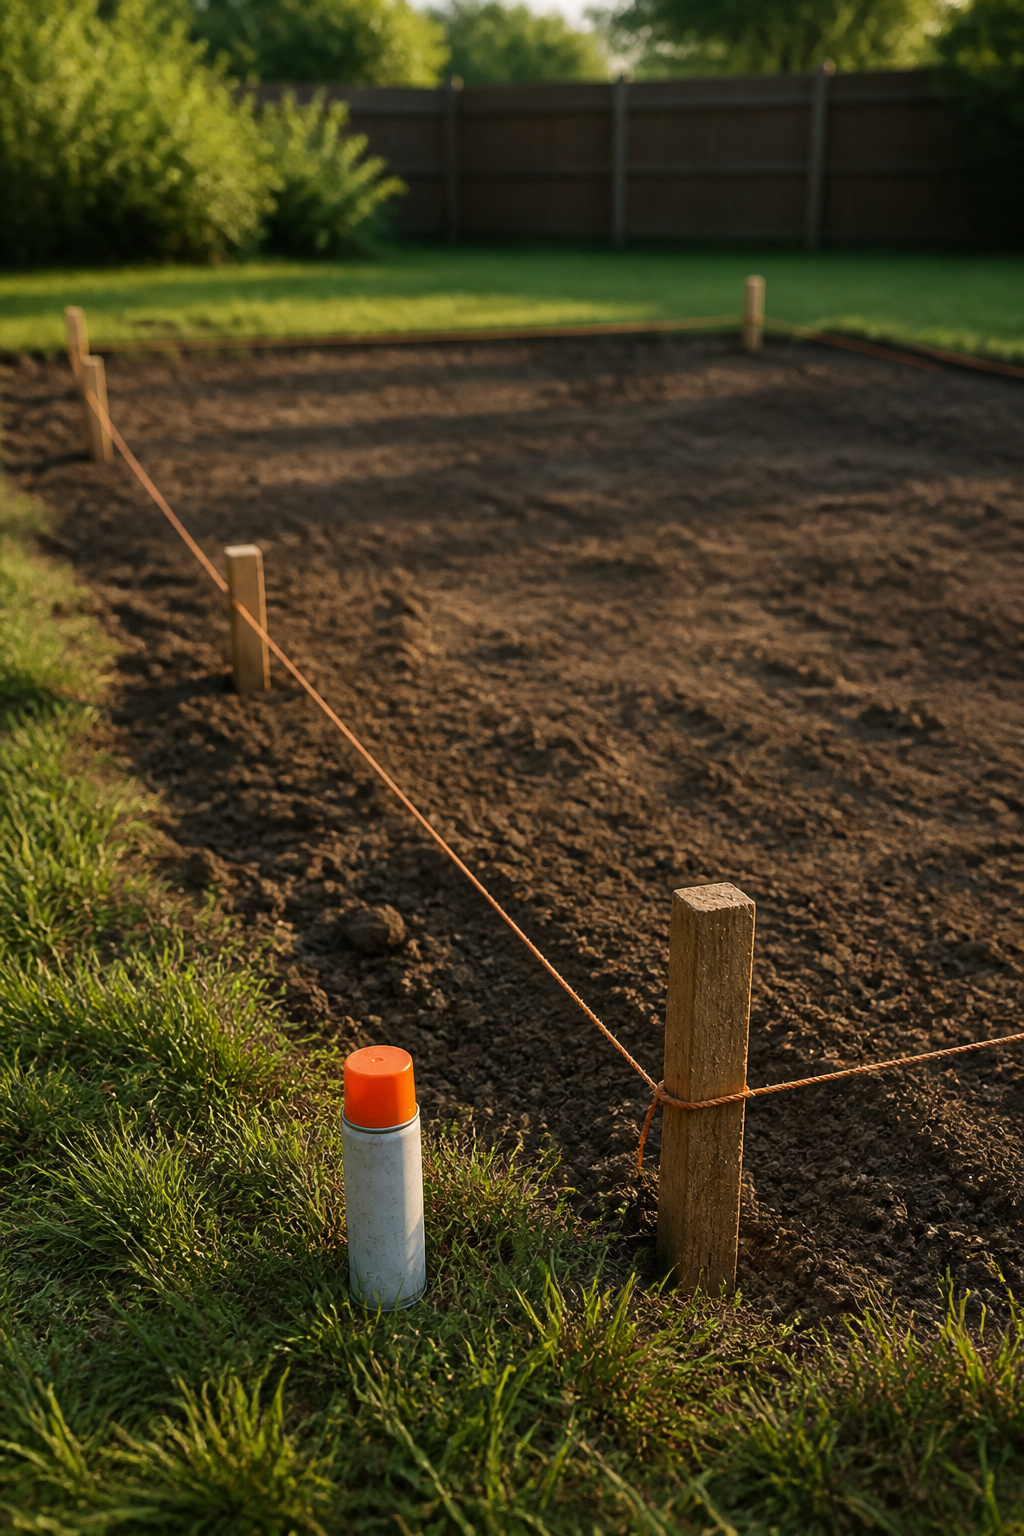
Calling 811 before you dig
Call 811 first — it’s free, required in most places, and buried lines often sit under 12 inches, inside your dig depth. Most states need a few business days’ notice, so call early if you want to dig by the weekend.
Sketching the drainage slope now, not later
Slope the patio away from the house at 1/8 to 1/4 inch per foot — a 1 to 2 percent grade, per Interlocking Concrete Pavement Institute standard. Even a 2 percent slope can erode channels within 20 to 30 rains, and grade can’t be fixed once the stone is down.
Excavation Depth and Base Layers That Actually Hold
Dig 6 to 8 inches — the number first-timers get wrong most, since online advice mixes patios, driveways, and fire pads together.
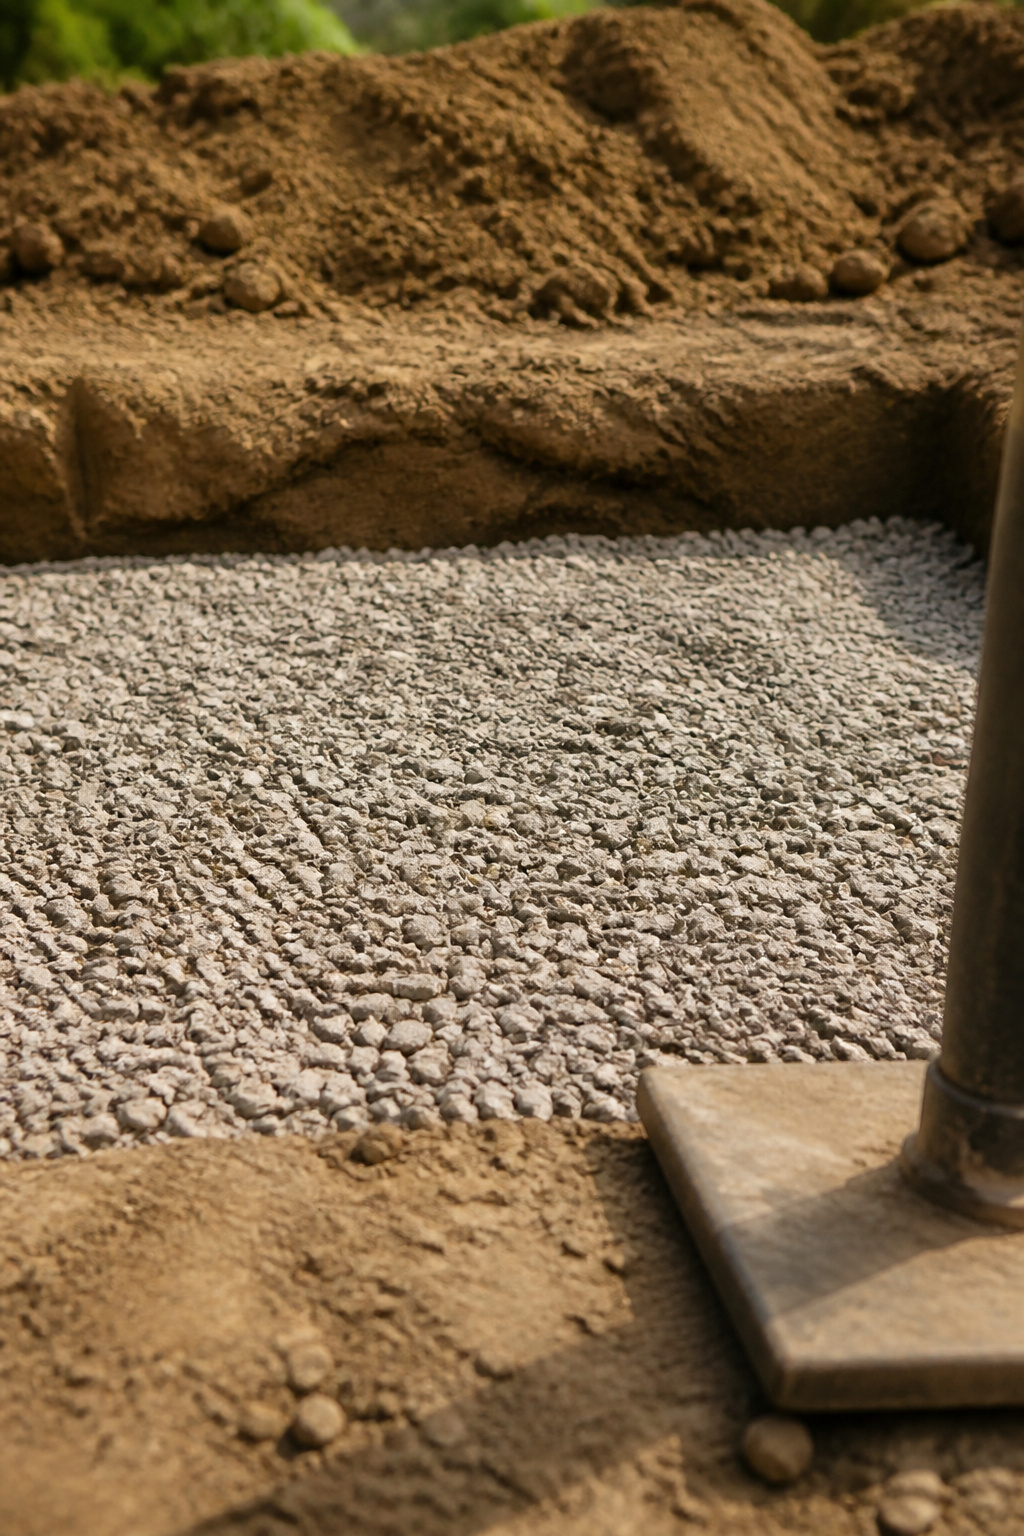
How deep to dig for foot traffic vs furniture
A foot-traffic patio wants 3 to 4 inches of compacted crushed-stone base under 2 to 3 inches of finish gravel — over 3 inches and chairs sink; under 2 and the fabric shows. Add depth for load or bad soil:
| What the patio holds | Compacted base | Finish gravel | Total dig |
|---|---|---|---|
| Foot traffic only | 3–4 in | 2–3 in | 6–8 in |
| Dining set or fire corner | 5–6 in | 2–3 in | 8–10 in |
| Clay or poor-draining soil | 8 in or more | 2–3 in | 10 in or more |
When in doubt, dig deeper — you can add base, not slide it under a finished patio.
Base rock vs road base, and why the cheap option isn’t always wrong
The base wants crusher run — road base, 3/4-inch minus, or #411 — angular stone plus fine dust that locks into one dense mass. Clean, rounded gravel never compacts, however thick it’s piled. Roughly 90 percent of hardscape failures start in the base, not the surface stone.
Compacting in layers instead of all at once
Never pack the base in one go. Compact it in lifts no thicker than 4 inches — a thicker lift never densifies at the bottom, the single most common base mistake — then mist each layer and run the plate compactor over it a few times.
Landscape Fabric and the Weed Barrier Debate
Do you need landscape fabric? Sometimes not — it was never the magic weed cure it gets sold as.
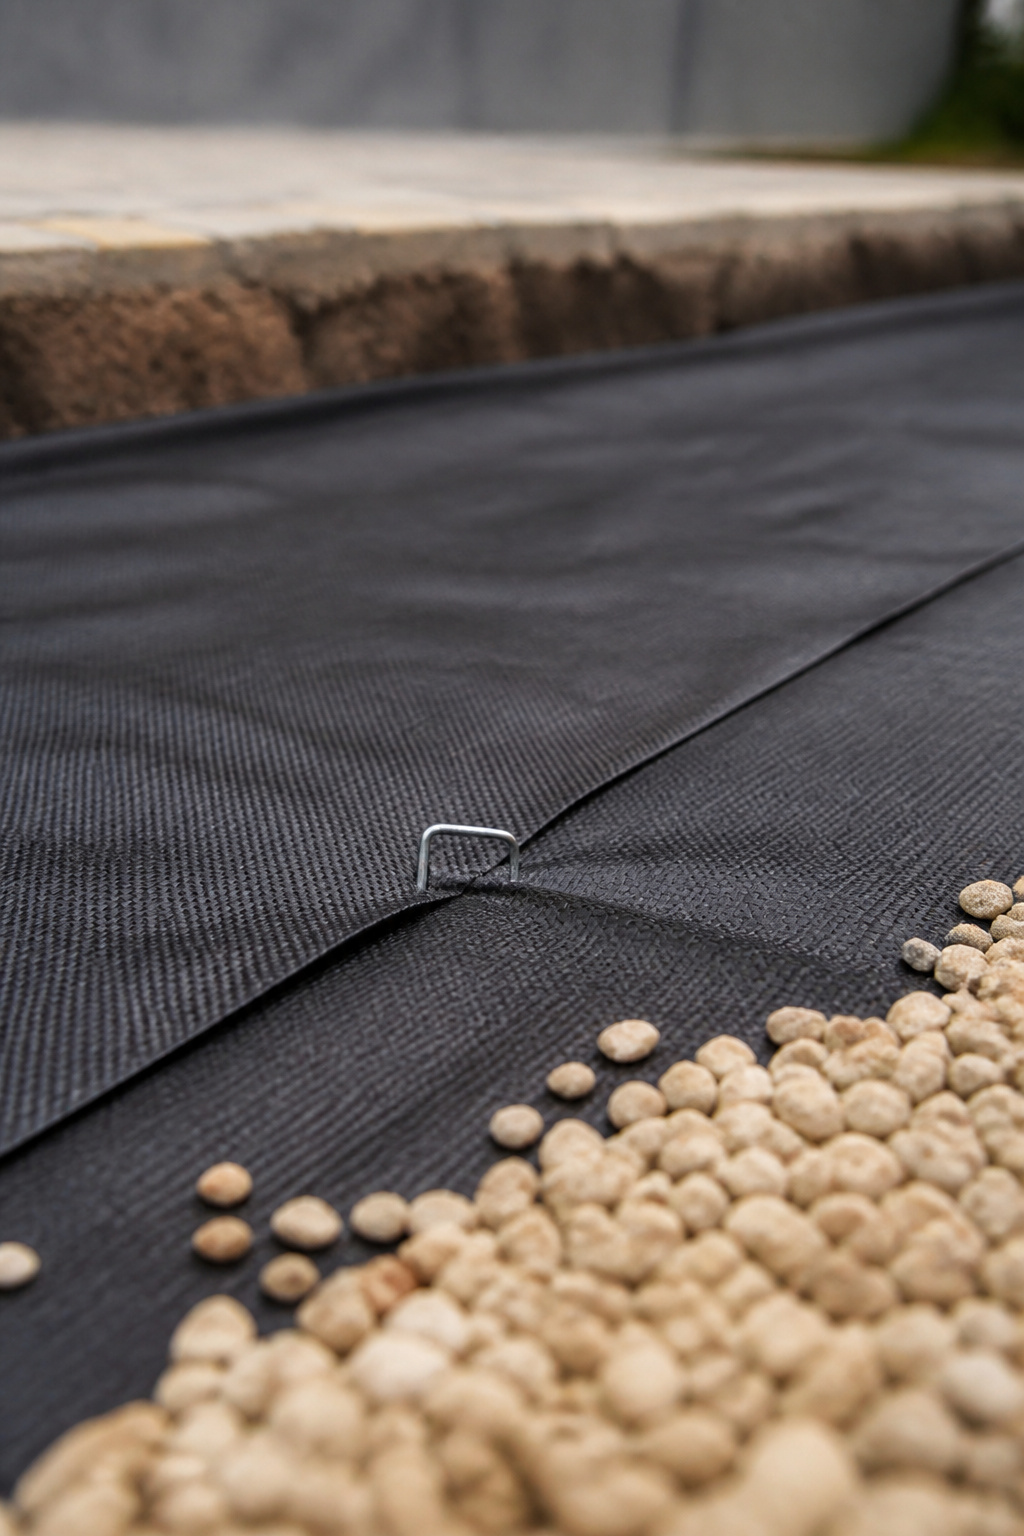
How to overlap and anchor it so it doesn’t shift
If you use it, pick spun or non-woven fabric — it outlasts flimsy weed-block. Overlap seams 6 to 12 inches, wider on slopes, and staple every foot along the edges and one per square foot across the middle.
What actually happens if you skip it
Skip it and gravel works down into the soil under rain and traffic, mixing into a mess a rake won’t fix. Fabric only blocks weeds rooting from below, not seeds sprouting in dust on top — the gap most “fabric failed” complaints describe.
When skipping it is a reasonable call
Skipping it is a fair trade on fast-draining sandy soil or a small decorative corner: save the afternoon there, spend it on clay or high-traffic ground. Never use it under gravel mulch in a planting bed — it starves the roots.
Setting Solid Edging Before You Spread Any Stone
The most common ordering mistake here: spreading the gravel first, edging afterward. Do that and you’ve already lost.
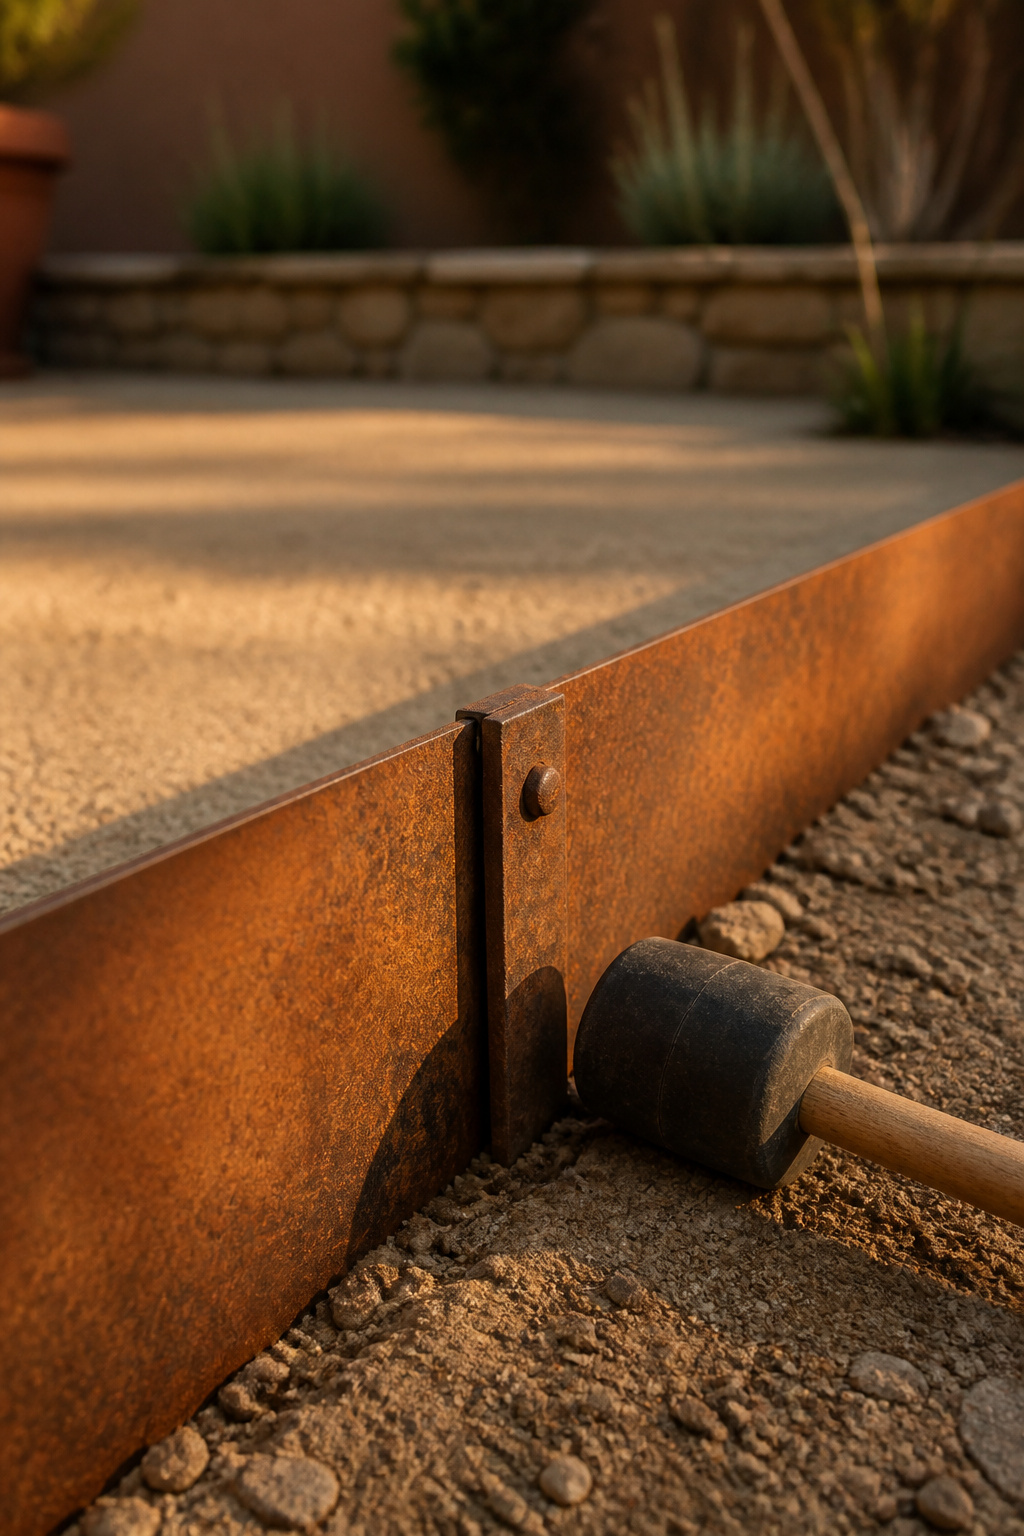
Why the edge goes in before the gravel, not after
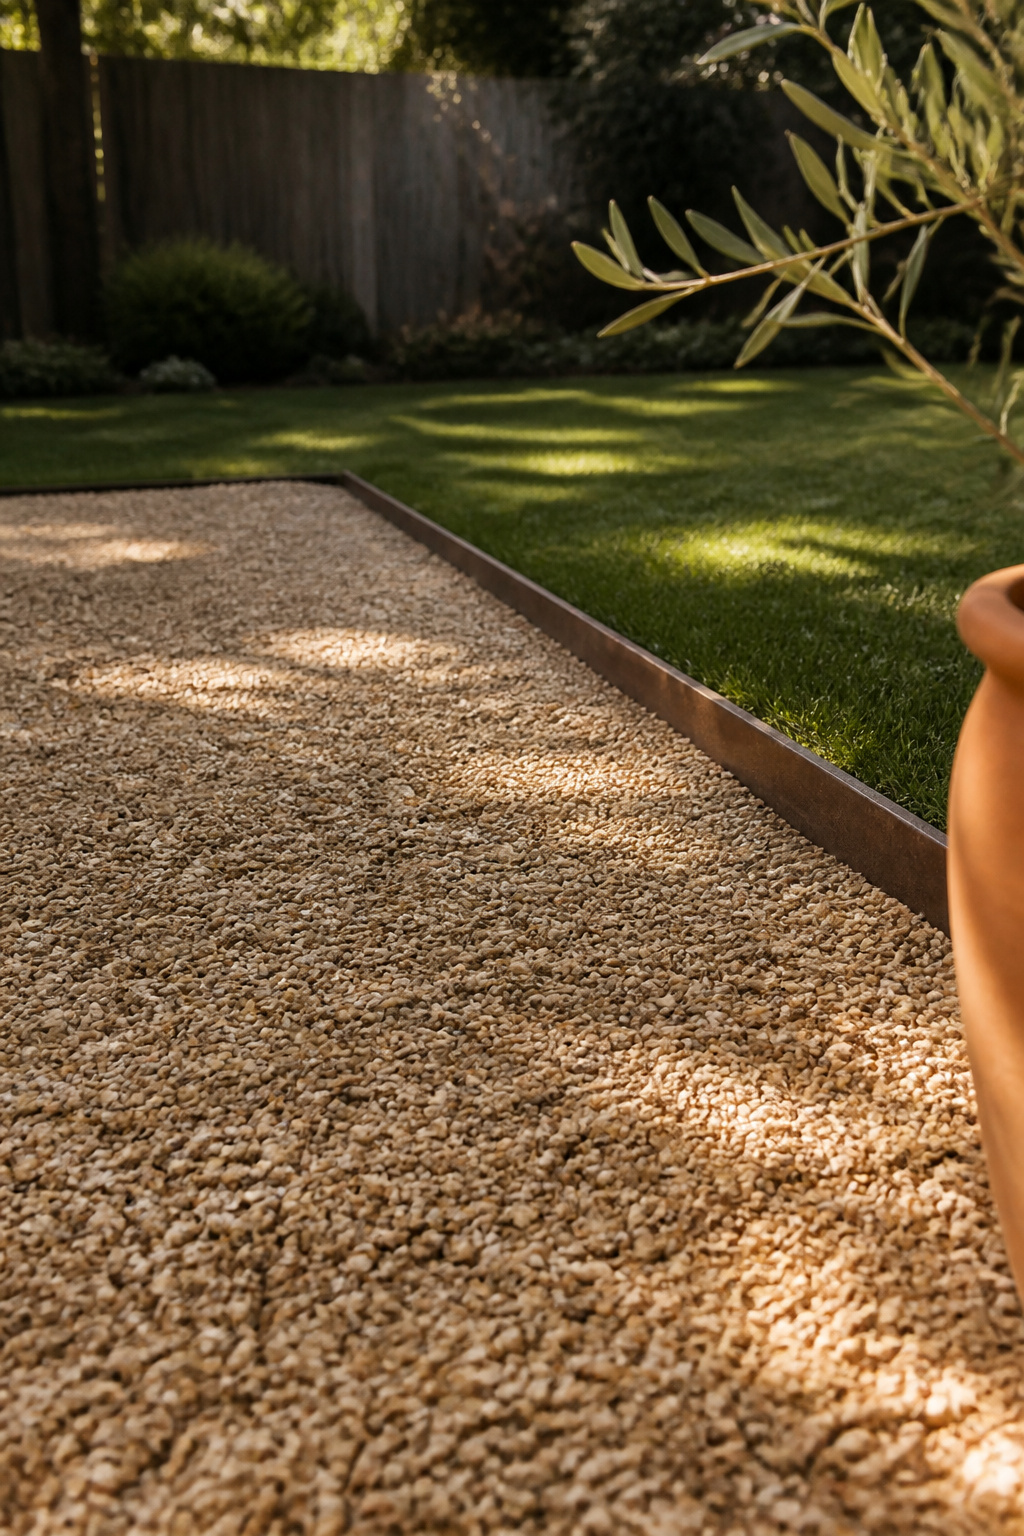
Set the edge restraint into the compacted base, around the full perimeter, before the finish gravel goes down. Install it after and the base sits unconfined, so stone pushes past the line while you spread. In freeze-thaw climates, steel stakes must bite at least 2.5 to 3 inches below grade, or one winter heaves the sections apart.
The quick version of the material choice
Steel, brick, paver, timber aren’t equal on looks, cost, or lifespan. Sixteen-gauge steel lasts 20 to 40 years against 10 to 20 for treated timber, and weathering steel rusts to a stable patina. That comparison is its own job — before you buy, read how to install solid edging; I’m sequencing it, not choosing for you.
What happens if you skip this step
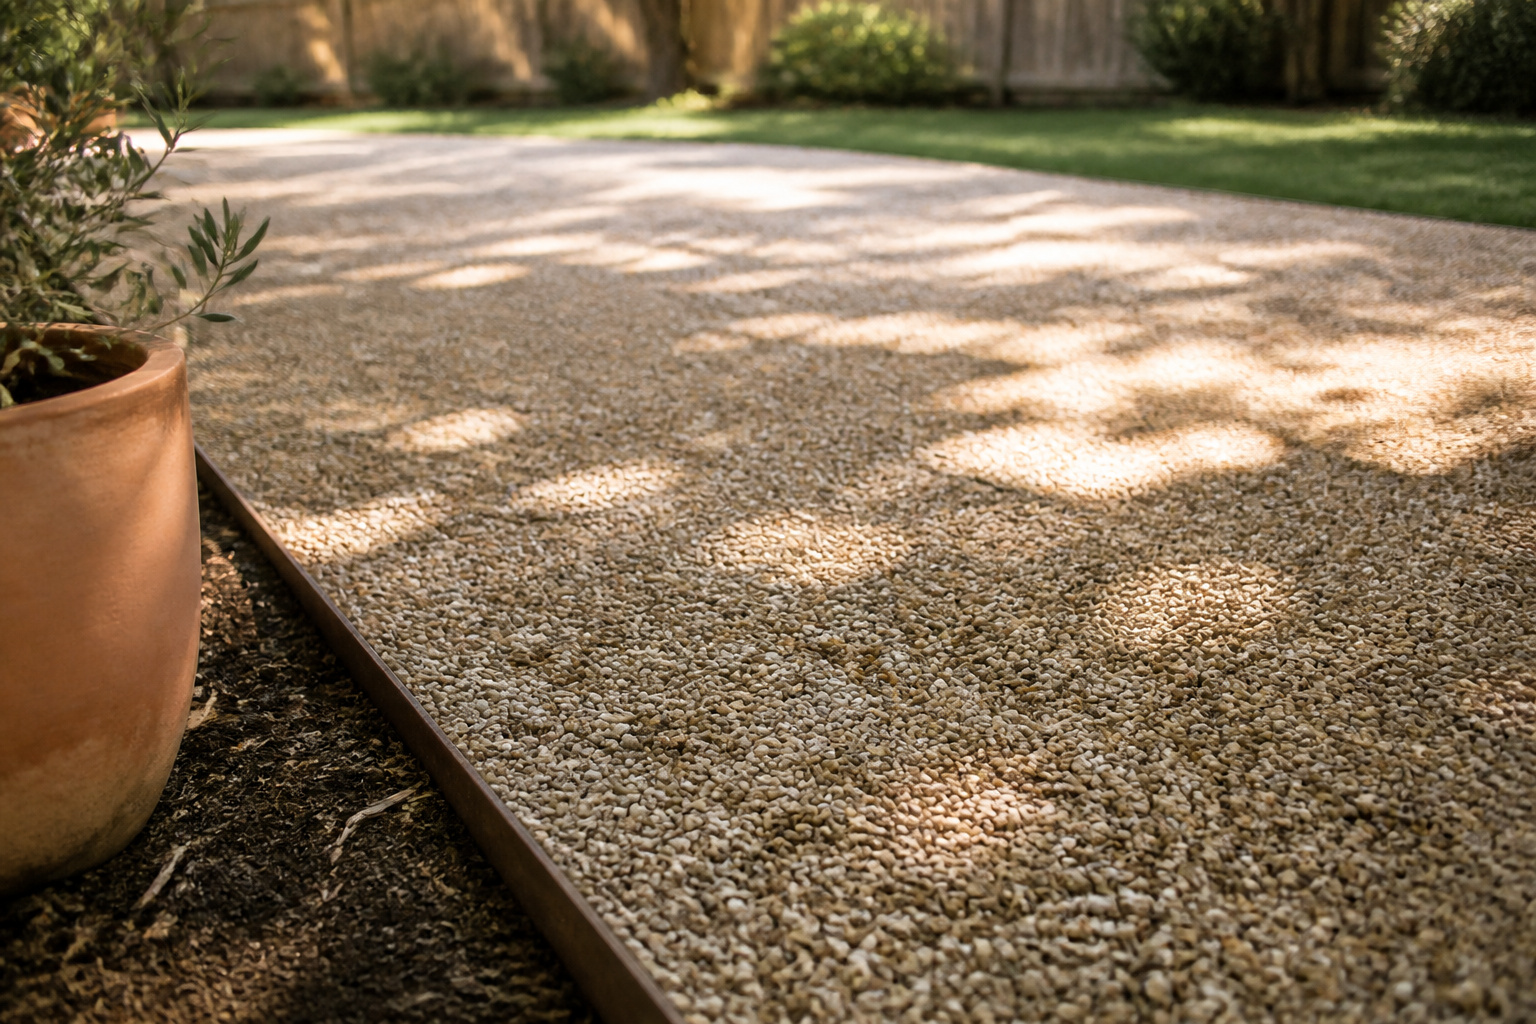
No edge, and the patio quietly shrinks. Left alone, stone keeps migrating into the lawn a little more each season, and it can cost you 8 to 12 hours a year raking it back. An edge is a few hours, once. Raking is forever.
Choosing and Ordering the Right Gravel
Standing at the stone yard doing math on your phone is where first patios go wrong: order right and you make one trip, guess and you make three.
How much to order by depth and area
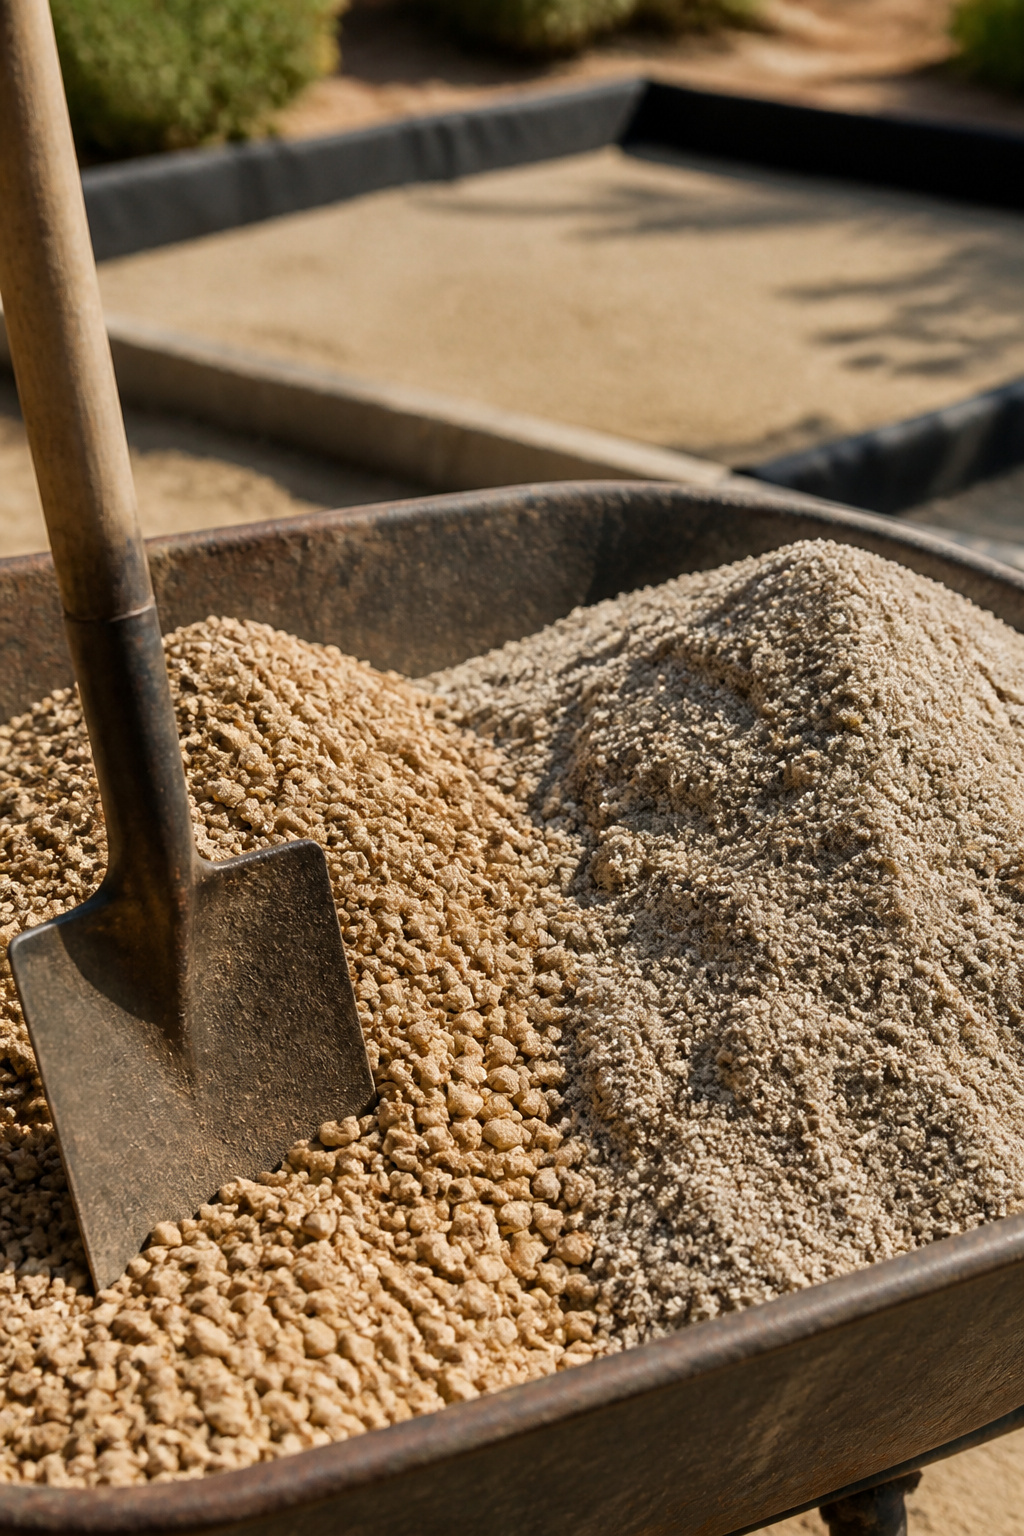
The math is simple: one ton covers about 100 square feet at 2 inches deep, roughly 0.6 cubic yards — so a 400-square-foot patio at 3 inches of finish gravel needs about 3.7 cubic yards. Order base and finish separately, and pad the base number — crusher run shrinks as it compacts.
Bulk delivery vs bagged, and when bagged actually makes sense
Buy in bulk: gravel by the cubic yard or ton runs 50 percent or more cheaper than the same volume bagged. Bagged stone only makes sense for small top-ups, a tight-access yard, or a patio under 50 to 100 square feet.
The mistake of ordering the wrong grade for the base you built
The classic slip: buying smooth pea gravel for the base — rounded, no fines, it won’t lock no matter how you tamp it. The reverse leaves dusty crusher run as your surface. Decide your surface stone before you order — pick the right gravel first, then match the base to it.
Spreading, Leveling and Compacting the Final Layer
This is the satisfying part — and it exposes every shortcut underneath. A level finish only comes off a level base.
Raking technique that avoids a rutted surface
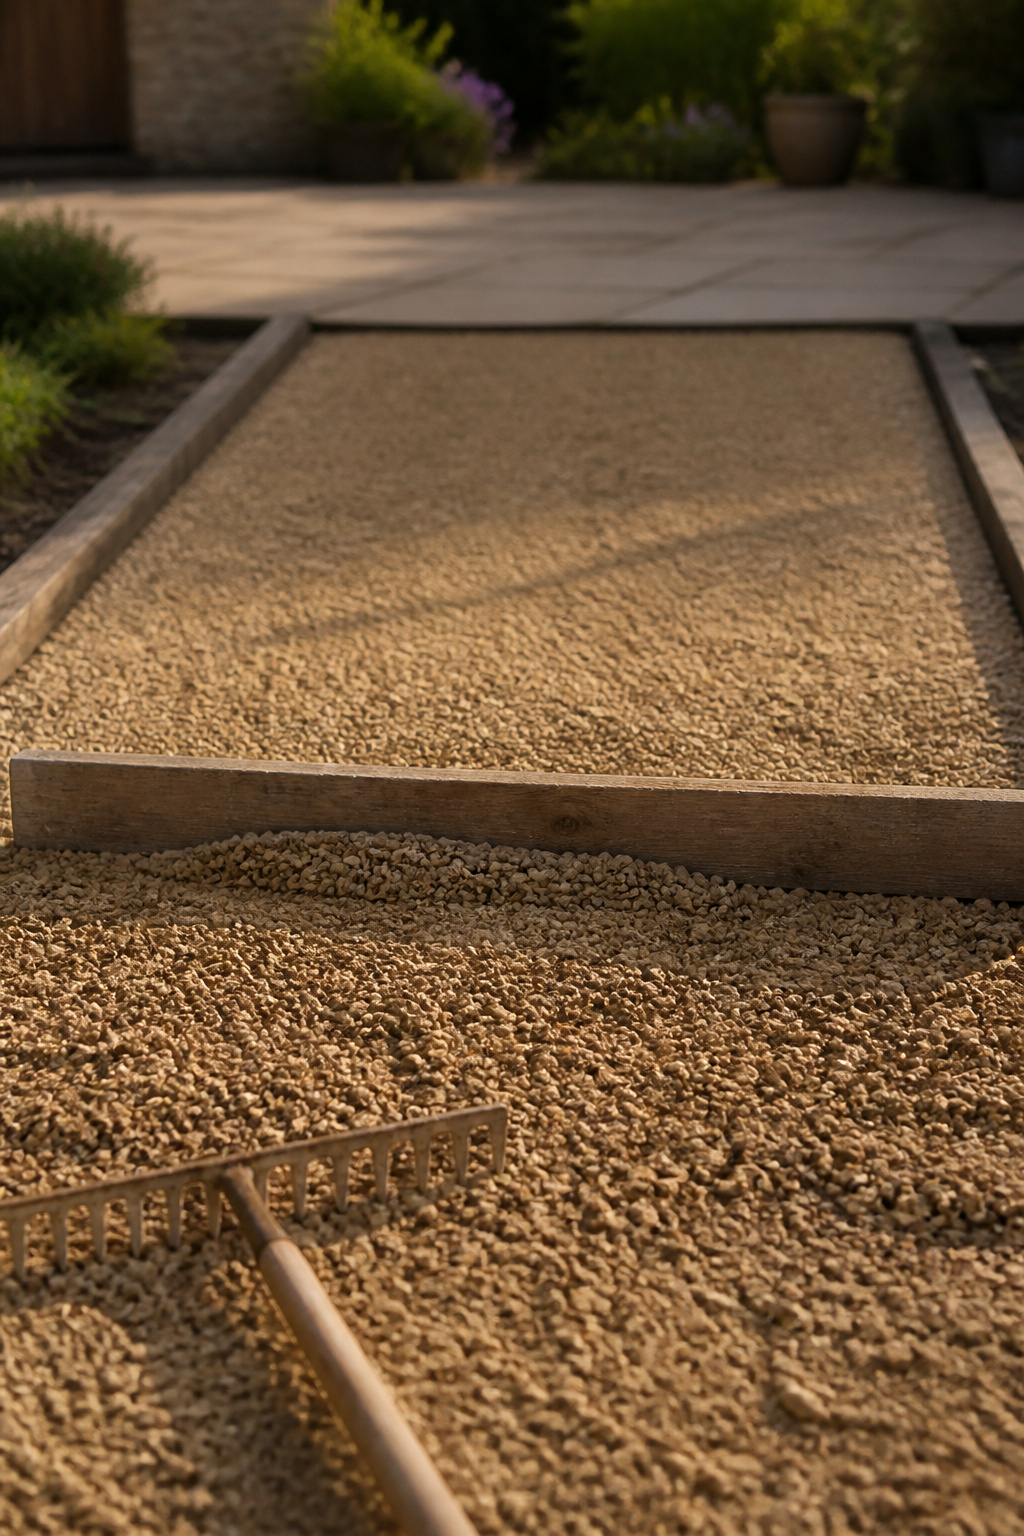
Spread the gravel slightly overfilled, then pull a flat-back rake toward you in short, overlapping passes — never push, since pushing plows ruts into loose stone. Work from the edging inward so the rake always has a fixed rail to level against.
Using a screed board for a level pass
Drag a straight board across the tops of the edging to strike off high spots in one pass — the move masons use for bedding sand. It works best on a slight overfill, and must never flatten your slope: screed to grade, not dead level.
The final compaction pass and why it’s not optional
Whether you compact the top depends on the stone. Pea gravel settles loose and stays loose on purpose; decomposed granite needs a plate compactor or tamper in several passes with a light mist, or it migrates and ruts under furniture legs in the first season.
What Actually Goes Wrong (and What It Really Costs)
Real costs from marking out to finished patio
Gravel is genuinely the cheap patio to build — a small one runs a few hundred dollars in stone and fabric, a fraction of hired pavers or concrete. But by year four, an unmaintained patio’s running cost — top-ups, re-leveling, raking — creeps toward a paver patio’s upkeep. Gravel stays cheap only if the base and edging were done right the first time.
Real hours, including the second trip to the store
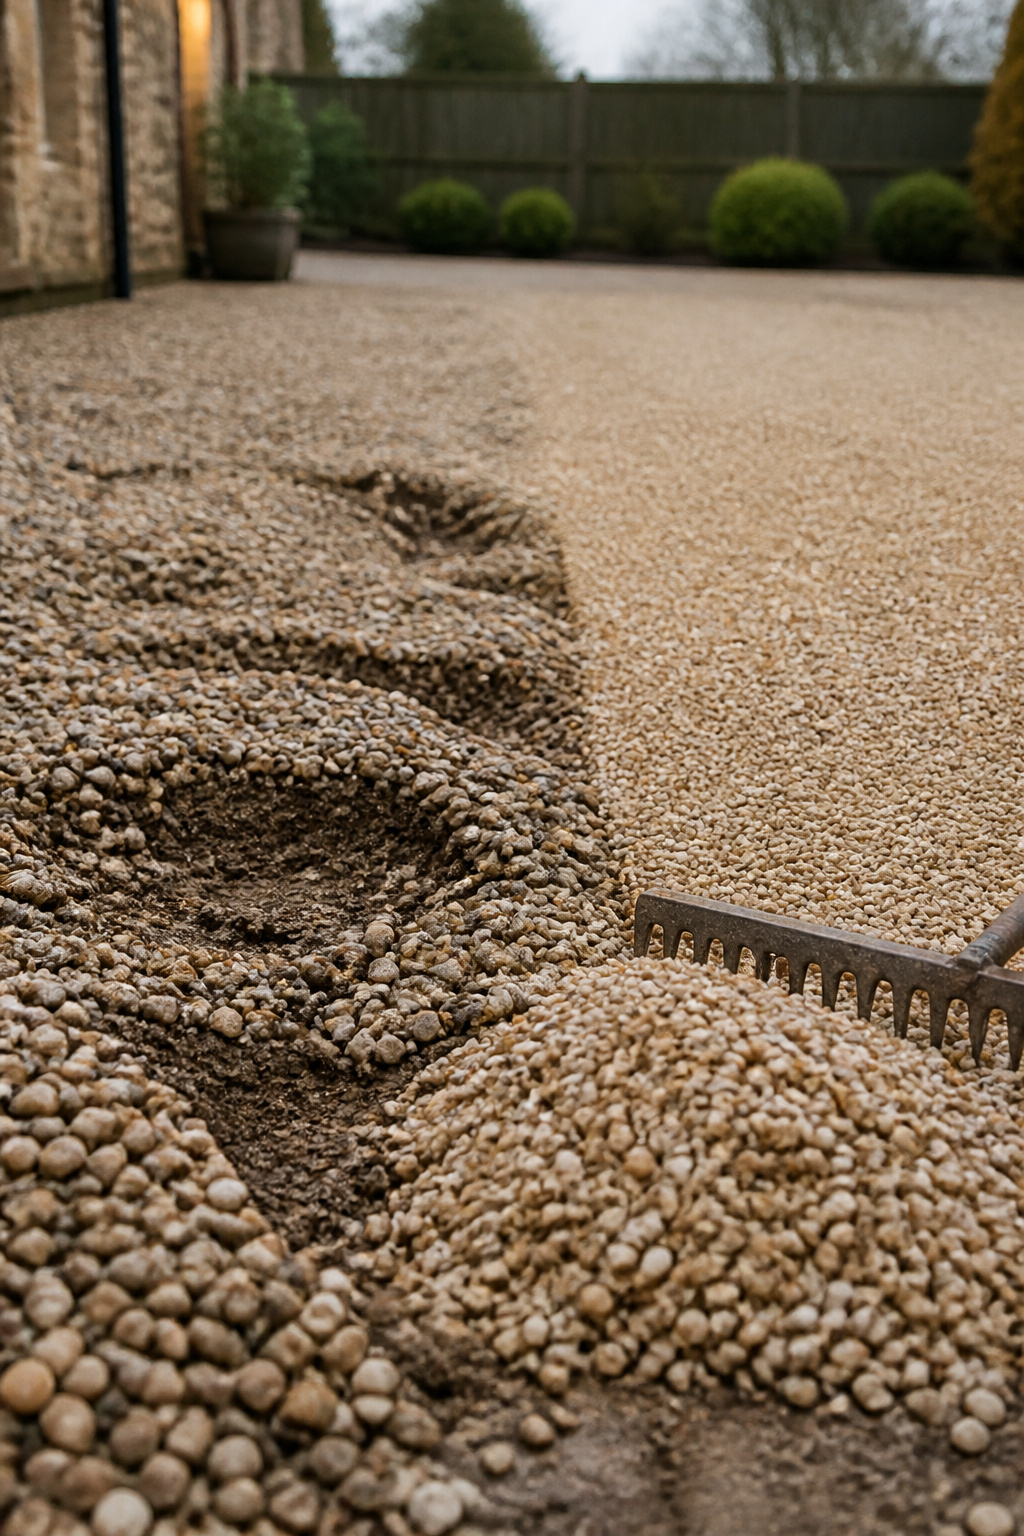
A 12-by-12-foot patio with a proper base is honestly a full weekend — about eight hours, if nothing surprises you. On one dig, a root mat stopped my shovel cold; what saved it was the $40 oscillating multi-tool I’d almost left in the truck, the kind nobody on a crew respects. It chewed through the roots at grade and turned a second-trip disaster into an afternoon. Budget for the surprise; it’s coming.
The fix when a section settles unevenly
A settled patch is not a redo. Loose gravel compacts 25 to 40 percent of its installed depth in the first two years, so a spot that looked full on day one goes thin by year two. The fix is top-dressing — rake it level, add fresh stone, two or three hours’ work. Stone walking off the edges is a separate, missing-edging problem: the reason the edge went in back at step four.
How to Build a Gravel Patio Without Redoing a Step
You now have the sequence: mark out and slope, call 811, dig 6 to 8 inches, build the base in 4-inch lifts, lay fabric if the soil calls for it, set the edging, then spread and level. Do it in order and the patio you build this year is the one you still have in five — skip a step and you’ll meet it again next spring, shovel in hand. Your first move is free and takes ten minutes: grab your stakes and string this weekend.
FAQ
Do you need a permit to build a gravel patio?
Usually not. Ground-level, unattached patios up to 200 square feet and no more than 30 inches above grade are generally permit-exempt under IRC Section R105.2, whatever the surface. Some jurisdictions set stricter height limits, though, or count gravel as impervious surface for stormwater — so call your local planning office first.
Can you build a gravel patio without landscape fabric?
Yes, on fast-draining sandy soil or for a small decorative area, trading periodic re-leveling for one less step. Without fabric, though, gravel gradually sinks into the soil under rain and foot traffic. And fabric never stopped every weed anyway — it blocks roots from below, not seeds sprouting in debris on top.
How long does a DIY gravel patio last before it needs redoing?
It rarely needs a full redo. Without heavy traffic, a gravel patio typically wants a top-up refresh every two to three years, because loose gravel compacts 25 to 40 percent of its depth in the first two years. That refresh just adds stone back to depth — not a rebuild — if the base and edging were done right.