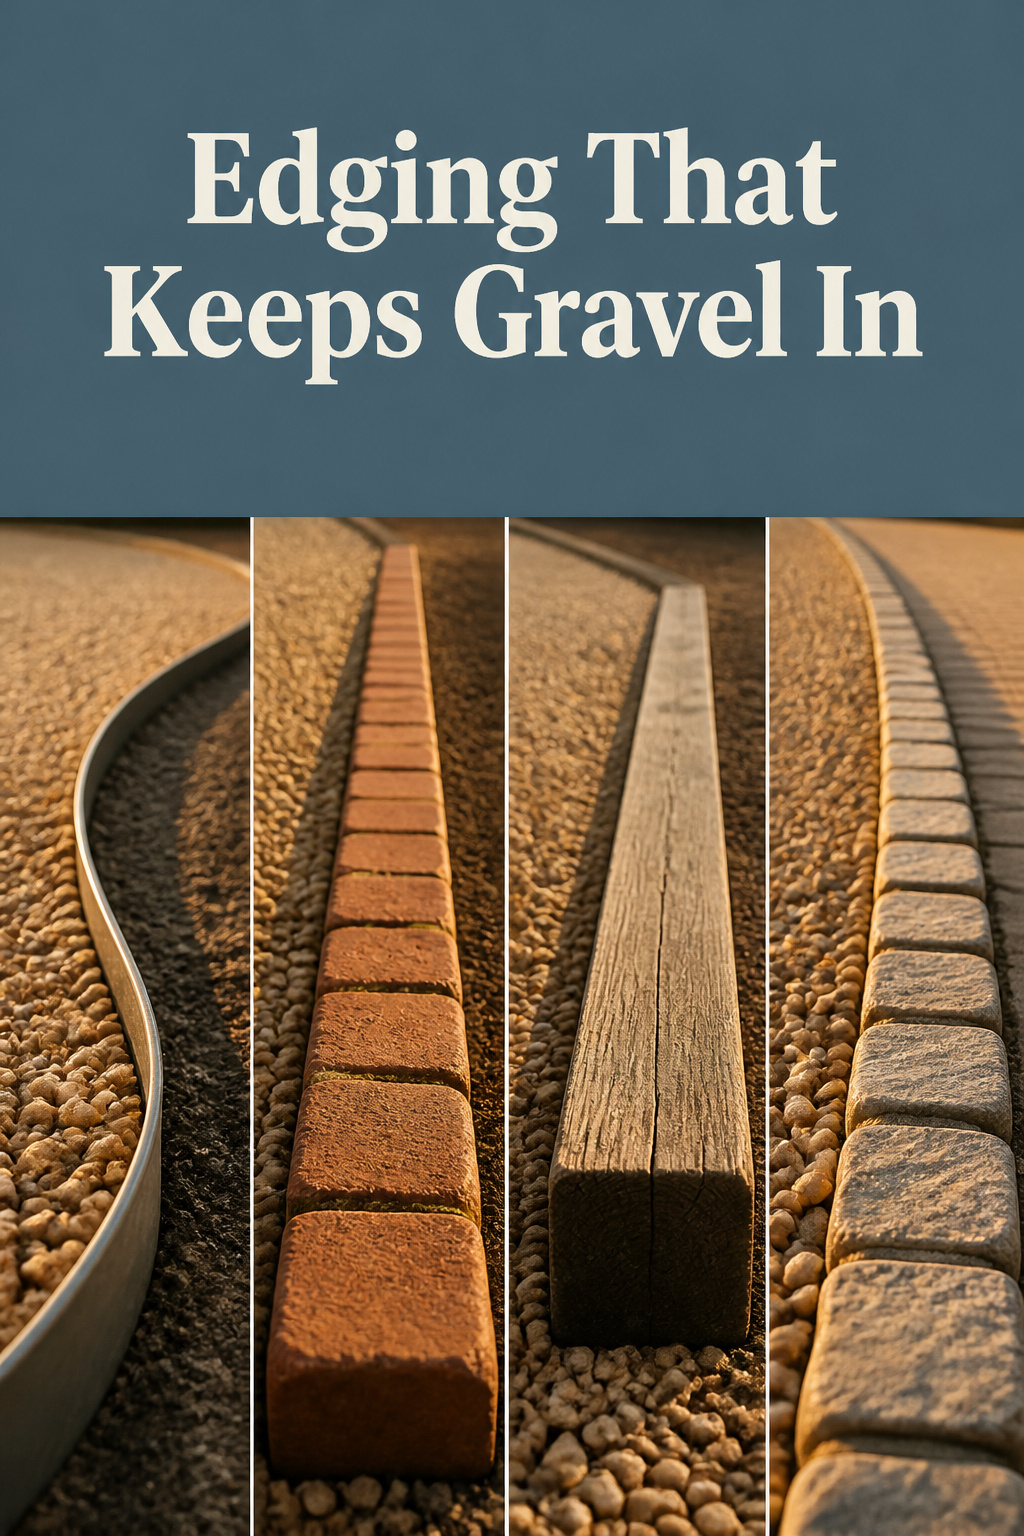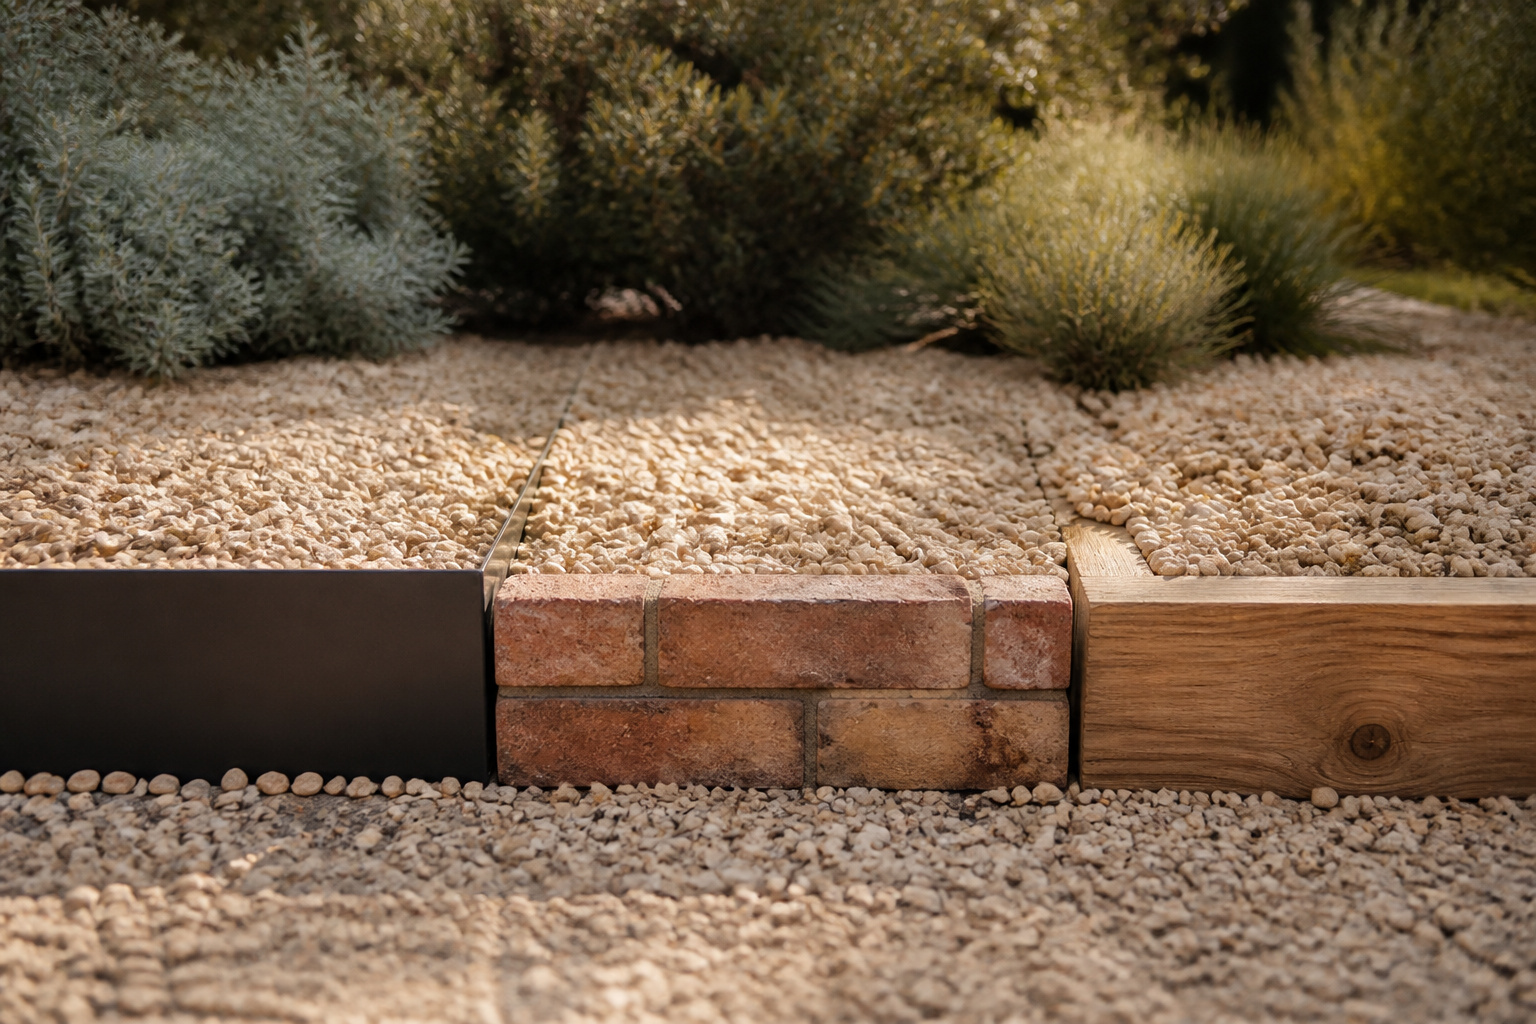

Most people treat gravel patio edging as decorative trim — a thin strip to tidy the border. That belief is exactly why so much of it fails. Edging isn’t trim; it’s the wall that holds a loose, restless surface in place, and a strip too shallow or flimsy lets stone walk off no matter how sharp it looks on day one. Get the edge right and the patio keeps its shape. Get it wrong and you’ll spend next summer raking gravel out of the grass.
TL;DR
- Steel, brick, cobble, timber and paver edging all hold gravel if they’re sized right — installed cost runs about $10–$28 a foot for steel, $18–$38 for brick, and $10–$22 for timber.
- Edging needs depth and height: bury metal 4–6 inches, stake it every 3–4 feet, and keep the gravel at least an inch below the top so stone can’t roll over.
- Skip or undersize the edge and the patio loses 6 to 12 inches of footprint within about three years — the sizing and anchoring matter far more than the material.
Why Most Gravel Patio Edging Fails
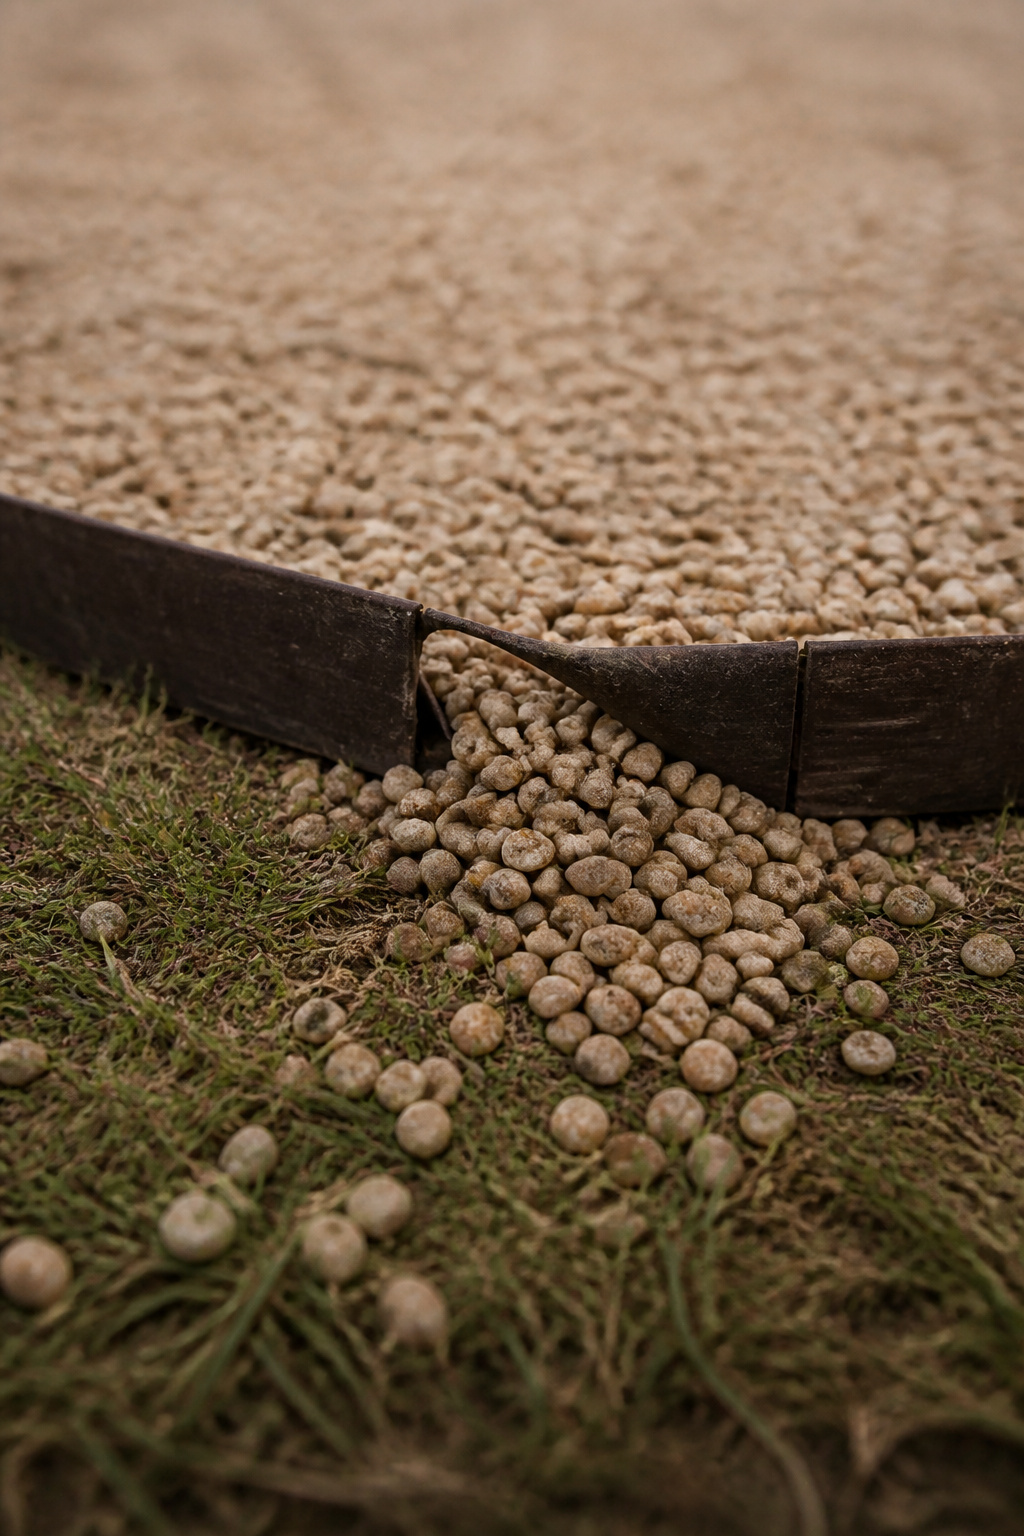
Edging almost never fails because of the material. It fails for two boring reasons: the piece was too small, or it never got anchored properly. Every material here can hold gravel, and every one can fail — the difference is depth and staking, not the label on the box.
The thin-strip mistake almost everyone makes
Underestimating depth is the leading cause of instability — the edge leans, gaps, or works loose within a season or two, and thin plastic or light metal strips are worst, expanding and contracting until they lose their grip. Most metal edging only sinks 4 to 6 inches down, so little that some makers now sell an 8-inch version just to beat that shortfall. Edging is one piece of the bigger picture our guide to gravel patio design ideas covers — but it’s the piece that decides whether the rest holds its shape.
What ‘holding gravel in’ actually requires
A working edge needs two dimensions: depth below grade to resist heaving, and height above it to block stone from rolling over. Set it slightly proud of finished grade so it has room to settle. And fabric doesn’t do this job — fabric stops weeds from below, edging stops stone walking off.
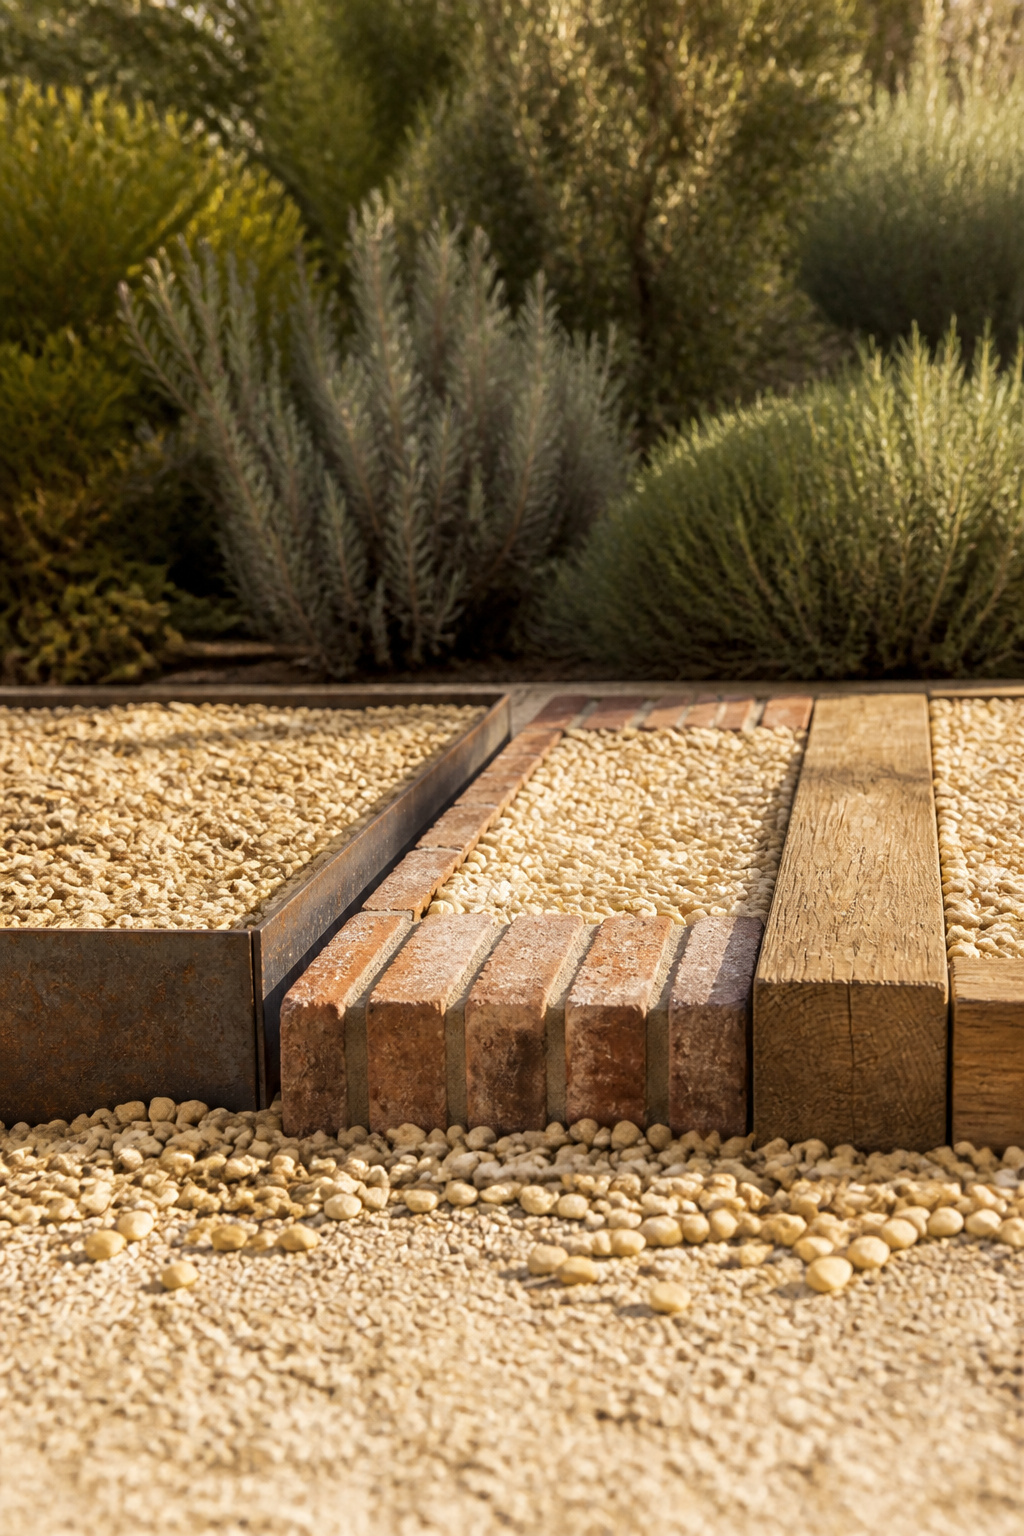
Here’s the whole field at a glance. Cost is per linear foot installed, and every range is wide — grade, region, and whether you hire out all move it.
| Edging material | Installed cost (per linear ft) | Difficulty | Lifespan and hold |
|---|---|---|---|
| Steel / aluminium | $10–$28 | Moderate; straight runs easy, curves harder | 20–40 yrs (16-gauge steel); crisp, hard line |
| Brick (soldier course) | $18–$38 | Confident builder; concrete base plus mortar | Decades; heaviest hold, highest cost |
| Cobble / natural stone | $5–$35 (dry-stack to mortared) | Moderate; pro for curves | Very long; rustic, irregular look |
| Timber | $10–$22 | Beginner-friendly; trench and spike | 15–20+ yrs pressure-treated |
| Plastic / paver strip | $5–$12 | Easiest DIY; stake in, no trench | Up to 25 yrs, weakest containment |
Read the ranges as ranges: a homeowner-grade strip you stake yourself is nowhere near a mortared stone edge a mason sets.
Steel Edging: Cost, Look and Difficulty
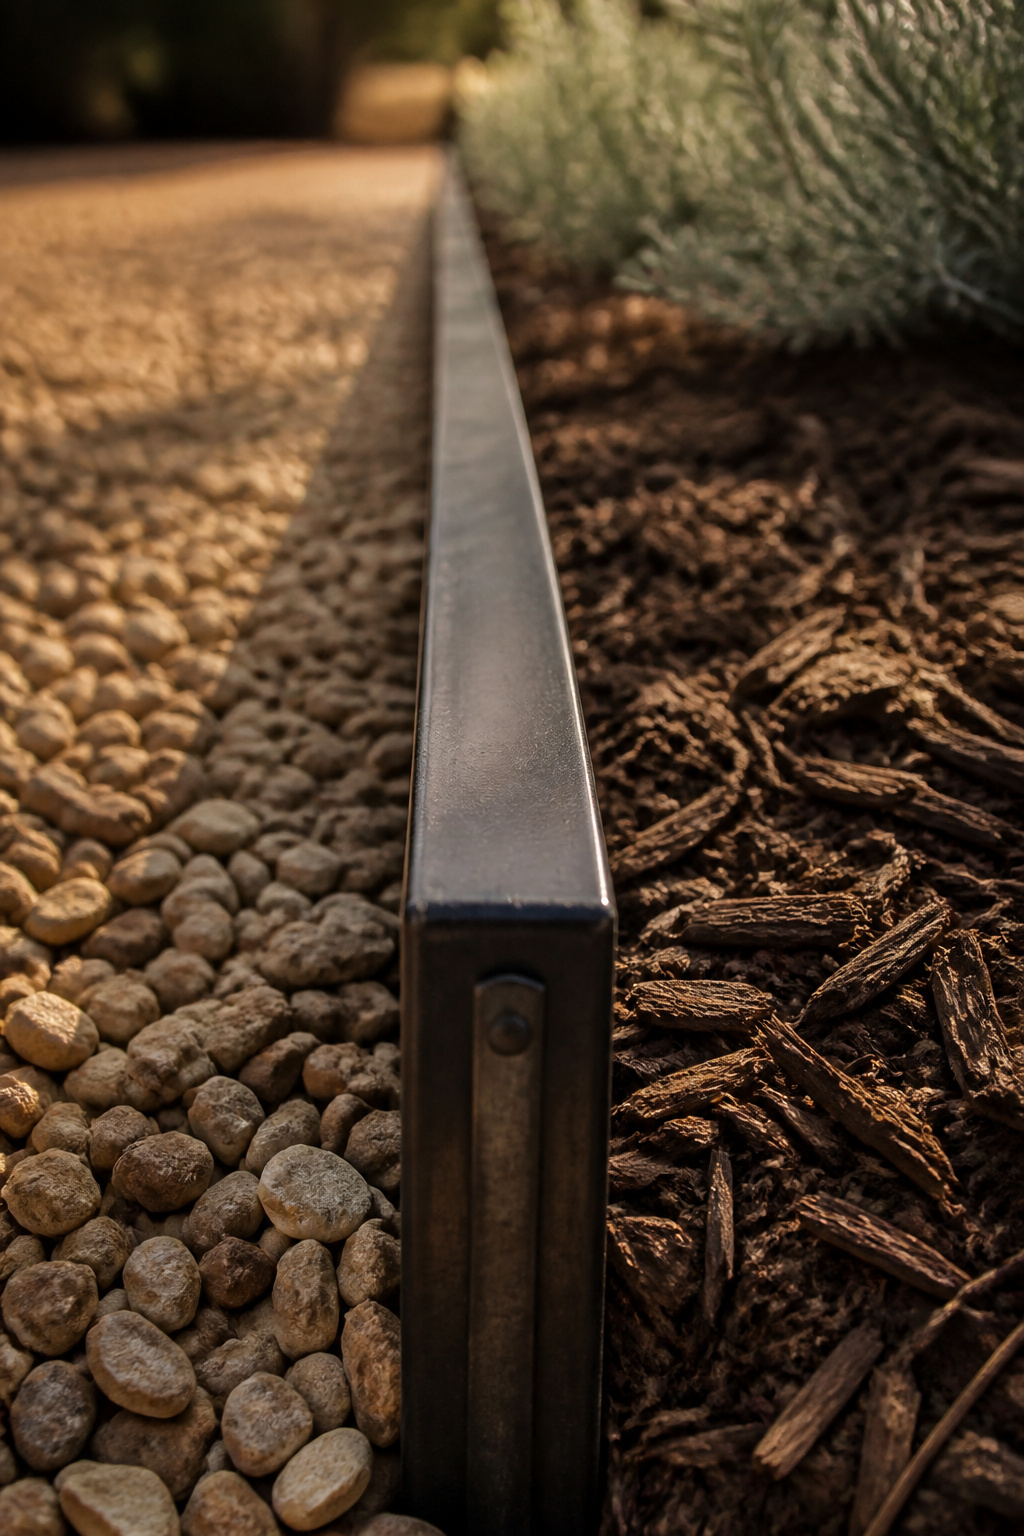
A steel edge that’s held five winters is still a straight line — nothing holds a crisp border as reliably over decades.
What it costs installed
Price swings on gauge and grade. Homeowner-grade strip sits near the bottom of the $10-to-$28-a-foot installed range; contractor-grade 16-gauge sits near the top — and only that heavier gauge earns the 20-to-40-year life, well beyond what pressure-treated timber offers.
How hard it is to install
Straight runs are beginner-friendly; curves and rocky soil are where you hire out, since steel resists bending on site and aluminium bends easily. One number isn’t optional in a freeze climate: stakes must bite 2.5 to 3 inches below grade, or a single freeze-thaw cycle separates the sections.
Where steel looks right and where it doesn’t
Metal draws the precise, modern sightline — and looks wrong hugging a loose cottage bed. Raw steel can rust-degrade within a few years, so most people choose Cor-Ten, which rusts to a stable, warm patina, or aluminium, a fifth the weight and rust-free for decades.
Brick and Cobble Edging: Cost, Look and Difficulty
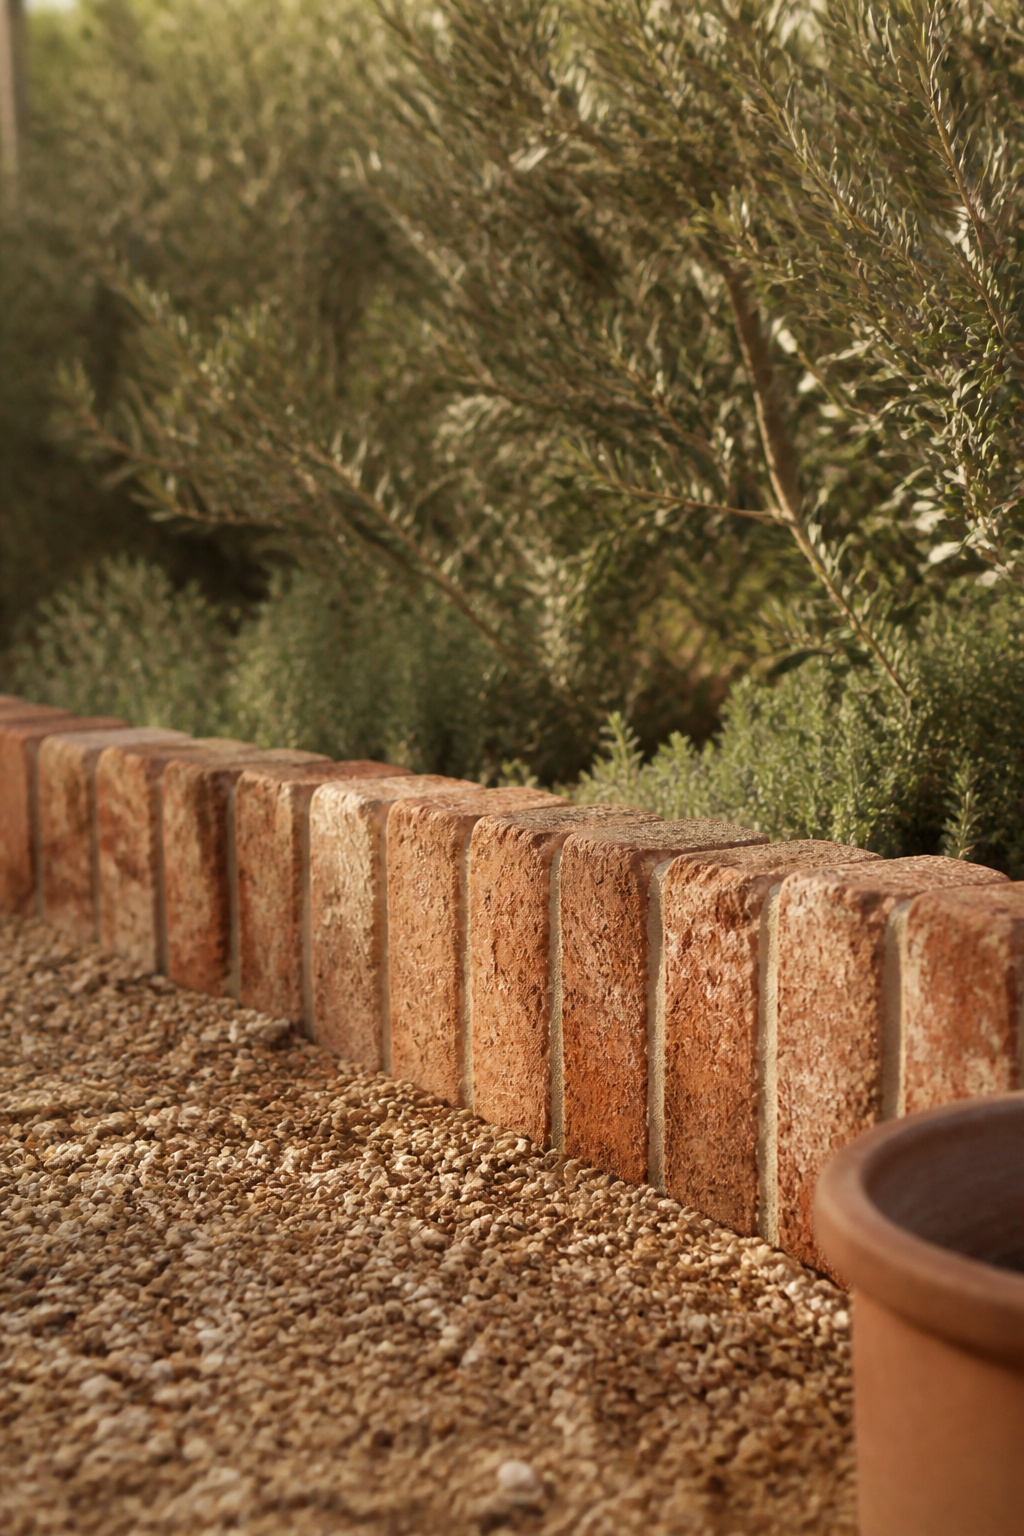
At $18 to $38 a foot installed, brick is the priciest edge here, and the one most likely to outlast the house. Brick and cobble hold gravel by sheer mass, not a thin barrier — and neither warps nor rusts.
What it costs installed
A mortared brick soldier course runs about $22.55 to $29.63 a foot installed on a May 2026 estimate — excavation, a 3-inch concrete base, and mortared joints included. Cobble and natural stone spread wider: $5 to $18 for curbing, up to $25 to $35 once a mortared footing enters the bill.
How hard it is for a first-timer
Both rate moderate, and curves are best left to a pro. The rule that keeps cobble from rocking loose: bury at least a third of each stone’s height, set the stones tight on 2 inches of stone dust, and check level every five stones before the mortar grabs.
Where brick and cobble look right
Brick’s mass suits load-bearing edges — driveway aprons, high-traffic paths — not just decoration. Cobble looks organic and irregular where brick or steel would draw a hard, exact line.
Timber and Paver Edging: Cost, Look and Difficulty
Want an edge you can install in an afternoon without renting anything? Timber and paver strip are where you look — cheaper and friendlier than masonry, with plastic the rock-bottom option that trades holding power for price.
What it costs installed
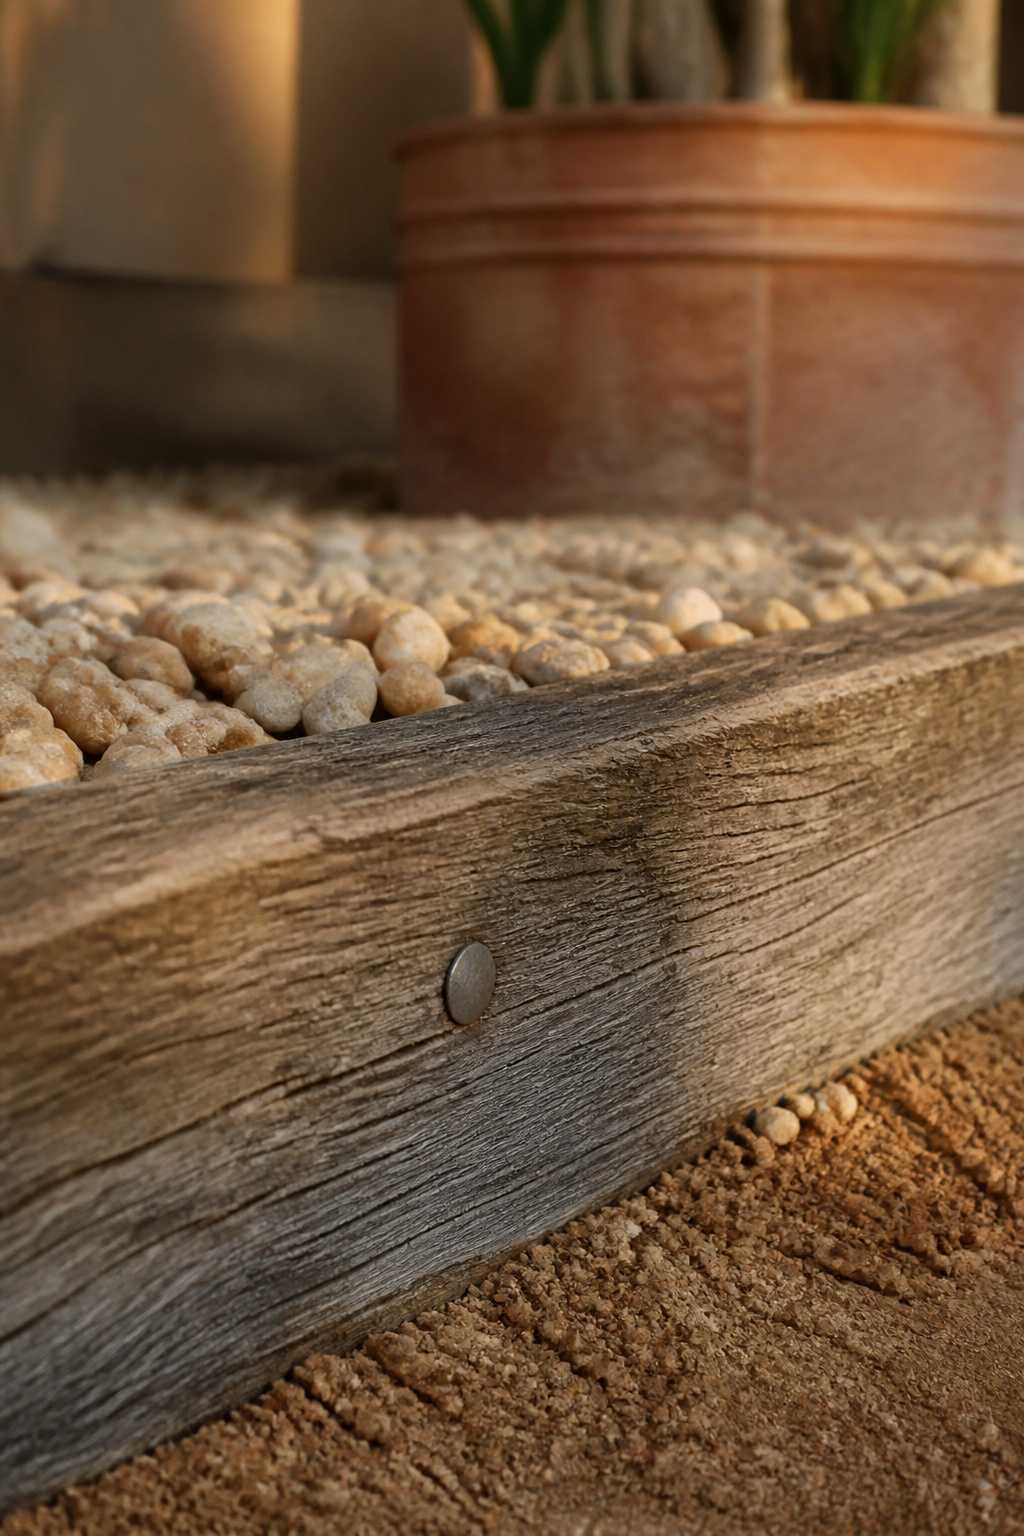
Timber runs roughly $10 to $22 a foot installed, cedar dearer than pine for its rot resistance. Plastic is the floor: a 40-foot DIY paver-edging kit costs $80 to $100, and plastic strip runs $5 to $12 installed.
How hard it is for a beginner
Timber is trench-and-spike: dig a level trench, drop the timbers in, pin them with galvanized spikes. There’s no published burial depth for it — the spikes do the holding, not a number in the ground. Paver strip uses 8-inch nylon spikes through punched holes, extra at the curves. Plastic is the easiest of all: pound stakes straight in, no trench.
Where timber and pavers look right
Pressure-treated timber with a ground-contact rating lasts 15 to 20-plus years; untreated wood rots fast. Plastic can last 25 years with UV inhibitors but cracks under traffic — it’s the wrong call on a border people actually walk.
Installing Edging So It Actually Holds
Before I went solo, I ran crews for a remodeling contractor in Tennessee for eight years, and one habit split the pros from the weekend help at every edge. The pros pulled a string line and measured. The beginners eyeballed it and guessed. An edge you guess at wanders — a quarter inch here, a bowed section there — and on a gravel border that wander is the exact gap stone escapes through.
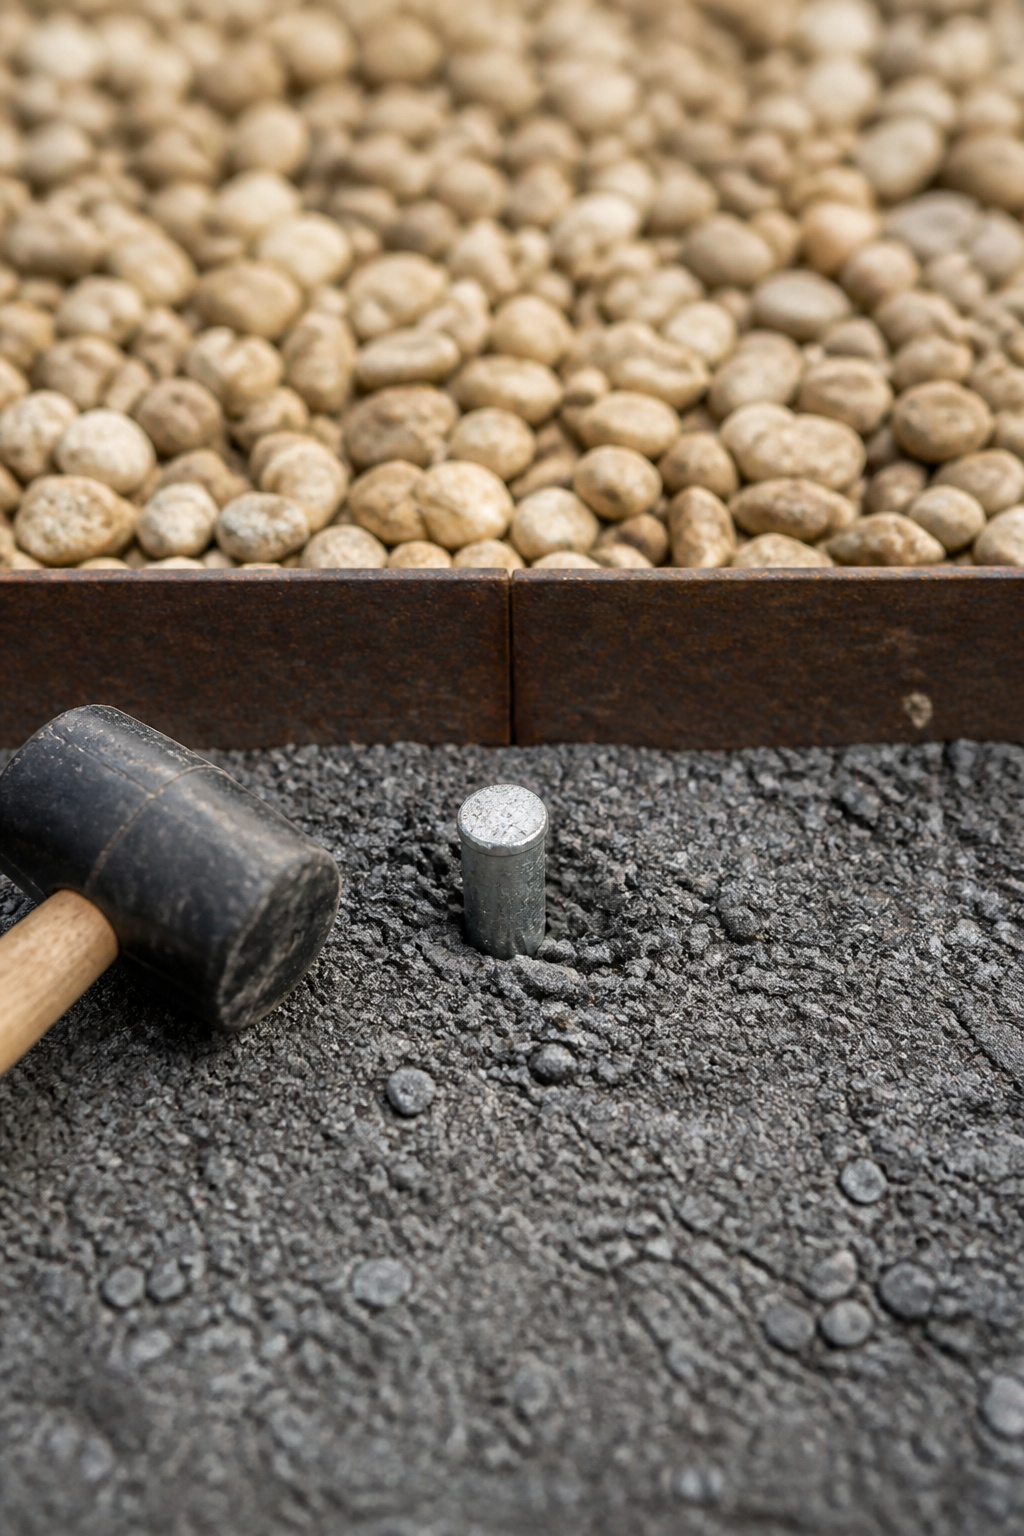
Whatever material you landed on, the install order is the same four moves:
- Dig deep enough — bury metal 4 to 6 inches below grade, sink steel stakes 2.5 to 3 inches past frost, and set cobble or stone with a third of its height underground.
- Set the edge into the compacted base, not loose soil — restraints go in around the whole perimeter before a single scoop of finish gravel.
- Anchor at the right interval — metal stakes every 3 to 4 feet, timber pinned with galvanized spikes, paver strip with 8-inch nylon spikes and extras at the curves.
- Keep the finished gravel at least an inch below the top edge so nothing rolls over the lip.
Setting depth and a solid base under the edge
Order matters as much as depth. Restraints go into the compacted base before the finish gravel; set them after and the base sits unconfined while you spread, so stone pushes past the line. Cobble and brick get their own base too — 2 inches of stone dust or a mortar mix, never bare soil.
Anchoring so it doesn’t heave or shift
Anchoring is the step beginners skip, because a fresh run looks solid without it. Timber floats loose if you trust the trench fit instead of driving the galvanized spikes home.
The mistake that lets gravel escape anyway
The one mistake that undoes the rest: setting gravel flush with or above the top, which kills the lip that stops it rolling over. Keep the surface an inch down. An unstaked or unlevel edge fails just like an undersized one.
The Full Build Sequence
Edging isn’t a finishing touch added once the gravel’s down — it goes in partway through the build, set into the compacted base before the finish layer spreads.
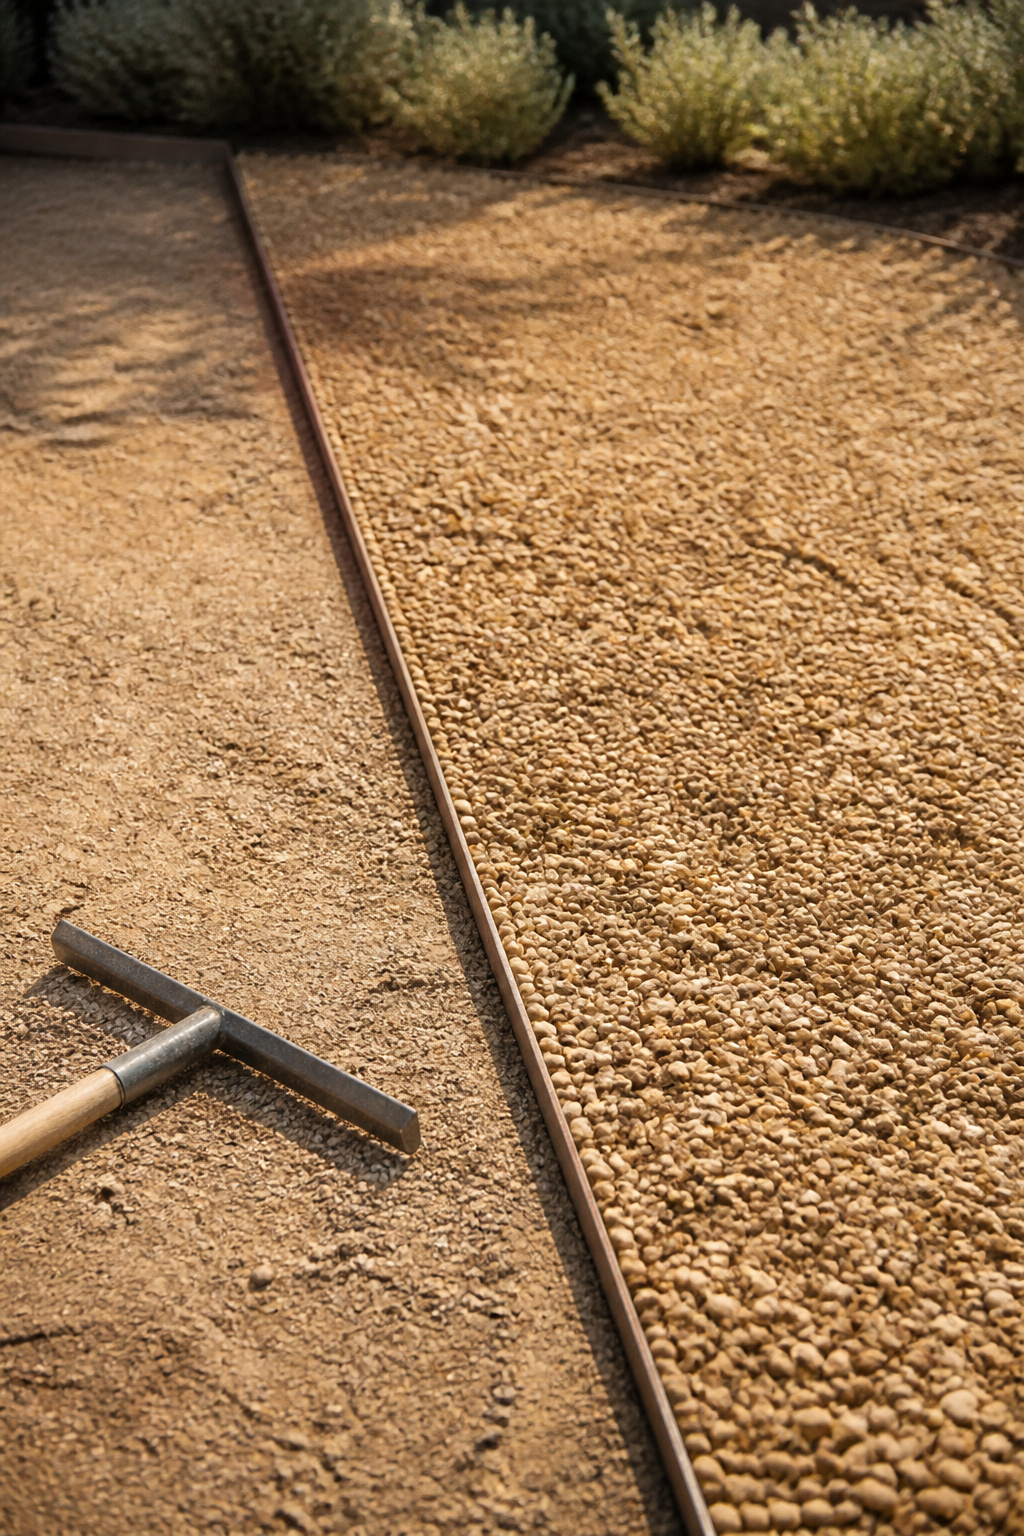
Where edging fits among the other build steps
This article owns the containment decision: which material, how deep, how it’s anchored. Where the edge falls in the larger job — dig, compact the base, lay fabric, set the edging, then spread the stone — belongs to the build guide. Building a patio from scratch? Follow the full build sequence and slot the edging into its mid-build spot.
Edging a Small Patio
Does edging matter more on a small patio? Yes, more than almost anywhere else — when the footprint is tight, the border defines nearly the whole visible shape of the space.
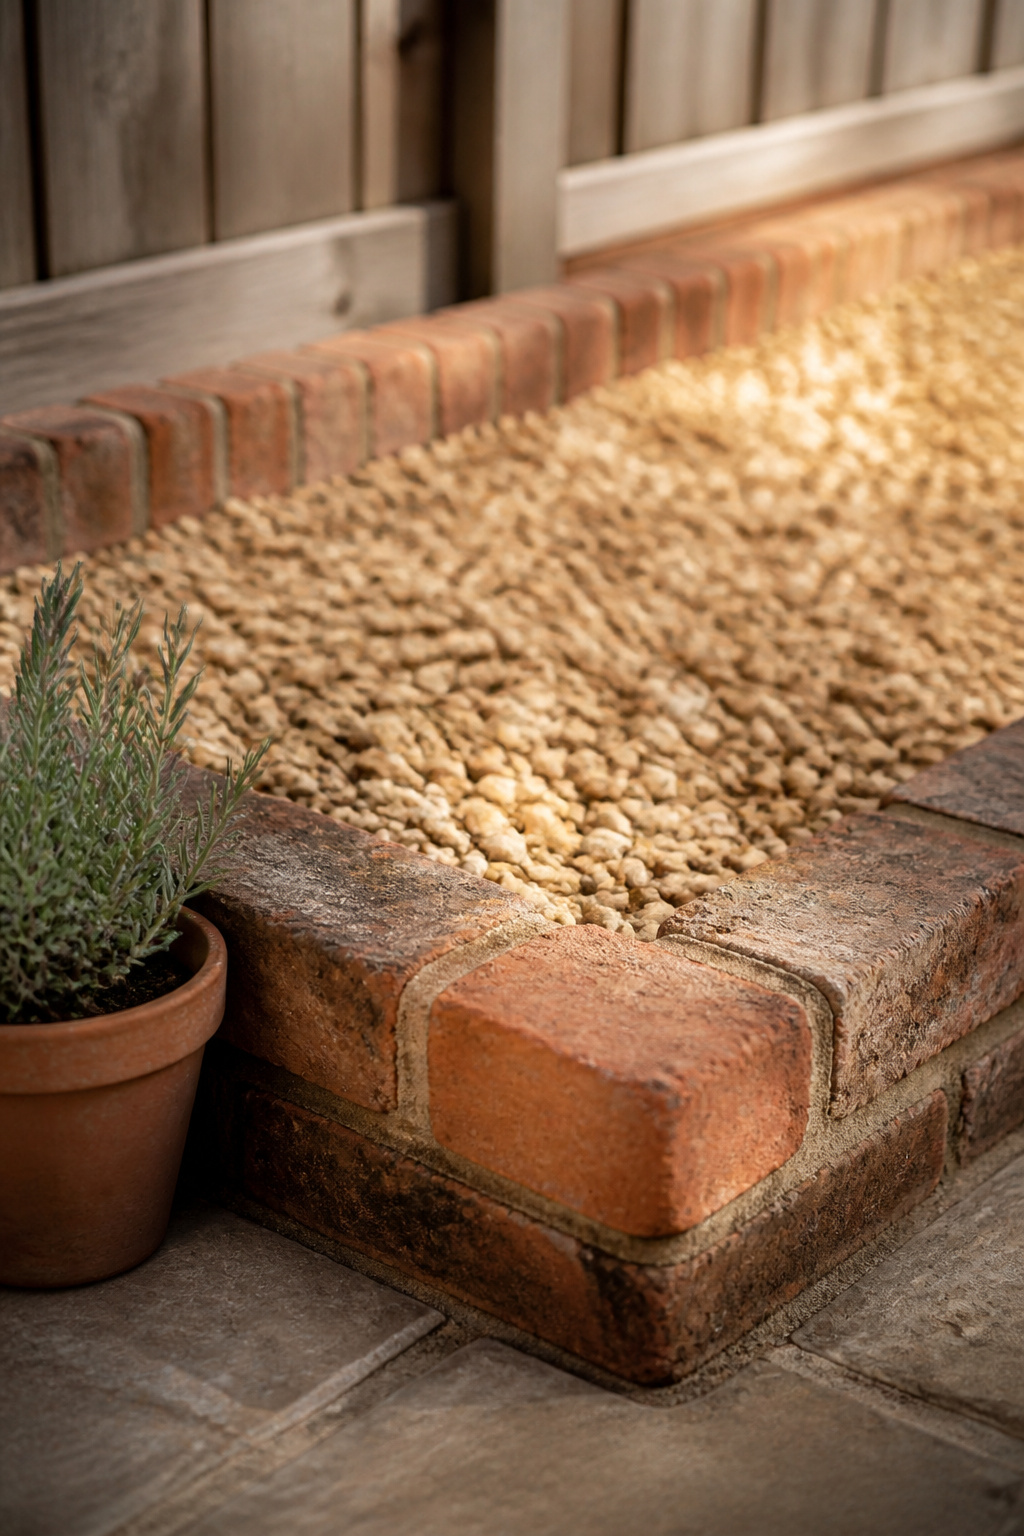
Why crisp edges matter more in a tight layout
On a big patio the eye has room to roam and a wandering edge disappears. On a small one the edge is most of what you see, so a sloppy line or sagging corner shows immediately — the precision that’s optional on a big build becomes the whole game. Sizing a usable seating footprint in a tight yard is its own problem; for that, see edging a small patio before you set a stake.
That’s the containment decision, start to finish: pick the material your budget and look call for, size it deep enough, anchor it at the interval, keep the gravel below the lip. None of it is hard, but all of it is unforgiving of a guess. Your first move costs nothing — walk the perimeter, measure the linear feet, and price two materials against the ranges here before you buy.
FAQ
How deep should gravel edging be buried to actually hold?
It depends on the material. General guidance for metal edging is 4 to 6 inches below grade to work as a real root and gravel barrier, while the steel-specific frost-heave minimum is 2.5 to 3 inches of stake penetration. Cobblestone or natural stone needs roughly one-third of its total height buried to resist shifting underfoot.
Will edging alone stop weeds without landscape fabric underneath?
No. Landscape fabric is the barrier that stops weed seeds germinating in the soil beneath the gravel; edging’s only job is containing the stone itself. Even with fabric down, blown-in dirt and leaves settle on top of the gravel over time and let weeds sprout above the fabric — so no single layer, edging included, eliminates weeds long-term.
Can you install gravel edging on a sloped patio?
Up to a point. Gravel on a slope steeper than a 15% grade — a 15-foot drop over 100 feet — likely won’t stay put regardless of the edging you use. On gentler slopes, a solid concrete, stone or timber border plus a slight crown and drainage trenches to divert water downhill keeps it from washing or creeping.