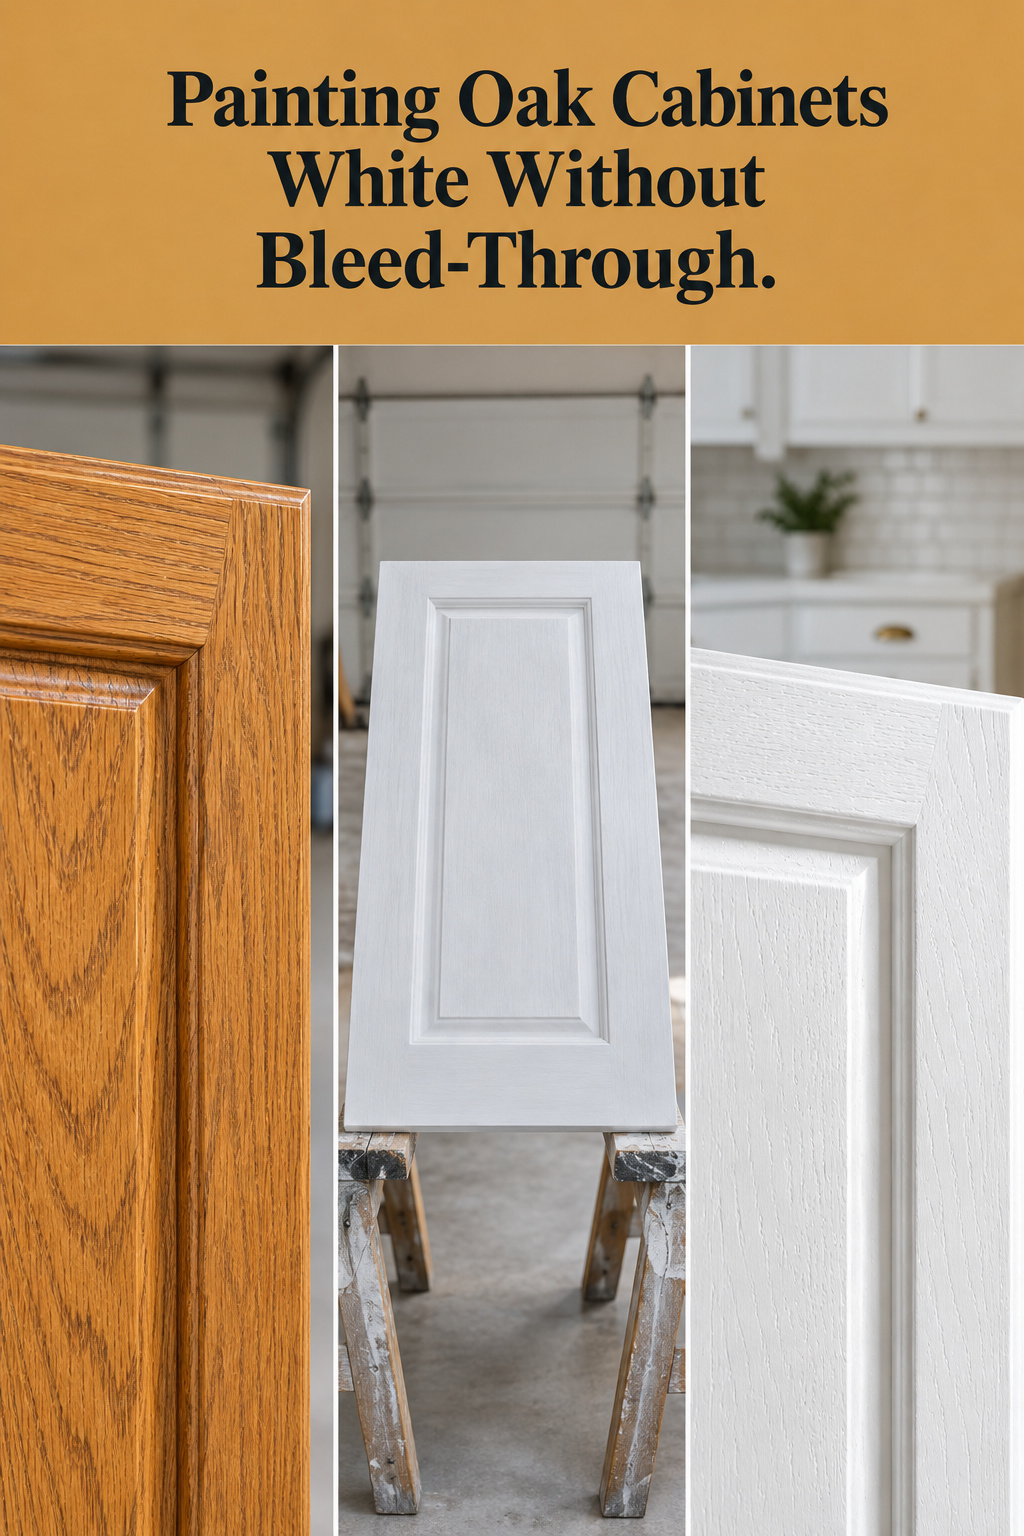
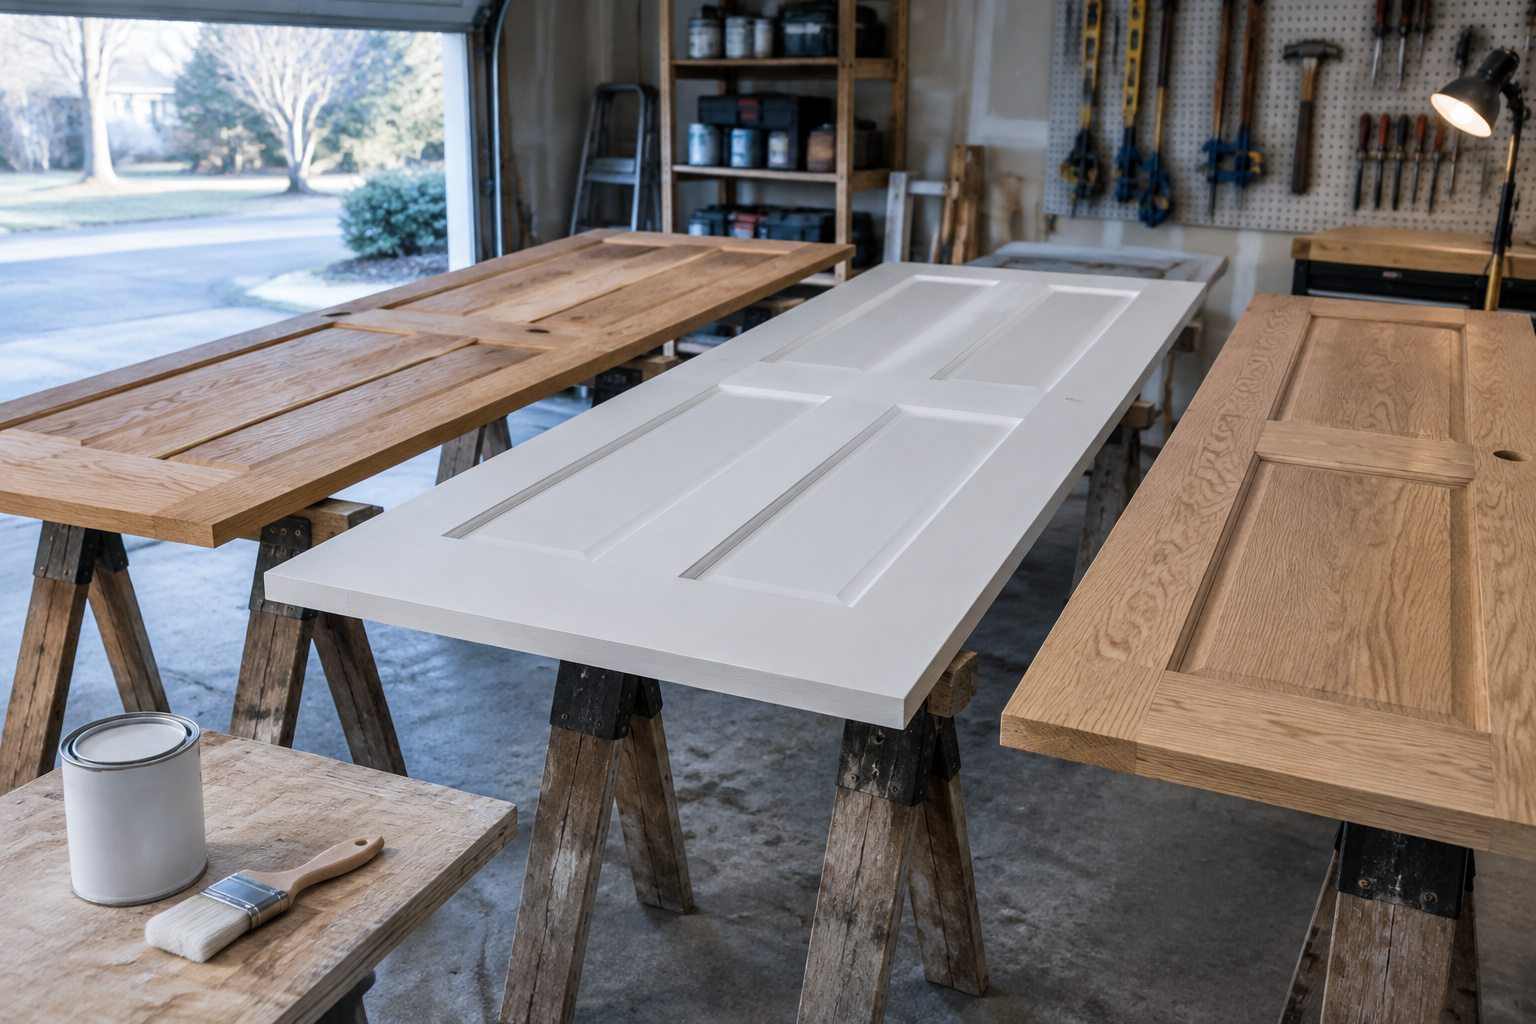

The mistake goes like this. You give up a long weekend to painting oak cabinets white: every door off, a water-based primer, two coats of a clean white, everything back on the hinges by Sunday night. About two weeks later faint tan spots show up on the doors. They follow the grain, gather at the knots and the end grain, and another coat of white doesn’t make them go away.
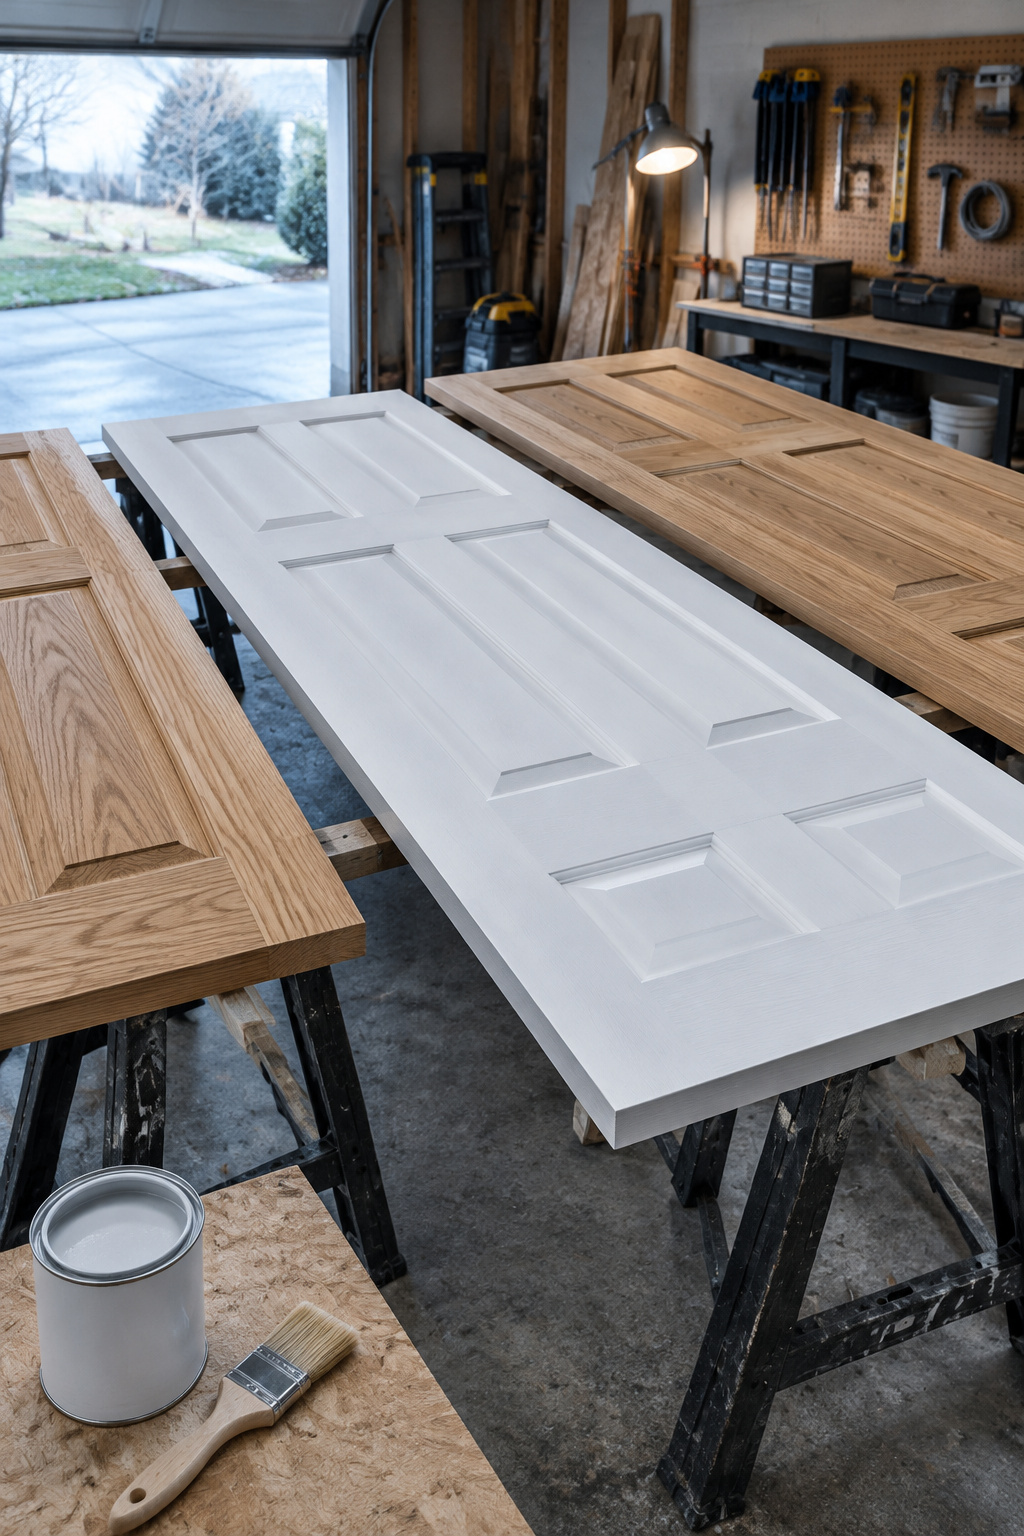
Honey-oak doors can end up crisp white and stay that way. The way there is slower at the start and faster overall: one door, painted completely, watched, and read before the rest of the kitchen gets a drop of paint.
TL;DR
- Oak fails white paint in two ways: tannin stain that can surface anywhere from hours to weeks after painting, and open grain that shows through the paint for good unless the pores are filled.
- Prime with a shellac-based or oil-based stain blocker. Shellac is the trade’s first choice on oak, and water-based blockers are the riskier bet even when the can lists tannin.
- Paint one test door all the way to white and watch it for at least a week. Decide on grain filler from that door in your own kitchen light, and remember filler goes on before the primer.
Painting oak cabinets white fails twice: stain that turns up late, grain for good
Oak is full of tannin, and tannin dissolves in water. A water-based primer or paint wets the wood, the tannin travels up through the film, and it arrives in the white as tan, yellow or slightly pink patches. Pale colors show it worst, which is why a white kitchen is where people find out.
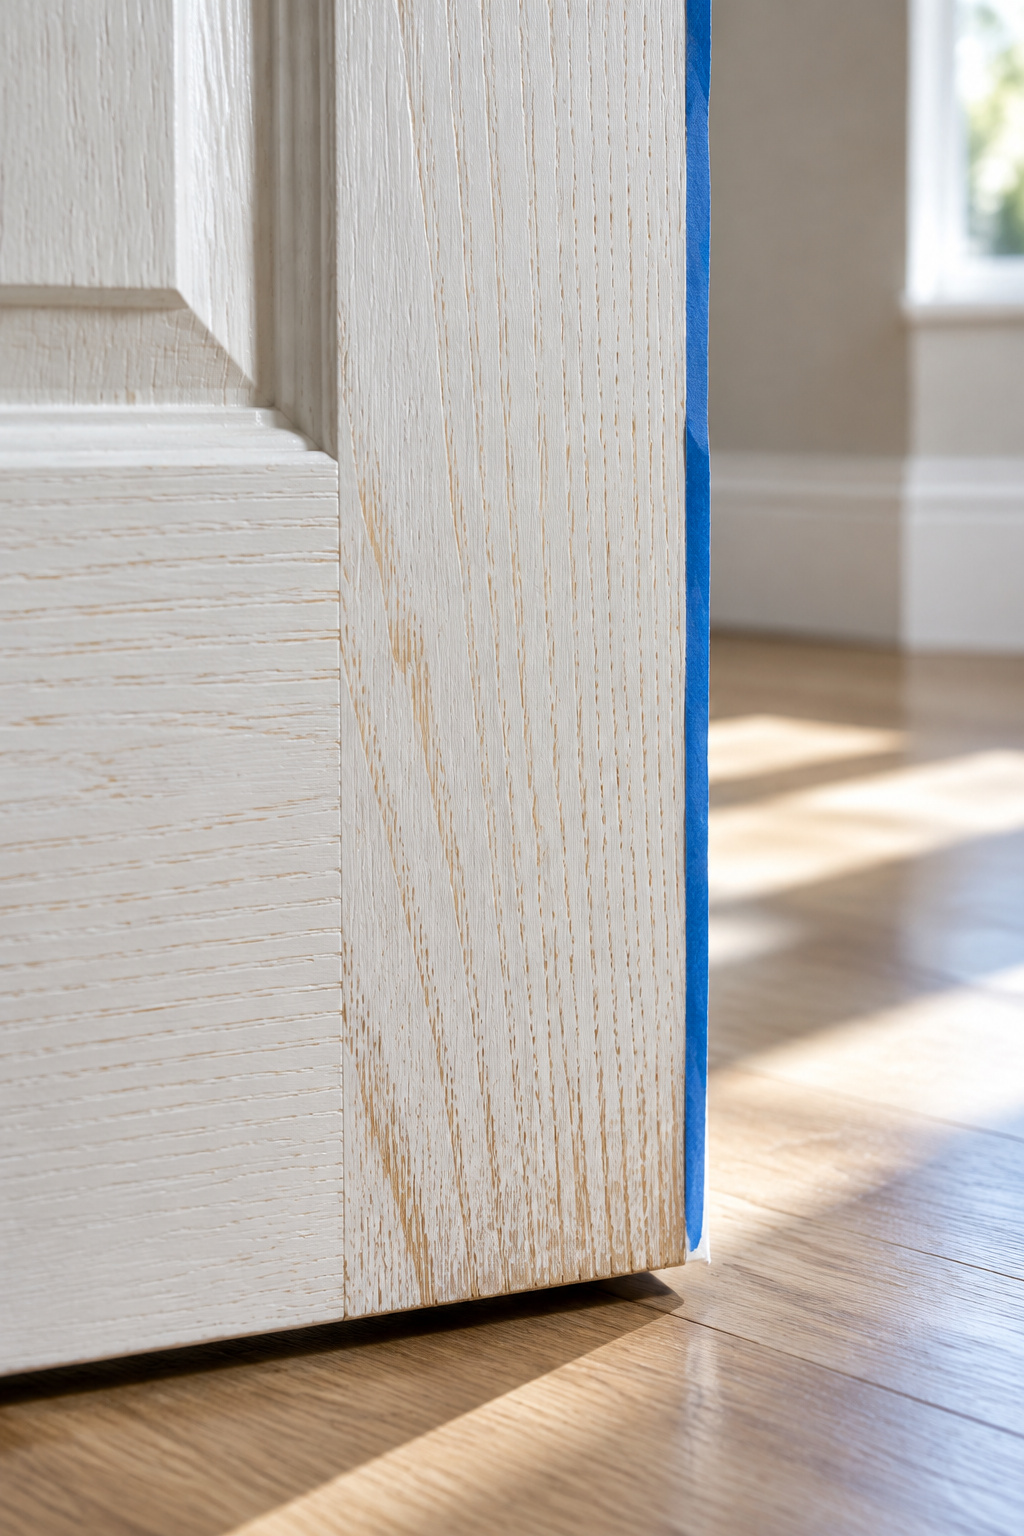
The clock on that first failure is loose. A 1997 Journal of Light Construction article put most tannin staining within seven days of the first coat. Painters report it in hours, in about two weeks as the usual case, and in months under a latex primer. Take seven days as the shortest watch, never as a promise.
The second failure runs on no clock at all. Red oak has big open pores, and they show through paint unless something fills them first. One coat on bare oak and you can count every pore when the light comes in low across the door. Extra coats don’t erase it.
A failed weekend costs the whole job again: sand, re-prime, repaint, and rehang every door. One finished door can answer both questions before you spend the weekend.
Block the stain first: shellac or oil-based primer for oak
Pick the primer before you think about the white. The topcoat matters, but it can’t hold back anything the primer lets through.
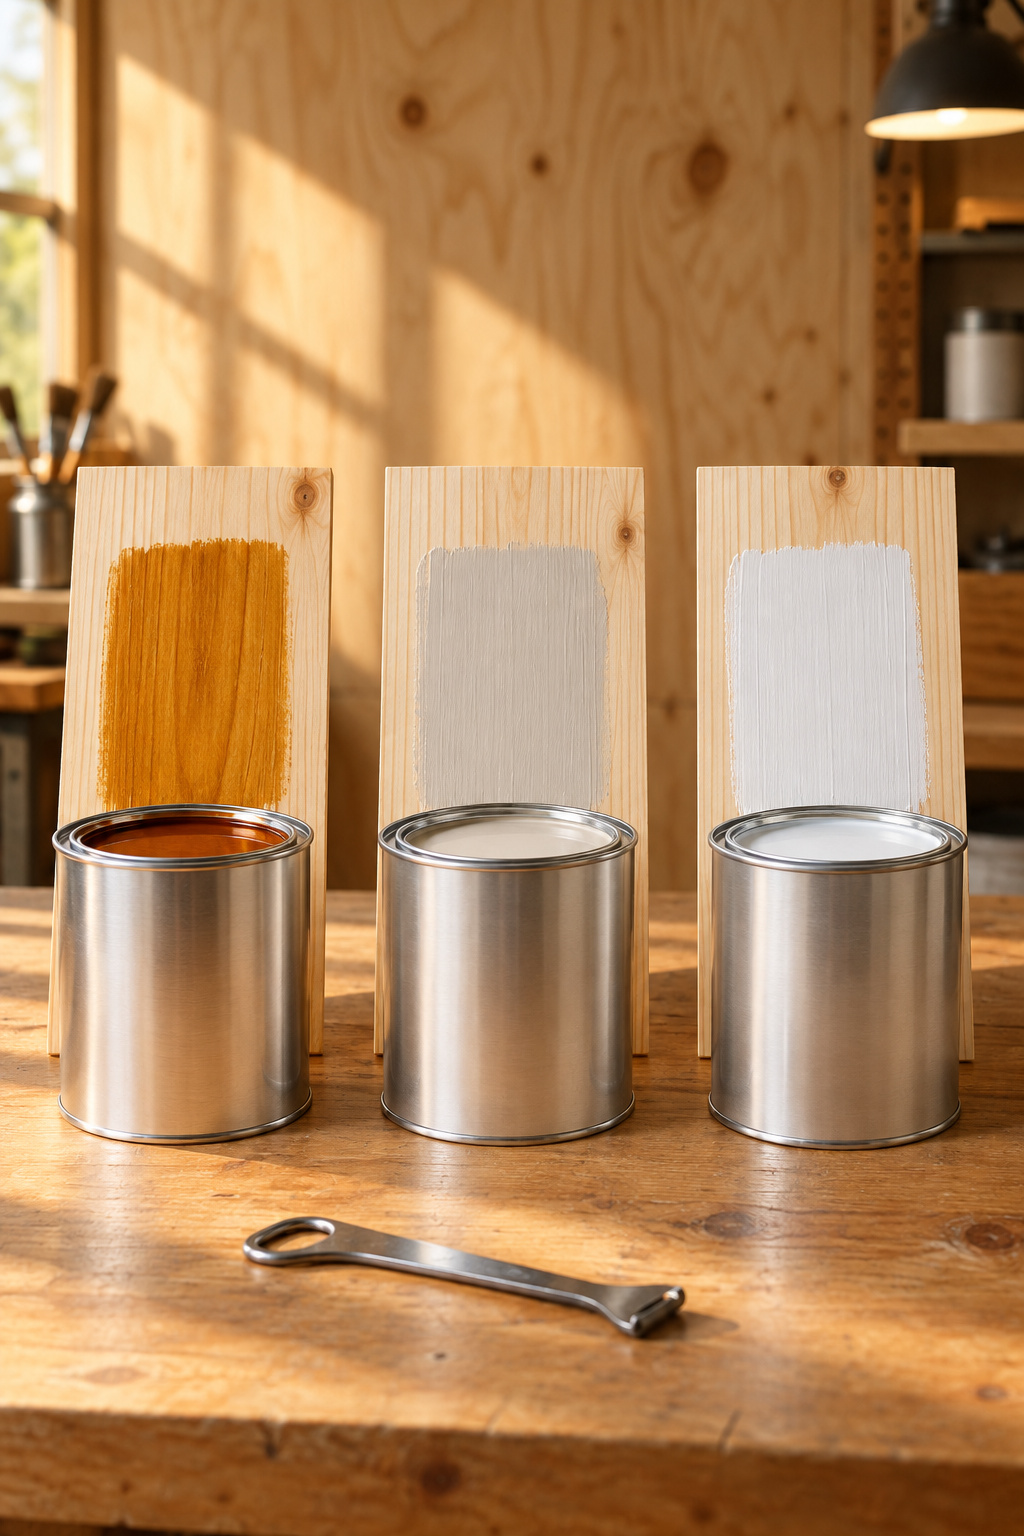
| Primer type | Example | Oak tannin | Touch dry / recoat | Cleanup |
|---|---|---|---|---|
| Shellac-based | Zinsser B-I-N | Seals tannin bleed; the trade’s first choice on oak | 15 min / 30 min | Denatured alcohol or ammonia and water |
| Oil-based (alkyd) | Zinsser Cover Stain | Sold as a tannin blocker for cedar and redwood; painters rate it well on oak, behind shellac | About 30 min / 1 to 2 hours, depending on market | Mineral spirits |
| Water-based blocker | Zinsser B-I-N Aqua | Lists tannin among its stains; the trade calls water-based blockers less reliable on oak | 25 min / 45 min, 2 hours over stains | Soap and warm water |
Water-based primer comes last for the same reason oak bleeds at all: it keeps the wood damp long enough to pull tannin out, and shellac and oil don’t dissolve it. The maker of B-I-N Aqua does list tannin on its data sheet, but no independent test of a water-based blocker on oak exists, and I wouldn’t bet a kitchen on one.
Check the Cover Stain recoat time on your own can, since the published figure is an hour in some markets and two in others. Both makers say their solvent primers grip a glossy old finish without sanding. I still scuff a varnished door lightly, and keep it light, because sanding through to bare oak gives tannin a fresh place to start. Self-priming paint goes nowhere near bare oak; you’ll see brown in the grain.
Buy a quart, not a gallon. A quart of shellac primer does one door and the touch-ups, and if the door says you need a different system, you haven’t paid for one.
Paint one test door first and let it show you the bleed
Choose a full-size door you walk past every day, so you’ll actually look at it. A drawer back is enough to test filler on, but too small to judge a kitchen by. You don’t need new tools: most beginners buy too many, and a drill, a level and a good tape measure get the doors off and back on straight.
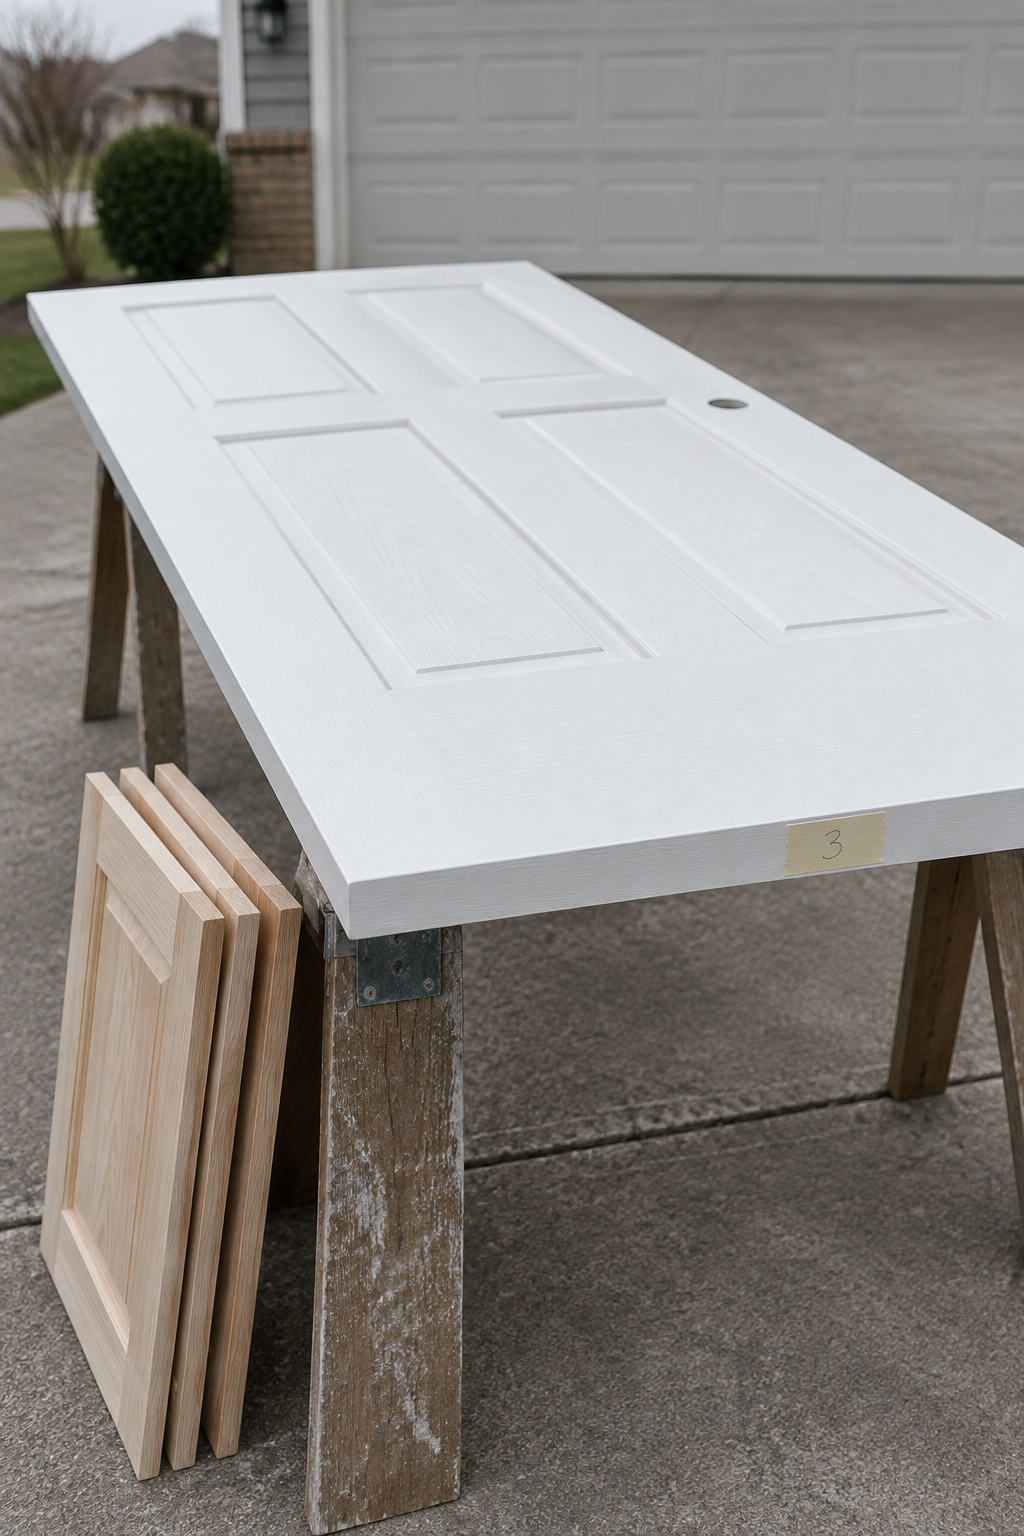
- Take the door off and number it and its opening, even if every door looks the same.
- Wash it, let it dry, and scuff the face lightly without cutting through to bare wood.
- Prime the whole door, front, back and edges. If there are knots, hit them first with shellac.
- Put on two coats of white. A sample pot is fine; the final white can wait.
- Stand the door where daylight reaches it and look at it every day for a week, then keep looking.
My own watch runs well into a second week, because a week is only where most bleed has shown up, and a test door costs nothing to leave leaning against the wall.
Bleed arrives quietly, as faint tan or yellow spots, often along the grain lines or around knots, nail holes and end grain. The instinct is to roll on more white. Don’t. Paint alone won’t stop it, and the spots come back through every coat you add. Sand the patch lightly, spot-prime it with shellac, and repaint. If the whole face has gone blotchy, one coat of shellac over the existing paint is quicker than chasing spots. Tannin is easy to mistake for yellowing, and there are other reasons white cabinets yellow worth ruling out. Tannin follows the grain and returns through a fresh coat, while a yellowed film doesn’t.
Judge the grain on the finished door before you buy filler
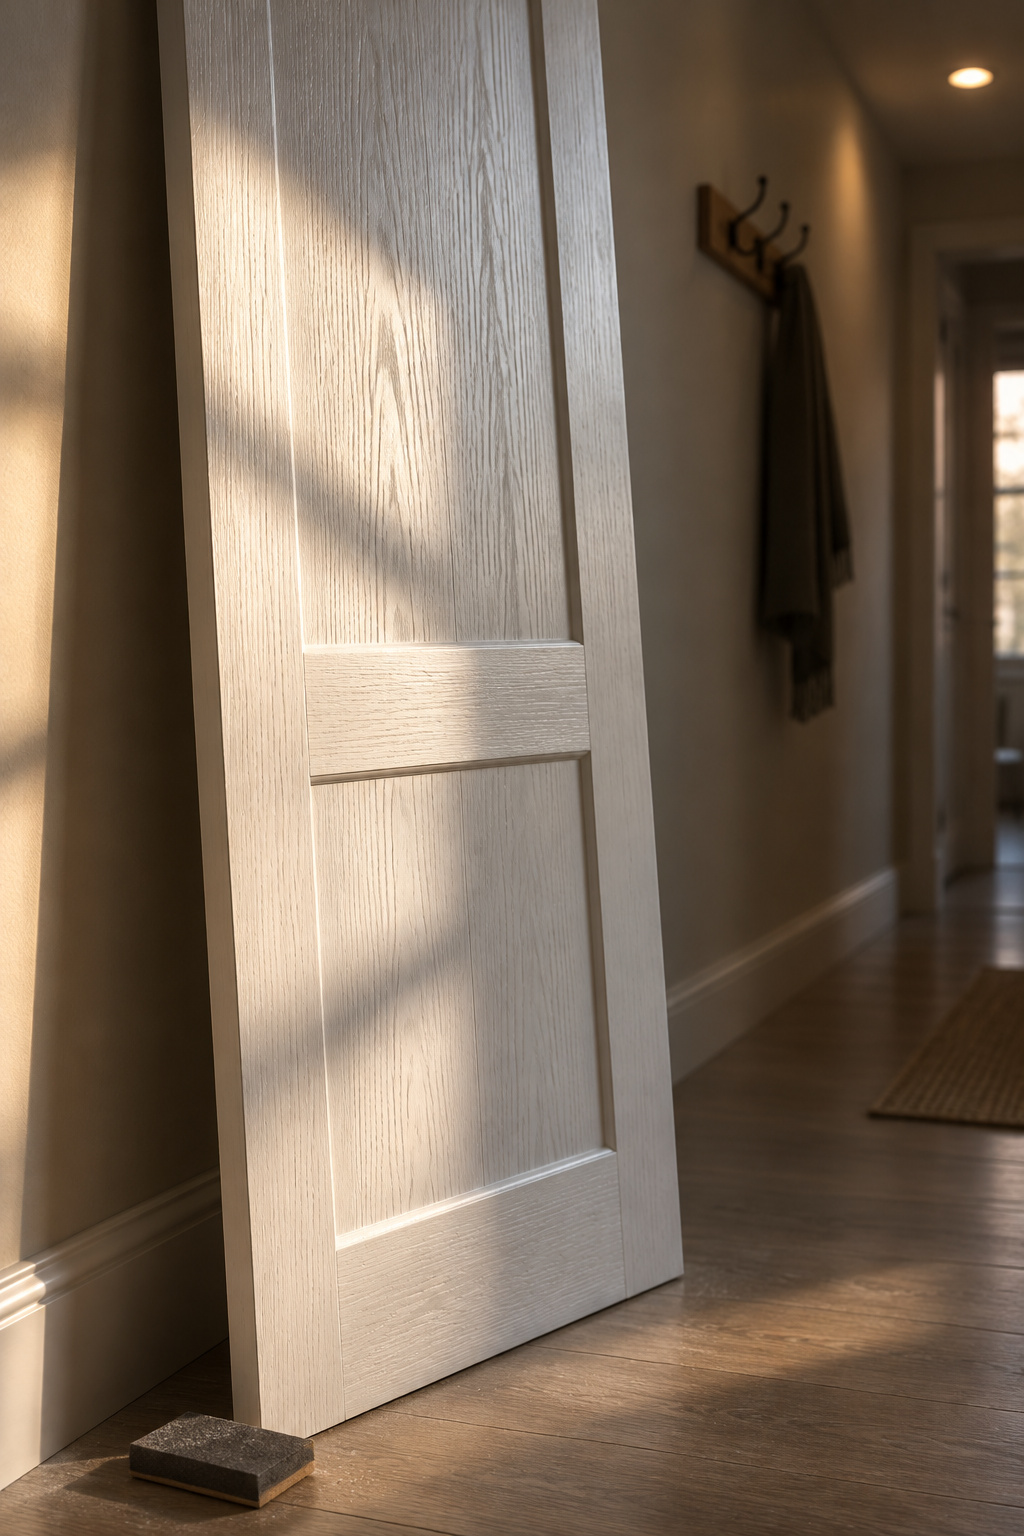
Once the door has stayed clean, it can answer the second question. Look at it at arm’s length in your kitchen light. Then hold a flashlight flat against the face and rake the beam across it. That second look is the worst case, and you should see it before you commit to filler.
If the grain bothers you
Filler goes on before the primer. Aqua Coat, which makes a white cabinet grain filler, has you work the gel into the pores, scrape it off, give it two or three coats, then let it dry overnight and sand before any primer goes on. Its own directions also say to try every step on a sample board or the back of a drawer first. Even done well, filling makes the pores recede. They don’t vanish, so expect a smoother door, not glass.
If you can live with it
A retired teacher in my Saturday beginners’ class at the community workshop built a bookcase that came out a quarter inch out of square. I told her to keep it. She uses it every day. Functional beats perfect, and a door with a little grain showing still works. Filling the pores is optional and purely a matter of looks. Some people building oak doors want the pores to show.
If the texture is all you see on that test door, fill. If you looked twice and stopped noticing it, leave it.
Repeat what the test door proved on every other door
Whatever passed on the test door is now the recipe: the same primer, the same prep, the same number of coats, in the same order you tested. Don’t switch to a cheaper primer halfway down the run because the first door looked fine. It looked fine because of that primer.
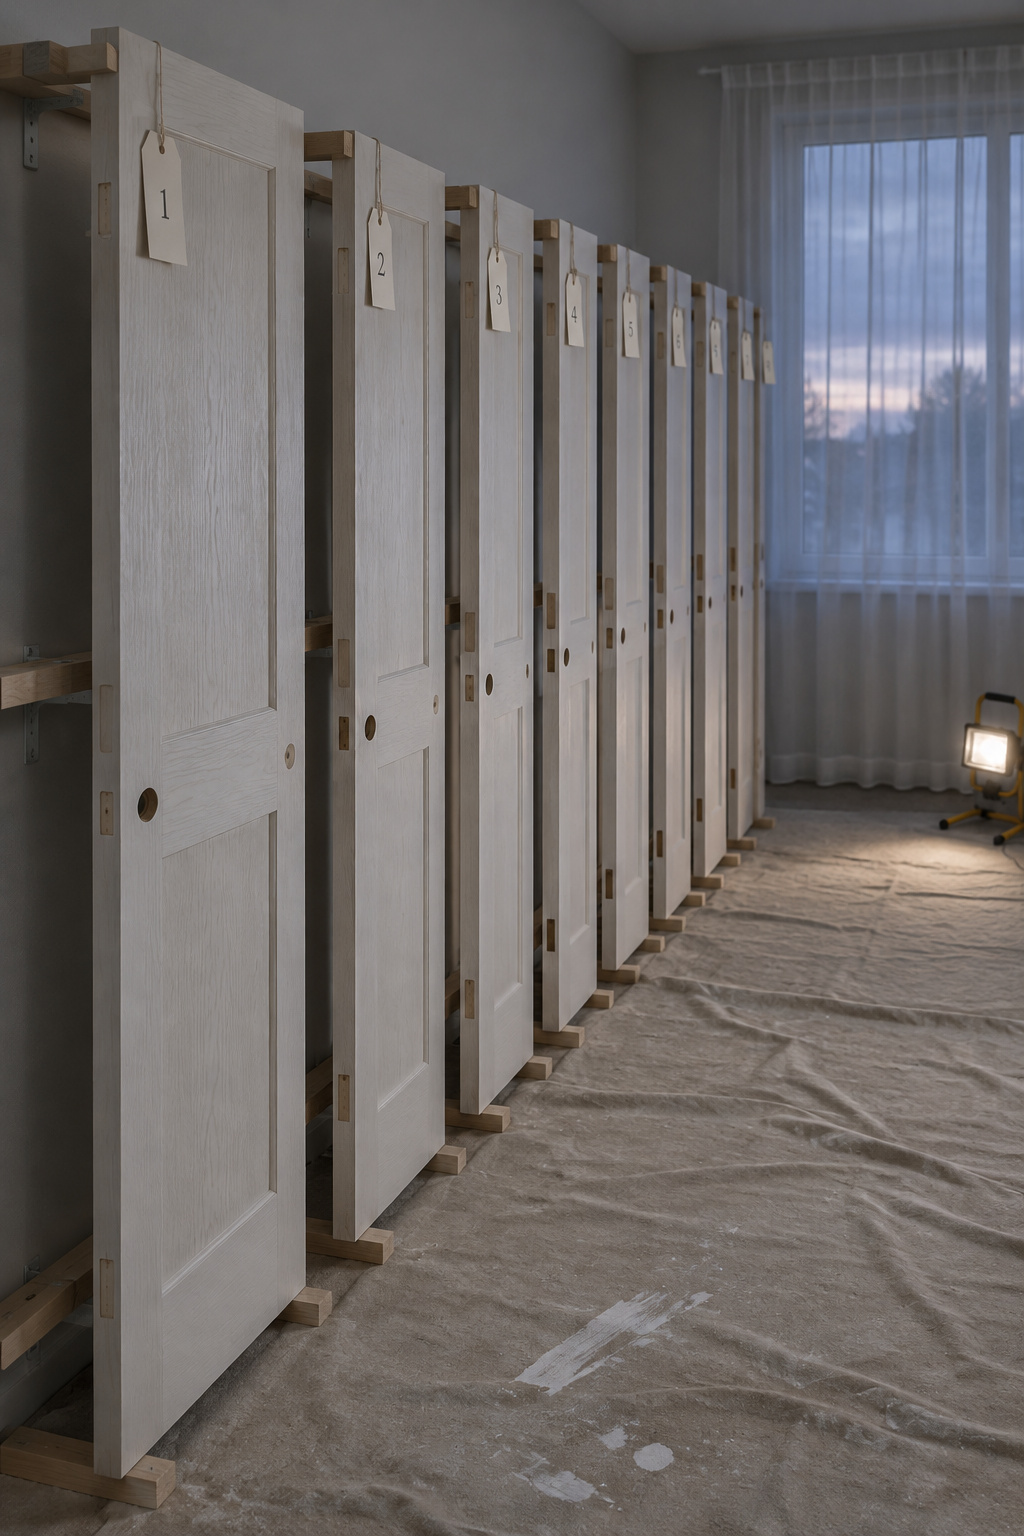
This is also when the white gets chosen, because it goes on after the primer has done its job. Spend some time picking the white for your painted oak now that you know the base underneath.
Count what the single door saved you. If it bled, you re-primed one door instead of every door in the kitchen. If the grain bothered you, you bought filler knowing you’d use it. If it didn’t, you skipped a product and a stage of work on every door.
Let the paint cure before the doors go back on the hinges
Dry to the touch and cured are different states, and the gap between them is where finished doors get ruined. Sherwin-Williams asks for at least 24 hours before reattaching doors and hardware, longer if you can. Benjamin Moore’s Advance data sheet warns against heavy wear for five to seven days. Rehang too soon and the hinges dent the edges, the bumpers leave marks, and a door closed tight against a fresh frame can stick to it. Leave the doors slightly ajar for the first stretch, and let the paint cure before the doors go back into hard use.
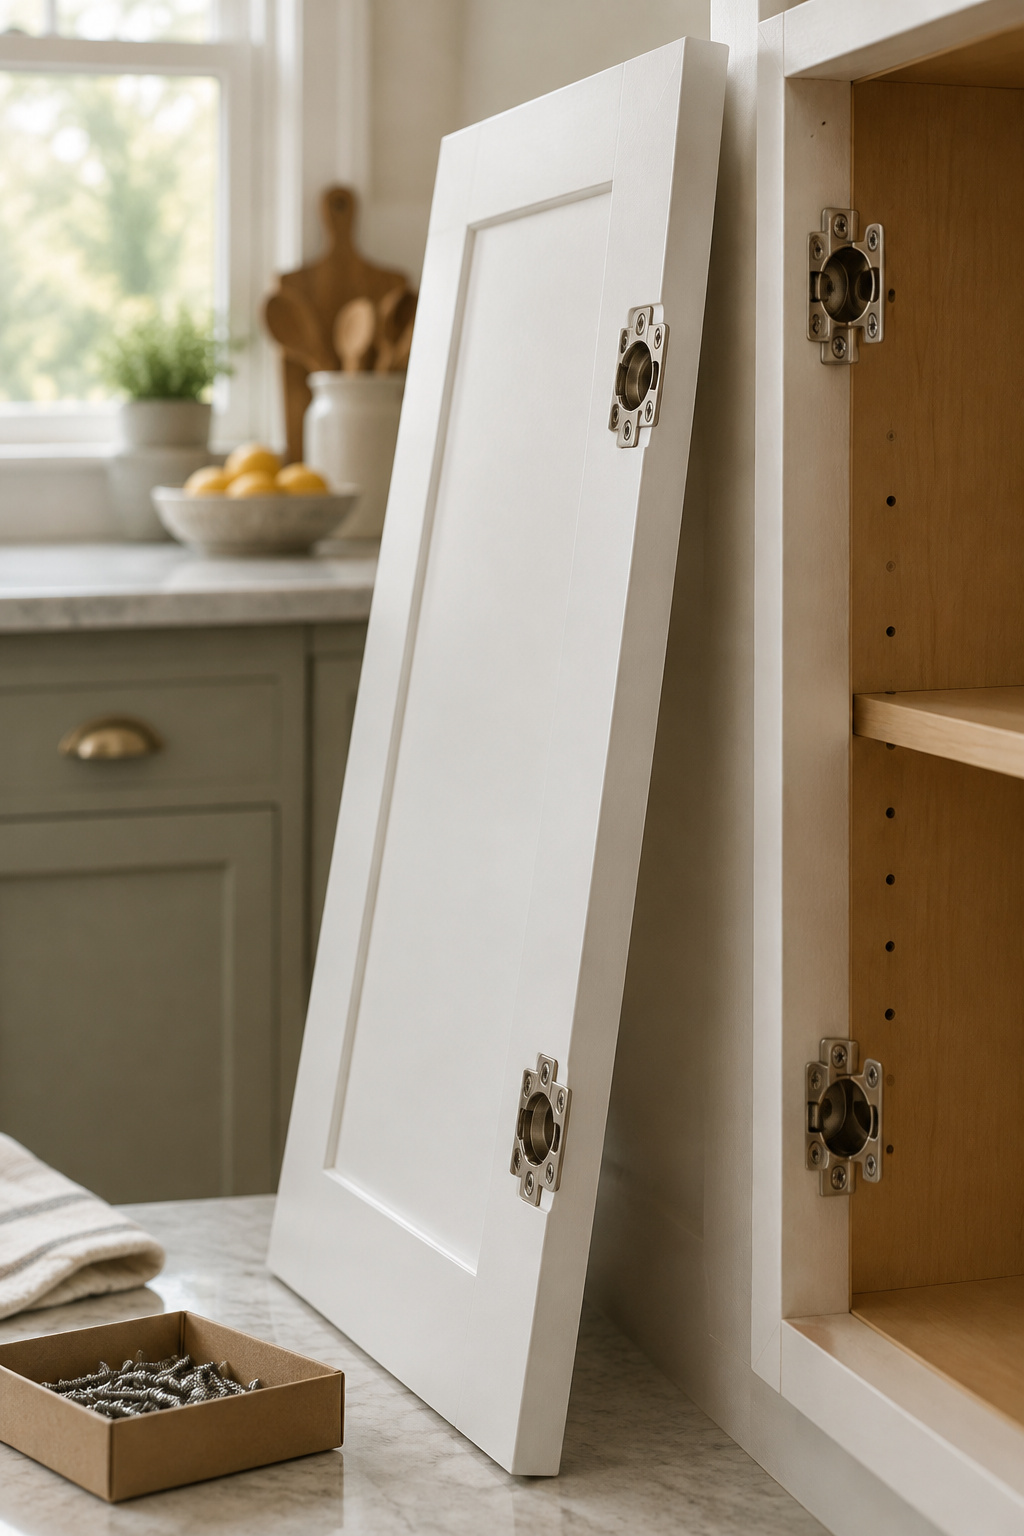
While they cure, settle the last call: choosing sheen and finish for white cabinets.
The cheapest version of all this is also the one you can undo: one door, a quart of shellac primer and a sample pot of white. If the grain bugs you after a month of living with it, filler can still go on later over scuffed, cured paint. Take one door off and number it.
FAQ
Can you whitewash or pickle oak cabinets instead of painting them solid white?
Yes, if you want the oak to stay visible. Pickling is a white stain that soaks into the open pores, so the grain shows as fine white lines. Whitewash is thinned white paint, often one part paint to one part water, that stays semi-opaque. Pickling needs bare wood, so sealed or factory-finished doors must be sanded back first.
How do you fix a patch of brown showing through white paint on oak?
Sand the patch lightly, spot-prime it with a shellac-based primer, and repaint. More white paint on its own won’t stop it, because the tannin keeps coming through each coat. If the brown has spread across most of the door, a full coat of shellac over the existing paint is faster than treating spots one by one.
Does the age or finish on the oak change how much it bleeds?
Somewhat. An old clear coat on golden oak slows bleed down but doesn’t stop it, and anywhere you sand through to bare wood can still bleed. Sound existing paint is usually not a problem. Previously painted oak may need no grain filler, since the old paint has already buried the grain, but use shellac primer if tannin shows.