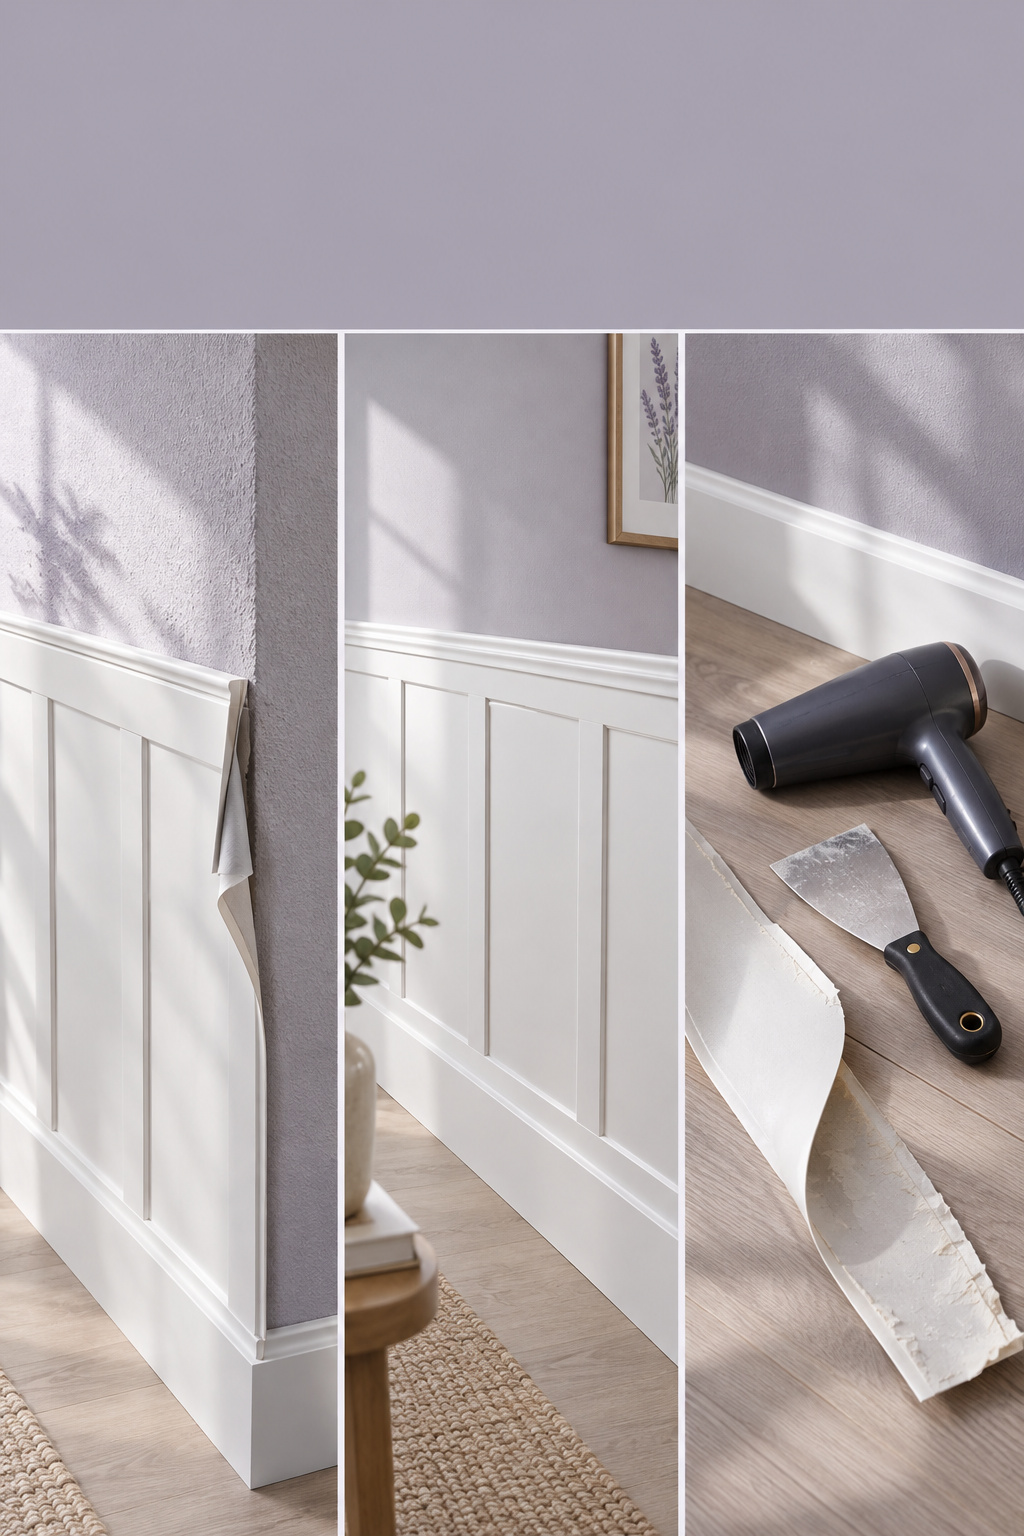
Thirty days. That’s how long two wood plank makers want your wall paint to cure before their peel and stick wainscoting goes on, and you won’t find it in the product photos. The photos skip the wall underneath, the wait, and the day the planks come back off.
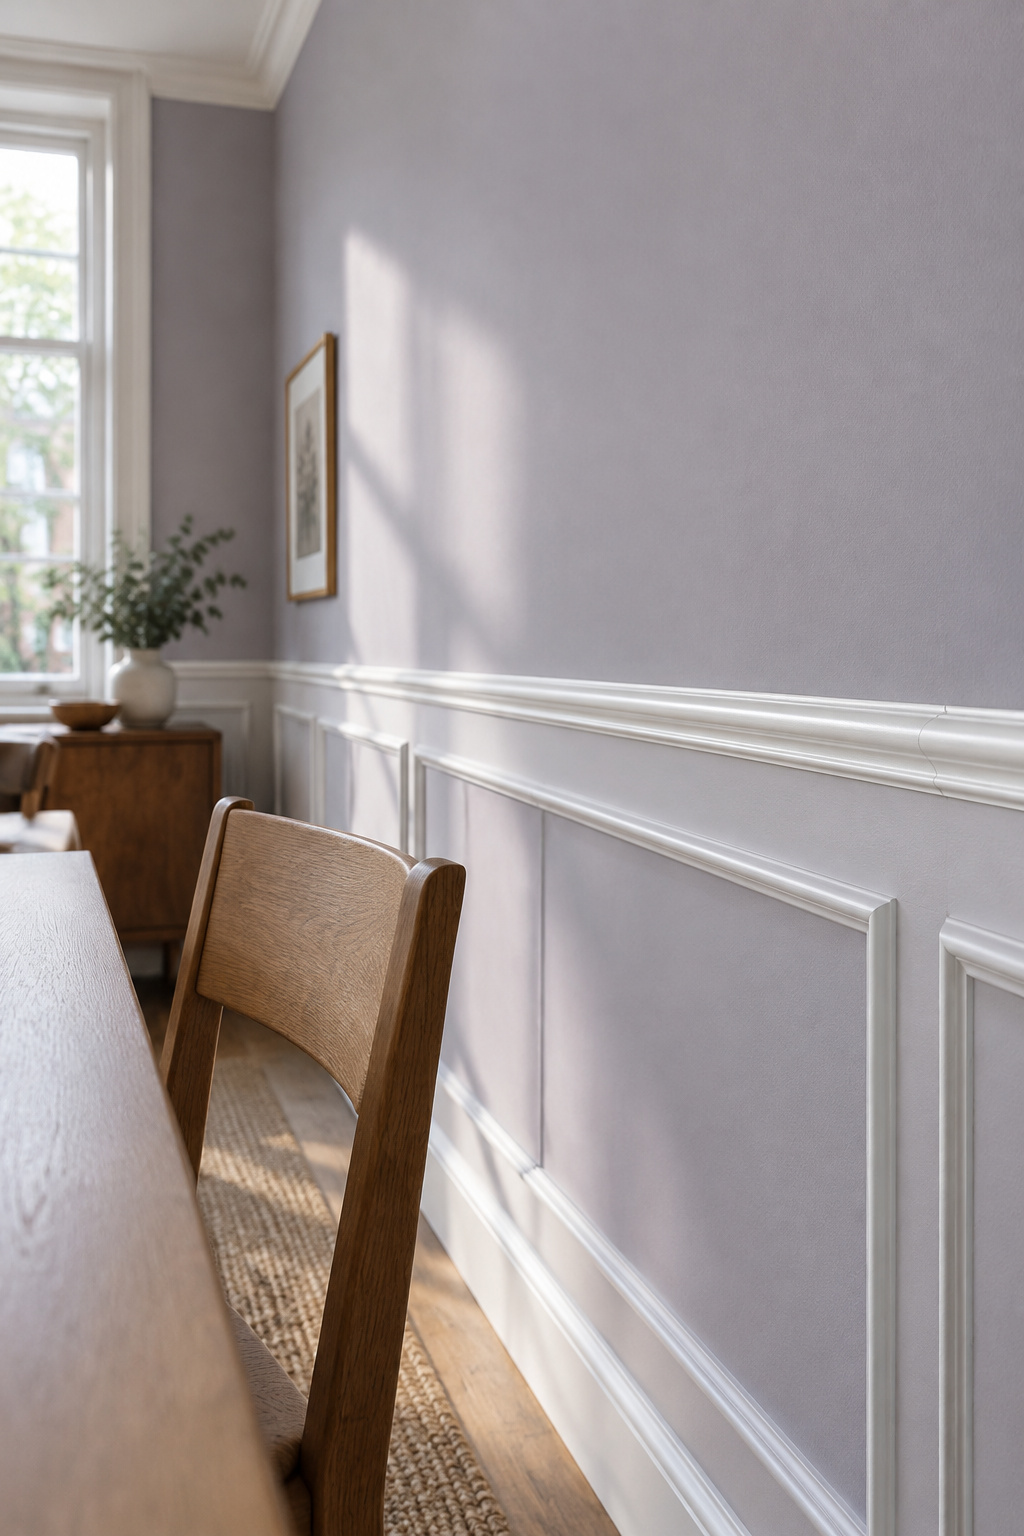
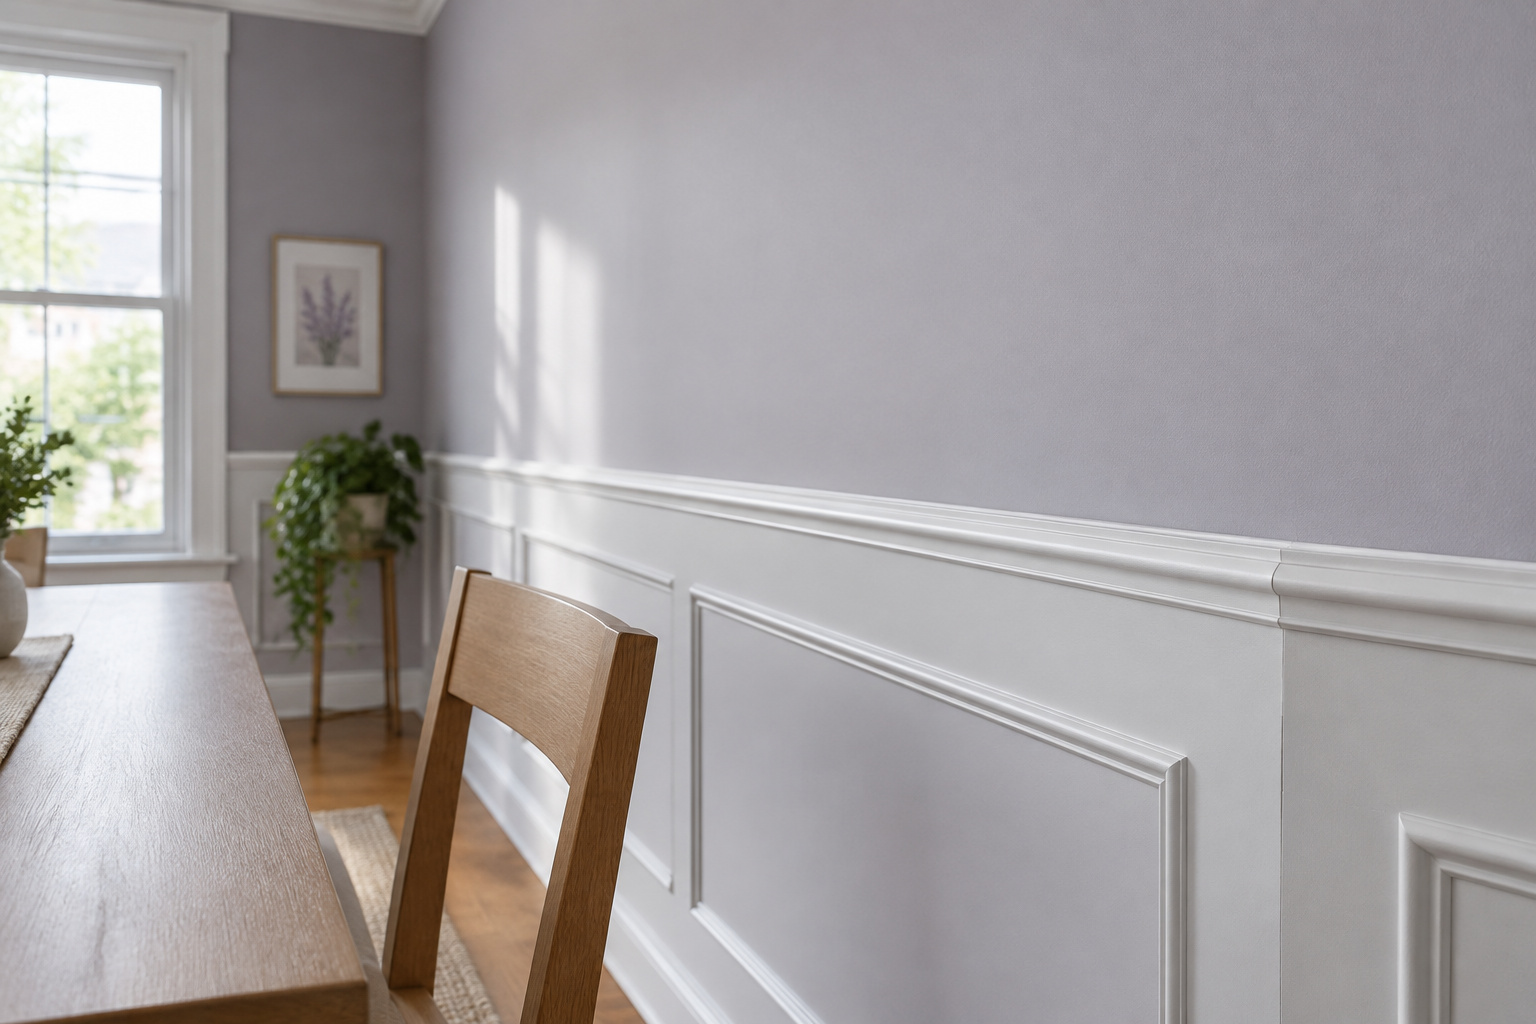
The common belief goes like this: it sticks, it peels off clean when you move out, and the lease never notices. Every part of that depends on your wall more than on the box: its paint, sheen, age and texture decide whether the bond holds and whether it lets go cleanly.
Here’s the cost first. Budget adhesive wood planks run $3 to $8 a square foot, which puts one 12 by 8 ft wall at $288 to $768. On fresh paint, add a month of cure and two weeks of test patch: about six weeks before the first panel.
TL;DR
- Peel and stick wainscoting is four products (wood plank kits, self-adhesive molding, printed wallpaper and strip-hung trim), and plank makers Plank and Mill and Vinta Wood sell their tape as permanent and Timberchic says removal will damage your wall.
- Your wall decides the bond: makers want clean, smooth, cured paint, with waits from 48 hours to 30 days by product, and adhesive lets go first on textured or flat-painted walls.
- Before buying a kit, stick one sample on a hidden stretch of the same paint for a couple of weeks, then pull it the way you’d remove it.
Peel and Stick Wainscoting Is Four Different Products, Not One
Four products share the name, and wood plank kits are the expensive end. Stikwood’s reclaimed plank is listed at $15.50 a square foot, so 10 sq ft costs $155, while budget planks put the same 10 sq ft at $30 to $80. Price the one you’d actually buy, and set it beside what permanent dining room wainscoting costs before you count the savings.
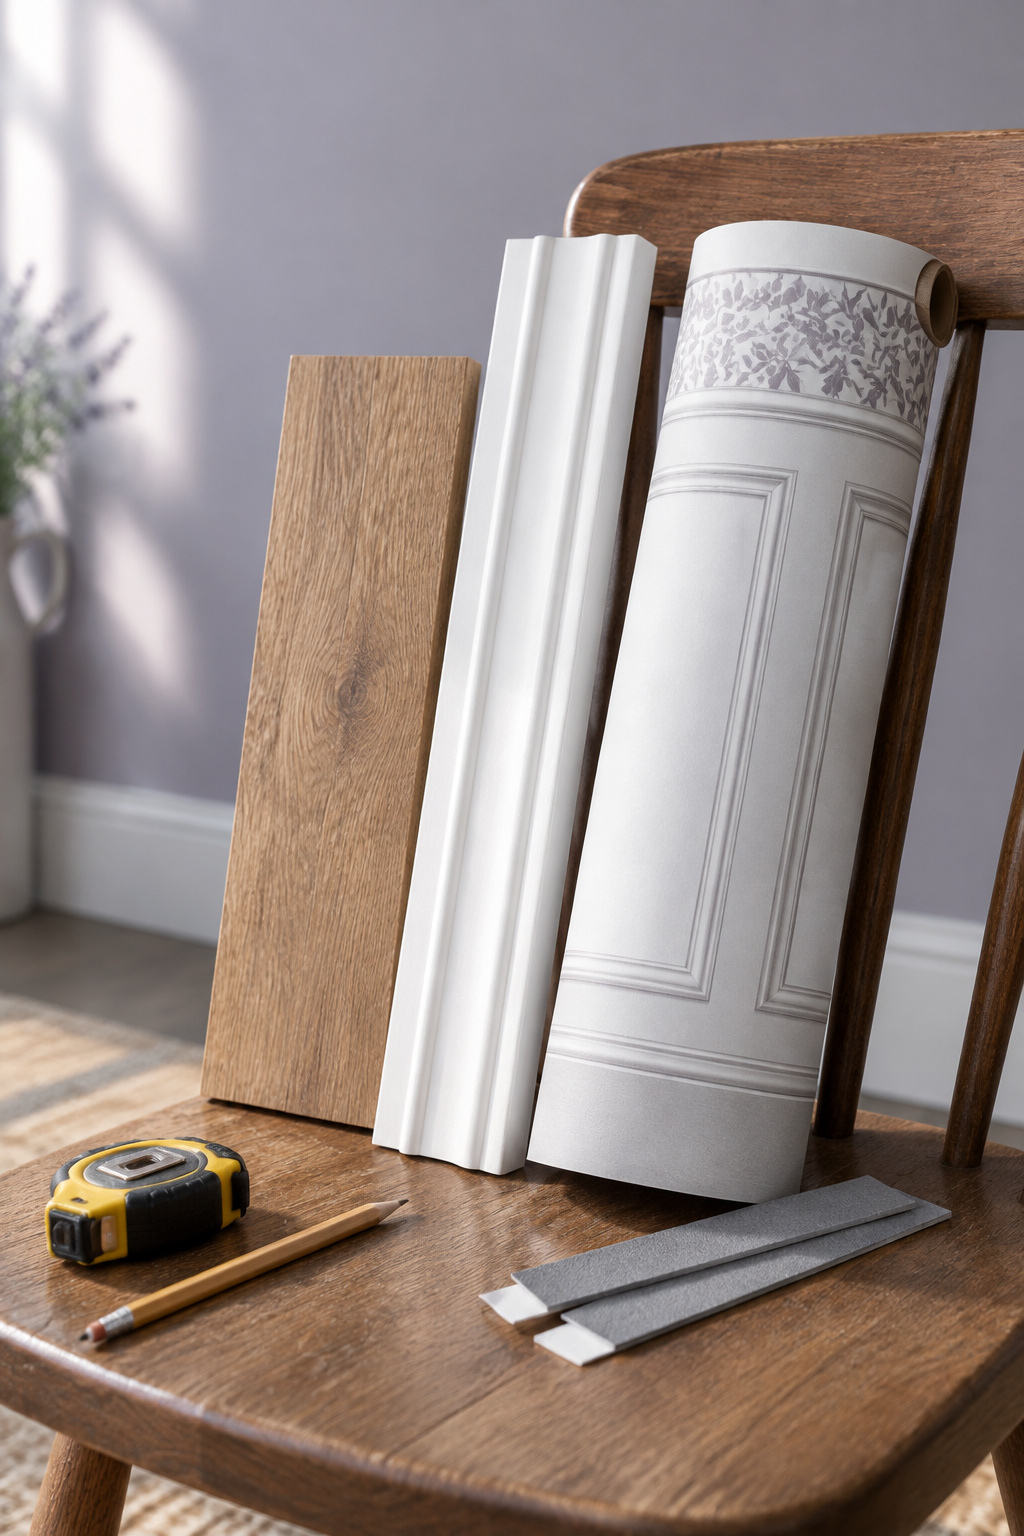
Strip-hung trim is the one to be wary of. 3M rates Command strips for frames and flat items, and four pairs of its Large strips hold 15 lb. No maker publishes what a run of trim or a square foot of plank weighs, so no strip rating can promise to cover your wall.
How the four compare in a rental:
| Option | What it is | What the wall must be | Paint cure before install | How it comes off |
|---|---|---|---|---|
| Wood plank kit | Real wood, 3/16 in (Stikwood), permanent tape | Clean, dry, painted or primed; smooth or light orange-peel texture; not raw drywall or damp rooms | 4–5 days (Stikwood) to 30 days (Vinta Wood, Plank and Mill) | Heat and a putty knife; makers expect wall repair |
| Self-adhesive molding | Pre-primed polystyrene trim, tape backing | Clean, flat, cured | 48–72 hours (one system’s sheet) | Makers don’t say; one DIYer reports it pulled drywall |
| Printed wallpaper | Removable vinyl print of paneling | Smooth, painted satin or semi-gloss (Tempaper); not matte, flat or textured | Follow the roll’s instructions | Slow peel from a corner; can lift paint early or after years |
| Strip-hung trim | Light trim on removable strips | Smooth, clean, not heavily textured | At least 7 days (Command) | Each strip stretched straight down; one use only |
Where the Adhesive Gives Out: What Your Wall Surface Does to the Bond
The tape grabs the paint first, so whatever is true of the paint is true of the bond.
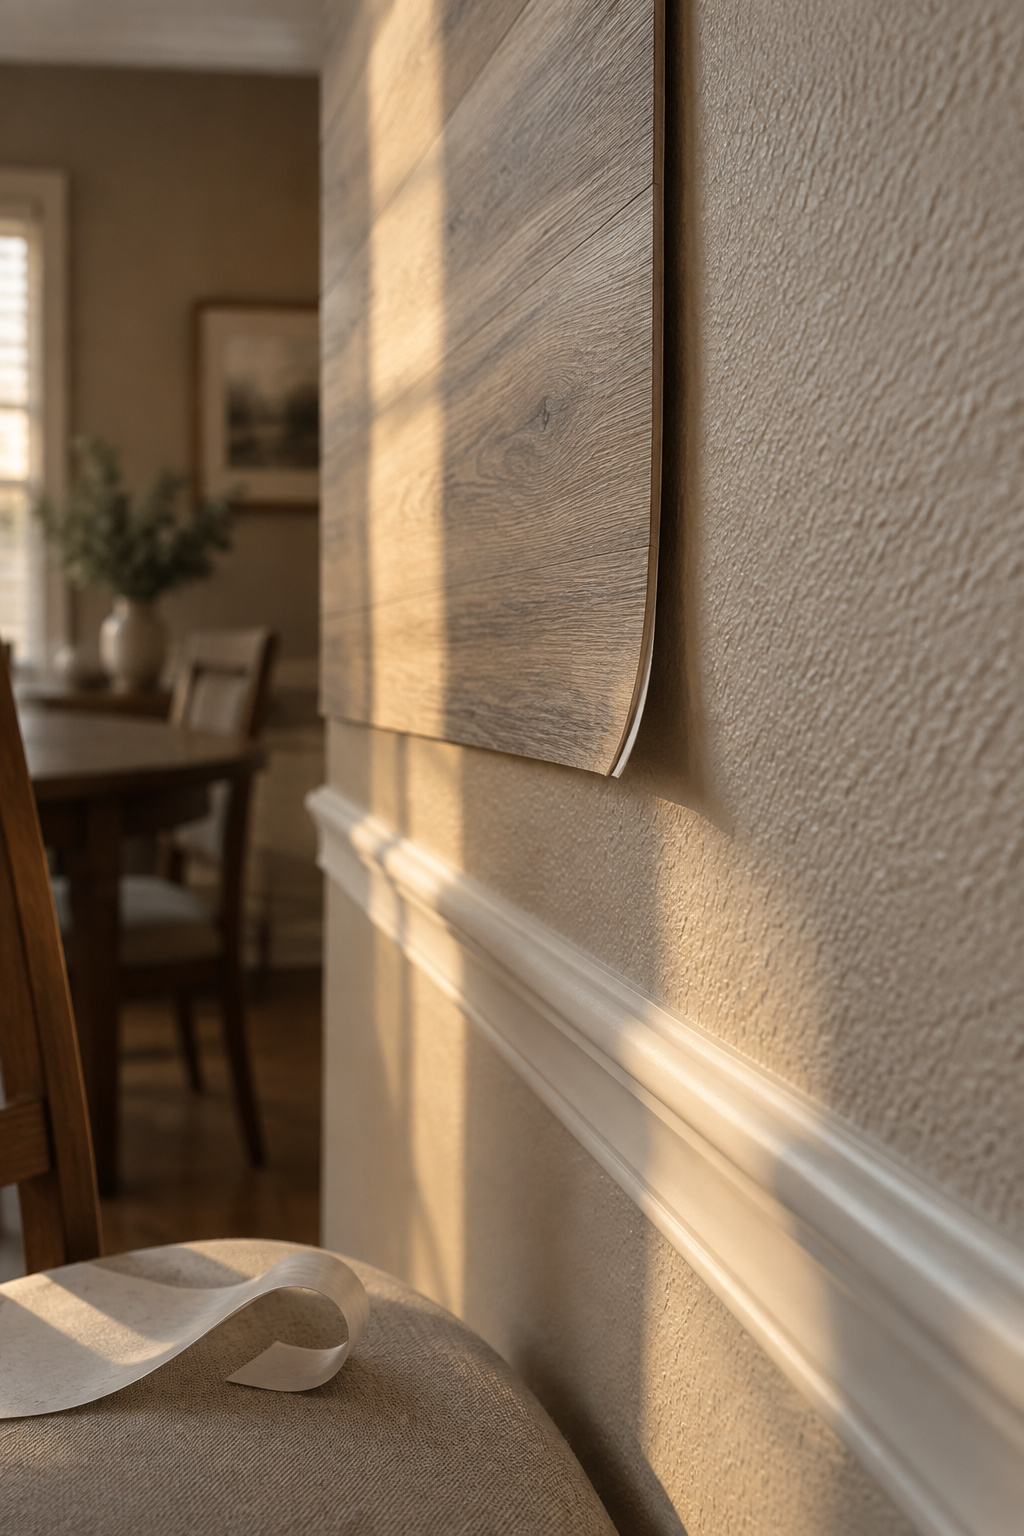
Fresh paint, satin sheen and the cure window
FrogTape puts the first trap in one line: “cured does not mean the same thing as dry.” Makers’ waits run from 48 hours for one molding system to 30 days for two plank brands, and 3M’s own testing found no single adhesive that works best on every paint. Follow your product’s sheet, and under wood planks wait the full 30 days. I once skipped a primer coat to save a day and repainted the whole wall two weeks later, so I don’t argue with a cure window.
Tempaper wants satin or semi-gloss and warns off matte and flat, so a flat-painted wall rules its wallpaper out before you’ve spent a dollar.
Textured walls and the dining room’s own wear
Start with the surface itself. Run a flat hand across yours in low side light before you trust it. Light orange peel is fine under Stikwood planks, raised plaster patterns are not, and Command doesn’t recommend its strips on heavily textured walls because the adhesive can’t make full contact.
A wall backing onto a kitchen needs degreasing first, and real wood moves with humidity until edges lift. Then there are the chair backs. A chair that knocks a plank edge every dinner is prying at that tape a little each night, so I’d keep any no-nail panel clear of where your chairs land.
The edge is where it starts. A corner lifts a hair, dust gets under it, and it won’t press back down because tape won’t grab a dusty surface. One molding kit maker suggests a little silicone or construction adhesive “for extra hold,” which fixes the corner and means you’ve now glued trim to a rented wall.
How It Comes Off, and What It Takes With It
Plank makers are blunter than their ads. Timberchic says it straight: “Removing Timberchic planks will damage your wall.” The removal method in plank guides is the same: warm each plank with a hair dryer or heat gun, slide a putty knife behind it, peel slowly so it doesn’t snap, then skim, prime and repaint. Pulled off cold, permanent tape takes paint and the paper face of the drywall with it.
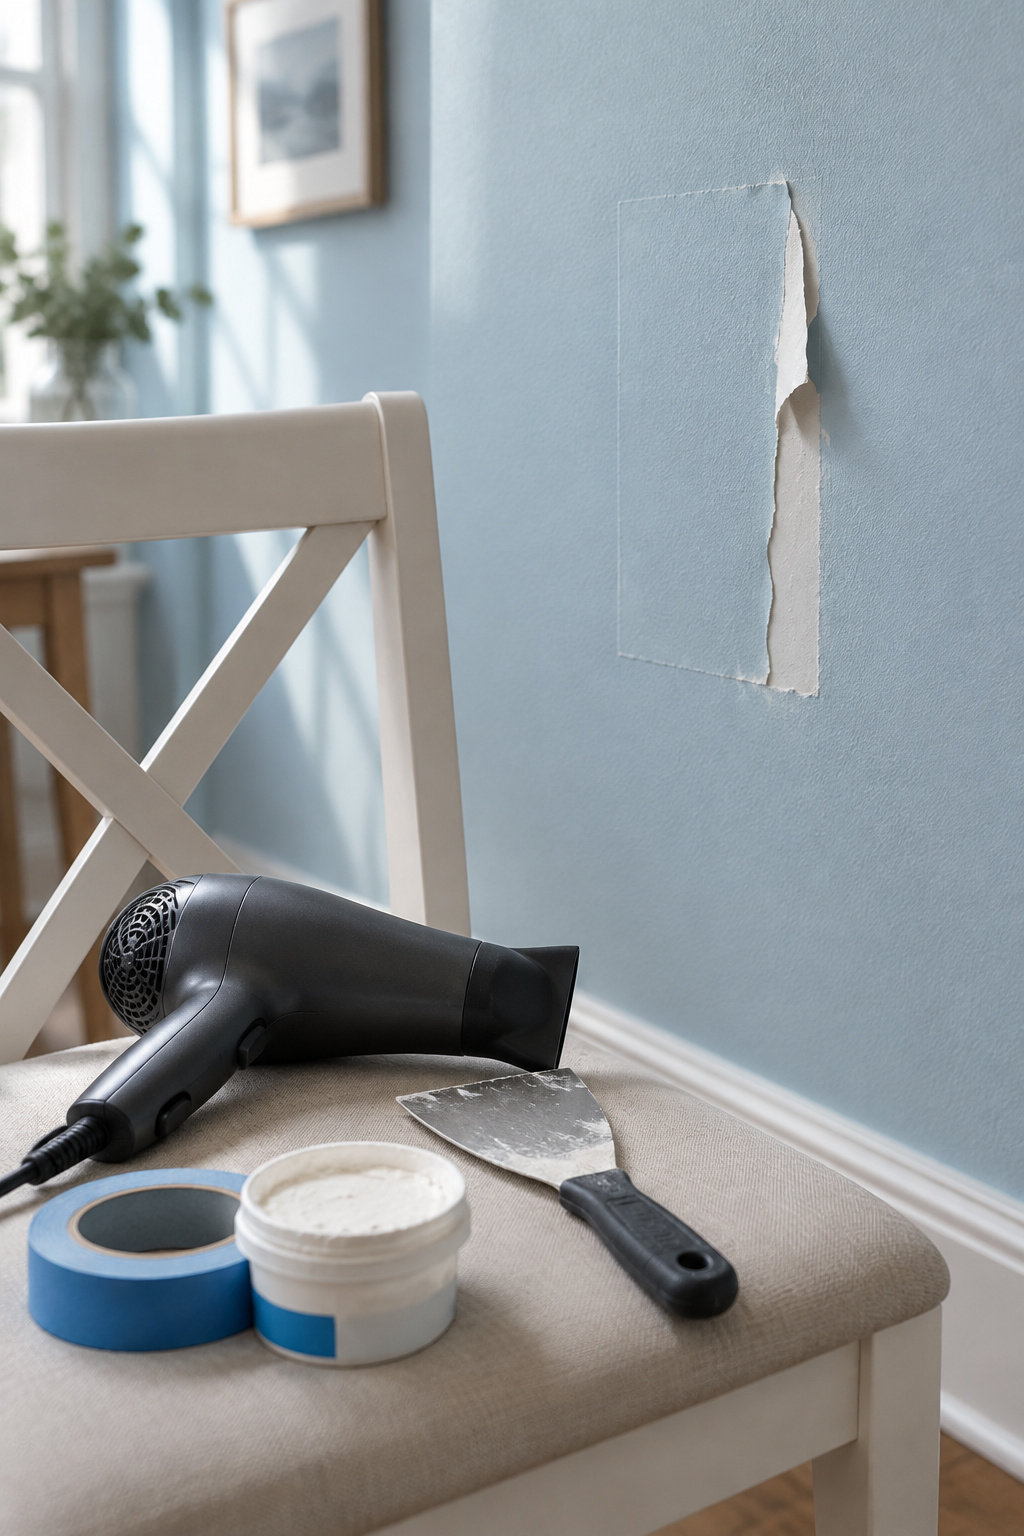
Paint that lifts and paper that tears
Removable wallpaper does better, with a catch about timing. One tester (Wildfire Interiors) hung twelve brands on smooth walls and pulled them at one week: about half took paint. At three months, 11 of the 12 came off clean, but a sample left up for three years took paint and left residue. One tester, one wall. If you’ve ever heard the small dry tear of a strip coming off painted drywall, you know which result you got before you look.
Strips are the most predictable: stretch each one slowly straight down at least 12 in, never toward you. Self-adhesive molding is the unknown; its makers publish nothing on removal, and the one firsthand report says it pulled drywall.
Repair is where the deposit math lives, and two cost guides land far apart. The low figure is per small hole; the high one is a pro’s visit to patch, before paint matching.
| Repair | Cost | Priced by |
|---|---|---|
| DIY filler set: spackle, sanding sponge, quart of paint | $25–$50 | Angi material prices |
| Small hole or tear, hired out | $20–$120 | Angi and HomeAdvisor |
| Professional small-hole patch | $300–$500, plus $125 or more to match paint | HomeGuide |
| Repainting a room | $990–$1,320 average | HomeAdvisor |
What a Lease Allows, and When Brad Holes and Filler Are the Honest Answer
Read the lease before the product page, looking for these clauses:
- alterations or additions
- permanent fixtures
- painting
- defacing or damaging walls
- deposit deductions
- returning the unit to its original condition
The Texas tenants’ handbook lists small nail holes as normal wear a landlord can’t keep deposit money for, and HUD guidelines treat nail and pin holes the same way. Nothing says whether adhesive residue or a torn paper face counts as an alteration or as damage, so get your landlord’s yes in writing first. State law varies, so check yours.
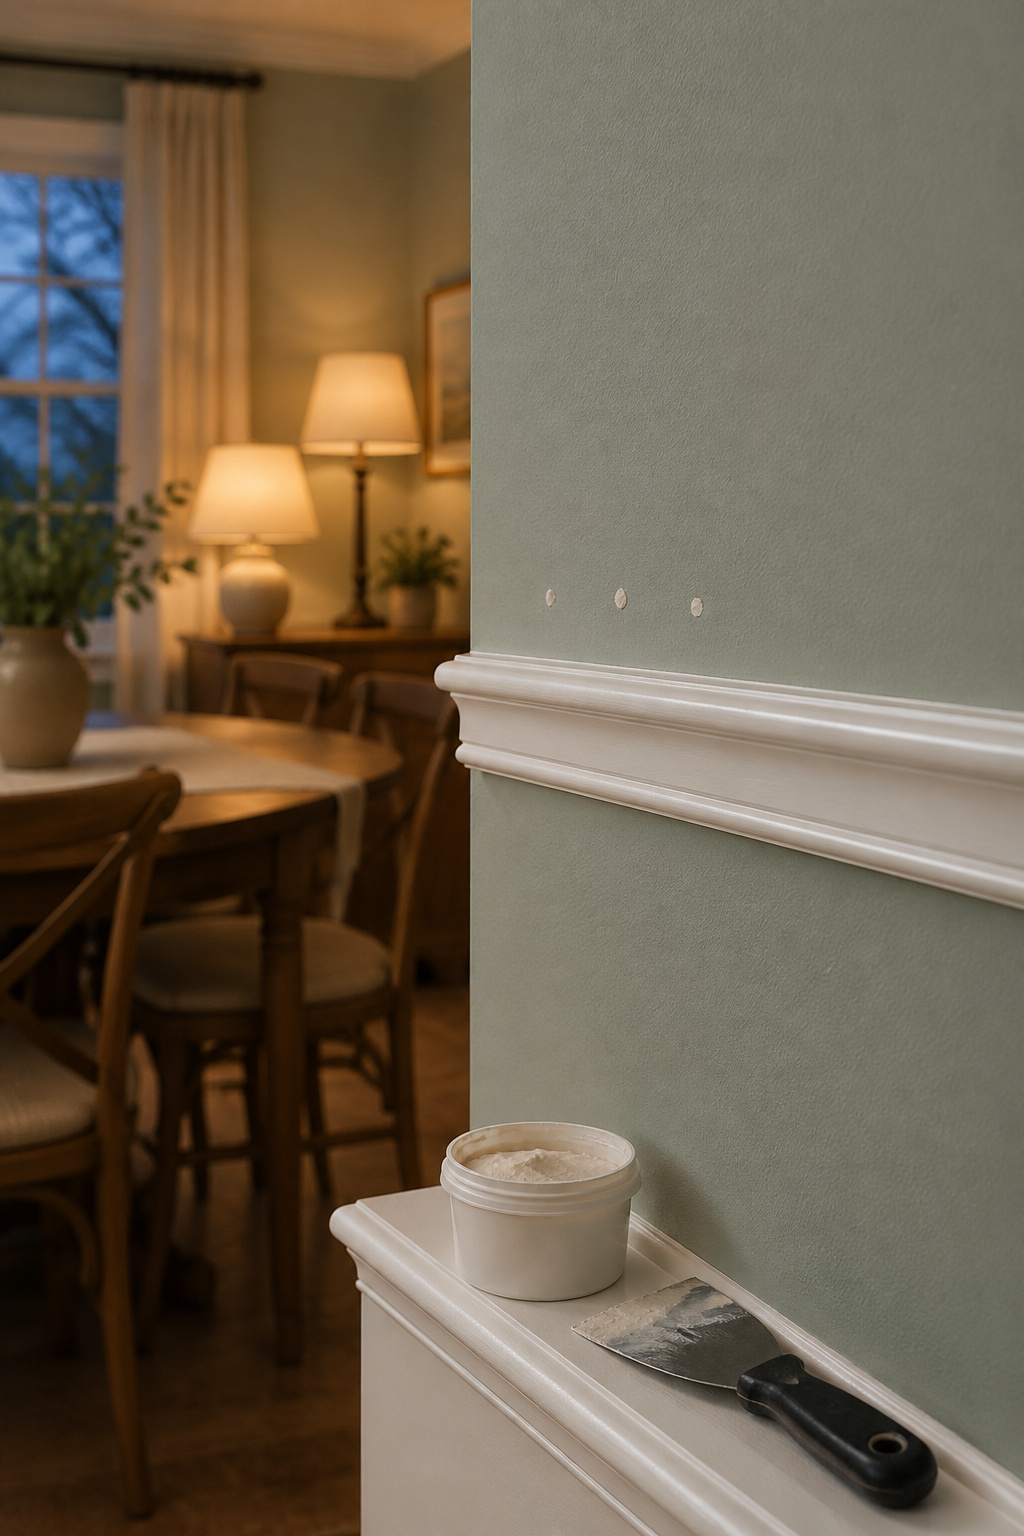
Brad holes and a tub of filler
A few brad holes sit inside what tenant guidance calls normal wear, and a nailed molding job is sturdier than anything on tape. If your lease allows small nail holes, start with laying out picture frame boxes on a dining room wall.
At move-out, pull the brads gently by hand and fill only the hole; master painter Albert Ridge’s rule is to “just cover up the hole, not the area around it or you’ll end up with a splotchy patch.” Sand lightly once dry and touch up with an artist’s brush. The kit runs $25 to $50, against $300 to $500 when a pro does the patch.
Test One Patch on Your Own Wall Before You Order a Kit
Most beginners buy too many tools; start with a drill, a level and a good tape measure, and for a patch test you can leave the drill in its case.
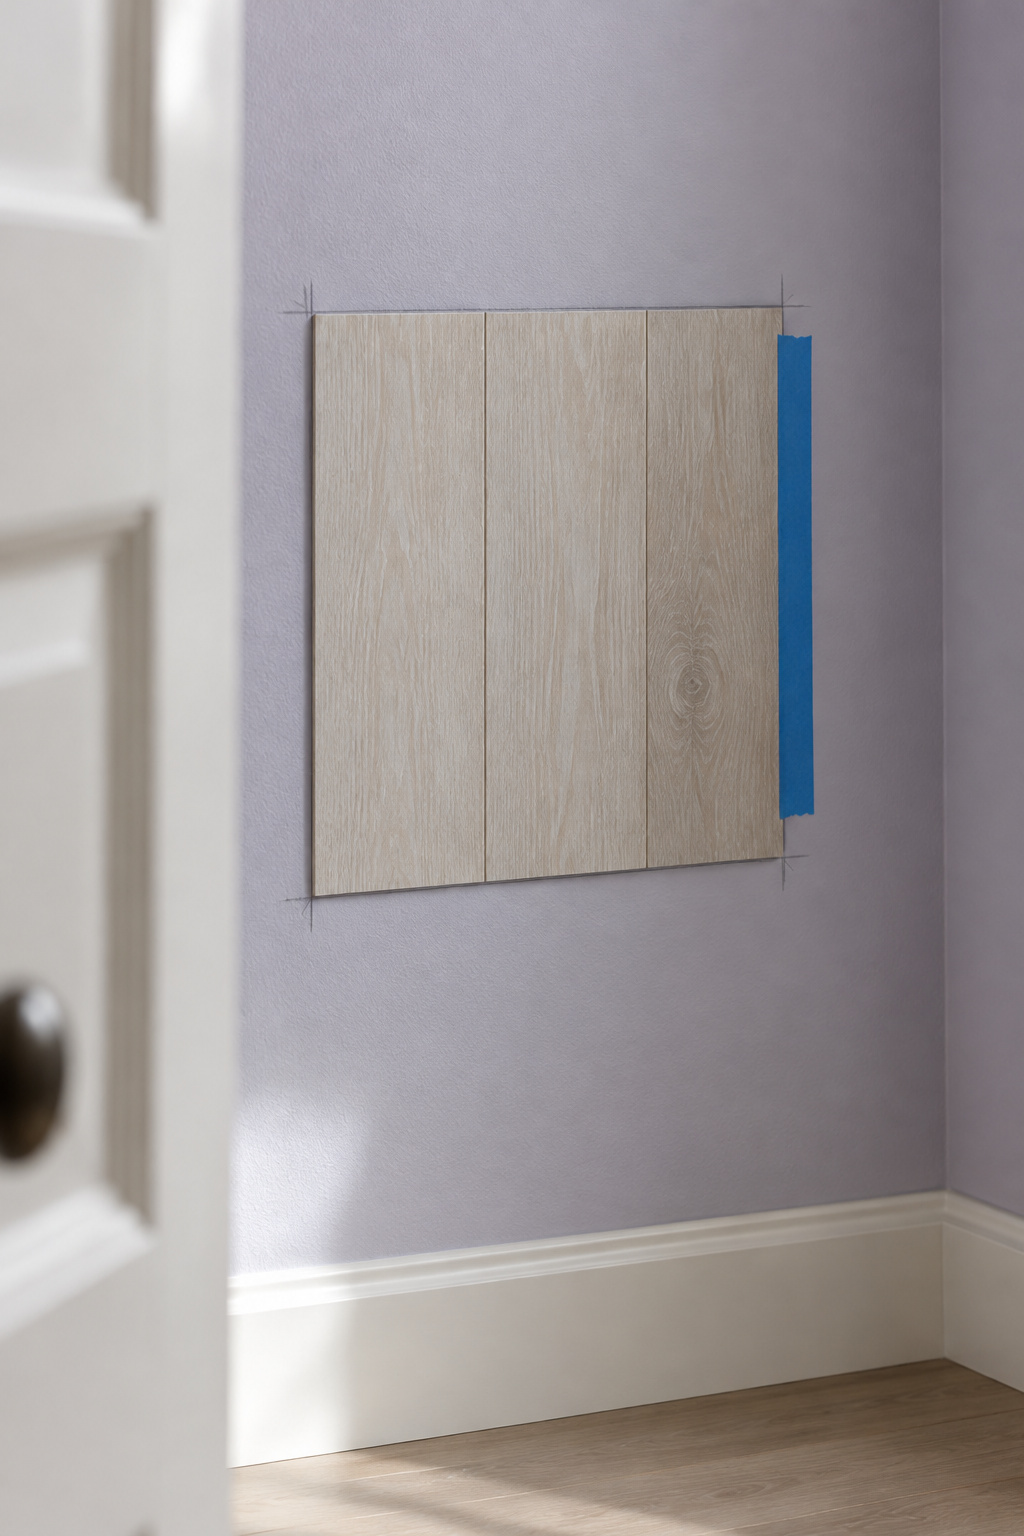
- Pick the least visible stretch of the wall you’ll cover, or a closet or the back of a door in the same paint.
- Check the paint’s age: at least 7 days on fresh paint, longer if your product’s sheet says so, and 30 days under wood planks.
- Clean the spot. For strips, wipe with rubbing alcohol, press for 30 seconds and wait an hour before hanging anything.
- Stick a maker’s sample there. Plank and Mill warns its tape is industrial strength.
- Leave it a couple of weeks. One week only shows you the early tack.
- Remove it as you would the real thing: heat and a putty knife, a slow corner peel, or straight down for a strip.
If it held and came off clean, buy the kit. If it held but took paint, drop to removable trim or a lighter product, or stop. If it lifted on its own, skip panels on that wall. The lowest-commitment fallback is one painted rail, and a chair rail on its own still breaks up a plain wall.
I haven’t tested every kit on the market, and my own walls, in a 1970s ranch outside Knoxville, tell you nothing about yours. In a rental, the one I’d hang is printed wallpaper on a smooth, cured satin wall after a patch has passed. The one I wouldn’t hang is a permanent-tape plank kit, because its own makers tell you removal damages the wall. Buy one sample and stick it behind a door.
FAQ
How long does peel and stick wainscoting last before it needs redoing?
Adhesive wood planks can hold 5 to 10 years on a well-prepped wall in a dry room, by one trade estimate. Mid-range peel-and-stick wallpaper lasts 3 to 5 years and top-tier 5 to 7 or more, though humid, poorly vented rooms can start lifting it at about three and a half years.
Can you reuse peel and stick wainscoting panels after taking them down?
Mostly no. Command strips are one use each, so rehanging trim means fresh strips. Permanent-tape planks can snap while you heat and pry them off, and their makers don’t promise reuse. Removable wallpaper repositions while you’re hanging it, but nobody tests reusing it after months on a wall.
Can you paint peel and stick wainscoting panels?
The polystyrene molding kits, yes. They come pre-primed, one kit maker lists emulsion, eggshell or satin paint, and another says to fill gaps with white mastic first. Printed wallpaper and wood plank panels come with no maker guidance on painting. Either way, the wall behind still needs cured paint before anything sticks to it.