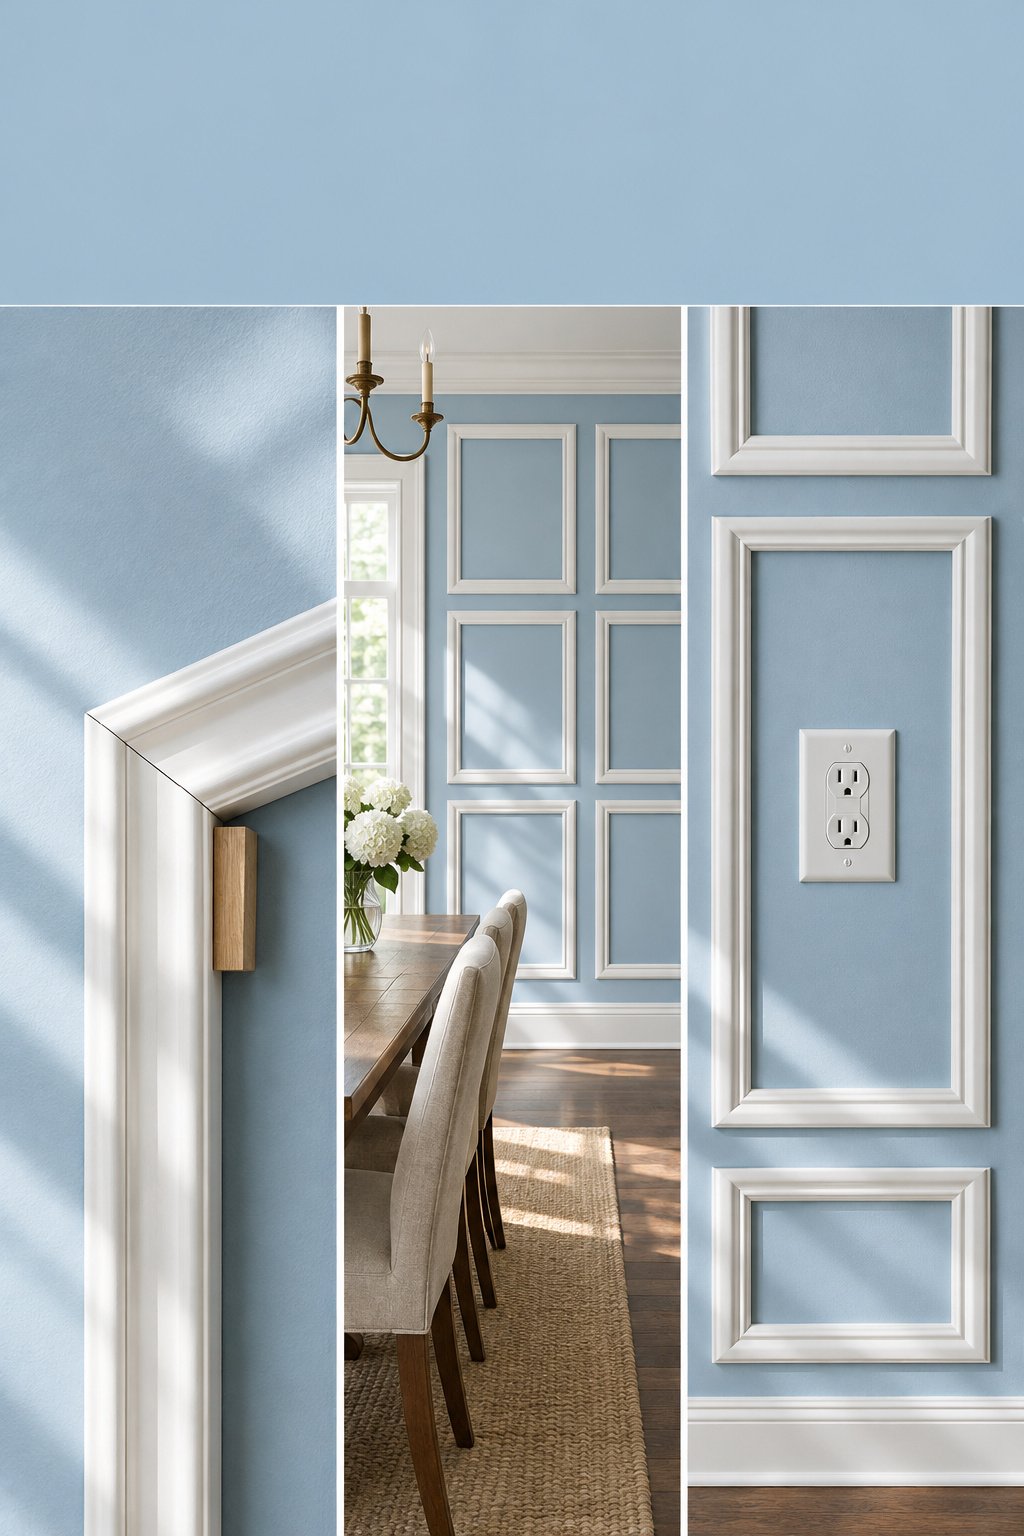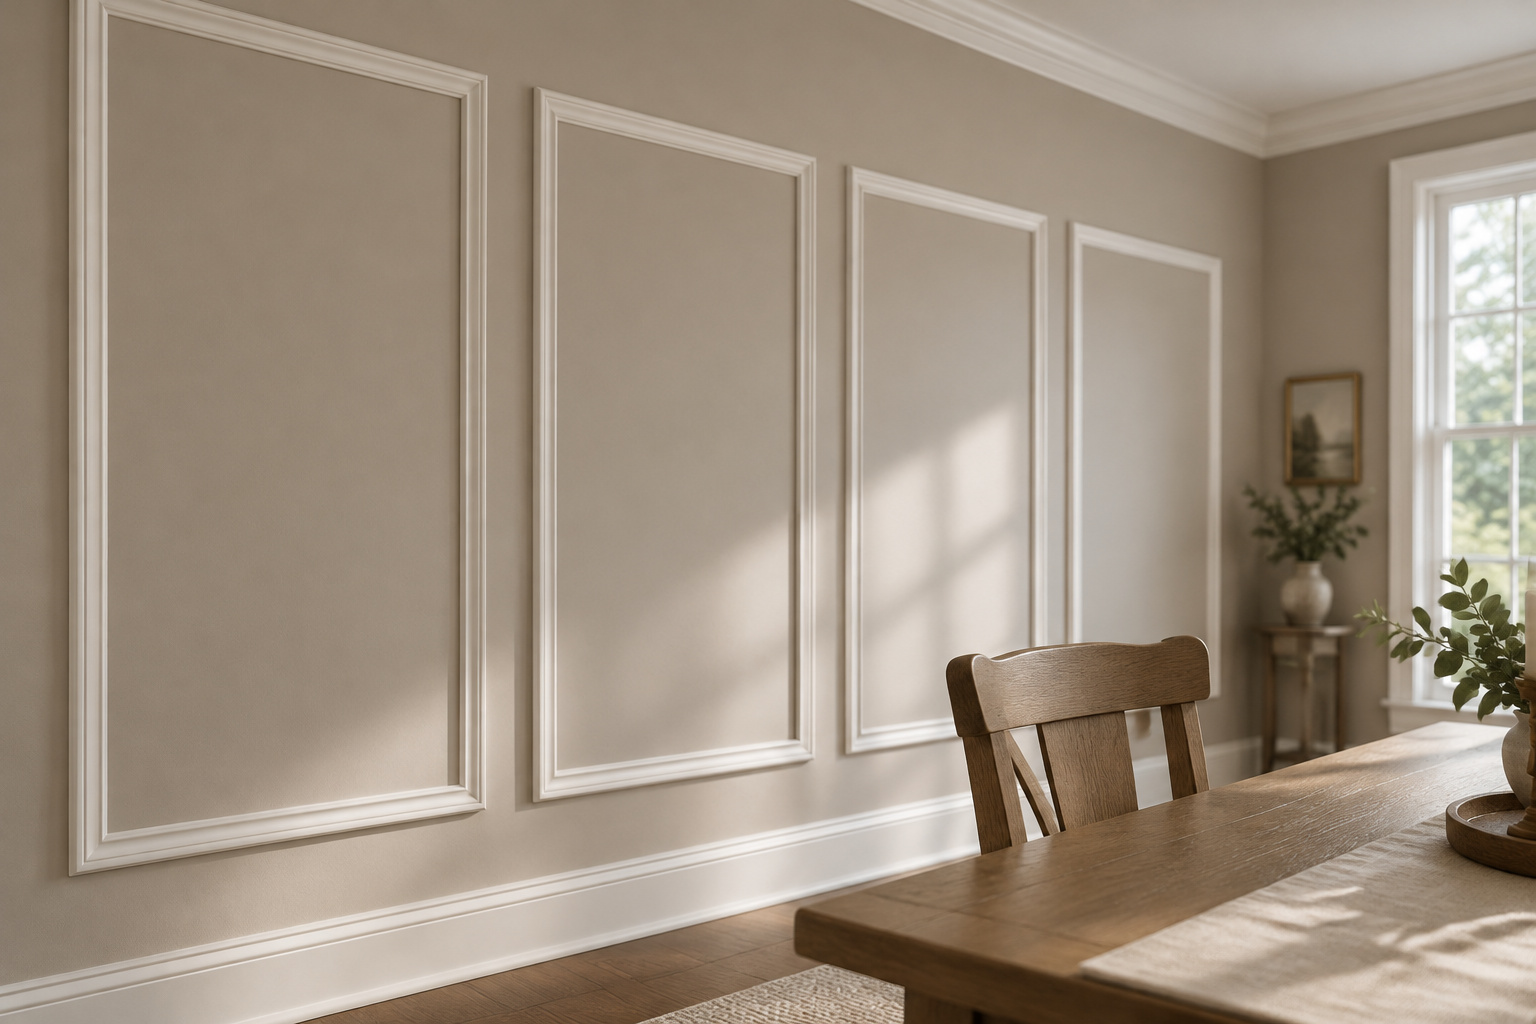
You’ve got a 14-foot dining room wall, a stack of molding in the hallway and a sum on the back of an envelope: 168 inches, six boxes, 28 inches each. It leaves no room for a single gap, ignores the window in the middle and puts the outlet wherever it lands. That envelope is where a picture frame molding dining room goes wrong, before anyone touches a saw. The fix is to subtract the gaps before you divide, and to use one gap everywhere.
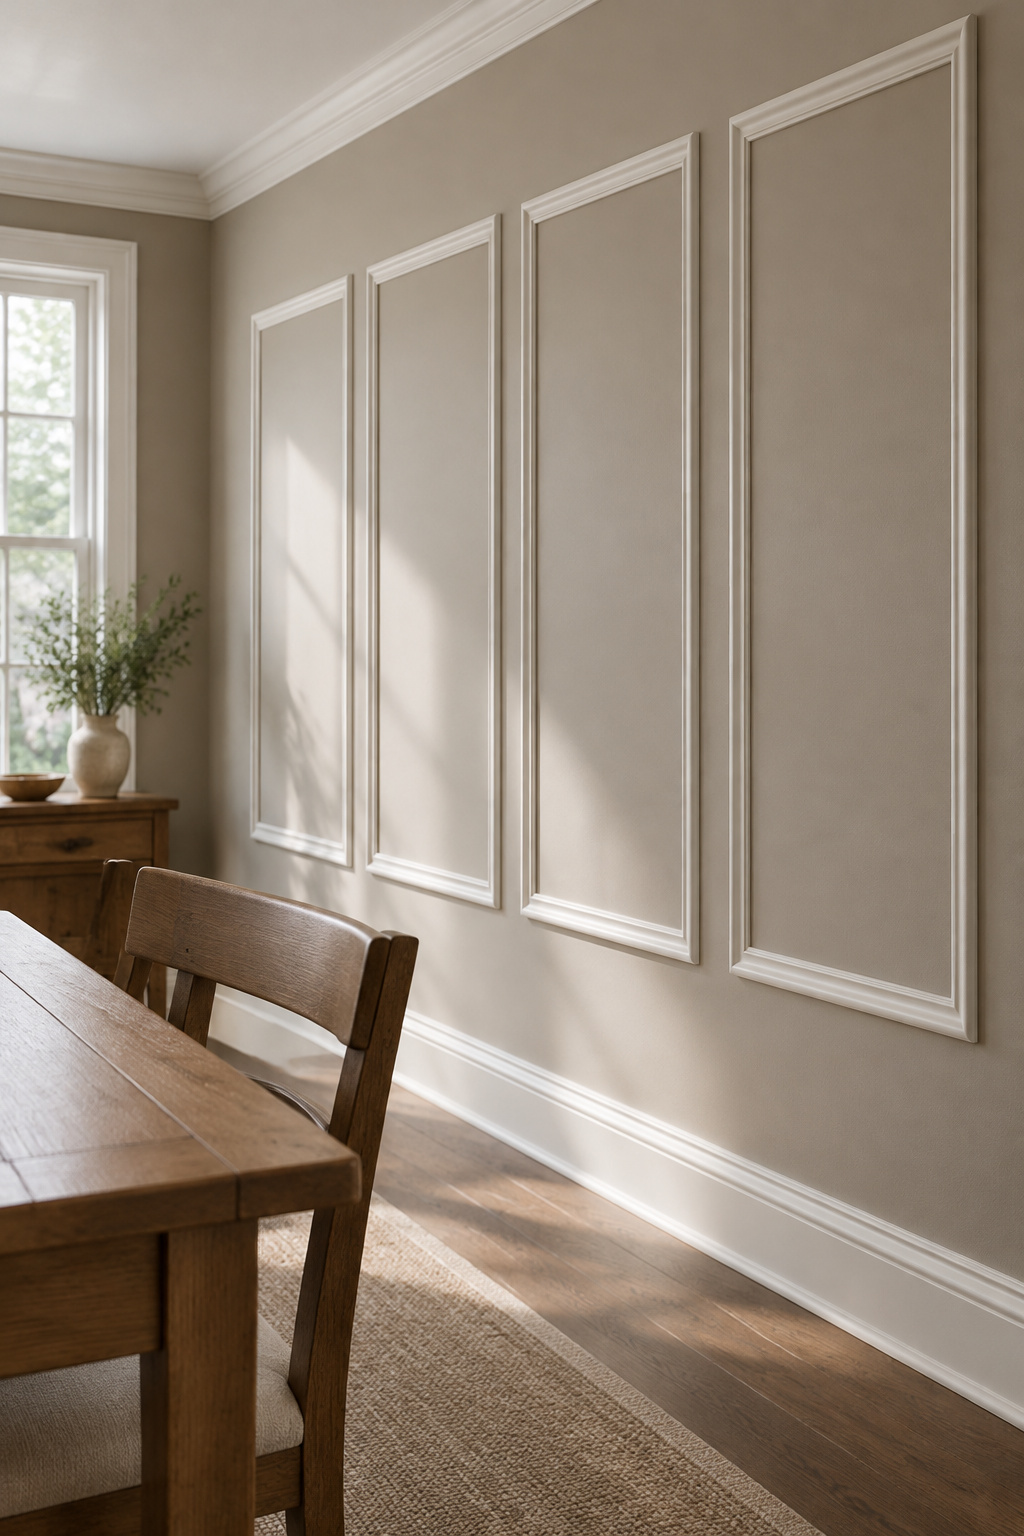
TL;DR
- Hold one gap everywhere. Mine is 3 1/2 in, the width of a 1×4, so an offcut makes a free spacer block.
- Box width is the wall section minus its gaps (one more gap than boxes), divided by the boxes: a 60 in section with two boxes gives 24.75 in boxes.
- Mark outlets before you cut. A standard 2 3/4 in plate fits a 3 1/2 in gap with 3/8 in to spare each side, and a 14 ft wall of four boxes takes five 8 ft sticks.
One Gap Number Holds Every Box in a Picture Frame Molding Dining Room Together
Budget about $150 to $200 in materials for a DIY room of picture frame molding and a weekend to put it up: prep and prime, then lay out, cut, hang, fill and caulk, with paint whenever the caulk says it’s ready. I rate it a first-timer job. The work is measuring, not lifting.
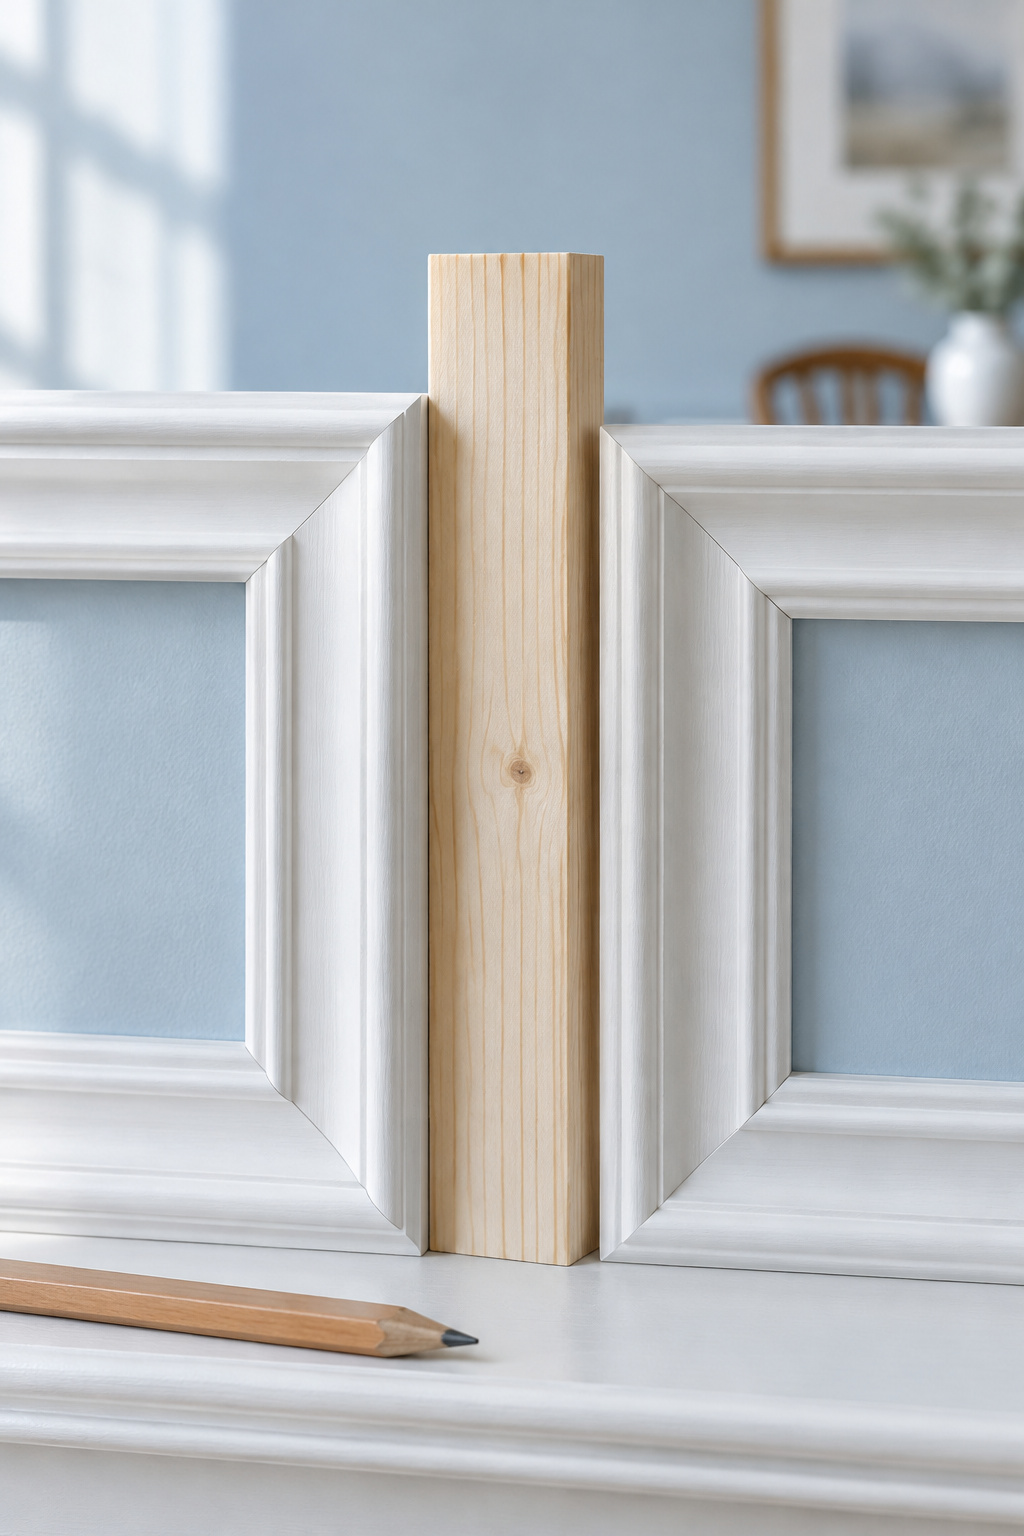
The gap is the design. Mark Powers at This Old House puts it at 2 3/4 to 3 1/2 in between boxes, with up to 4 in above and below, and says the real rule matters more: the frames can change size, but the spacing above, below and between them stays the same all the way around the room. Box widths change from wall to wall. The gap never does.
My number is 3 1/2 in, every gap, every wall. A scrap of 1×4 is 3 1/2 in wide, so it makes a spacer block that can’t misread a tape measure. Cut two; you will lose the first. Ignore the tutorials that space boxes 7 in apart; at that width the wall looks like a row of separate pictures.
Divide the Wall: One Fully Worked Example With Real Dimensions
Start at the top. Box heights are divided down from the cap line, so if you haven’t settled how high to set the wainscoting cap, do that first and get the rail up.
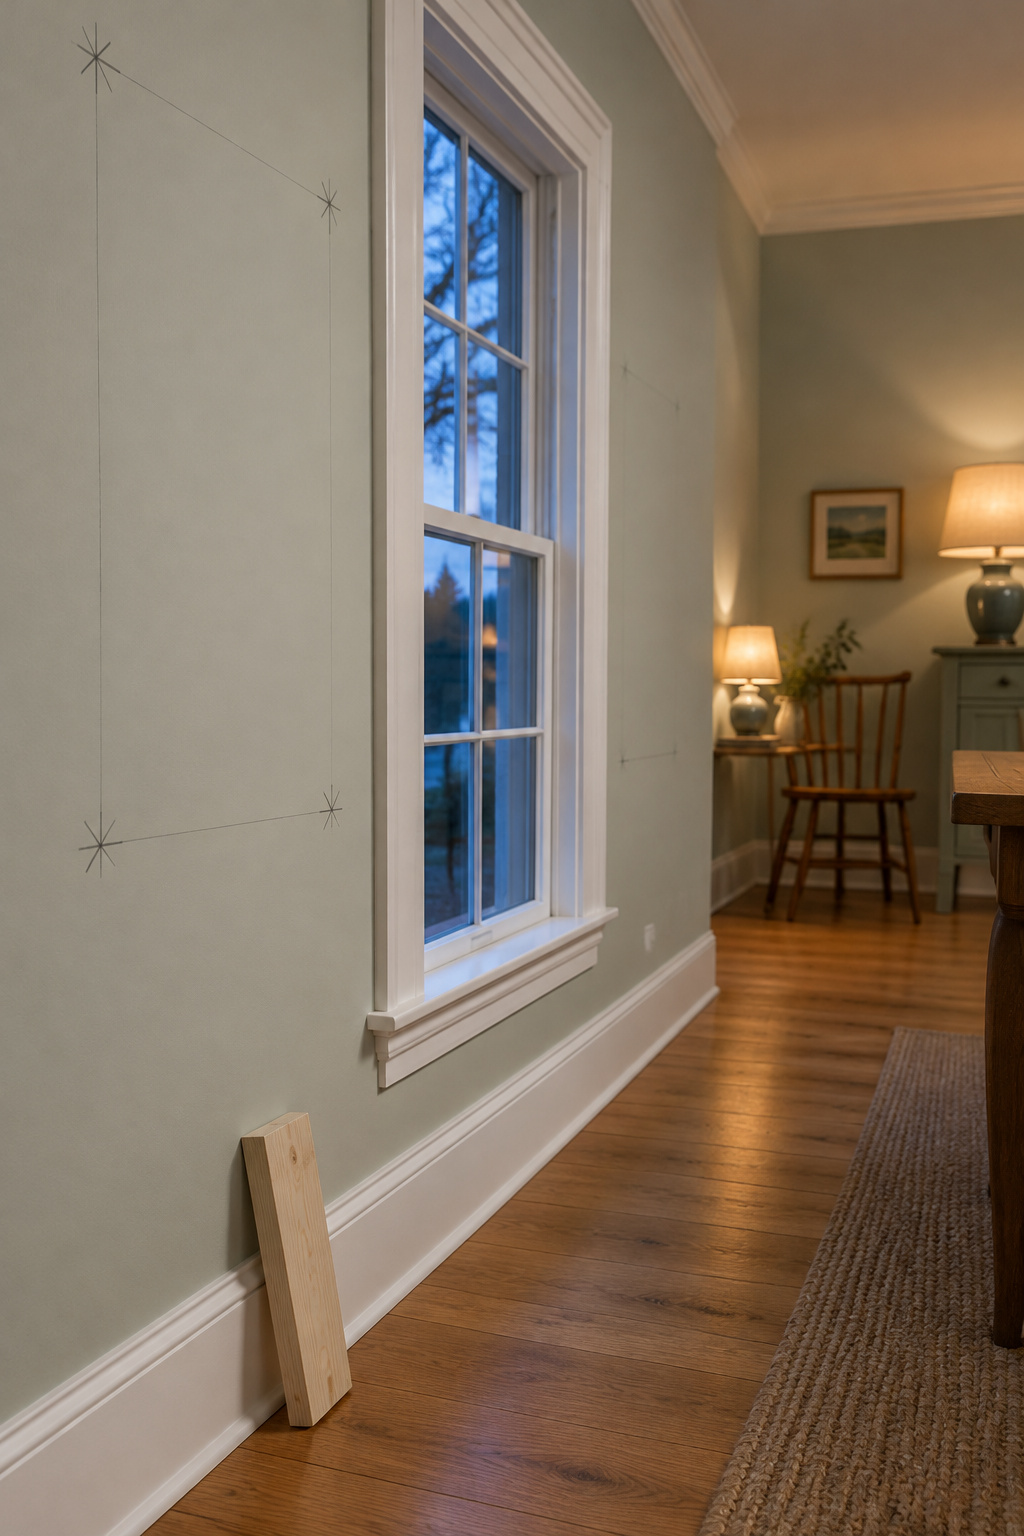
Here’s a real wall: 168 in corner to corner, with a 48 in window casing centered on it and an outlet 30 in from the left corner. On this wall, the space between the top of the baseboard and the underside of the rail measures 27 in.
- Measure the wall and every interruption. The casing’s edges sit at 60 in and 108 in, so this is two 60 in sections.
- Choose a box count for one section: two boxes.
- Count the gaps, always one more than the boxes. Three here: corner, middle, casing.
- Subtract the gaps: 60 − 3 × 3.5 = 49.5 in.
- Divide by the boxes: 49.5 ÷ 2 = 24.75 in, outside edge to outside edge.
- Work the height the same way: 27 − 2 × 3.5 = 20 in.
- Write the positions down. Box 1 runs 3.5 to 28.25 in, the middle gap 28.25 to 31.75 in, box 2 31.75 to 56.5 in, and the last 3.5 in meets the casing at 60. The right section mirrors it from 108 to 168.
Add it back up before you cut: 3.5 + 24.75 + 3.5 + 24.75 + 3.5 = 60. When it misses, someone counted one gap fewer than boxes, and every box came out too wide.
Divide each wall on its own. The next wall’s boxes might come out at 26 or 31 in, and that’s correct.
Windows, Outlets and Switches Get Boxes Too
Treat the window as a box
A window casing is the end of a box run. Divide the wall on each side of it as if it were its own wall, and leave the same 3 1/2 in between casing and box that you leave between boxes. A box under the window takes the casing’s outside width, 48 in here, with its sides in line with the casing.
Dodge outlets and switch plates before you cut
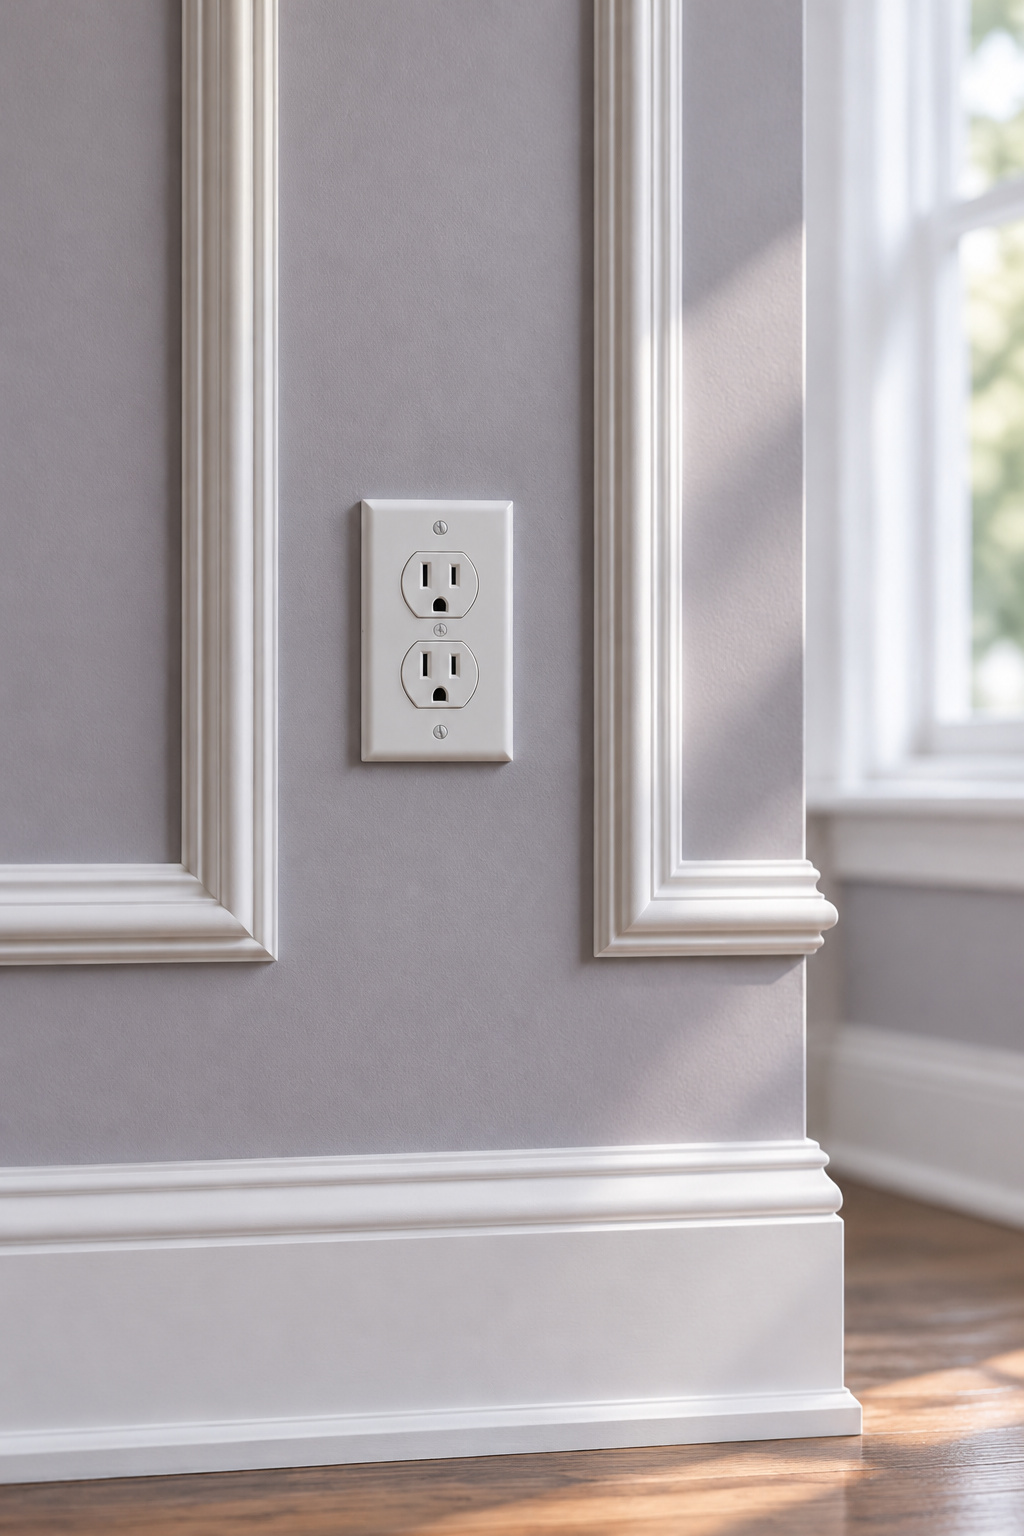
Outlets wreck layouts after the glue is on, so find every one on paper first. A standard single-gang plate is 2 3/4 in wide and fits inside a 3 1/2 in gap with 3/8 in clear each side. A jumbo plate is 3 1/2 in wide, exactly the gap, and would touch the molding on both sides, so swap in a standard plate. Inside a box, keep the outlet’s center at least 2 3/4 in in from the box’s outside edge: half the plate, 1 3/8 in, plus the 1 3/8 in molding face.
On the worked wall, the outlet at 30 in lands dead center in the middle gap. If an outlet falls on a molding line, change the box count or widths for that wall. Don’t shave the gap for one outlet; the whole room will show it.
Sketch the boxes on the primed wall in washable marker, then check:
- Each outlet center in a gap, or at least 2 3/4 in inside a box edge
- Each section’s numbers adding back to its length
The Named Mistake: Boxes Squared to the Bubble Instead of the Rail
You hang the first box with a 4 ft level on it, the bubble sits dead center, and you feel great. By the third box the gap under the rail is 3 1/2 in at one end and 3 in at the other. In raking afternoon light it reads as a wedge, and everyone at dinner sees it before you do.
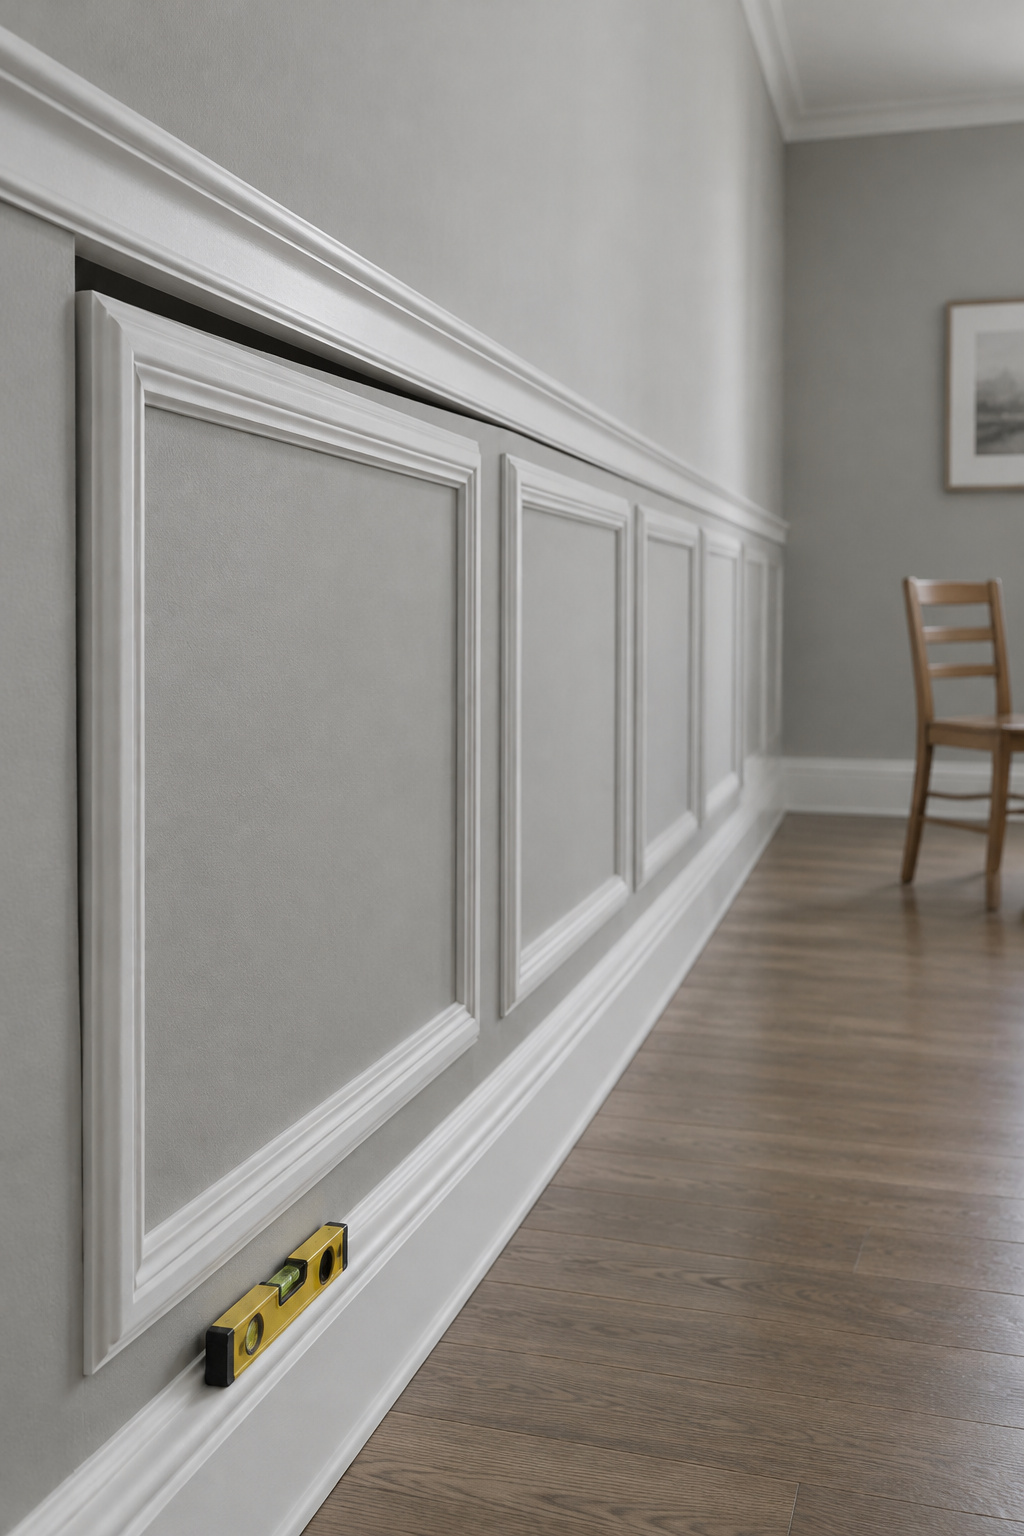
The level was fine; the rail wasn’t, and the eye judges each box against the rail right above it. Hold boxes level under a rail that runs 1/2 in out across 10 ft and the top gap changes by about 14 percent. Walls lie, and rails follow walls. A crooked shelf is usually a crooked wall, not a crooked shelf, and boxes work the same way. This Old House says to align frames parallel to the rail, a corner or the door trim rather than to level.
Run the rail first, because everything under it answers to it. Then hang the spacer block from the underside of the rail to mark each box top. I mark every box top as two pencil ticks on primer, one at each end, never one long line I’d be tempted to trust. Check the gap at both ends before the adhesive grabs. When rail and baseboard disagree, keep the rail gap exact and let the bottom gap take the difference. Marc Forget made that call in the Journal of Light Construction: an uneven gap at eye level shows, and one down by the floor mostly doesn’t.
Cut, Nail, Glue and Fill: The Install Sequence in Order
You need a miter saw and a brad nailer, or a hammer and finish nails if you’d rather skip the nailer. My dog, Biscuit, sleeps under the table saw until it starts.
- Smooth and prime the wall where the boxes go. Sand anything glossy; molding adhesives want a surface to grip.
- Mark the layout with the spacer block hung from the rail, crosshatching each box’s outside corner.
- Cut every end at 45 degrees with the fat side of the molding as the long end, or the corners open.
- Run a 1/4 in zigzag bead of panel adhesive on the back and press each piece to your marks. A dab of hot glue at each corner holds it while the adhesive sets.
- Nail it. Tutorials use anything from 1 in to 2 in brads. I use 1 1/2 in 18-gauge: long enough to get through molding and drywall and still bite. Aim for studs where you know them, about one nail per 12 in.
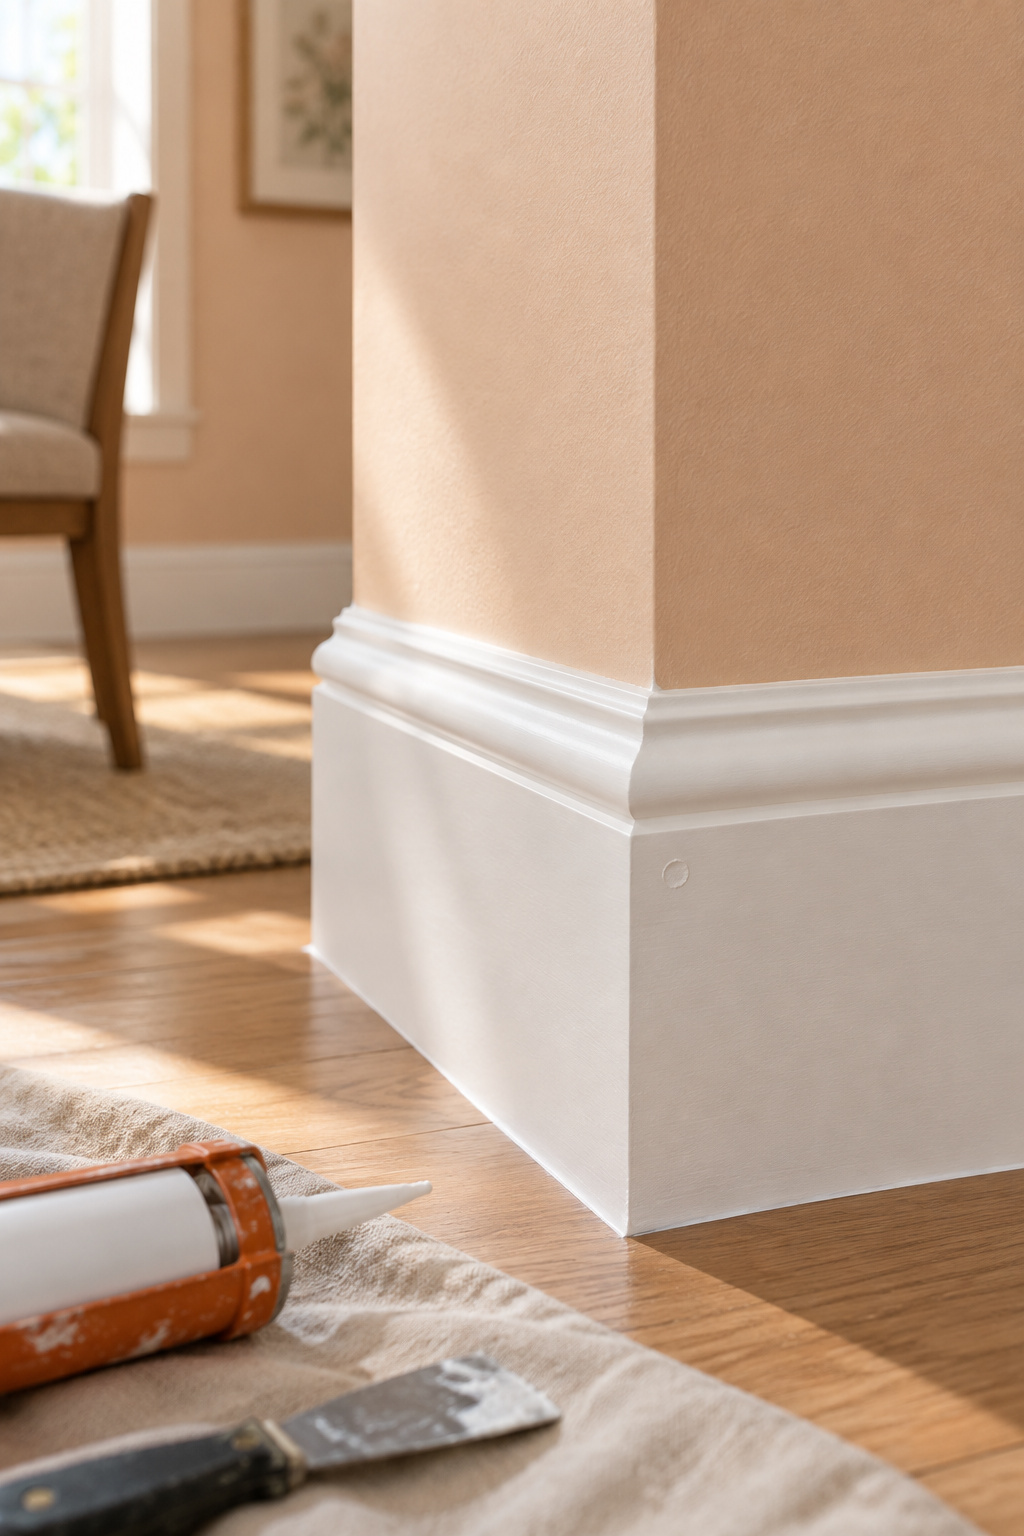
- Fill nail holes and open corners with wood filler, not spackle, which can shrink. Caulk where molding meets wall, and the miters.
- Wait. Open time, cure time and paint-ready time vary by product, so read the tube and don’t paint until it says so. Then sand with 220-grit and paint.
All of this is nailed and glued. If you rent or can’t put holes in the wall, look at peel and stick wainscoting that comes off cleanly instead. No-nail versions come off with their own risks.
Ordering Molding in 8-Foot Lengths, and Where the First Box Goes
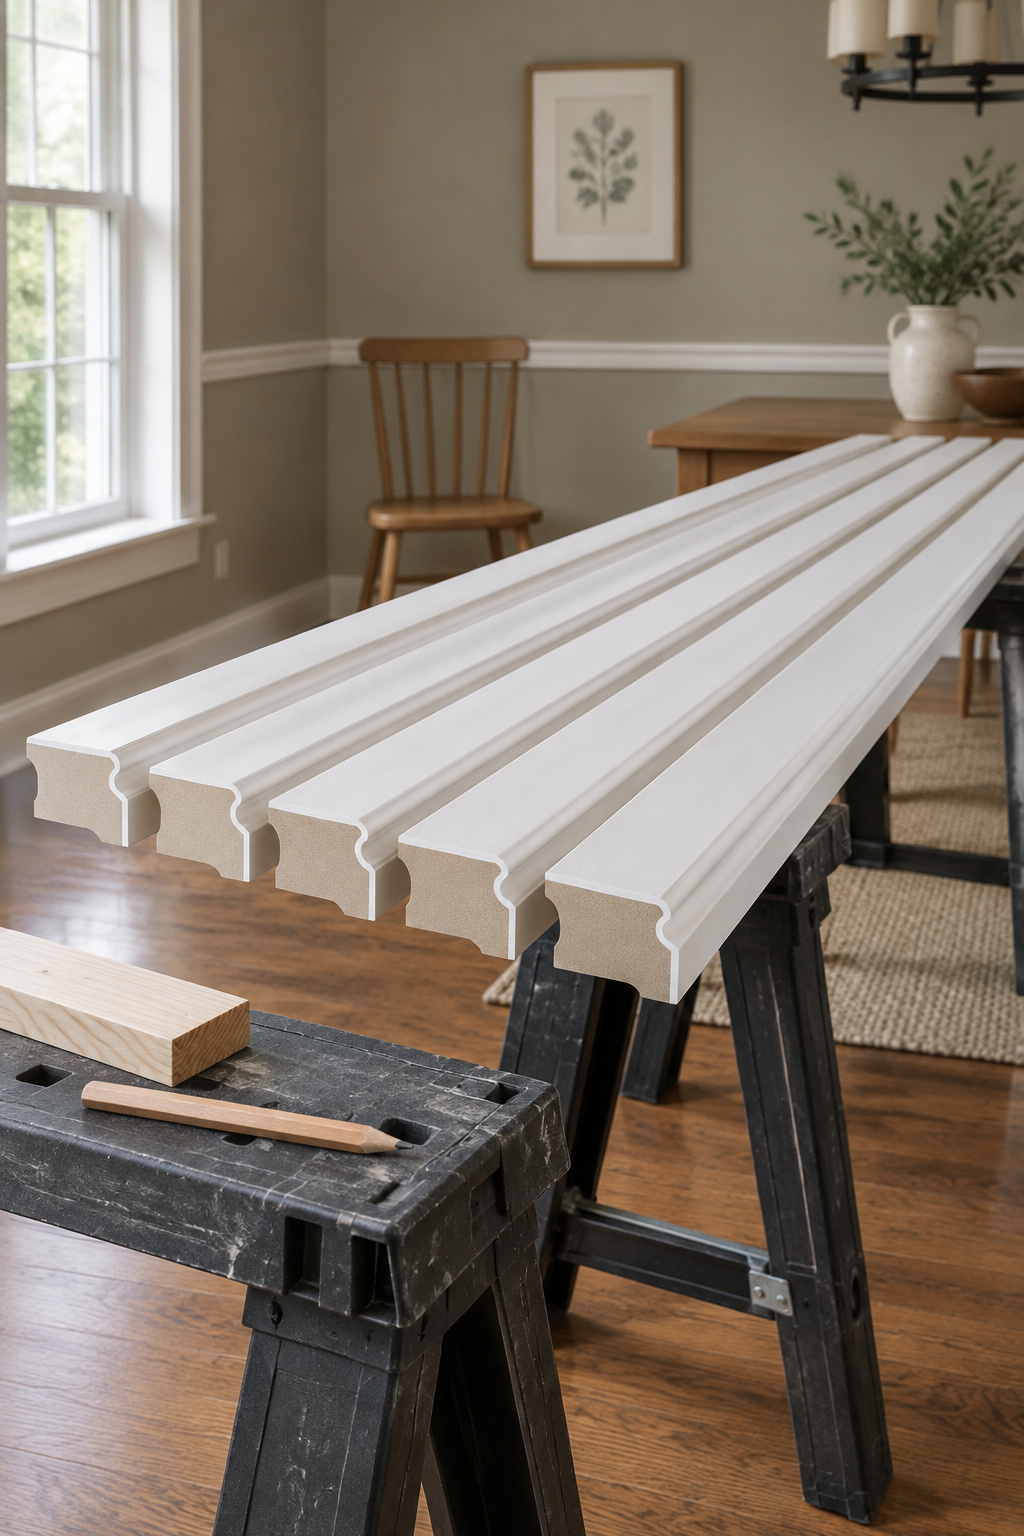
Buy molding by the stick. Base cap 163, 11/16 by 1 3/8 in, is a stock profile sold in 8 ft lengths in primed pine and MDF. Each box on the worked wall takes 2 × 24.75 + 2 × 20 = 89.5 in, so four boxes need 358 in, about 29.8 ft. Add the usual 10 percent and you’re at 32.8 ft, or 4.1 sticks, so 5. The cut plan agrees: one box per stick, plus a spare for the miter you’ll ruin. Buy the extra box, or here, the extra stick.
| Item | Quantity for the worked wall | Note | Where it comes from |
|---|---|---|---|
| Base cap molding, 8 ft | 5 sticks | One box per stick, plus a spare | Molding aisle, primed pine or MDF |
| Spacer block | 2 | 1×4 offcut, 3 1/2 in wide | Scrap pile |
| Panel adhesive | 1 to 2 tubes | A 10 oz DAP DynaGrip tube runs 32 ft at a 1/4 in bead; a 9 oz Loctite Power Grab Express runs 27.6 ft | Adhesives aisle |
| Caulk | 2 cartridges | About 56 ft of seams; a DAP Alex Flex cartridge runs 55 ft | Paint aisle |
| Brad nails | 30 to 48 | One per 12 in, or 2 to 3 per piece over 16 pieces | Sized for your nailer |
| Wood filler and 220-grit paper | 1 each | Nail holes, corners, final sanding | Paint aisle |
If you’re still choosing between boxes and the other wainscoting styles for a dining room, make that call before you buy a single stick.
Once the rail is up and the primer is dry, your first move is small. Set the spacer block against the underside of the rail at the left corner and make the first crosshatch. Every other box on the wall measures from that mark, so check it twice. Then bin the envelope.
FAQ
Should you paint the wall before or after adding picture frame molding?
Prime the wall before, and finish-paint the molding after. You can paint the wall first if you like, but the boxes still need priming and painting once they’re up, filled and caulked. A primed or flat wall also suits panel adhesive better than a glossy one, which needs sanding before anything is glued to it.
Can picture frame molding go on a textured or plaster dining room wall?
Yes. Clean the wall, hang the boxes with a bead on the back plus brads, and caulk the edges; trim caulk fills gaps up to about 1/2 in wide and deep. Boxes look crispest on smooth walls; Rachel Paxton at Maison de Pax skim-coated her heavy knockdown first. Loctite lists plaster as a surface for its molding adhesive.
Should the boxes go on every dining room wall or just one?
Put the boxes wherever the rail goes. If the rail wraps the room, the boxes wrap with it, at the same gap on every wall, with widths divided wall by wall. A grid that repeats around the room looks deliberate, and boxes on one wall under a rail that runs around all four look unfinished.