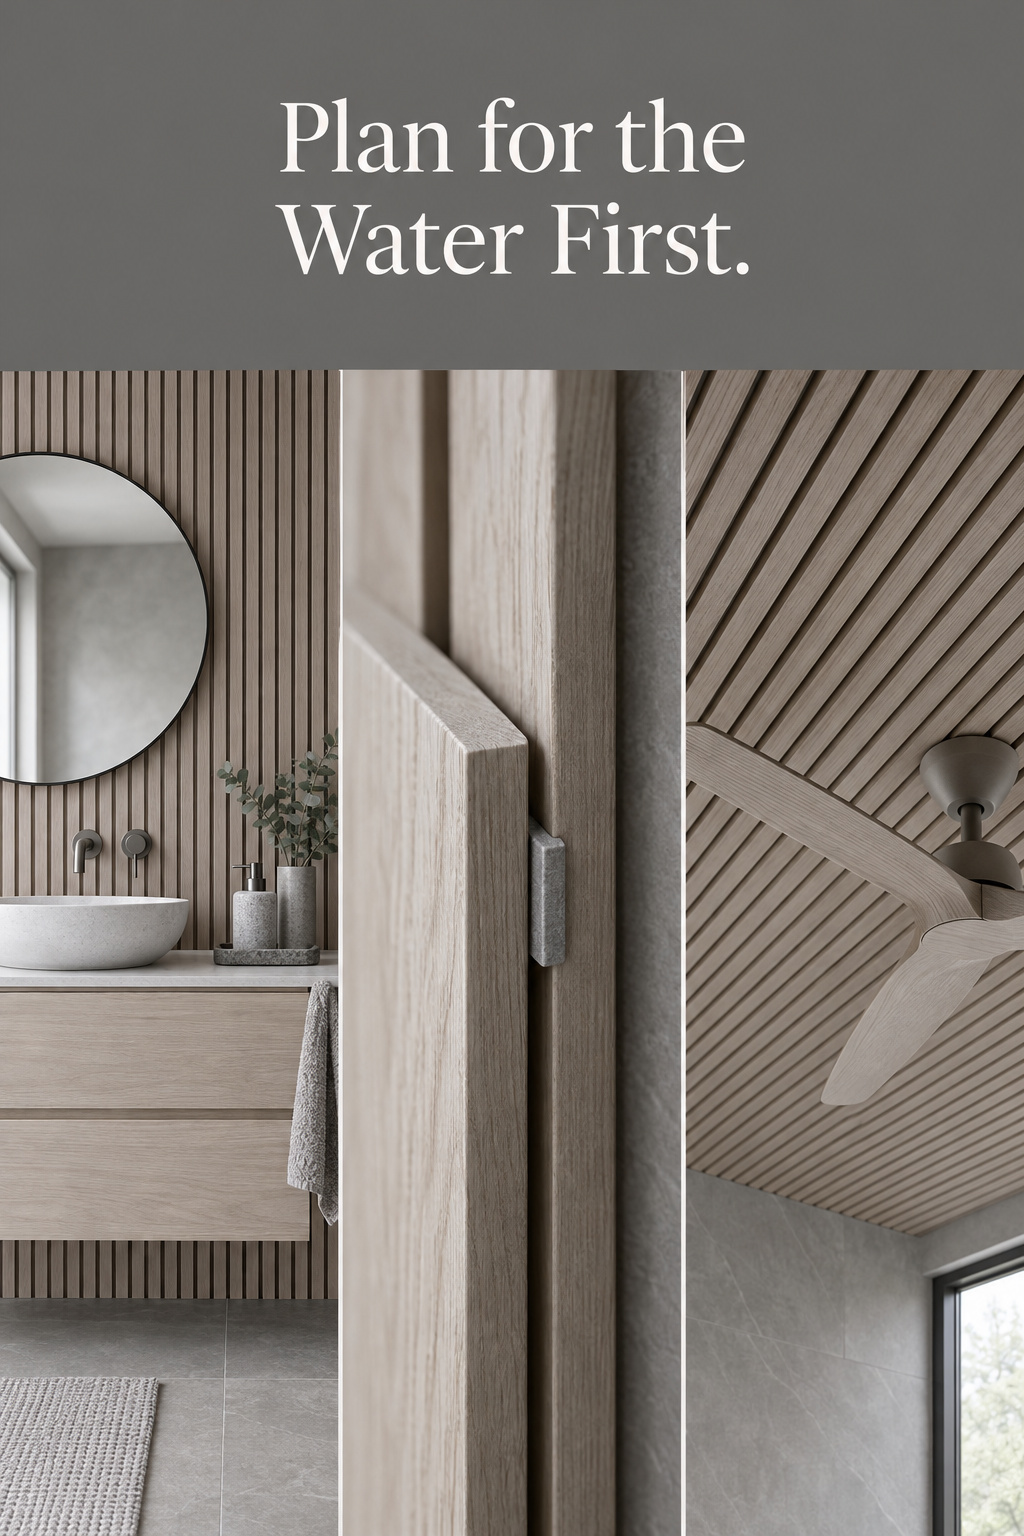
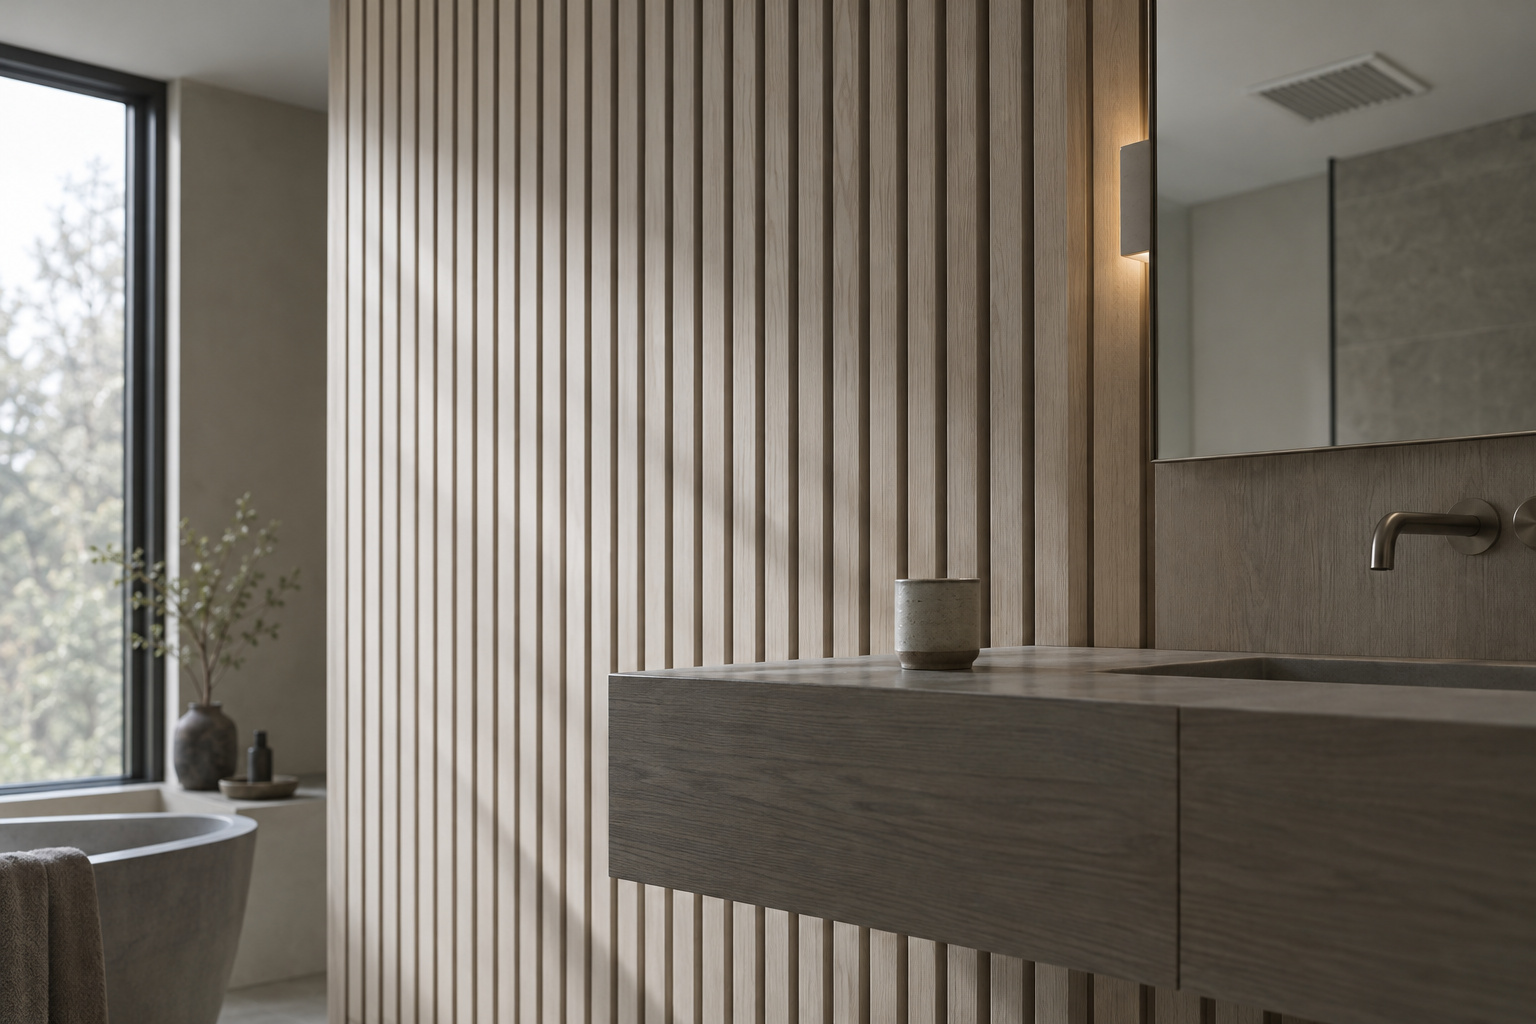

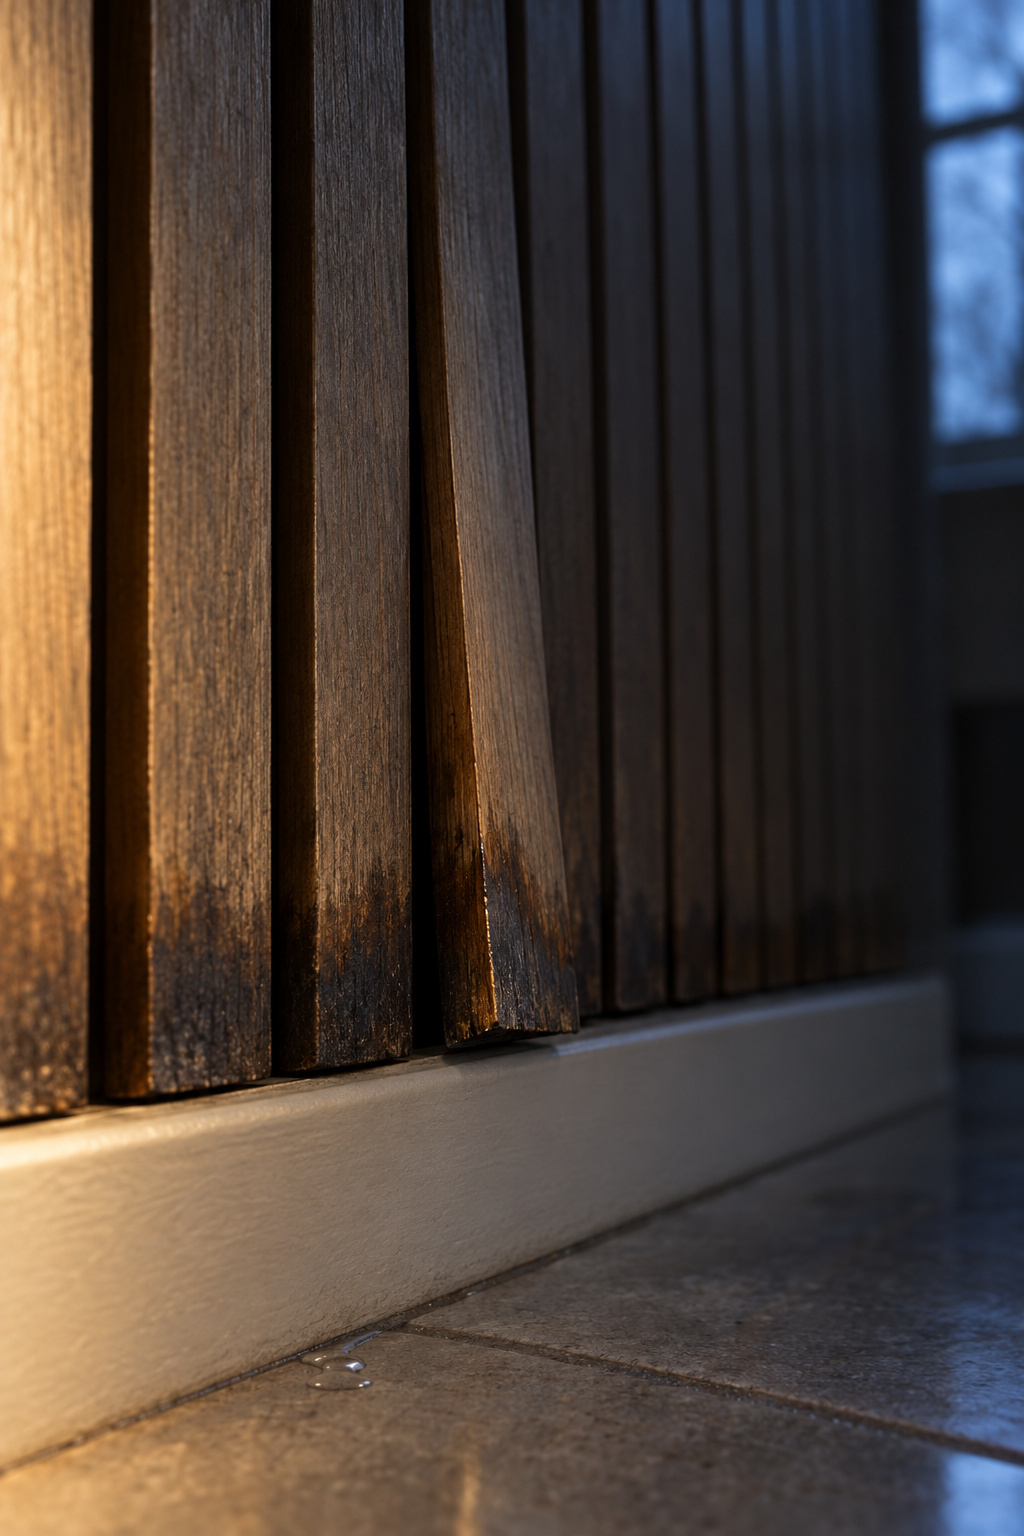
Picture the slat nearest the shower a year after it went up. It smells like a wet fence. The lower end has gone dark, the grain gives under your thumb, and a knock gets a dull thud where it used to ring. The mistake happened before the first cut: that wall sat in the spray, and even the makers who allow their panels in a bathroom rule that out.
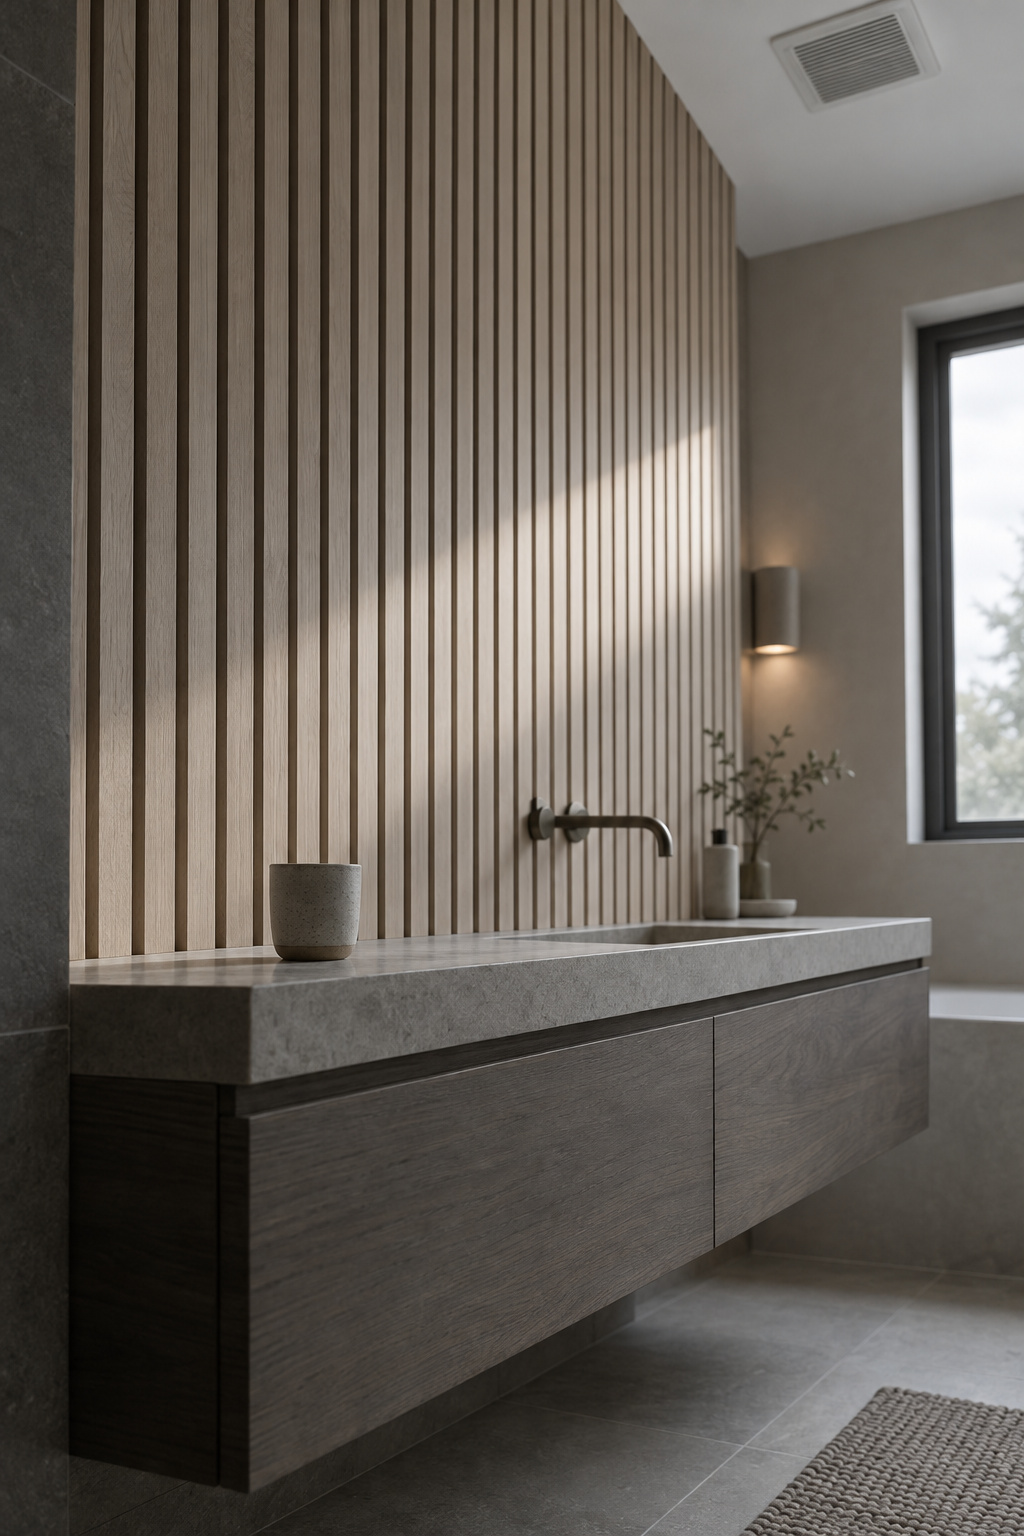
A wood slat wall bathroom can work. It just needs a wall the water never hits, air moving behind the boards and a fan that actually runs. Plan those three, then buy wood.
TL;DR
- Put slats on the wall behind the vanity or toilet, the wall opposite the shower, or a ceiling away from it. Never inside the spray, where even makers who allow bathrooms rule their panels out.
- Leave a vented gap behind the boards. There is no interior standard, so borrow from exterior cladding: a 6 mm minimum vent gap on battens at least 25 mm deep.
- Check the fan before the wood. The NKBA guideline is 60 CFM with a timer; the IRC minimum is 50 cfm, which falls short of it.
A Wood Slat Wall Bathroom Starts With Three Zones: Spray, Steam and Dry
Open slats in the spray fail because water gets behind the boards and onto the wall, and it has no way out. Wood that stays wet rots.
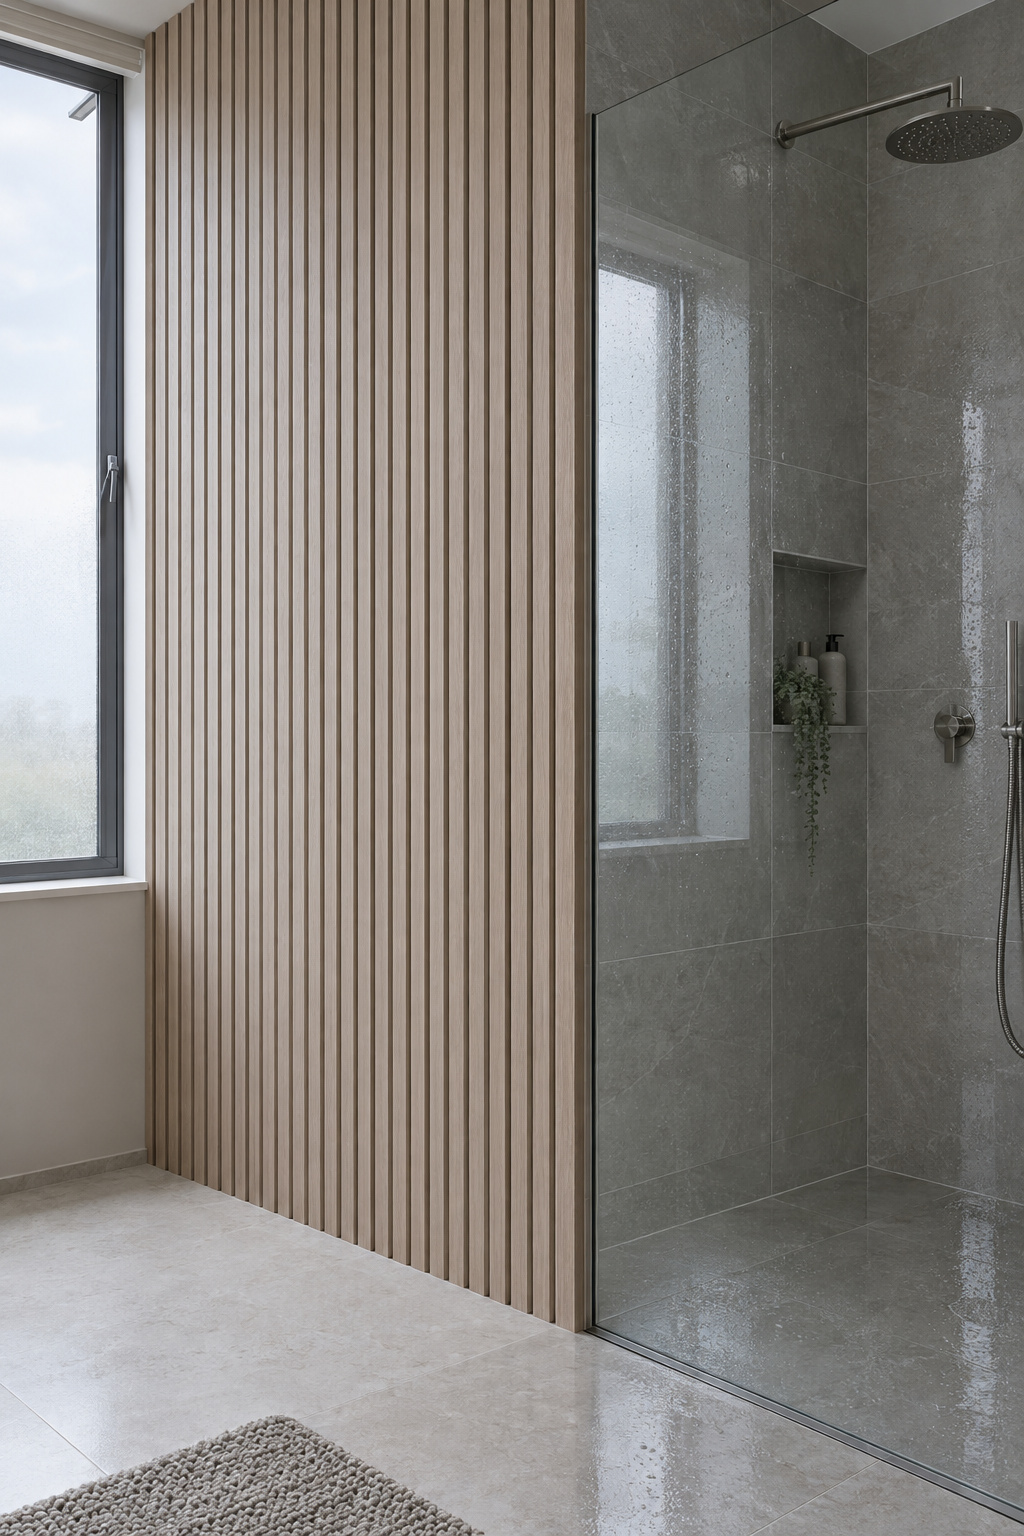
There is no US code that maps where wood is safe in a bathroom. British Columbia’s building code, which is Canadian, requires a waterproof finish to at least 1.8 m above the floor in a shower stall and 1.2 m above the rim of a tub with a shower, and wood isn’t on its list of allowed finishes. That gives a rough idea of how high the wet wall runs. One panel seller, The Panel Hub, calls anything within 600 mm of the shower or tub edge high splash risk; that figure is borrowed from UK electrical zoning, so treat it as a rule of thumb.
Here is how I’d sort the walls in your room:
| Zone | How water arrives | What goes there |
|---|---|---|
| Inside the shower or tub surround | Direct spray, running water | Tile or another fully waterproof surface, no wood |
| Beside the shower or above a tub ledge | Splash, then steam | Sealed, ventilated wood at most; better left to tile |
| Wall opposite the shower, behind the vanity or toilet | Steam and humid air only | Slats, with a vented gap and a working fan |
| Ceiling away from the shower | Rising humid air | Slats, same rules |
The wood wall behind the vanity is the one most people want anyway, and it’s one of the safest. If you’re still placing the wash and soak areas, work out which zones stay dry enough for wood before you price boards.
Someone will show you a wood shower. One answerer on an 18-year-old Houzz thread reported a redwood shower with silicone in the grooves and marine urethane re-coated every couple of years, and no moisture problems after about 25 years. That’s upkeep, not proof the spray zone is fine. Paneling lower down is a different job, covered in the powder room wainscoting guide.
Solid Slats or Felt-Backed Panels: What the Back of the Board Is Made Of
Solid slats and felt-backed panels: what’s inside
A solid slat is wood all the way through. Cut it and the end looks like the face. It still moves with humidity, so it needs a finish on all six sides, ends included.
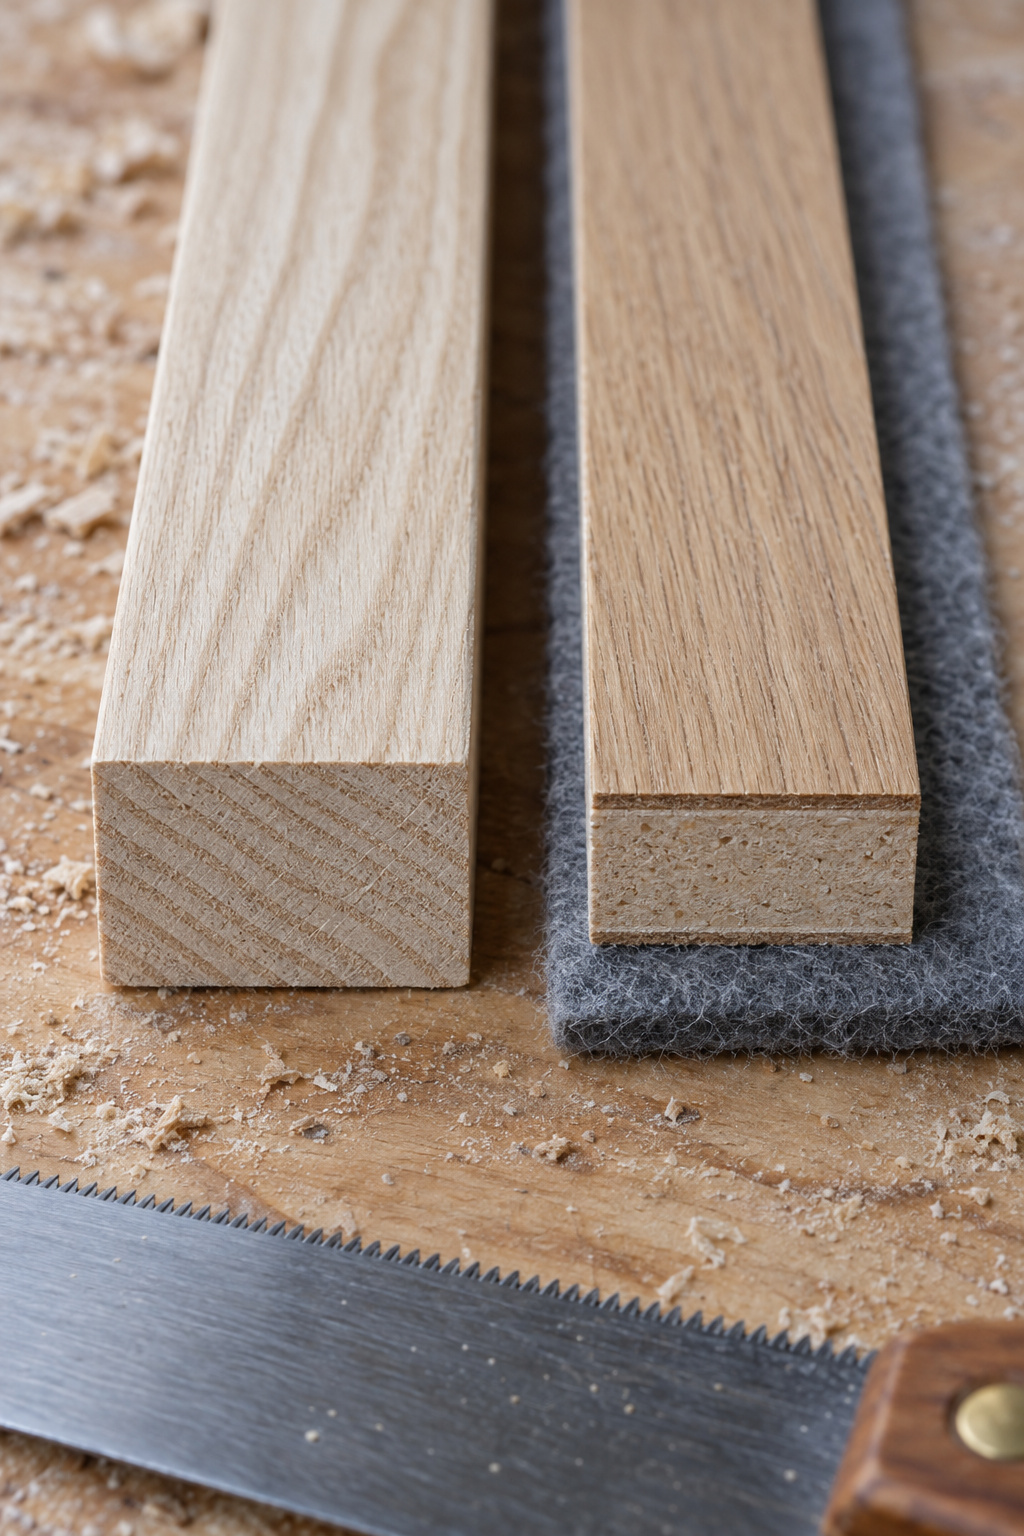
Most felt-backed acoustic panels are thin veneer over MDF slats, glued to a sheet of polyester felt. The MDF is where they fail: the Composite Panel Association says it swells in high humidity or water, the swelling doesn’t reverse when it dries, and moisture gets in through cut edges faster than faces. “Moisture-resistant MDF” isn’t waterproof; it’s a grade for how much the board swells after periodic exposure. The felt can absorb moisture, and one hardware chain’s staff say that can lead to mold.
The makers split three ways on bathrooms:
- No bathrooms at all: The Panel Company and Akustore.
- Dry bathroom walls only, never showers or wet rooms: Surface Collective and Yuheng.
- Humid rooms including bathrooms: Acoustic Sense, for an MDF line wrapped in foil rather than wood veneer.
None of them allows spray. Read the datasheet for the exact panel you’re buying.
On a steam-only wall with a good fan, a felt-backed panel from a maker who allows bathrooms is a fair buy. Anywhere splash might reach, solid slats are the safer choice, because a wet solid board dries out and a swollen MDF edge never goes back. How the wood sits alongside stone and plaster is part of which materials go where in a Japandi bathroom.
The Air Gap Is the Job: Battens, Vents and the Numbers to Match
The cut tells me what a board is. I square the end, look at the grain, and seal that end before it goes up, because a cut end takes on moisture fastest. Then it goes onto battens, never flat against drywall. Slats glued straight to the wall have nowhere to dry.
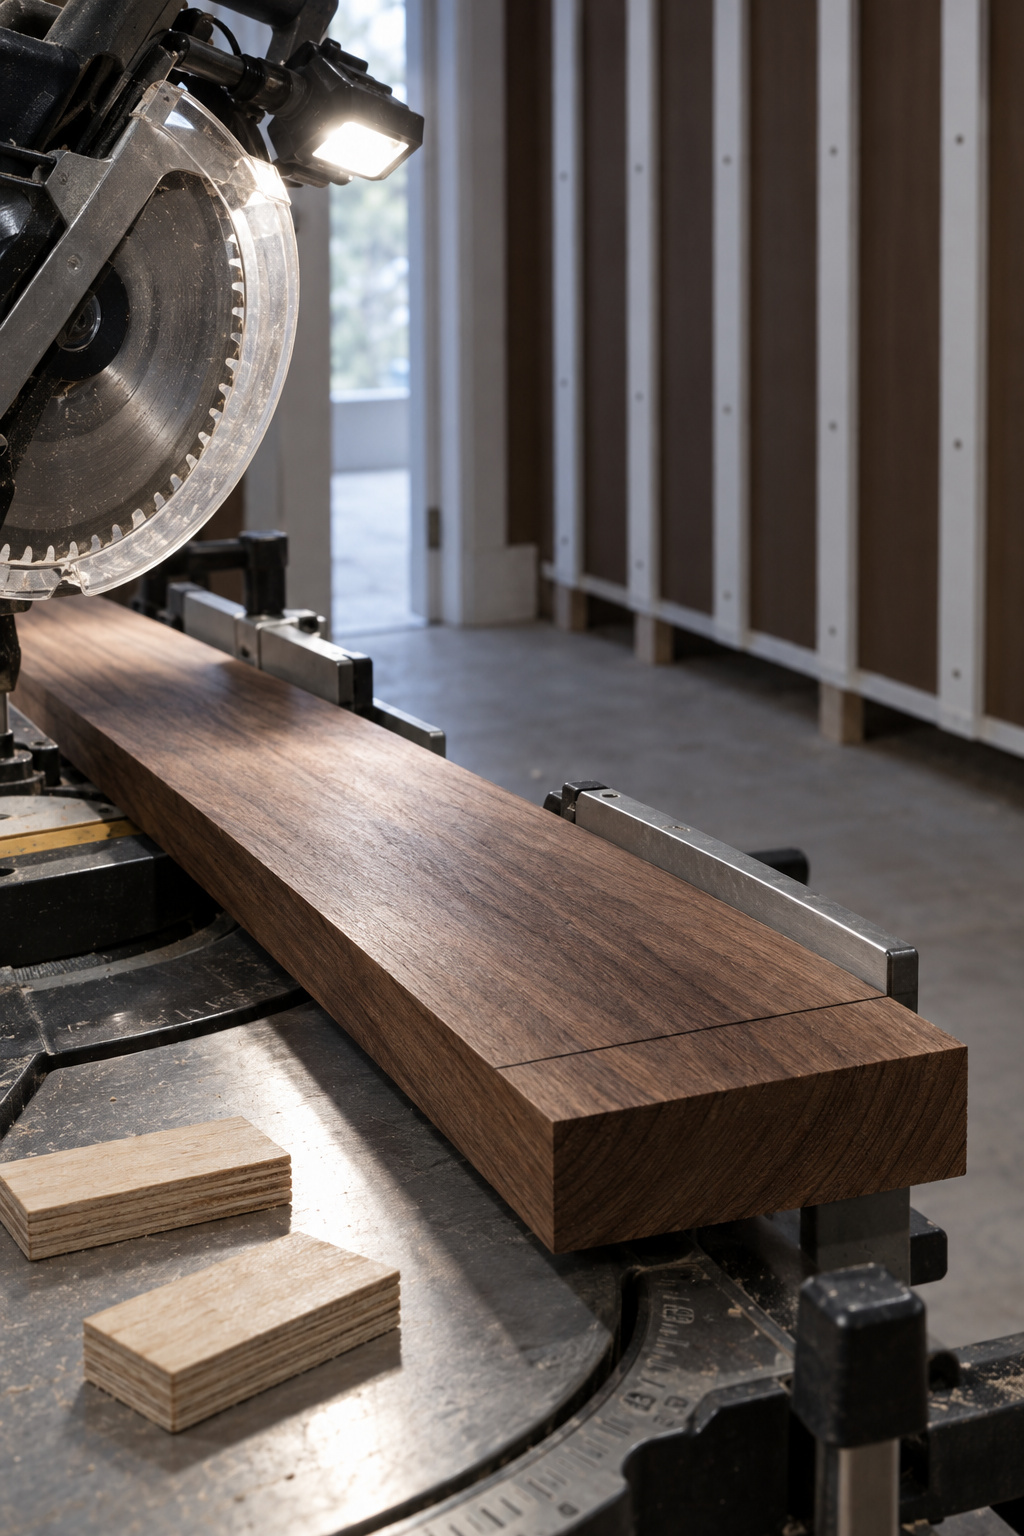
There is no interior standard for how deep that gap should be. These numbers come from exterior wood cladding, where a vented cavity behind the boards is how the wood dries. Treat them as a starting point and adapt them.
| Item | Value | Where it comes from |
|---|---|---|
| Vent gap behind the boards | 6 mm minimum, open top and bottom | Timber Decking and Cladding Association, exterior cladding |
| Batten depth | At least 25 mm, usually 38 mm or more | Same handbook |
| Largest gap worth building | 3/4 in | Green Building Advisor, exterior rainscreens |
| Bathroom fan | 60 CFM minimum, timer controls | NKBA Design Guidelines |
| Code-minimum fan | 50 cfm intermittent or 20 cfm continuous | IRC Table M1507.4 |
| Fan run after a shower | 15 to 20 minutes | Badeloft ventilation guide (trade) |
The gap only dries if the air moves. A fan built to the IRC minimum doesn’t meet the NKBA’s 60 CFM, and the NKBA also wants a toilet compartment to have its own fan and switch. The 15 to 20 minute run comes from a trade guide, not the NKBA, but it’s a good habit. Check the fan you have before you clad anything.
Use stainless or coated screws. Plain steel in oak or cedar leaves blue-black iron stains once moisture reaches it.
Cedar, Oak or Ash: Which Wood Survives Steam
Western red cedar has the best paperwork. The USDA Forest Products Laboratory rates its heartwood resistant to very resistant to decay, and a 22-year field test put it among the most resistant, with 20-plus years of expected service above ground. That test was outdoors. Indoors, steam and airflow do more of the deciding.
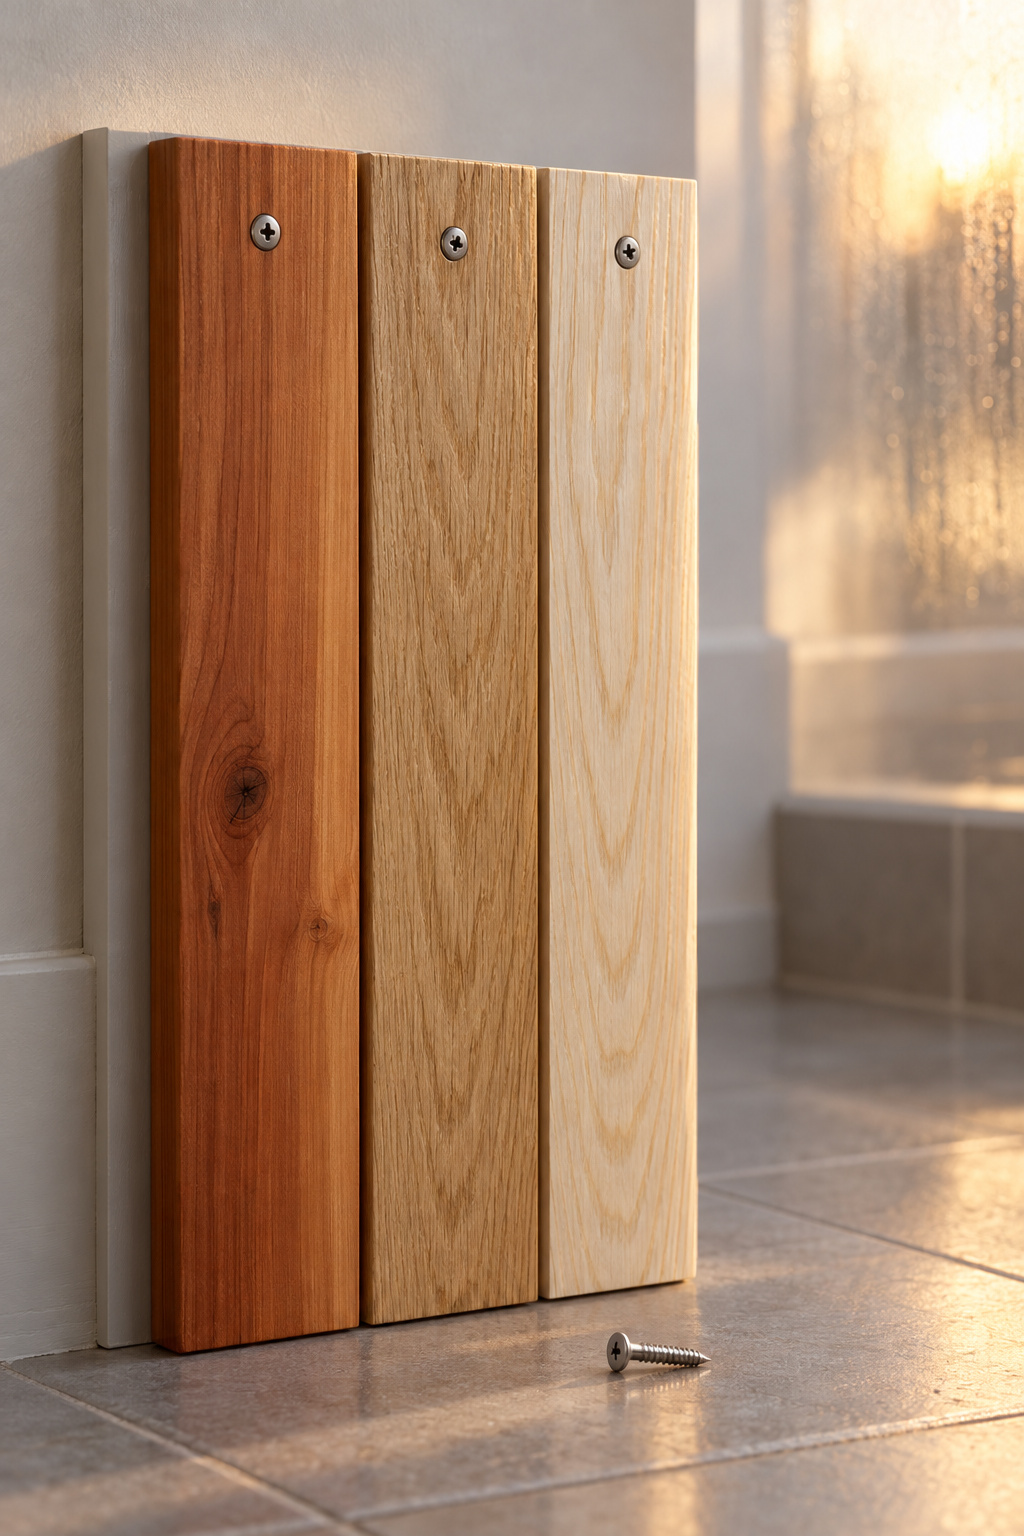
Japanese bath makers use hinoki, sawara, koyamaki and hiba, and say those woods resist decay far better than most softwoods. Those are tub woods, not wall slats, though one of them says a tub’s life depends mainly on how it’s installed and ventilated, which holds for a wall too. The Panel Hub, a panel seller, calls oak with a sealed oil finish the practical bathroom choice; untreated pine and spruce soak up moisture readily, and teak resists it but costs more.
Stability matters as much as rot. Let solid boards sit in the room for 48 to 72 hours before you fix them, or expect gaps and cupping later.
My pick for a steam-only wall is cedar heartwood or oak under a sealed finish, on stainless fasteners. Ash rates as not durable in the European decay ranking, so I’d choose one of those two. The finish is ongoing maintenance, and the timing and products are covered under sealing wood furniture in a bathroom; the same thinking carries over to a wall.
A Weekend Install, With Real Prices and the Trips Back to the Store
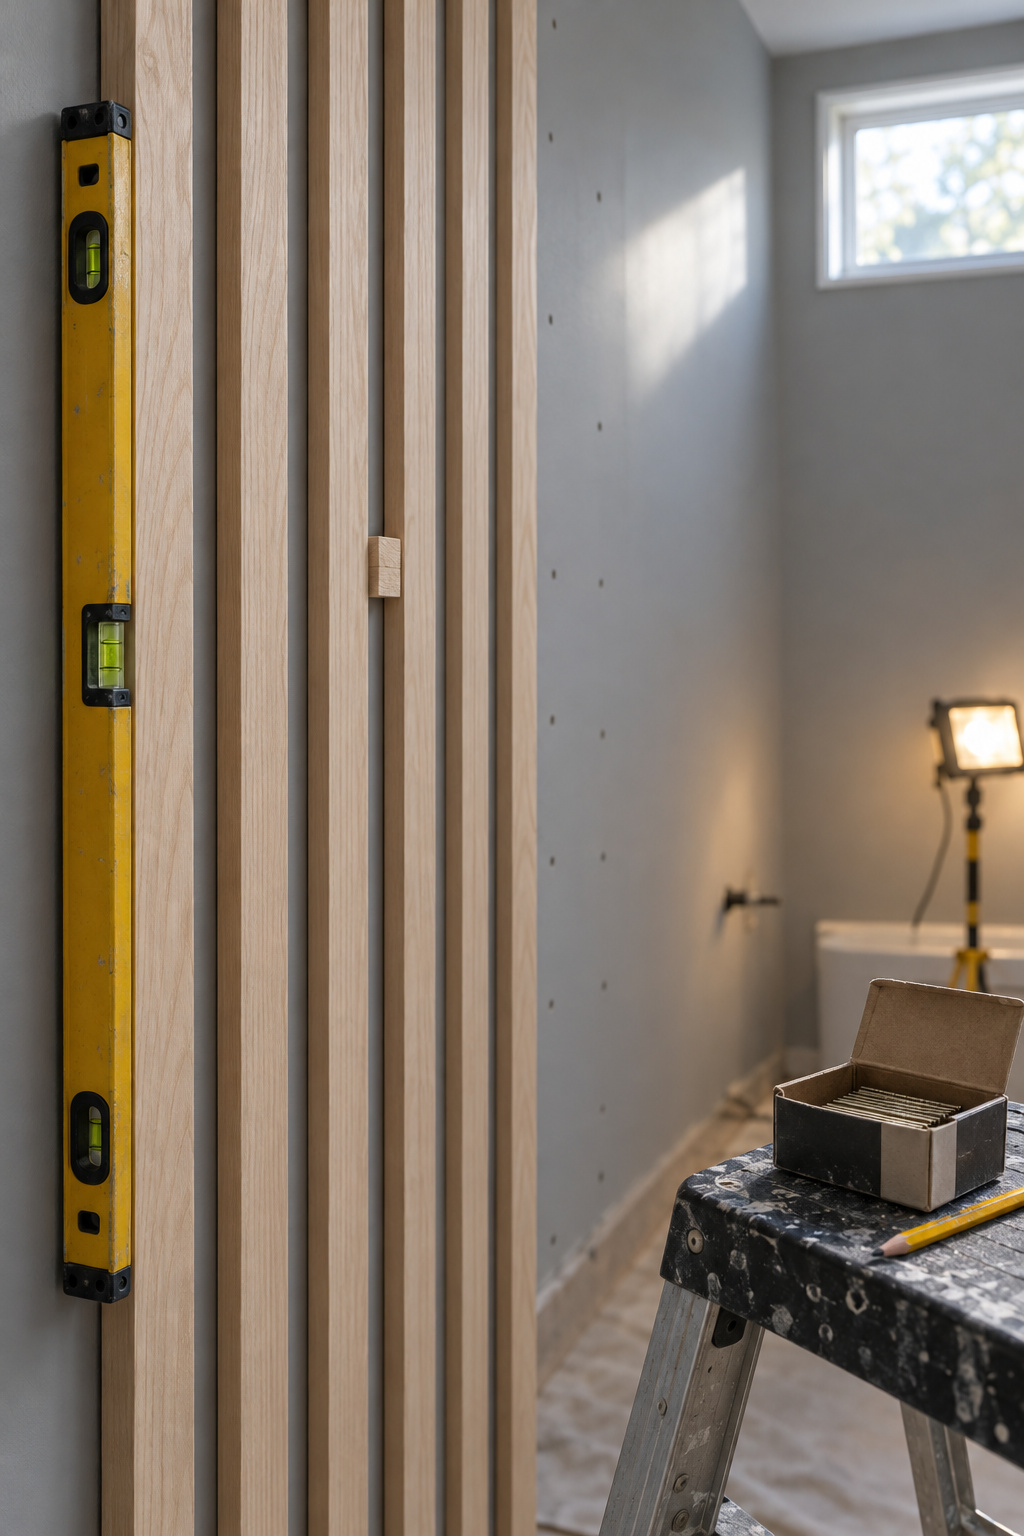
Skill level: some builds. You need a miter saw, a brad nailer, a 4-foot level and a sander, or the store’s cut counter if you’d rather not own the saw.
Ready-made felt-backed panels ran about $6.43 to $14.99 per square foot across four US listings. A slat wall built from loose boards on furring strips is cheaper: Lowe’s priced a 10 by 10 ft wall at about $300, done in under a day. That’s a dry room with the stain on ahead of time. In a bathroom, battens, end sealing and drying time make it a weekend, and it will take one more weekend than any video says.
Order the whole wall at once. Several sellers say in writing that veneer varies from one production run to the next. I learned this in my own kitchen: I tiled the backsplash myself, ran short, and waited three weeks for tile from the same batch. Buy the extra up front, in one order.
- Check the wall. Peeling paint, a mildew smell, swollen baseboard or soft drywall means fix the moisture first, or you’re hiding it behind a more expensive finish.
- Find the studs. Stud finders lie. Check with a nail or a magnet, mark it in pencil, and fix the battens into wood.
- Fix the battens with a clear gap at the top and bottom for air.
- Cut the slats, seal every cut end, and let them acclimate.
- Fix the first slat level and use a scrap spacer for the rest.
- Caulk the perimeter and run the fan for 24 hours while the adhesive cures.
The costliest mistake is the first slat. People trust the corner, and corners aren’t straight. Every board after a crooked first one follows it, and by the far end you have a lean you can’t unsee. If it happens, take the last few down and re-level from a fresh pencil line. Annoying now, cheaper than a wall later.
Any new light, outlet, switch or fan on that wall is electrical work. Hire an electrician.
How to Tell Water Damage Early, and the One Dry Wall to Start With
My neighbors call me when something falls off the wall. A slat wall warns you long before that. Look it over once a month:
- A spot that sinks when you press it means damage inside, even if the face looks fine.
- Dark lower ends, streaks running down, or boards cupping at the edges.
- Blue-black or gray marks around screws, which mean moisture is reaching the wood.
- A swollen edge or lifted veneer on an MDF panel. It won’t shrink back, so replace that panel.
- A musty smell. Ventilate the room; don’t spray cleaner into the grooves.
Your first move is small. Pick the wall behind the toilet or the vanity. Turn the fan on and check it clears the mirror. Order samples, and when you order the wall, order all of it. If you’re unsure, treat the slats like furniture on that one dry wall.
Do that, and a year in, your slats keep their color, stay hard under your thumb, and still ring when you knock on them.
FAQ
How far apart should the slats be on a bathroom wall?
Keep the gap narrower than the slat. A common DIY layout is 2 in slats set 1 in apart, and ready-made panels use about 1.06 in slats with 0.51 in gaps. In a bathroom, deep narrow grooves hold dust and damp, so wipe them gently and keep the air path behind the slats open.
How do you clean between wood slats without soaking them?
Dust weekly with a soft, dry microfiber cloth. For marks, use a barely damp cloth and dry the spot right away. Skip soaking, abrasive pads, harsh chemicals and steam cleaners, which can damage felt backing. Some panel makers say dry cloth only, so check yours. Avoid bleach on the wood.
Can you use a slat wall in a rental bathroom without damaging the wall?
Don’t count on a bathroom-rated slat system that leaves the wall untouched. Adhesive and screws both leave marks a landlord may charge for, though some panels use concealed clips that allow later removal. Ask permission first, or use a freestanding slatted panel on the dry wall. Either way, keep it out of the spray.