
The first time I watched a farmhouse sink installation video, cabinet prep took 45 seconds — notch cut, frame in, sink dropped, done. In real life it took an afternoon and two test-fits. Apron sinks need a notch in the cabinet face, a built support frame, and a height that lands within an eighth of an inch. None of it is hard. All of it is unforgiving if you rush it.
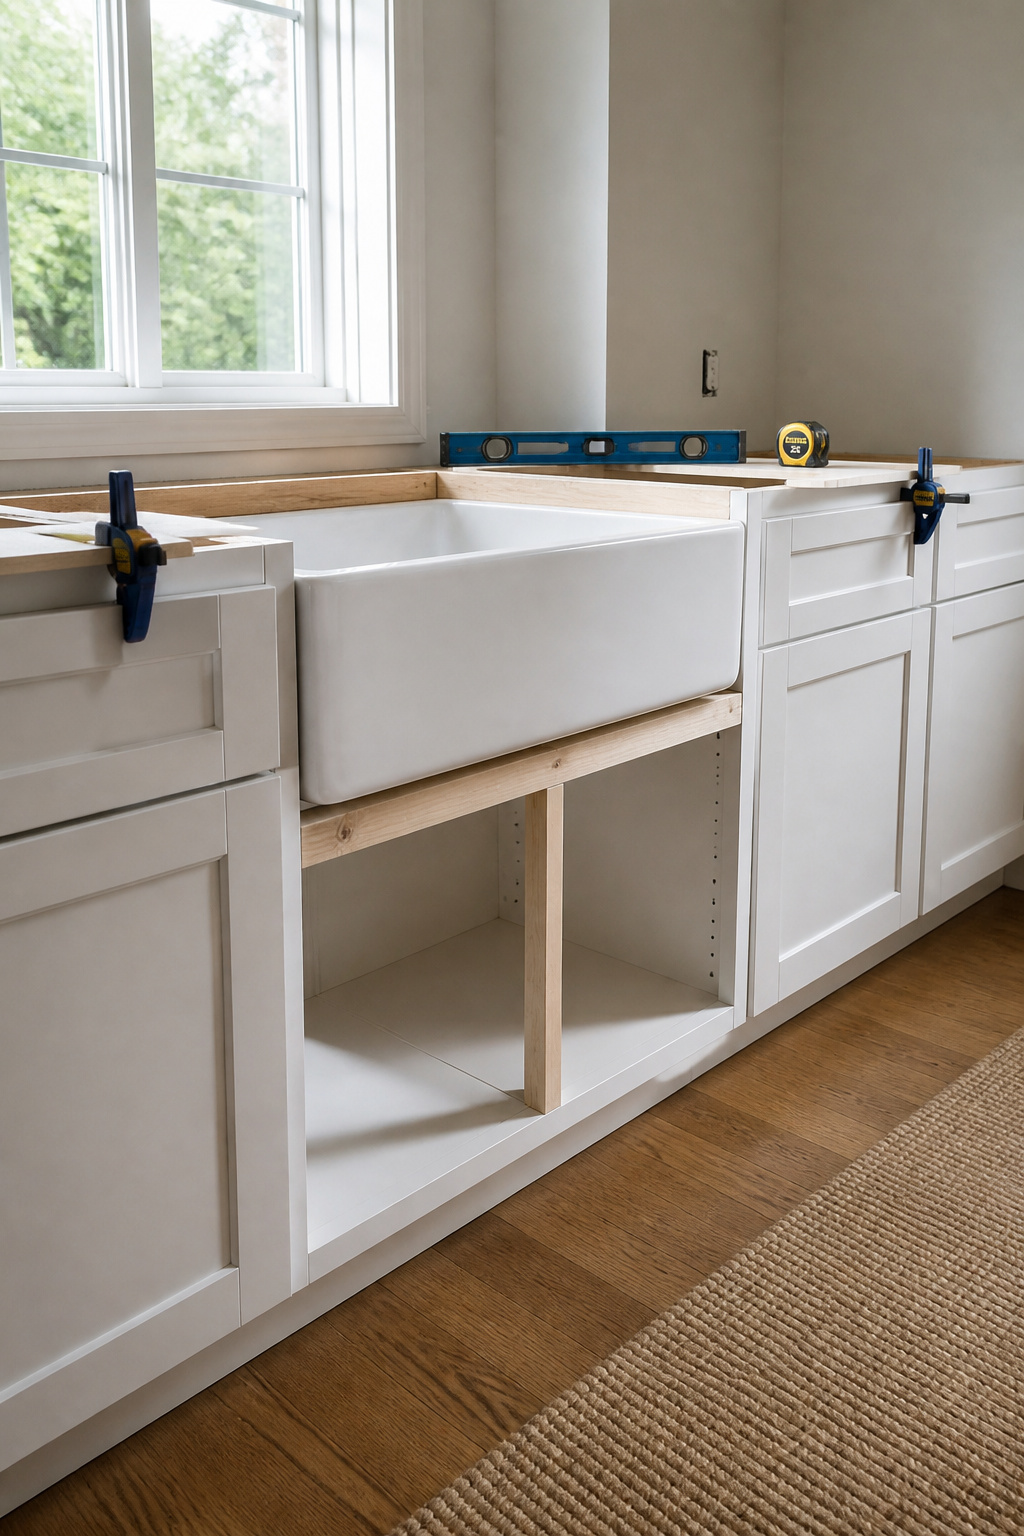
TL;DR
- Total retrofit cost runs $500–$5,000; the sink alone is $200–$3,500, pro labour $300–$1,500, DIY extras under $100.
- Budget 5–8 hours over two days — day one for cabinet prep and the support frame, day two (after silicone cures) for plumbing and the leak test.
- Skill level: some builds. Three precise jigsaw cuts, basic plumbing with no soldering, and a level. Call a plumber for gas lines, drain re-routing, or suspect floor joists.
Haven’t settled on a sink yet? Start with choosing a farmhouse kitchen sink first.
Farmhouse Sink Installation: Cost, Hours, and Honest Skill Rating
Numbers before inspiration.
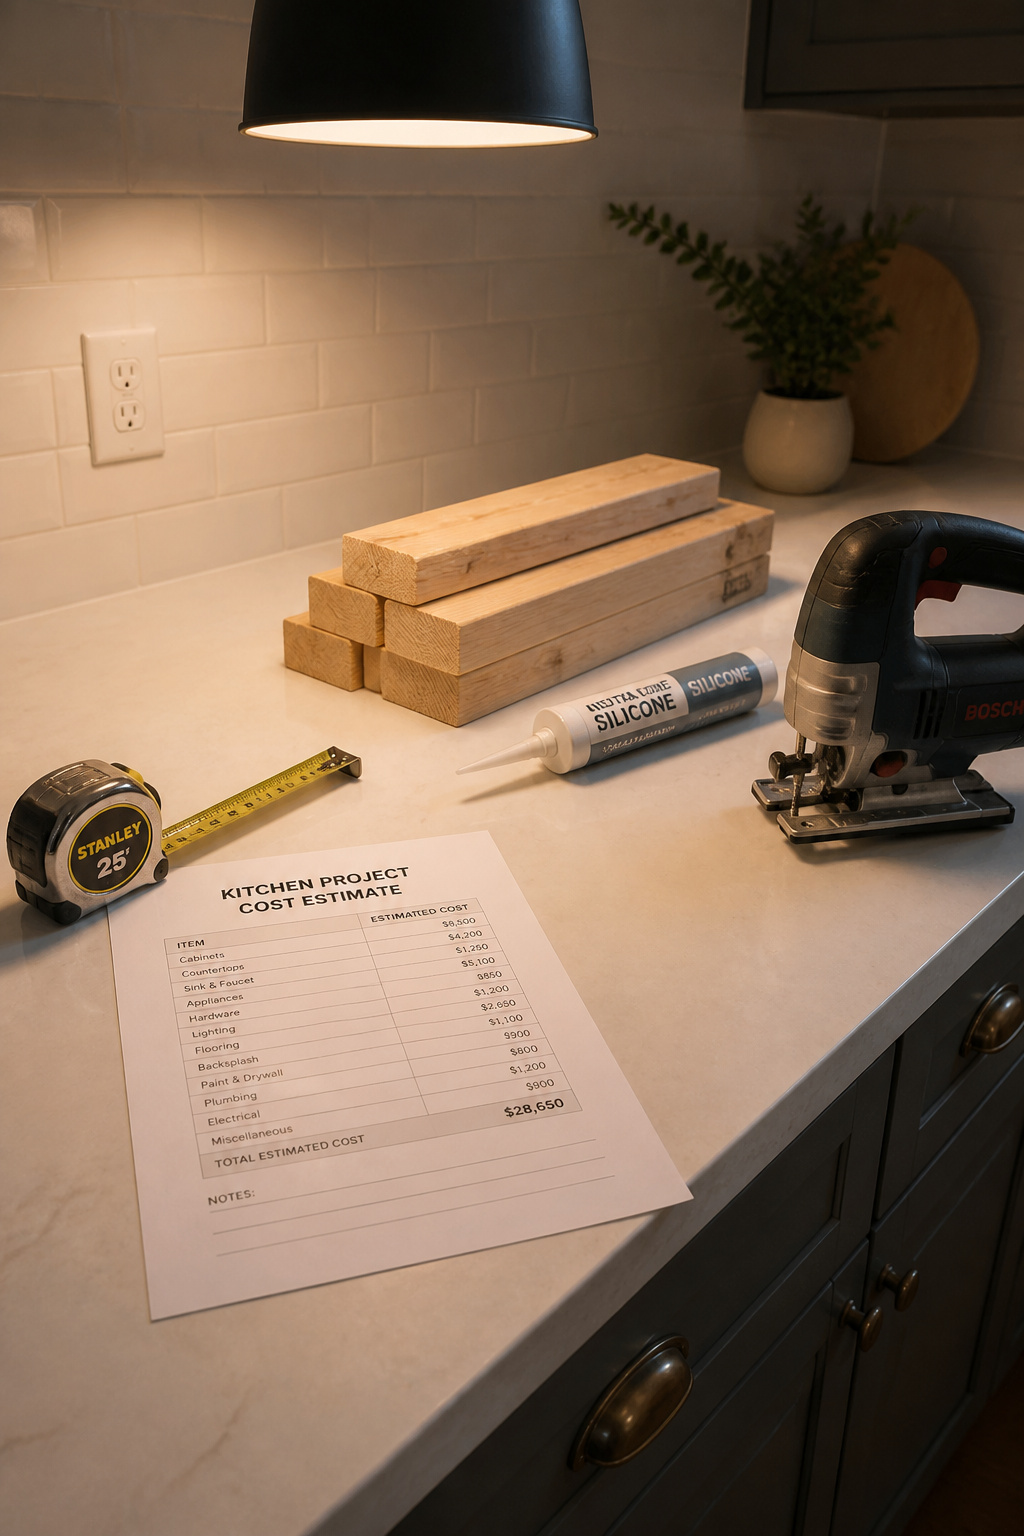
| Task | Cost | Hours | Who |
|---|---|---|---|
| Sink unit (fireclay / stainless / cast iron / copper) | $200–$3,500 | — | You |
| Cabinet mod + plumbing, professional | $300–$1,500 | 4–8 | Licensed pro |
| DIY extras (lumber, silicone, blade, strainer) | Under $100 | — | You |
| Drain re-route if stub-out too high | $500–$1,500 extra | varies | Plumber |
The sink alone runs $200–$3,500: fireclay $600–$1,400, stainless $200–$1,500, cast iron $500–$3,000, copper $1,000–$3,500. Pro labour is $300–$1,500 — higher than a drop-in swap ($230–$650) because of the cabinet work. Plan 5–8 hours over two days: day one for demo and the frame, day two after the silicone cures for plumbing and the leak test.
I rate the skill level some builds, not first build. You need a jigsaw for three precise cuts, basic plumbing (no soldering), and the patience to check level. Fireclay varies up to 2% from stated dimensions — measure the physical sink on delivery before cutting. Sinkology recommends “professional tools and professional experience” for undermount fireclay models specifically.
Three hard gates. Call a licensed plumber — or gas fitter — if the cabinet run holds a gas line. Call a plumber if the drain rough-in sits too high: lowering it means opening the wall and re-routing the P-trap, $500–$1,500 in labour. Call a structural carpenter if the floor joists show softness or rot; a filled fireclay sink with a disposal can approach 300 lbs. Get the sizing right first before you buy.
Tools and Materials: What You Need on the Bench First
Stage everything before you touch a shut-off valve. A mid-job hardware run costs an hour and your focus.
- Jigsaw with a carbide or diamond blade — for the notch and countertop cuts. Workaround: oscillating multi-tool with a bi-metal blade ($40–$80 vs $80–$150).
- 3.5-inch hole saw — starter holes at countertop corners. Workaround: 1-inch starter hole in the waste area.
- Carpenter’s square and 24-inch level — non-negotiable; together under $25.
- Painter’s tape — mark cut lines and protect the finish.
Materials and plumbing supplies
The support frame is 2×4 lumber. Fasten with structural screws at least 2.5 inches long — not drywall screws, brittle under shear. Use 100% neutral-cure silicone, not acetoxy (the vinegar-smelling kind), which corrodes brass and chrome. Use plumber’s putty, not silicone, on the strainer basket — silicone makes future removal a nightmare.
Have new 20- or 24-inch braided supply lines ready ($8–$15 each); old ones rarely reach a deeper basin’s valves. Check the shut-off valves close fully before demo. Keep a PVC P-trap kit ($8–$15) and PTFE thread tape on hand.
Step 1: Prepare the Cabinet — The Face-Frame Notch and Support Frame
This is the phase the videos compress into seconds, and where most retrofits go wrong.
- Measure the physical sink first. Fireclay varies up to 2% from spec — use the delivered sink’s actual outer dimensions.
- Mark the centerline on the cabinet face, then half the outer basin width on each side.
- Mark the notch: depth equals outer basin height plus 1/8 inch; width equals outer basin width.
- Cut three lines — two verticals, one horizontal at the bottom. Shallow cuts first, then trim to the line.
The kerf trap: a jigsaw blade removes 1/16 to 1/8 inch per pass — on a notch with 1/8 inch of total tolerance, one careless cut uses your whole margin. Cut inside the line; test-fit before removing more. If the notch is too wide, glue in a matching pre-finished strip — colour match is imperfect. Cut right the first time.
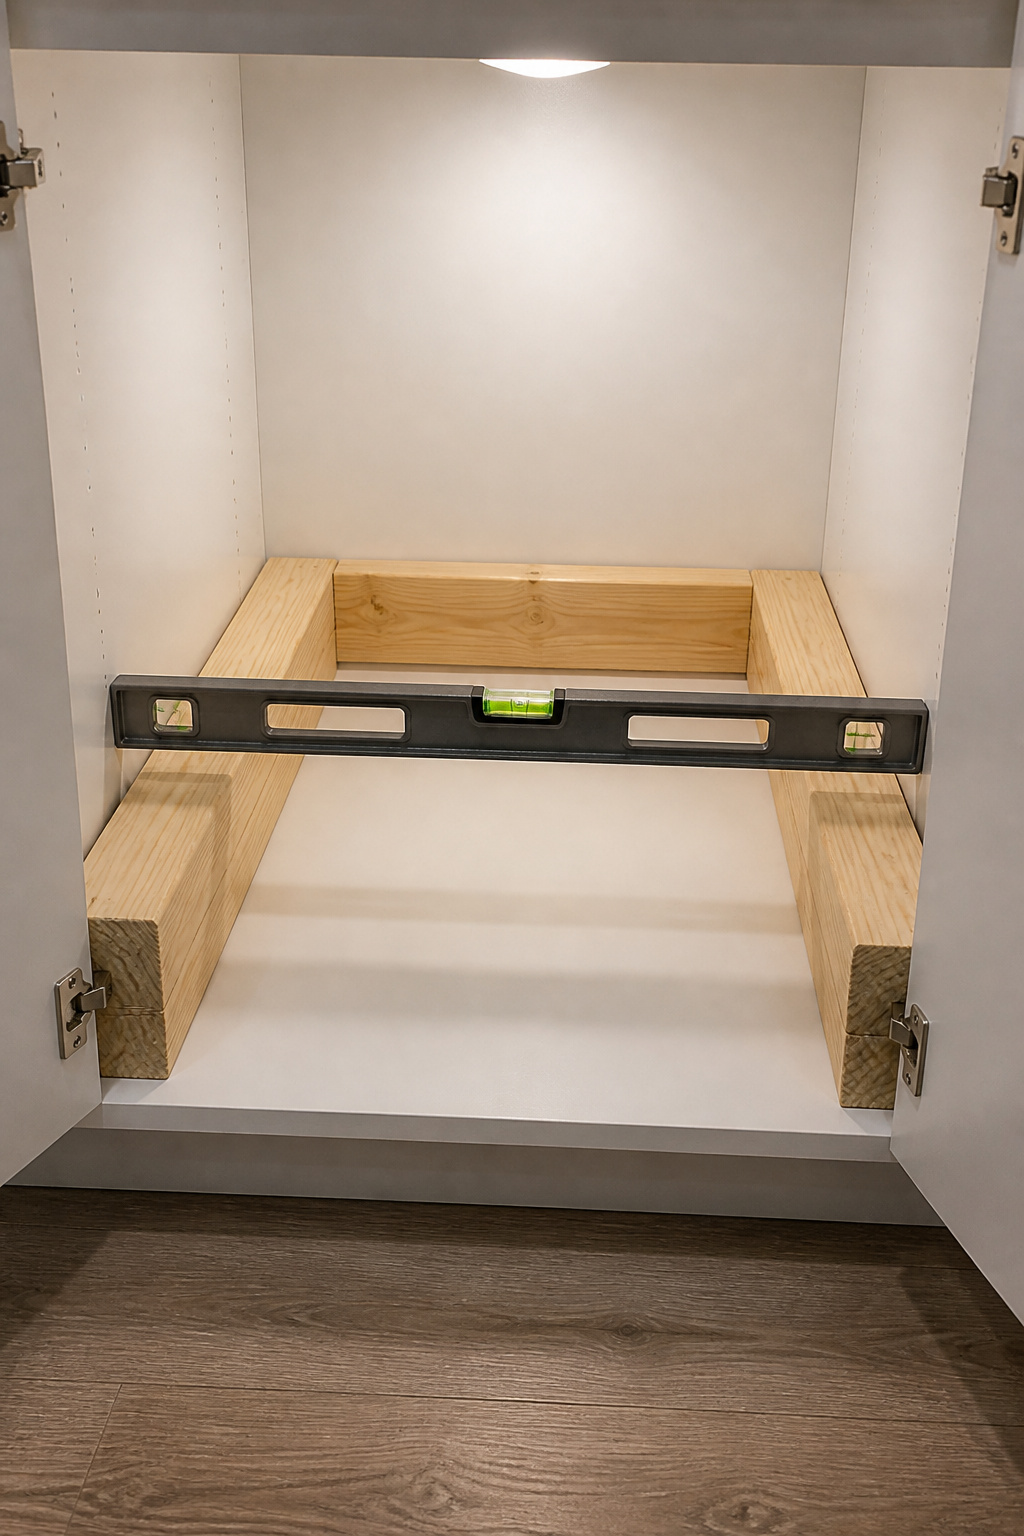
Building the 2×4 support frame
Draw a level line inside both cabinet walls 3 and 5/8 inches below the top. Cut the back support to cabinet interior width minus 3 inches, and two side supports to full front-to-back depth, marked at 17 inches from the front. Fasten the back support just behind those marks for a U-shaped frame, then screw to the cabinet walls along each side support.
For cast iron, stone, or concrete over 200 lbs, add 2×4 corner legs to the cabinet floor — treat floor-joist anchoring as a general caution; loop in a carpenter if your sink is that heavy. Level the frame in both directions before the sink touches it; shim under the ledger boards, not at one corner.
Step 2: Set the Sink and Get the Height Right
The frame’s done and level. The one number that matters now is the 1/8-inch recess.
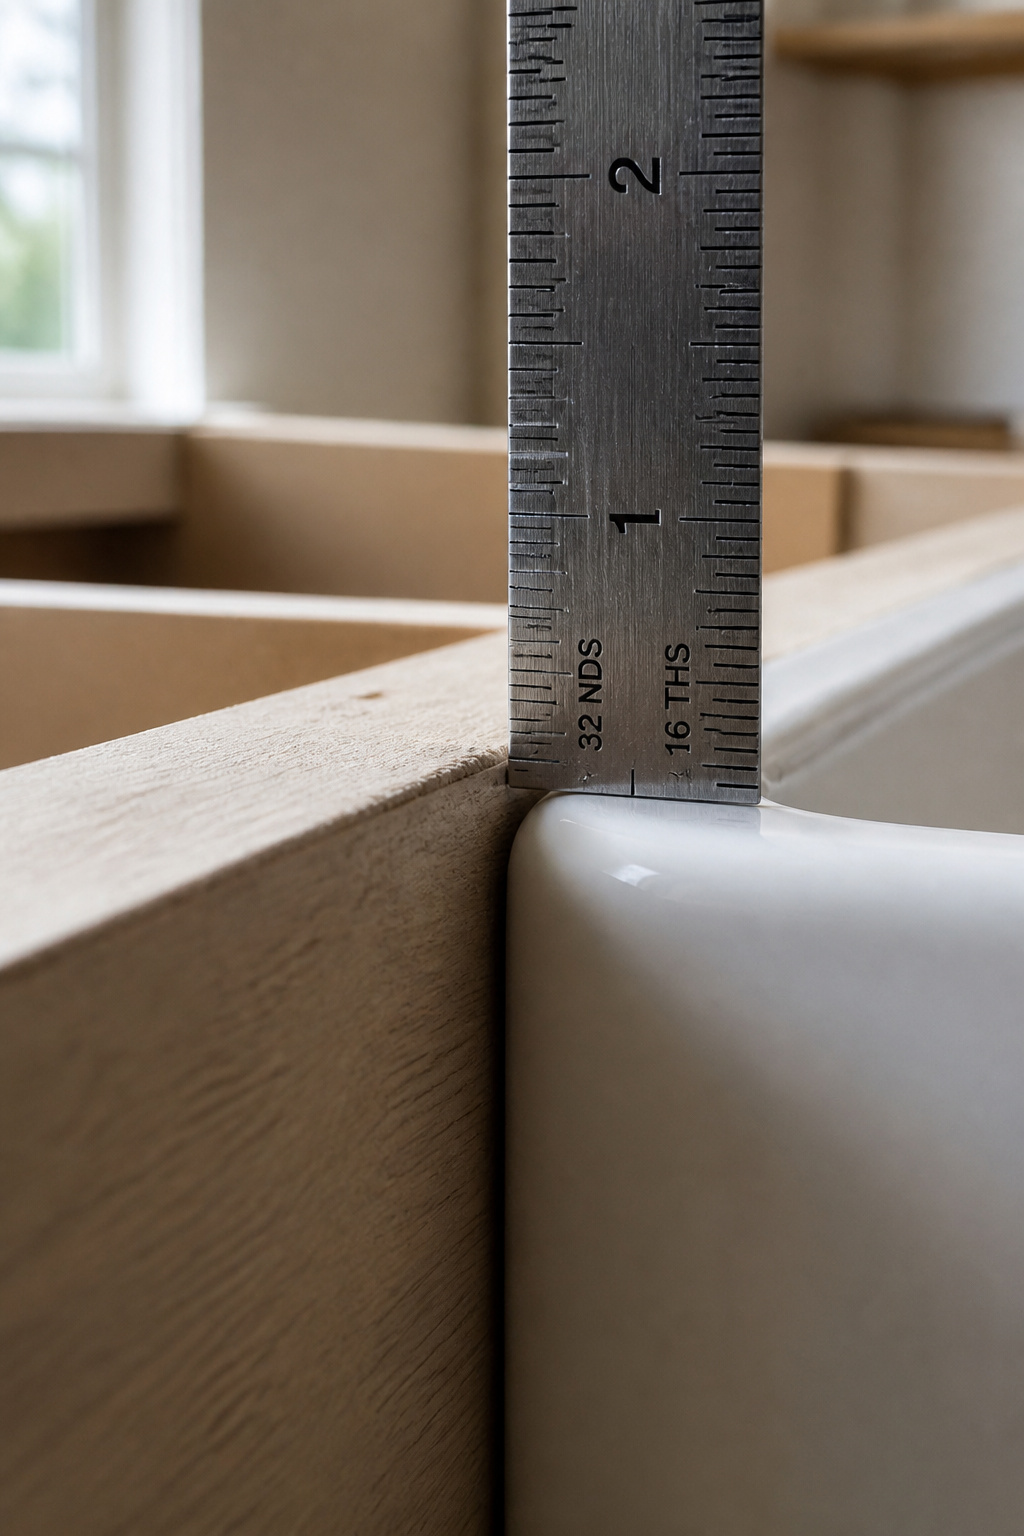
- Confirm the rim height. The sink top must sit 1/8 inch below the cabinet top — that’s where the countertop silicone bead lives. Lay a straightedge across the countertop and measure down: 1/8 inch, about two stacked pennies.
- Lower the sink safely. Fireclay basins weigh 85–120 lbs empty — two people minimum. Slide it back onto the frame from the front edge; don’t drop it straight down, which can crack fireclay at the drain hole.
- Dry-fit before any adhesive. Set the sink with the countertop over it and check every clearance: apron past the face (frame too high), below the notch bottom (too low), or off-centre by more than 1/8 inch.
Install and level the sink before the countertop is fabricated. Mark the spot with a water-soluble marker before lifting it out for silicone.
Bowl layout doesn’t change this height math, but it changes the sink you’re setting — settle single vs double bowl before you order.
Step 3: Plumbing Connections and the Leak Test You Cannot Skip
This assumes the drain rough-in already lines up. If it doesn’t, call a plumber.
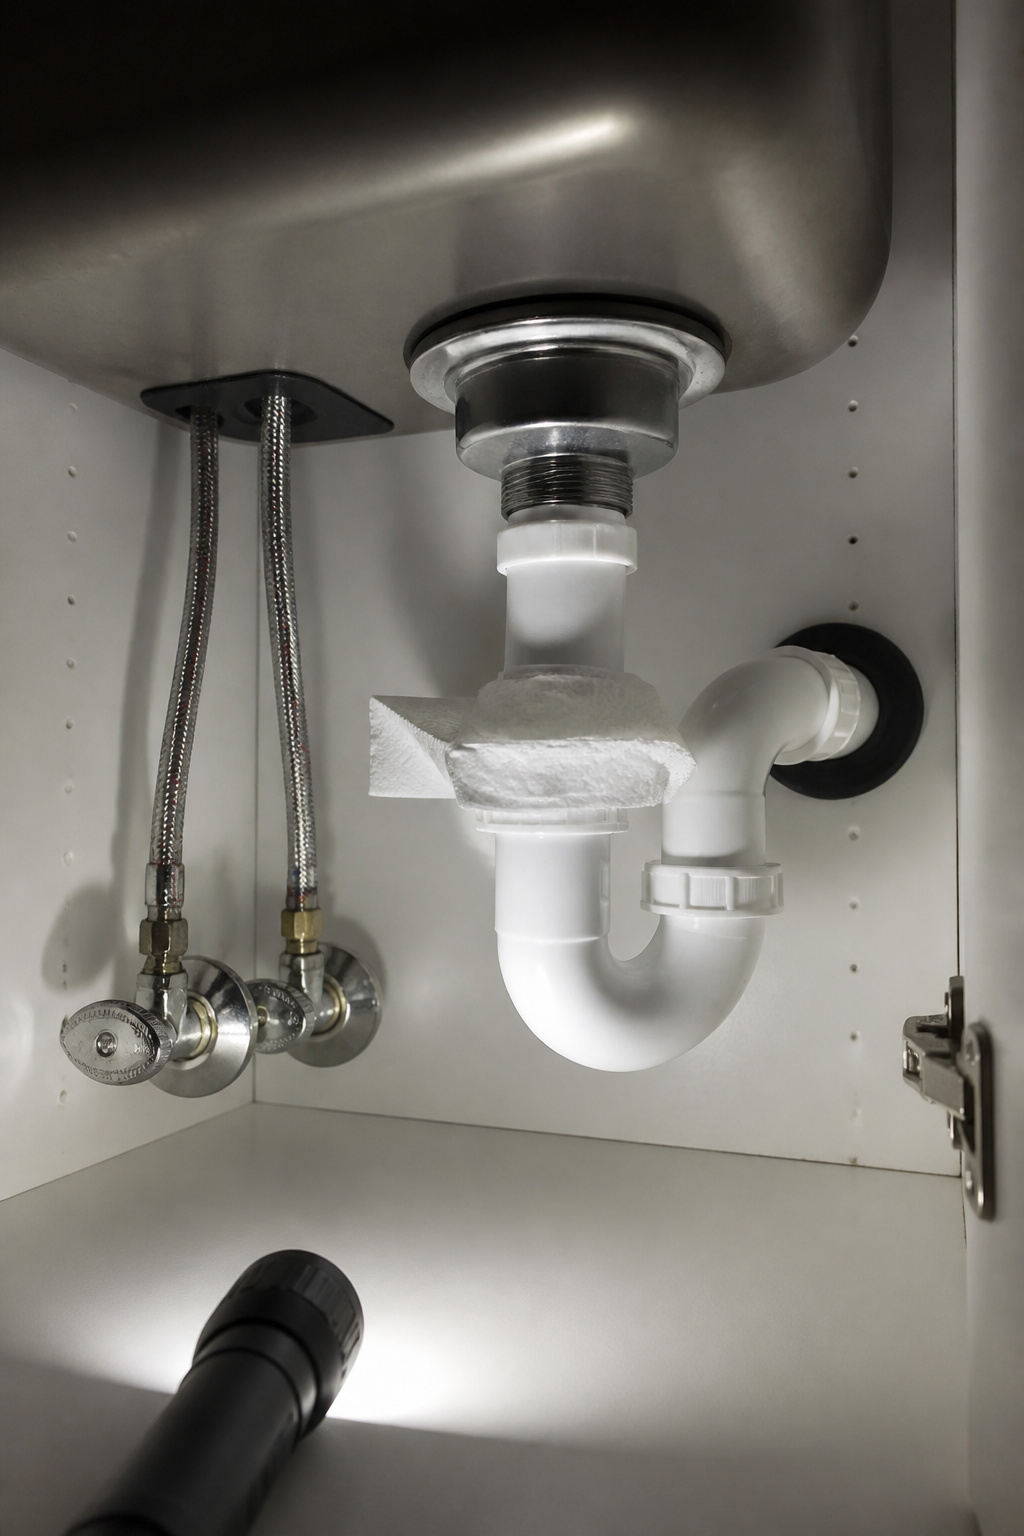
- Close the supply valves fully. A valve that won’t seat needs replacing first.
- Connect the supply lines — new braided stainless, hand-tight then a quarter-turn with a basin wrench. Don’t overtighten; you’ll crush the ferrule.
- Set the strainer basket: roll plumber’s putty into a 3/8-inch rope around the underside, then thread the gasket, friction ring, and locknut from below until putty squeezes out evenly. Don’t overtighten — fireclay cracks.
- Connect the P-trap from the basket tailpiece to the wall stub-out, typically 6–8 inches below the basin bottom.
As a rule of thumb, not code: standard rough-ins sit 18–20 inches off the floor; deep farmhouse basins often want 16 inches or lower. Confirm yours matches.
Silicone goes in three places: support frame ledger, rim-to-countertop seam, apron-to-cabinet-face gap. Apply thin, after the dry-fit passes.
Then the leak test. Wait 24 hours minimum; full cure runs 24–72 hours, and a kitchen below 65°F pushes toward the long end. Check these six points:
- Open the supply valves slowly.
- Check both supply line ends with a dry paper towel — moisture marks a leak.
- Run hot and cold separately, two minutes each.
- Fill the basin full, then release it all at once — the drain stress test.
- Check the P-trap and all drain joints with a flashlight.
- Run the disposal if present and re-check the joints.
The dry-towel method catches slow-weep connections that never visibly drip. Recheck all six at 48 hours — late leaks concentrate at the strainer basket, the slip joints, and the countertop seam.
The Mistake Paragraph: What Goes Wrong and How to Recover
Four things go wrong on this job more than any others. None are catastrophic before the countertop is set. All are expensive after.
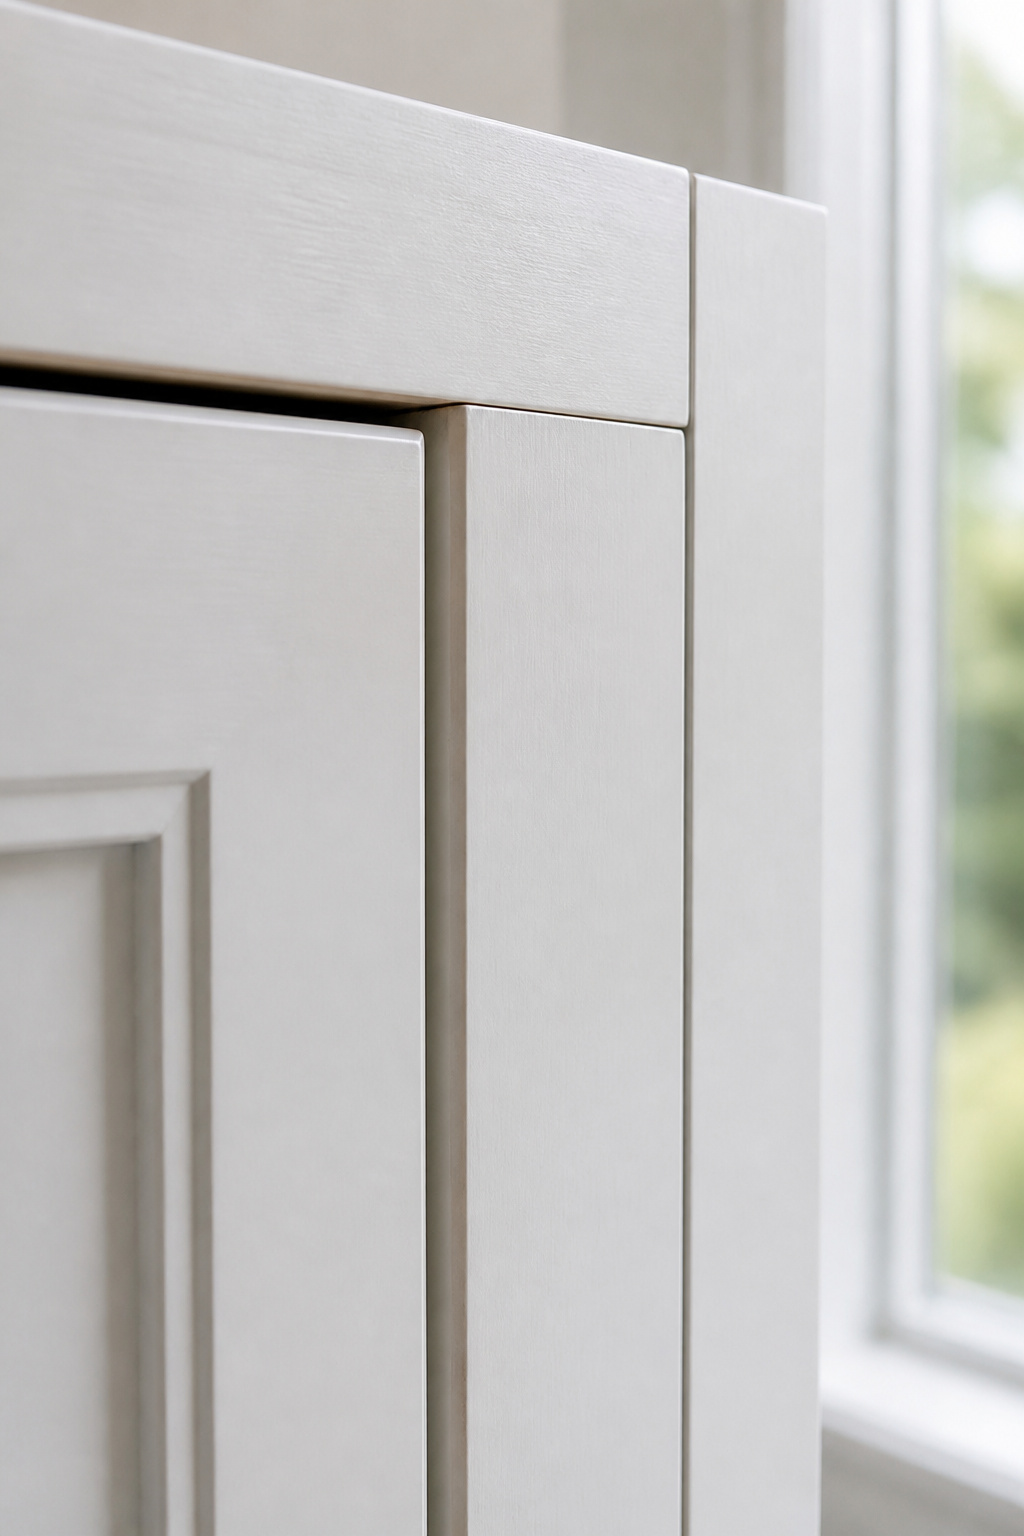
The notch cut too wide or deep. Over-cutting the width is the classic costly miss; recovery is gluing in a matching pre-finished strip, though the colour shows under some light. Over-cutting the depth drops the apron below the cabinet plane — shim the frame up.
The sink not level after the frame’s in. Out of level pools water at the low corner. Before the countertop goes on, the fix is cheap: pull the sink, shim the low side support, re-set. After the countertop’s on it means removing it — which is why the level check can’t be skipped.
Silicone applied before the dry-fit was confirmed. Find the problem after the adhesive grabs and removing a bonded sink means cutting with a utility knife, which can chip fireclay glaze. Silicone is the last step.
The drain not lining up with the rough-in. A deeper basin drops the drain outlet several inches. Within 2 inches, a flexible PVC trap extension bridges the gap for $8–$15; beyond that, it’s the plumber. Santhoff Plumbing notes this is one of the most common things they see — so measure floor-to-stub-out before you demo.
After the Install: What to Check in the First 48 Hours
The leak test passed. Don’t celebrate yet — slow leaks surface over the next 48 hours. The sink stays off-limits until the silicone cures: 24 hours minimum before sustained water contact, full cure 24–72 hours. Below 65°F or high humidity pushes toward the long end.
At 48 hours, run the re-check. Three places where late leaks show: the strainer basket (putty compresses slowly), the P-trap slip joints (thermal cycling shifts plastic), and the countertop seam (a bridged bead collapses under pressure). Dry the cabinet, run the sink five minutes including hot water, then inspect:
- The strainer basket underside, after the basin’s been full and drained.
- All P-trap slip joints, after hot water has cycled through.
- The countertop-to-rim silicone seam.
Only then fit the faucet — last, so you verify spout reach before drilling holes. A bottom grid ($50–$200) earns its keep on fireclay, where chips show even in the same colour. Wait for the 48-hour check before connecting the disposal; its vibration stresses still-curing joints.
For material choice, bowl layout, and care, circle back to choosing a farmhouse kitchen sink.
FAQ
Can I install a farmhouse sink myself without a plumber?
Yes, if the existing drain rough-in lines up with the new sink and no gas lines run through the cabinet. You’ll need a jigsaw for the face-frame notch, 2×4 lumber for a support frame, and basic plumbing — supply lines and a P-trap, no soldering. Budget 5–8 hours over two days. Call a plumber for drain re-routing or gas.
How much does it cost to have a farmhouse sink installed professionally?
Professional installation costs $300–$1,500 in labour, depending on cabinet modification, whether the drain line needs rerouting, and local plumber rates ($75–$150 an hour in 2026). Total installed cost including the sink is $500–$5,000; a fireclay sink with undermount installation typically lands in the $1,000–$2,500 range.
Do you need to reinforce the cabinet for a farmhouse sink?
Yes. A filled fireclay sink with a disposal can approach 300 lbs of concentrated load, more than a standard base cabinet handles once the face frame is notched. The fix is a 2×4 internal support frame anchored to the cabinet side walls. For very heavy cast iron, stone, or concrete sinks, add 2×4 corner legs to the floor.