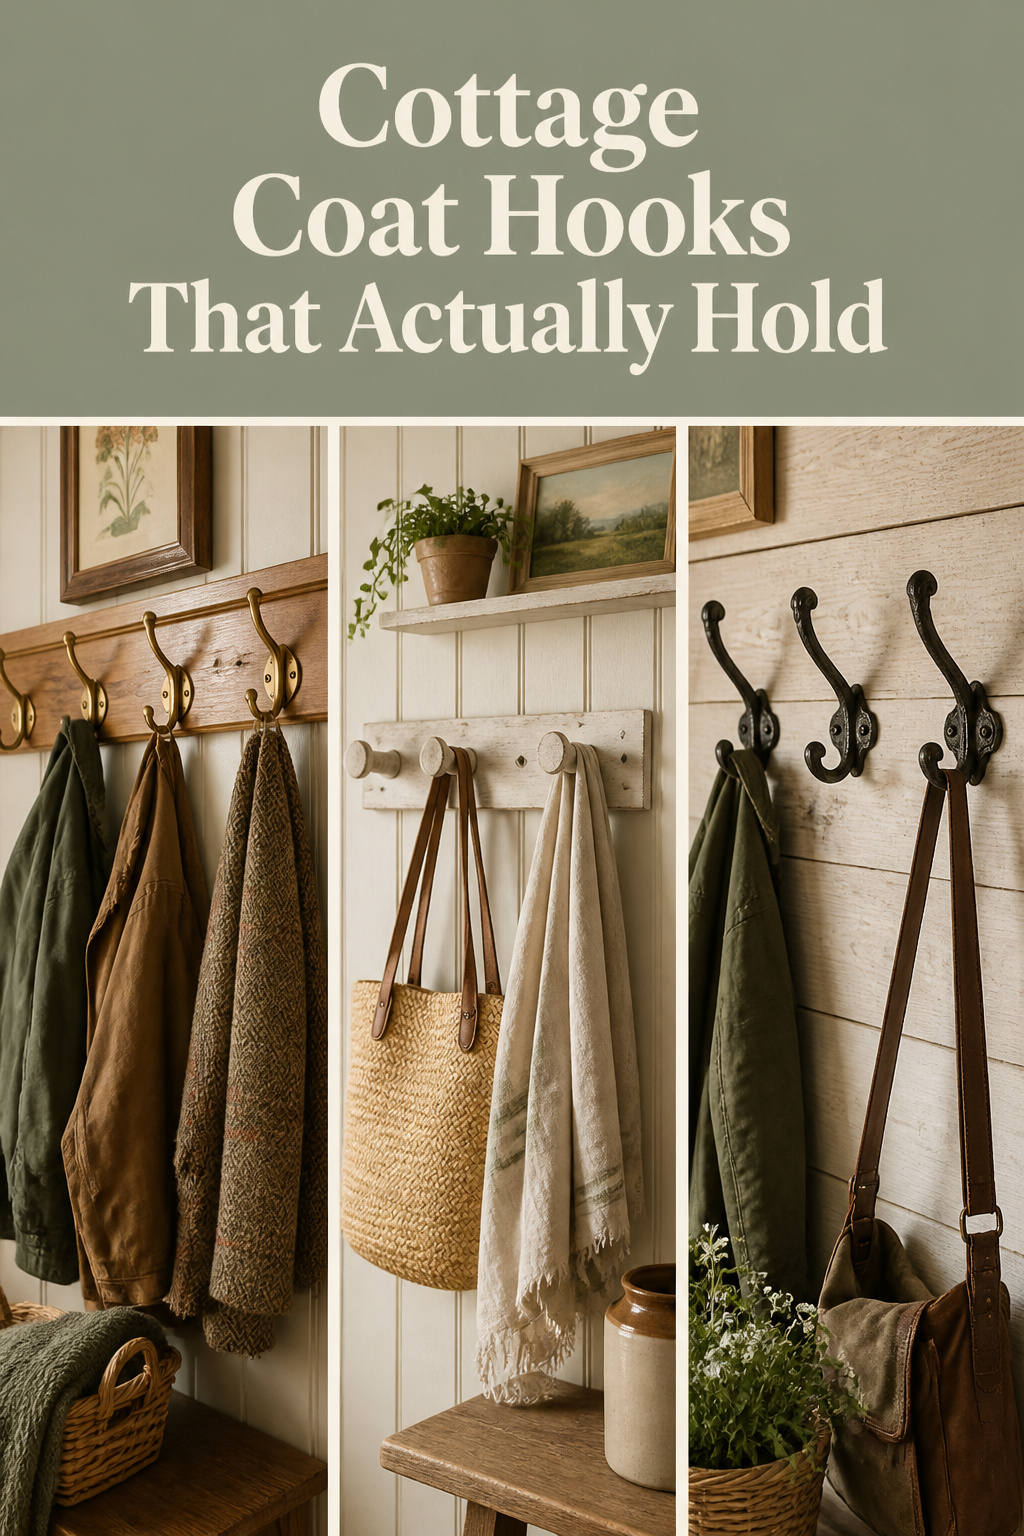
There’s a belief that hanging coat hooks is the easiest job in the house — any hook, any wall, two screws, done before lunch. I’ve patched the plaster of enough people who believed it. Cottage entryway coat hooks fail the same boring way every time: the rail holds a few weeks, then pulls clean out of the wall one wet Tuesday with everyone’s winter coats on it. The hook was never the problem. The wall behind it was.
TL;DR
- Fixing beats hook: screw into studs, or use spring toggle bolts (a 1/8-inch toggle safely holds 30 lbs) — a family’s wet winter coats total 35–45 lbs on one rail.
- Mount adult hooks at 60–66 inches and a child row at 36–42 inches; space coat hooks 10–12 inches apart, 15 for bulky parkas.
- A DIY board-and-peg rail costs $20–$35 in stock pine and takes a Saturday; genuine cast brass or wrought iron beats lightweight zinc-alloy for daily use.
The Part Every Hook Tutorial Skips: Wall Type, Fixing, and Load
Before you choose a hook, find out what your wall is made of. In an older cottage that’s not a quick answer — you might have lath-and-plaster, plasterboard on a timber stud, or solid brick, each taking a different fastener. As the Old House Web installation guide puts it, it’s always better to fix something heavy straight into the studs — framing is the only truly reliable anchor.
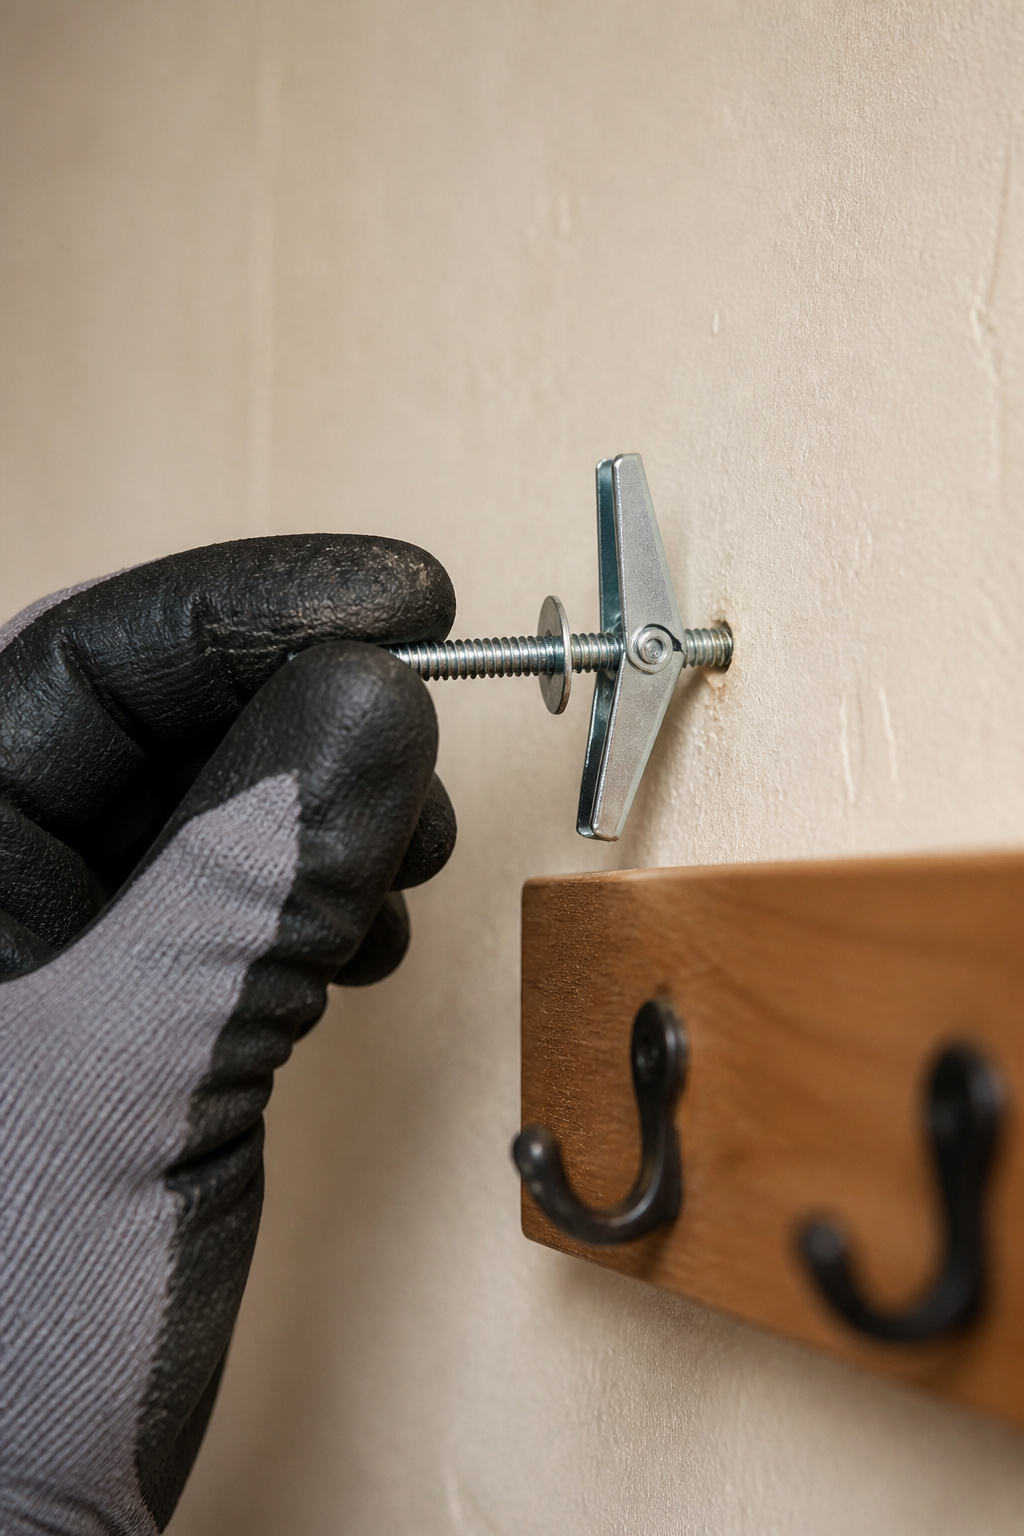
Stud vs plaster anchor vs hollow-wall fixing — how to know which you have
Start with the knock test: a hollow tap means nothing behind the surface, a dull thud means timber or masonry. In old houses studs sit at erratic spacings, so knock across the whole rail span first. A rare-earth magnet dragged sideways beats electronic finders on deep plaster — it grabs where nails are driven into the stud. No stud where you need one? Spring toggle bolts are the answer for plasterboard — the wings spread behind the board and share the load. For old lime plaster, use self-drilling metal anchors, never plastic plugs, which crumble under torque.
Load ratings: what “holds 20 lbs” means with three wet coats on one hook
A hook that says “holds 20 lbs” was tested static, in a lab, dry. A wool overcoat runs 4–6 lbs, a parka 3–5, a loaded backpack 8–15 — and wet fabric weighs more than any dry rating. Three soaked coats on one end of a rail hit 15–20 lbs of live load, plus a jerk every time someone yanks one off.
Size your fixings for double the load you expect. A 1/8-inch spring toggle safely carries 30 lbs in plasterboard; a 1/4-inch toggle around 300. Between studs, use toggles rated 50 lbs or more per point. A family of four in a cold climate wants a rail good for 35–45 lbs combined.
The one pre-drill check that prevents every ruined-plaster disaster
Stick two strips of painter’s tape over the mark before drilling — the tape holds the plaster skin and prevents flaking. Drill one small 1/8-inch exploratory hole first and probe with a wire to confirm stud timber or cavity. Always screw, never nail — nails vibrate cracks into lime plaster. Getting this right is the foundation for putting together a cottage entryway that works as hard as it looks.
Hook Rails and Peg Rails: The Cottage Classic, Done Right
The Shaker peg rail is about as cottage as hanging storage gets — in production since the 19th century. A peg rail is only as good as its dimensions: get the spacing, span, and finish right and it’s furniture; get them wrong and it bows.
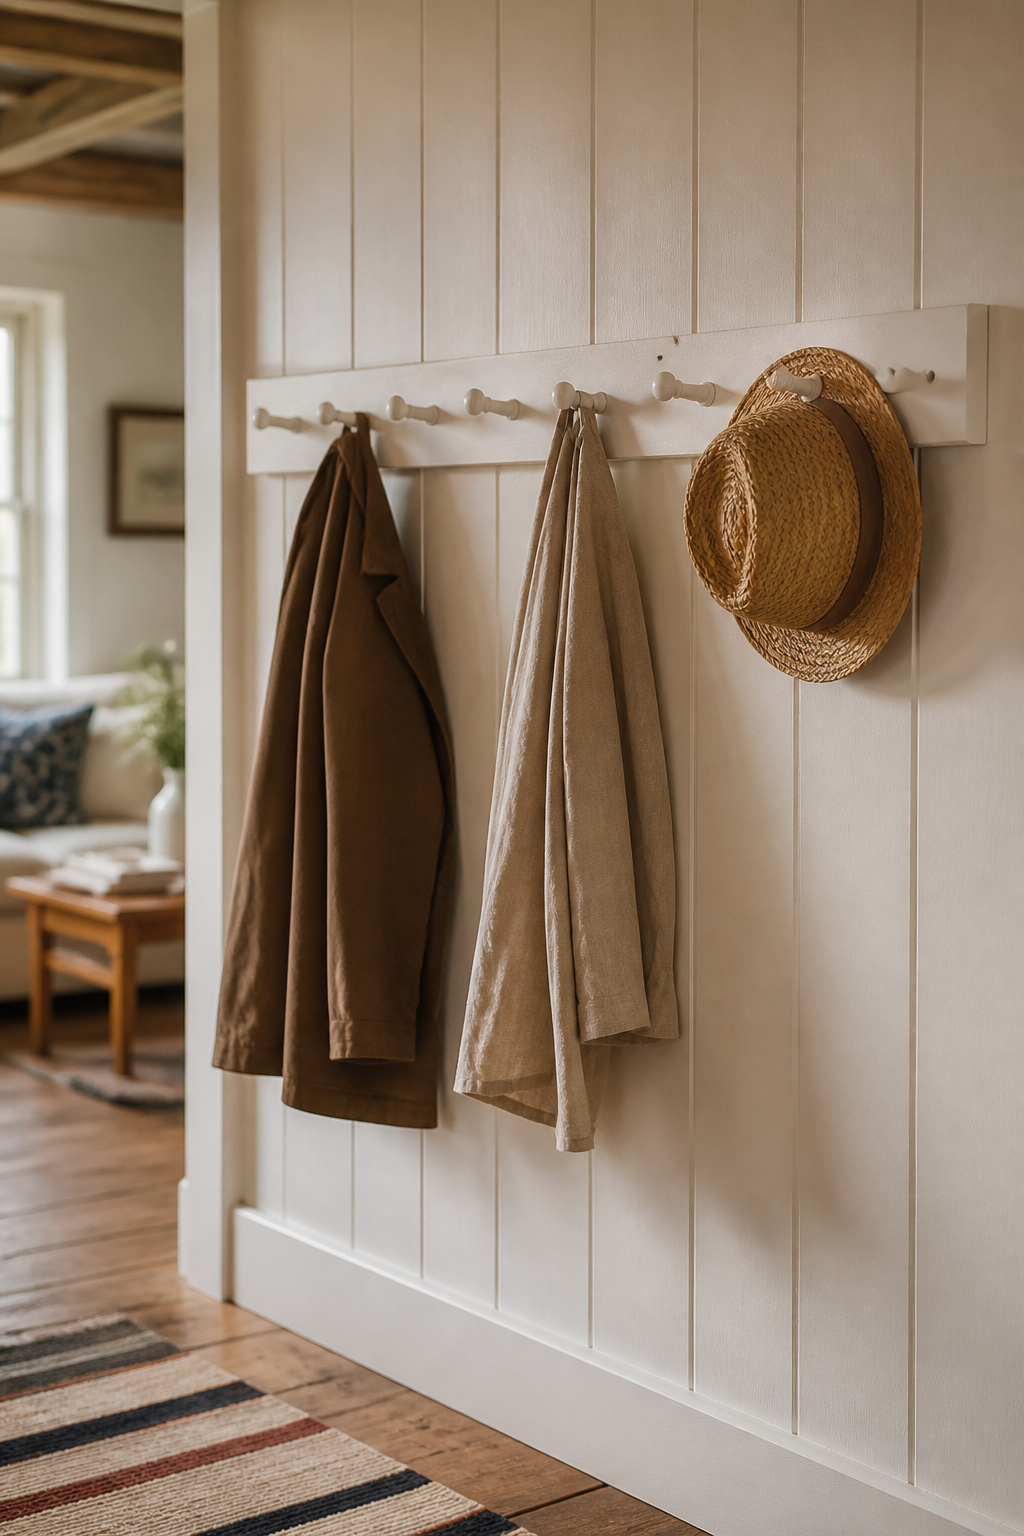
Shaker peg rails — dimensions, spacing, and the span that needs a centre stud
Stock rails come in 2-, 4-, and 6-foot lengths. Traditional spacing is 6 inches between pegs; most coat-weight reproductions use 8-inch centres. A standard peg is 3.5 inches long with a 0.5-inch tenon — that tenon fits a standard Forstner bit if you drill your own.
A 6-foot rail needs fixing into at least three studs — both ends plus a centre — or it bows inward under load. At 16-inch centres, 48 inches is the longest run between end fixings without centre support.
Painted vs unfinished wood: what cottage kitchens taught us about moisture
Bare wood drinks moisture from every wet coat, swells, shrinks, and over a season the peg tenons loosen. A painted finish seals it — but prime every surface, end grain included, since end grain soaks fastest. Choose satin or semi-gloss latex: the higher sheen sheds moisture and wipes clean. This is practical judgement rather than lab data, but it holds.
| Rail type | Rough cost | Notes |
|---|---|---|
| Budget pine, unfinished | under $30 | Prime and paint it yourself |
| Solid oak, factory-finished | around $180 | Ready to hang |
| Bespoke handmade (4 ft) | $80–$300+ | Timber and finish drive the price |
Hook spacing for a family: the 10-inch floor and why children’s heights matter
For winter coats, leave 10–12 inches centre-to-centre — a coat hangs in a 7–9 inch ellipse, so under 10 inches garments overlap. Stretch to 15 for bulky parkas; accessories-only rows pack in at 6. With children in the house, you’re planning two heights, not one — more below.
Vintage Brass, Wrought Iron, and Cast Hardware: The Hook Itself Matters
The market is flooded with zinc-alloy hooks plated to look genuine. For a daily-use fixing point, the difference earns its keep.
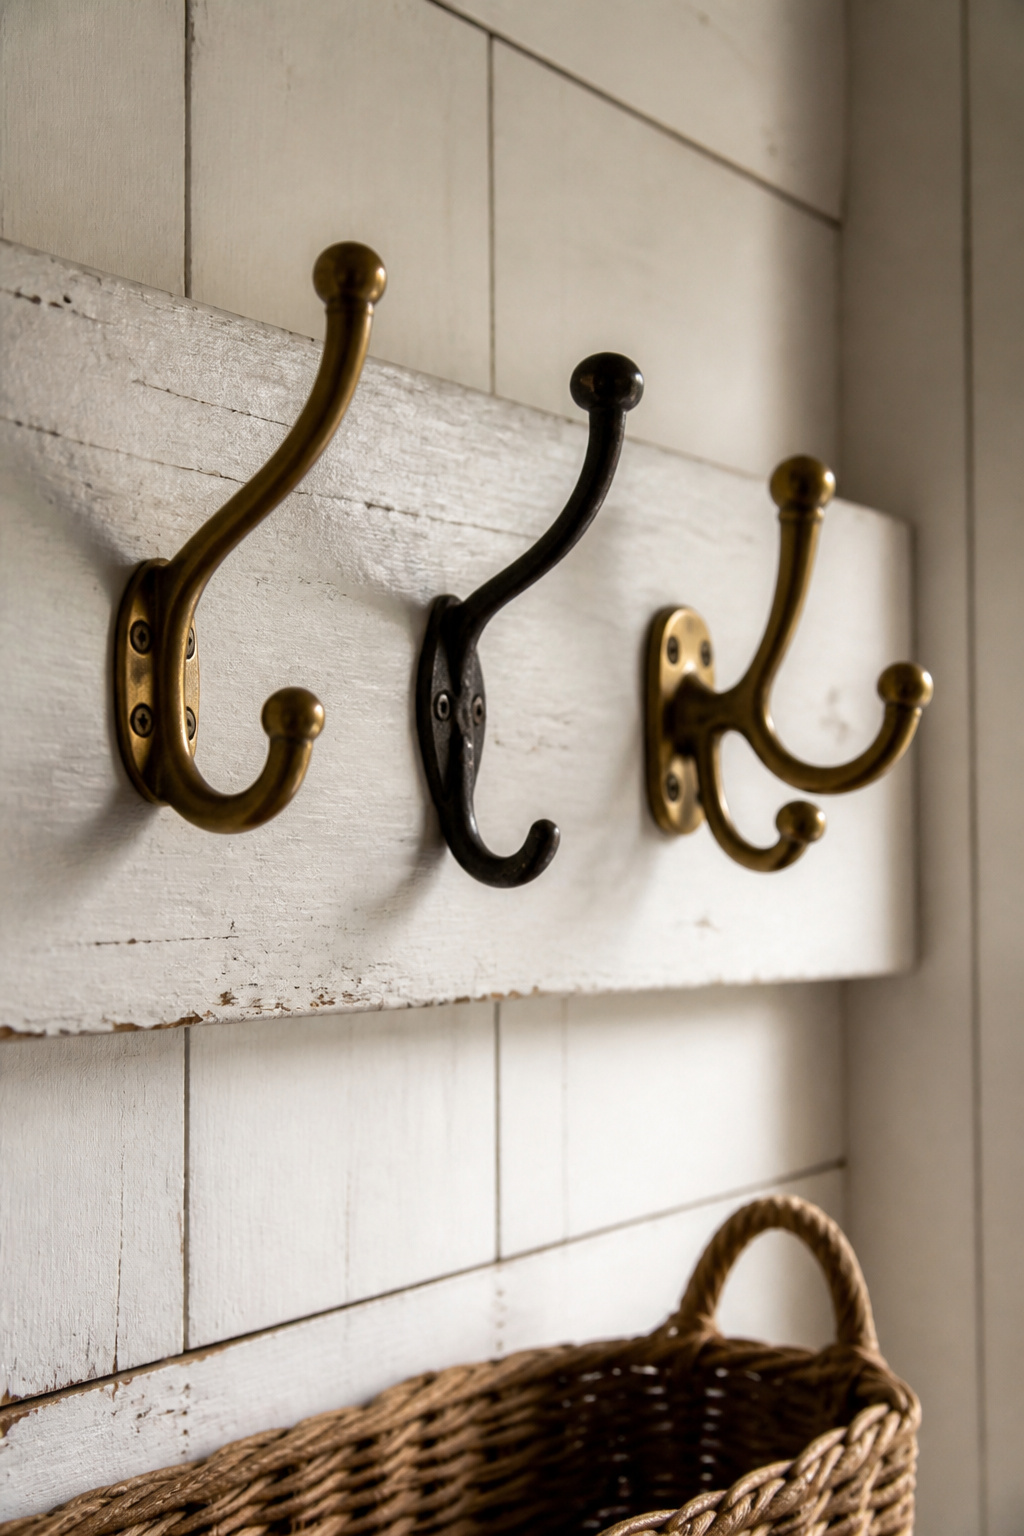
Pick two hooks up in the shop. Solid brass is roughly two-thirds copper, dense in the hand; cast iron weighs two to three times more than a zinc lookalike. A zinc (zamak) hook feels light and sounds tinny — worse, its thread can strip under repeated heavy loads, so the hook leans and then lets go. As one hardware comparison guide puts it, the weight is the function: a hook is a lever, and mass resists the bending moment every time a coat goes on.
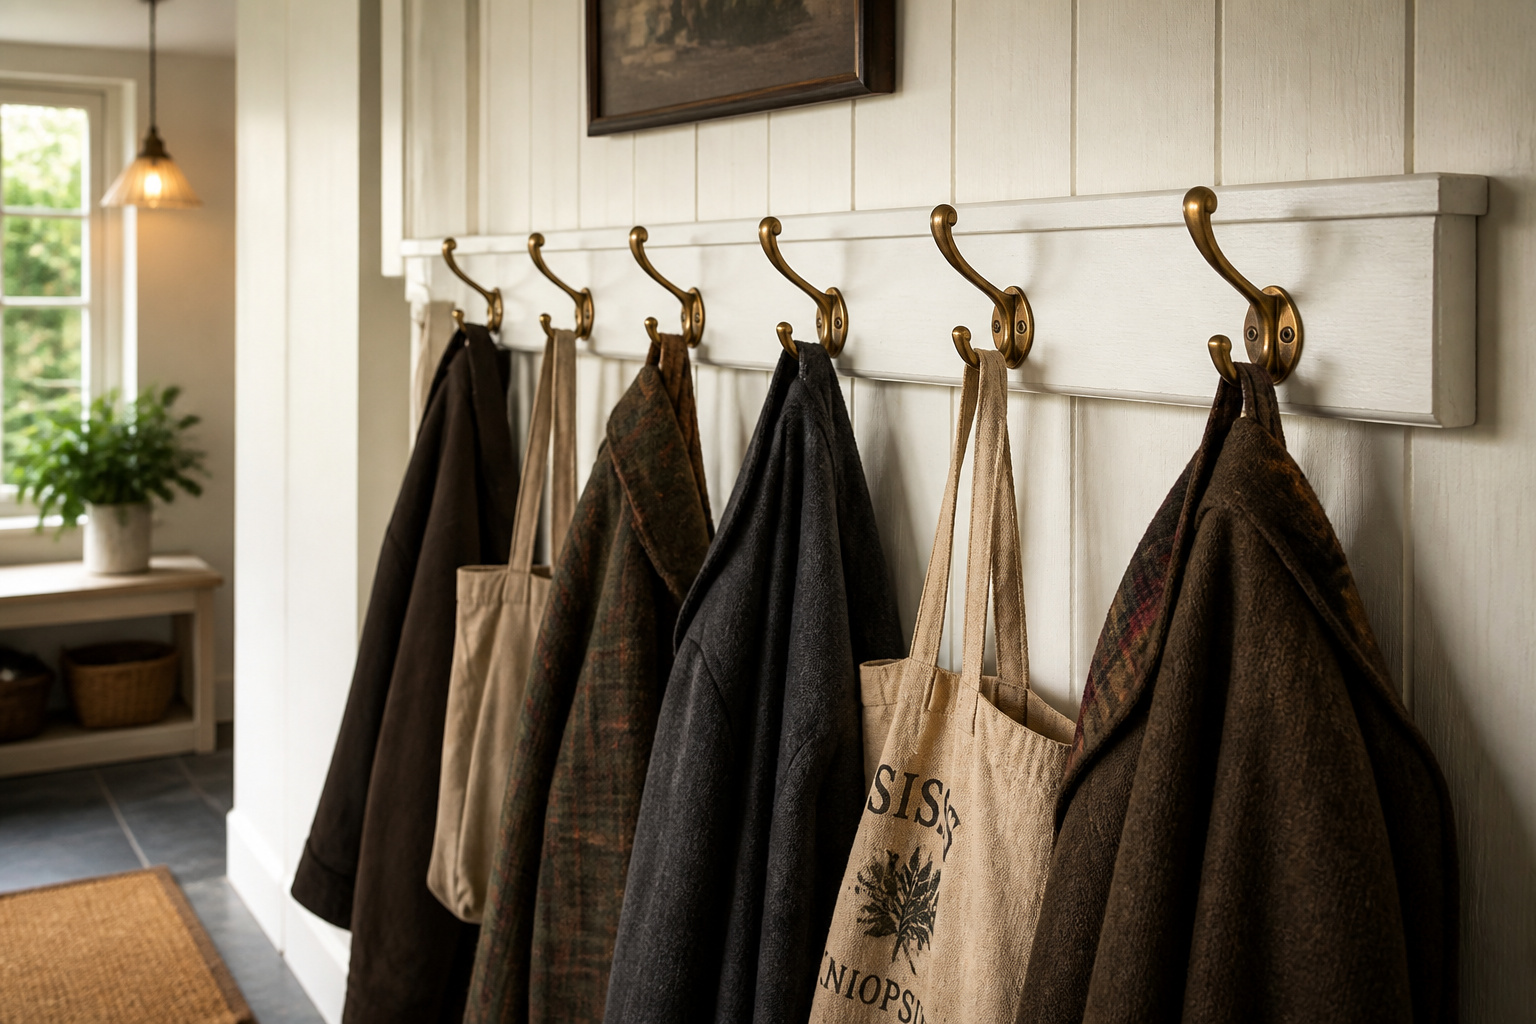
Specialists like House of Antique Hardware and Nostalgic Warehouse stock sand-cast solid brass in period styles. Sand casting leaves a faint texture a die-cast zinc hook lacks. For wrought iron, look for hand-forged marks — no two are identical, while stamped steel comes out crisp and uniform. Powder-coated matte black is the most practical entry finish; lacquered antique finishes wear patchy within months.
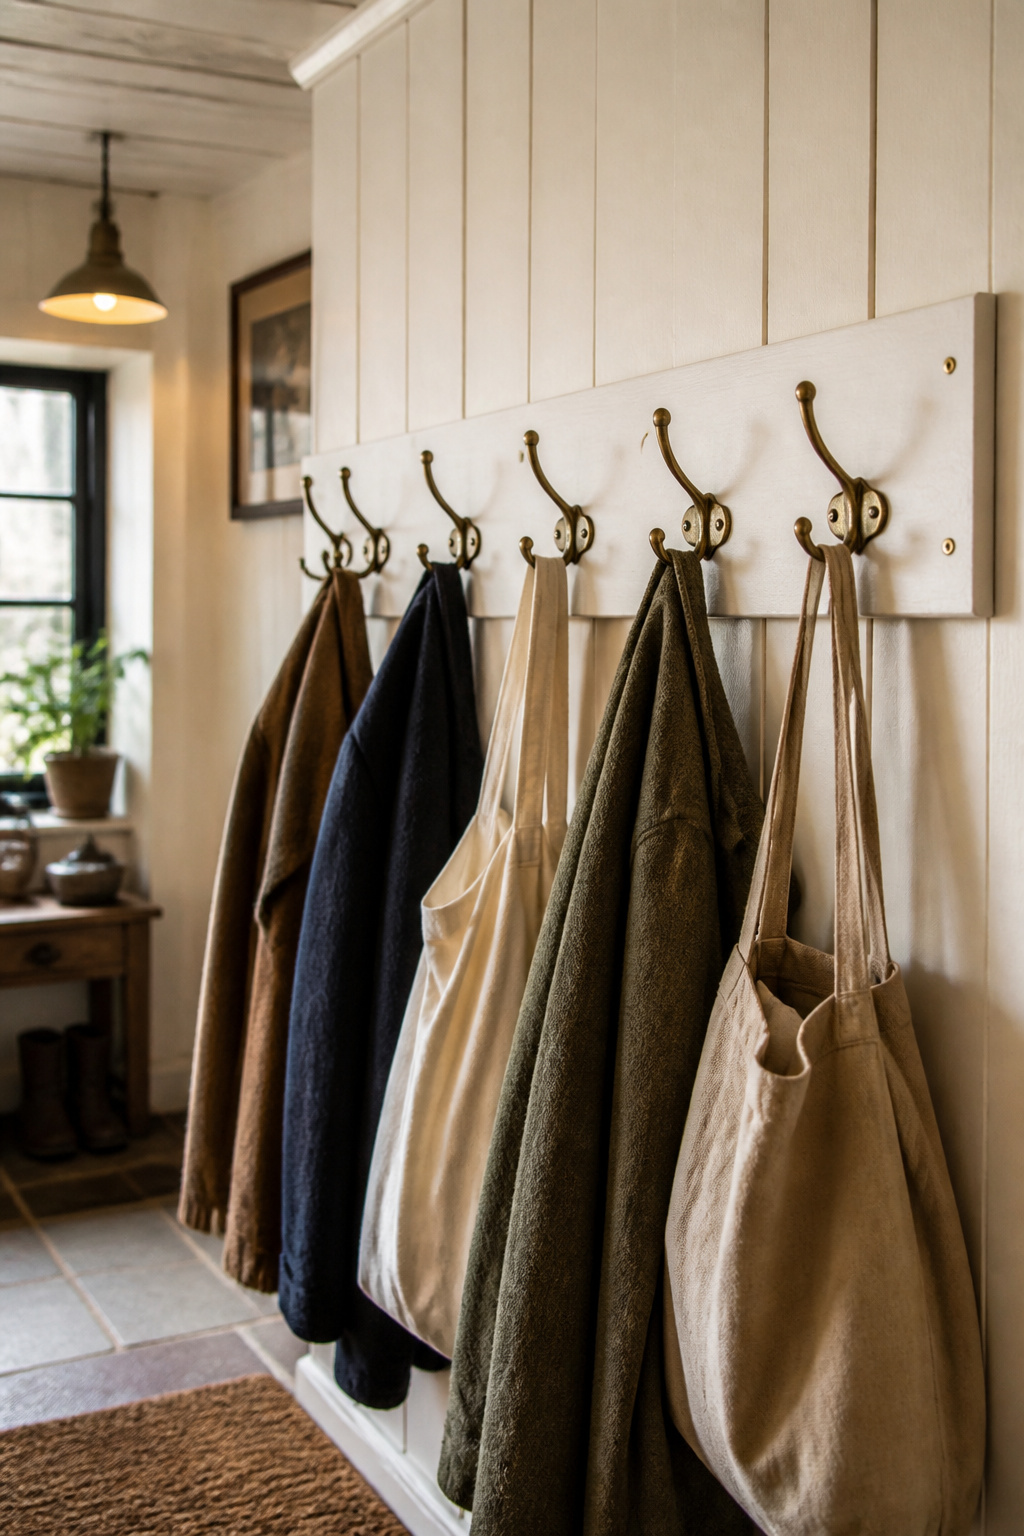
Single hooks suit a hat, a bag, or a child’s coat. Doubles give two hang points per fixing — coat plus bag — so specify one rated at least 20 lbs per point. Triple swing-arm brackets read utility, not cottage. For a family entry, hooks rated 30–40 lbs per fixing leave a comfortable margin.
DIY Board-and-Peg Build: A Solid Hook Rail for Under $40
A 44-inch peg rail comes from one 8-foot 1×4 pine board ($8–$12) and a pack of Shaker pegs ($10–$14), plus screws, primer, and paint — $20–$35 all in, sometimes $18. Time: about 45 minutes to cut, mark, drill, and sand, plus dry time for two coats — and the inevitable trip back for the bit you forgot. Skill level: first build. Tools: drill/driver, 0.5-inch Forstner or spade bit, countersink bit, tape, clamp, pencil, sandpaper.
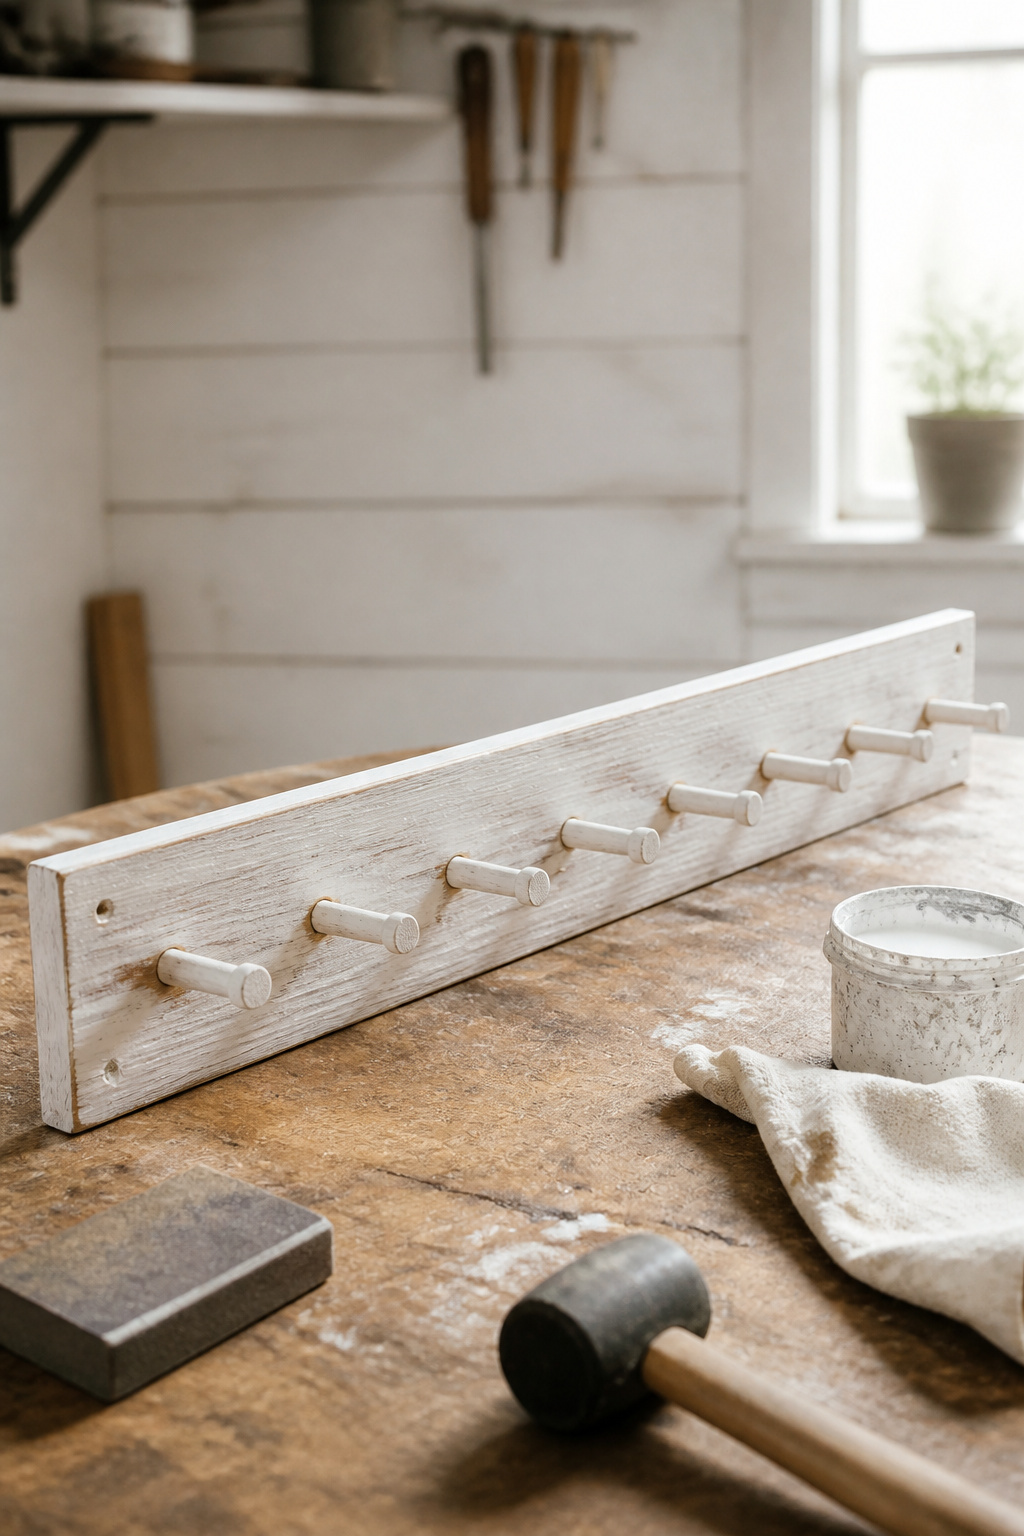
The order that prevents splitting
- Mark peg centres at 8–10 inch spacing, starting 2 inches in from each end. Mark wall-fixing holes at least 1 inch clear of any peg centre.
- Clamp the board. Drill peg holes first, dead square to the face, to your tenon depth — wrap tape on the bit as a depth stop. Test-fit a peg: snug but hand-pressable is right.
- Drill and countersink the wall-fixing holes after peg holes are done. Countersinking sits the screw head flush, which matters once painted.
- Sand 120-grit, then 180. Prime everything, end grain included. Two coats of satin latex, with a light 220-grit sand between.
- Set pegs with a small bead of glue in the hole and around the tenon, then tap home with a rubber mallet until the shoulder sits flush.
The mistake paragraph. The instinct at step 5 is to crank screw-in pegs tight — but in pine the thread splits the fibres, so the peg loosens within months. The Grit and Polish guide says it plainly: snug, not tight, so the wood can move with the weather. The other trap: drilling peg holes last, after fixing holes have weakened the board, is how you crack one — which is why the order above puts peg holes first.
Finishes — and the whitewash that looks more cottage than anything
Mix one part white paint to one part water, rag it on with the grain, then wipe back the excess so the grain shows through a milky veil. Sand to 180-grit first or raised grain soaks it up unevenly. Seal with one coat of matte water-based poly, or daily coat-hanging scuffs the wash off the peg bases. Prefer wood tones? A honey-pine stain under satin poly reads like a pantry shelf.
Freestanding Coat Racks and Ladder Alternatives for Non-Drilling Situations
If you rent, or you’re in a listed building, hanging storage is still on the table — but be honest about what each option holds.
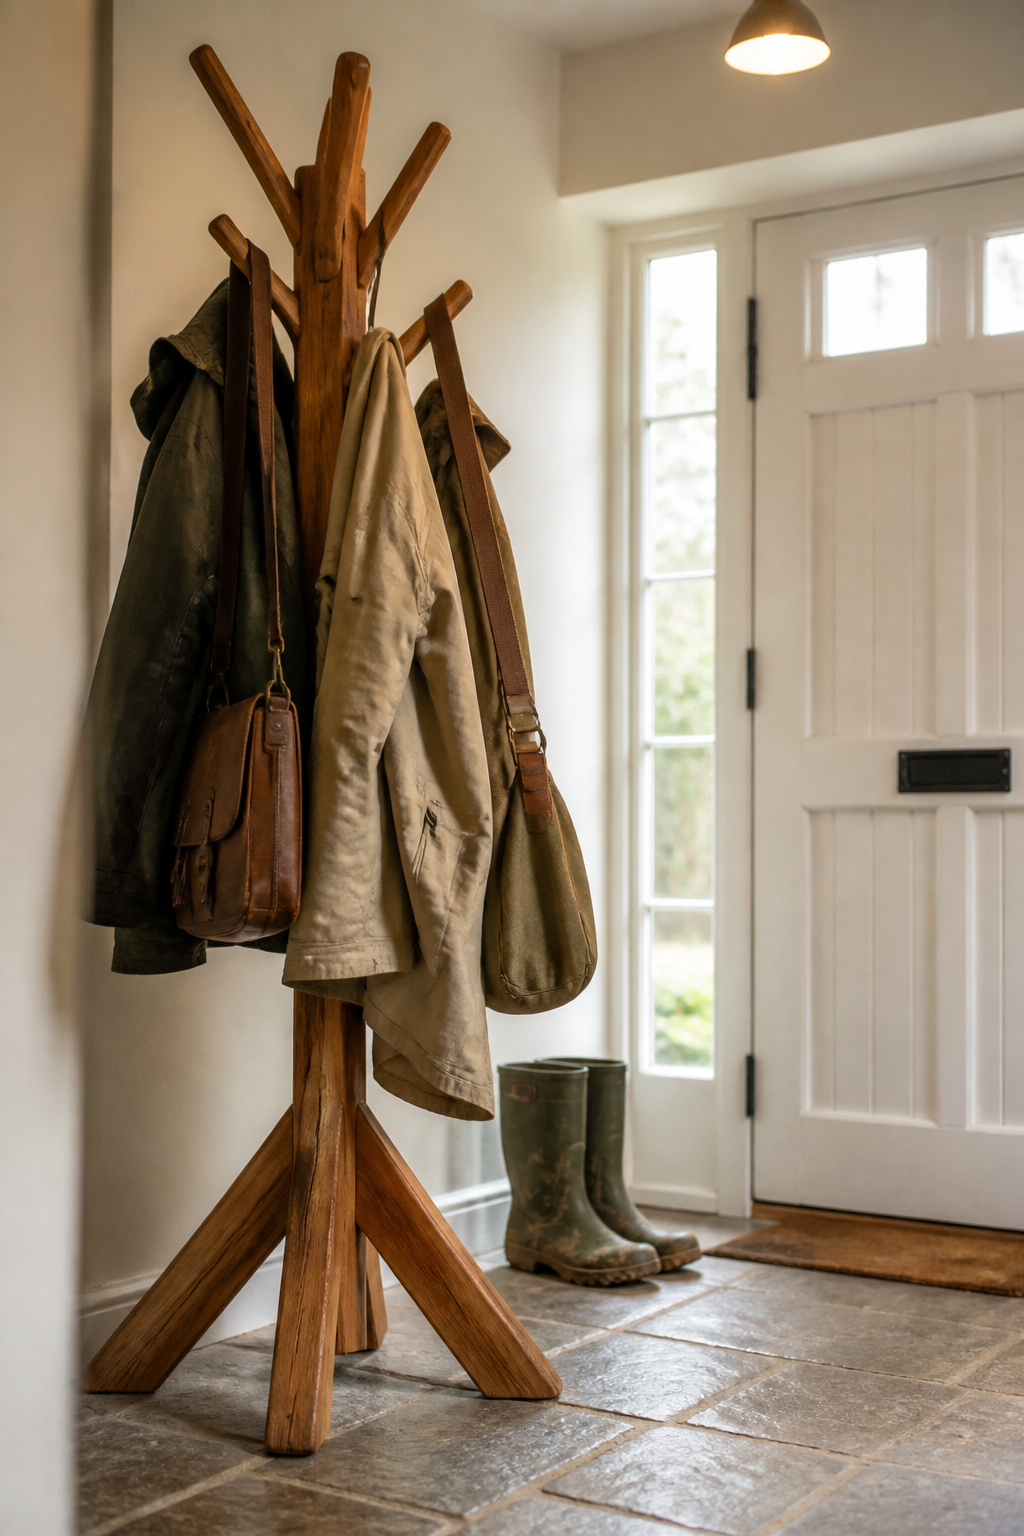
A solid wood freestanding rack carries 40–60 lbs, against 15–25 for a metal tube rack and 5–10 for plastic. For a family in winter, only wood clears the 35–45 lb minimum. Watch tipping: a flat circular base wants at least 40% of the rack’s height, a tripod base 60%. The base-lift test settles it: load one side with a 5-lb bag and see if the opposite foot lifts. If it does, it’s a tip hazard — the CPSC logs around 22,500 ER visits a year from furniture tip-overs.
The repurposed ladder looks the part. Its limits are both fixable: rungs are round, so coats slide off — screw S-hooks or Shaker hooks directly into the rung timber (not looped over it). A leaning ladder can walk out under an asymmetric load, so link the top rail to a wall hook with a screw eye. This is practical judgement rather than tested numbers. Before trusting an old ladder, stand on each rung — one that creaks under your weight will fail under a loaded coat.
For zero marks, the options are modest. Over-door hooks hold 10–15 lbs before stressing the frame; adhesive hooks (3M Command type) take about 7.5 lbs each. Both suit hats and light bags — neither an adult parka. Hooks are only half an entry’s storage anyway; baskets and cubbies are covered in cottage mudroom storage, and if your hallway is tight, wall hooks are one of the best space-savers going — see these tight entryway layouts.
Placing Cottage Entryway Coat Hooks: Height and a Plan That Works for Everyone
You’ve got the wall, the rail, and the hook. The last decision is placement.
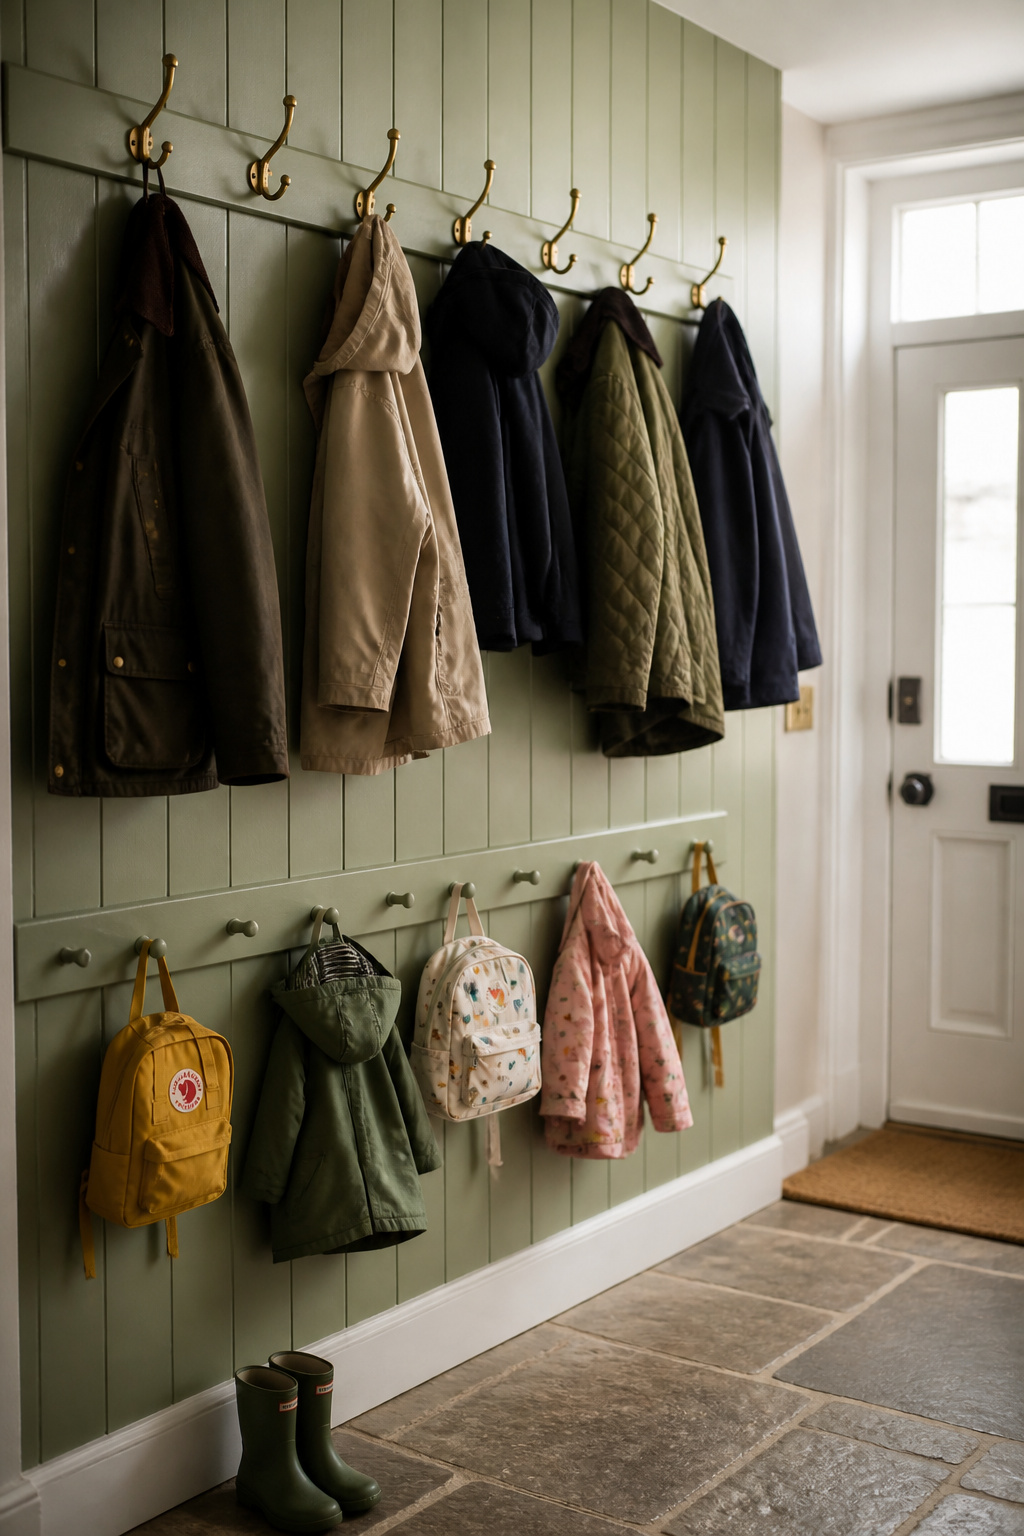
The 60-to-66-inch height standard and the child hooks below it
Mount adult hooks 60–66 inches above the finished floor — 66 is the builder default, drop to 60 above a bench seat. For children aged 4–10, add a second row at 36–42 inches. Two rows beat one: nobody bends or stretches, and both can share one wider board for a single install.
How many hooks per person
Plan 2 hooks per household member — one for outerwear, one for a bag — plus 2 for guests, so a family of four needs 10. The wall is the real limit: at 10-inch centres, a 10-hook rail eats 8 feet, which most cottage entries don’t have. Plan 5–6 hooks on one run and let seasonal overflow live in a wardrobe. Give each child their own two low hooks and label them.
The action plan: one weekend, one trip to the hardware store
Saturday morning, two hours: find your wall type (tap test, check the outlets), mark the studs, buy the right fixing — toggles for plasterboard, stud screws for timber, masonry plugs for brick. Most rails ship with screws but no wall anchors, so buy those at the same time. Saturday afternoon: cut, drill, prime, first coat, leave overnight. Sunday: second coat, set the pegs, drive the screws home into your studs. Done. The hooks were never the hard part — the wall was, and now you know how to make it hold.
FAQ
How high should coat hooks be mounted in an entryway?
The ergonomic standard is 60–66 inches above the finished floor for adults; 66 inches is the common builder default, 60 inches works best above a bench seat. For children aged 4–10, mount a second row at 36–42 inches. In a mixed-age family entry, two rows on the same wall or board is the functional standard.
How many coats can a hook rail hold before it pulls from the wall?
A rail screwed into timber studs is limited by the rail material, not the fixing — solid pine on two stud screws holds well over 60 lbs. A rail fixed only to bare plasterboard fails fast under coats. For a family’s 35–45 lb winter load, fix into studs or use 50 lb toggle bolts across at least three points.
What is the difference between a peg rail and a coat hook rail?
A peg rail uses turned wooden pegs glued into a backing board — round, angled slightly up, good for loops, hangers, or garments draped straight over. A coat hook rail uses metal hooks with a curved return that catches a hanger, better for structured coats. For cottage character, peg rails read more period; metal hooks handle formal outerwear and wipe clean.