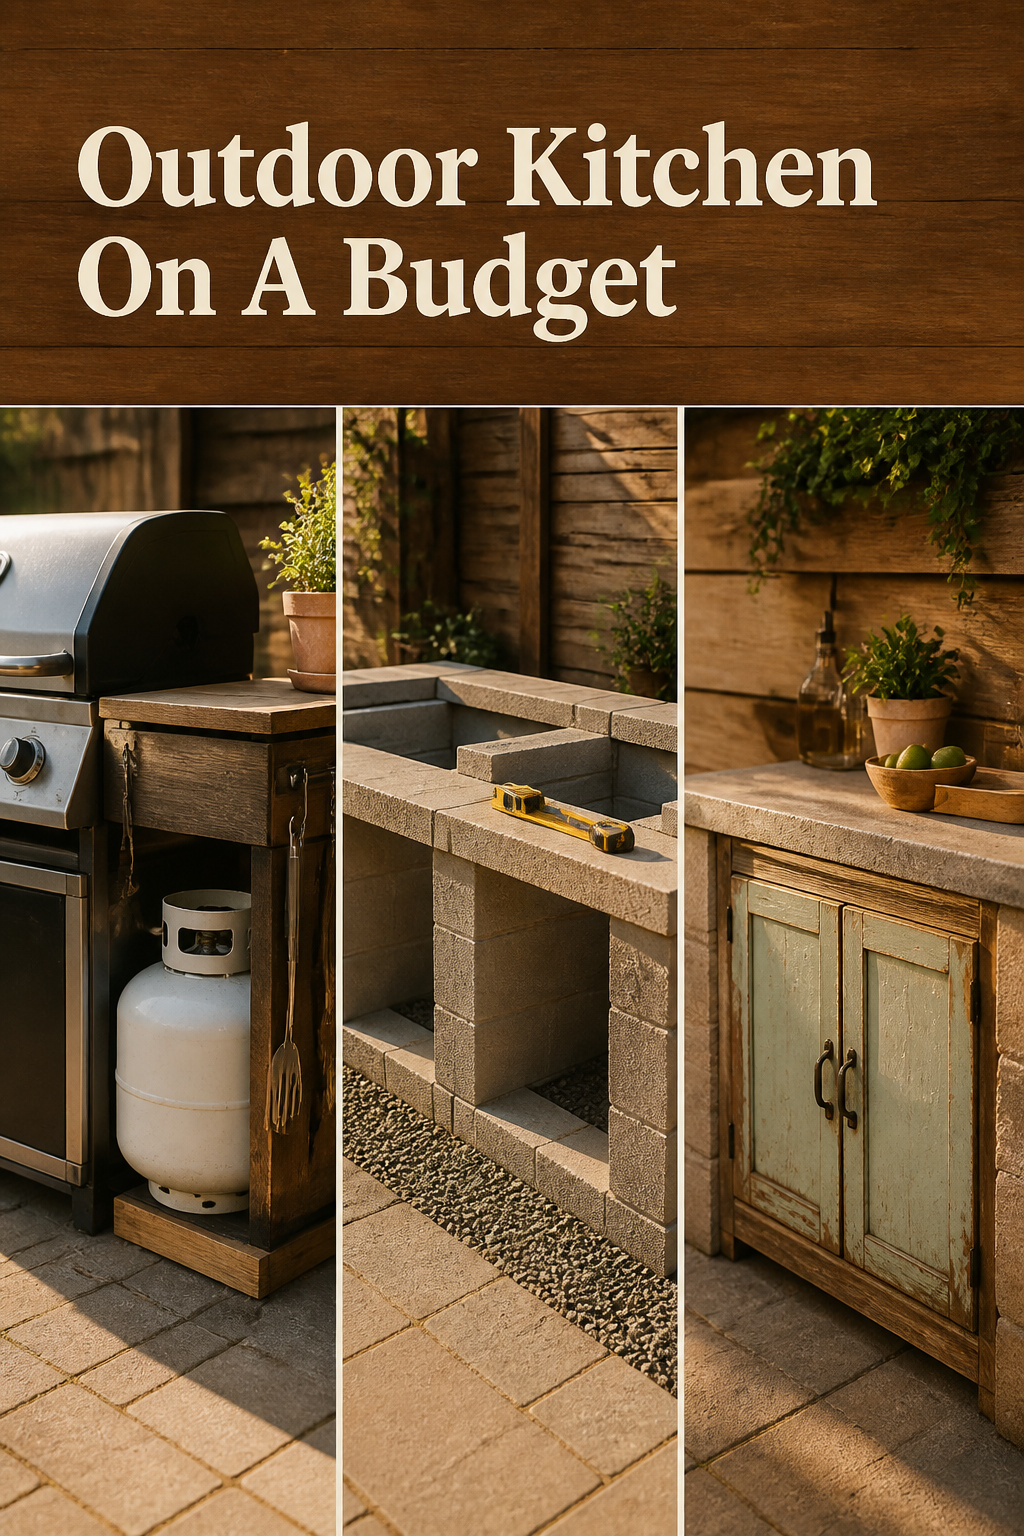
The version in the magazine costs $22,000 to $35,000, and most of that has nothing to do with cooking. That price assumes a run natural gas line, a plumbed sink, custom cabinetry and stone veneer — four expensive defaults bundled in as if they were requirements. They aren’t. Building an outdoor kitchen on a budget means knowing which of those four you actually need and which are just where the money leaks out. Skip the right ones and a real, usable cooking space lands closer to $3,000. That’s not a compromise — that’s not paying for defaults nobody made you question.
TL;DR
- The grill is rarely the big number — utilities run 20-40% of the total and labor another 30-50%, so a propane tank, a hose-fed sink and your own two hands save far more than a cheaper grill.
- A basic build runs $5,000-$12,000, or near $3,000 with a concrete-block frame, salvaged cabinets, tile counters and no trenched utilities; doing the labor yourself can turn a $15,000 quote into $6,000-$8,000.
- Phase it: build a usable grill-and-counter core now, over-pour the slab and stub the utilities for phase two, and never rush code-sensitive gas or electrical work into one weekend.
You Don’t Need the $20,000 Version
The surprise, when I price a build with someone, is that the grill is almost never the line item that hurts. A basic 2026 outdoor kitchen runs $5,000-$12,000 for a prefab island, one grill and minimal cabinetry — and a usable version lands closer to $3,000 with a prefab frame, standard appliances and budget materials like ceramic tile. The luxury builds hitting $45,000-$60,000 and up, some pushing toward $100,000, aren’t cooking better; they’re paying for stone, custom cabinetry and skilled labor.
So what drives the cost? Not the grill. Utility connections — gas, electrical, water — commonly eat 20-40% of the budget, and labor is the other giant at 30-50%. On a real $30,000 project, materials aren’t even half; the rest is skilled labor, equipment, delivery and permits. Do the labor yourself and you save 30-50% off the top. Nobody’s ashamed of a modest budget once they see where the expensive version was spending their money.
The Utility Decision That Saves the Most Money
If you cut one corner in the whole build, cut this one. Utilities are the single biggest lever, and two decisions do most of the work.
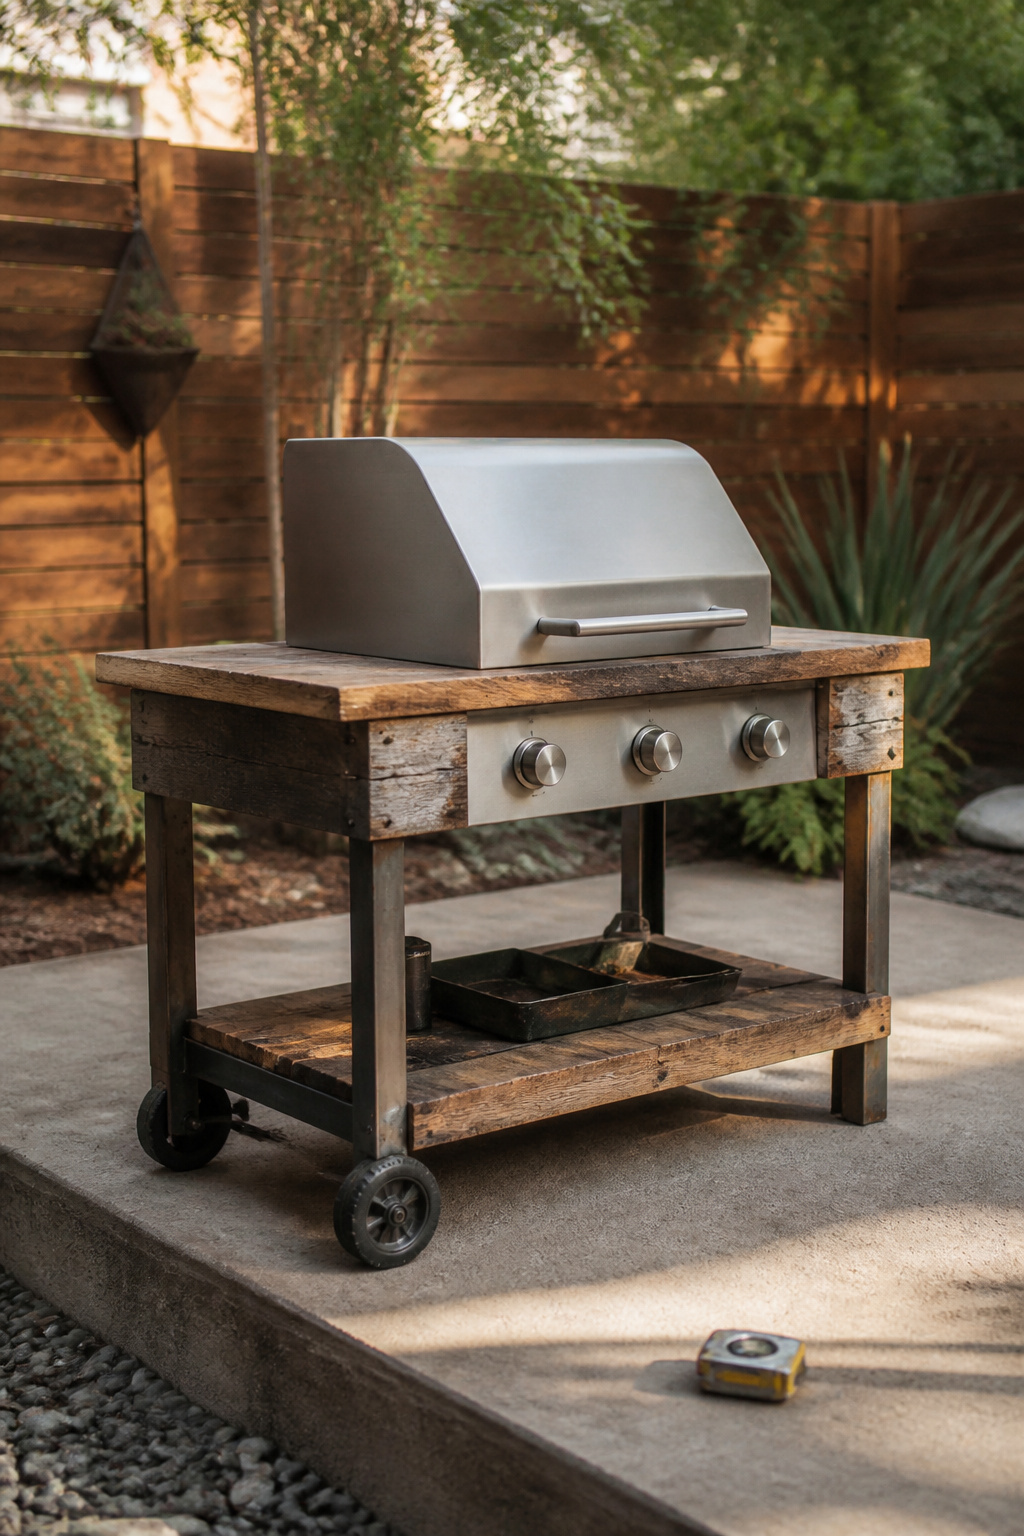
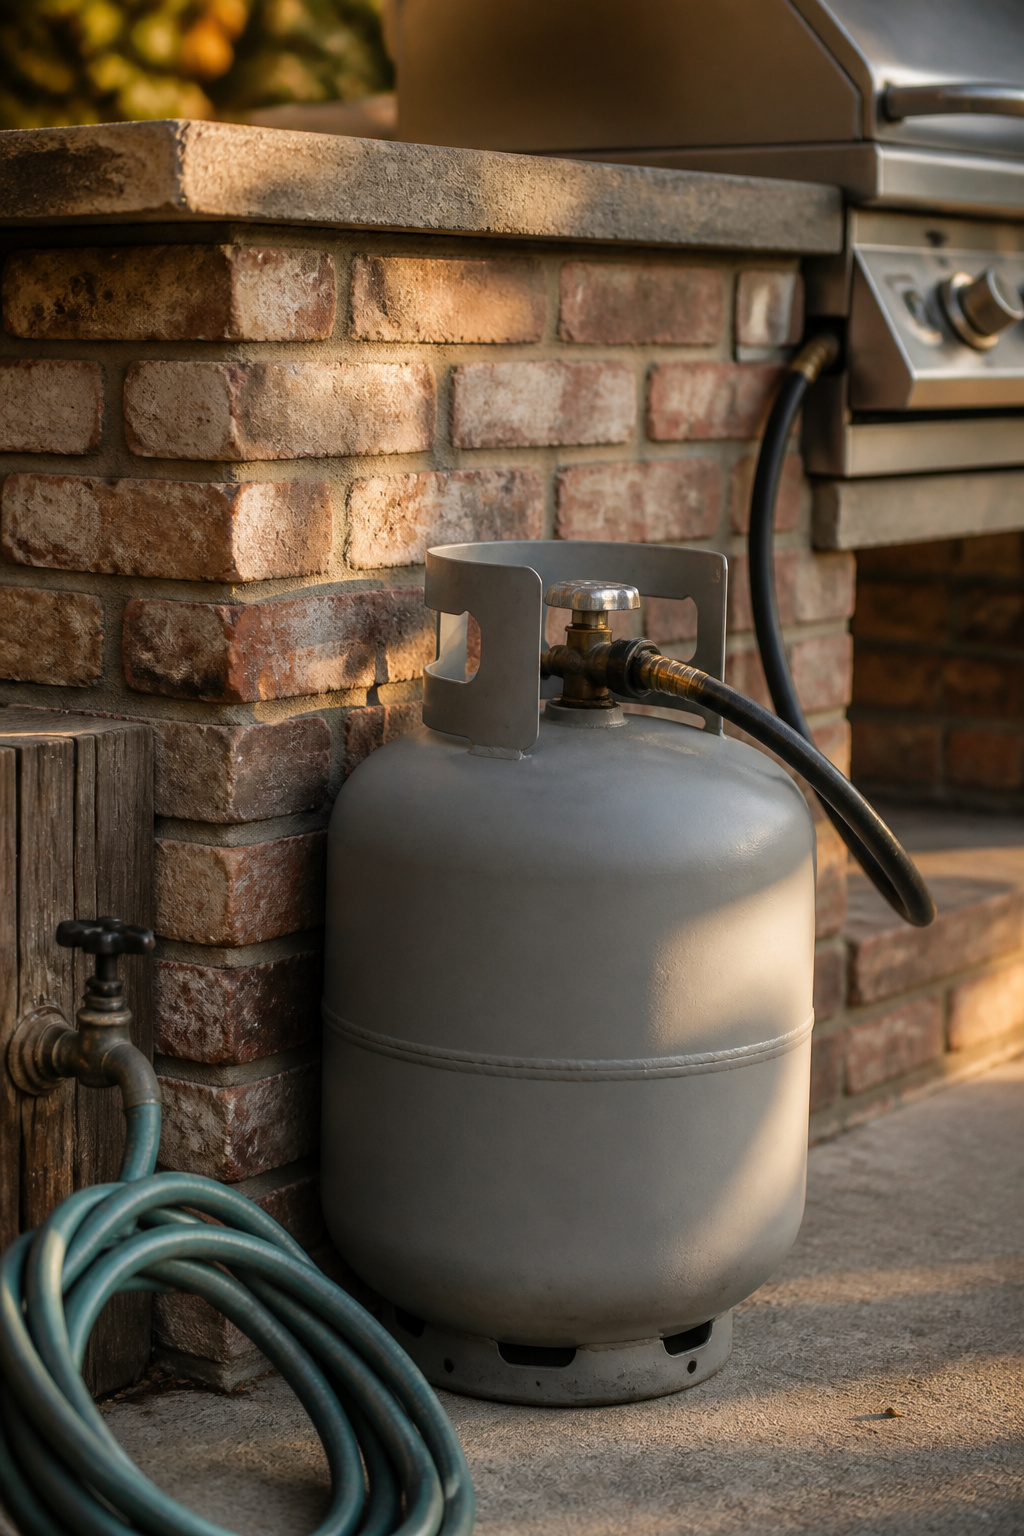
First, fuel. A professional natural gas line runs $600-$2,200 total — averaging around $1,027 in 2026 — plus $100-$300 for the permit and inspection. Propane has none of that upfront cost: no plumber, no trenching, no permit, just a tank and a regulator. The trade-off is the monthly bill — about $40-$100 for regular grilling versus $15-$40 for natural gas — so a gas line pays itself back over years of heavy use. For occasional cooking, a rental, or a layout you might still change, propane wins; the tank moves with you, while a gas line locks the grill near your meter run for good.
Second, water. A hose-fed sink taps an existing yard spigot and drains to a bucket or gravity line, skipping the house water and waste connection entirely. Full plumbing — insulated supply lines and drainage to sewer or septic — is the most expensive part of an outdoor sink at $1,000-$3,000 for a plumber, before the $300-$800 fixture. A hose-fed setup cuts that whole line item. One rule you don’t skip: code requires the hose connect through a vacuum breaker, not a bare splice, since a direct connection can siphon contaminated water back into your drinking supply. It’s a $10 part. Buy it.
Don’t touch gas or the final electrical hookup yourself — both need a licensed pro and a permitted inspection, because a DIY mistake there means a leak, a code fine, or worse. Save on the tank and the hose, not on the two systems that can hurt you.
Structure and Cabinetry: Where to Spend, Where to Skip
Now the box the kitchen lives in — where salvage earns its keep, and where I’ve watched people cheap out in exactly the wrong place.
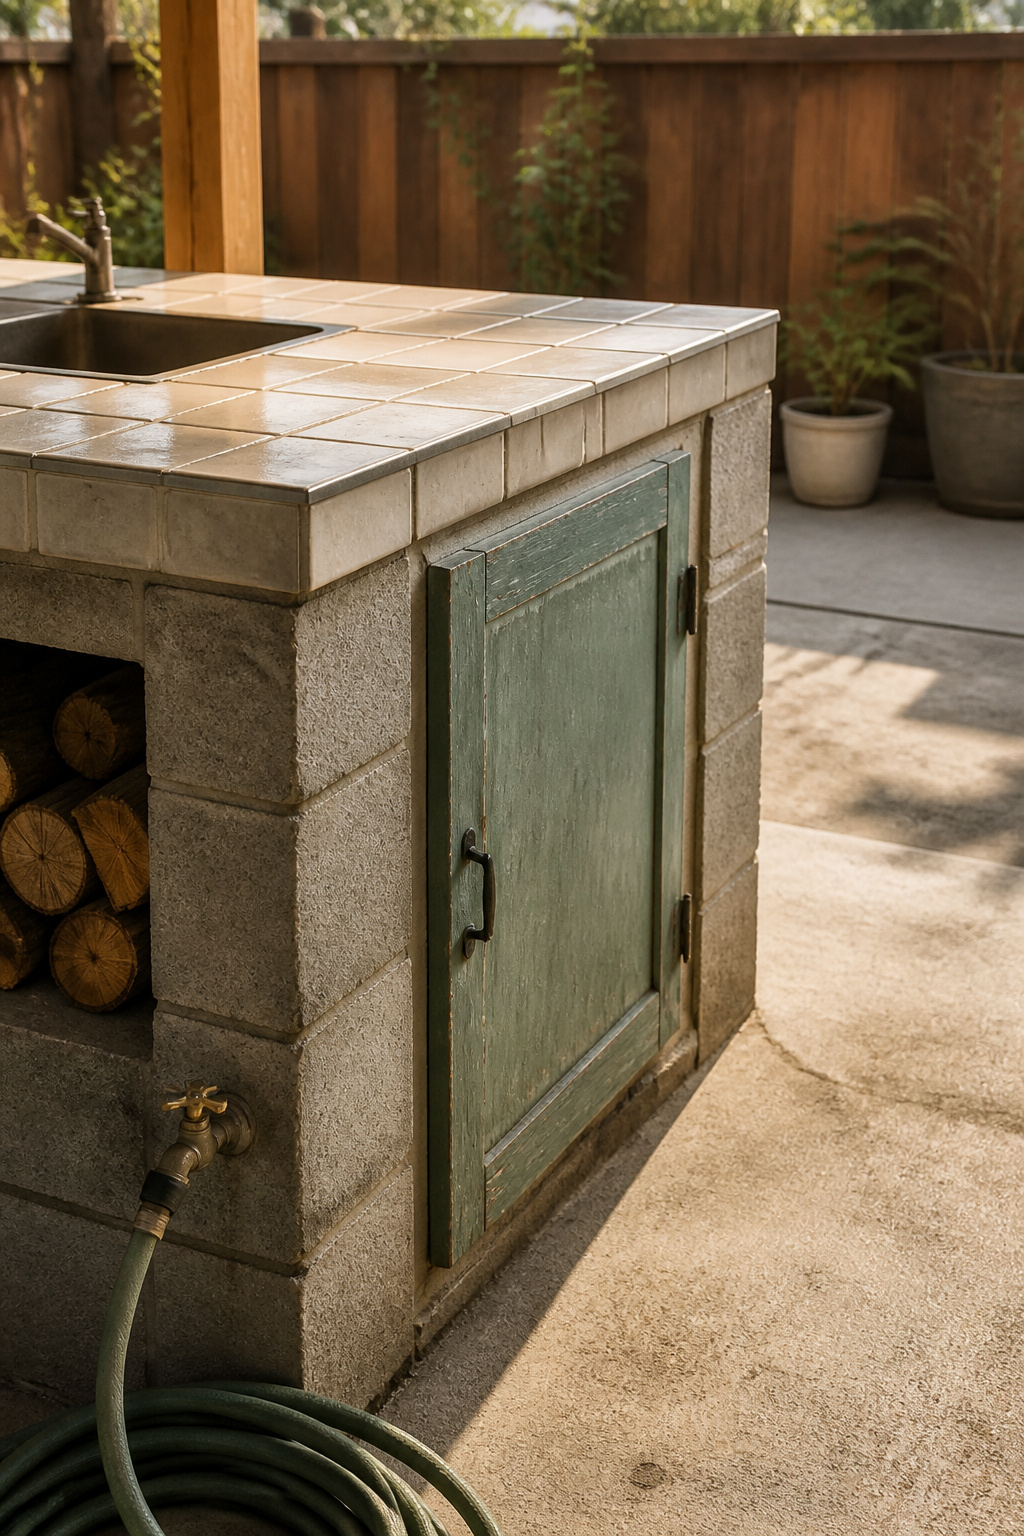
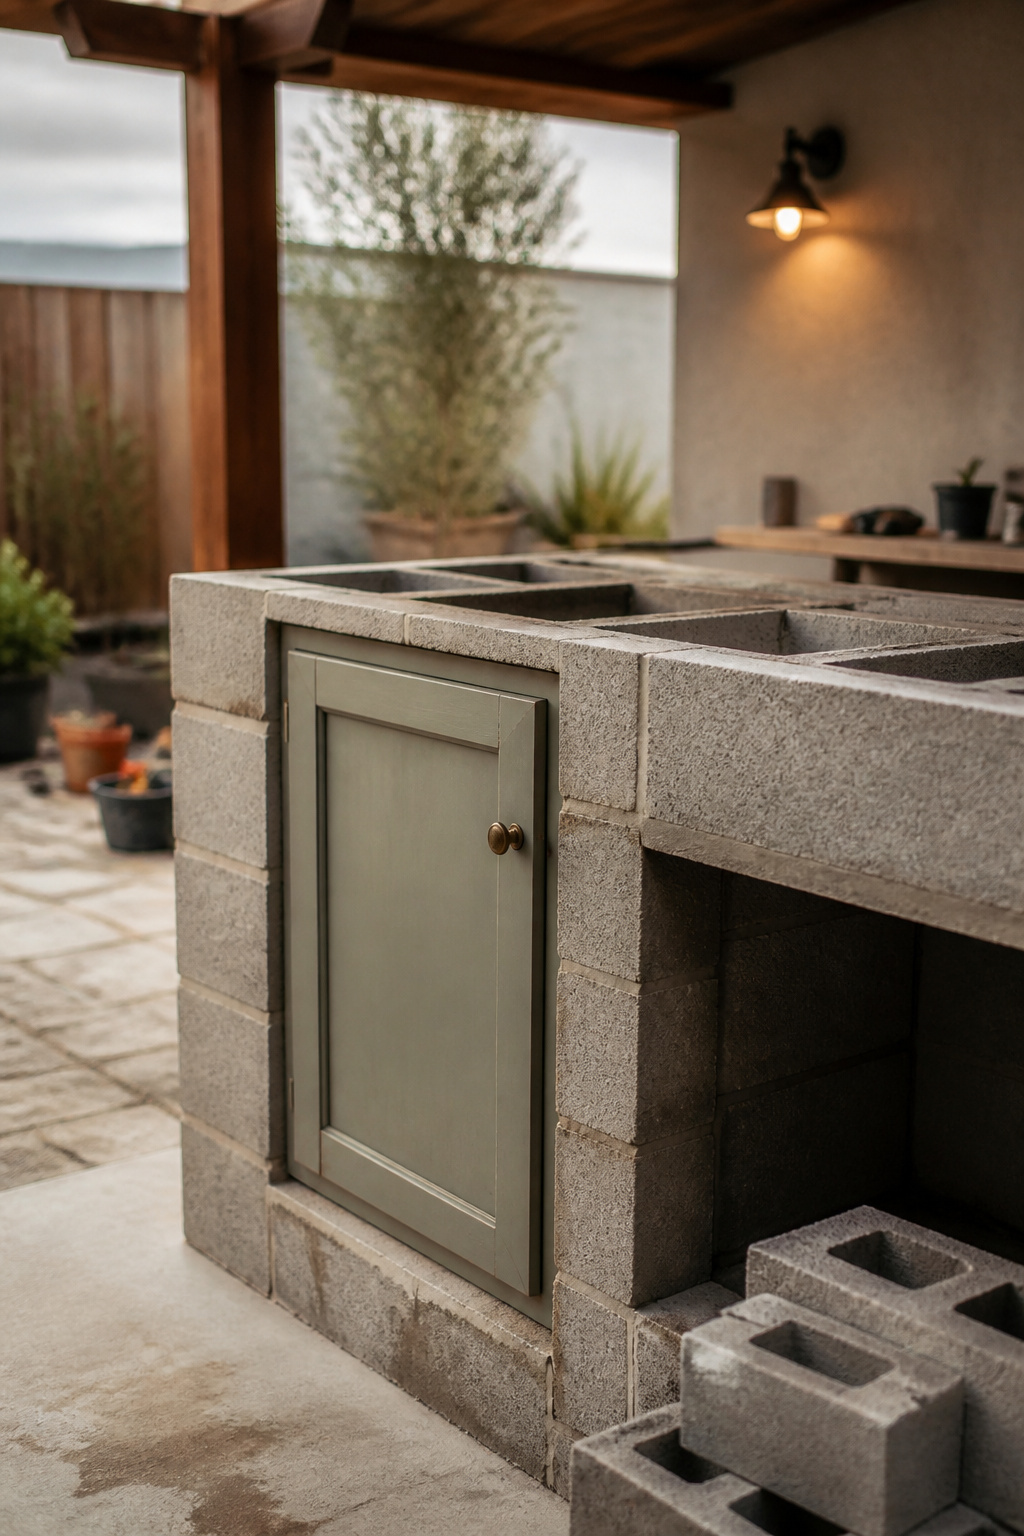
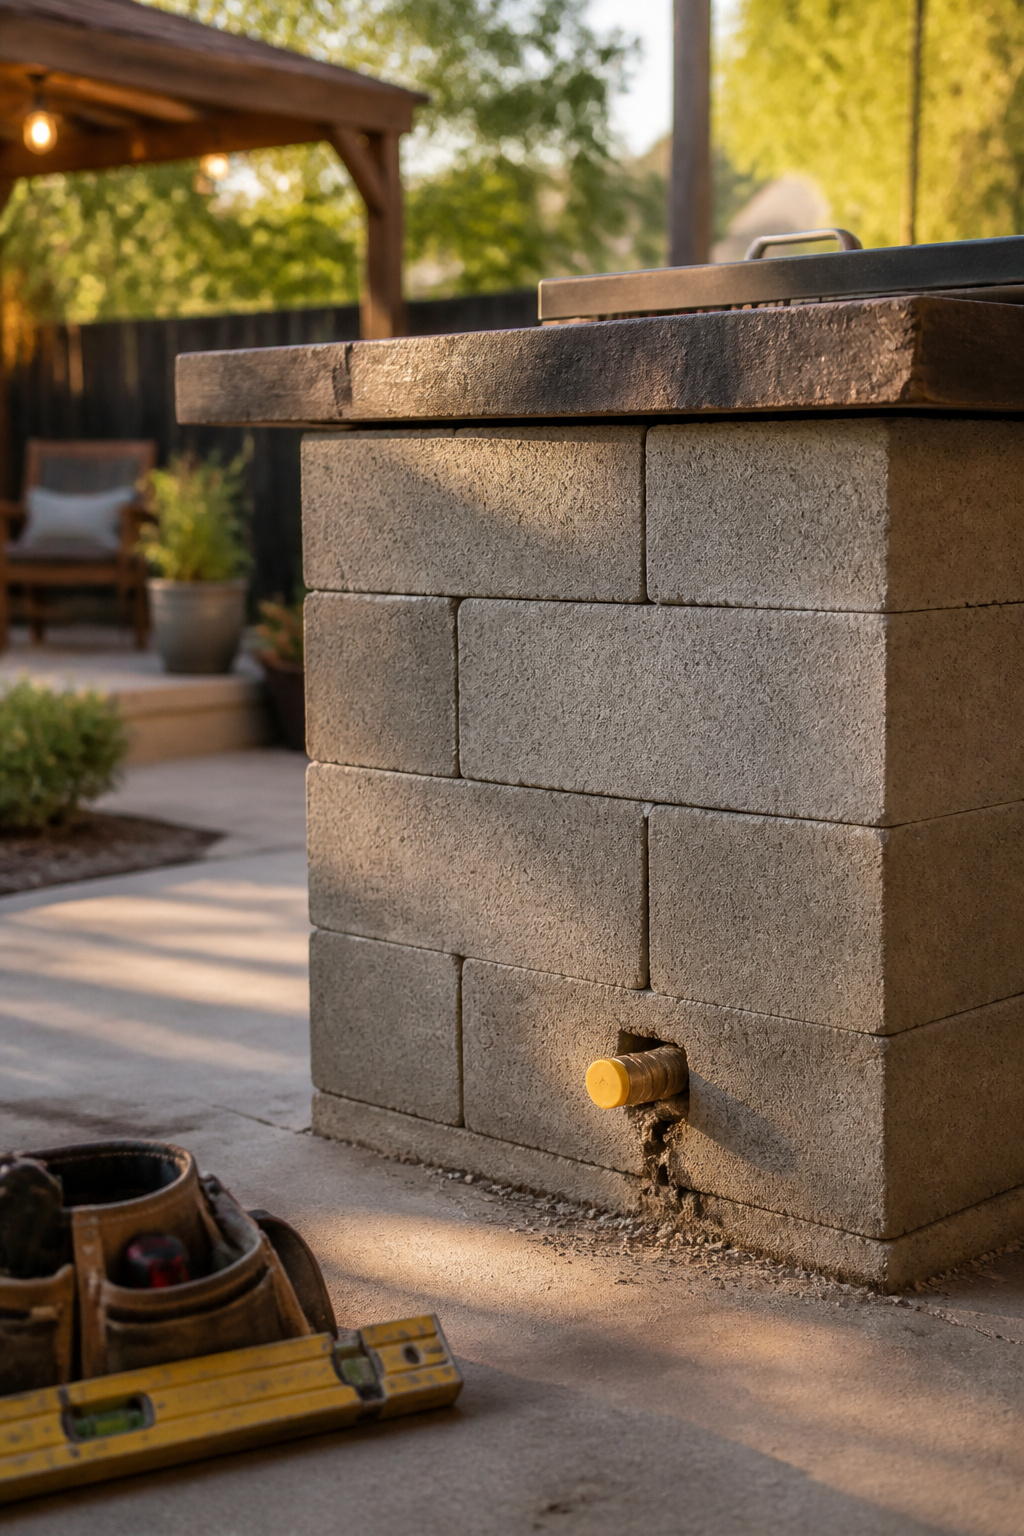
Concrete block is the budget structural standard. Built yourself, a block frame runs roughly $40-$80 per linear foot versus $80-$150 if a contractor lays it; the blocks are only about $1.13-$1.37 each for a standard CMU. Nearly all of that gap is labor — $5-$10 per block — so laying it yourself is one of the highest-leverage cuts on the job.
Cabinets are where the real money hides. Custom cabinetry is baked into that $22,000-$35,000 built-in range, and the choice alone can swing five figures. You don’t need it. Salvaged cabinets turn up free or cheap at a Habitat for Humanity ReStore, at salvage yards, or from anyone gutting a kitchen and posting to Marketplace. Refinish them, dress the outside with brick or stone veneer, and you’ve got a usable run for a weekend’s work. If you’d rather frame from scratch, I’ve walked through it in build the island yourself.
But hear me on what NOT to skip. A salvaged indoor cabinet is built for a dry kitchen and fails fast outside without prep: sand it, seal it with several coats of exterior-grade paint, add a sloped top to shed water, and swap the indoor hinges for marine-grade hardware. Skip that and a “free” cabinet swells, delaminates or rusts inside one wet season. Same on the block — footing depth and reinforcement aren’t optional; corner-cut the footing and the frame cracks within a couple of years. The point of salvage is spending nothing on the box so you can spend a little making it last.
Countertops for an Outdoor Kitchen on a Budget
Surfaces are the last place the budget gets decided. Tile and concrete are the two genuinely cheap, weatherproof options.
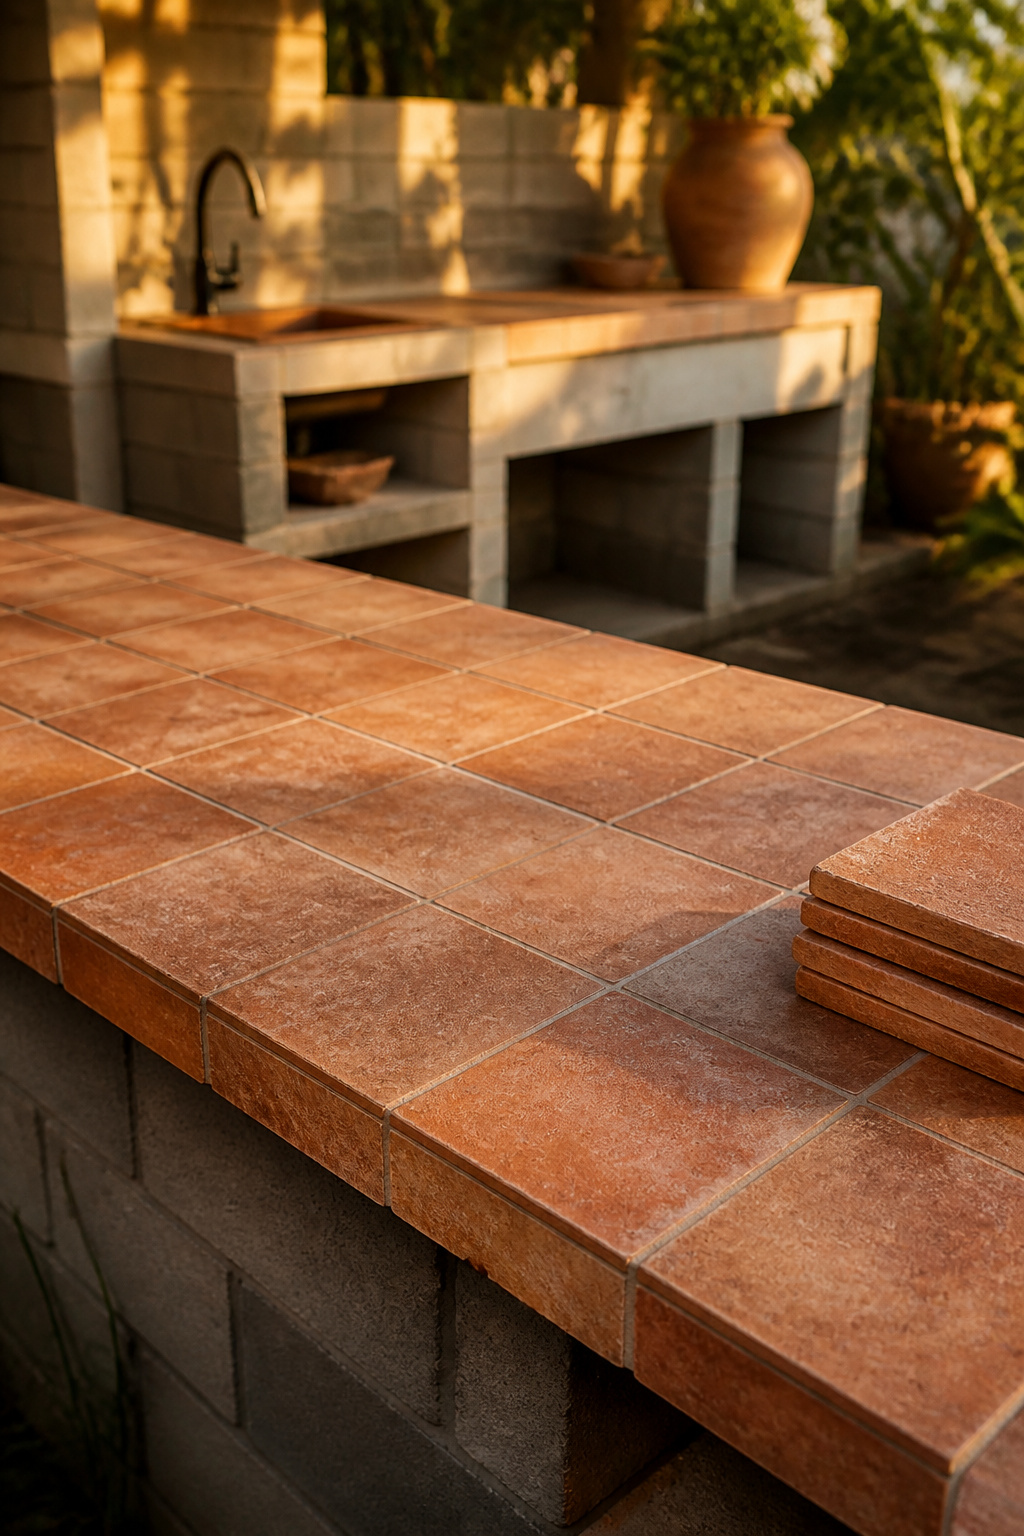
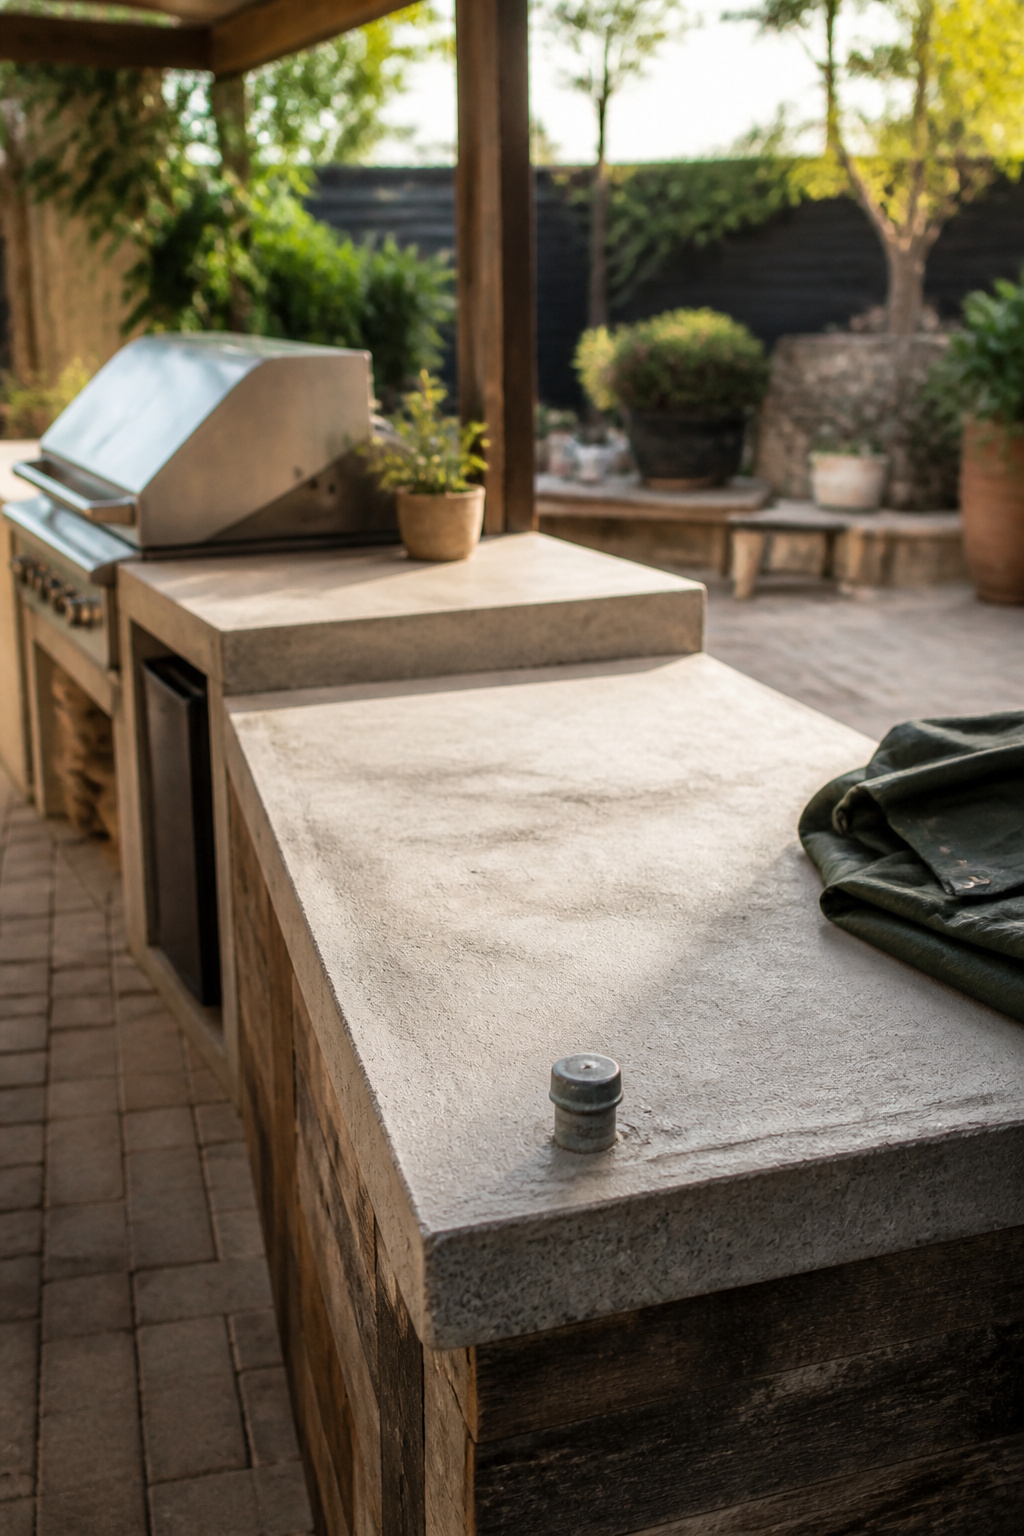
Tile is the cheapest entry point, from $3-$10 per square foot for basic ceramic and $10-$40 installed by grade. Concrete is the next step up at roughly $50-$100 per square foot cast in place, and its trick is that you pour it to shape — an integrated drainboard or trivet costs nothing extra where a stone slab charges a fabrication fee. If you want a worthwhile stretch, porcelain slab ($60-$140 installed) is fully UV-stable and never needs sealing, which earns its price where a kitchen bakes in constant sun.
One warning that saves a redo: the cheapest ceramic tile is a false economy in a cold climate, since ceramic cracks under freeze-thaw within a couple of winters — spend the little extra on porcelain or granite tile. And regardless of price, keep quartz and marble out of an open-air kitchen; both fail outdoors and no budget makes it worth it. The full material-by-material verdict lives in the spoke on budget-friendly countertop materials, climate by climate.
Here’s the whole spend-or-skip logic in one place:
| Item | Cheap option | Cost | What you give up |
|---|---|---|---|
| Fuel | Propane tank vs. gas line | Tank only vs. $600-$2,200 install | ~$40-$100/mo running cost; tank swaps |
| Water | Hose-fed sink vs. full plumbing | Hose + vacuum breaker vs. $1,000-$3,000 | Hot water and a permanent drain |
| Frame | DIY concrete block vs. contractor | $40-$80/ft vs. $80-$150/ft | Your weekends laying block |
| Cabinets | Salvaged + veneer vs. custom | Free-cheap vs. five-figure custom | Uniform finish; needs weatherproof prep |
| Counter | Tile or concrete vs. stone slab | $3-$10/sqft (tile) vs. porcelain $60-$140 | Some UV/freeze durability at the low end |
Phasing the Build So It’s Usable Now, Finished Later
You don’t have to buy the whole kitchen this year. Phasing builds a real space over two or three seasons instead of one impossible weekend.
Build a usable core in phase one: the grill, a counter, and a few storage cabinets. Phase two adds a pizza oven, a side burner, or a fireplace; phase three brings lighting and seating. The one move that makes it work is doing the earthwork once, so you never tear into finished surfaces later. A smart phase-one order:
- Pour the slab oversized and reinforced for everything you’ll eventually build, not just phase one.
- Stub and cap utility lines where later features will land.
- Build the grill, counter and basic storage — your minimum viable kitchen.
- Leave open bays and modular gaps for phase-two appliances.
- Schedule any gas or electrical work as its own permitted phase, never a same-weekend add-on.
The classic failure isn’t spreading the work out — it’s pouring a minimal slab sized only for phase one, then having no reinforced footing when the island or fireplace arrives. Re-pouring around a finished kitchen costs far more than over-building the slab once. The other version is cramming all three utilities into a single weekend, where a corner gets cut on the exact code work you can’t cut. Treat utilities as their own permitted phase and the project moves faster, not slower.
The Fastest Way to Cut Cost: Build the Island Yourself
If you take one action from all this, it’s this: labor is the single largest category in the budget — commonly 30-50% of total cost — so the hours you supply are the biggest discount on the job. That $15,000 quote becoming $6,000-$8,000 built yourself? That’s the labor, captured.
A capable builder can take on the structural and surface work: block or framed cabinetry, fitting the counter, laying tile or a concrete top. The safe play for a beginner is the hybrid most budget-savvy homeowners use — build the structure yourself, then hire pros for the gas, water and electrical. One caveat: for a plain, simple island, a pre-made or RTA unit can run $300-$500 less than a DIY build once you count tools you don’t own. DIY wins once the design is custom-sized.
Here’s the flex I give when someone tells me the budget version can’t be any good. My sister needed a kitchen island and had almost nothing to spend, so I built her one out of $212 in stock lumber. The family still calls it “the showroom one.” Cheaper didn’t mean worse — it meant I knew where the money didn’t need to go.
So your first move: don’t price the whole kitchen. Price phase one — a grill, a block or salvaged-cabinet frame, a tile counter, propane and a hose-fed sink — and hire out only the gas and electrical. That’s a usable outdoor kitchen this season, slab and stubs ready for what comes next. For the full picture before you cut any checks, our outdoor kitchen ideas guide lays out the whole decision.
FAQ
What is the cheapest way to build an outdoor kitchen?
Use a concrete-block frame, repurposed or salvaged cabinets, a tile or concrete countertop, and a propane tank instead of a gas line. A build using a prefab framework, standard appliances and budget materials can land close to $3,000. Doing the labor yourself is the biggest lever, since labor commonly runs 30-50% of total cost.
Is it cheaper to build or buy an outdoor kitchen island?
For a basic, simple design, buying a pre-made or RTA island is usually cheaper — comparable store-bought units can cost $300-$500 less than a DIY build once you count specialized tools you don’t already own. Building becomes the better value once the design is custom-sized or retail markups exceed roughly 50%.
How much should I budget for a basic outdoor kitchen?
A basic 2026 setup typically runs $5,000-$12,000 using a prefabricated island or bolt-together kit with one grill and minimal cabinetry; a build closer to $3,000 is possible with a prefab frame, standard appliances and budget materials like ceramic tile. Utility hookups alone commonly account for 20-40% of the total.