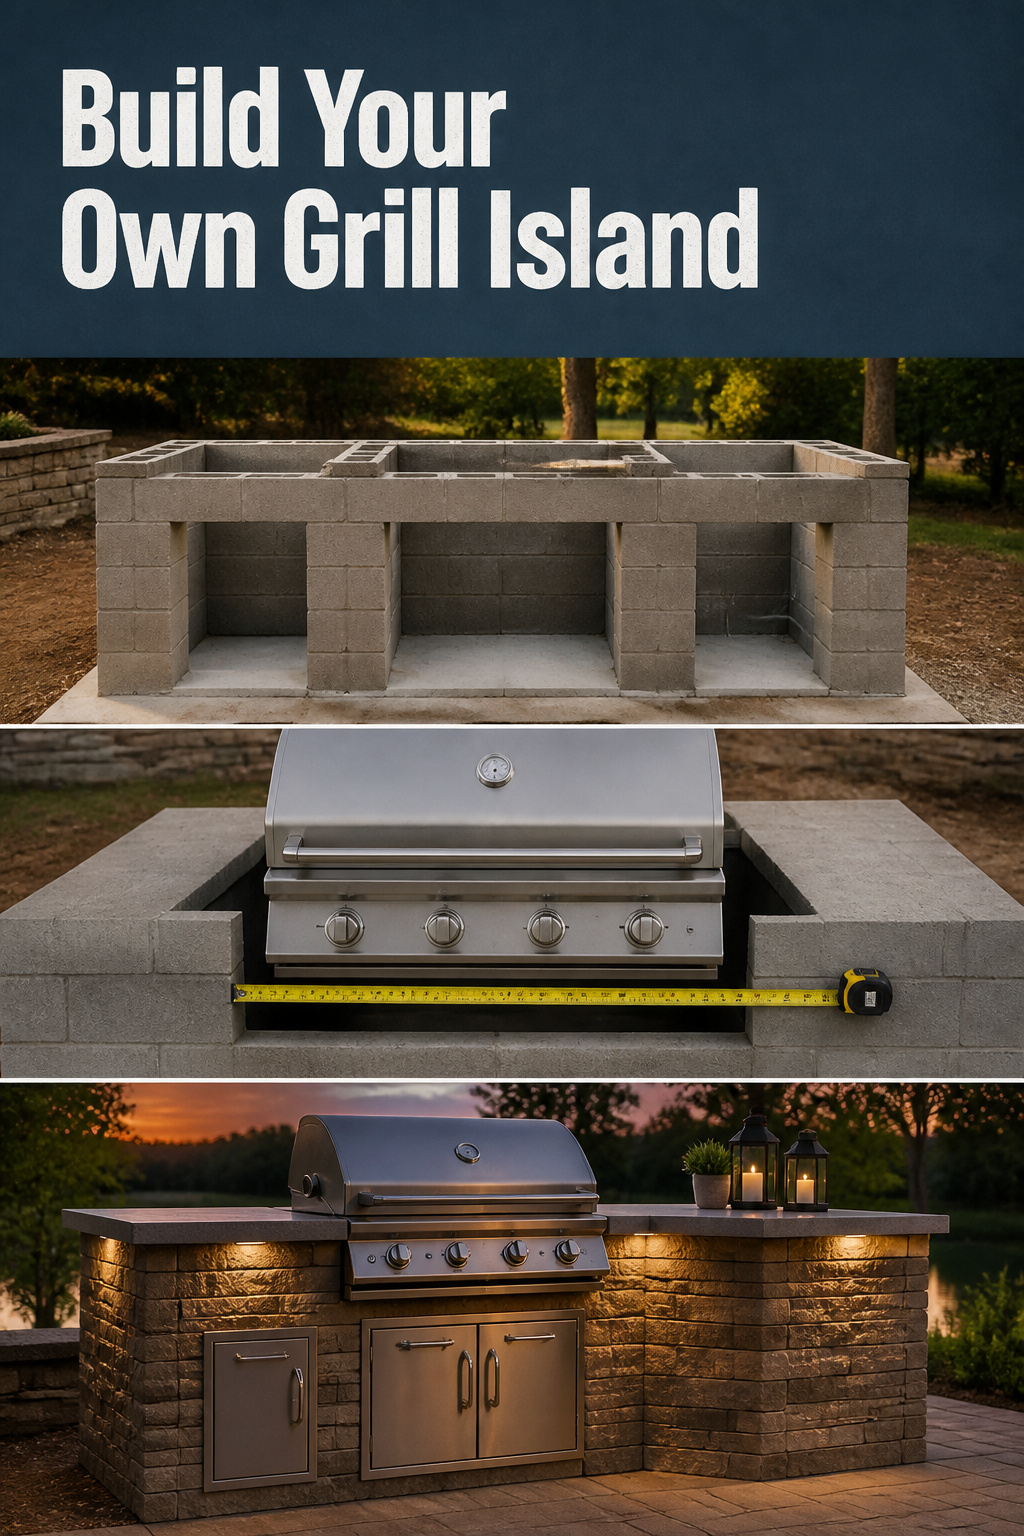
Let’s start with the number, because every video skips it. A basic single-grill DIY outdoor kitchen island runs $500 to $1,500 in materials, and one well-documented build landed at about $1,000 all-in. Plan on two to three days of work, plus cure time that stretches the finish past a single weekend — the “$300, one afternoon” clip you saw was a bolt-together kit, or a build that quietly skipped the slow parts. You can do this yourself; you just need the real timeline before you buy lumber, not after.
TL;DR
- Materials run $500–$1,500 for a basic single-grill island; the structural build (frame, cutout, dry-fit) is one to two days, but scratch-coat and concrete-counter cure times push finish past a literal weekend.
- Concrete block is cheapest and most fireproof but needs a footing; metal stud is lighter but needs cement-board backing; treated lumber near the grill demands an insulated jacket that erases its cost savings.
- Cut the grill opening 1/2 inch larger than the grill’s own spec — buy the grill first, measure the real unit, and remember there’s only one chance to cut a masonry or cement-board opening right.
What This Build Really Costs and Takes (No Sugarcoating)
Get these numbers straight so nothing blindsides you later.
Real cost and hours, including the trip back to the store
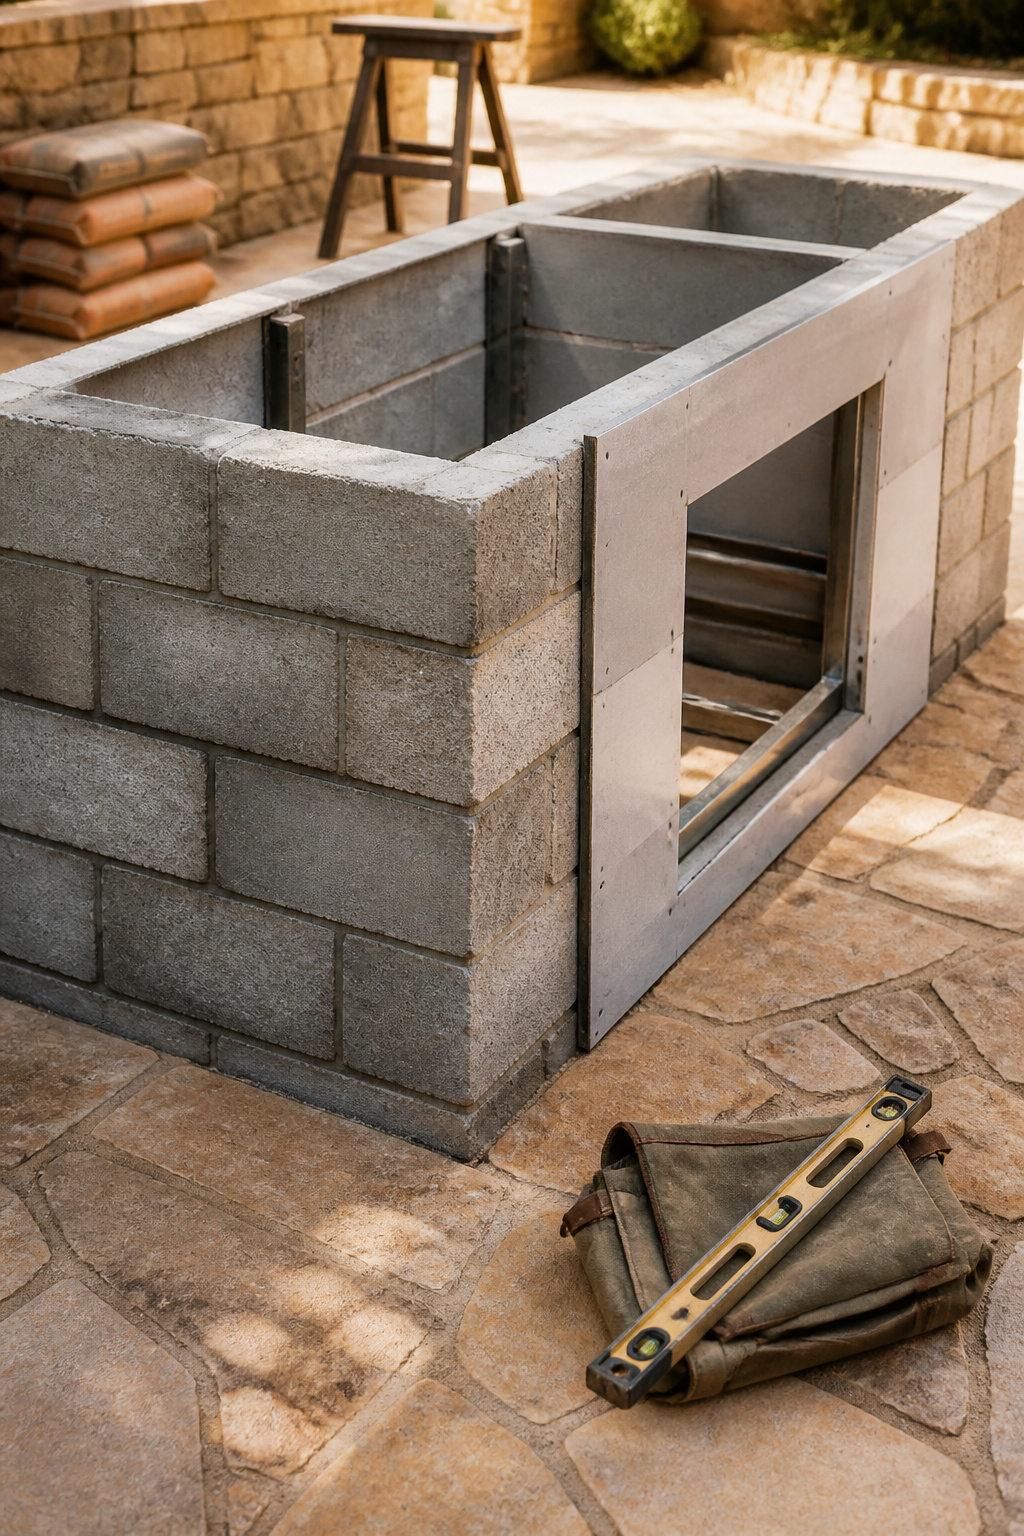
You reach the low end of the $500–$1,500 range with a gravel base, concrete block, and a modest cap surface instead of premium everything. A bolt-together panel kit is the fast path — 6 to 8 hours to assemble, drop in a counter, slide in the grill — the build those “one afternoon” videos actually show. A from-scratch build differs: frame, cutout, and dry-fit take one to two days with pre-cut materials, but that’s the structure, not the finish. Cure times for the scratch coat and any poured concrete counter (below) push the calendar past a single weekend.
Skill rating: first build, some builds, or confident builder
I rate every project honestly instead of with vague difficulty stars. A panel kit is a first-build job: bolt, set a counter, slide in appliances. A treated-lumber or metal-stud frame is “some builds” — approachable, though metal wants a chop saw. Concrete block is confident-builder tier: mortar, coursing, a poured footing. Cutting the grill opening is the sharp edge across all three — a grinder or masonry blade first-timers often lack, and one shot before a redo.

Choosing Your Framing Method
The frame is the first real decision, shaping every step after it. Three methods dominate DIY builds.
| Frame | Material cost | Weight & base | Grill-safe? | Best for |
|---|---|---|---|---|
| Concrete block (CMU) | ~$1.13–$1.37 per block, ~$1.55 per cap | Heaviest; needs footing/slab | Yes, fully fireproof | Permanent, on-grade, any finish |
| Metal stud | Lighter; frame + cement board | Light; no extra support on a deck | Yes, non-combustible | Speed, existing patio, storage |
| Treated lumber | Cheapest lumber, familiar | Light | No — needs insulated jacket at grill | Sections away from the grill |
Concrete block: cheapest, heaviest, most permanent
Standard 16x8x8 block runs $1.13 to $1.37 each, cap blocks around $1.55, and cladding sticks straight to it — no cement-board sheathing needed. The catch: it demands a poured footing or slab, and won’t retrofit onto an existing deck.
Metal stud: lighter, faster, needs weatherproof backing
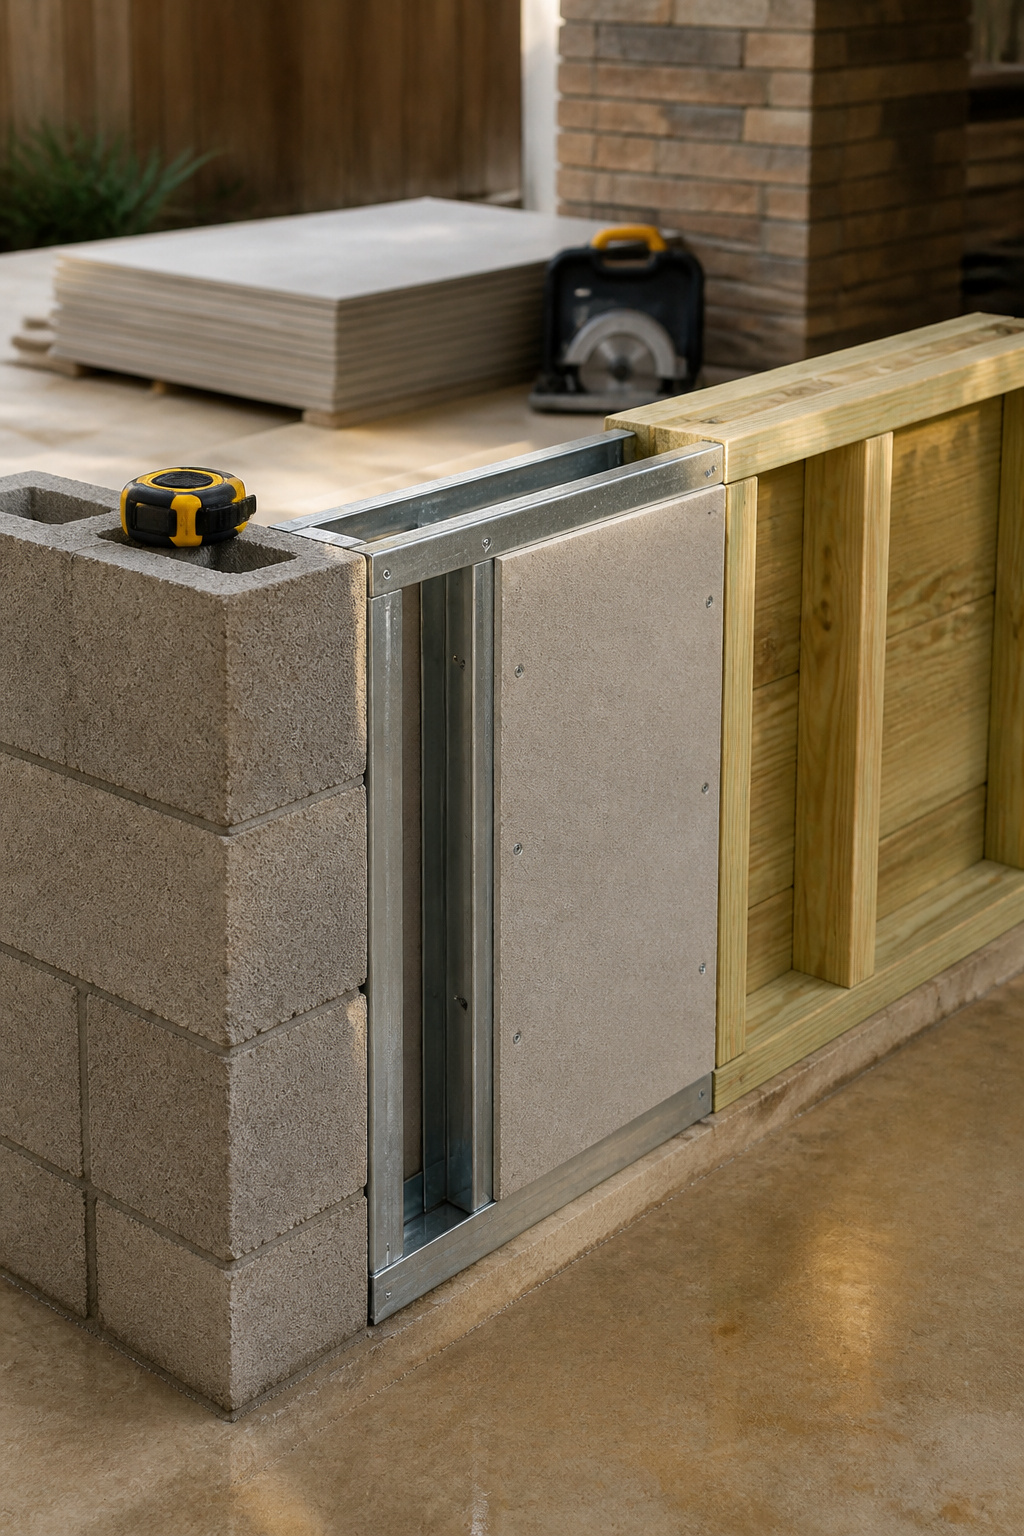
Steel-stud framing runs around $550 per linear foot, wood or aluminum closer to $400. But metal must be sheathed in cement board, which isn’t waterproof — most rate under 10 perms with over 8% water absorption. As Joe Clements of Smoked BBQ Source puts it, metal-and-cement-board is cheap and fast, but by the time mildew shows inside the cabinets, the studs behind the wall have often started corroding — in freeze-thaw climates, that surfaces between years four and six.
Treated lumber: familiar tools, shortest lifespan outdoors
Wood is combustible, and pyrolysis (the breakdown before ignition) starts around 390°F, within reach of sustained grill heat. Frame the grill section in wood and an insulated jacket stops being optional — jackets run several hundred dollars, erasing the savings lumber promised. Use it away from the cutout, and let block or steel carry the fire zone. Rethinking the whole spend? Read how to keep the whole kitchen on budget first.
Framing and Fitting the Grill Cutout
This step makes or breaks the build. A frame you can fix; a cutout you can’t. Eight years running crews in Tennessee taught me the line I repeat to every beginner: pros measure, beginners guess.
Measuring the grill’s exact insert dimensions before cutting anything
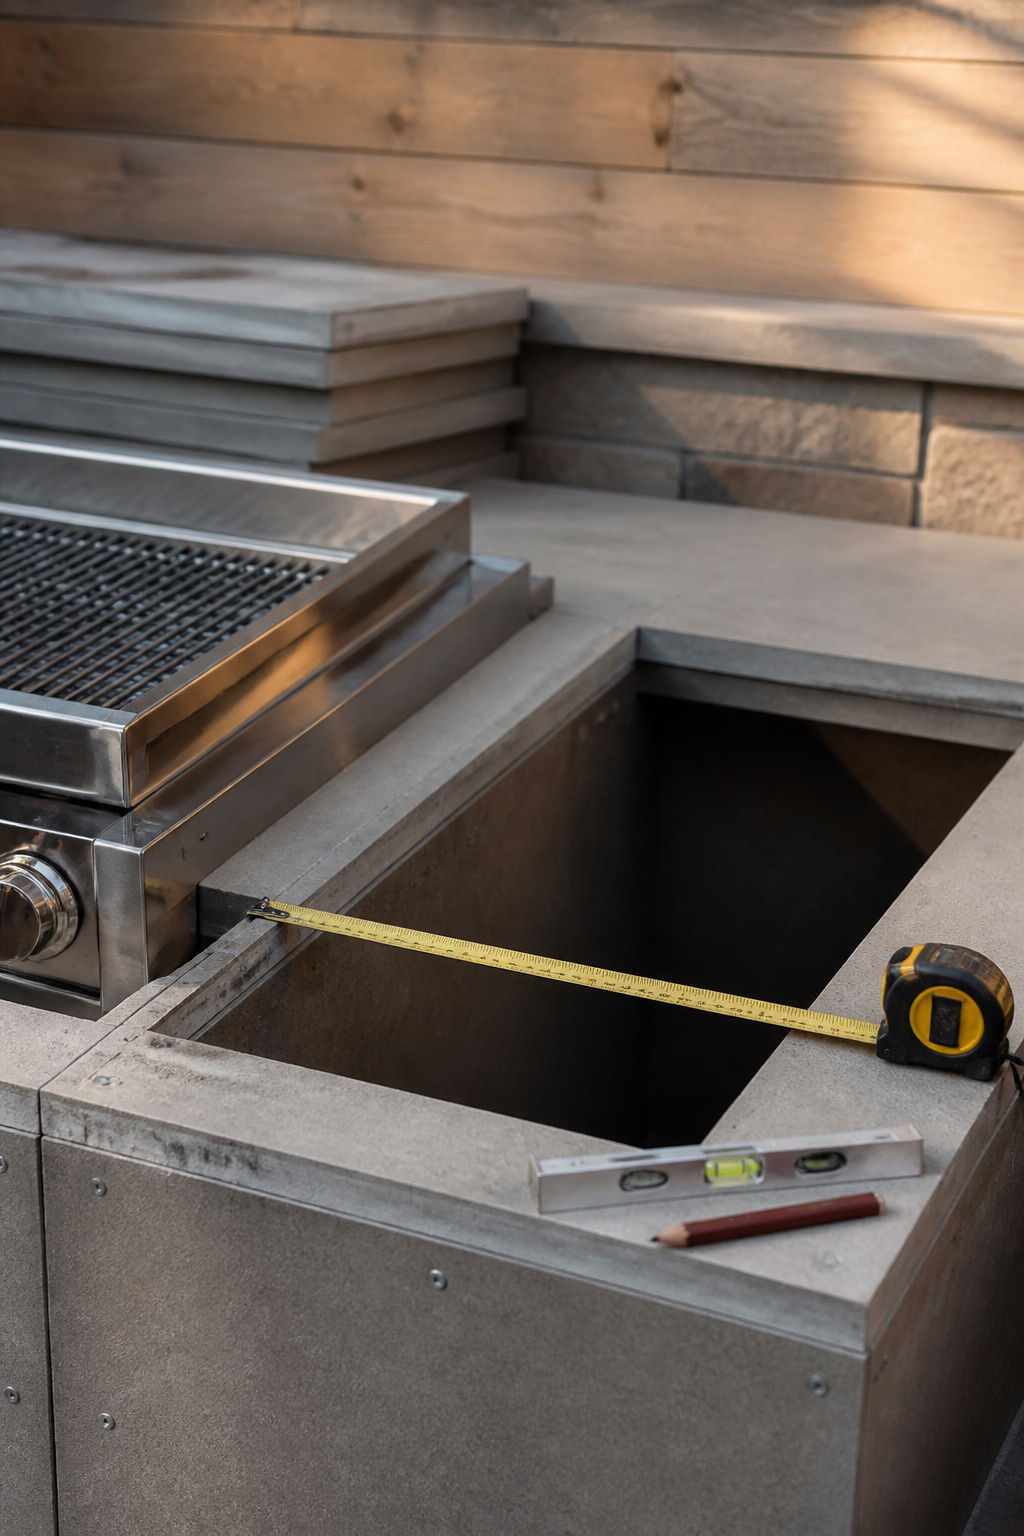
Buy the grill before you build the surround — swapping brands after the counter’s cut is brutal, since models use different cutout dimensions. Wait for the actual unit and measure it in person; spec sheets aren’t always right. Size the countertop opening 1/2 inch larger than the grill’s stated cutout, width and depth both — a 30 x 24-inch drop-in wants a 30.5 x 24.5-inch opening, not a rounded-up guess.
- Mark the opening’s center-point first — this keeps the grill square instead of compounding errors off one edge.
- Measure out half the cutout width to each side of that center, and confirm the depth the same way.
- Leave the airflow gap the spec calls for under the grill body; don’t seal it in the cabinet base.
Building the frame square and level, step by step
With the opening marked, build the frame in order:
- Level the base first — a block island needs a level footing, and no squaring fixes an uneven base underneath. Wood or metal forgives a slightly off patio; block doesn’t.
- Assemble the frame with a carpenter’s square, a 4-foot level, and a tape measure, checking square at every corner.
- Cut the grill opening only after the frame is square and level, never before.
- Plan rear clearance now: at least 3.75 to 4 inches behind the grill so the hood clears the wall (12 inches for real service access), and 20 to 24 inches overhead.
These figures are manufacturer and trade guidance, not a universal code minimum — check your grill’s own manual before you finalize the frame, since clearance varies by model.
The mistake paragraph: what goes wrong here and how to recover
The classic wreck is a cutout too big for the grill you bought — a gap that looks unfinished and can expose combustible backing, a fire issue, not just an ugly one. An oversized opening can sometimes be saved with a trim kit; undersized means starting over, not patching. The cure is upstream: measure, mark from center, cut once.
Adding the Counter and Weatherproof Finish
The part deciding if your island survives its first winter — a rushed finish fails quietly, in year three, behind the surface.
Fitting a concrete or tile top to a DIY frame
Concrete and tile pull in opposite directions on cost and patience. A DIY poured concrete top costs $8 to $15 per square foot but demands that two-week cure. Tile runs more up front, $18 to $60 per square foot installed, but needs no cure wait once grout sets. Match your pick to your worst season, not the showroom.
Weatherproof coatings and how many coats actually hold up
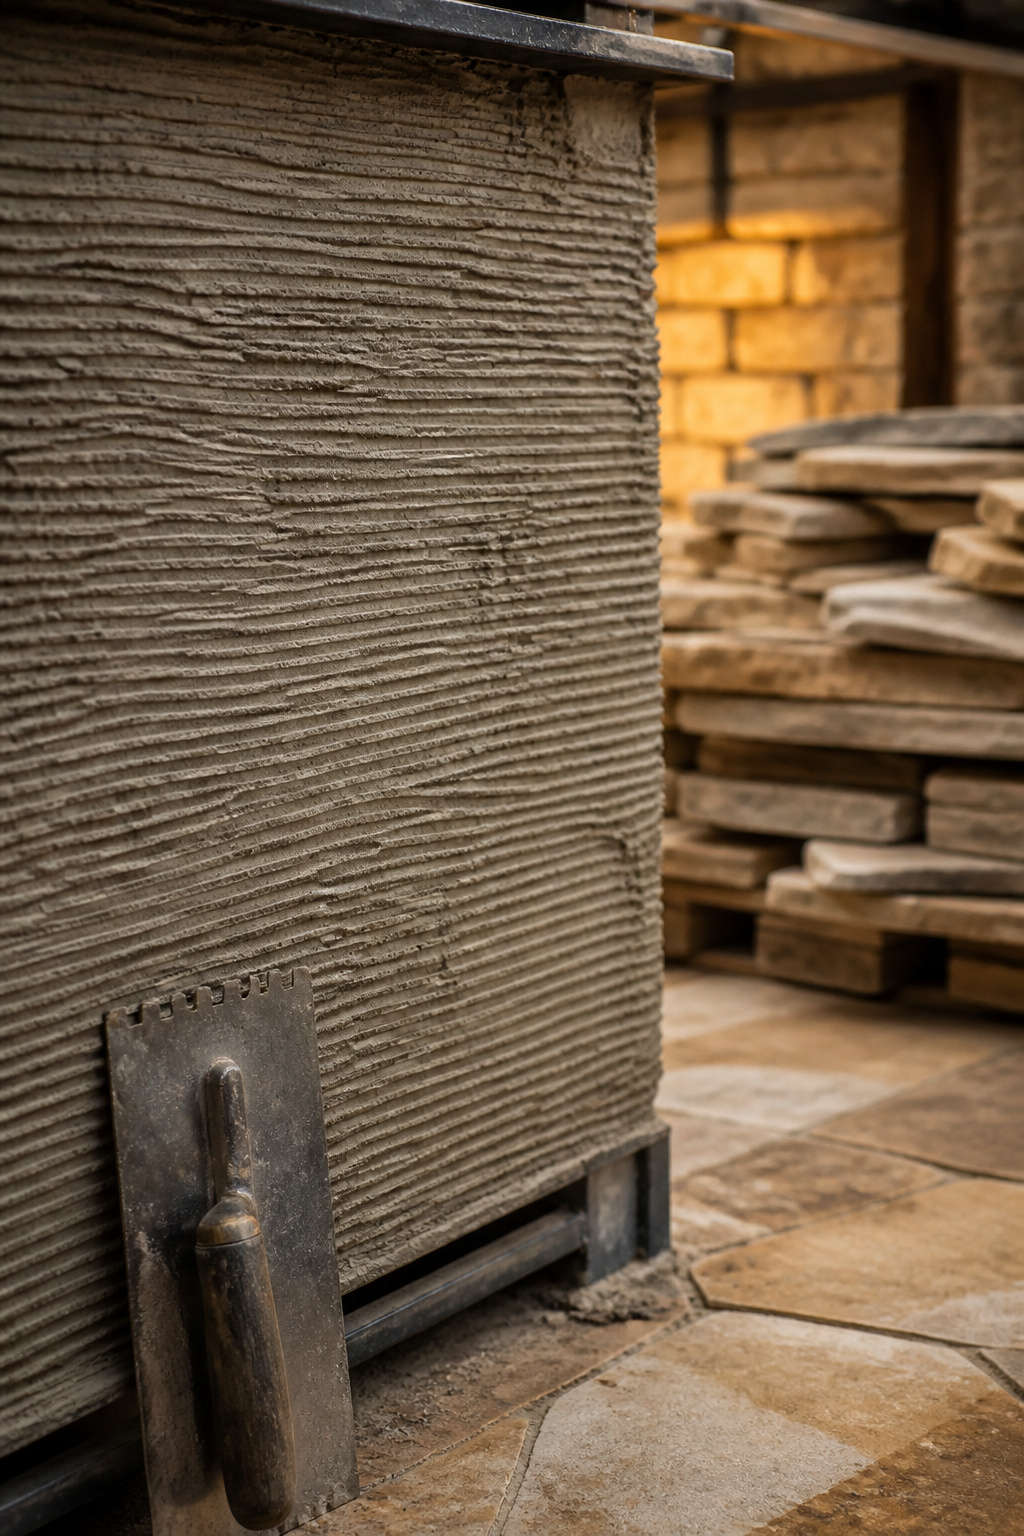
Stucco is the cheapest weatherproof skin at $3 to $9 per square foot, against stone veneer’s $10 to $45. Both start with a scratch coat over metal lath, raked with grooves while still damp so the next coat can grip, then misted twice a day in hot, dry weather so it bonds instead of flash-drying. Shortcut that cure and you’ve bought cracking and delamination. In cold regions, skip glue-applied veneer — it pops off below freezing; mortared scratch-coat-and-veneer is more work, but it holds.
Sealing joints so water doesn’t get behind the finish
Cement board lets moisture through, so sealing seams and edges is what actually keeps water off the frame behind it. In freeze-thaw climates, water past an unsealed joint expands and contracts through every cycle — the mechanism behind cracked veneer, popped tile, and corroding studs. Setting tile, let thinset cure 24 to 48 hours before grouting, longer in cool or humid weather; grouting too soon causes grout failure.
Fitting It Into Your Kitchen’s Layout
A standalone island still lives in a space people move through, so it needs a full kitchen’s clearance discipline.
Clearances the island still needs even as a standalone piece
Give yourself 42 inches of clearance behind the cook, 48 if guests walk through or two cook back to back. A grill island typically runs 28 inches deep at the base and 32 at the counter, with 18 to 24 inches of landing space beside a 36-inch grill. Six inches between cooking surfaces is a documented failure — not enough to set down a tray, so the cook rests hot pans on a closed lid.
Positioning it relative to prep and clean-up zones
Keep walkways separate from the work aisle: 36 inches minimum, 60 where you can, so the cook never chooses between reaching the grill and letting someone past. Point the landing counter toward prep and cleanup — the same zone logic full builds follow. See where the island fits in the layout if you’ll expand later.
Leaving room to expand later
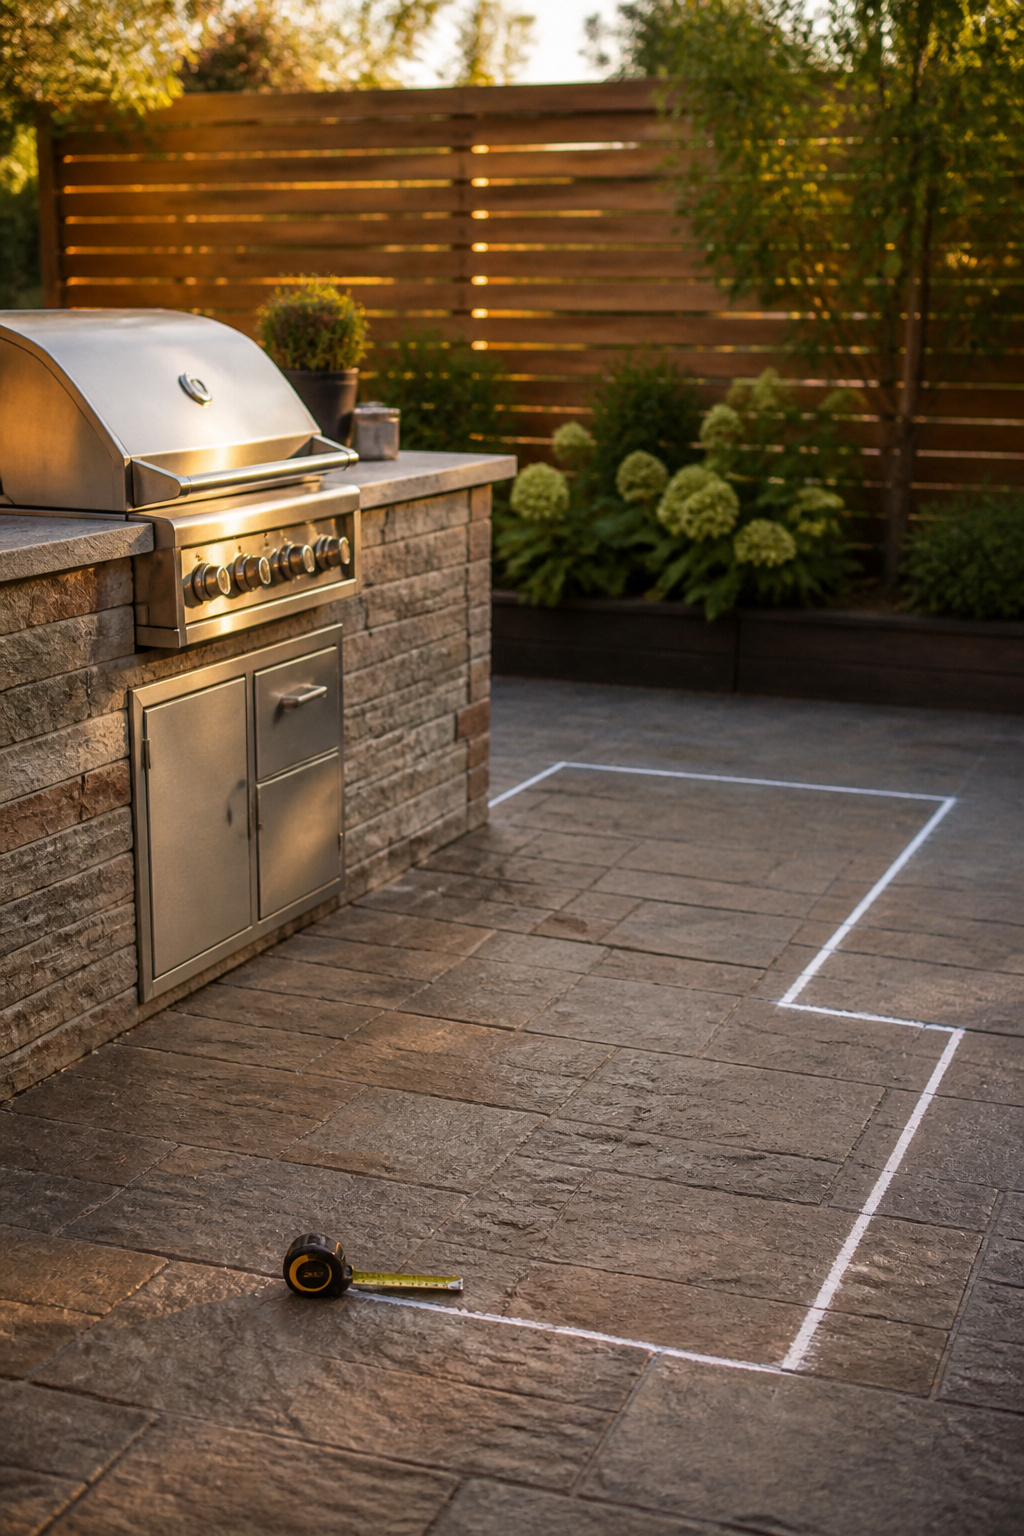
Planning a fridge, pizza oven, or bar station later? Extend the island’s length, not its depth, and mock the footprint in tape or cardboard first — it reveals clearance problems for free. Build rear access panels into any section that might hold plumbing; cheap now, expensive to retrofit.
Building Your DIY Outdoor Kitchen Island: The Weekend Order That Works
Two phases, since finish materials need cure windows the frame doesn’t.
Day one: framing and grill fit
Base or footing first, then the frame — block, stud, or lumber — then the grill and appliance cutouts, cut to the confirmed dimensions plus your 1/2-inch tolerance, always after the frame is square. Structure standing, grill in its hole: the realistic one-to-two-day scope.
Day two and beyond: counter, finish and seal
Cement board, lath, scratch coat, veneer or stucco, and counter each run their own cure clock, so “day two” often becomes day four or five before the finish is cured — the video’s one-day promise was always the lie. Run out of daylight mid-finish and you’re fine: a curing scratch coat or an unset counter mold is designed to sit. Cover fresh stucco loosely and keep misting; the cure stays on track while building pauses.
Follow this order and you’ll frame, fit, and finish a weatherproof island yourself, knowing the real cost and time. When you’re ready to plan the space around it, our full outdoor kitchen planning guide has the rest.
FAQ
What tools do I need to build an outdoor kitchen island?
The core kit spans every framing method: a carpenter’s square, a 4-foot level, a tape measure, and a screeding bar for leveling sand or gravel underneath. Metal stud framing also needs a chop saw with a metal blade, and any masonry or grill-cutout work needs a grinder or masonry blade — tools first-timers often don’t own.
Can I build an outdoor kitchen island without welding?
Yes, and most DIY builds do. Bolt-together metal stud kits exist so you don’t weld — they ship in pieces you fasten with basic tools rather than pre-welded. Concrete block and treated lumber skip welding entirely: mortar coursing and deck screws replace welded joints, so nothing here requires a welder.
How heavy does an outdoor kitchen island frame need to be?
Heavier than most people expect. A finished outdoor kitchen commonly tops 1,000 pounds, and a full concrete-panel build with counter and appliances can reach several thousand. The frame and base must carry that finished weight, not just their own — why concrete block needs a poured footing while a lighter metal-stud frame needs less support underneath.