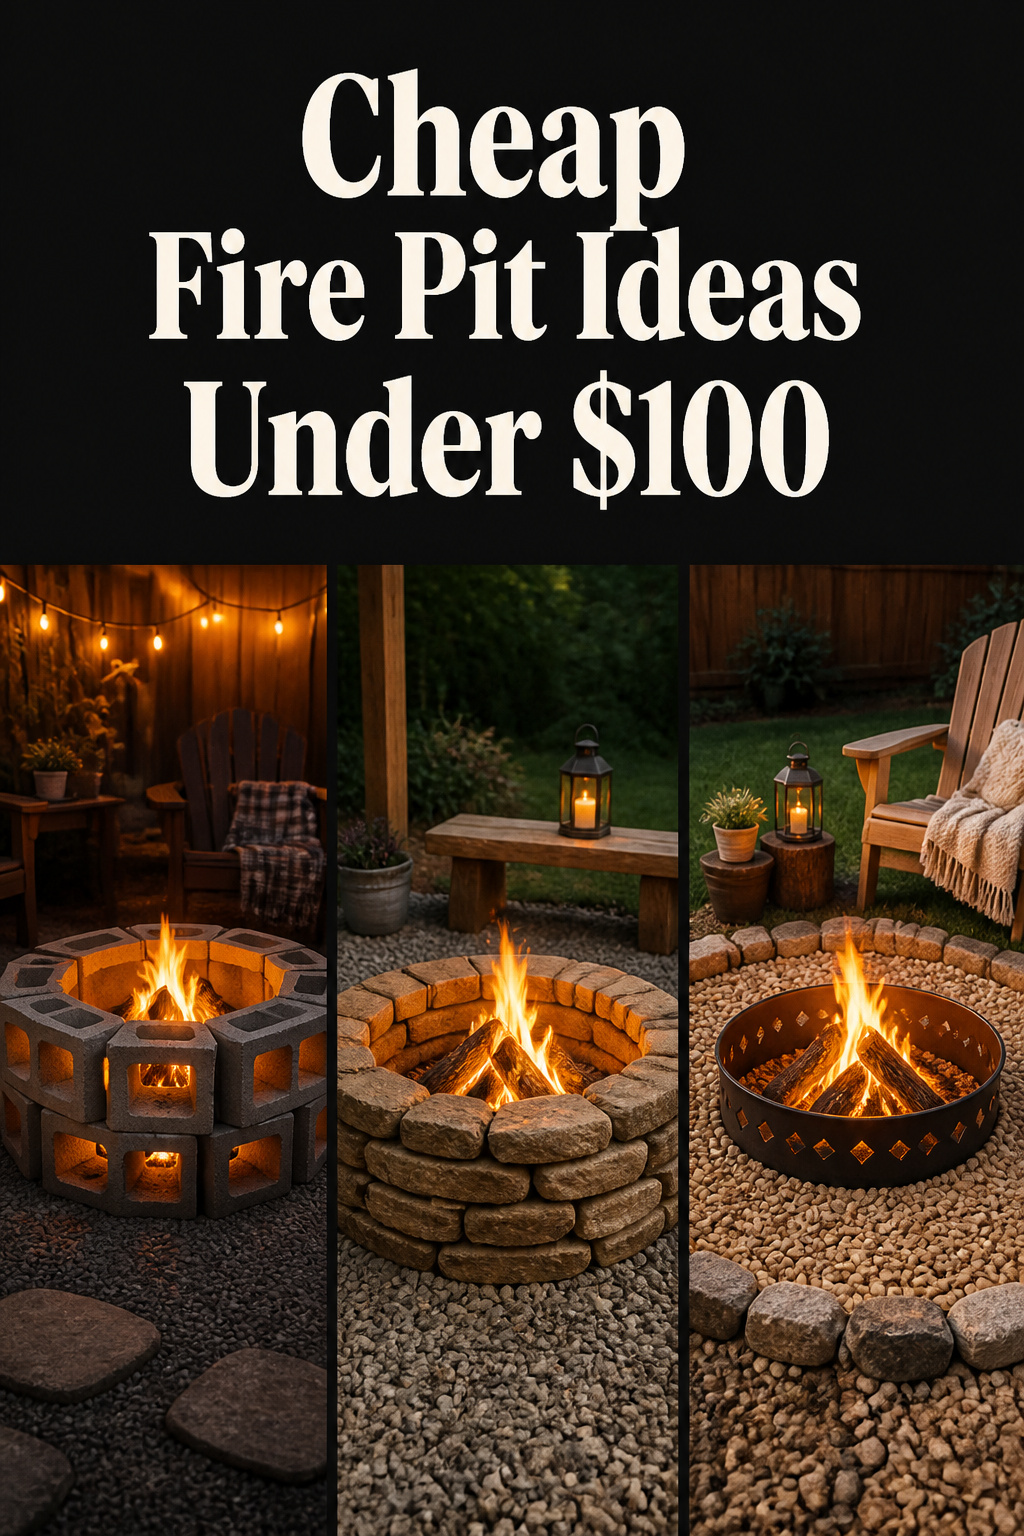
A professional stone fire pit install runs $1,000 or more. A dense concrete block pit that lasts for years costs less than $50. The gap is almost entirely labor. The real question with cheap fire pit ideas isn’t whether budget builds work — it’s which one fits your skill, your yard, and the two hours you’ve actually got.
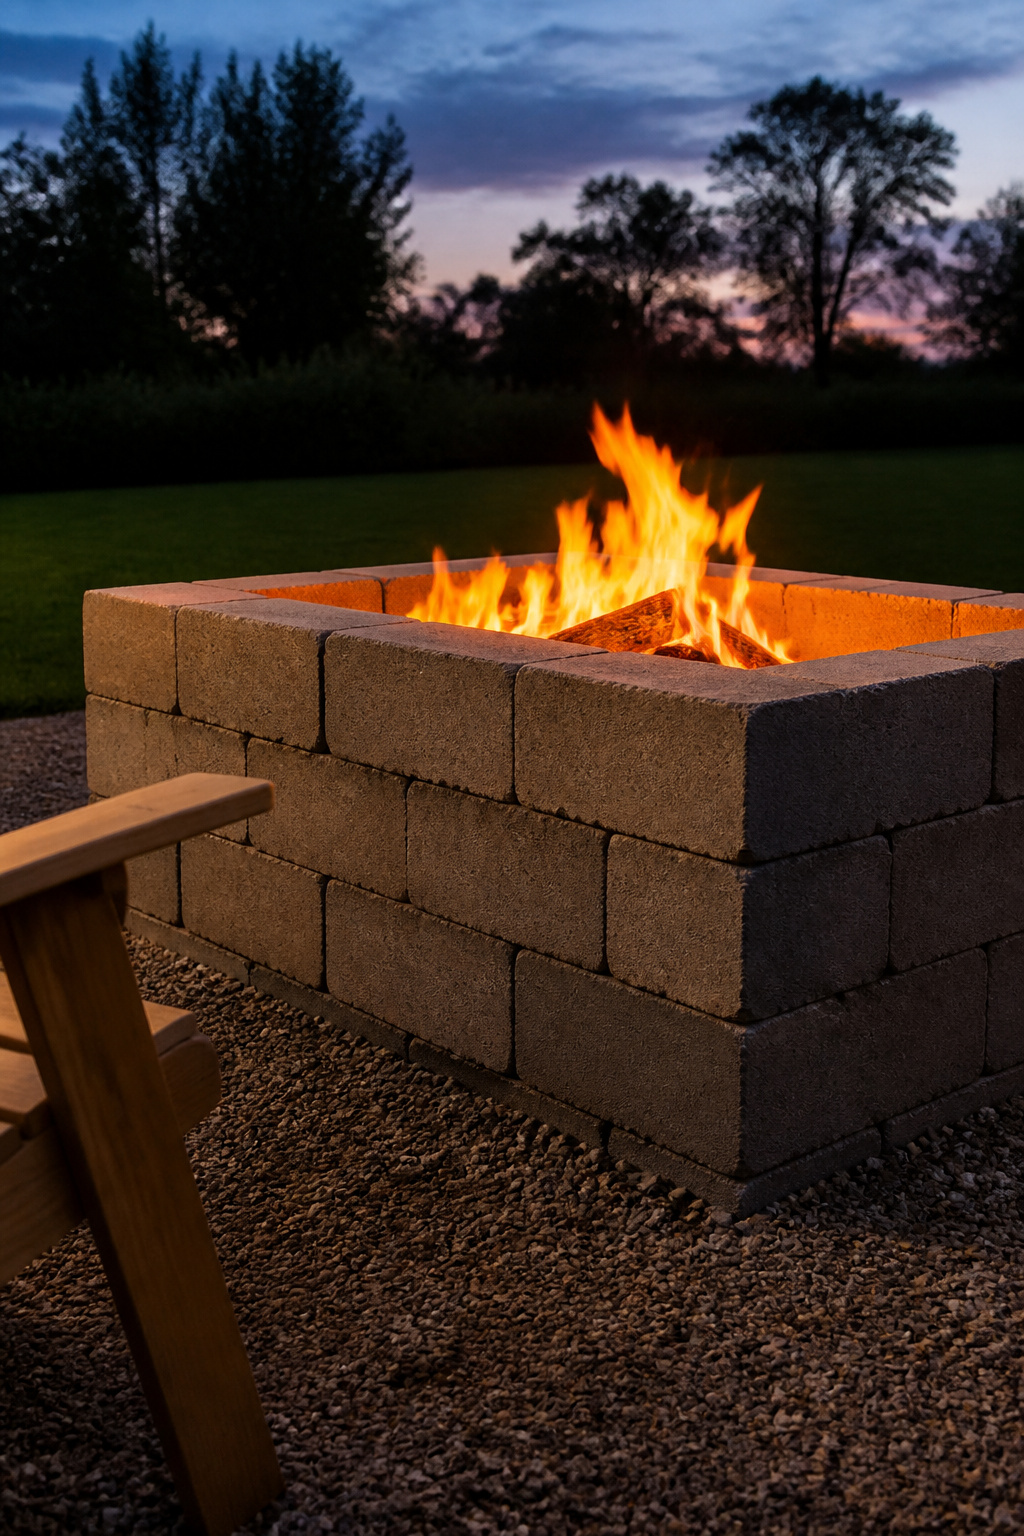
TL;DR
- The cheapest solid build is a dry-stacked cinder block pit: ~$20–$45, 1–2 hours, no power tools, beginner skill.
- A spark screen ($15–$30) is the one safety item you never cut, at any budget — and never set a pit on a wood deck.
- Spend up only where it pays back: a $20–$40 steel bowl insert keeps flame off the masonry and is the single upgrade that extends any build’s life.
What Cheap Fire Pit Builds Actually Cost (And What They Don’t Skimp On)
Four builds, real numbers, all beginner-rated. The skill you’re buying isn’t masonry — it’s patience and a level.
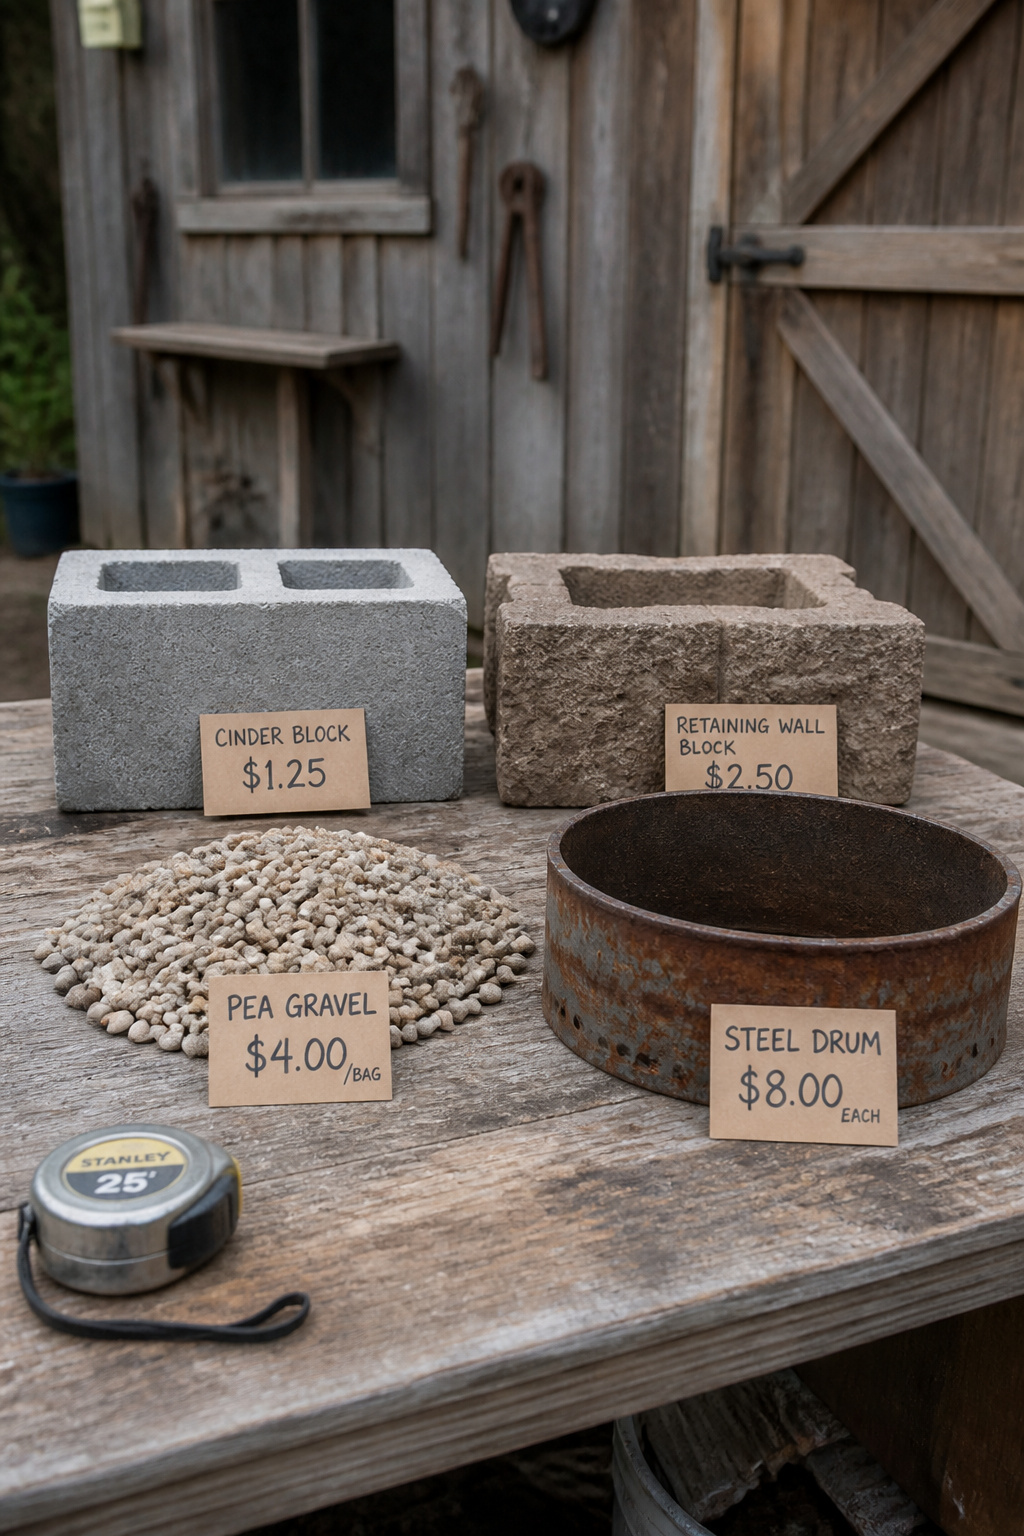
Real material costs for cinder block, stone, and gravel builds
The cinder block build is the floor: twenty blocks plus ten cap blocks, about $43, no mortar. Salvage builds look cheapest, but only if you already own the tools.
Budget comparison table: build type vs materials cost vs hours vs skill level
| Build | Materials | Time | Skill | Fire-safe rating |
|---|---|---|---|---|
| Cinder block | $20–$45 | 1–2 hrs | First build | Good with metal insert |
| Stacked stone / retaining-wall block | $45–$75 | 2–3 hrs | First build | Good (solid blocks, no air pockets) |
| Repurposed drum / wheelbarrow | $0–$30 | 1–3 hrs | Some builds (angle grinder) | Fair (thin steel rusts through in 1–2 seasons) |
| Gravel ring with steel insert | $60–$95 | 2–4 hrs | First build | Best of the four (non-combustible perimeter) |
| Pro stone installation | $1,000+ | hire it out | n/a | the benchmark you’re beating |
The one safety item you should never cut from any budget
A spark screen. A $15–$30 mesh cover catches flying embers before they land on a guest, cushion, or dry grass — cheapest insurance in the project. It doesn’t replace clearance: most local codes require at least 10 feet from your house, fence, or shed (some mandate 25), plus 20 feet of open sky to tree branches. Never set an open-fire pit on wood decking. For the full survey of fire pit types and layouts, see our backyard fire pit ideas guide.
Cinder Block Fire Pit: The $20 Build That Actually Holds Up
No mortar, no power tools, under two hours. The catch isn’t the stacking — it’s choosing the right block and not killing it on the first burn.
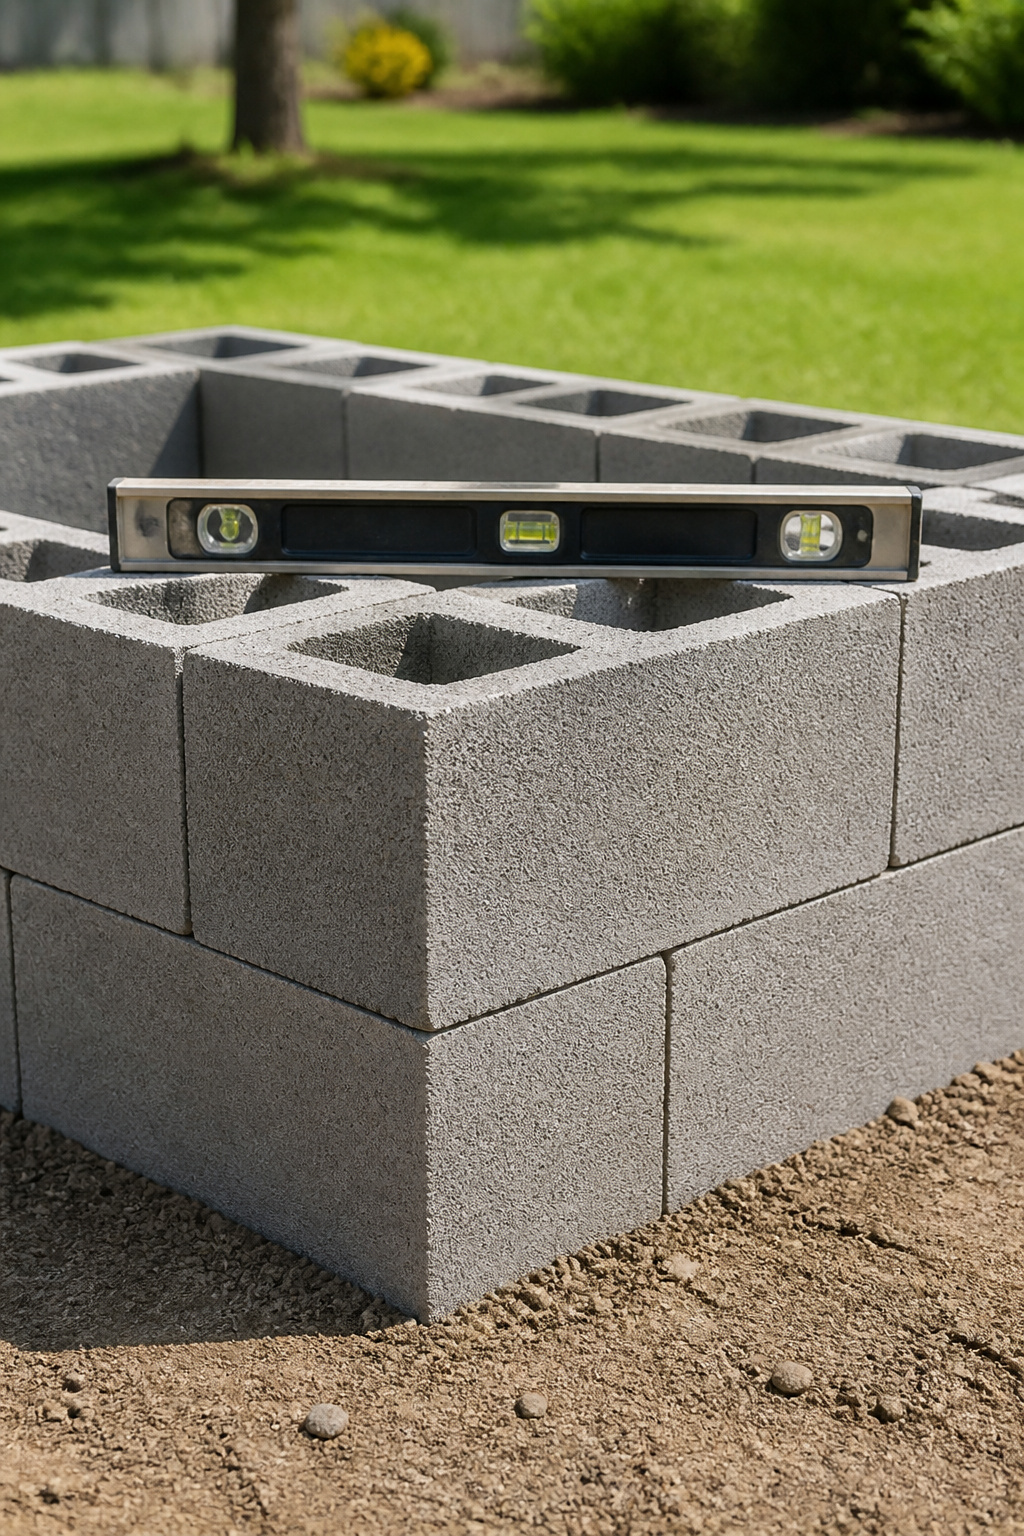
Materials list and exact costs at big-box prices
- 20× 8×8×16 CMU blocks at $1.15–$1.37 each — $23–$27.40.
- 10× 16×4×8 cap blocks at $1.55 each — $15.50 for the rim.
- Optional: one bag of pea gravel ($5–$6) in the hollow cores to reduce steam pockets.
- Tools: level, rubber mallet, tape measure.
Total with gravel fill: $38–$49.
Stack pattern, air gaps, and why the first course matters
First course, cores facing up — the most important structural and airflow decision. Level it meticulously; a quarter-inch of lean by course three is a real problem. Rotate the second course a half-block over so joints don’t stack — that running bond keeps the wall from racking. Build two to three courses high (16–24 inches) and leave a half-block gap at one corner.
The mistake that cracks cinder blocks and how to avoid it
Most cheap block pits die from thermal shock, not heat. Dense CMU blocks handle sustained temperatures up to about 1,000°F — what kills them is dousing a hot fire with water. Blocks at 800–1,000°F flash moisture in their pores to steam, cracking the concrete. Let fires burn down naturally; never hose them out. Also buy dense grey masonry-aisle blocks, not lightweight decorative ones, and give rain-soaked blocks 72 dry hours before the first burn. A dense CMU pit built that way lasts 10–15 years.
Stacked Stone Ring: A $40 Build That Looks Like It Cost More
Spend the extra twenty bucks when looks matter. Retaining-wall blocks give you a finished ring and dry-stack more securely than loose fieldstone — no mortar, no skill jump.
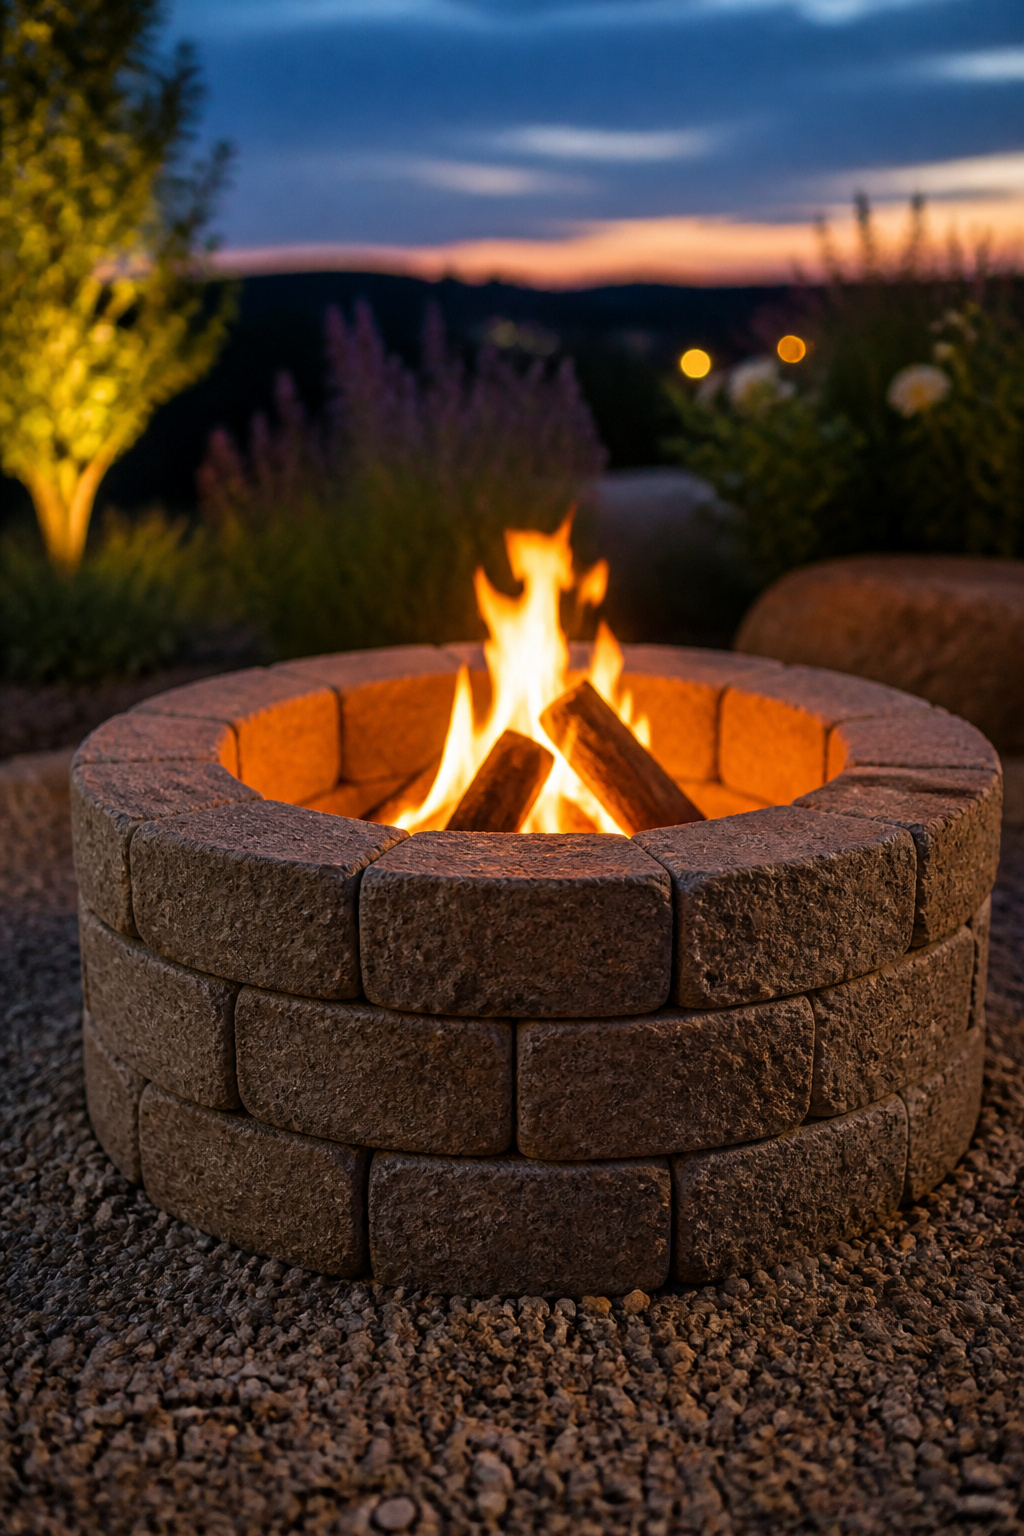
Choosing the right fieldstone or retaining-wall block
Buy retaining-wall blocks from the landscaping aisle — the kind with a rear setting lip cast in. That lip creates an automatic setback as you stack. A two-course ring (20–24 blocks at $2.99–$3.99 each) runs $60–$96 for a 30-inch inner diameter; three courses can push past $100 new. Per-block prices vary by region, so check local pricing first. Skip sandstone and limestone — both flake under heat — and keep river rock out of the fire chamber: trapped moisture spalls explosively when heated.
Dry-stack technique and how tight the ring needs to be
First course is everything. Set it on a flat, compacted base and get the ring wobble-free before the second course touches it. The setting lip pulls each course into a slight inward taper that braces the ring without mortar. Leave the gaps between blocks alone — they feed air to the fire.
What this build can’t do that a mortared one can
I’ll be straight about the limits:
- It won’t hold a heavy cast-iron cooking grate under load — the lateral force racks the ring sideways.
- In freeze-thaw country (USDA zone 6 and colder), water caught between blocks heaves the ring over winter; plan to re-level the first course every season or two.
For an evening fire, it holds fine.
Repurposed Drum and Wheelbarrow Fire Pits: Salvage-First Builds
The cheapest entry — if a free donor lands in your lap and you already own a grinder. Skip either and the “free” build costs as much as the block one.
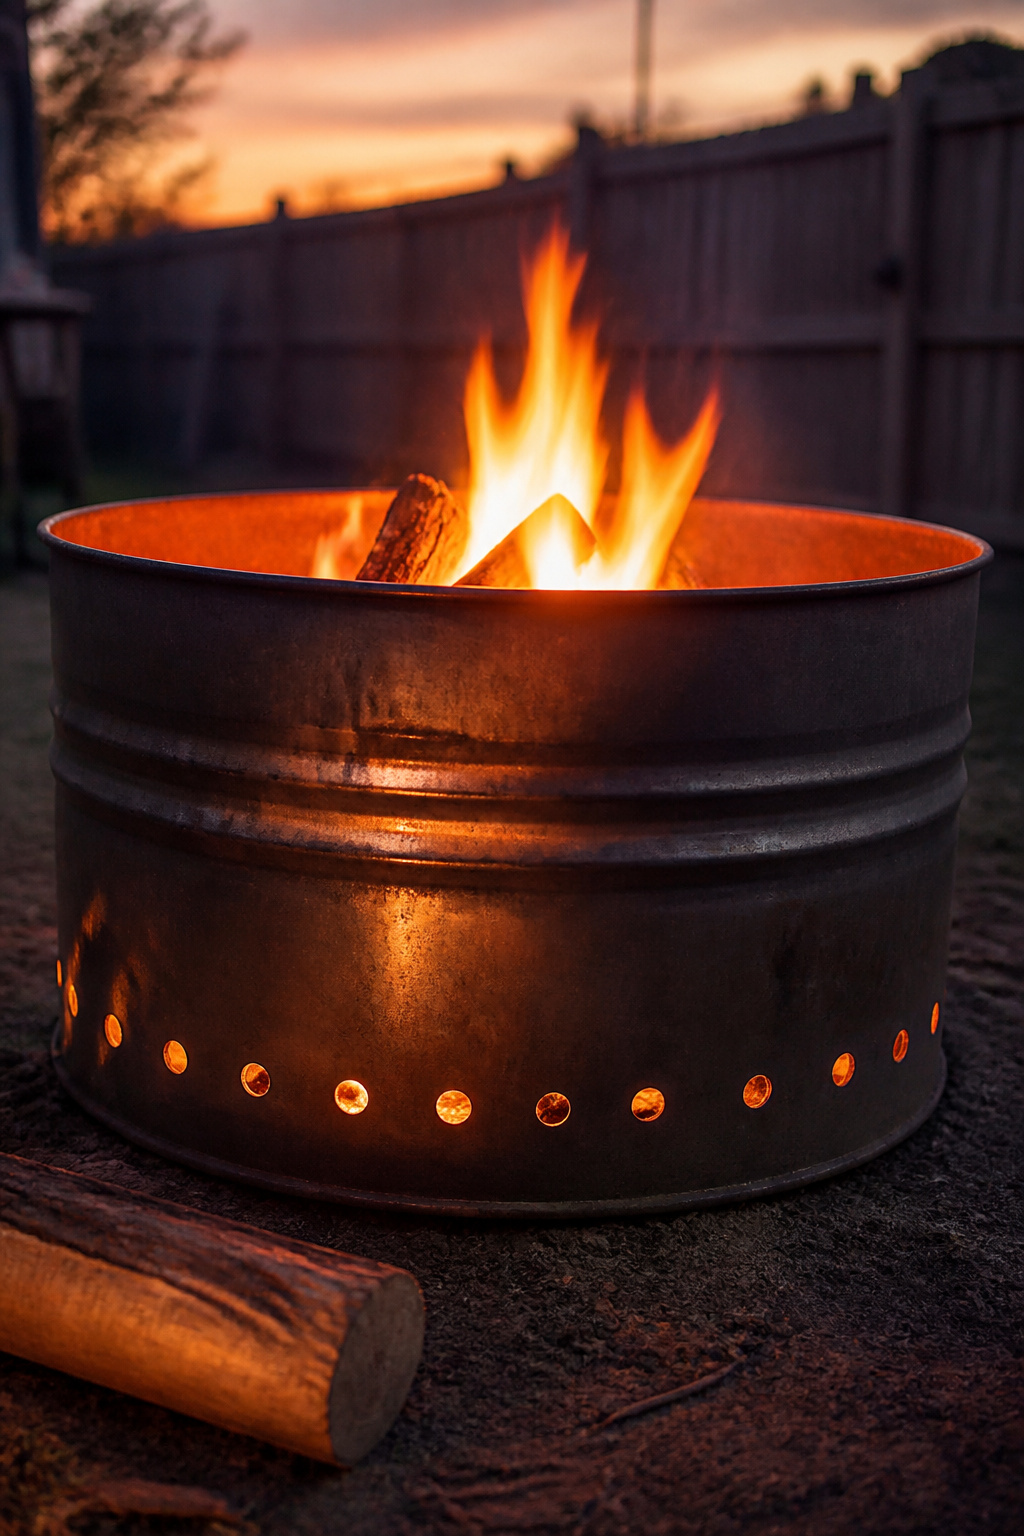
Steel drum fire pit: what gauge holds heat and what doesn’t
Gauge is the whole game. 14-gauge steel works for the walls; 10-gauge plate is better for the base. Measure 18 inches up from the bottom of a standard 55-gallon drum, cut the upper section away with an angle grinder, and cut three or four ventilation holes around the lower side wall. Hard rule: never use a drum that held solvents, paint, or pesticides — heat off-gasses toxins even from a rinsed drum. Food-grade or water-service drums only.
Wheelbarrow conversion: drainage holes, legs, and rust timeline
The tray is already your bowl, the legs hold it up. Drill six to eight half-inch holes in the bottom for drainage and air. Honest rust timeline: left outside year-round, the tray bottom gives out in year three to five; roll it indoors and apply high-temp spray paint ($8–$12) each spring and you stretch that to five to eight years.
Where to source them and what to inspect
Drums come from local metal recyclers ($10–$25) or Craigslist. Before buying: check the label (reject solvents, paint, pesticides), the interior for epoxy lining (off-gasses when burned), and tap the wall (dull thuds mean hidden rust). On a wheelbarrow, press the tray bottom — flex means compromised steel. And don’t forget: cutting a drum needs an angle grinder ($30–$60 new). Don’t own one? Your free drum just cost as much as a block pit.
Gravel Ring Fire Pit: The No-Build Option That Still Looks Intentional
No masonry. A gravel ring is a cleared, edged circle with a steel bowl in the middle — lowest skill here, and with the insert, the safest build. Done right, it reads as a deliberate design choice.
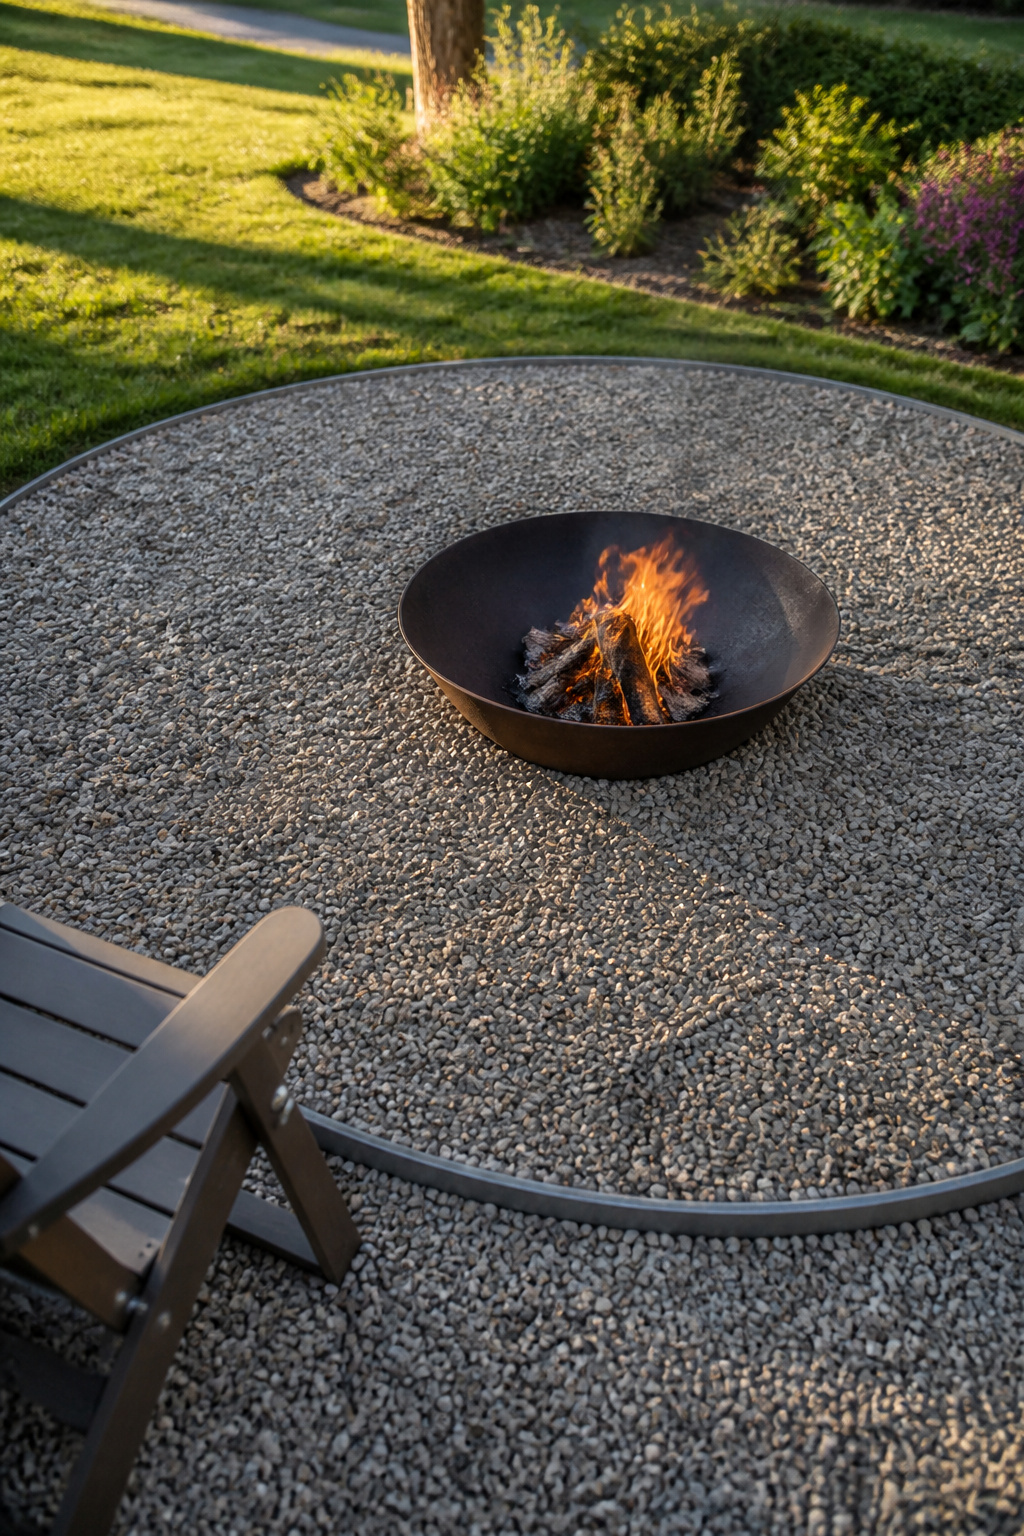
How to lay a gravel perimeter that reads as designed, not accidental
Stake a string to a 6-foot radius, spray-paint the circle, then excavate two inches and rake level. Lay landscape fabric first — skip it and grass pushes through within a season. Install metal edging around the perimeter, then fill to two inches: roughly 10 bags of pea gravel ($40–$60). Pea gravel is the right pick: smooth underfoot, firm enough to hold chair legs, and won’t pack into a hard pan.
What to put in the center: steel ring insert vs bare gravel
Don’t burn directly on bare gravel — it scatters and gives the fire no defined chamber. A 24-inch steel bowl insert ($20–$35) sets the burn zone, contains embers, and shields the gravel from heat. Set it on a flat patio stone so it doesn’t sink.
Edging materials that hold the ring shape through winter
Galvanized steel edging (16-gauge or heavier) holds its curve through freeze-thaw without cracking or rotting. Cor-Ten weathering steel develops a self-sealing rust patina; it typically costs $2–$4 per linear foot. Drive stakes at least 2.5–3 inches below grade — shorter stakes pop out after one freeze-thaw cycle.
Upgrading Your Cheap Build: What to Add After the First Season
A budget build isn’t a dead end. One season tells you where it falls short, and two upgrades fix most of it.
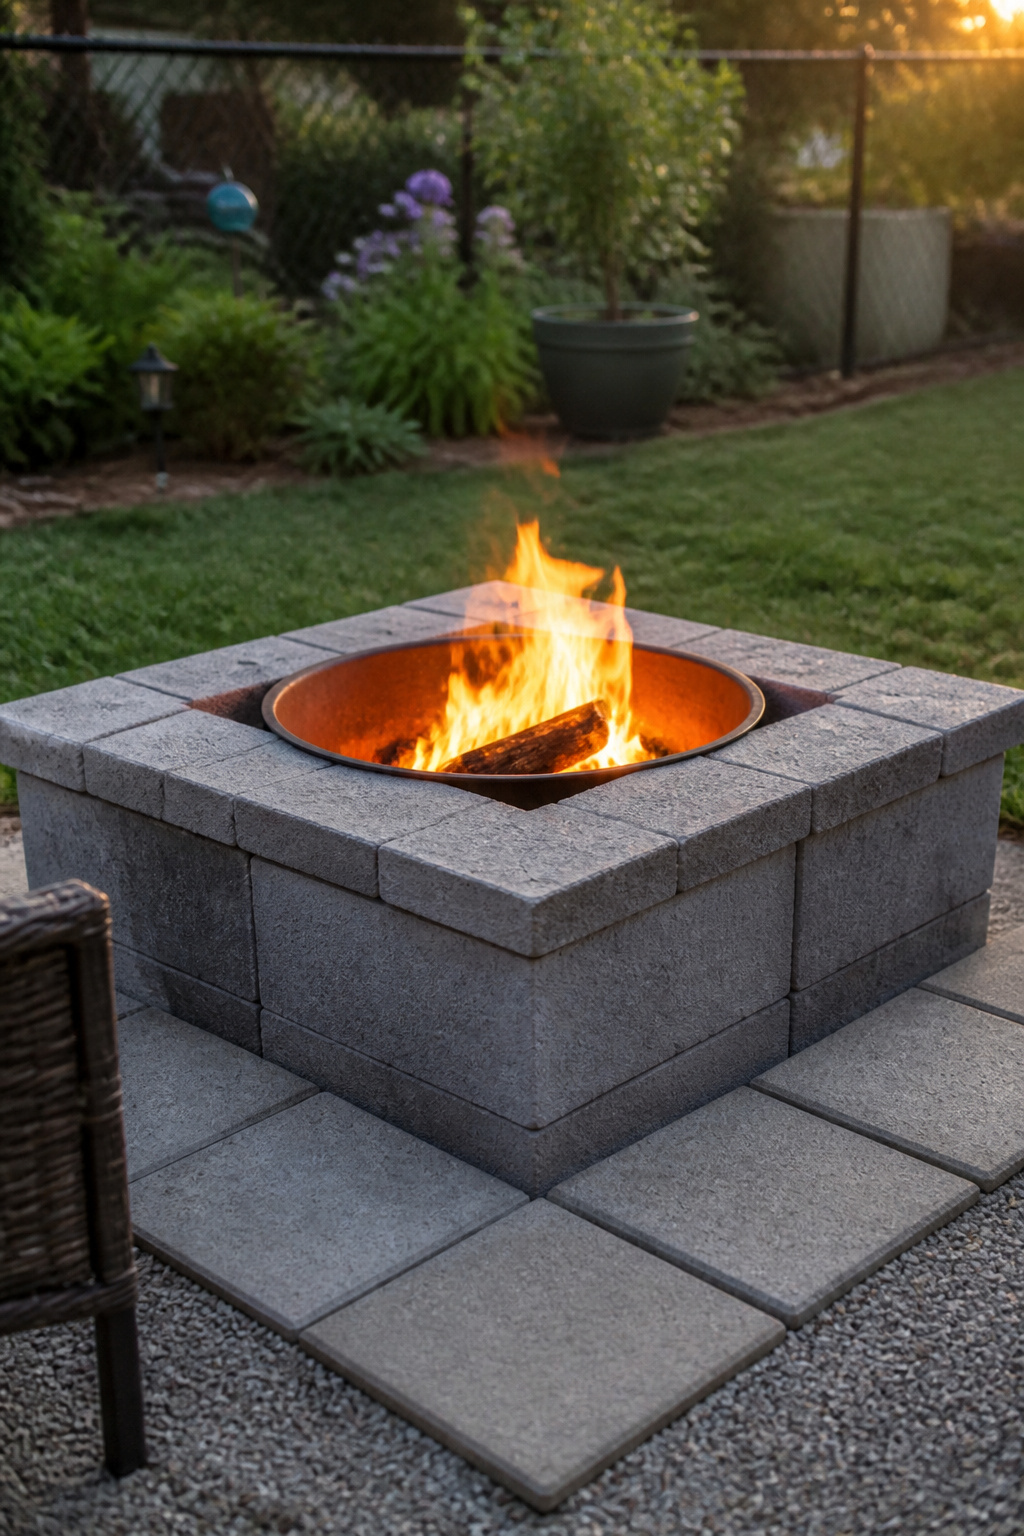
Steel bowl insert: the single upgrade that extends any build’s life
If you add one thing, add this. A 24-inch steel bowl drops into a cinder block or stacked stone ring and keeps direct flame off the masonry — the main stress on the walls. Entry-level bowls run $20–$40; 11-gauge versions last longer. Cover it when idle; store it dry over winter.
Flagstone or paver apron on a $15 budget
Six to eight flat stones around the rim give the pit a finished look and a non-combustible base for chairs. Plain 16×16 concrete stepping stones run $2–$5 each — six come to $12–$30 and take under an hour on tamped ground. Salvaged flagstone can take the cost near zero, though natural stone prices vary by region. Set them dry so you can re-level each spring.
When to stop upgrading and build the permanent version instead
Once you’ve spent $150–$200 across the build plus upgrades, you’re inside the material range for a proper permanent build ($200–$650) that never needs re-leveling. Signs it’s time: blocks cracking on more than one face, walls leaning, a bowl rusted through. How to build a permanent paver fire pit covers the full process — but decide between gas and wood before the first shovel goes in.
Grab 20 blocks and a level this weekend, stack them cores-up, and you’ll have a fire going by dark for less than a takeout dinner.
FAQ
Can you use regular concrete blocks for a fire pit?
Yes, for the outer walls — standard grey CMU blocks work, but they aren’t fire-rated and eventually crack and spall with repeated heat. They aren’t safe as the interior chamber lining; use firebrick or a steel insert there. Avoid lightweight decorative blocks, which trap air and spall faster.
How long does a cinder block fire pit last before it cracks?
With proper care, a dense CMU fire pit lasts 10–15 years — DIYers report 10-year-old block pits still in regular use. The biggest accelerant of early cracking is dousing hot blocks with water, which triggers thermal shock. Always let fires burn down naturally, and add a steel insert to extend the life further.
Do you need a permit for a DIY fire pit under $100?
In most US jurisdictions, a portable or temporary wood-burning pit needs no building permit, though permanent in-ground or gas installations usually do. Every open-fire pit must still meet local ordinances — typically 10–25 feet of clearance from structures and trees, plus burn-day bans. Check your fire department and HOA rules first.