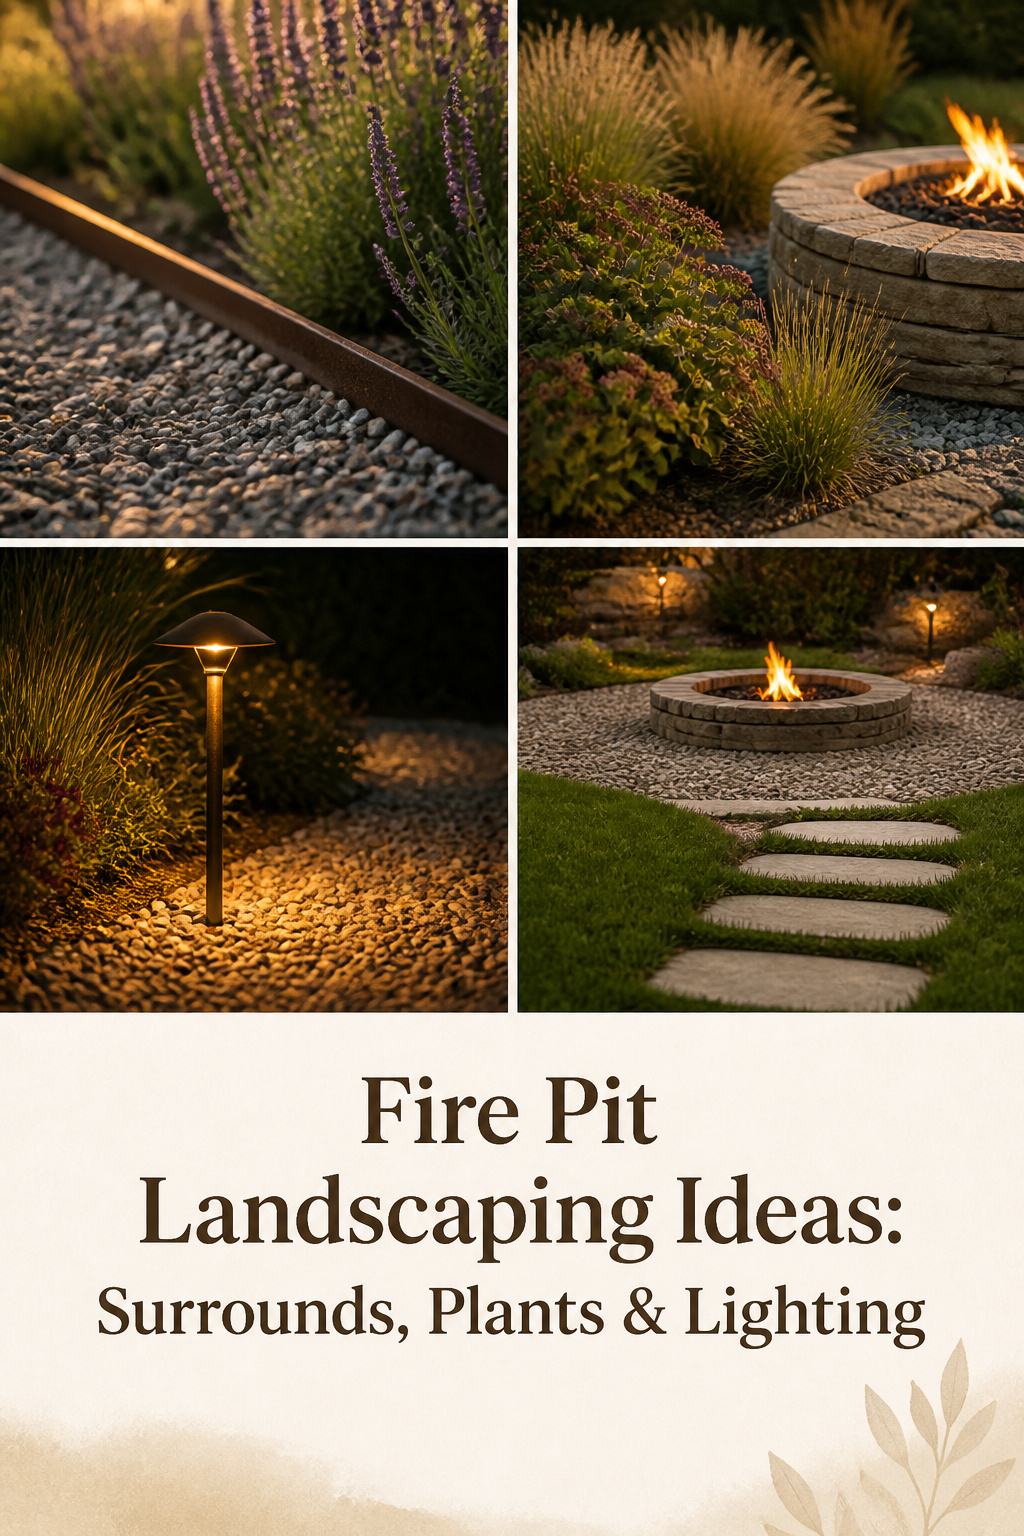
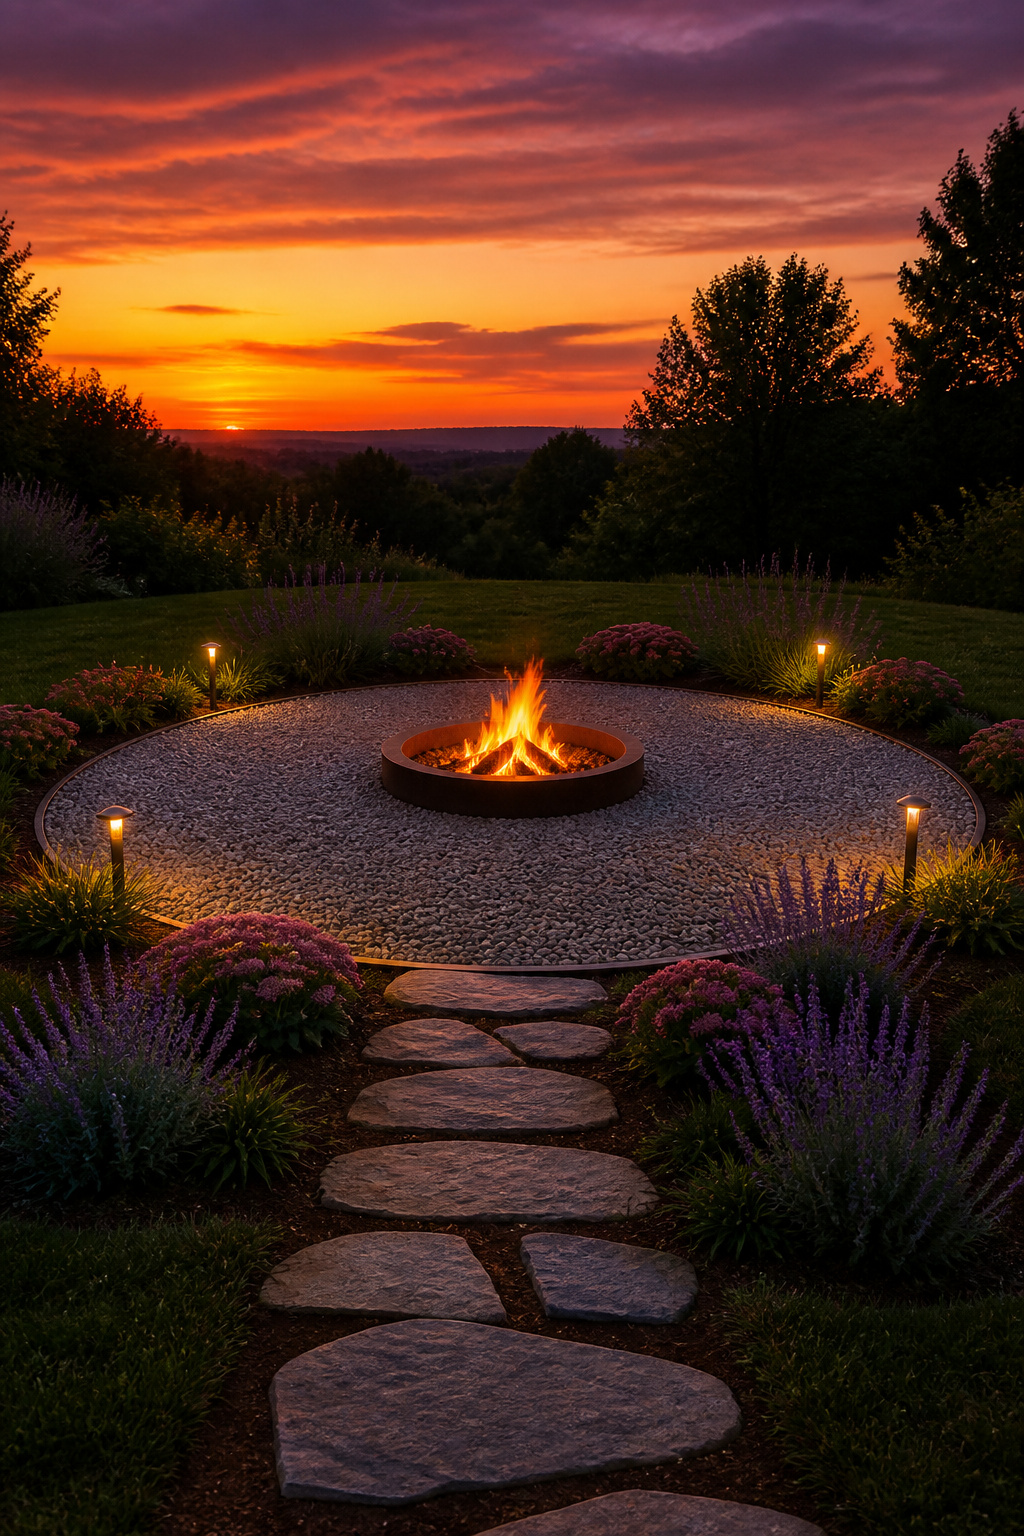
A fire pit area shows you whether the groundwork was honest by about November. The summer photo — flames, a ring of chairs, lavender in bloom — hides what matters: what the ground does after frost, where the gravel migrates, which plants still hold a shape once everything has gone brown. I’ve walked a lot of these in their worst month. So out of every surround, plant and light fitting on offer, these are the fire pit landscaping ideas worth your attention — chosen on one standard: what survives July’s heat and still looks composed when the lawn is bare.
TL;DR
- Build the surround in two layers: 3–4 inches of compacted crushed stone, then 2–3 inches of pea gravel, contained by 16-gauge steel edging set so the gravel sits 1–1.5 inches below the edging top.
- Keep planted material at least 8–10 feet from the fire ring and use fire-safe choices like lavender, sedum and buffalograss; keep resinous conifers, pampas grass and bamboo well clear.
- Light the approach and the perimeter, not the pit — low-voltage path lights at 100–200 lumens and a 12-foot minimum clearance for any string lights overhead.
Fire Pit Landscaping Ideas Start With the Surround: Ground Covers That Work
The ground is the decision everything else sits on, and most people pick it for looks rather than for how it sheds water. Pea gravel is the popular answer, but the material does only half the job — the install does the rest. Here is how the options compare.
| Surround | Cost | Best for | What it demands |
|---|---|---|---|
| Pea gravel | $30–35/cu yd | Light foot traffic, fast drainage | Crushed-stone base, edging, top-dressing |
| Decomposed granite | $40–50/cu yd | Dragged chairs, firmer footing | Plate compactor, multiple passes, water misting |
| Paver apron | Higher per sq ft | A heat-tolerant transition ring at the pit | Compacted base plus coarse sand bedding |
Pea gravel: the most popular surround and what the installation actually requires
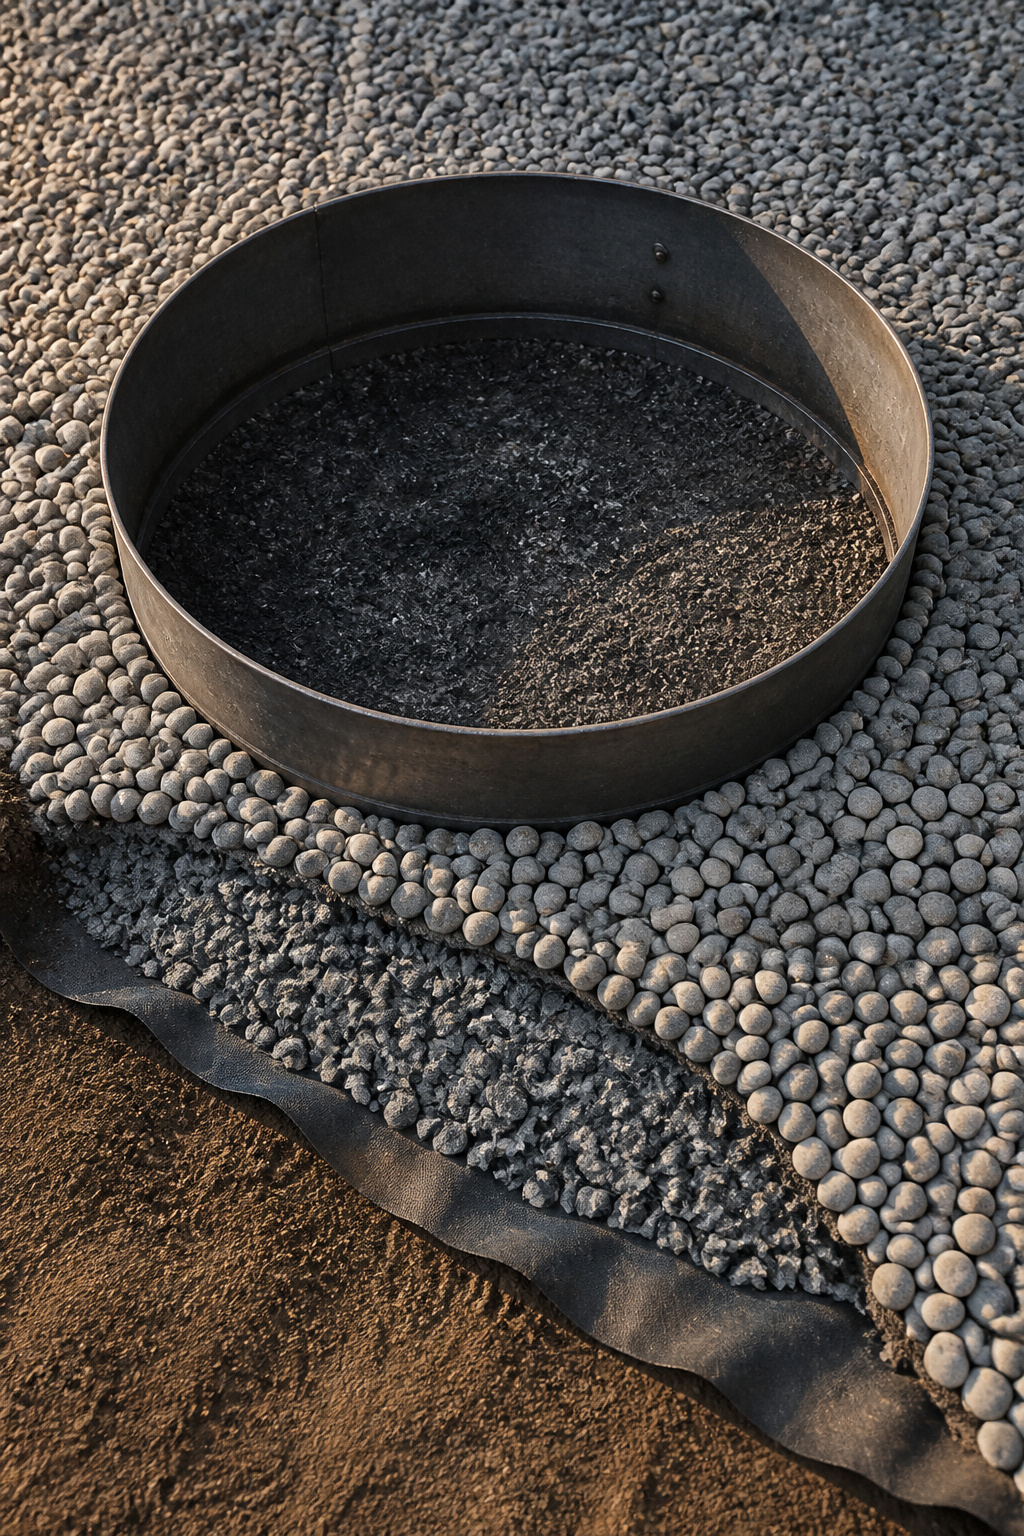
Pea gravel is smooth, rounded stone, typically 3/8 to 5/8 inches across, and its non-porous nature is the point — it won’t trap moisture and crack under heat the way river rock can. The install is where it succeeds or fails. Excavate 6–8 inches, compact the soil, lay 3–4 inches of crushed stone for drainage, add landscape fabric with seams overlapped 6 inches and pinned, then finish with 2–3 inches of pea gravel. Hold that finish layer to 2–3 inches: deeper and chairs wobble, shallower and the fabric shows. For most yards a 12–16 foot total diameter works, and the gravel belongs outside the pit, never inside the burning zone. For the wider survey of types and layouts, see our guide to fire pit design ideas and layouts.
Decomposed granite vs pea gravel: drainage, compaction, and weed barrier needs
Decomposed granite is granite particles, fine sand and silt that compacts into a firm, stable surface — it handles dragged chairs better than loose pea gravel, and that stability is its whole case. The trade is work and water: DG wants a plate compactor, several passes and light misting to reach density, or it stays loose and dusty. It also costs more, $40–50 a cubic yard against pea gravel’s $30–35. So pea gravel suits semi-permanent seating and light use, while DG earns its extra effort only where chairs get dragged daily or gravel keeps migrating into the lawn.
Paver aprons and stepping-stone paths into the fire area
A paver apron — a ring of pavers set immediately around the fire ring — gives you a stable, heat-tolerant transition before the gravel field begins, and it reads as a deliberate design layer. Stepping stones set into the gravel on the main approach solve the nuisance of crossing loose gravel in the dark. The base differs, though: a paver-and-fire-pit combination typically wants a 2-inch compacted gravel base plus an inch of coarse sand. If you’re laying pavers from scratch, our step-by-step on the paver fire pit build covers the bedding sequence in full.
Edging the Fire Pit Area: Keeping Gravel In and the Lawn Out
Edging is the detail nobody admires and everybody needs. Skip it and the gravel walks into the lawn within a season while grass creeps back within two. Material choice matters most in freeze-thaw country.
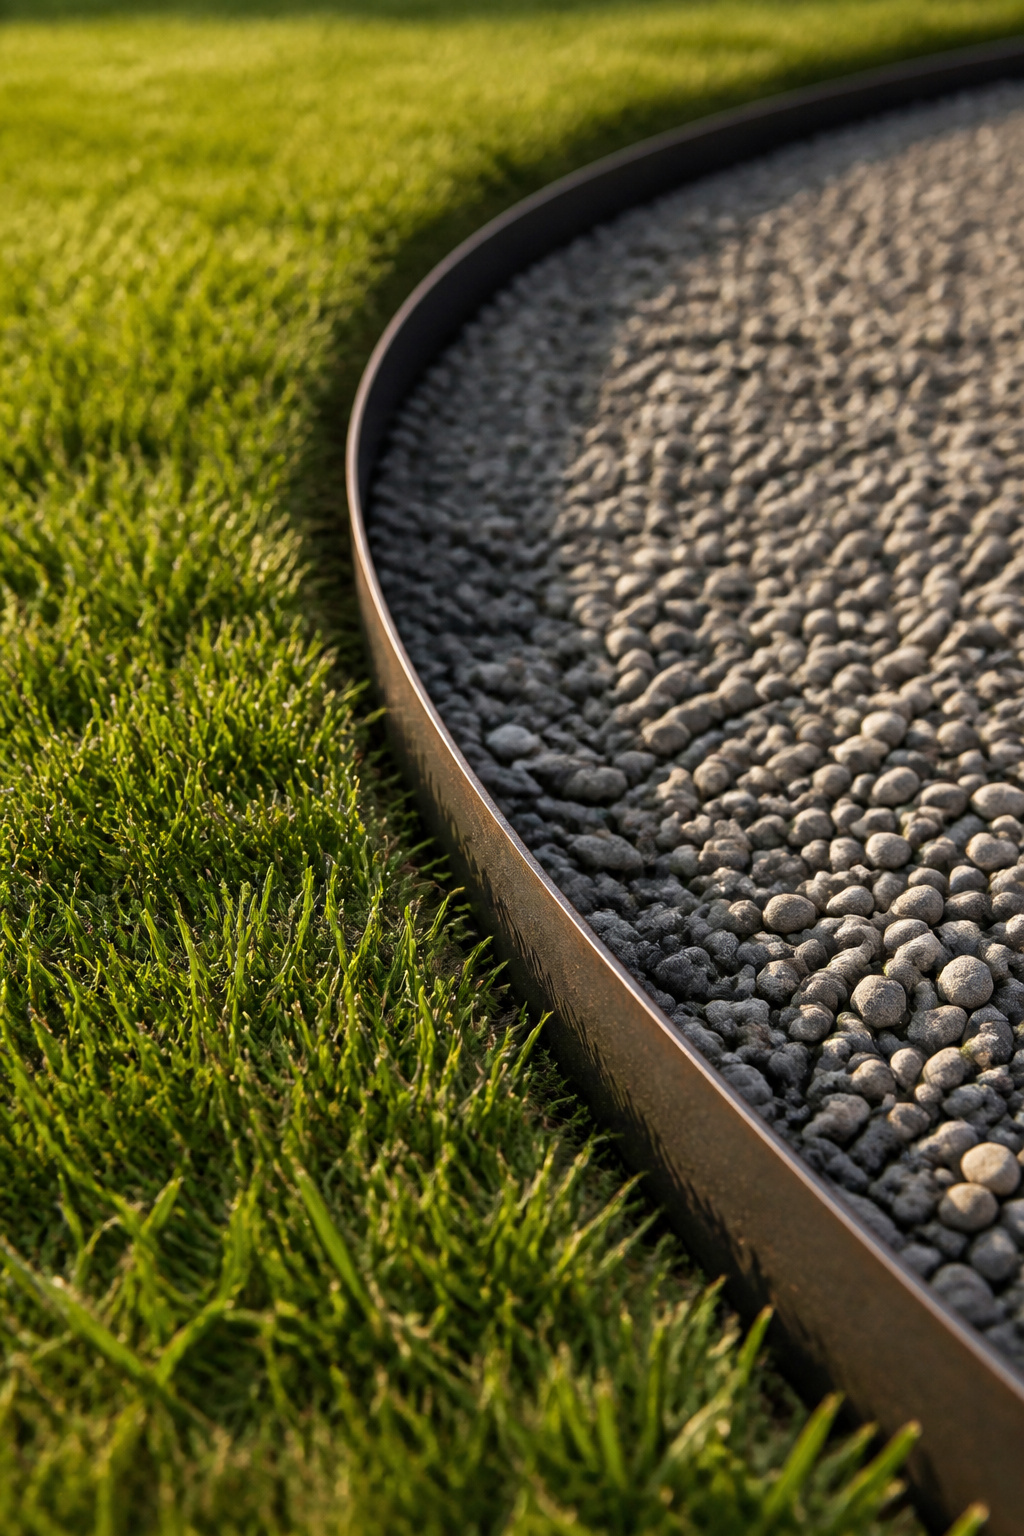
Steel edging vs landscape timbers vs stone border: which holds through freeze-thaw
Sixteen-gauge steel — 1.6 mm — is the standard worth buying. It resists bending when soil heaves, holds a curve without kinking, and lasts 20–40 years against the 10–20 years of pressure-treated timber, whose stakes freeze-thaw shoves out of line faster than steel pins. Set it with stakes roughly 36 inches on-center, driven below the top of the strip into firm soil. Natural stone set flush is more durable still in a hard winter, but it needs mortaring or deep bedding or stones lift with the frost.
How to create a defined perimeter for a gravel ring without installing formal edging
You don’t always need a formal edge. A 6-inch band of larger river rock — 2–3 inch flats, or 4-inch rounds — laid as a visible outer ring defines the perimeter and slows migration while adding a naturalistic layer. Whatever you choose on top, run the landscape fabric a few inches past the gravel line: that overhang slows grass rhizomes from creeping in under the stone, which is where most “the lawn invaded my gravel” stories begin.
Edging height and gravel depth: the numbers that stop migration
Here is the pairing that stops most lateral migration, and it’s about height as much as depth. The edging should stand 4–6 inches above grade to block scatter, and the gravel should sit 1–1.5 inches below the edging top. That small gap is the whole mechanism — it gives stones somewhere to settle when a chair drags across them instead of flicking onto the grass. A 5-inch steel panel pairs naturally with a gravel depth no greater than 3 inches to keep that headroom. The edge that won’t contain the stone is the wrong edge.
Fire-Safe Plants for Around the Fire Pit: What Goes Near the Heat
Planting around a fire pit is a safety call wearing a design hat. The right plants frame the pit; the wrong ones quietly stack fuel within ember reach. What decides it is the moisture in the foliage and how far back you set it.
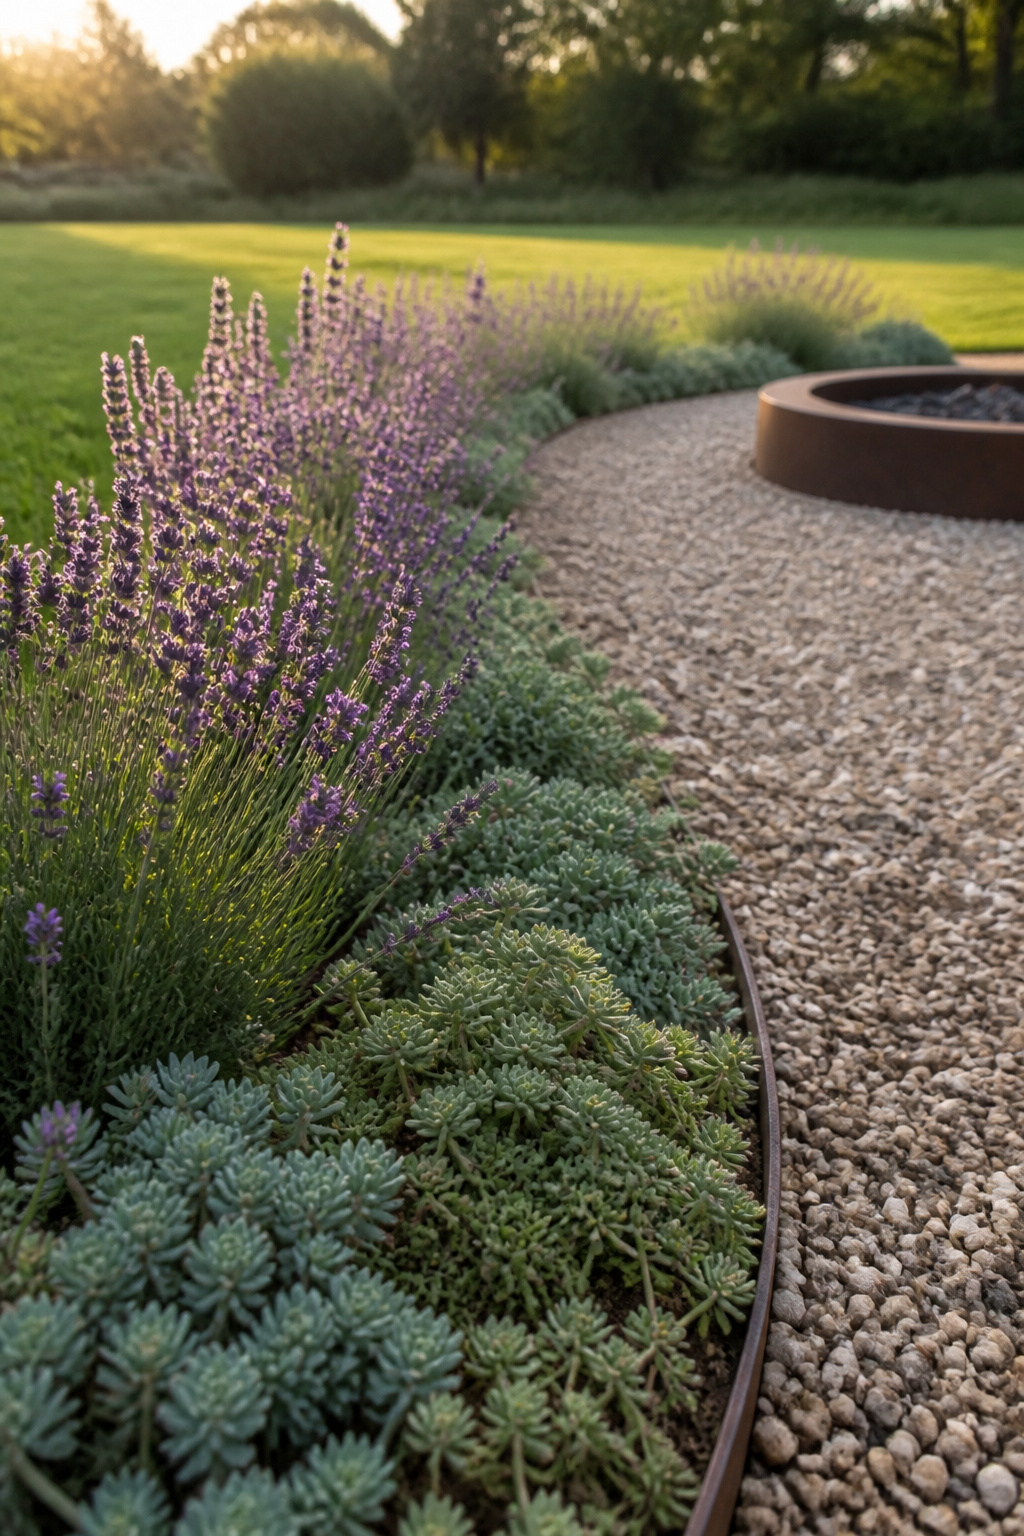
The fire-safe planting list: lavender, sage, succulents, ornamental grasses with spacing
A short list does most of the work here, and these earn their place near the heat:
- Lavender — moisture-holding, low-oil foliage makes it highly fire-resistant; at 1–3 feet mature it suits the border just outside the edging ring.
- Sedum (stonecrop) — rated highly fire-resistant by the University of California; its succulent leaves are slow to ignite, and low-spreading types edge the gravel.
- Buffalograss — rated highly fire-resistant by Montana State University Extension; low-growing at 4–8 inches with sparse litter, one of the few grasses fit near a fire feature.
- Russian sage — moderately fire-resistant woody stems, 3–5 feet, good behind a seat wall, provided you prune it in late winter so dry stems don’t accumulate.
Whatever you plant, keep it a minimum of 8–10 feet from the fire ring, and keep the inner 3–4 feet gravel or paving only — no planted material is safe closer to a wood-burning pit.
Plants to keep well clear: resinous conifers, ornamental grasses too close to the flame
The avoid list is shorter and firmer. Conifers — cypress, cedar, fir, juniper, pine, spruce — carry high resin and essential-oil loads; even dwarf varieties are a real fire risk near any fire feature. Pampas grass, bamboo, broom and arborvitae are named specifically as fire-pit hazards, their dry litter and dense stands building a fuel load. Any ornamental grass taller than 18 inches within roughly 8 feet of the pit can carry fire — isolate the taller specimens and pull dead stalks regularly.
How to frame the fire pit area with planting without creating a fuel-load problem
Think in zones working outward from the heat. Low succulents or buffalograss take the outer gravel edge at 5–8 feet; mid-height lavender and sedum sit at 8–12 feet; structural plants like Russian sage go beyond 12 feet. Use gravel or decomposed granite as the buffer between the planted edge and the ring — never mulch, a combustible layer laid where you least want one. The happy accident is that drought-tolerant Mediterranean plants want exactly what a gravel surround offers: sharp drainage, full sun, low water.
Perimeter Lighting for Evening Use: String Lights, Path Lights, and Low-Voltage Borders
I design these areas for evening use by default — and the lighting rule is counterintuitive. The fire is the room’s main light; everything else fills the shadows at the edges and the approach without competing with it.
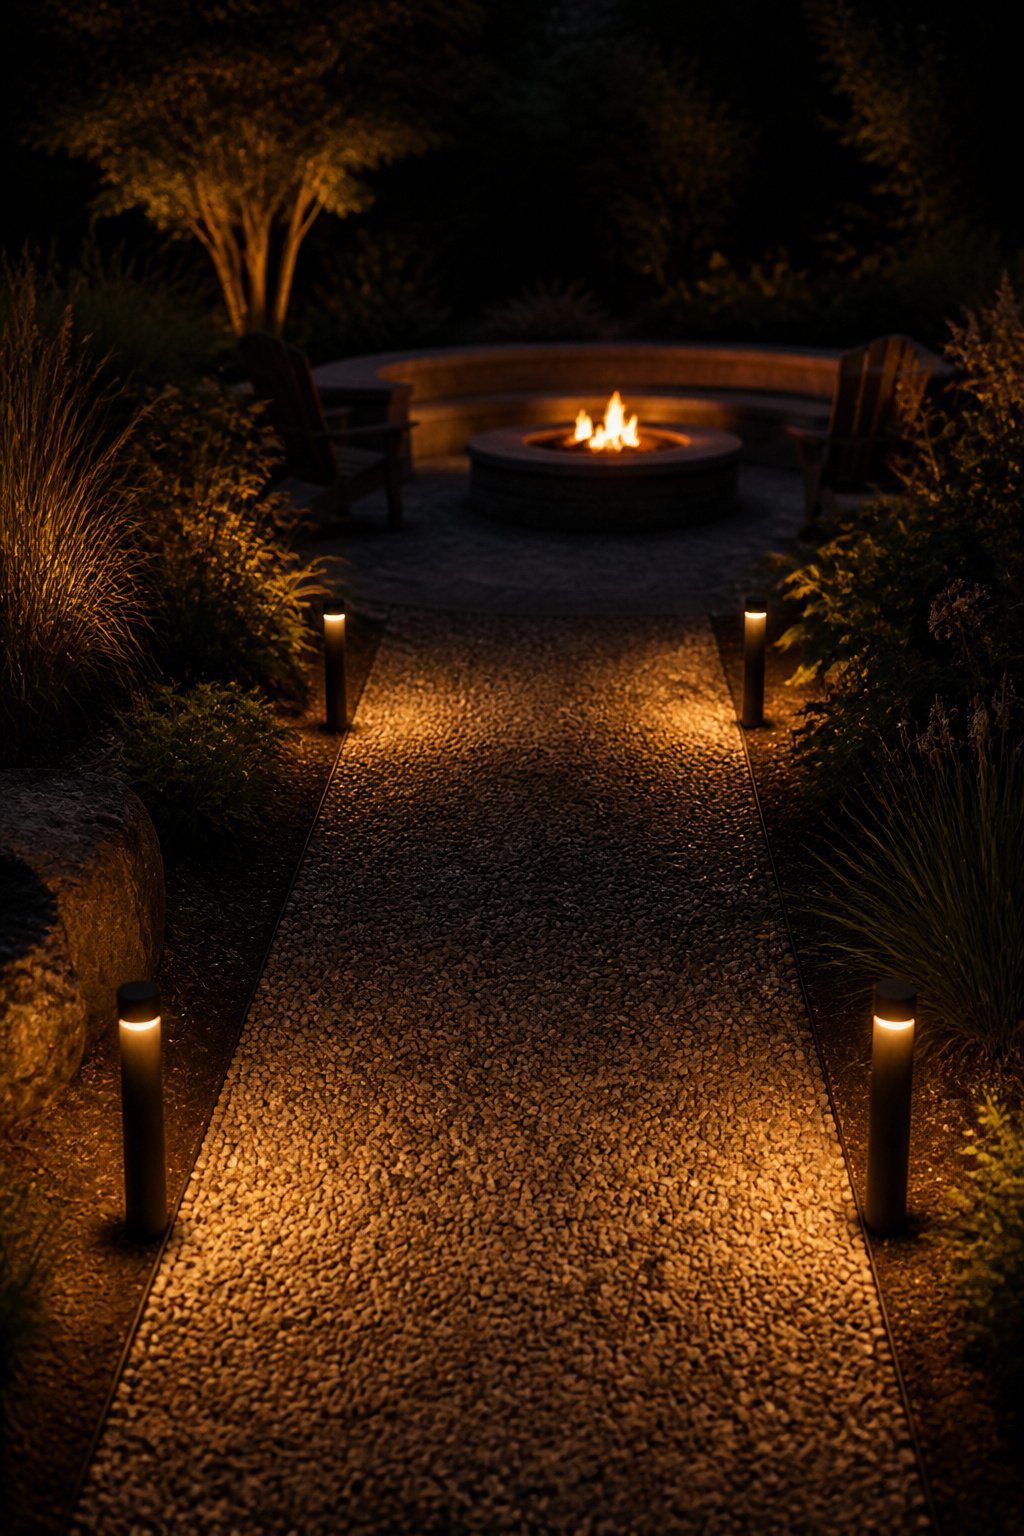
String lights over the fire area: height, span, and the overhead clearance reality
The reflex is to sling string lights over the pit. Don’t. Minimum overhead clearance above a wood-burning fire pit is 12 feet to any wire or support, with 20 feet the recommended margin against ember scatter — and most backyard deck or fence posts can’t safely span that. Move the lights off the pit instead: hang them in a canopy around the seating zone at 7–8 feet, over the chairs rather than the flame. Match the colour temperature too — 2700K to 3000K warm white blends with the amber.
Path lighting into the fire pit zone: step lights, low bollards, and ground stakes
Path lighting is the most useful tier and the easiest to overdo. Low-voltage path lights along the approach give safe footing without stealing the fire’s role — 100–200 lumens per fixture is sufficient for marking a route; above 200 lumens the effect tips from atmospheric to worklight. The safety-critical placement is any grade change or seat-wall step between the house and the pit — that’s where people trip in the dark.
Low-voltage border lighting: the type that frames without competing with the fire
For the permanent perimeter, the professional move is light that frames rather than spotlights. Under-cap LEDs beneath the cap stones of a seat or retaining wall wash softly down the stone face, revealing texture without shining into seated eyelines. As Woody Kerwin of Night Owl Landscape Lighting puts it, the better approach is illuminating nearby trees, boulders or beds rather than the pit itself — gentle fill that balances the harsh contrast between bright flame and dark. Run all of it at 12V through a transformer, which is safest for damp ground and retrofits without major wiring.
Blending the Fire Pit Into the Yard: The Transition Zone Between Pit and Garden
The edge where the surround meets the lawn is where amateur designs fall apart — a blunt gravel-to-grass line reads as unfinished. Make the transition deliberate, and make it hold in February, not just July.
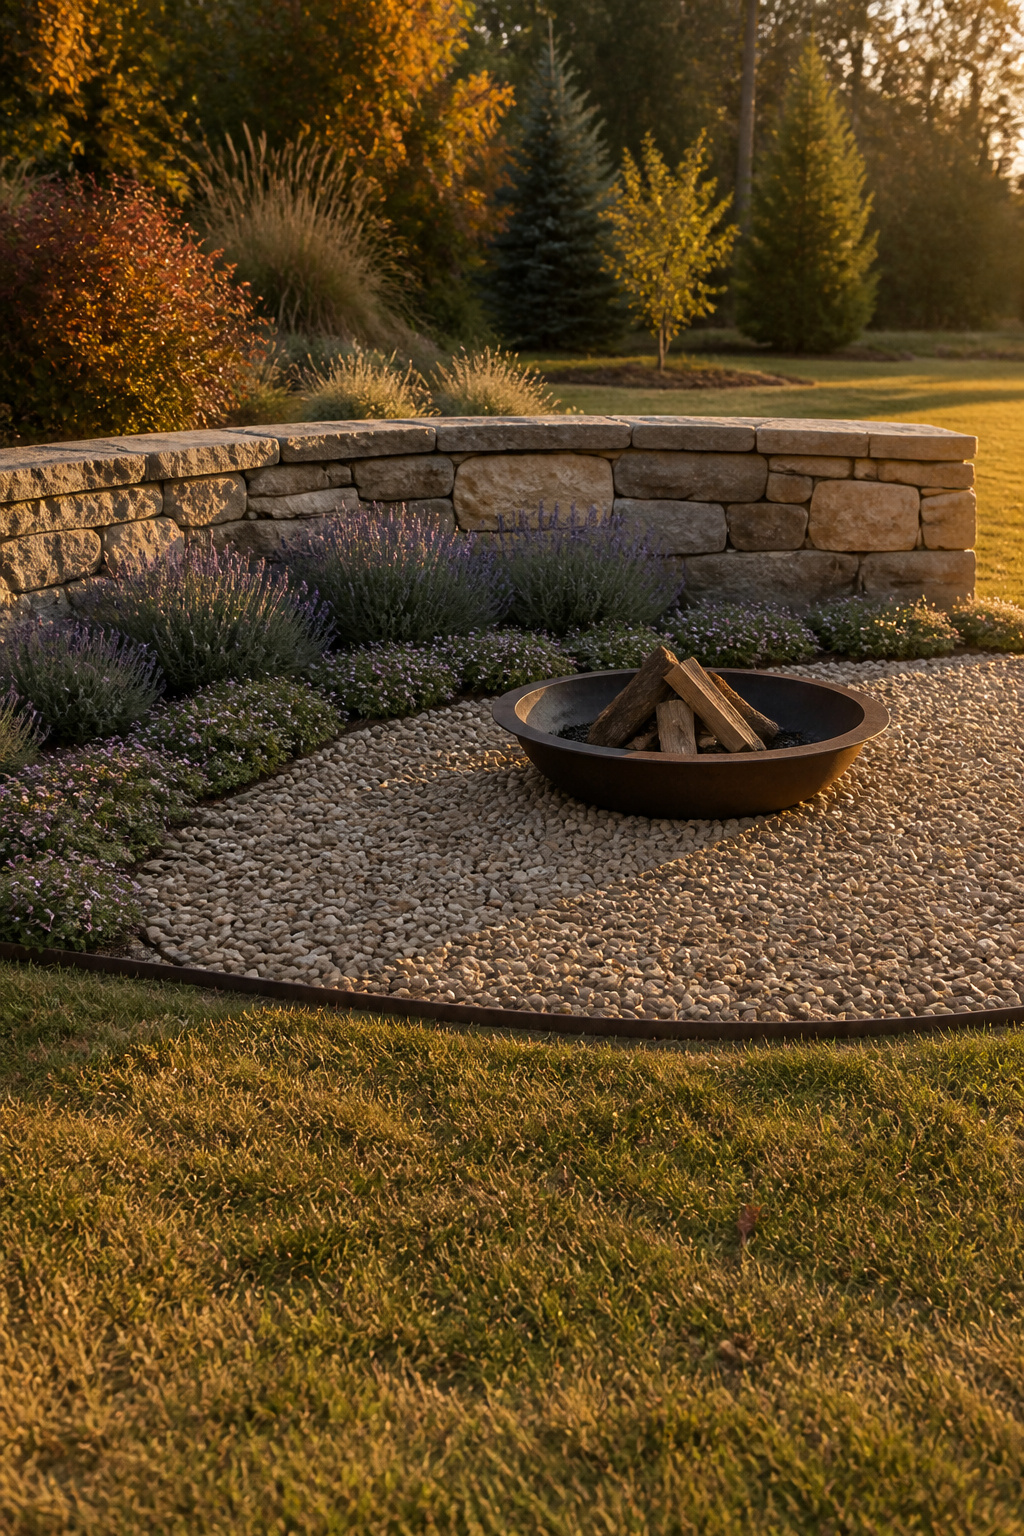
How to create a visual transition from the hardscaped surround to lawn or planting beds
Graduate the materials instead of butting them together. A 6-foot band of native grasses and low perennials between the gravel and the open lawn softens the hard edge and frames the pit as a destination. A curved paver terrace does the same while taking chair weight better than grass. My one test: if the transition relies entirely on plant colour, it vanishes in February — structure like edging, a stone ring or a low planter is what holds the line through winter.
Low retaining walls and raised planters as borrowed structure around the pit
A little built structure gives the space a back. On a slope, tiered retaining walls form a natural amphitheater around a central pit. On flat ground, a low seat wall built behind the pit — not around it — grounds the space and makes the fire read as the centre of a defined room. Planting and lighting on top of that wall pull the whole scene together.
Seasonal changes: what the surround looks like in February and how to plan for it
This is where my whole standard lives. Pea gravel keeps its colour year-round, steel edging holds its line through frost, and semi-evergreen plants like lavender and sedum keep visible structure in winter where deciduous grasses collapse. Ornamental grasses left standing add architectural presence from October to March — but cut them to 3–4 inches in early spring, or you’ve left dry fuel near the pit. So design for November first, and treat July as the bonus.
A Landscaped Fire Pit Area Built to Last: Owen’s Material and Maintenance Picks
Here is the combination I come back to, and the small spring routine that keeps it honest — the one that still works at year five.
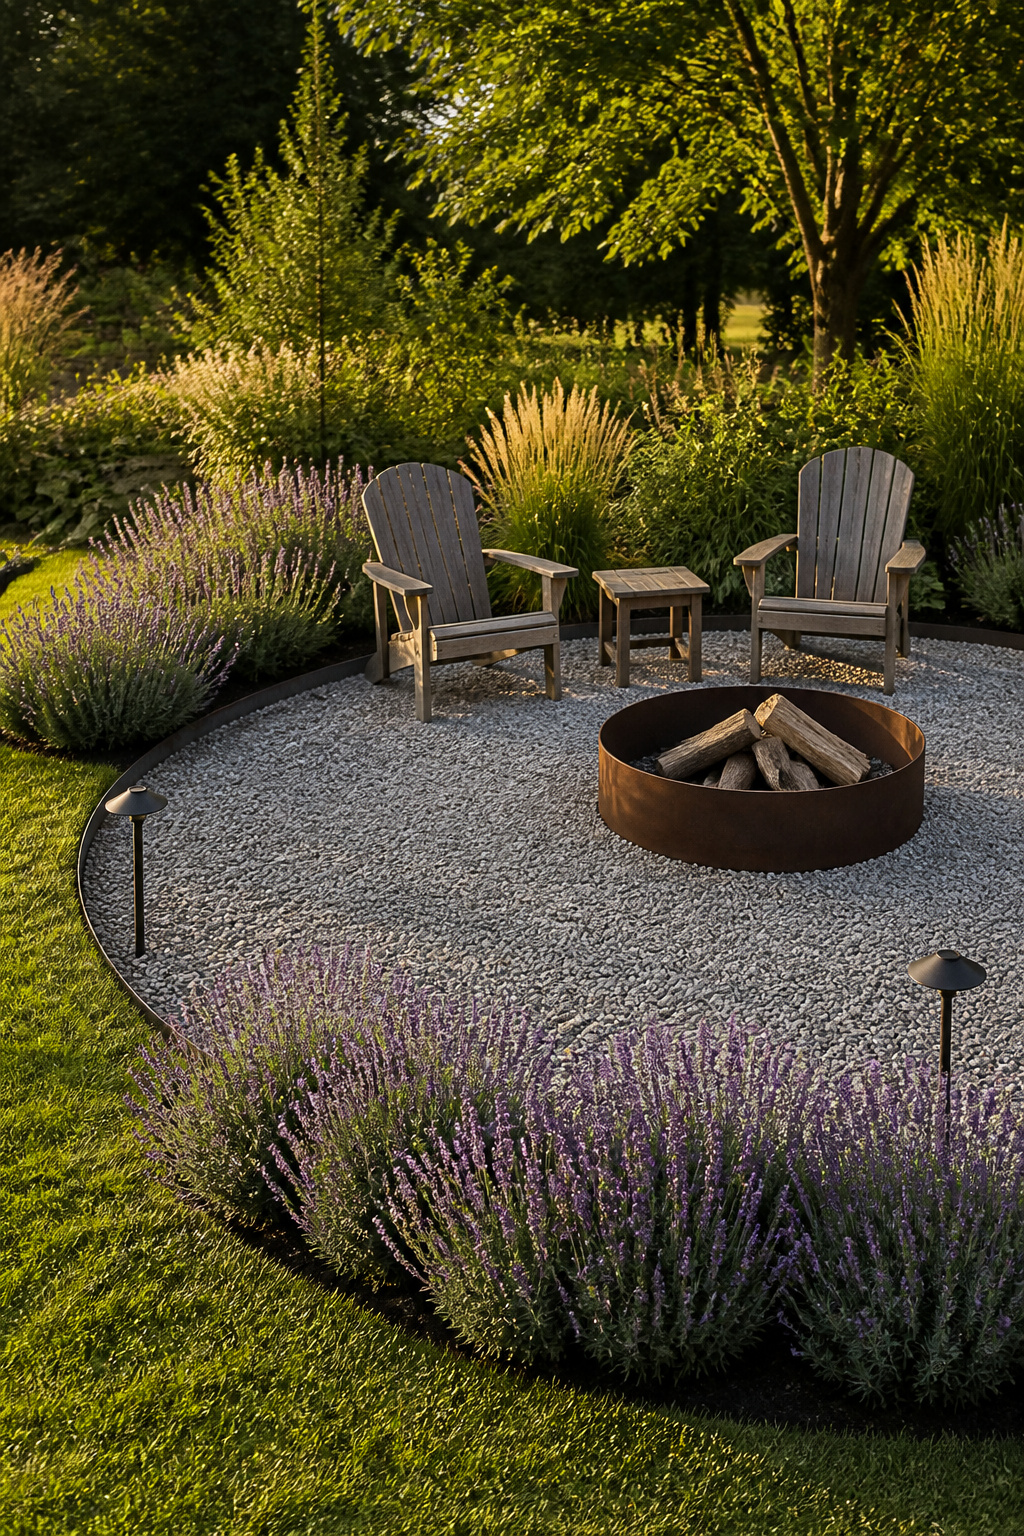
The surround combination Owen recommends most, and why it starts with drainage
My go-to is plain and proven: 4 inches of compacted crushed stone, landscape fabric with 6-inch overlapping seams pinned down, 2.5 inches of pea gravel on top, and 16-gauge steel edging set so the gravel sits 1.5 inches below the edging top — about 6–7 inches of excavation. It starts with drainage because everything else fails without it: a surround on compacted clay pools water at the pit edge, so in cold climates the crushed-stone base is not optional. Once the ground’s done, the surround and seating finish the same scene, so it’s worth reading fire pit seating ideas alongside this.
Spring maintenance for a gravel surround: weed barrier, top-dressing, and edging reset
Spring is a short checklist, not a project. Walk the edging first and re-drive any stakes that heaved over winter — that’s when most stake movement happens. Rake the gravel level, fill low spots, and pull any weed seedlings that came through the fabric while their roots are shallow. Top-dress with fresh pea gravel every 2–3 years as it settles. Cut back any Russian sage or ornamental grass to 3–4 inches before new growth to clear the winter’s dry stalks.
What the fire pit area should look like at year five if the groundwork was done right
If the install was honest, year five is quiet. A two-layer gravel surround with proper edging should need only annual light maintenance by then — no re-excavation, no edging replacement, just top-dressing and weed control. The lavender and sedum will have been established since year two, asking for little beyond a spring tidy. The steel edging, properly staked and left alone, should still hold its line; the first sign it needs attention is gravel showing up on the lawn side of the border — the whole reward for getting the ground right at the start.
FAQ
What plants can you put around a fire pit without a fire risk?
Lavender, sedum (stonecrop), buffalograss and Russian sage are all rated low-flammability by UC Cooperative Extension and Montana State University, because their moisture-storing foliage or sparse dry litter resists ignition. Keep any planting at least 8–10 feet from the ring, with the inner 3–4 feet gravel or paving only. Avoid resinous conifers, pampas grass and bamboo entirely.
How deep should pea gravel be around a fire pit?
The finish layer of pea gravel should be 2–3 inches over a compacted base. Deeper than 3 inches makes seating unstable for chairs; less than 2 inches leaves the weed barrier under-covered. Beneath it, lay a 3–4 inch crushed-stone base, and set the edging so the gravel sits 1–1.5 inches below the edging top to stop scatter.
Can you put string lights directly above a fire pit?
No. Minimum overhead clearance above a wood-burning fire pit is 12 feet to any string-light wire or support, with 20 feet the recommended margin against ember scatter. Most deck or fence-post spans sit 8–10 feet high, well below that, so hang string lights in a perimeter canopy around the seating zone at 7–8 feet instead.