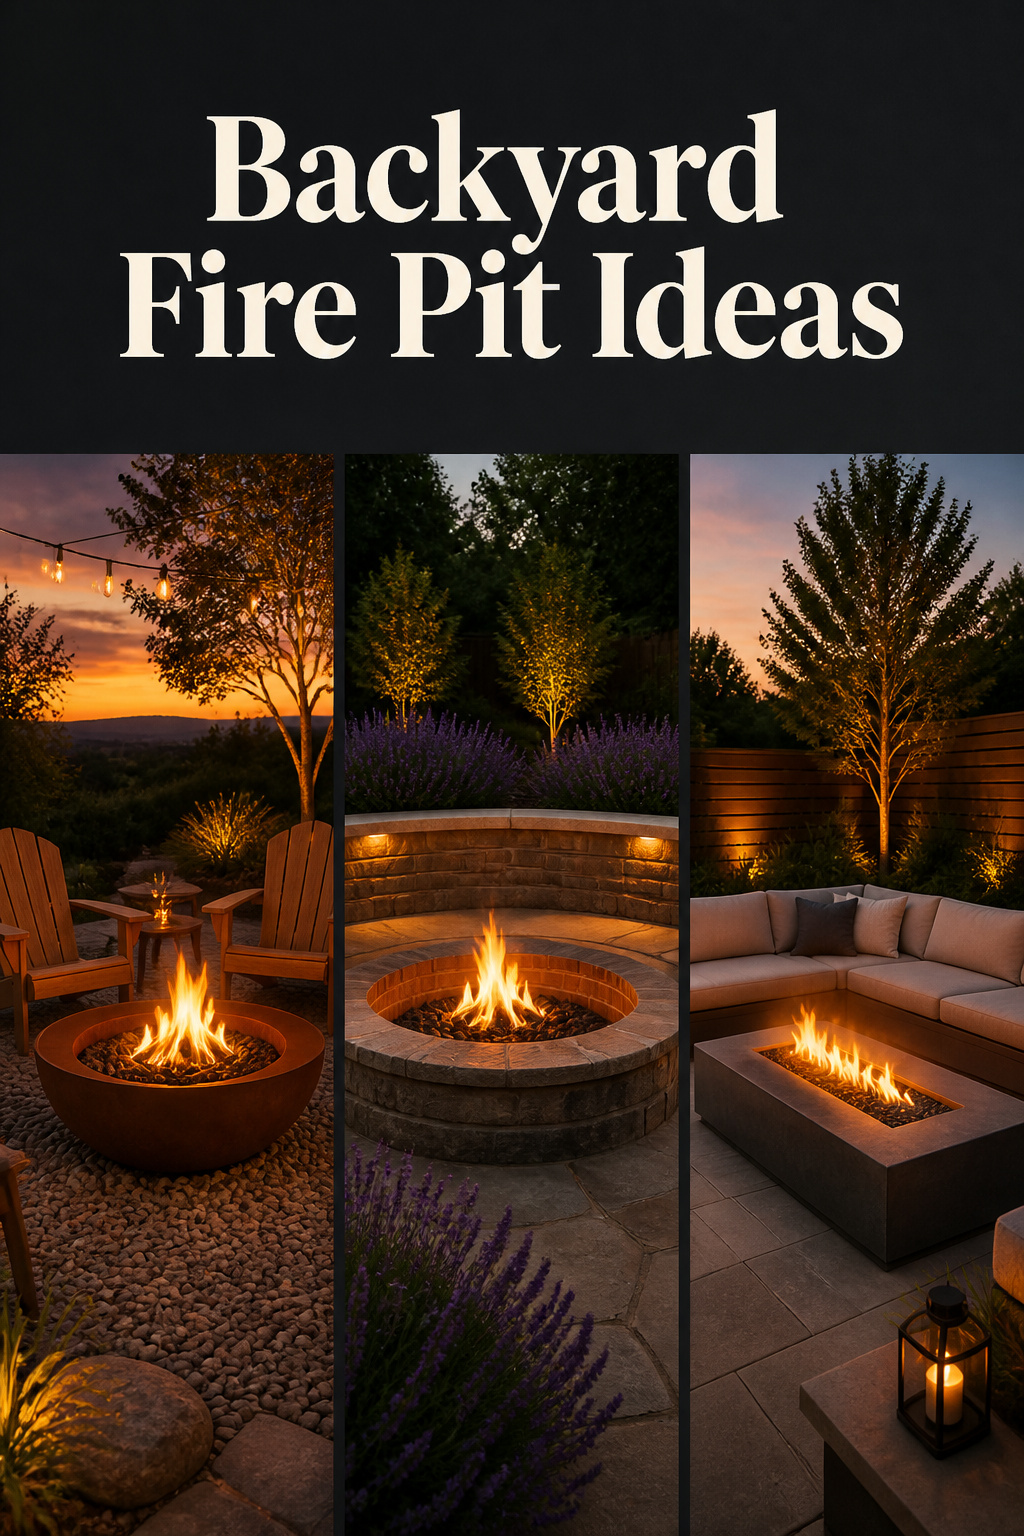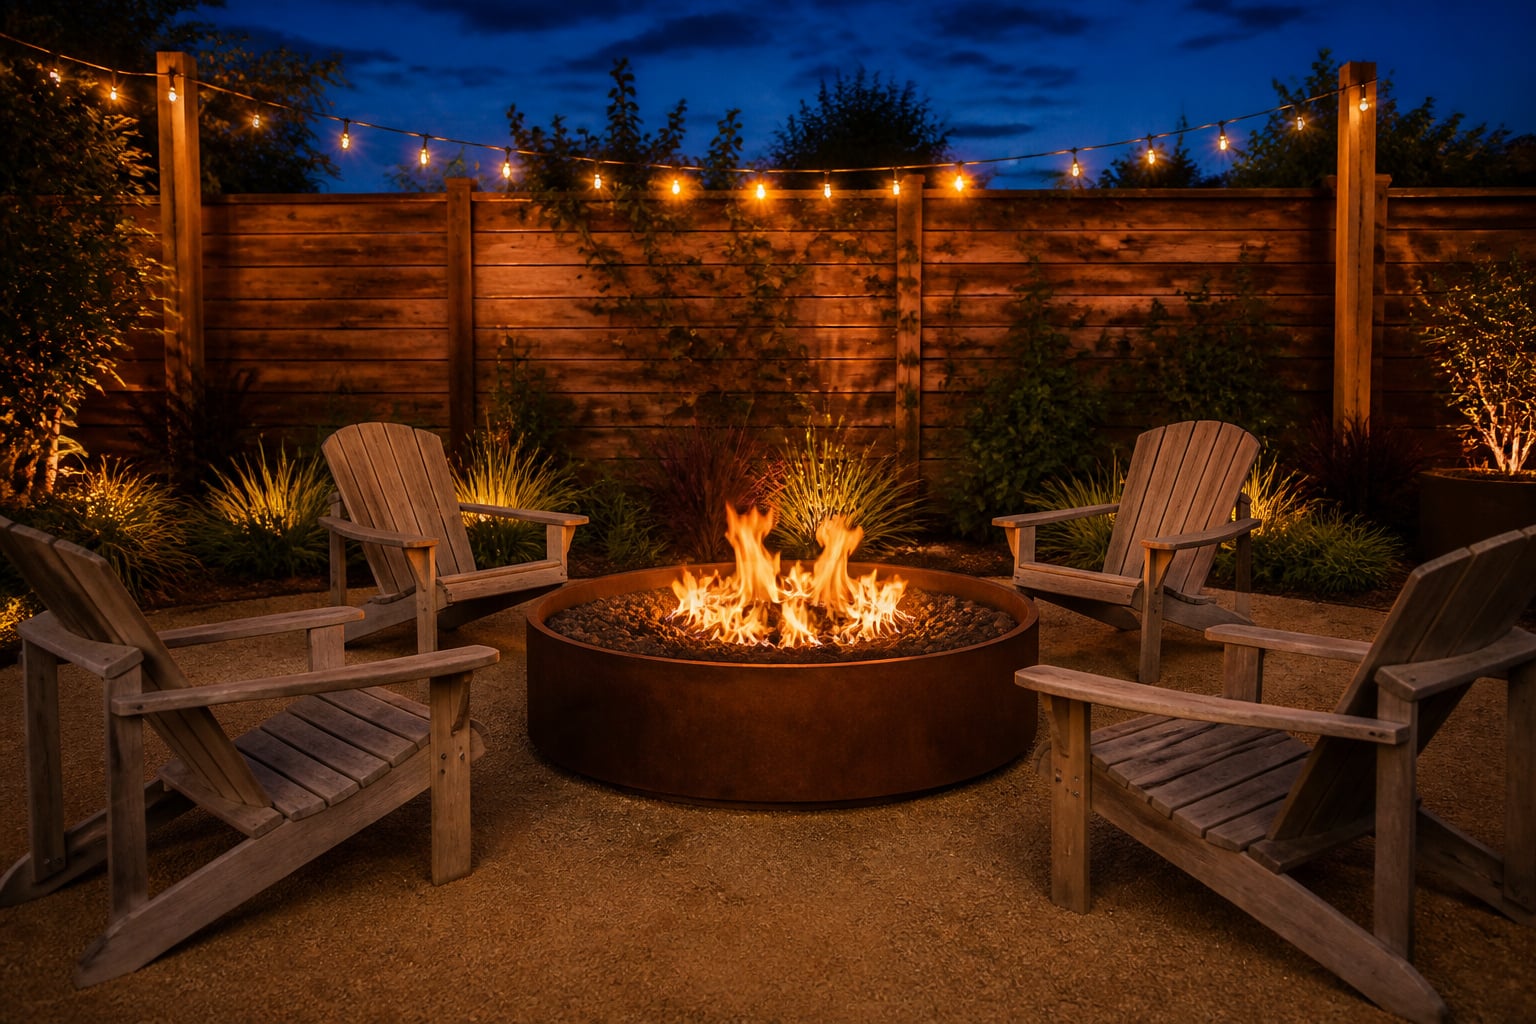
Walk the fire pit aisle in May and the choice looks enormous — cast-iron bowls, corten rings, propane tables, kits, inserts, stone surrounds — and it stops most people before they start. After a decade designing outdoor rooms, the decision looks far smaller than the shelf makes it. Every real choice comes down to five forces: what you’ll burn, how big the pit needs to be for the nights you host, where it can safely sit, what your climate does to the materials, and what you’ll spend. Get those right and the catalogue sorts itself. This survey walks each one, then hands you to the deeper guide for whichever piece you’ve landed on — a fire pit is judged by how many nights it earns, not how it looks in the photo.
The Fire Pit Decision at a Glance: What to Weigh Before You Buy or Build
Settle the framework before any picture of flames. The fire pit that disappoints is almost never the wrong-looking one — it’s the one bought before the homeowner checked whether their town allows wood burning, or whether it fits the patio safely.
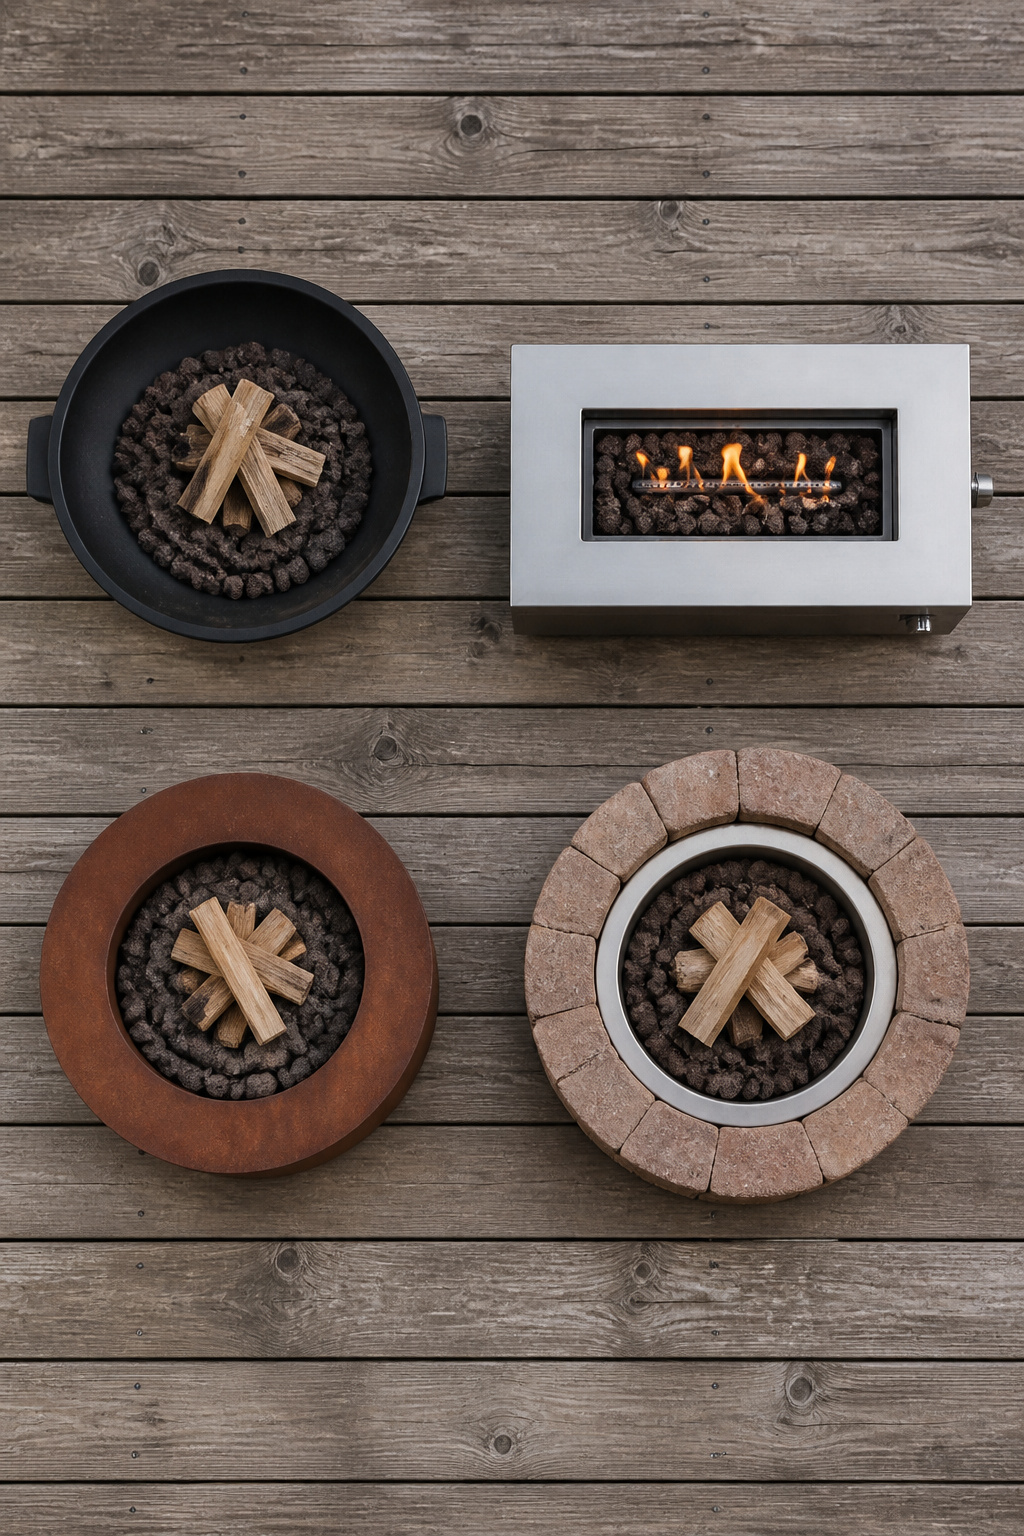
The four questions every fire pit choice comes down to
Fuel first, always. Wood-burning gives you the crackle, the smell, and cooking over coals — but it makes smoke, and many cities regulate open burning. Propane is clean and portable, though a 20 lb LP tank runs a typical 50,000 BTU burner for only 8–9 hours and runs down mid-evening if you forget a spare. Natural gas never runs out but needs a professional gas-line run to reach the pit. Homeowners who settle fuel and size before budget avoid the most common regret: buying a wood-burner into a jurisdiction that restricts open burning.
Second, size to your gatherings: under 36 inches wide for smaller patios, 48 or more for a big yard. Gas seating sits 18–24 inches from the flame; wood needs at least 36. Third, decide permanent or portable — portable suits renters and skips permits, while built-in designs need 12–18 inches of excavation and often a permit. Fourth: check local codes before you check out. HOA rules and municipal wood-burning restrictions are common, especially in California and other high-fire-risk regions.
Quick-reference comparison: pit type vs fuel vs yard size vs budget
The table I’d hand a client at the first meeting, before we talk taste — it tells you which direction your yard, budget, and patience point.
| Pit type | Fuel | Yard / patio fit | Budget band | Read next |
|---|---|---|---|---|
| Portable bowl | Wood or propane | Patios under 150 sq ft, no permit | Under $200 | Small fire pit ideas for compact yards |
| Prefab steel or corten ring | Wood | 150–300 sq ft, non-combustible surface | $150–$600 | Budget fire pit builds under $100 |
| Gas fire table | Propane | Decks and patios where wood is restricted | $300–$950 | Gas vs wood burning fire pit |
| Natural gas built-in | Natural gas | Permanent patios, gas line within reach | ~$1,700 + line | Gas vs wood burning fire pit |
| Custom built-in / sunken | Wood or gas | Large yards, permit likely | $3,000–$8,800 | Build a paver fire pit step by step |
One number the table hides: the natural gas built-in carries a gas-line run — roughly $1,500–$3,000 at $15–$25 per linear foot — on top of the fixture cost. That’s why gas built-ins look deceptively cheap on a price tag.
How climate changes every answer
Every row in that table bends with your weather. On a humid coast, even corten steel — which corrodes about 25 times slower than carbon steel — struggles to form its stable patina in sustained salt air. In a dry, windy climate the worry flips to embers. In a freeze-thaw climate, any in-ground build needs a 4–6 inch gravel or sand drainage base, or water pools, freezes, and cracks the masonry from inside.
The quietest factor is the sun: use peaks run late afternoon into evening, yet people site the pit on a calm autumn weekend and never check what a July sun does to that west-facing spot at six. Stand in the spot at the hour you’ll use it, in the season you’ll use it most — that habit prevents more regret than any material choice on the shelf.
Wood-Burning Fire Pit Designs: In-Ground, Ring, and Built-In Options
If you’ve settled on wood — for the sound, the smell, the cooking — the form factor sorts cleanly by cost and permanence: in-ground bowls at the low end, prefab rings and corten bowls in the middle, built-in masonry at the top.
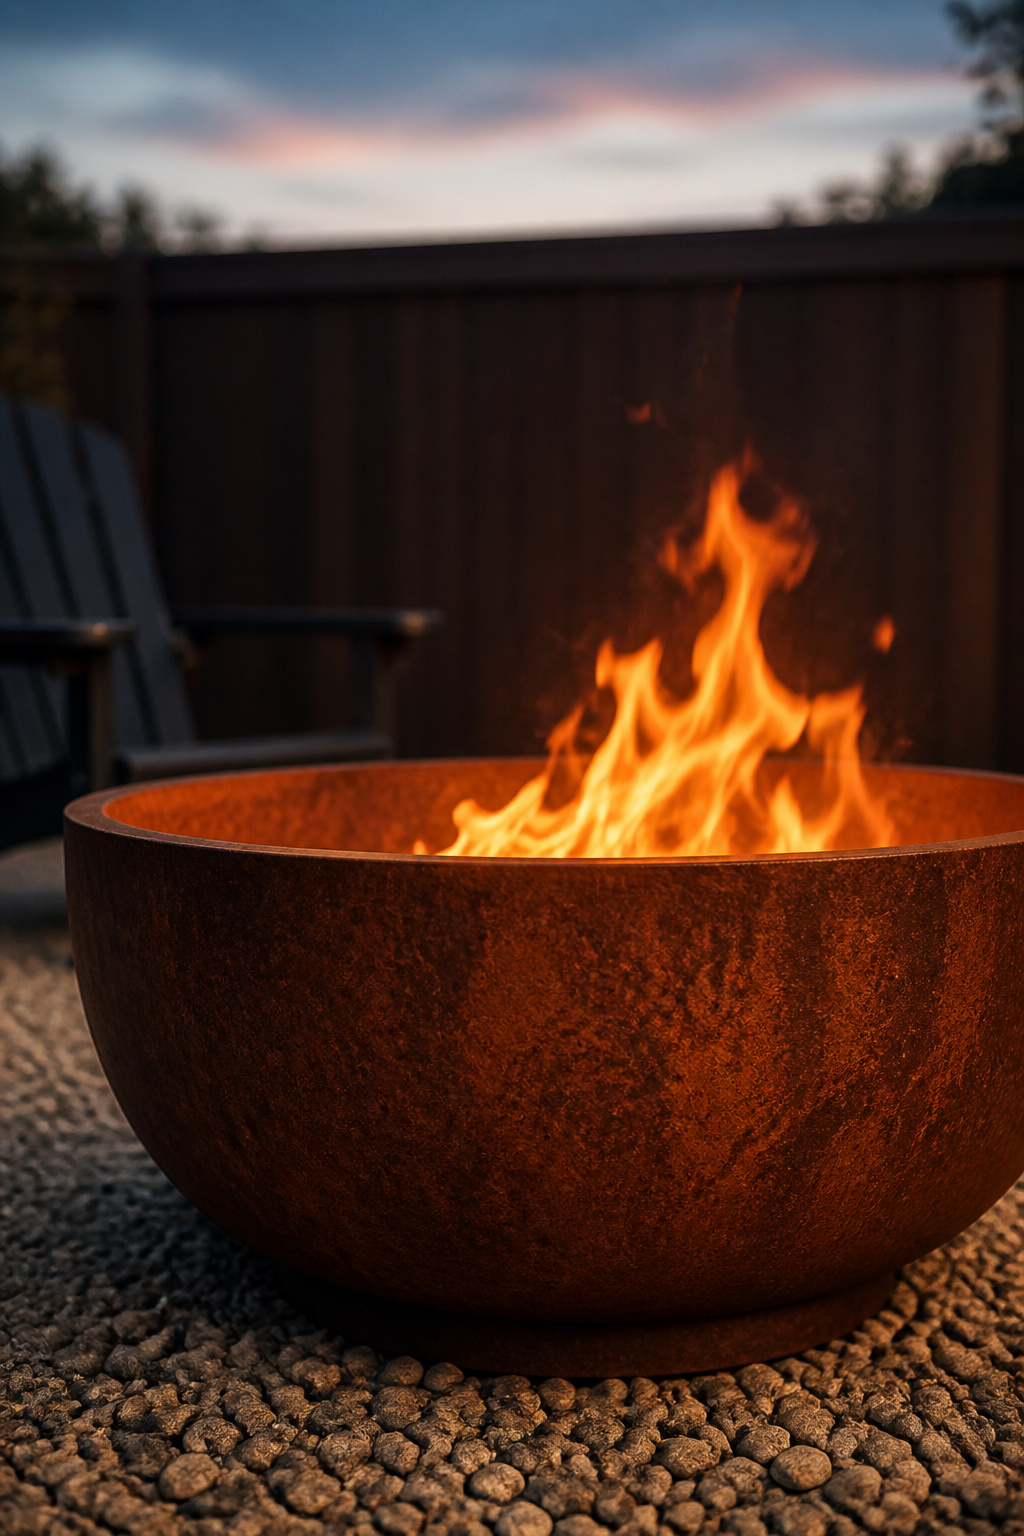
In-ground and bowl designs: lowest cost, most drama
A sunken pit reads as the most dramatic option and can be cheapest to start: a DIY in-ground ring keeps materials under $300, though a finished installed pit runs $1,000–$3,000 and a sunken pit with built-in seating climbs to $3,000–$8,800. The non-negotiable is drainage. Excavate 12–18 inches deep and lay a 4–6 inch compacted base of ¾-inch clean crushed limestone — skip it and rainwater pools in the masonry and cracks it the first hard freeze. And set it on stone, pavers, gravel, or concrete, never on dry ground cover a stray spark can catch.
Prefab ring and corten steel options
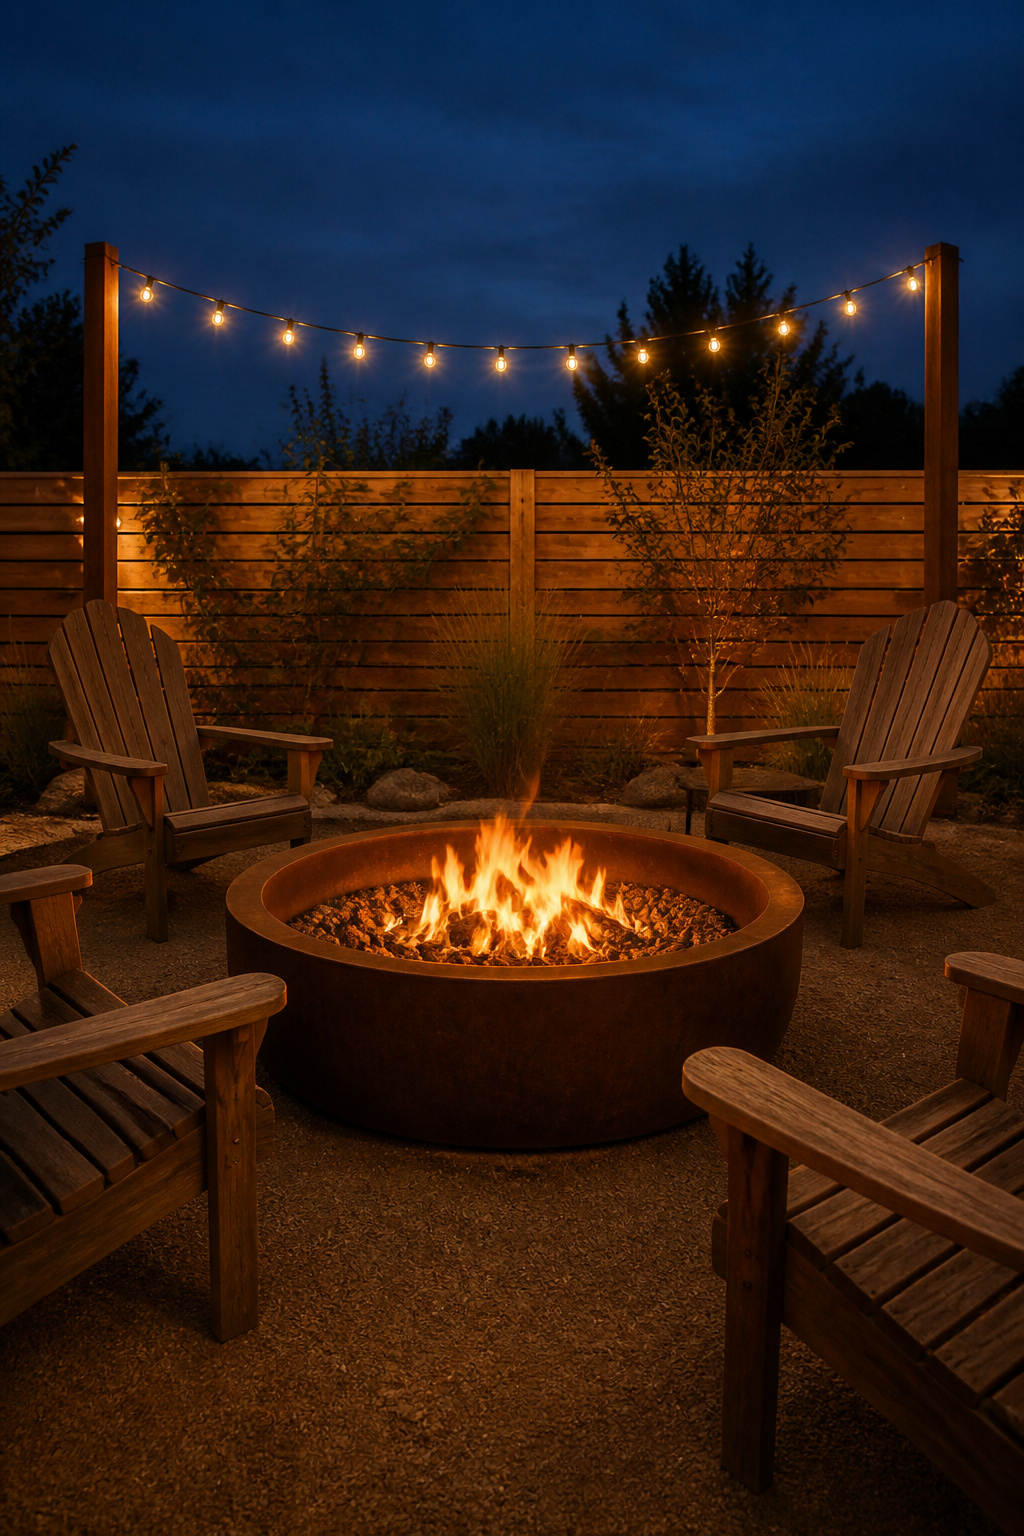
The mid-market’s favourite right now is corten — weathering steel that forms a protective rust-patina and then largely stops corroding. Prefab rings and corten bowls run $150–$600, heavy-gauge specialty bowls $400–$1,200 by diameter. Two cautions earn their keep: in the first season the patina runoff stains whatever’s beneath it, so keep a new corten pit off your good concrete until it settles; and it’s the wrong call on a salt-air coast, where the stable patina never properly forms. As Fire Goddess describes it, corten’s earthy texture blends naturally with stone, cedar, and dry landscapes — its patina does the design work a colour palette otherwise would.
Built-in brick, stone, and paver fire pits
Masonry is the permanent, most visually grounded choice — and the one with a trap built in. Standard brick can spall, meaning crack or even explode, under repeated high heat. Grand Design Landscape is blunt: stone, brick, and concrete can crack unexpectedly across fire cycles, so the inner firebox must be fire brick or refractory-rated even when the outer shell is ordinary stone. A DIY stone pit costs $300–$1,000 in materials; professional installation adds $500–$2,000 in labour, landing built-in work around $800–$3,000 total. Paver builds use high-heat adhesive that needs 2–7 days to cure before the first burn. For the full sequence — excavation, base, fire-rated block, leveling, cure time, steel insert — see our guide to build a paver fire pit step by step. If a permanent build is more than this season warrants, a 36-inch landscape-block ring comes together for $100–$200: see budget fire pit builds under $100.
Gas Fire Pit Ideas: Propane Tables, Natural Gas Inserts, and Converted Rings
Choose gas and you trade the crackle for control: instant flame, no ash, no smoke, and the only option most municipalities allow on a wood or composite deck. Gas splits into three setups, separated by how much installation each drags behind it.
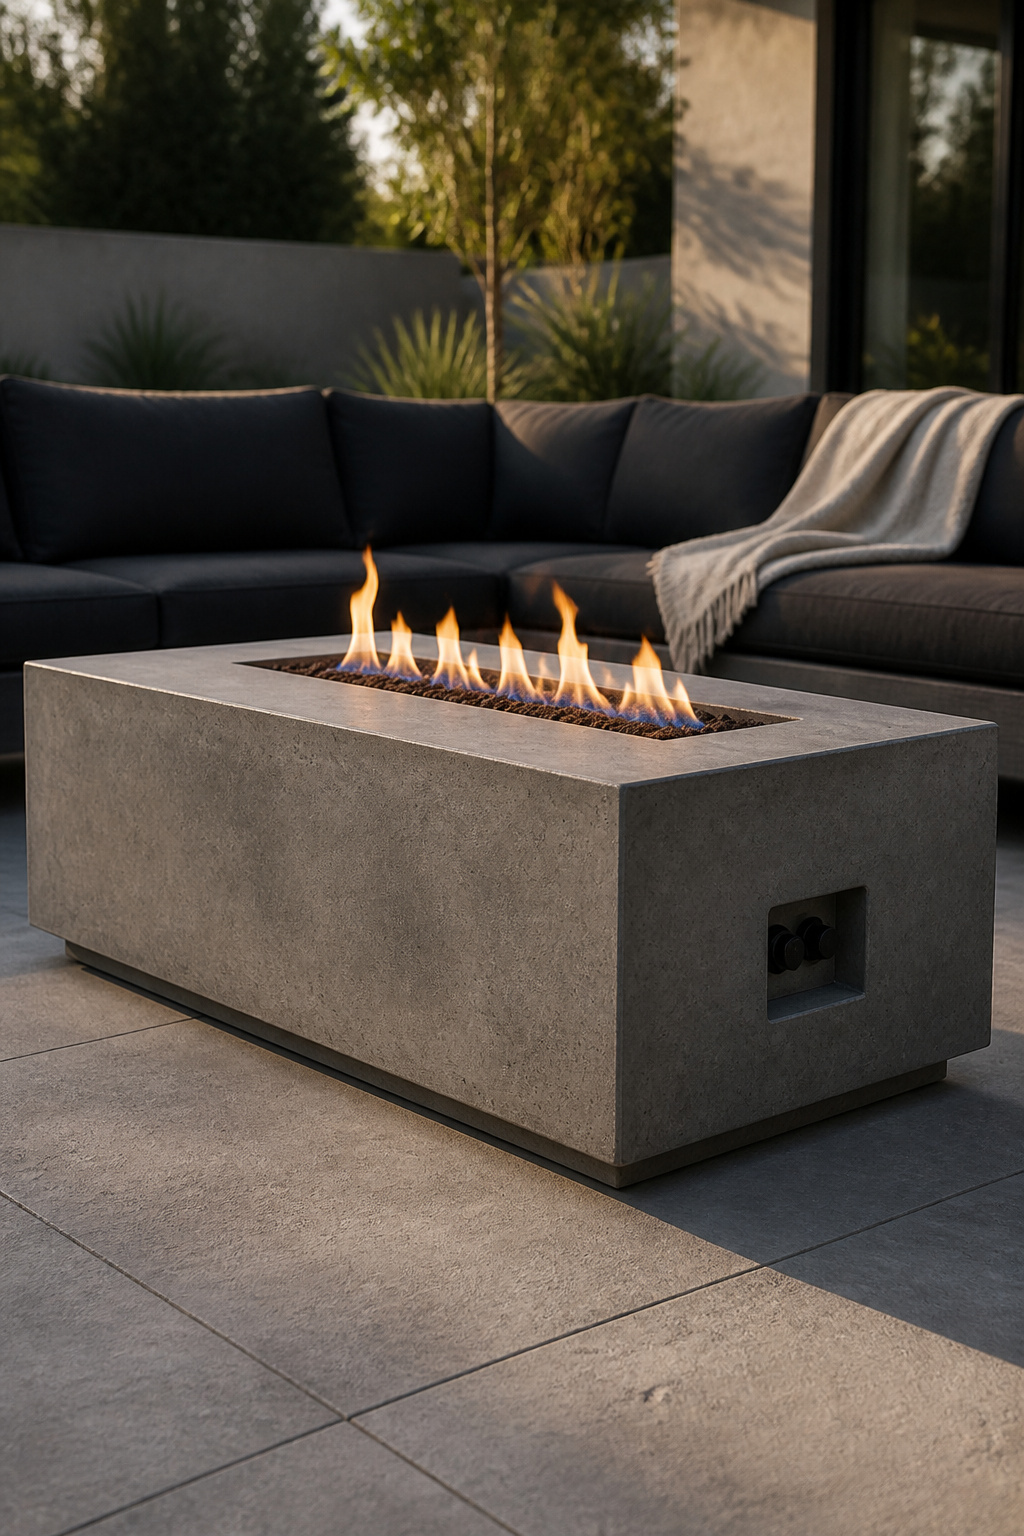
Propane fire table vs natural gas insert: what the install actually involves
A propane fire table needs no installation beyond positioning: push-button ignition, a 20 lb LP tank in the cabinet, a supply hose. That tank runs roughly 4–8 hours at medium output, and as Backyard Oasis warns, a 60,000 BTU burner draws it down faster than people expect — keep a spare or you’ll be the host whose fire dies at nine.
Natural gas is the opposite bargain: more work up front, no fuel runs ever after. A licensed contractor must run supply line at $15–$25 per linear foot, typically adding $1,500–$3,000 to the project. Natural gas is also less energy-dense than propane — about 1,000 BTU per cubic foot against 2,500 — so burners are sized larger to match the heat, though the running-cost math still favours it over several seasons. The full comparison — cost, heat, smoke, cooking, maintenance — is in our gas vs wood burning fire pit guide.
Fire pit table designs for patios and decks
Fire tables come rectangular, square, and round; the rectangular ones pair with a sectional and suit long, linear patios. Output runs 30,000–100,000 BTU, with about 40,000 a practical benchmark for a 4–6 person table. The deck point is what sells gas: a fire table is the only fire pit safe on a composite deck, provided it carries a heat shield and the manufacturer rates it for deck use — and it still needs 36 inches of clearance from combustibles. GFRC (glass-fiber reinforced concrete) bodies are the premium look, cast-concrete appearance at lower weight, typically $800–$3,500.
Gas conversion kits for existing stone surrounds
If you already have a stone or brick ring and want to drop the wood, a conversion kit adds a burner pan, igniter, and supply connection for $150–$600 by BTU rating. The catch is fit: a high-output burner needs 36 inches of clearance on all sides — room an existing surround may not have — and a natural-gas conversion requires a gas-line entry at the base, real structural work if the ring wasn’t designed for it. Some makers ship fire tables LP-ready with a natural-gas conversion kit available later. Either way, conversion is a case-by-case job rather than a catalogue pick.
Backyard Fire Pit Layouts: Where to Place It and How to Frame the Space
Placement is where a fire pit becomes a room or stays an appliance. Three forces decide it: smoke direction, sun exposure at the hours you use it, and clearance from combustibles.
Siting the pit: sun path, prevailing wind, and the evening-use test
Orient the pit so the prevailing wind carries smoke away from where people sit — a spot that looks right at noon can sit squarely in the smoke path by seven, when the evening breeze shifts. Wind and sun together decide whether a location works or doesn’t. Fire Pit Surplus makes the point I’d underline for any client: the right location is rarely the centre of the yard or the spot nearest the patio; it’s wherever clearance, wind, seating comfort, and surface all line up, even an asymmetric corner that ignores the house axis. Clearances frame the rest — 25 feet from structures for wood, 36 inches for gas, 10–15 feet of overhead clearance for wood (more near branches), and 84 inches for gas below a non-combustible roof. For the full clearance-and-code picture, see how far a fire pit should sit from the house.
Central vs corner placement for different yard shapes
Central placement is the strong move in a square or large rectangular yard: cleanest sight line, seating on every side, a focal point from the house. Corner placement suits smaller and L-shaped yards — the pit tucks in, seating wraps about 270 degrees, and the rest of the yard stays free while the corner feels enclosed. Either way, leave at least 6 feet of clear space on all sides between the pit and the patio edge — the seating buffer, the seat depth, and a passage lane behind the chairs. A pit on the main patio keeps everything low-effort; a destination pit set off in the yard makes a quieter zone, usually reserved for yards over 800 square feet.
Traffic flow and entry points around the fire
The detail people skip is the path behind the seats. Keep at least 36 inches of clear walking space behind the outermost row so guests move without stepping over furniture or drifting toward the flame. Patio sizing follows: 10 × 10 ft for 2–4 seats, 12 × 12 ft for 4–6, 18 × 20 ft for 6–8 with pit and circulation included. Position entries at 90 degrees to the seating arc rather than directly behind a chair, so nobody crosses the heat zone to get in.
Fire Pit Seating Ideas at a Glance: Furniture, Spacing, and Conversation Flow
Once the pit is sited, the seating decides whether people stay. As Bali Outdoors puts it, conversation lives or dies at about 8 feet seat-to-seat — beyond that people stop talking and start staring into the fire. Design the chair arc so the furthest seat sits inside that envelope.
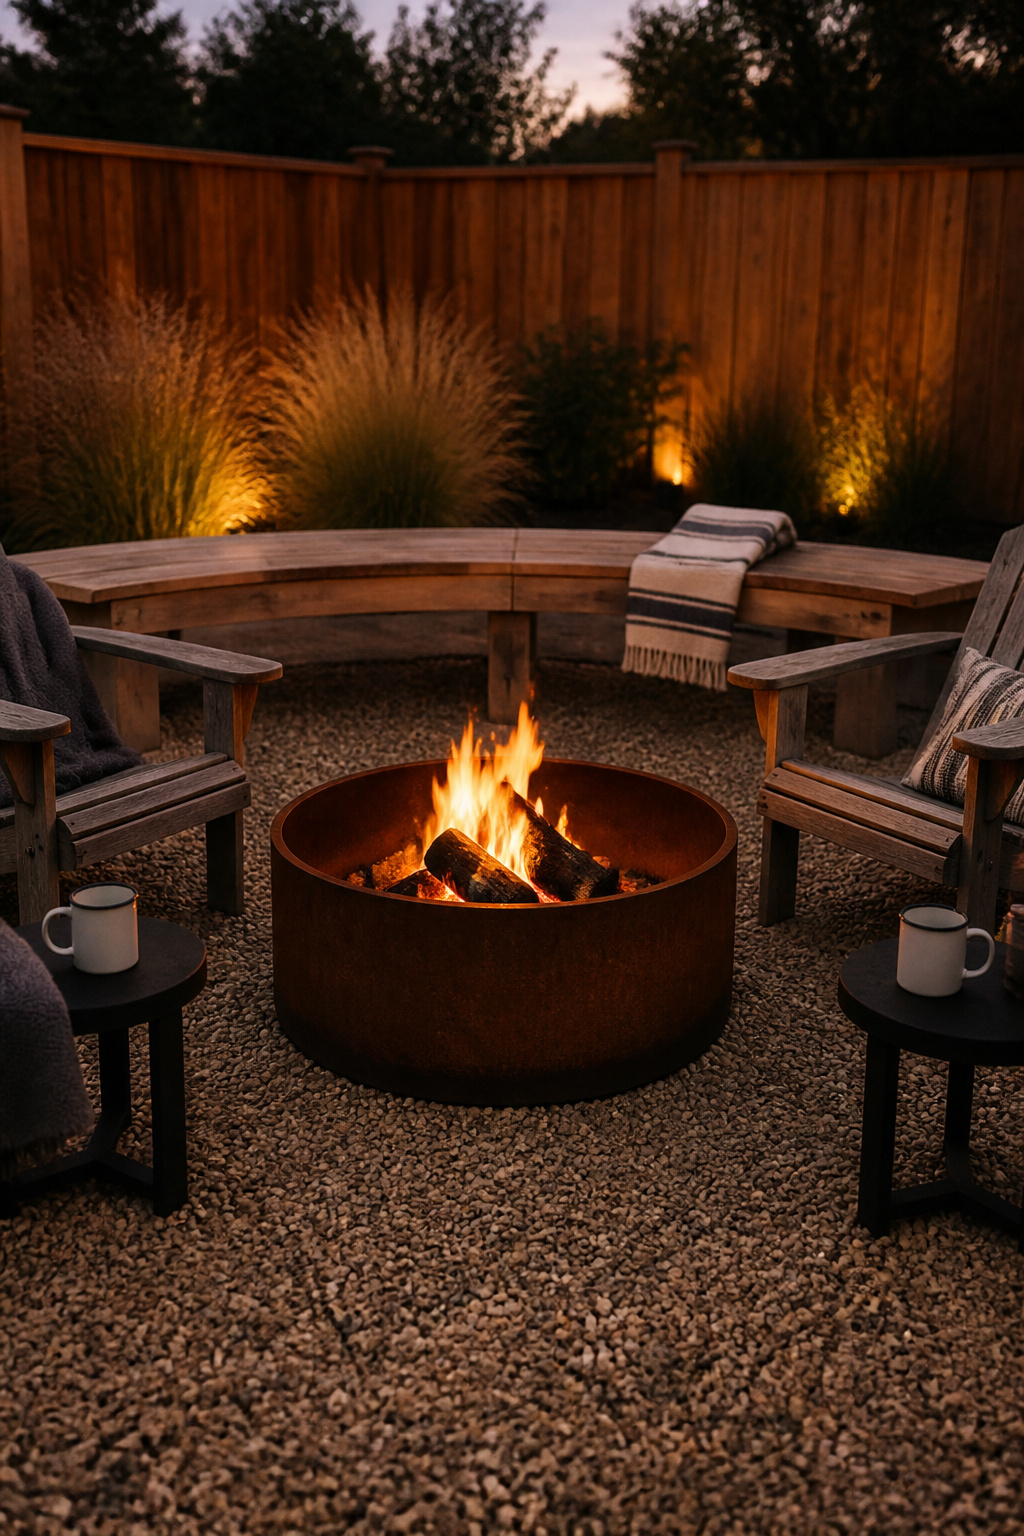
Adirondacks, sectionals, and built-in benches: which suits each pit shape
Match the furniture to the pit. Adirondack chairs — low, reclined, heavy enough to hold their place in wind — suit round wood-burning bowls and put you at the right eye-level to watch flames. Outdoor sectionals pair with gas tables; an L-shaped sectional with a square fire table in the crook frames the fire from two sides. Built-in masonry benches guarantee overflow seats for big nights. The arrangement I keep coming back to mixes them:
- A loveseat on one side, two Adirondacks on the other, a bench across the back — the organic look that beats a matched showroom set
- Built-ins for guaranteed capacity, plus 2–4 movable chairs so people can chase or escape the heat and wind
- Side tables between chairs so drinks live at arm height, not down by the ankles
Spacing from the flame and between seats
Seat fronts want to sit 5–7 feet from the flame zone for warmth without face-heat or spark, and any combustible seat material — teak and hardwood included — stays a strict 36 inches minimum from open flame. Unilock’s numbers are tidy: 2 feet of clearance from a gas pit edge, 3 feet from a wood-burning one. Within the circle, set chairs 24–30 inches apart arm-to-arm for an easy talk-circle.
Side tables, swings, and the extras that actually get used
The most overlooked element is also the most used: a side table 18–24 inches wide and tall, set between chairs so guests aren’t standing to set down a plate — landscape designers call it the most-missed piece in a fire pit area. Outdoor cushions in solution-dyed acrylic with HDPE fill are safe near a wood pit as long as chairs stay outside that 36-inch line. Hanging fire pit swings — a freestanding A-frame with the arc pointed away from the embers — are a niche trend, not a centerpiece. Full treatment of furniture, materials, and layout is in our fire pit seating ideas guide.
Small Backyard Fire Pit Ideas: Compact Designs for Tight Yards
A small yard doesn’t rule out a fire pit; it rules out the wrong one. Under about 200 square feet, the job is a pit that doesn’t swallow the zone and a layout that reclaims space rather than spending it.
Pit types that work under 200 sq ft
Three formats earn their footprint. A tabletop fire pit — 12–18 inches across, propane or bioethanol — sits on furniture you already own and asks for no floor space, trading real heat (5,000–15,000 BTU) for atmosphere. A compact 24-inch round bowl, or a square table under 36 inches, fits a minimum 10 × 10 ft patio and seats 2–4 with safe clearance. A simple portable bowl on legs gives the wood-burning experience but stores against a wall when the space needs to be something else — and a 24-inch landscape-block DIY ring is cheapest of all, around 20–24 blocks for $40–$80.
Corner placement and curved bench solutions
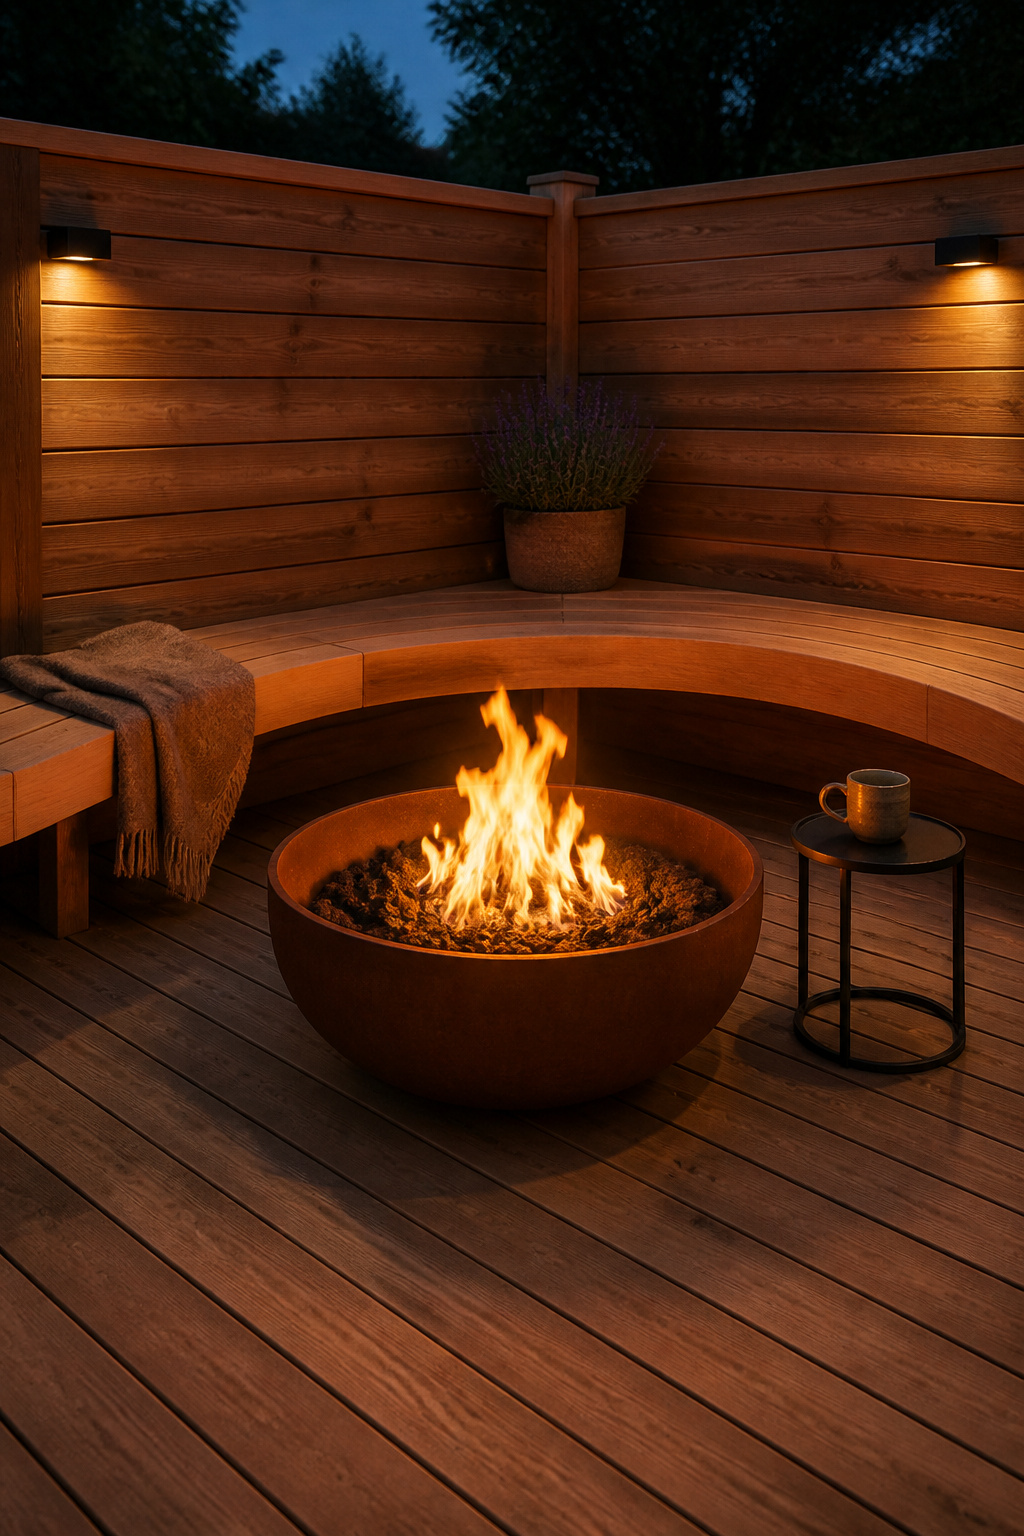
Corner siting makes small yards work: the pit takes over a zone that usually holds nothing and seating wraps 270 degrees around it. A curved stone or concrete bench around half the perimeter gives fixed seating without the footprint of separate chairs — a single 5-foot arc saves 4–6 square feet over two Adirondacks. For a 2–4 person night, an L-shaped loveseat-plus-chair with a square table in the crook is the most space-efficient layout going.
Multi-use and movable options for renters and small patios
Renters and condo owners have their own answers. Portable propane pits skip permits, move between balcony and patio, and are often allowed where open wood burning isn’t. Bioethanol tabletop pits need no gas line or tank, burning 3–5 hours per liter with a clean, soot-free flame ideal for covered space. Best of all is the lid-top fire table that doubles as a coffee table, killing the single-purpose footprint entirely. The full small-space playbook — pit choice, scaled layouts, corner geometry — is in our small fire pit ideas for compact yards guide.
Fire Pit Surrounds, Landscaping, and Lighting: The Layer Most Builders Skip
The pit is the appliance; the surround turns it into a destination — and it’s the layer most builders treat as an afterthought. Ground cover, edging, fire-safe planting, and overhead light are what make the area feel finished.
Ground covers: pea gravel, decomposed granite, and paver aprons
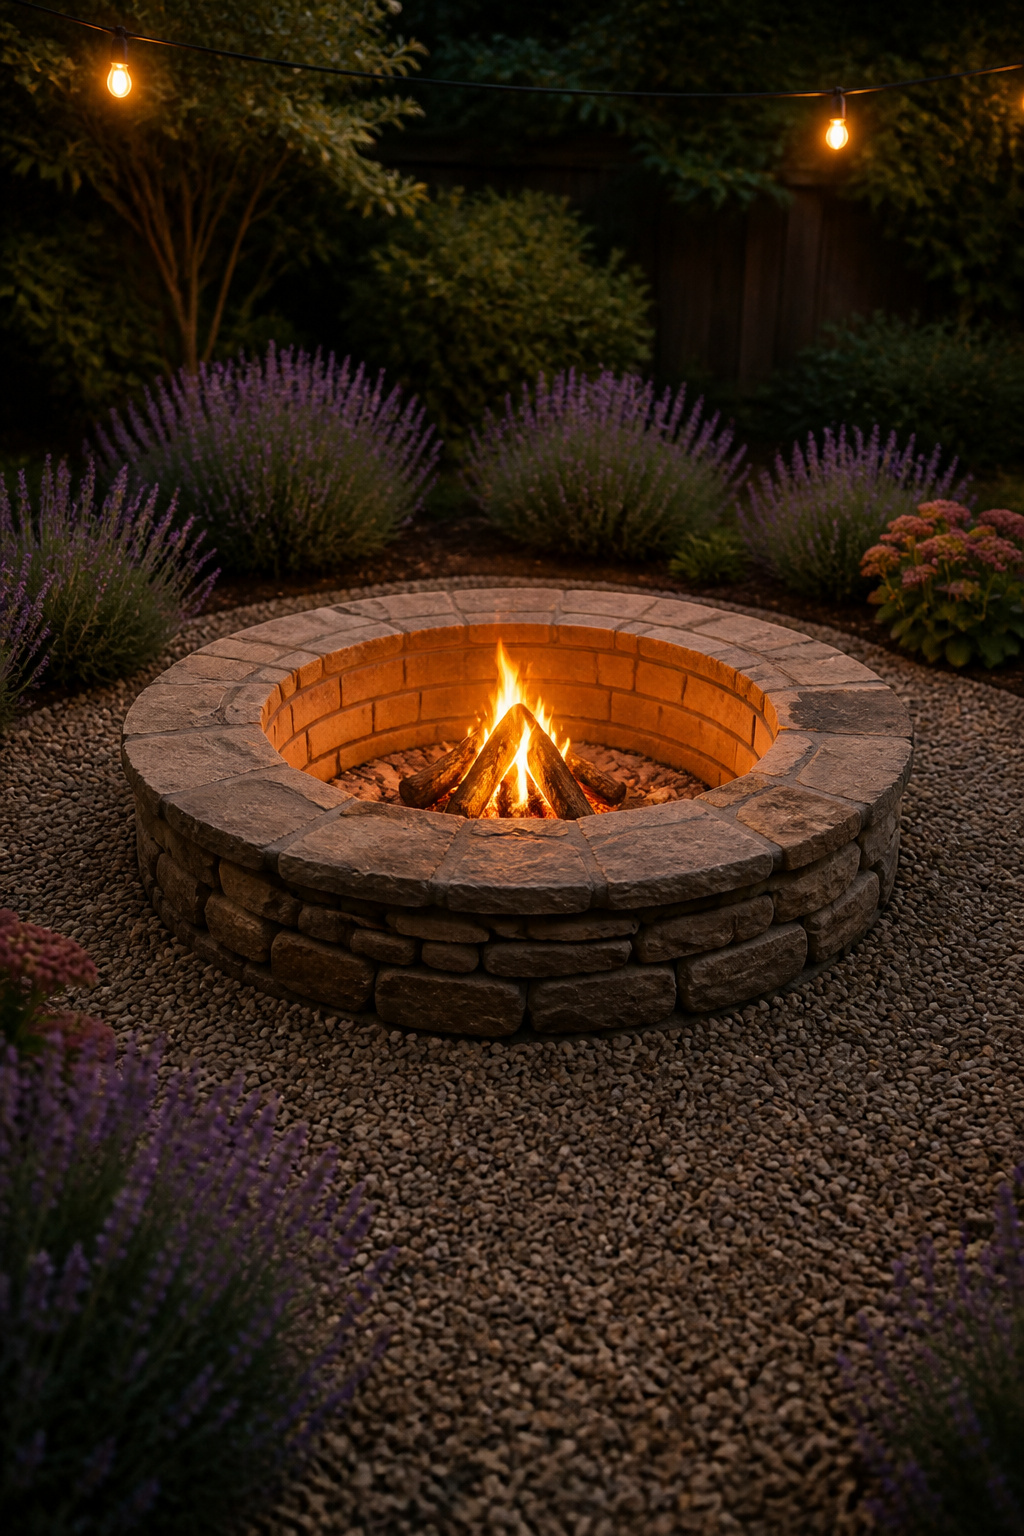
Lay a minimum 4-foot apron of non-combustible material on all sides of a wood pit — pea gravel, decomposed granite, concrete, natural stone, or brick pavers all qualify. As Yardzen frames it, a gravel or DG base extending several feet keeps maintenance easy: embers and ash land on stone, not soil, and the area sweeps clean. Pea gravel (3/8-inch rounded) is the most forgiving surface — it drains freely, feels soft underfoot, doesn’t hold dangerous heat, and runs $30–$35 per cubic yard. For a formal apron, fire-rated concrete pavers and natural stone are the durable picks — standard clay brick spalls under repeated thermal cycling, same as in the firebox.
Fire-safe plants and edging to frame the area
Keep any combustible plant at least 8 feet from the pit edge, and keep dormant ornamental grasses out of the immediate surround entirely — dry, they ignite fast. The plants to reach for store water in their tissue: sedums and other succulents recover quickly from stray embers and, as Desert Steel notes, look better than mulch from October to February; agave is among the hardest plants to ignite at all. Lavender brings fire resistance and fragrance, but goes woody with age, so hard-prune past 3–4 years and keep it 4–5 feet off the pit. Steel edging, 1/8-inch thick and 4–6 inches deep, draws a clean line between gravel and planting and stops gravel migrating into the beds.
Perimeter and string lighting for evening use
Light is the finish that earns the late hours. String lights should be commercial-grade LED rated IP65, hung from 8–10 foot posts across a 10–14 foot span over the seating, and kept a minimum 10 feet horizontally from the pit so rising heat doesn’t cook the insulation. The spec that quietly matters most is colour temperature: stay at 2,700–3,000K for a warm amber glow that complements firelight — cooler 4,000K-plus light clashes with the orange flame and dulls the fire’s whole effect. The full planting-and-surround treatment — surfaces, edging, fire-safe palettes, and lighting layers — is in our fire pit landscaping and surrounds guide.
Fire Pit Budget Ranges: Cheap Builds to Permanent Installations
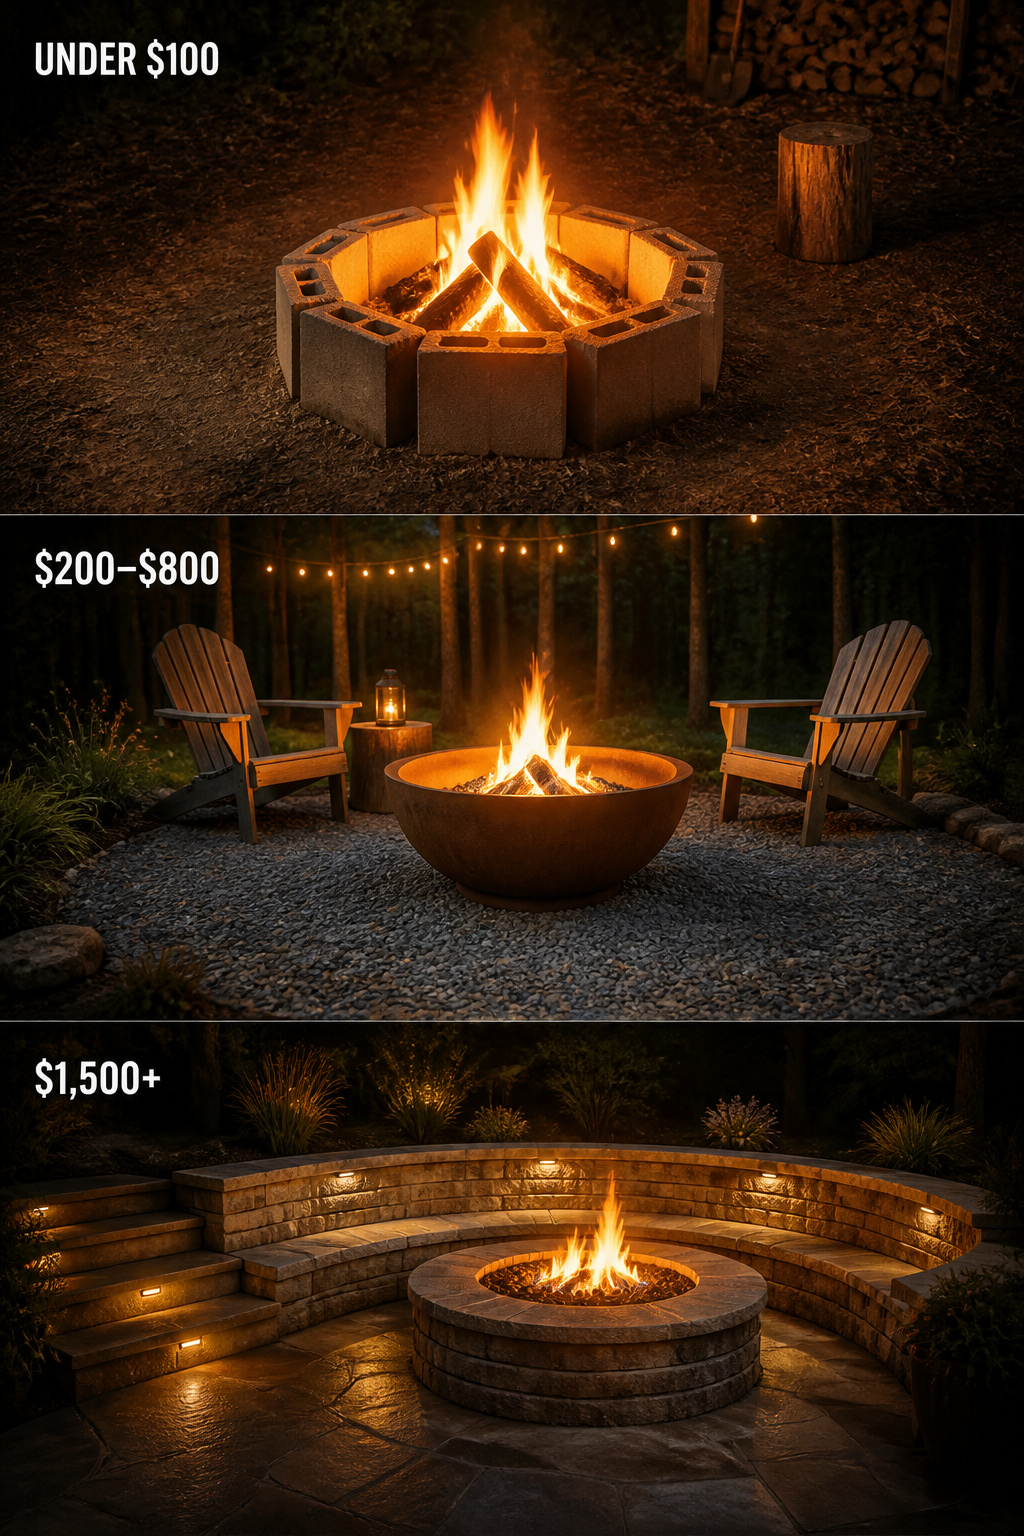
Fire pit budgets run from a $20 block ring to an $8,800 custom installation, and the band you pick decides material quality, longevity, and permit exposure. The break points are clean: under $100, the $200–$800 middle, and $1,500-and-up.
| Budget band | What it buys | Longevity / catch | Permit likelihood |
|---|---|---|---|
| Under $100 | Cinder-block ring (~$43) plus gravel and a $30–$60 steel insert | Seasonal — block cracks in 2–3 seasons of heat | None |
| $200–$800 | Prefab steel/corten bowl or propane fire table; simple paver ring | Heavy-gauge metal lasts; pavers need fire-rated block | Low |
| $1,500 and up | In-ground or natural-gas built-in, paver patio, lighting | Permanent; line runs add $750–$1,250 for 50 ft | Likely ($50–$200) |
Under $100: cinder block and gravel
A DIY cinder-block ring — 20 blocks and 10 caps — costs about $42.90 in materials, the cheapest real fire pit there is. Add a 24–36 inch steel bowl insert for $30–$60 to keep flame off the block, plus $15–$25 of pea gravel, and you’re still under $100 — though plain block cracks within 2–3 seasons of heat, so treat it as seasonal. For the genuinely good versions — stacked stone, repurposed drum, gravel ring, each with real costs and the mistake to avoid — see our roundup of budget fire pit builds under $100.
$200–$800: prefab rings, gas tables, and simple paver surrounds
The sweet spot for most yards. The $200–$500 band buys heavy-gauge steel or corten bowls with grates and spark screens; $500–$800 reaches GFRC or powder-coated propane tables with electronic ignition. A simple block-and-paver ring with a gravel apron lands around $250–$450 in DIY materials.
$1,500 and up: permanent built-ins and gas-line installs
At the top, an in-ground pit runs $1,000–$3,000 and a custom sunken pit with masonry seating $3,000–$8,800; a natural-gas line adds $750–$1,250 for a 50-foot run, and permanent features almost always need a permit ($50–$200). If a permanent paver build is where you’ve landed, our guide to build a paver fire pit step by step covers the full sequence.
Fire Pit Safety Basics Every Backyard Design Needs
Every idea above only counts if the fire stays where you put it. The rules below are the boundary conditions — clear at the national level, and often tightened by local code.
Clearance from the house and overhead structures
NFPA 1 Fire Code sets a 25-foot minimum clearance from any structure or combustible for a wood-burning recreational fire — the national baseline; some jurisdictions cut it to 10 feet, others push higher. Gas pits need far less: 36-inch minimum from combustibles, because the flame is contained and throws no embers. Overhead, keep 10–15 feet clear above a wood pit — more under dense branches — and 84 inches for gas below any overhead structure. Where the yard allows, I’d take 15–25 feet from the house over the 10-foot legal floor — the extra distance earns its keep most with kids, pets, and wind.
Surface and wind considerations
Set every pit on a non-combustible surface — concrete, stone, pavers, brick, or compacted gravel — because dry grass spreads fire even with stone clearance when embers travel. On a moderate wind, embers carry 20–30 feet. Three rules follow from that:
- Position the seating arc upwind of the prevailing evening breeze, tested at use-time, not midday
- Fit a mesh spark screen on every wood-burning pit
- Never burn treated, painted, or plywood scrap — it releases toxic fumes and burns hot enough to accelerate masonry damage
What local codes typically require before you build
Local rules win wherever they’re stricter, and they usually are. Many jurisdictions add air-quality bans on wood burning during high-pollution or Red Flag days. Permits are typically required for any natural gas feature, permanent masonry structure, or in-ground pit. NFPA also caps a recreational fire’s fuel area at 3 feet in diameter and 2 feet high — prefab and portable pits meet this by design; DIY builds should size accordingly. The full distance, overhead, surface, and code picture is in our guide to how far a fire pit should sit from the house.
Out of an aisle full of options, the fire pit that earns its summer is chosen in this order: fuel your codes allow, sized to the nights you host, sited where wind and sun cooperate, surfaced so it sweeps clean and stays safe, built to the budget band that matches how permanent you want it. Pick wood for the crackle and cooking, gas for weeknight ease, portable for a rented or tight yard, built-in only when you’re sure you’ll stay. Then go deep on whichever piece is yours — the rest of this silo is waiting for it.