
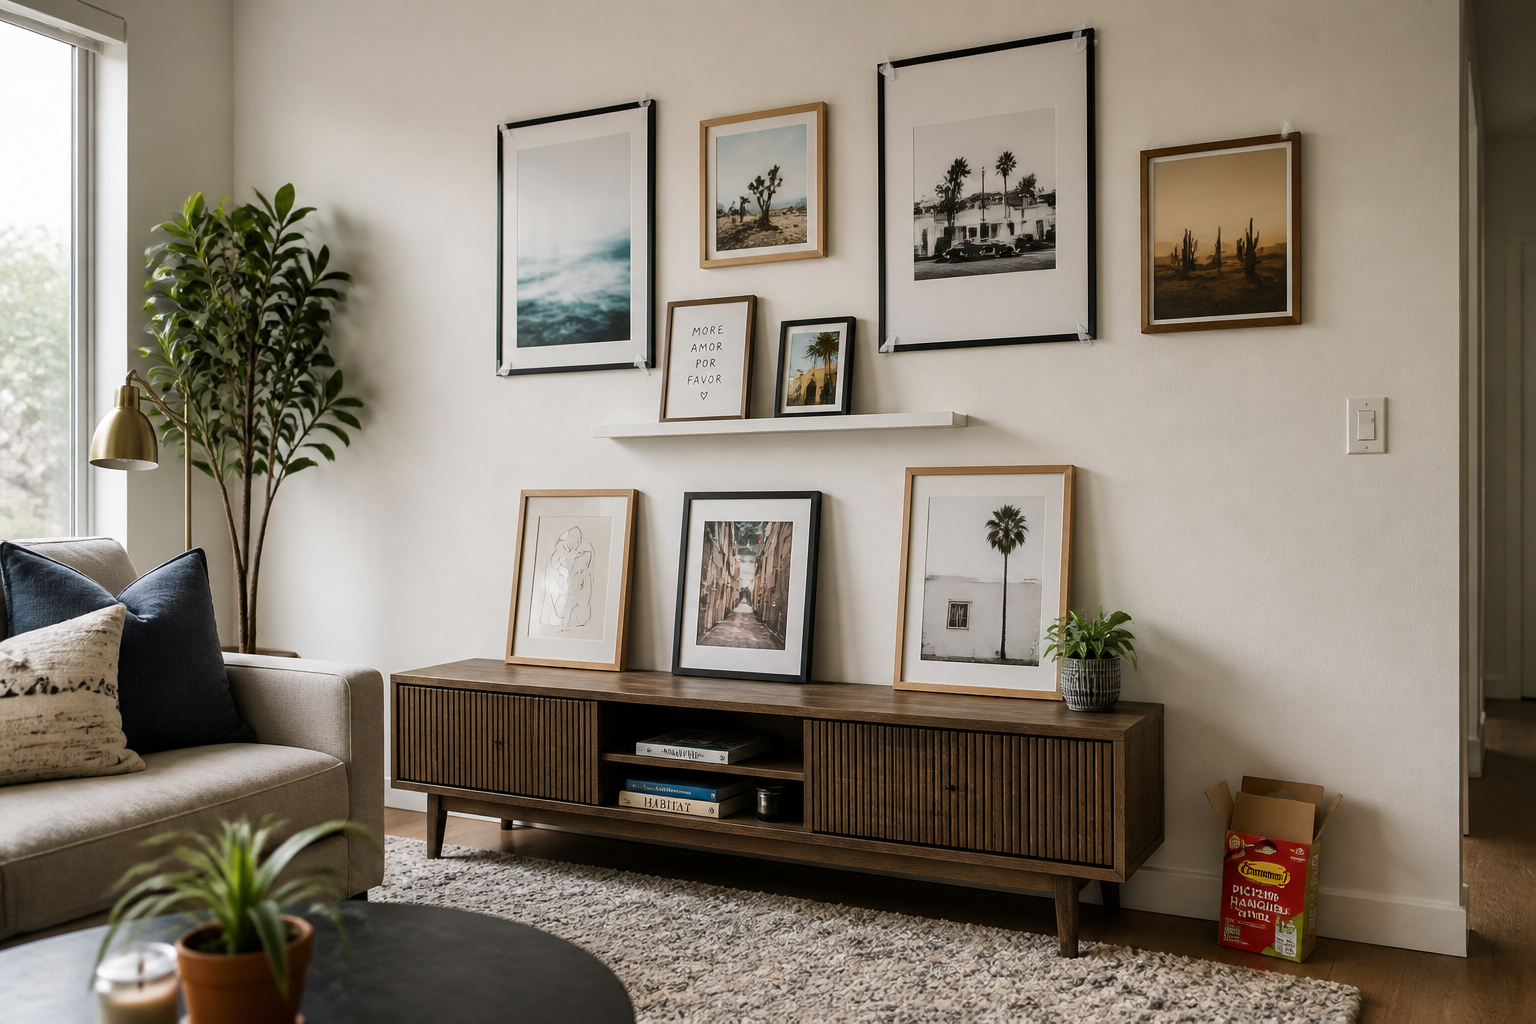
Here’s the belief that costs renters the most decorating: that a real gallery wall needs nails, and nails mean a lost deposit, so you don’t get one. Wrong on the second half. A renter friendly gallery wall using no nails isn’t a watered-down version of the real thing — done right, it’s more flexible than the holes-in-the-wall kind, because you can change it in five minutes without patching anything. The catch is that “done right” has rules, and most deposit horror stories come from skipping them. This is the honest version: what each no-nail method holds, what it costs, and how to take it all down clean.
TL;DR
- Four no-nail methods cover almost every renter: adhesive strips (a $15–$20 box does 3–4 medium frames), picture ledges (2 screws, unlimited frames), gallery rails (5 screws, up to 87 lb), and leaning art (zero wall contact).
- Adhesive strips fail for two reasons almost every time: a wall that wasn’t cleaned with rubbing alcohol first, and removal by yanking instead of pulling the tab straight down 12–15 inches.
- For more than 3–4 frames, the math often favors one careful nail and a $4 tube of spackle over a full strip budget — and small repaired holes are normal wear and tear in many places.
The Four Damage-Free Methods, Compared Honestly
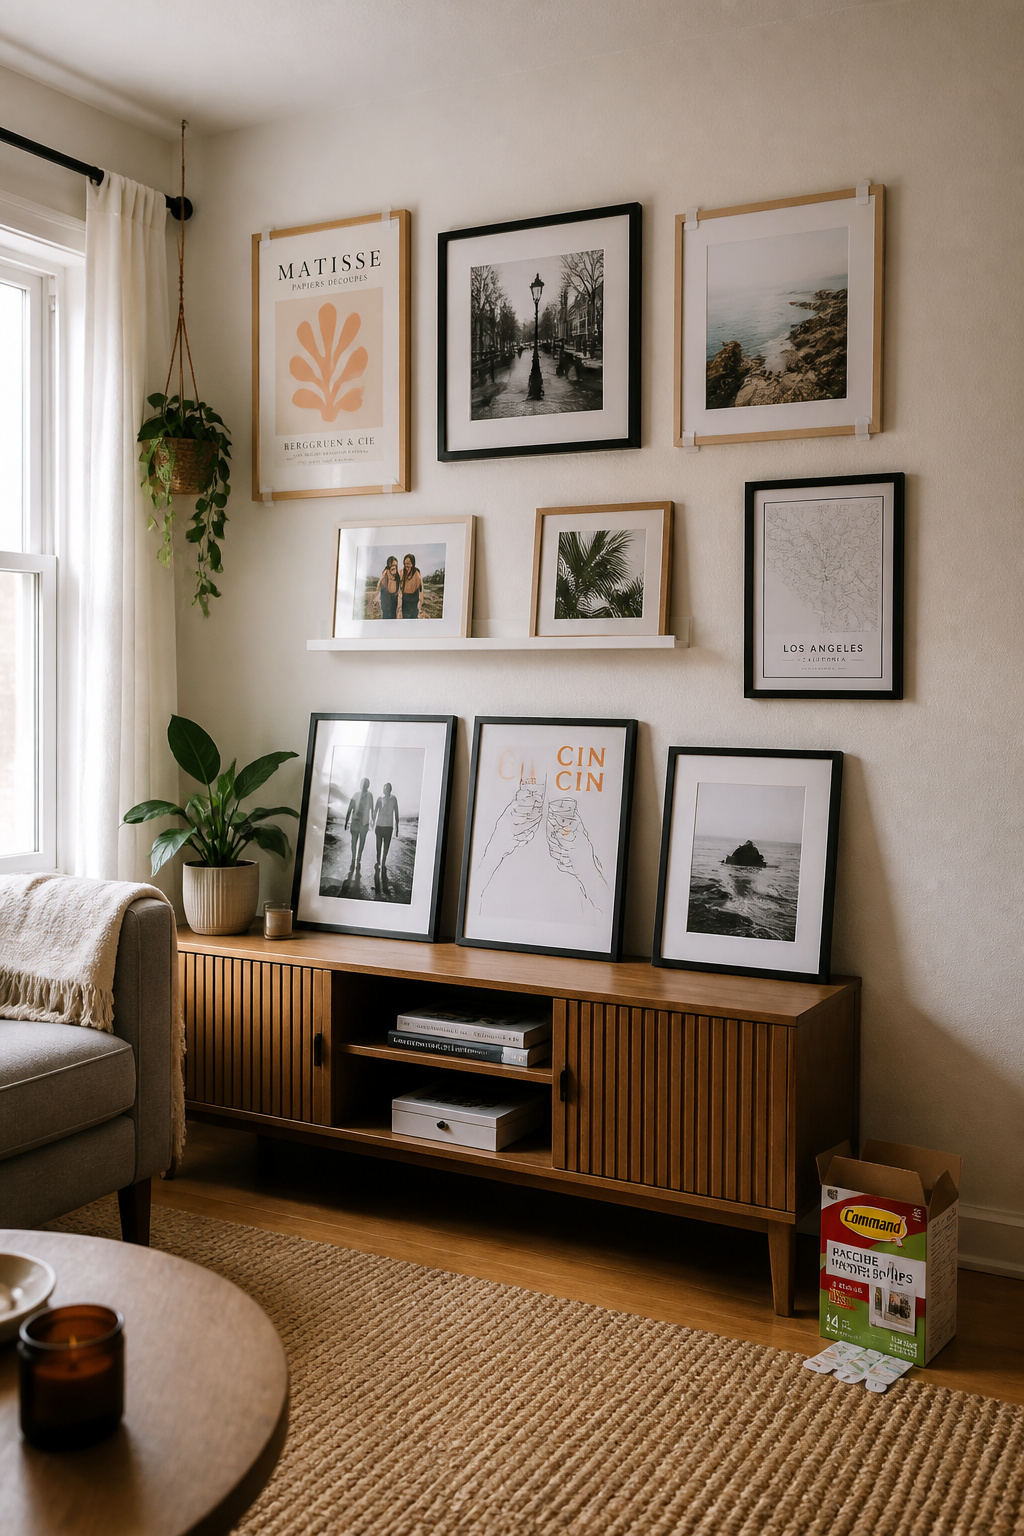
No single method wins for every wall. The right one depends on frame weight, how often you’ll change the display, and how many holes you can stomach: strips are cheapest and hole-free but weight-limited, ledges cost two screws and hold unlimited frames, rails cost the most upfront but scale to a wall you can rearrange a hundred times, and leaning art touches the wall not at all. Pick by your situation, then skip to that section. For the full picture of layout, spacing and styling across every method, the complete guide to gallery walls for the living room is the hub this hangs off.
Adhesive strips: what they actually hold and why they fail when they fail
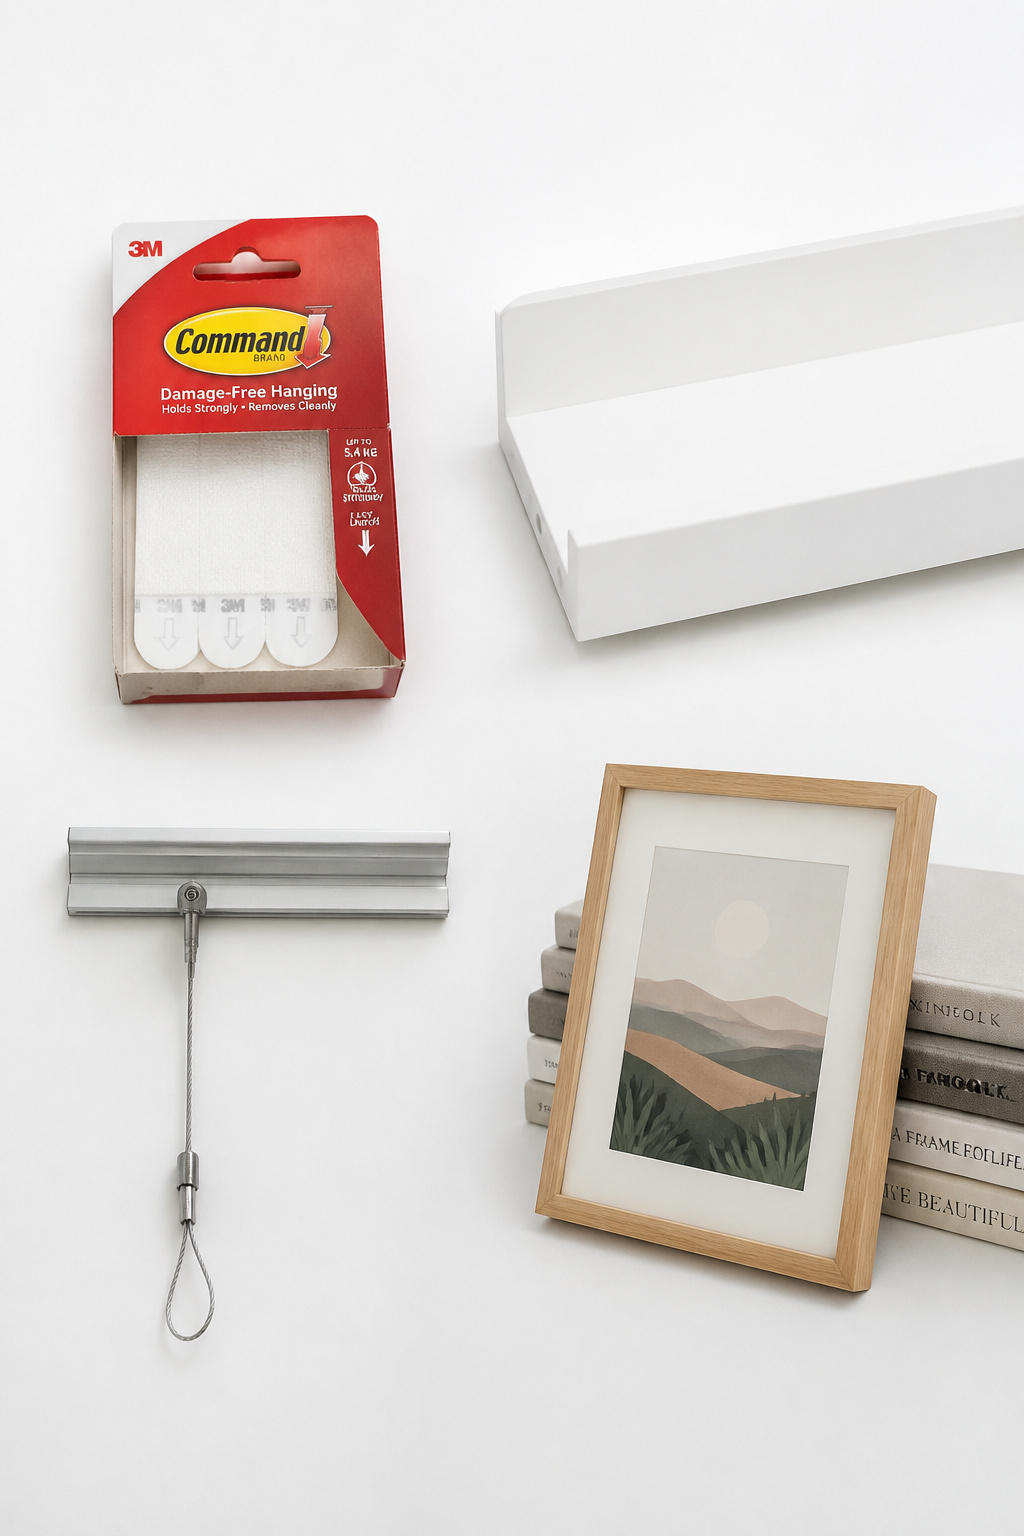
Command Picture Hanging Strips are rated per pair, not per strip: Small holds 1 lb a pair, Medium 3 lb, Large 4 lb, XL 5 lb. The “16 lb” on the Large box is the whole-pack total using four pairs together — not what one pair does. A box of 14 Large pairs runs $15–$20 and realistically dresses 3–4 medium frames. They fail when the wall wasn’t cleaned, the paint’s too fresh, or heat and humidity soften the adhesive over months.
Picture ledges: the most flexible renter solution and its real limitations
A ledge mounts with two screws, then holds as many frames as fit, rearranged by sliding them — never touching the wall again. Two holes do the work of twenty. The limit is physical: the IKEA MOSSLANDA is 4.75 inches deep and rated for frames up to 17.75 inches tall, and taller ones tip off the front. Brilliant for a rotating mix of small frames, useless for one big piece.
Rail and cable systems: higher cost, maximum flexibility
A gallery rail mounts once and hangs frames from adjustable cables you slide anywhere. The HangZ 6.5-ft kit is $47.99 — the priciest start of the four — and holds up to 87 lb across five screws, the best weight-per-hole ratio here. It’s the option for a renter who wants a genuinely changeable, heavier-load wall.
Leaning against the wall and the furniture-stack: when low-commitment is the right call
Leaning art on a console, shelf or mantel needs zero wall contact and handles oversized pieces (24×36 and up) that blow past any strip rating. As a loose styling guide, the leaning piece looks balanced at roughly 65–75% of the width of whatever it sits on. The enemy is movement — frames slide and fall around pets or kids — so a dab of museum putty on the bottom corners is worth doing.
Adhesive Hanging Strips: Weight Ratings, the Removal Method, and Why They Fail
The method most renters reach for first and get wrong most often. When strips fail they don’t just drop the frame — they take paint with them. Skill level: first build.
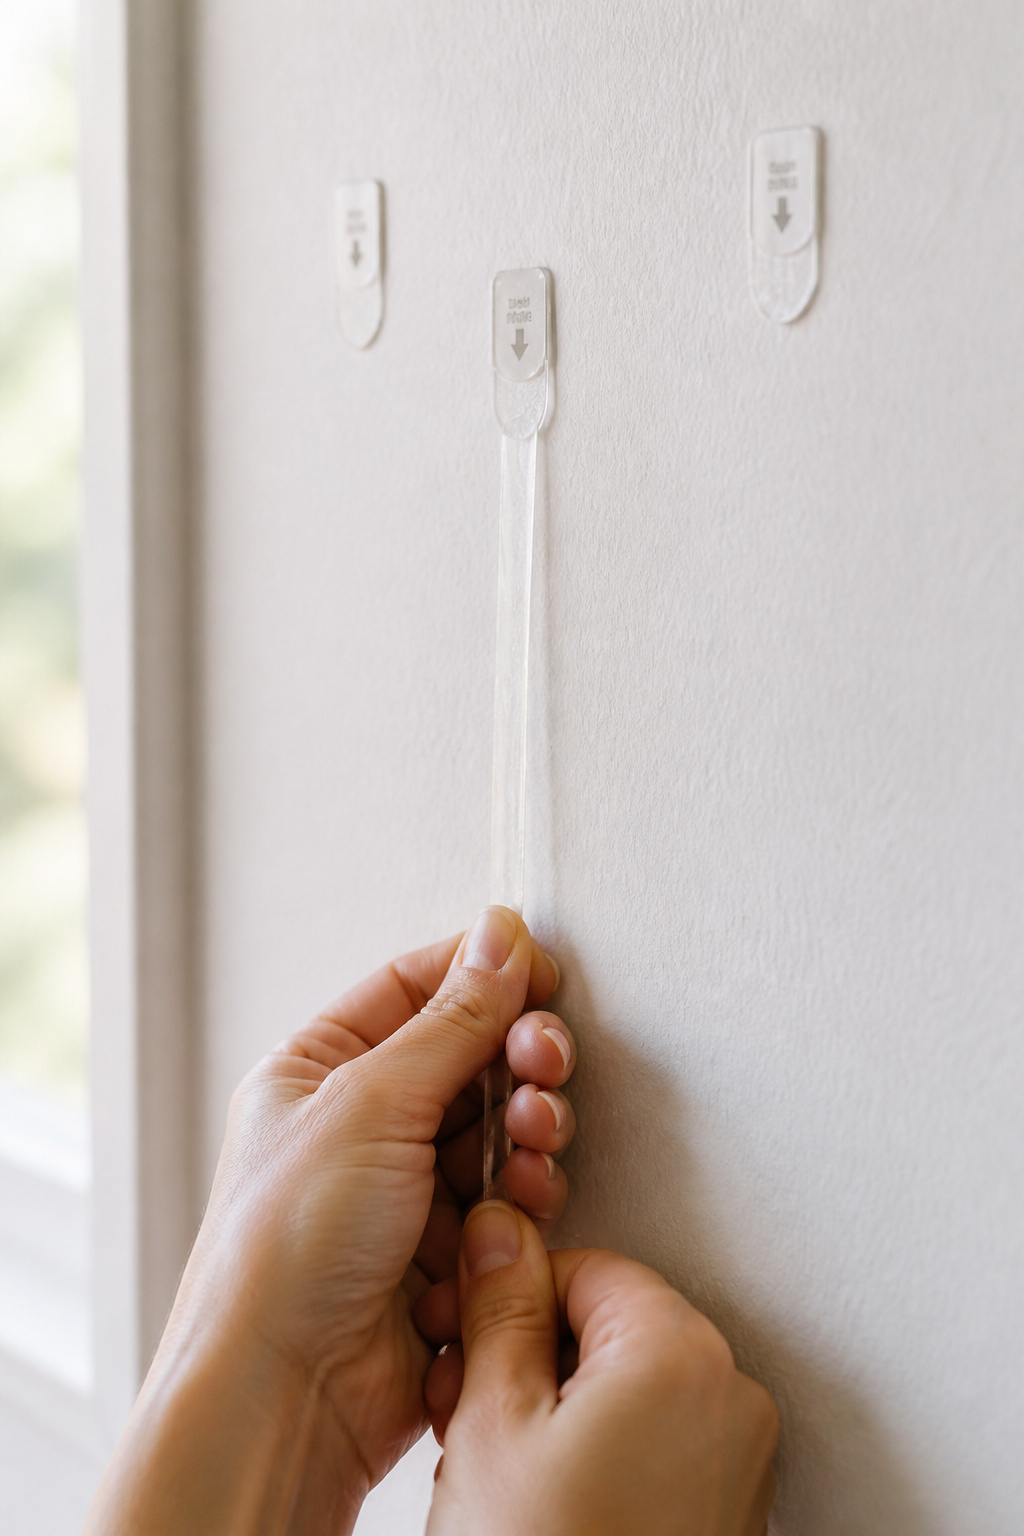
Reading the weight rating honestly — and why you should halve it in real conditions
3M’s own guide says to weigh the frame and use one pair per pound, plus one extra pair for margin — so an 8 lb frame wants three Large pairs, not two. And the box doesn’t print this: in real rooms — warm, humid, matte paint, textured drywall — the effective hold can drop 25–50% below the lab rating. Treat the printed number as a ceiling, and stay well under it for anything you’d hate to lose.
Surface prep: the step renters skip that causes 90% of strip failures
Wipe the wall with isopropyl rubbing alcohol and let it dry fully before the strip touches it — not a household spray or wet wipe, which leave residue that wrecks adhesion. This single skipped step shows up in nearly every failure. Two more: fresh paint needs at least 7 days to cure before strips go on (3M’s Australian guidance says 28 for a full cure), and after you press the pair to the wall, wait a full hour before hanging anything. The clock starts at the wall bond, not the frame bond.
The correct removal technique that keeps paint on the wall, not the strip
Take the frame off first. Then find the tab at the bottom of each strip and pull it straight down, parallel to the wall, slow and steady. The strip is designed to stretch 12–15 inches before it lets go — that’s normal, let it happen. The failure move is stopping partway and yanking the rest; that shears the paint. Pull outward and the stretch-release never engages.
Mistake paragraph: what to do when a strip pulls paint anyway
It happens, usually on paint that hadn’t cured or a flat/matte finish. If a strip lifts only the topcoat (primer still showing), the fix is small: scrape the loose edge with a plastic putty knife, skim a thin layer of lightweight spackle, dry 2–3 hours, sand with 220-grit, spot-prime, touch up. If it tears the paper face off the drywall — a fuzzy recess — you’re into joint compound and a harder repair. That second one is the deposit-dispute scenario, so remove carefully the first time.
Picture Ledges: Building an Updateable Gallery Without a Single Hole
If you’ll change the display more than once, this is the method: two screws buy a wall you can restyle on a whim.
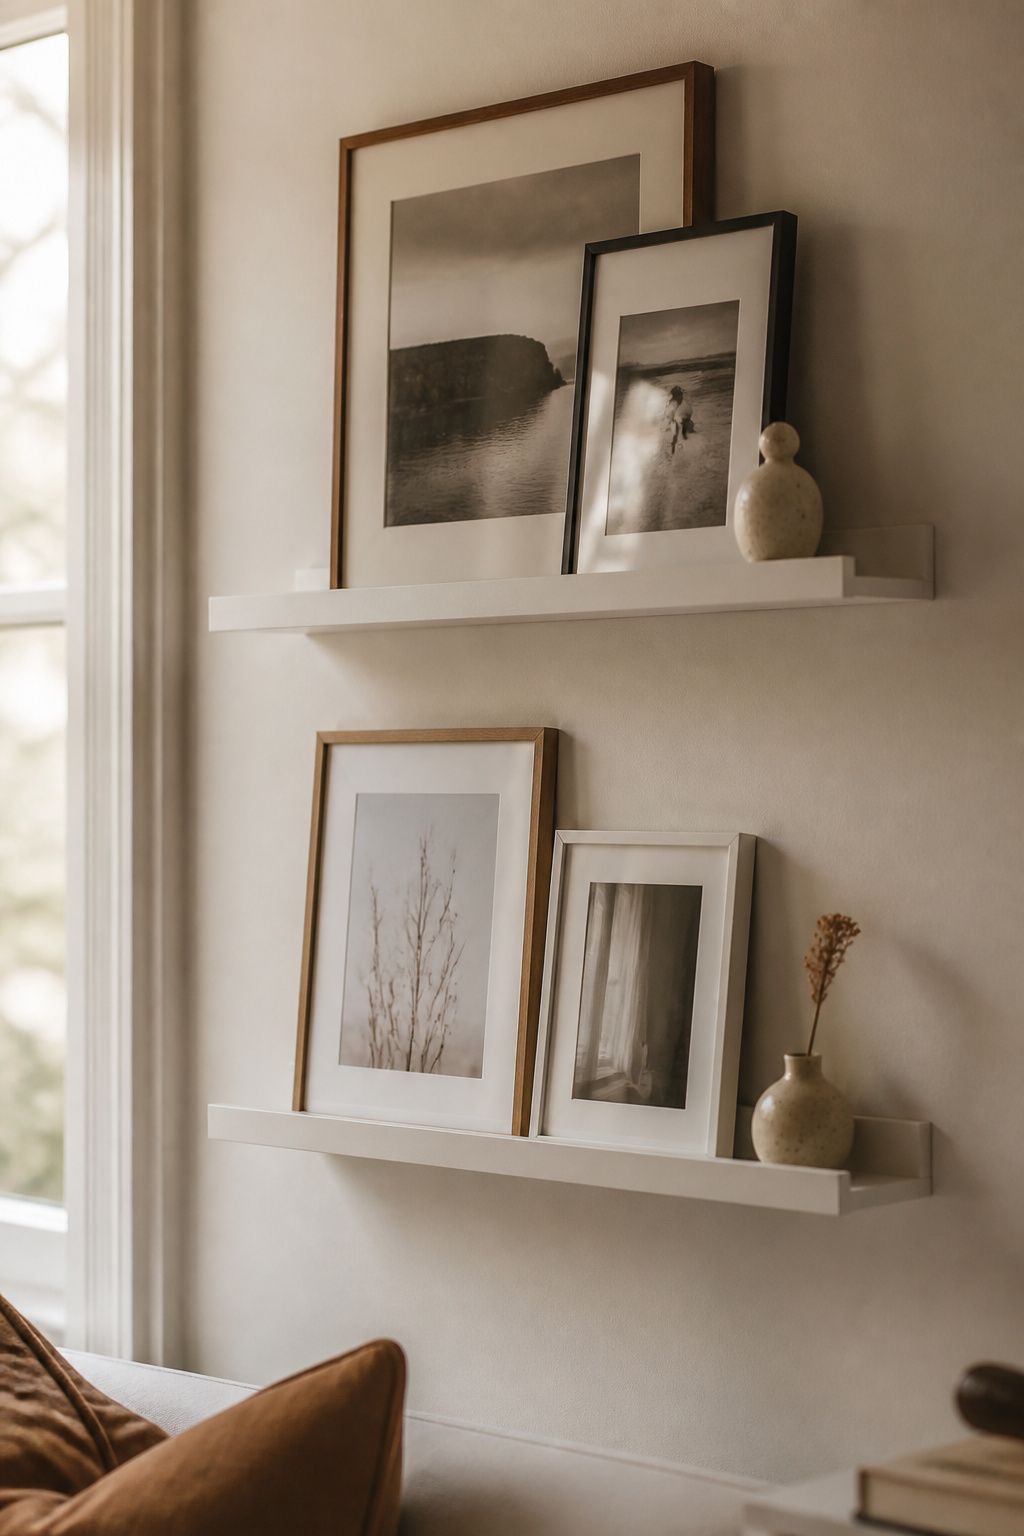
How ledges work: the one anchor point that serves many frames
Mount the ledge with two screws into a stud or a proper drywall anchor, and every change after that is just sliding frames along the shelf. The MOSSLANDA’s front groove holds frame edges at a slight backward lean on purpose — a real anti-tip feature, not just a styling detail.
Ledge depth and frame depth: what fits and what tips
The hard rule: a 4.75-inch ledge takes frames up to 17.75 inches tall, no more. For the layered look, the front frame should sit at least 2 inches shorter than the one behind so both read — an 8×10 in front of an 11×14 works. And watch profile: deep box frames over about an inch hang off the front edge and get tippy.
Layering art on ledges: depth creates the salon-wall look without the commitment
Largest frame at the back against the wall, a medium one leaned in front overlapping it, then a small object or tiny frame ahead of that — three layers is the practical max on a 4.75-inch ledge. Vary the heights and mix portrait with landscape; the asymmetry gives you that gathered, salon feel without the spacing a hung arrangement demands. A single bud vase or small ceramic among the frames keeps it from reading like a product shelf. The ledge is also the easiest format for swapping in family photo wall ideas as the kids grow — no re-hanging, just reshuffling.
Cost comparison: off-the-shelf ledges vs a weekend build
The MOSSLANDA runs $9.99 for the 21.75-inch and $19.99 for the 45.25-inch. West Elm and Pottery Barn ledges do the same job for $49–$149 each — a steep premium for finish, not function. Or build your own from 1×3 and 1×2 pine for $10–$20 in lumber per shelf, about 90 minutes each with a saw and drill. The hole count is identical either way, so this is purely a budget and finish call.
Rail and Cable Systems: Maximum Flexibility at a Price
The premium no-damage option: highest upfront cost, lowest long-term hole count. Skill level: some builds — you’re leveling and anchoring a rail, not sticking a strip.
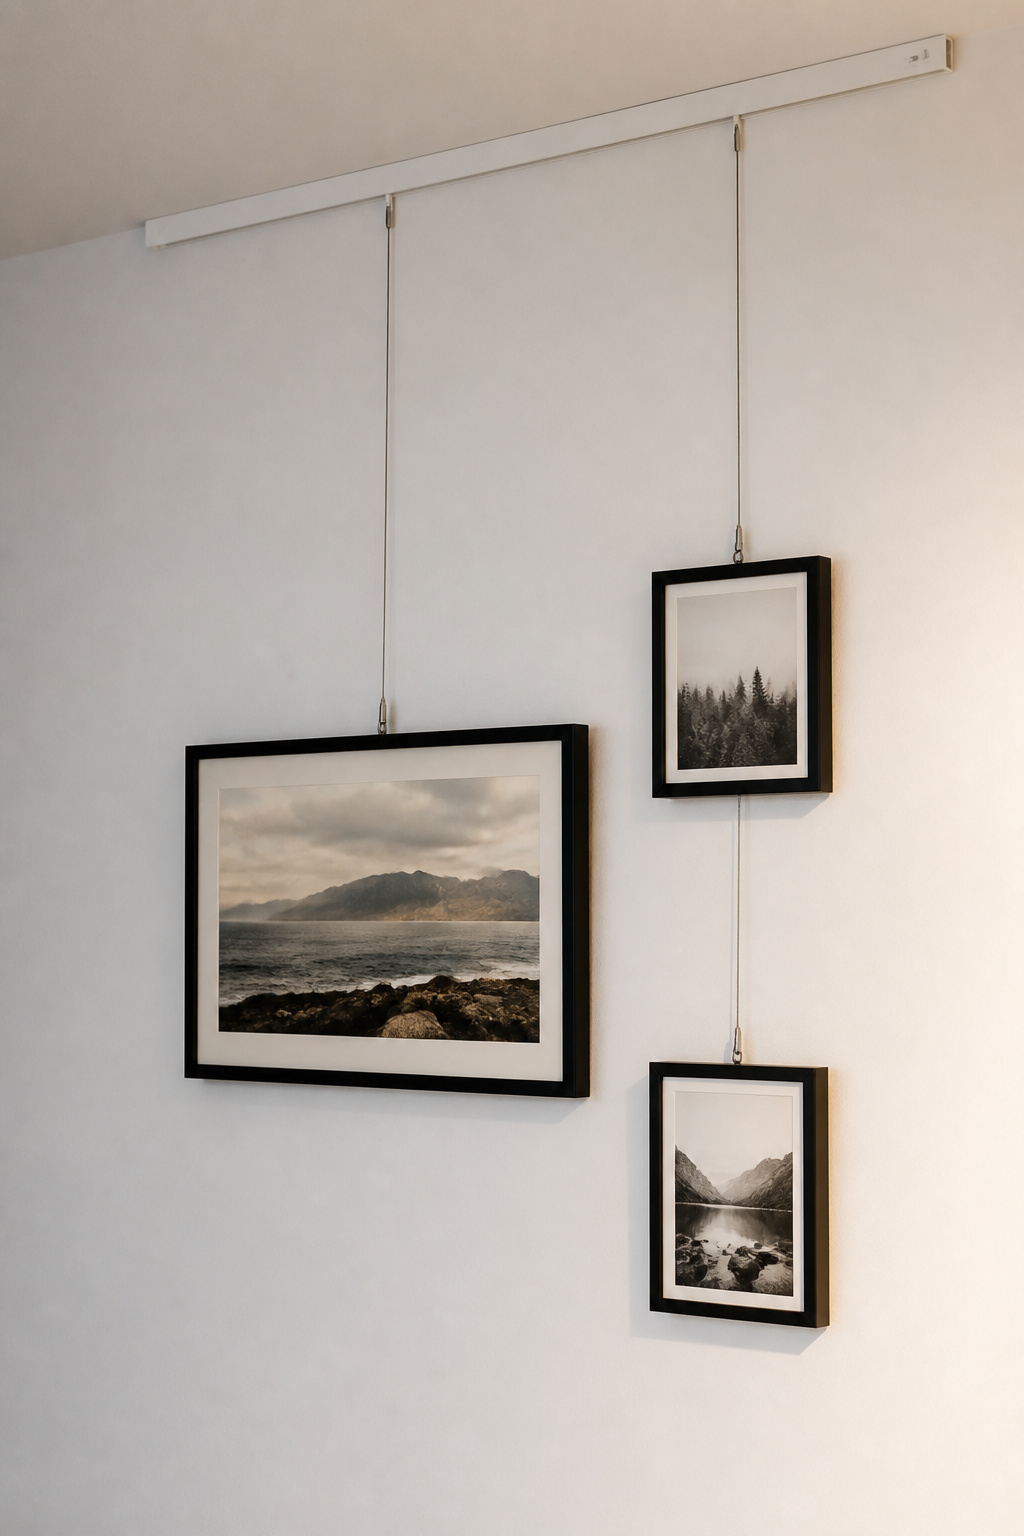
How gallery rail systems work and what they cost installed
A horizontal aluminum rail mounts near the ceiling; cables hang from it with hooks you slide to any height, so frames move up or down in seconds. The HangZ 6.5-ft kit is $47.99 and includes the rail, five mounting clips, two perlon cables and two adjustable hooks, with extra cables running $5–$15 each to extend the system. It’s the modern surface-mount version of the original picture moldings renters in older European apartments have hung art from for a century.
The one-screw-per-rail installation and why it’s the most renter-friendly hole-count
Five screws per 6.5 feet of rail — about one every 16 inches — then unlimited frames with no more holes. The break-even is around five frames: a 10-frame wall on one rail is 5 screws versus 10 nails. Anchor it into studs or proper drywall anchors, though — the full 87 lb load is not a drywall-alone job.
What a rail system can and cannot hold: weight reality check
Each perlon cable is rated 44 lb, 87 lb total across the kit, with a single hook usually good for 22–30 lb depending on cable angle. The flip side: very light pieces under about 3 lb are actually less stable on a cable than on a strip, because the cable lets them drift and rotate. Rails earn their keep with heavier, wire-hung frames that use the cable’s flex as a feature.
When Drilling One Hole Is Actually the Smarter Move
I’ll say it: sometimes the right renter move is one careful hole and a tube of spackle. The no-nail rule is a guideline, not a religion, and the math doesn’t always back it up.
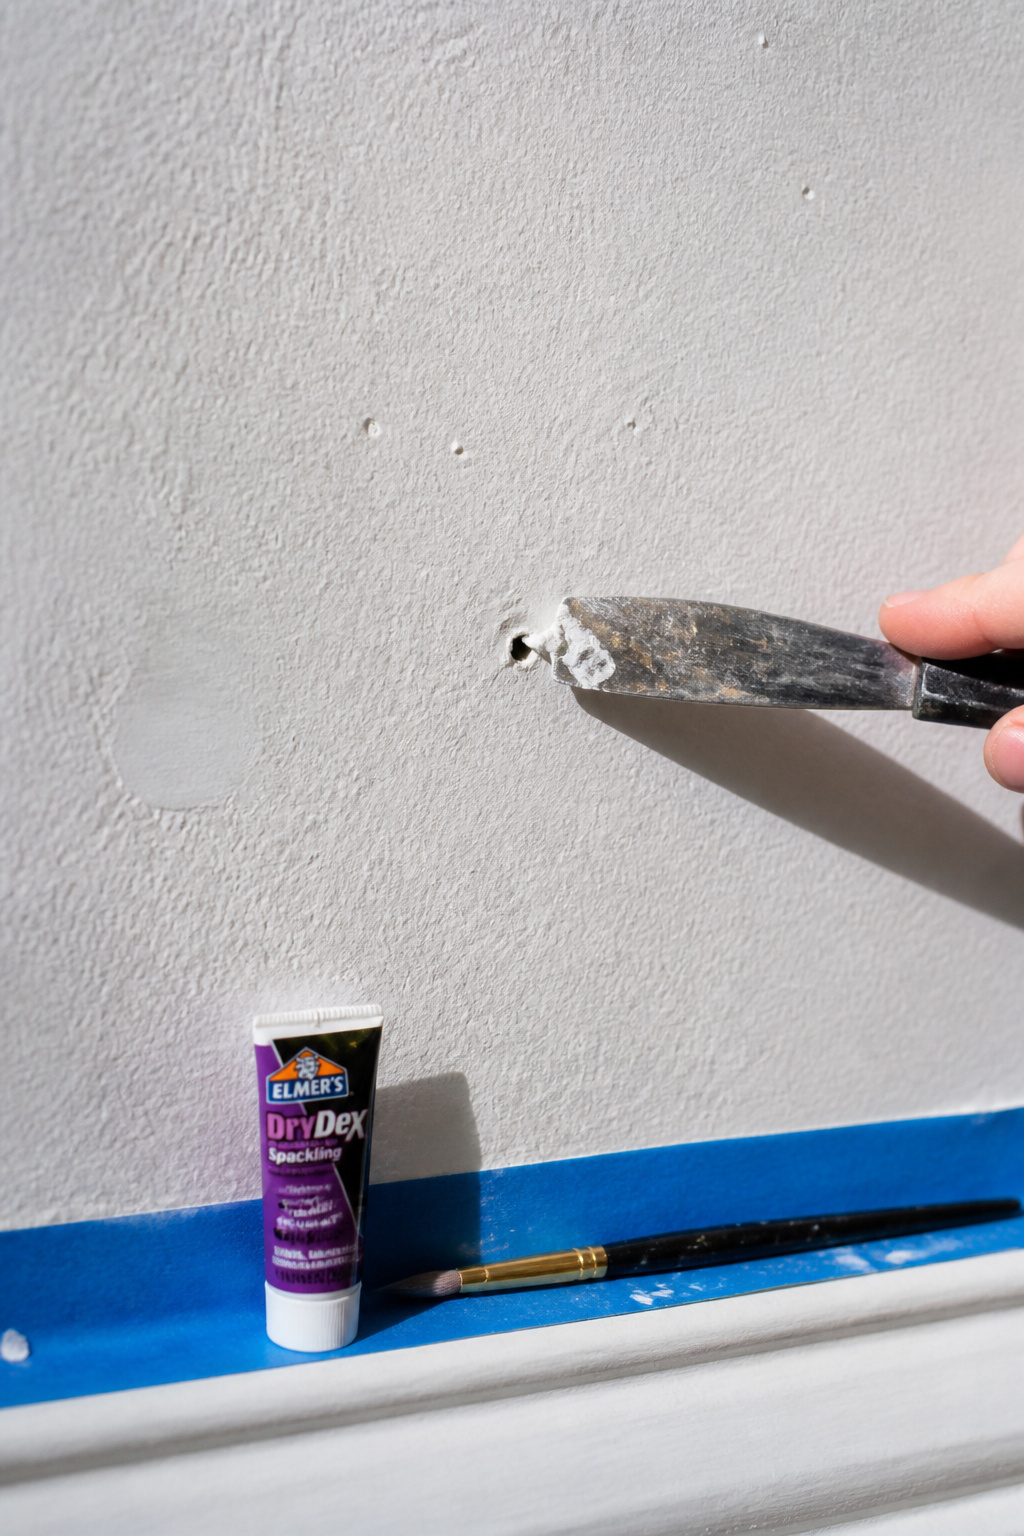
The maths: deposit deduction vs buying enough strips for a full wall
A 10-frame wall done entirely in strips runs $40–$60 in packs; the same wall on nails is about $5 of spackle and a little matching paint at move-out. And the deposit fear is often overblown: courts in California have held that small picture-hanging holes are normal wear and tear, not deductible damage, and many states read it the same way. The real question isn’t nails versus no-nails — it’s repaired nail holes versus badly removed strips that took the paint.
How to fill a nail hole so it disappears — the two-minute repair most renters don’t know
Pull the nail with the hammer claw. Press a pea of lightweight pre-mixed spackle into the hole flush with the wall. Dry 2–3 hours, sand with 220-grit, spot-prime if needed, touch up with matching paint and a small brush. Under five minutes of actual work. The one variable that makes or breaks invisibility is paint match — so keep a little of the wall color labeled on move-in, not move-out when you’re guessing. And skip the toothpaste trick: it holds for a day, then shrinks and yellows. Not inspection-proof.
The one-nail-per-ledge approach: drilling minimally to gain the most flexibility
The honest sweet spot combines both ideas: drill the two ledge screws into a stud, hang unlimited frames, fill those two holes properly at move-out. A filled hole at a stud is effectively undetectable — solid backing means no cracking around the patch. Three ledges is six holes that hold more frames than twenty nails would. If you’d rather hang frames directly with careful spacing, the template-and-spacing method walks through doing it cleanly.
Moving Out: Removing a Renter Gallery Wall Without Drama
Plan the takedown and a 10-frame wall comes off in under an hour. Rush it or work out of order and you create the damage you spent months avoiding.
Removal sequence: what comes down first and why
Order matters. Take all the art off first. Pull adhesive strip tabs straight down, one at a time, slowly. Then remove ledges or rail hardware — clear the shelf completely before you touch the screws, and unscrew bottom-up so it can’t tip. Then clean residue, fill holes, touch up. Jump to residue-cleaning while a half-stuck strip is still on the wall and you tear paint at the finish line.
Cleaning adhesive residue completely from painted walls
Start gentle: warm water with a couple drops of dish soap on a microfiber cloth, circular rubbing, which lifts most fresh residue with no risk. Step up to 70% isopropyl alcohol on the cloth — never poured on the wall, and test a hidden spot first, because solvent can dull flat and matte paint. For hardened gunk, scrape with an old plastic card, never a metal blade — metal gouges drywall and turns a wipe-down into a real repair.
The final walkthrough check before your landlord does it
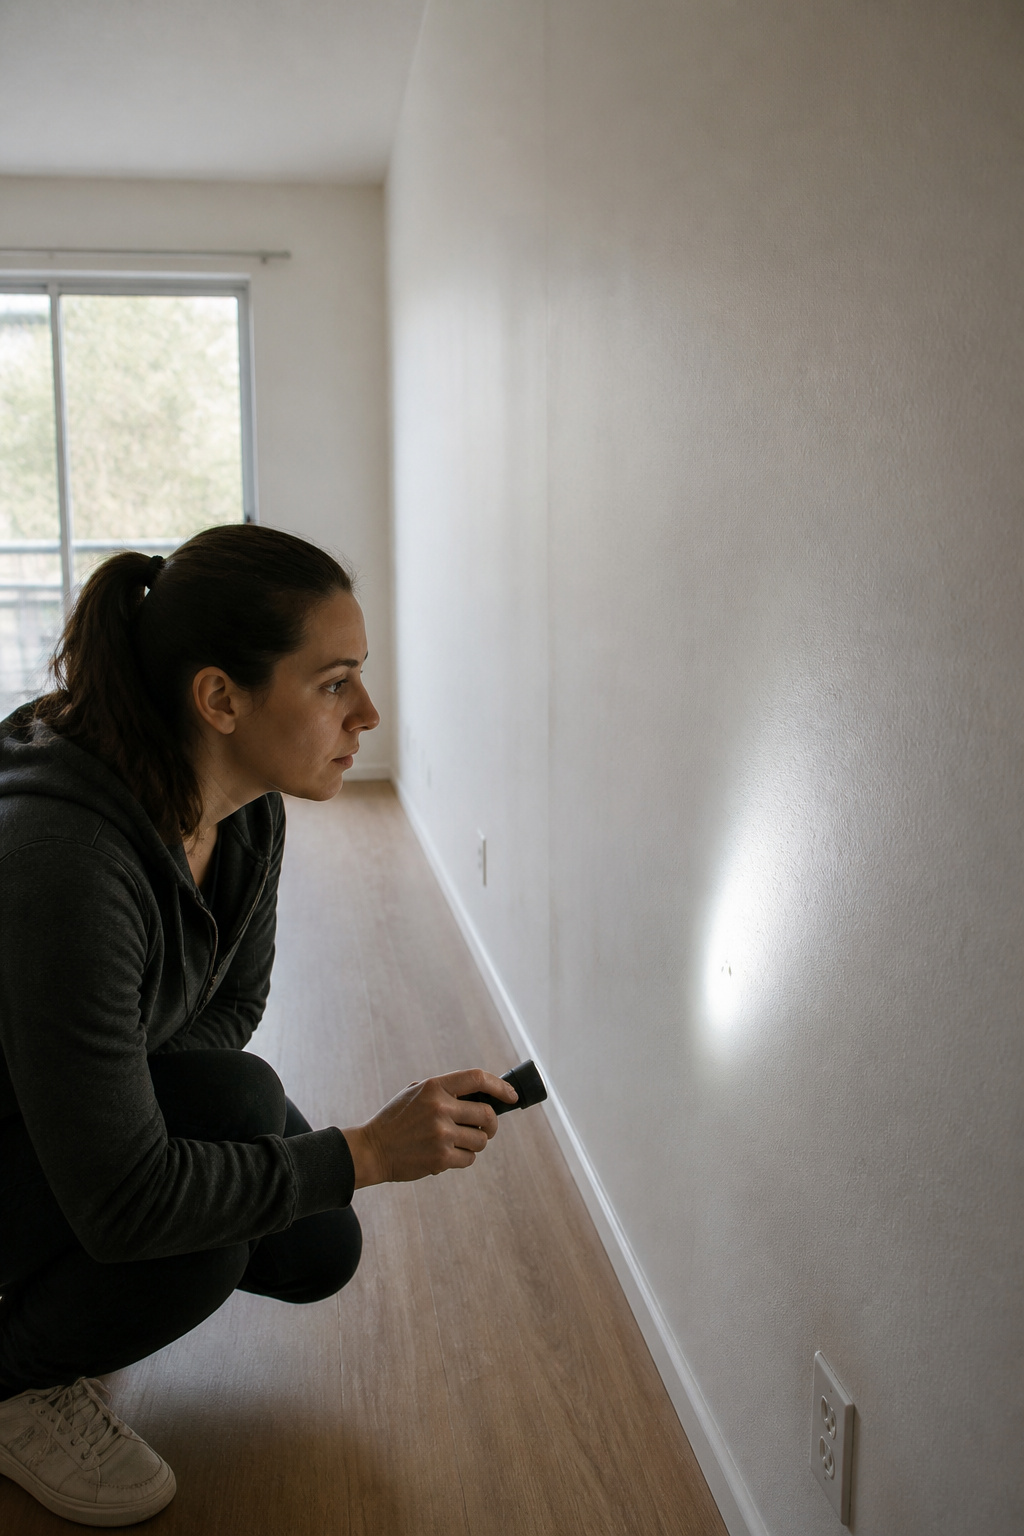
Do the inspection your landlord will do. Hold a flashlight at a low, raking angle across each wall — that oblique light reveals residue and surface texture damage that straight-on looking misses entirely. Renters lose deposits over two things only, unfilled holes and adhesive damage, and raking light catches both. Photograph the repaired walls with a timestamp before you hand back the keys; that’s your evidence if a deduction claim shows up. And worth knowing: a small filled-and-painted hole is normal wear and tear most places, but adhesive residue is actual damage that takes labor to remove — so it’s the more deductible of the two.
So here’s the one thing to buy before you hang a single frame: a $4 tube of lightweight spackle and a bottle of rubbing alcohol. The alcohol makes the no-nail methods actually hold; the spackle makes any hole disappear. Pick a method later — those two things stand between a gallery wall you love and the deposit you’d like back.
FAQ
How heavy a frame can Command strips hold?
Command Picture Hanging Strips hold weight by size — Small 1 lb per pair, Medium 3 lb, Large 4 lb, XL 5 lb — and the box’s advertised maximum (like 16 lb for Large) needs four pairs working together. In warm or humid rooms or on matte paint, effective capacity can drop 25–50% below the rated number, so treat the printed figure as a ceiling. Over 8 lb, switch to a ledge or rail.
Will Command strips damage apartment walls?
Not when removed correctly — pull the tab straight down, slowly, letting the strip stretch 12–15 inches before it releases. Yanking or pulling outward is what peels paint. Damage usually traces to strips applied to paint cured under 7 days or to matte finishes. If paint does lift, the spackle-and-touch-up repair costs under $10 and takes about 20 minutes.
What is the best no-nail way to hang a gallery wall?
For a fixed display that won’t change, cleaned-wall adhesive strips are simplest at $15–$20 per 3–4 medium frames. If it is a display you’ll update often, picture ledges (IKEA MOSSLANDA, $9.99–$19.99) take two screws but allow endless rearranging. For heavy frames or maximum flexibility, a gallery rail kit ($47.99) uses five screws to hold 87 lb.