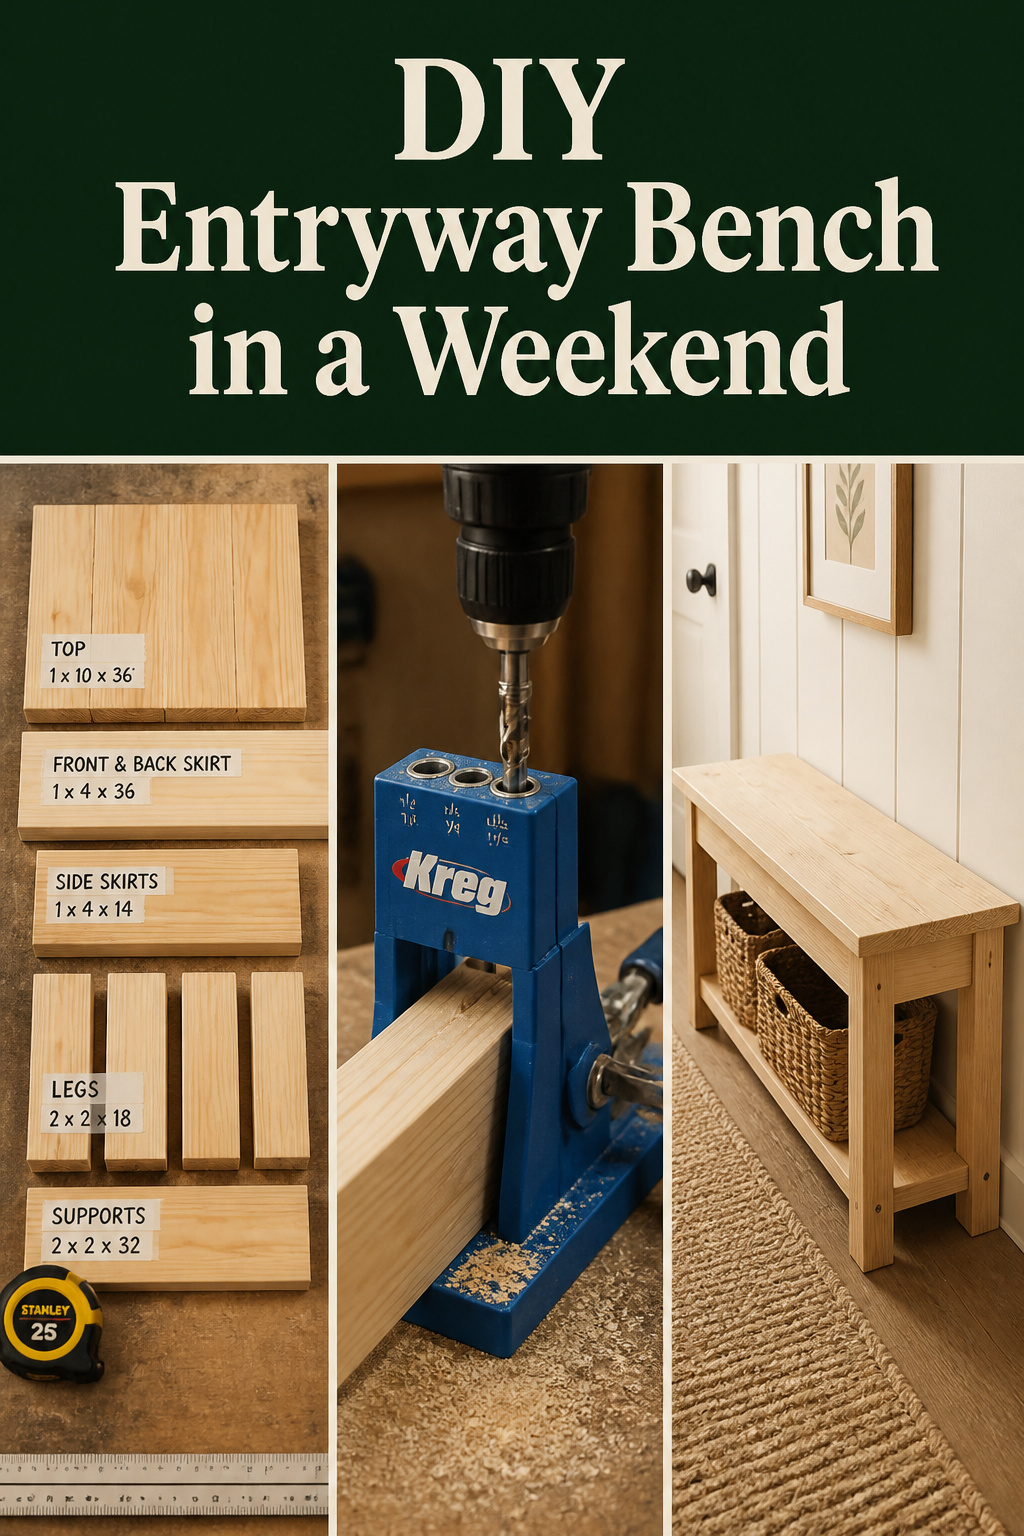
My first solo build was a plywood workbench at twenty-two, and it’s still in my garage — dented, load-bearing, and proof that ugly-strong beats pretty-weak. A bench is the same lesson at a smaller scale. It’s four legs, two frames, a seat, and a shelf, joined with screws and glue. If you can drive a screw straight and measure twice, you can build a DIY entryway bench in a weekend, and I’ll walk you through it so you skip the parts I learned the hard way.
TL;DR
- A 48-inch entryway bench with a lower shelf costs $50–$80 in materials using No.2 pine, and saves 60–75% over the $150–$350 you’d pay retail.
- Plan 4–6 hours of active work for a first build across one day, then leave it overnight to cure — finishing is a second day.
- Four tools cover it: a drill, a circular saw (or the store cut counter), a tape measure, and a square. A pocket-hole jig helps but isn’t required.
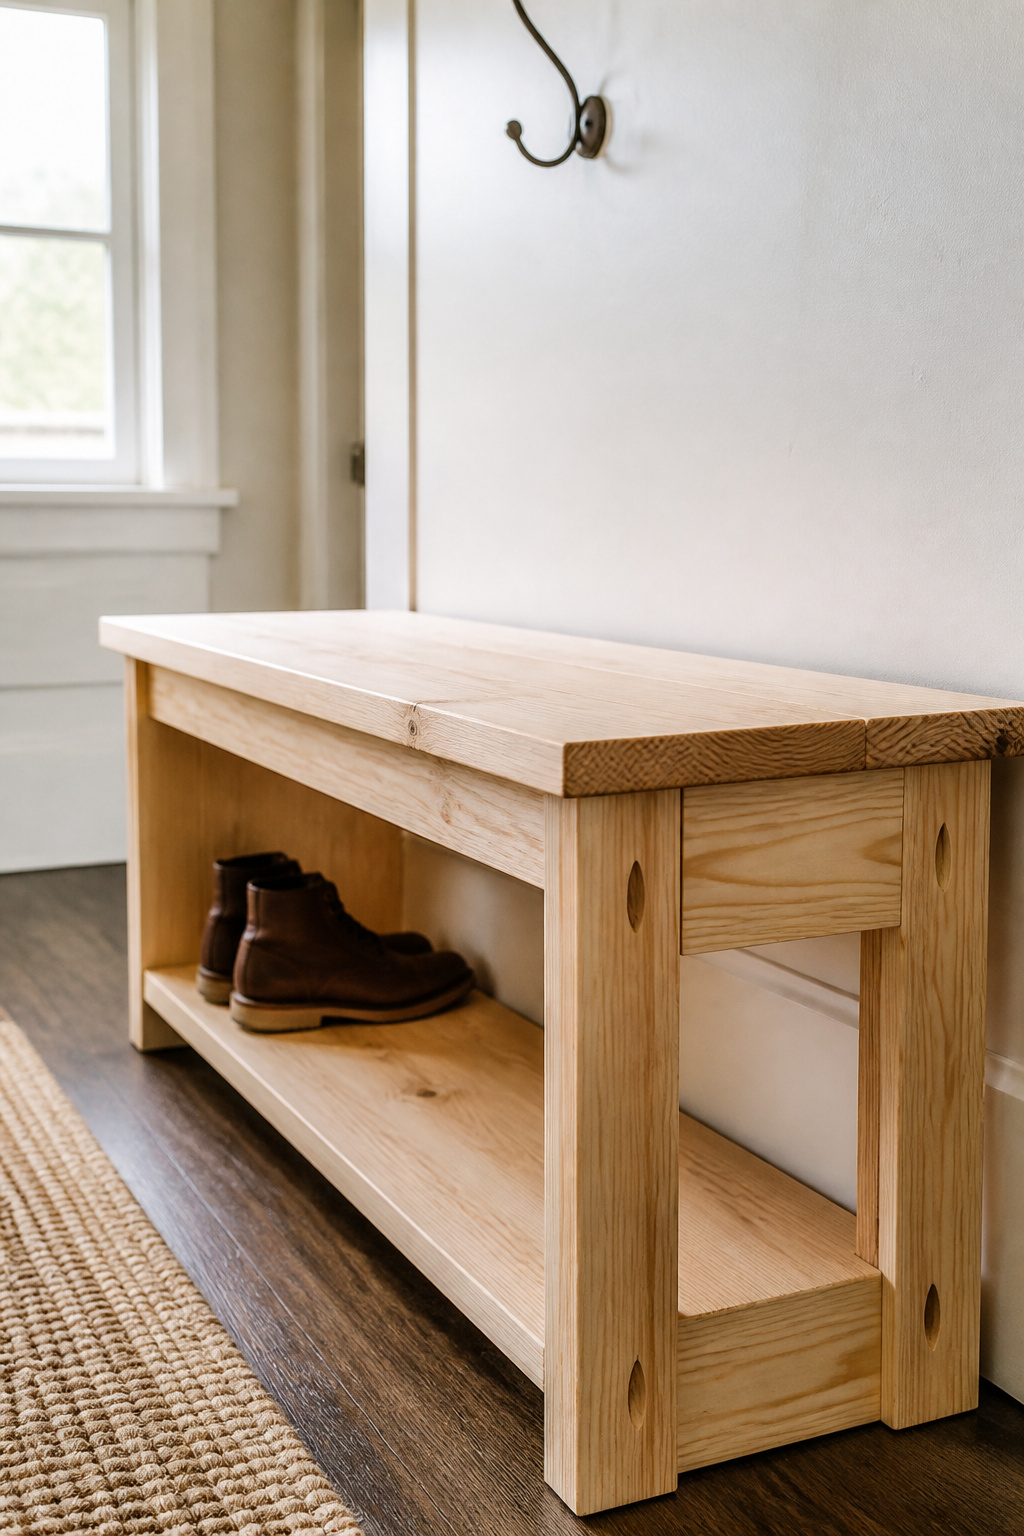
This is the only thing in this whole guide that builds a bench from scratch — cut list, costs, the lot. So before you fall in love with a photo, let’s talk numbers.
What This Build Costs and How Long It Actually Takes
Materials list and prices at current big-box rates
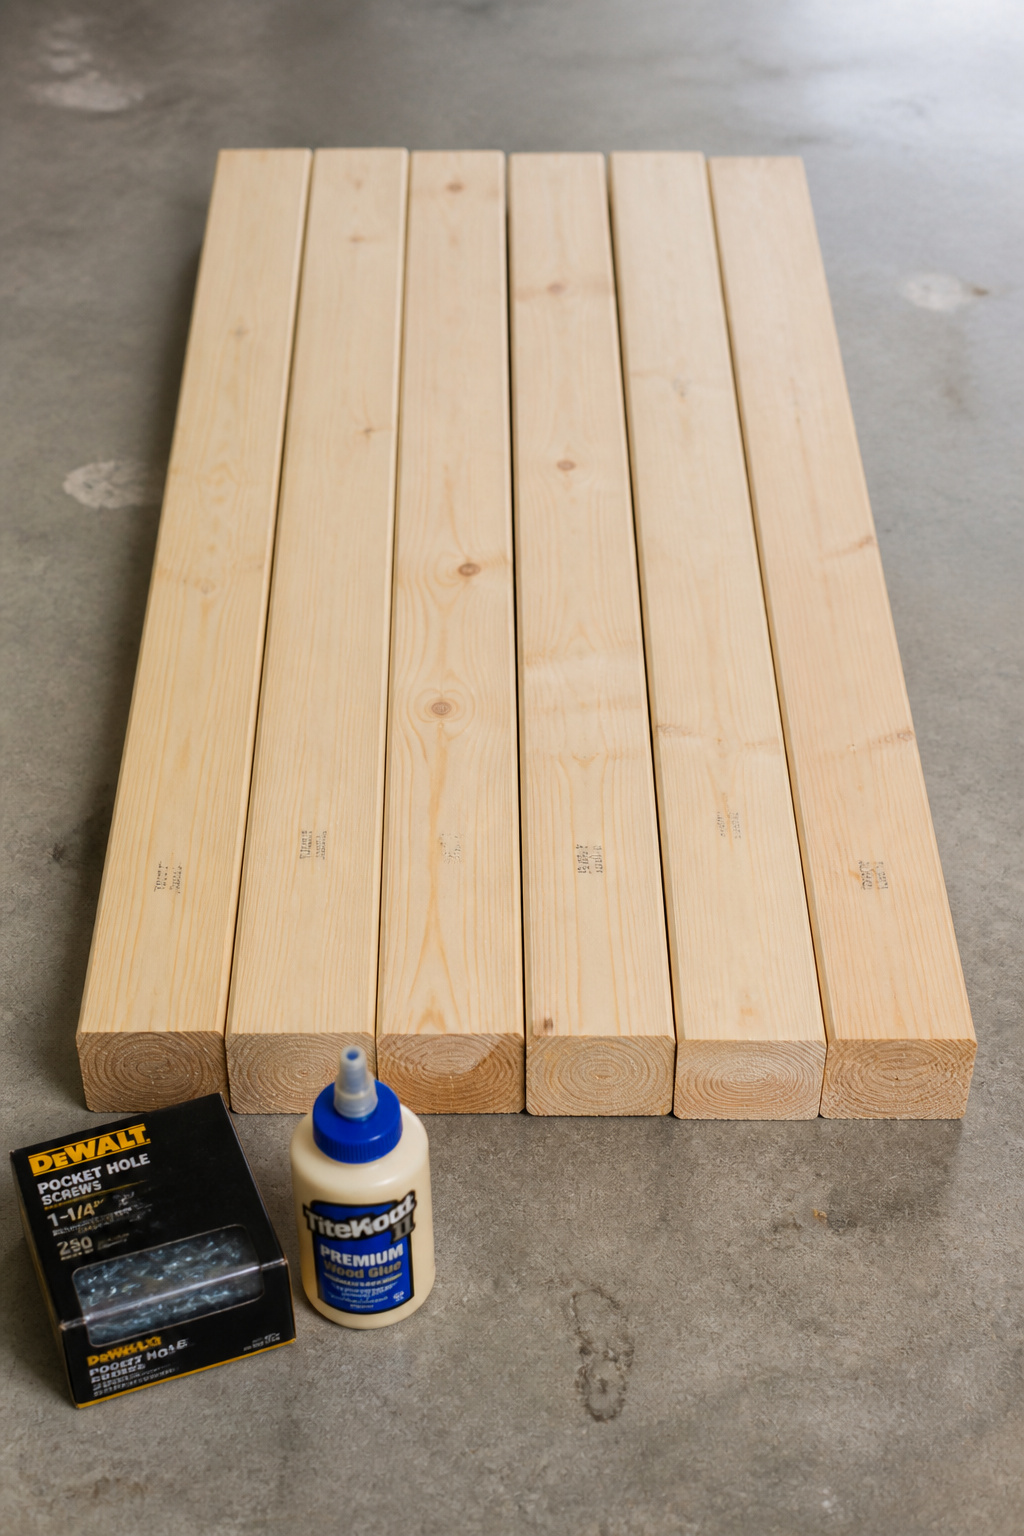
A 48-inch bench is mostly stud-grade softwood, and that’s where the price comes from. A 2x4x8 runs about $5.17 and a 2x6x8 about $8.82 at big-box rates; the lumber bill for this design lands at $40–$60 depending on whether you add an X-brace. The all-2×4 build slats the lower shelf from the same 2×4 stock, which Ana White notes is cheaper than buying a single 1×12 — but if you’d rather have a solid shelf, a 1x12x8 runs roughly $18.44. Pocket-hole screws are $7–$10 a box, a pound of 2-1/2-inch coarse-thread screws $8–$12, and wood glue $5–$8 if it isn’t already on your shelf.
| Item | Qty | Approx cost |
|---|---|---|
| 2x4x8 No.2 pine (legs, aprons, shelf slats) | 4 | $21 |
| 2x6x8 No.2 pine (seat) | 3 | $27 |
| Pocket-hole screws (box of 100) | 1 | $8 |
| 2-1/2-in coarse screws (1 lb) | 1 | $10 |
| Wood glue + sandpaper | — | $12 |
That totals $50–$80 finished, before paint. One caveat worth stating plainly: those lumber prices move, sometimes a lot, so treat them as a planning guide and confirm the real number at the till. Either way, the math holds — a comparable bench retails for $150–$350, so you’re saving 60–75% and getting the exact size your hallway needs.
Skill rating: first build / some builds / confident builder
I rate this one first build. The joints are butt joints with pocket holes and glue, and every cut is a straight crosscut to length — no angles, no router, no table saw. A miter saw or a circular saw with a guide is plenty.
The version that adds an X-brace under the seat is some builds: it asks you to trace and cut diagonal angles on 2×2 pieces and fit them inside the leg frame, which is a real step up. If that’s the look you want, build the plain bench first, then graduate to the brace.
Honest time breakdown including the hardware-store run
A first-time builder should plan 4–6 hours of active work, and I’ll be honest that this is a range stitched together from several builds, not a stopwatched figure for this exact bench — every guide tells you something different, so take it as approximate. Here’s how mine usually breaks down: 30 minutes at the store, 30 crosscutting, 45 drilling pocket holes and assembling the leg frames, 30 attaching the seat and shelf, 30 squaring and clamping, then 1–2 hours sanding.
Then you stop. The glue cures overnight, and finishing is a separate day. And budget the trip nobody plans for: the screws-and-glue run you make when the shopping list only had lumber on it. I lost a whole weekend to a “two-hour” floating-shelf video once. Every timeline I write now includes the drive back to the store.
Tools You Need and the Cheaper Workarounds
The essential four: drill, circular saw, tape measure, square
Four tools do 95% of this build. A drill and a circular saw are the minimum power tools — figure $30–$60 for a corded drill and $40–$80 for the saw, though most people already own or can borrow both. A 25-foot tape measure and a 7-inch speed square together cost under $20, and after the drill they’re the two tools your hands reach for most.
A random orbital sander ($30–$60) earns its keep at finishing time. You can hand-sand with a $3 block, but it roughly triples the time, and sanding is already the part people quit on.
Pocket-hole jig vs glue-and-screw: both work, here is when
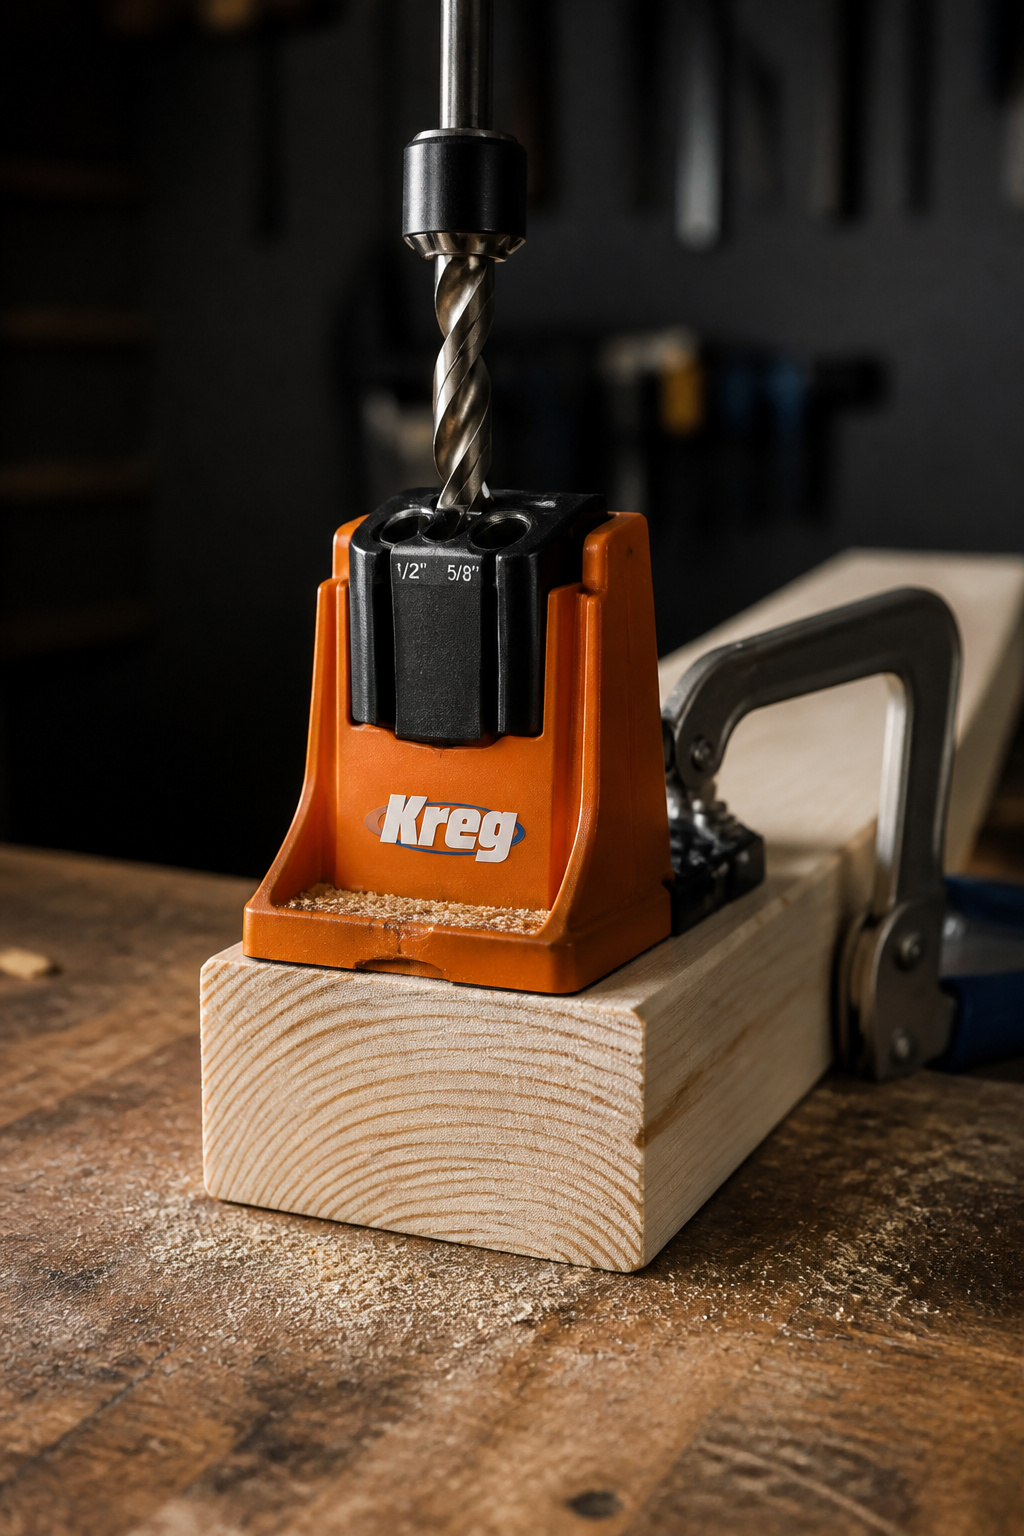
A pocket-hole jig is the fifth tool most plans assume, and it makes clean, hidden joints. The entry-level Kreg R3 is about $25 and is enough for one bench; the dual-guide Kreg 310 is $70–$99 and worth it only if more projects are coming. A generic jig kit off Amazon runs $18–$25 and does fine for a one-off.
But you don’t need one. Glue-and-screw works if you pre-drill pilot holes to stop the wood splitting, then toe-screw a #8 x 2-1/2-inch screw at a slight angle through the apron into the leg. The result is a hair less tidy from the inside and exactly as strong. One rule either way, from Shara at Woodshop Diaries: “Go slow and once the pieces are snug, stop. Overdriving is one of the main reasons pieces become misaligned.” The screw keeps twisting and strips out, shoving the joint sideways.
What the hardware store cut counter saves you
The store’s cut counter is a legitimate tool, and there’s no shame in using it. Home Depot and Lowe’s both cut lumber in-store — the first 10–12 crosscuts are typically free with purchase, then $0.25–$1.00 each. A full bench cut list of 12–15 pieces often stays inside the free allowance.
The catch: the panel saw can be 1/16 inch off, so have them cut each board 1/8 inch long and trim to final length at home if precision matters. But here’s the upshot — if the store makes all your crosscuts, the only tool you need at home is a drill. No saw at all.
The Cut List for Your DIY Entryway Bench
Choosing lumber grade: common pine vs select pine
For a painted bench, buy No.2 common pine (sold as “whitewood”) and don’t overthink it. It has knots and a little character, which is exactly right under paint and for a rough farmhouse look. Select pine is graded for clarity — a 1x6x8 of it runs about $23.73 against $6.91 for the No.2 equivalent, roughly 3.4x the price. You only need that clarity if you’re staining, because knots drink stain at a different rate and blotch.
Whatever grade, check each board at the store: sight down the edge for cup and bow, and reject anything with a twist. No amount of clamping flattens a twisted apron after assembly.
Cut list for a 48in bench with lower shelf
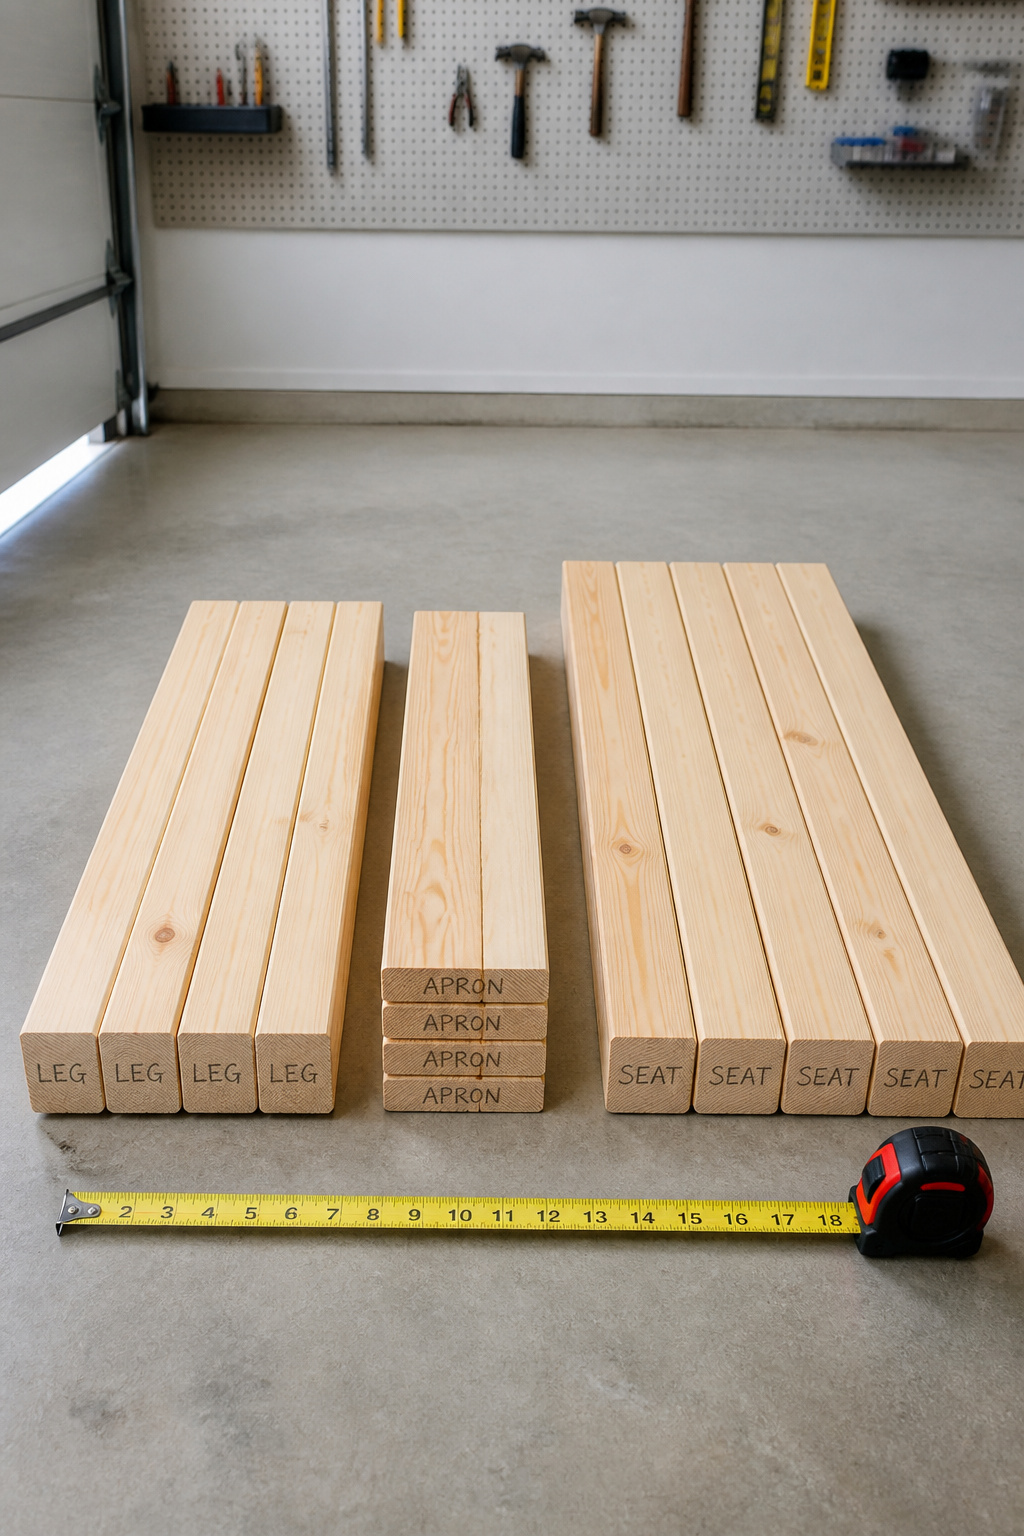
I sized this bench to the numbers that actually work in a hallway. Seat height lands at 17–18 inches from the floor — low enough for a kid, comfortable for an adult lacing boots — and depth at 15–16 inches, deep enough to sit on but not so deep it eats your walkway. Those targets sit inside the standards the entryway bench ideas guide sets for the whole silo.
Remember lumber’s actual dimensions, not the nominal name on the tag: a 2×4 is 1-1/2 by 3-1/2 inches, a 2×6 is 1-1/2 by 5-1/2, and a 1×12 is 3/4 by 11-1/4. Cut to the actual numbers or every piece comes out 1/2 inch long.
This cut list follows Ana White’s simpler all-2×4 build, so every part comes from one validated plan — no mixing dimensions across sources. (That plan lists six legs for its longer span; at 48 inches you drop the centre pair and run four, the same way the 5-foot version omits the centre leg.)
| Part | Qty | Dimensions | Lumber |
|---|---|---|---|
| Legs | 4 | 2×4 @ 16-1/2 in | No.2 pine |
| Front/back aprons | 2 | 2×4 @ 43 in | No.2 pine |
| Side aprons | 2 | 2×4 @ 10-1/2 in | No.2 pine |
| Seat boards | 3 | 2×6 @ 48 in | No.2 pine |
| Shelf slats | 3 | 2×4 @ 48 in | No.2 pine |
The 16-1/2-inch leg gives a finished seat height around 17-3/4 inches once the 1-1/2-inch seat sits on top. The three 2×6 seat boards run front-to-back, so at 5-1/2 inches each they make a 16-1/2-inch-deep seat — within the pillar’s 14–18-inch standard and deep enough to sit comfortably without blocking the hall. If you want the traceable X-brace angle method instead, go to Ana White’s Rustic X Bench; the brace geometry isn’t something I’ll fake a number for here.
Having the store cut your sheet goods
Bring a written cut list to the counter and hand it over whole. Ask them to batch all four leg pieces together so they’re identical — legs that don’t match are the fast road to a rocking bench. As Ana White points out, a slatted shelf can suit an entryway better than a solid board: “2x4s are cheaper than a 1×12 and you won’t need to buy 1-1/4-inch pocket-hole screws,” and the gaps let grit fall through instead of collecting.
Assembly Step by Step: From Boards to Bench
Build it in the order that keeps each step square, because a mistake here compounds into every step after it.
Building the leg frames first
- Lay out one end frame flat on your bench — two legs with the short side aprons between them. Building flat on a level surface is what makes the frame square.
- Glue every joint, even with pocket screws. The screws clamp it while the glue cures; the long-term strength is the glue, not the metal.
- Drill pocket holes into the apron ends, never into the leg face — driving into end grain makes a weak joint.
- Drive 2-1/2-inch coarse-thread screws for the 1-1/2-inch material. Coarse grips softwood; fine thread is for hardwood. Repeat for the second end frame.
Attaching the seat and lower shelf
- Stand the two end frames up and connect them with the long front and back aprons — glue the ends, drive the pocket screws, and the bench suddenly stands on its own. Best moment of the build.
- Hang the lower shelf by drilling pocket holes into its edges and driving up into the aprons. Set it about 1-3/4 inches off the floor so you can sweep underneath.
- Fix the seat boards from below, driving up through the aprons into the seat underside. Leave a 1/8-inch gap between boards for seasonal movement — a scrap of 1/8-inch hardboard makes a perfect spacer.
Squaring up before the glue sets
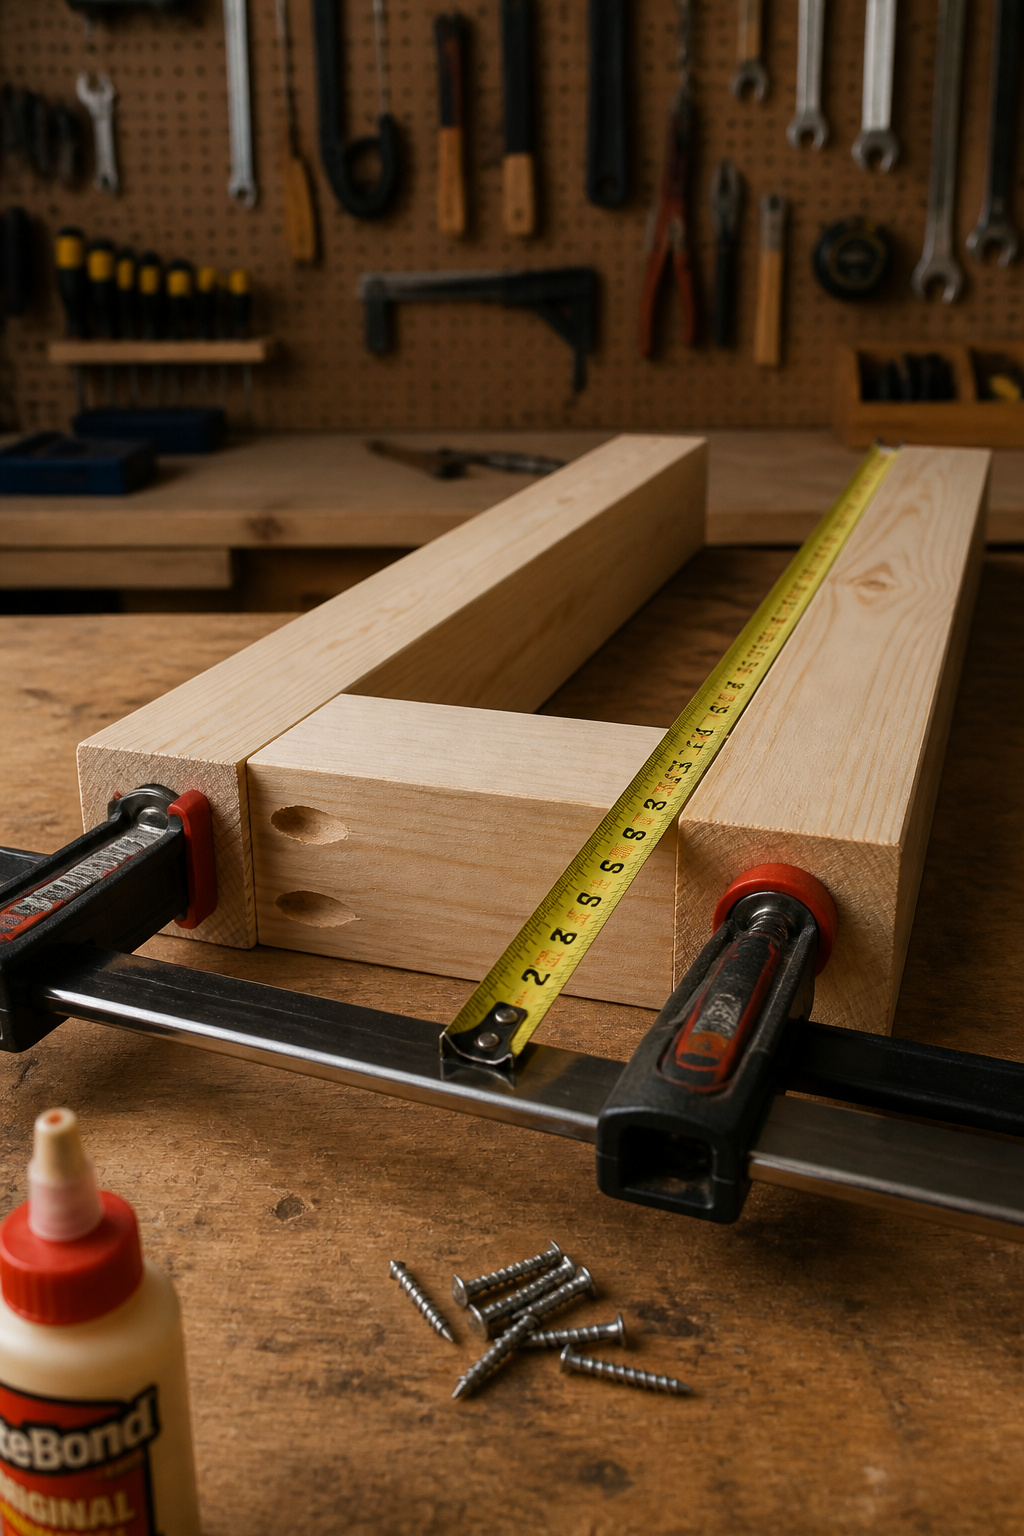
- Measure both diagonals corner to corner. Equal means square. If one’s longer, the frame is racking — push those corners gently together until the two numbers match.
- Hold it square while it cures. Tack a scrap 1×3 diagonally across the longer measurement with a single brad and pull it once the glue sets, around 30 minutes for most interior wood glues.
Do this before you cinch every screw fully tight. Screws lock the joint’s position, so once they’re home and the glue is setting, whatever shape the frame is in is the shape it keeps.
The Mistake Paragraph: What Goes Wrong Here and How to Fix It
Three things go wrong on a first bench, and all three are fixable once you know the cause.
Racking (the bench rocks): cause and fast fix
Racking is when the frame isn’t square — the legs settle into a parallelogram instead of a rectangle, so the bench sits fine on your uneven shop floor and then rocks on the flat entry tile. The fast fix is a diagonal brace: cut a piece of 1×3 or 1×4 scrap and screw it across the longest diagonal on the inside face of an end frame. That puts the brace in compression and stops the parallelogram from moving, and it hides on the back where nobody looks. Prevention is simpler — check both diagonals on a flat surface before the glue sets, every time.
Gaps at the pocket-hole joints: prevention and repair
A gap at a pocket-hole joint after screwing is almost always a clamping problem, not a drilling one. The 15-degree drive angle wants to push the boards apart as the screw bites, so clamp the joint face-to-face before you drive, then release after. Wrong screws cause the other gap: drywall and countersinking screws have conical heads that wedge the joint open, so always use washer-head or pan-head pocket-hole screws. If a gap has already opened and the glue’s set, don’t try to screw it shut — work a thin bead of glue in with a credit card, clamp overnight, and sand flush.
Seat boards cupping over time: why and how to prevent it
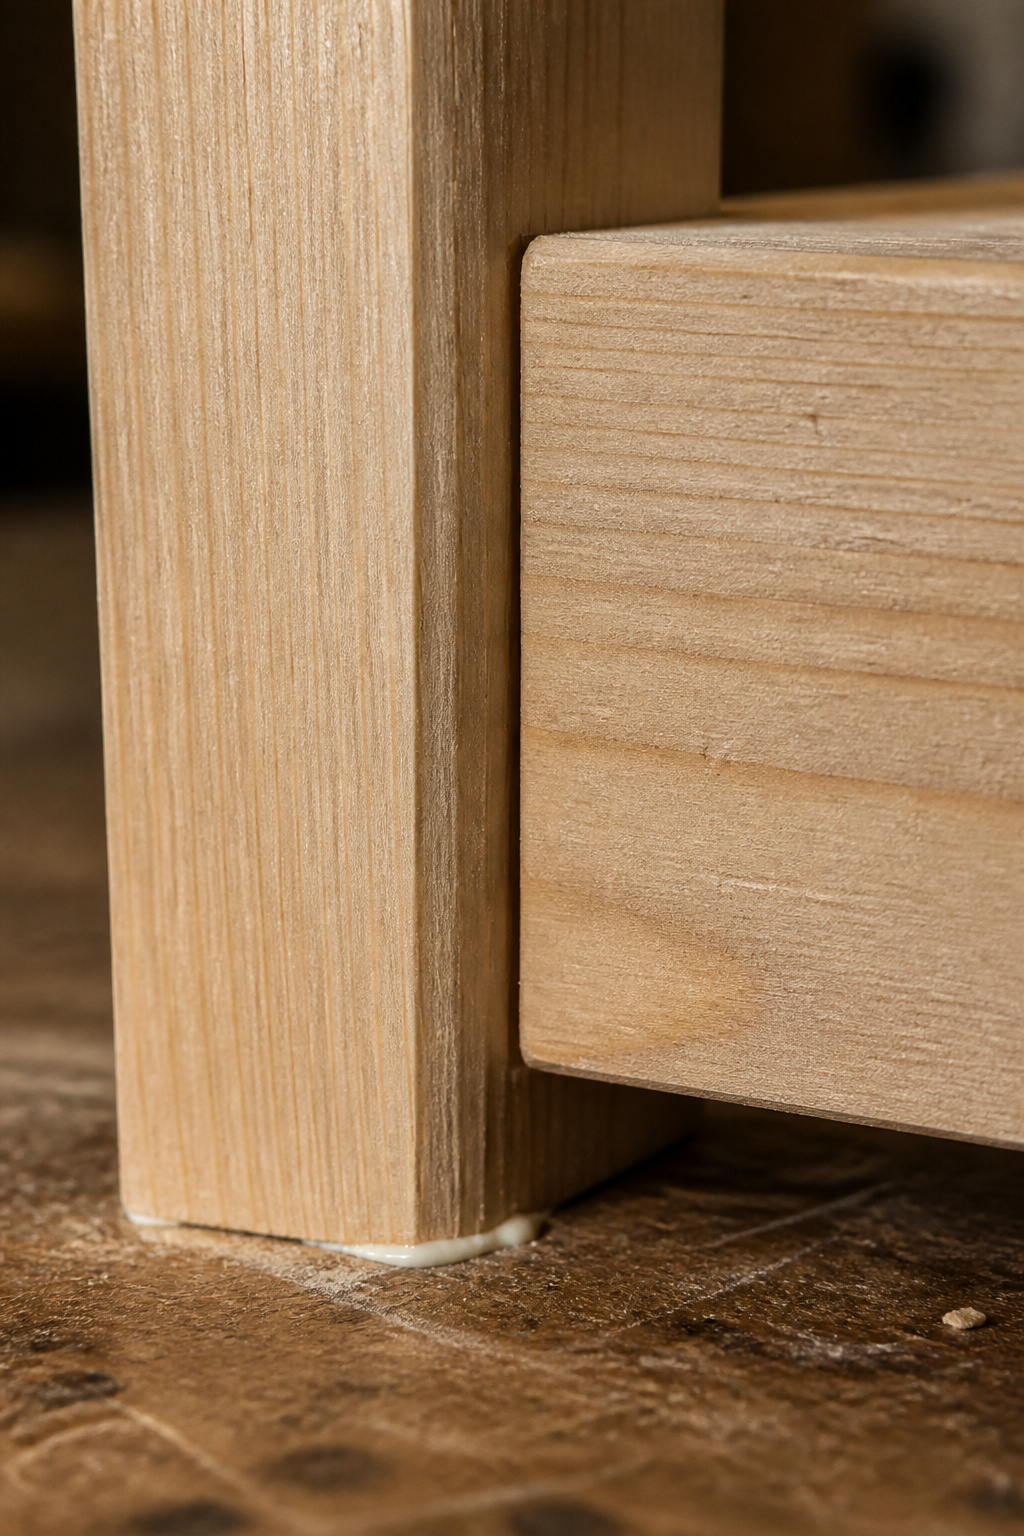
Seat boards cup — lift at the edges into a curve — when one face seals and the other doesn’t. Moisture from the room enters the bare underside, that face swells while the finished top stays put, and the board bows. The timber specialists at Ash.com put it cleanly: “Seal every exposed surface to equalise the moisture gradient.” So finish the underside too, at least one coat, same product as the top. Two more habits help: let the lumber acclimate indoors 48–72 hours before you cut it, and install the seat boards bark side up, so if they do cup they crown gently and shed grit instead of cradling it.
Finishing: Paint, Stain, and the Two-Coat Rule
I never hide the boring step, and finishing is the boring step that decides whether this looks like furniture or like lumber.
Sanding sequence: grits and why you can’t skip the middle one
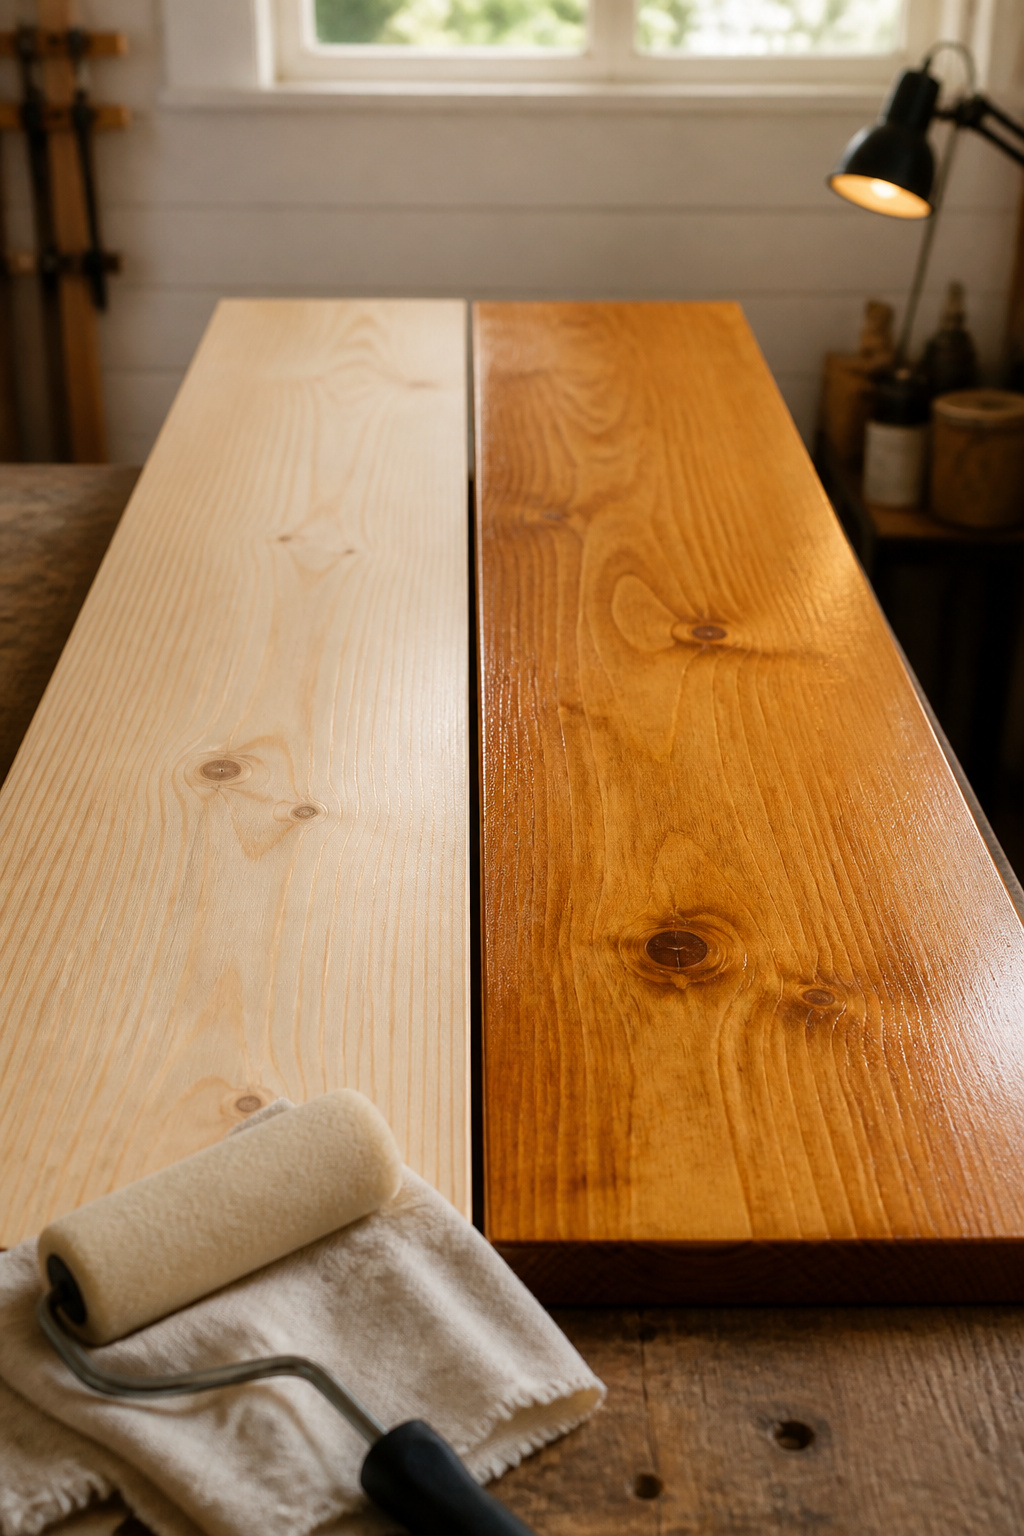
For a painted bench, sand in three grits: 60 to flatten mill marks, 120 to clear the 60-grit scratches, then 220 before primer. Don’t jump from 60 to 220 — the 120 pass removes the deep scratches that otherwise telegraph straight through paint. For a stained bench it’s different: stop at 120–180 for oil-based stain or 150 for water-based, and never go past 180. As General Finishes notes, finer grits close pine’s grain and the stain absorbs in blotches. Always sand with the grain; cross-grain scratches are invisible on raw wood and turn into bright lines under finish.
Paint vs stain vs clear coat: what each hides and shows
Here’s the short version of what each finish does to No.2 pine.
| Finish | What it hides | What it shows | Coats |
|---|---|---|---|
| Latex paint | Knots, dents, grain | Color, profile | 2 + primer |
| Oil stain | Little — needs select pine | All grain, character | 1–2 + conditioner |
| Clear poly | Nothing — shows every mark | Full grain + defects | 2–3 |
Paint is the budget-and-forgiveness choice: it covers No.2 pine’s knots, and a satin or semi-gloss wipes clean for an entry. Stain shows everything, so it wants select pine and a wood conditioner brushed on 15–30 minutes ahead to even out absorption. For the seat specifically — which takes daily abuse from shoes and bags — oil-based polyurethane outlasts water-based. If you’re chasing the rustic look this whole approach suits, you can build it in a farmhouse style with the same bones and a weathered finish.
Two coats, light sanding between — the one rule that matters
Two coats is the floor for an entryway bench, full stop. One coat wears through in months under daily shoe traffic, and the seat top earns a third coat of paint because it takes the most contact. Between every coat, scuff lightly with 220 grit — you’re knocking down dust nibs and raised grain, not removing finish — then wipe with a tack cloth before the next coat. On the first coat of oil-based poly, thin it about 10% with mineral spirits so it penetrates the grain rather than filming over it; full strength after that.
That’s the whole build. If you want this bench to earn its keep at the door, you can design in shoe storage under the seat while you’re at it.
The first move is the cheapest one: write your cut list on an index card, drive to the store, and have them make the crosscuts. You’ll be standing a bench up by Saturday afternoon.
FAQ
What size should a DIY entryway bench be?
Build the seat 17–18 inches from floor to top — comfortable for an adult lacing shoes and low enough for a child. Keep depth at 15–16 inches; deeper feels like a chair and blocks the hall. For width, 30–36 inches suits one person, while 48–60 inches handles two sitting at once.
Can I build an entryway bench without a pocket-hole jig?
Yes. Use glue plus pre-drilled pilot holes and standard screws: drill a pilot slightly smaller than the screw shank to stop splitting, then toe-screw at roughly 20–30 degrees through the apron into the leg. It’s just as strong. Countersink the heads and fill them before painting for a clean look.
How much does it cost to build an entryway bench from scratch?
A basic 48-inch bench with a lower shelf runs $50–$80 in materials — lumber, screws, glue, sandpaper — using No.2 pine at current big-box prices. Add $10–$15 for primer and paint, or $15–$25 for stain and poly. Comparable retail benches sell for $150–$350, so building saves 60–75%.