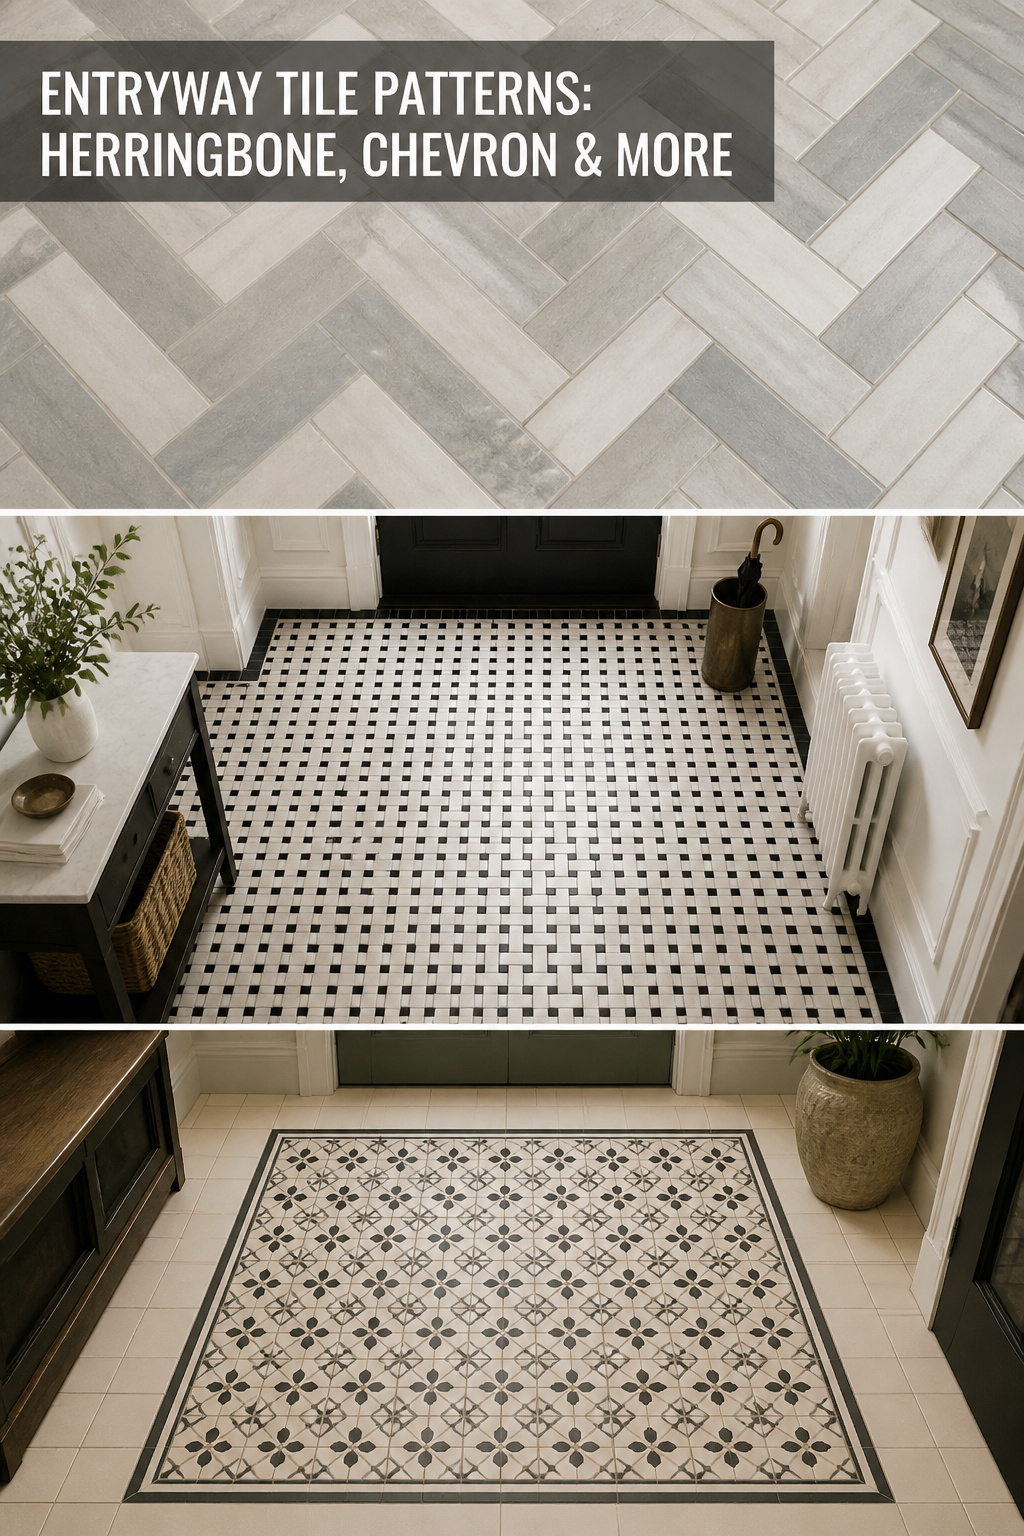
A floor has a direction whether you choose one or not. Lay tiles parallel to the walls and the eye stops at the room’s edges; turn them, interlock them, point them, and the same square footage starts to move. That is the quiet argument behind every laying pattern: geometry is spatial, not decorative. The best entryway tile patterns are chosen for what they do to a corridor or a square hall, not for how they photograph in someone else’s house — get that order wrong and the floor fights the room.
TL;DR
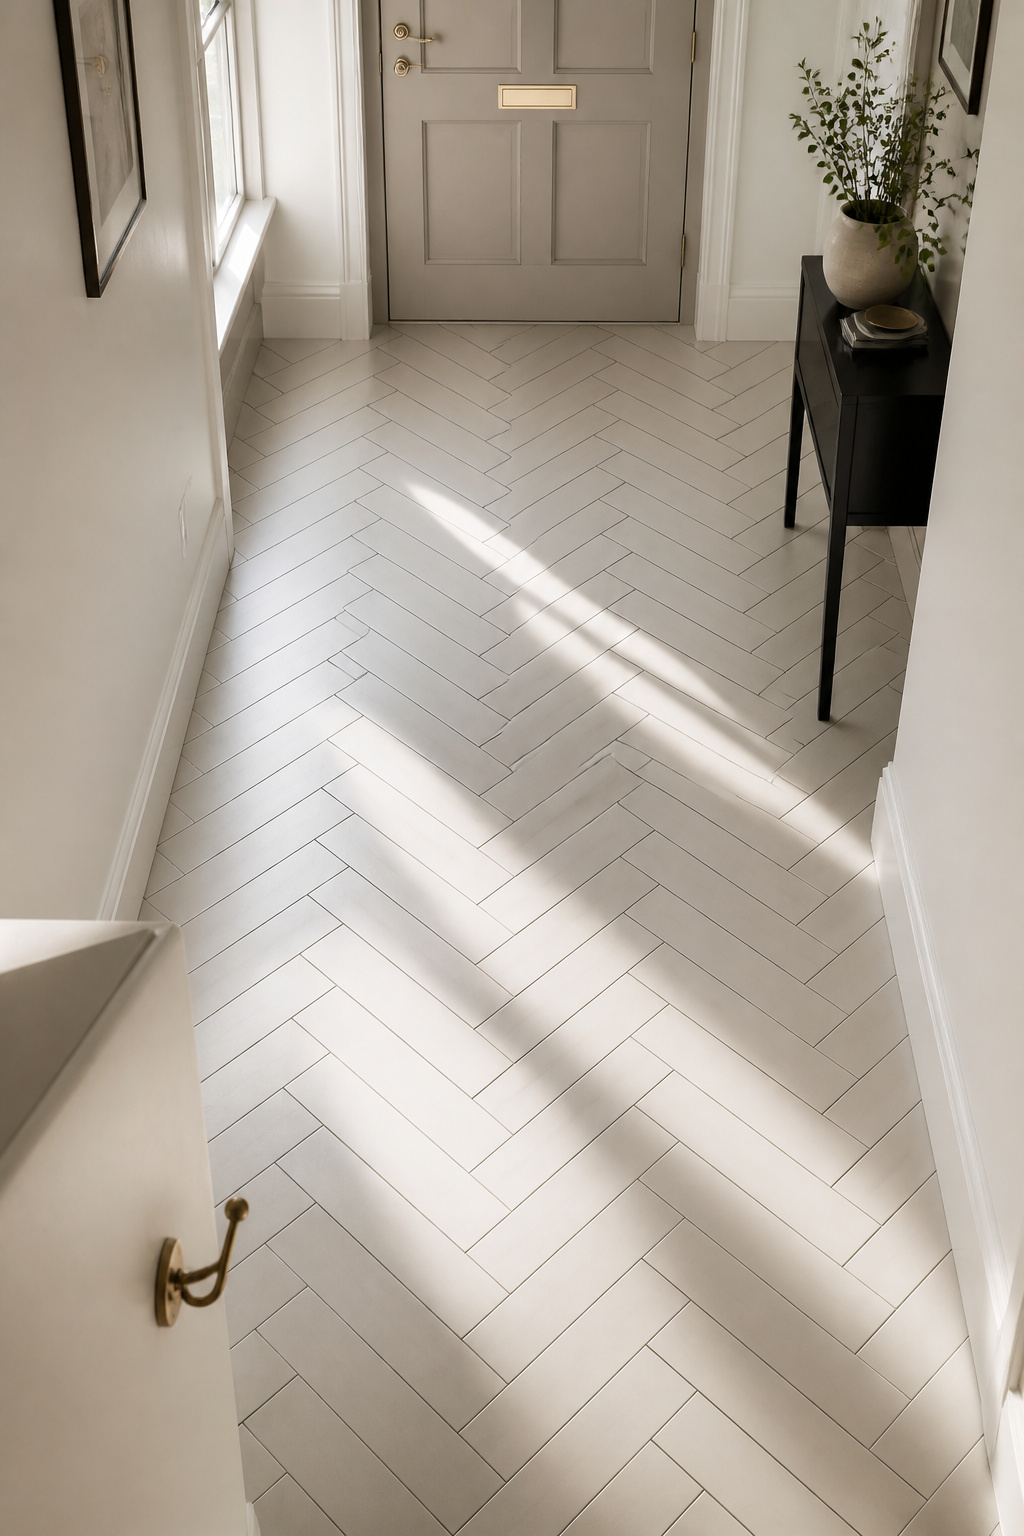
- Choose the pattern for the room’s shape: herringbone or chevron run the eye down a narrow corridor; a 1/3-offset running bond suits busy or large-format entries where the tile’s surface is the star.
- Herringbone uses standard rectangles and adds 10–15% to labour with a 15–20% overage; true chevron needs factory-angled tiles and runs 15–25% over straight-lay labour.
- Concentrate detail in one zone — a bordered tile rug framed by plain field tile — and never lay a motif tile in a directional pattern, or two geometries fight.
Why Entryway Tile Patterns Are an Architectural Decision, Not a Decorative One
How tile direction creates movement
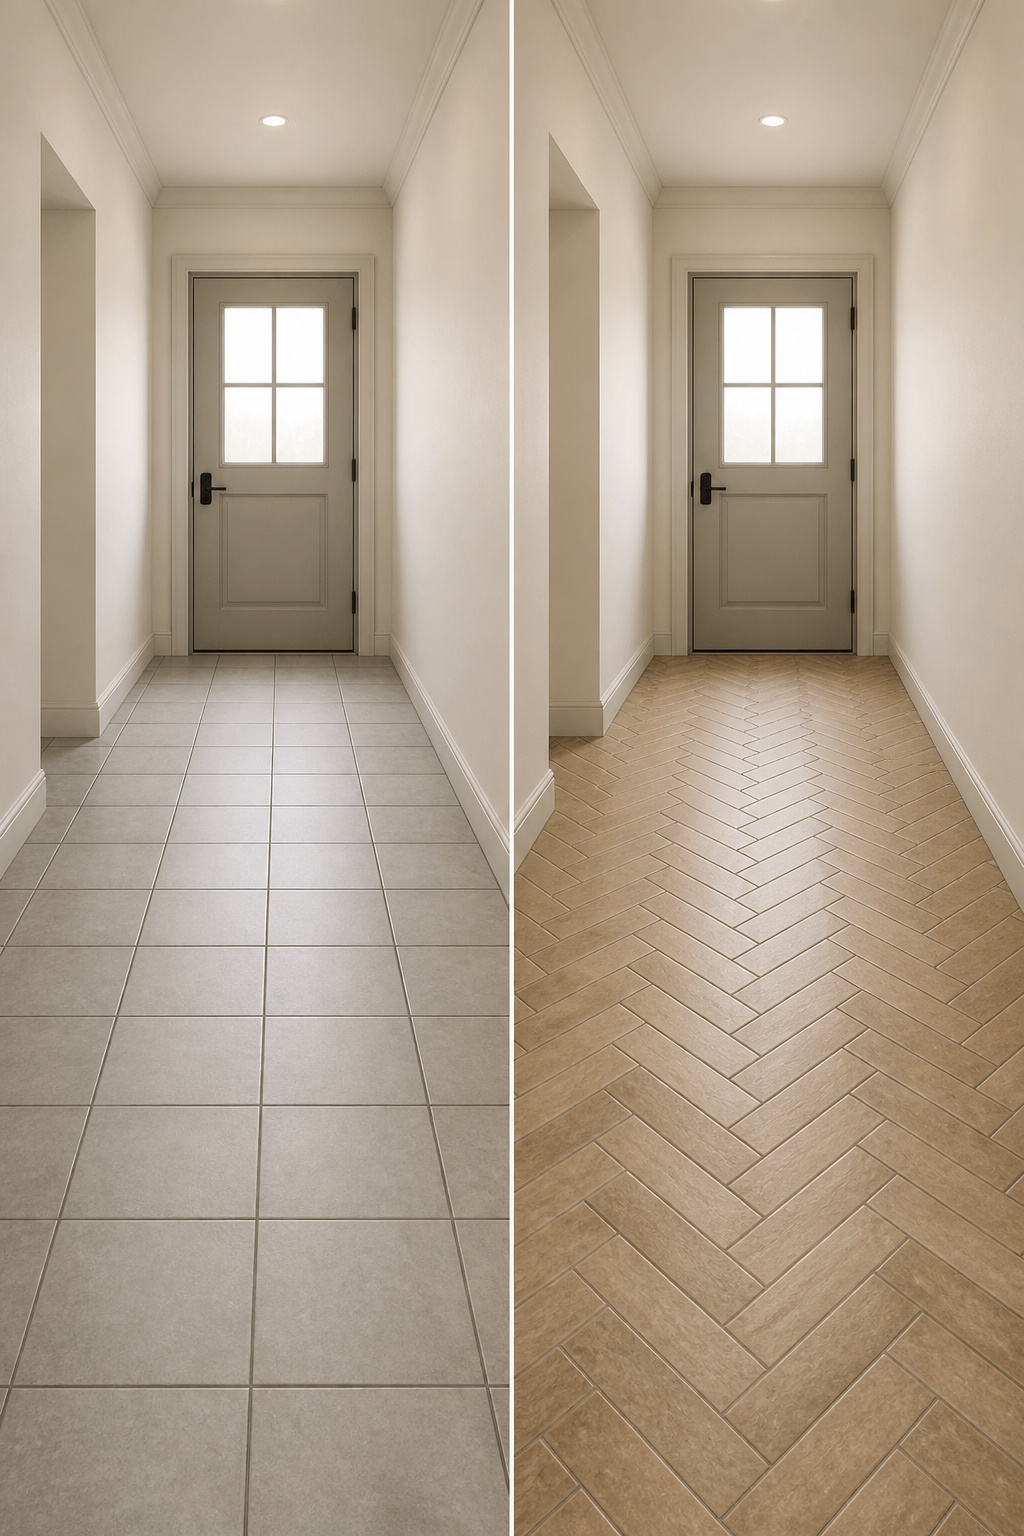
Angled lines do something parallel lines cannot. When grout runs straight to the walls, the eye reaches the skirting and halts; introduce a diagonal and the lines no longer echo the room’s edges, so the eye travels along the geometry instead. Even a running bond’s staggered joints carry it forward.
Pattern as entry architecture
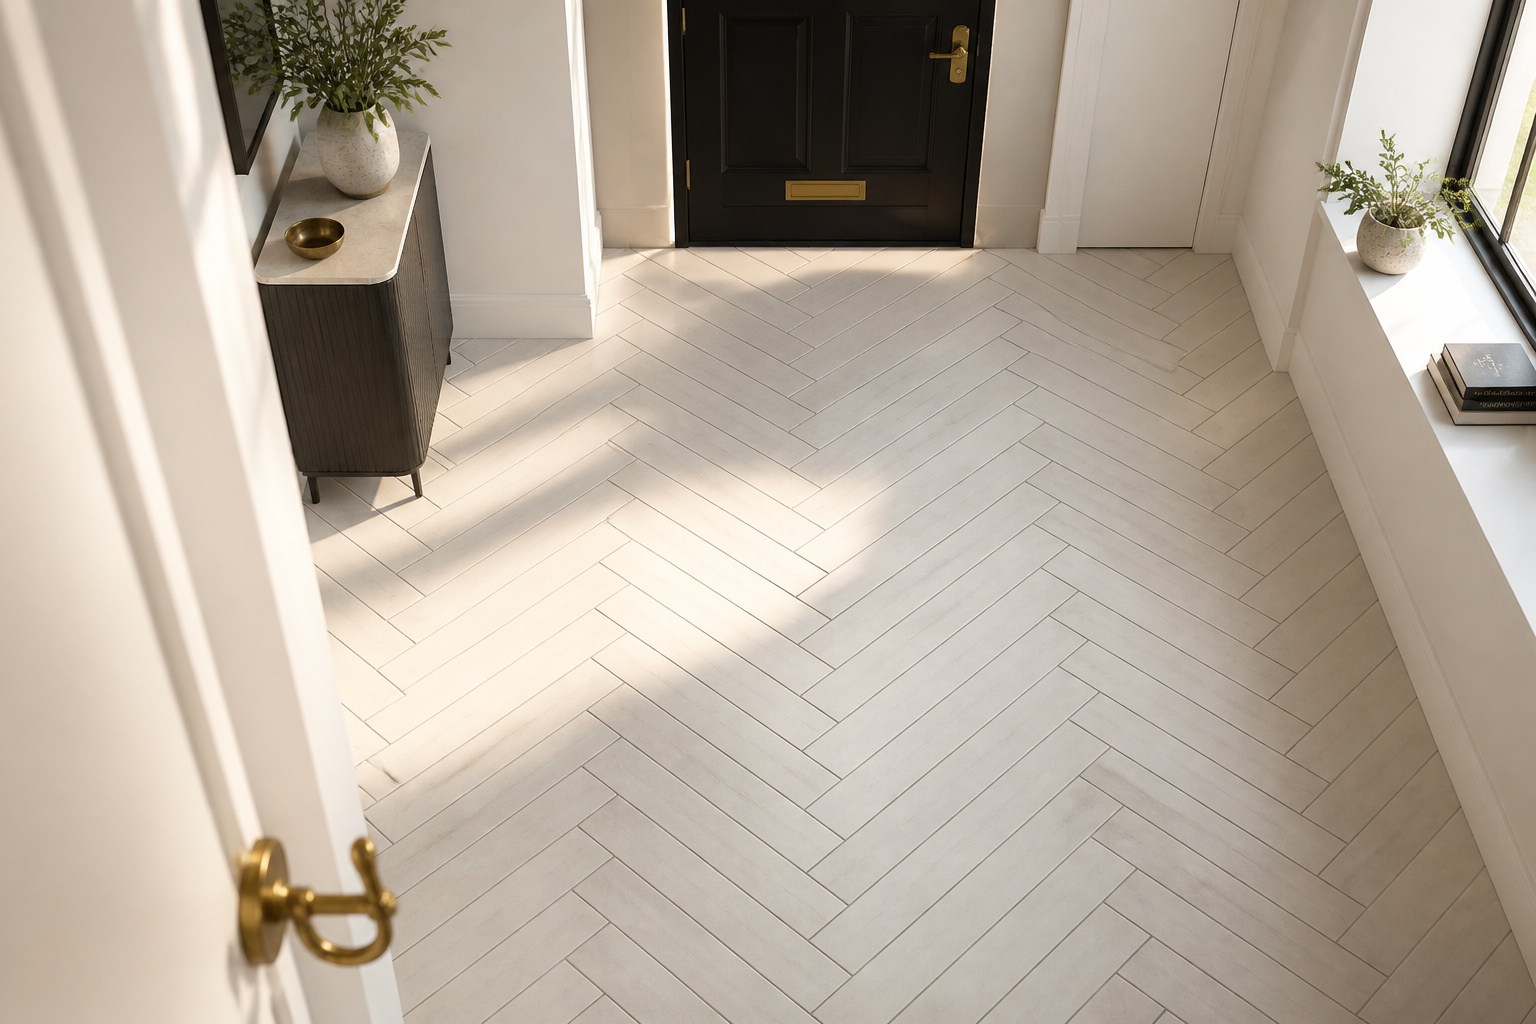
Match the geometry to the footprint. In a narrow corridor, herringbone or chevron running the length reads as added width; a straight grid only repeats the room’s narrowness. A square hall wants the opposite — diagonal herringbone expands in every direction at once and feels open rather than aimed. An L-shaped foyer wants a pattern that holds around the turn. The common error: setting a V toward a side wall rather than the door.
The tile shape each pattern requires, and why cost follows
Pattern dictates tile form, and form dictates budget:
- Herringbone / running bond — any rectangle (3×6, 4×8, 12×24); pattern made by layout alone.
- Chevron — parallelogram tiles with factory-angled ends; standard rectangles will not produce true chevron.
- Basketweave / pinwheel — two sizes together, usually sold as 12×12 mesh-backed sheets.
- Encaustic motif — fixed squares (4×4 or 8×8) that carry the pattern themselves.
This is the wider foyer floor tile decision in miniature: the shape you can afford shapes the look you can have.
Herringbone: The Default That Earns Its Reputation
Origin and period associations
The Romans laid it as Opus Spicatum, rectangular bricks set into interlocking Vs; the same pattern paved grand parquet floors at Versailles. Victorian terraces adopted it for tiled hallways, where its directional pull suited long, narrow proportions — which is why herringbone still reads as shorthand for a quality period entry. Its range is genuine, carrying both a large-format porcelain floor and a small-format terracotta revival.
V-set versus diagonal herringbone
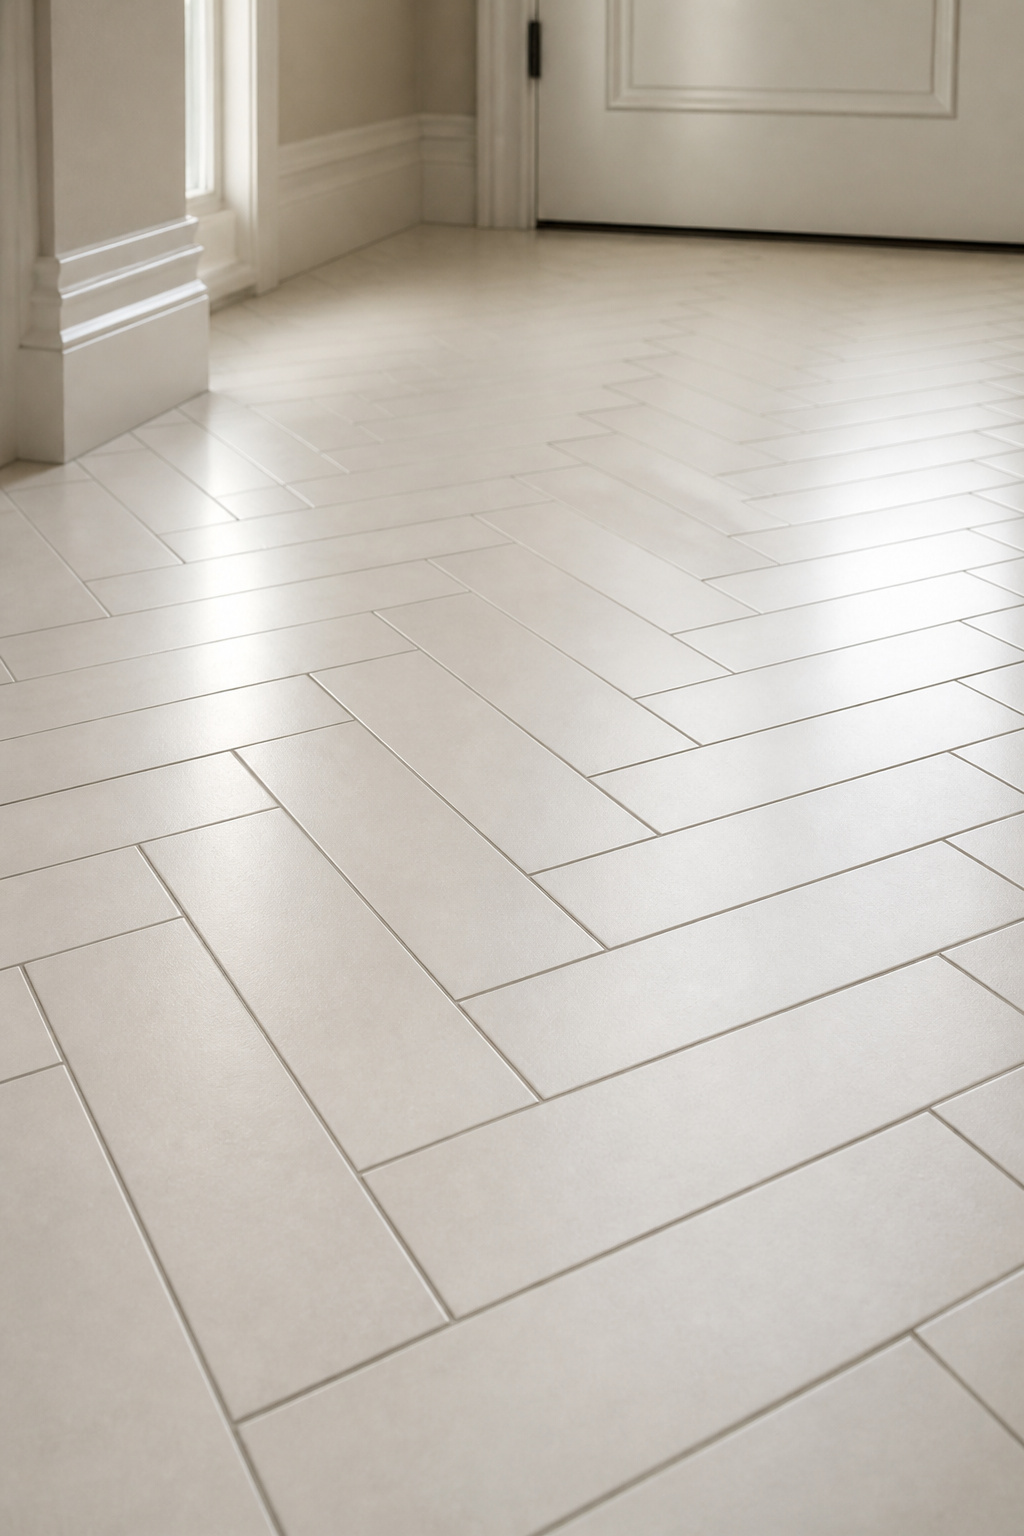
These are two patterns wearing one name. The V-set runs parallel to the walls with the points aimed at the door — a strong directional pull that suits a corridor. Diagonal herringbone rotates the grid 45 degrees, expanding width and height at once, the better call in a compact square hall. The diagonal wastes more, though, so allow 18–20% overage.
Tile size and the scale rule
Scale is where herringbone floors are won or lost. The trade rule: tile length should be no more than one-fifth of the room’s narrowest dimension, so a 36-inch-wide entry suits a tile no longer than about 7 inches; a 4×8 or 3×6 reads well in most entries. Go too small and the geometry collapses into texture; go too large and only two or three V-repeats fit.
Chevron: Herringbone’s Sharper Sibling
The geometric difference, and why it matters for cutting
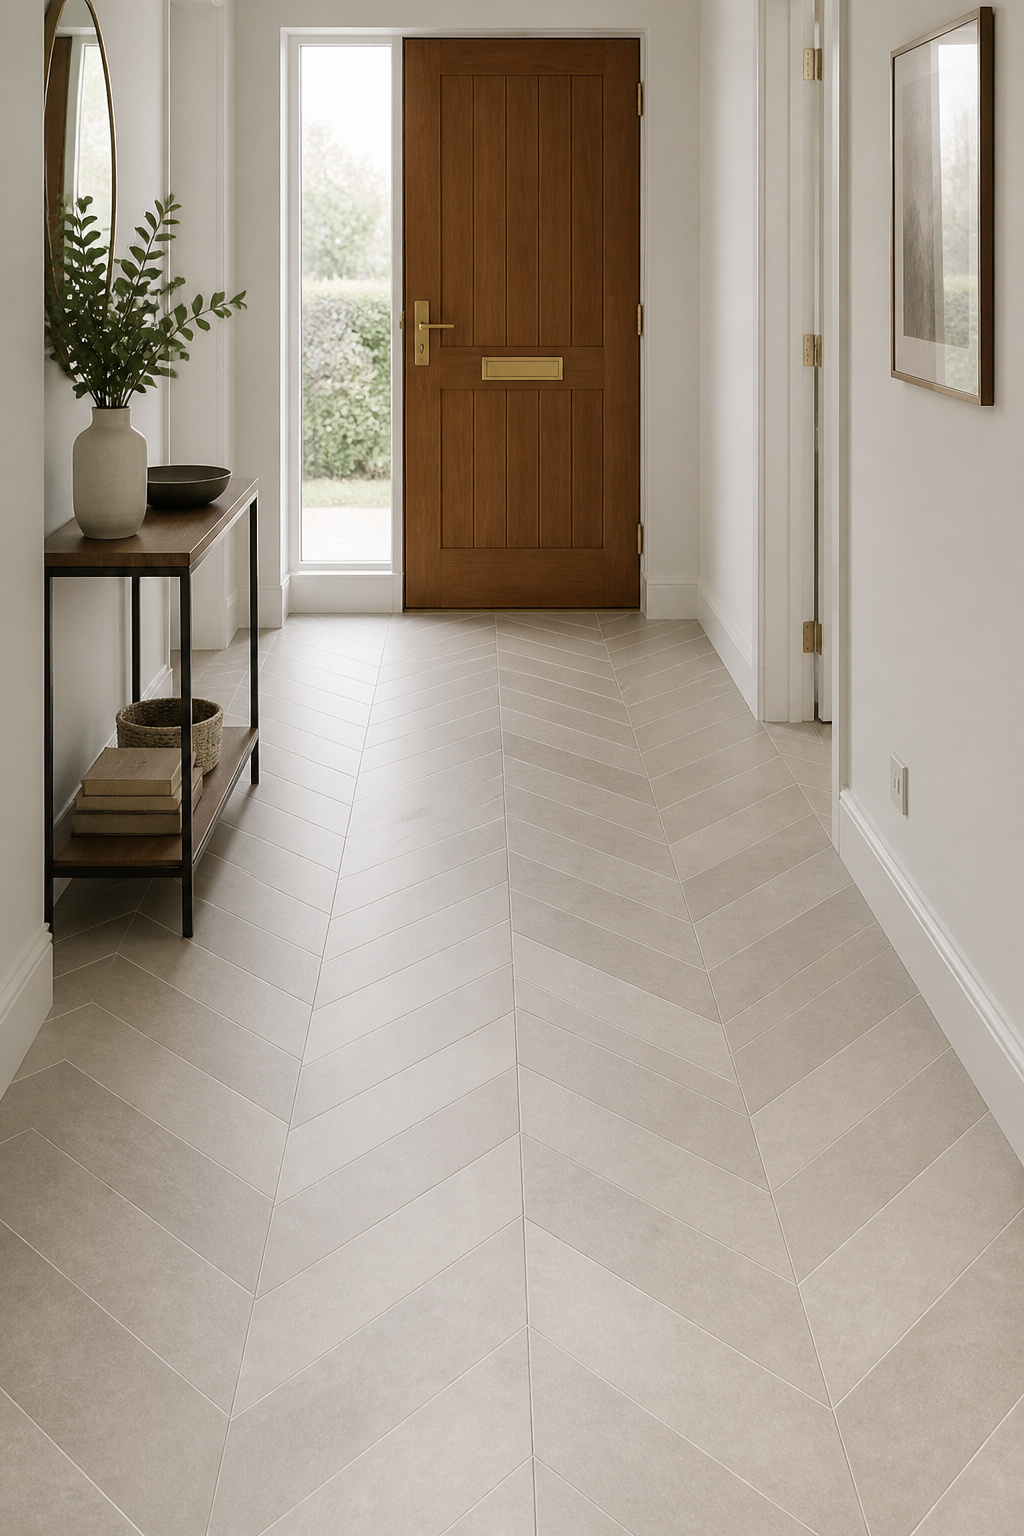
In herringbone, rectangular tiles meet at 90 degrees — end against side — making a broken zigzag, with no special tile. Chevron’s tiles have angled, parallelogram ends that meet point-to-point to form one unbroken V-stripe. As the Apollo Tile team puts it, chevron is not herringbone with a different name: it needs purpose-made tiles, and expecting a tiler to make chevron from standard rectangles on site is how a project goes over budget. Order pre-cut sets.
What chevron does to a long corridor that herringbone doesn’t
The unbroken stripe drives the eye down the long axis more aggressively than herringbone’s interrupted zigzag, so chevron suits a narrow hall that needs to feel longer. Its sharper character is also a period signal: it suits post-2000 contemporary entries, where herringbone reads authentically from Victorian through mid-century. Its one failure is a short entry, where the directional travel needs six to eight feet of run to register.
Cut-tile waste and cost premium
Put the figures down before the tile:
| Pattern | Tile shape | Labour vs straight lay | Material overage |
|---|---|---|---|
| Running bond | Any rectangle | $4–$7/sq ft (baseline) | ~10% |
| Herringbone (V-set) | Standard rectangle | +10–15% | 15–20% |
| Diagonal herringbone | Standard rectangle | +15–35% | 18–20% |
| Chevron | Parallelogram (pre-cut) | +15–25% | 15–20% |
The line that surprises people: chevron costs more than herringbone, not less, because of its custom tile form.
Basketweave and Pinwheel: The Period Patterns That Stay Modern
Basketweave’s Edwardian and Arts & Crafts origins
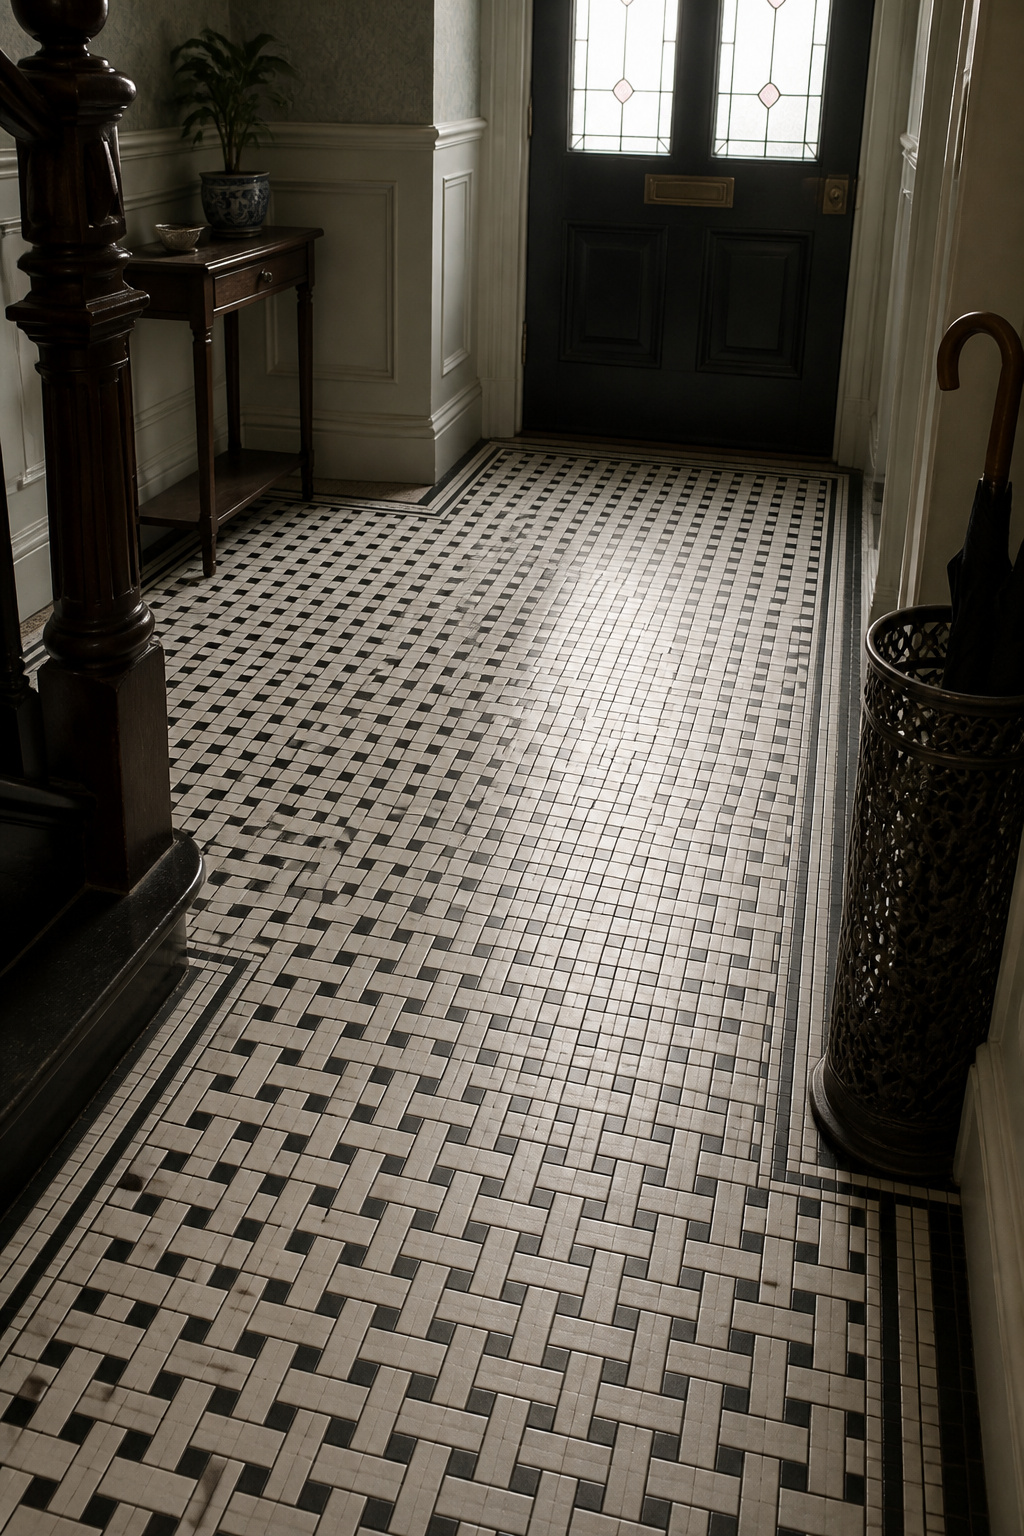
Basketweave ran from the 1890s through the 1930s, making it the most reliably period-correct choice for Victorian, Arts & Crafts and Craftsman homes. It builds depth through alternating tile direction rather than colour, which suited Edwardian restraint. Its classic dress is white and black, and those entries used unglazed mosaic because the matte surface resisted slips under wet boots — set it straight for period calm, or at 45 degrees for energy in a short, wide hall.
Pinwheel as a grout-minimising trick
Pinwheel surrounds a large square with four small corner squares, peaking in the 1920s and 1930s, usually white with a black centre dot. (That decade dating comes from practitioner restorers, not a formal archive.) Mixing large and small squares reduces the visual weight of grout, so it reads calmer than an all-small mosaic. One number governs it: the small tile must be exactly half the face of the large — 2-inch dots around 4-inch squares — or the joints drift in alternating rows.
Small-tile constraints
Both patterns arrive on 12×12 mesh-backed sheets, but a sheet of tiny faces cannot press the air out of standard thinset, leaving hollow spots that crack under load. Use a non-sag medium-bed thinset for faces under two inches — manufacturer guidance, not a published standard, so confirm with your tile maker — and check that the pattern matches at every sheet joint before pressing.
Running Bond and Offset Patterns: The Underrated Options
On large-format tile, the offset is a safety choice, not just an aesthetic one.
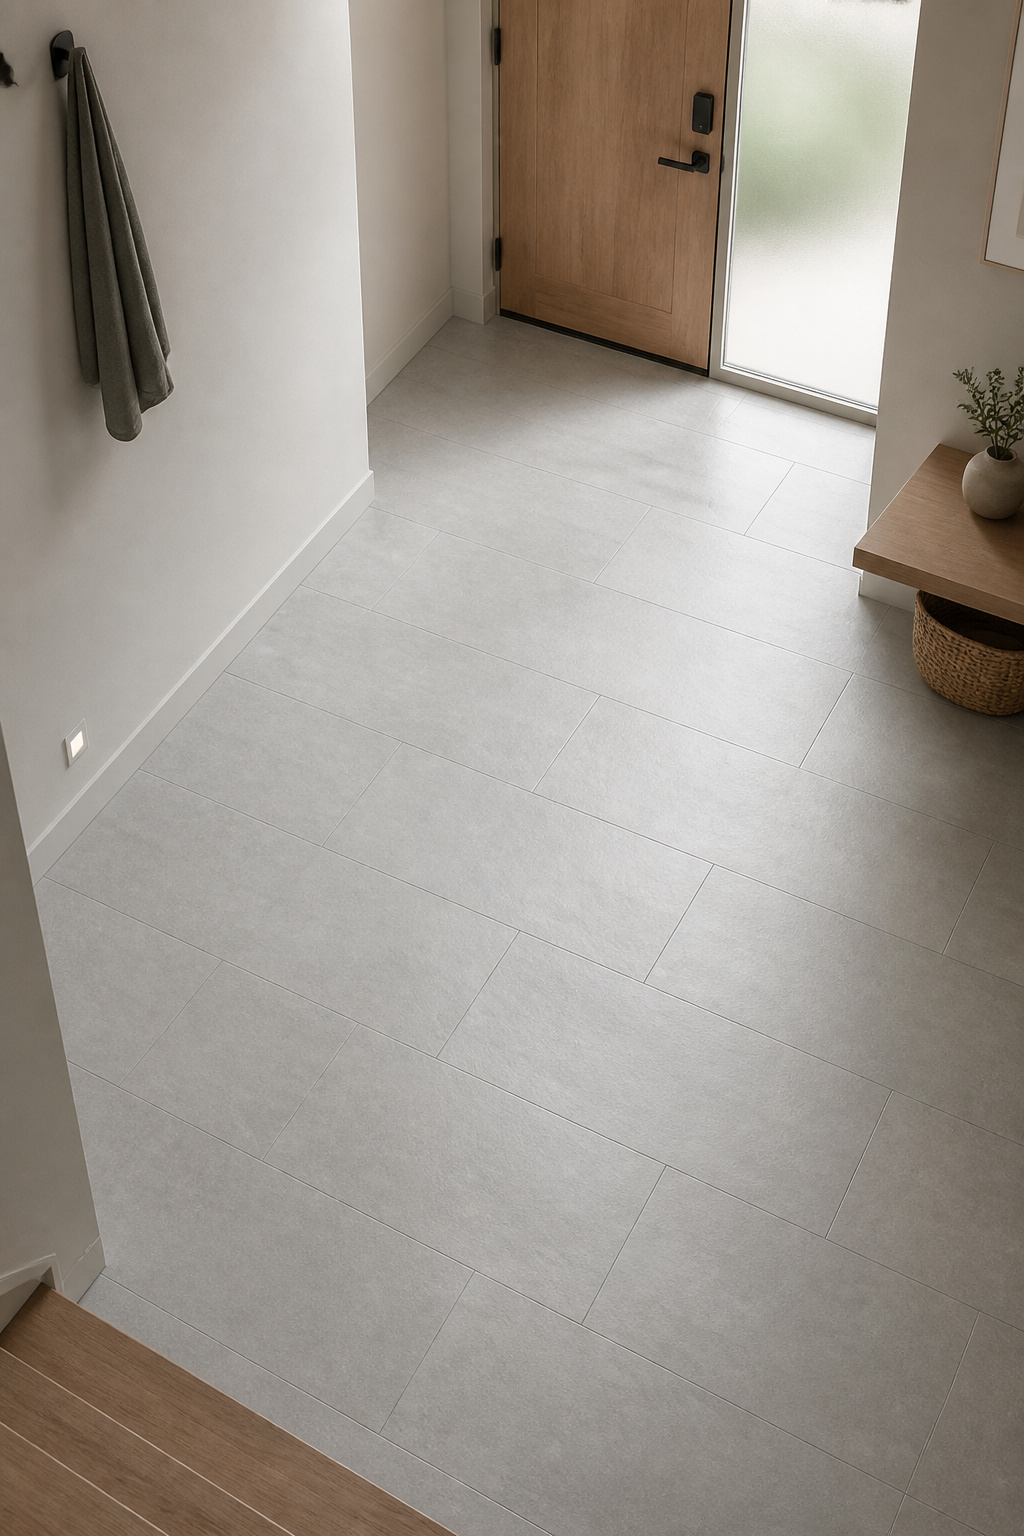
1/3 offset versus 1/2 offset: avoiding lippage
ANSI A108.02 caps the offset at 33% for any tile with a side over 15 inches unless the owner approves a mock-up. At a 50% offset, the high crown of a slightly bowed tile lands over the low edges of the next row. As Scott Carothers of the Ceramic Tile Education Foundation describes it, that alignment is unsightly and a safety risk to pedestrians. A 33% offset rests the crown over the middle of its neighbours, giving a flatter floor.
Running bond for rectangular tiles and plank formats
Running bond was the correct period installation for rectangular subway tile before 1950; stack bond is a post-1950 move. For modern wood-look porcelain planks, 6×24 and longer, manufacturers now recommend a 33% offset as standard — it mimics the random stagger of real hardwood while keeping lippage in check. Run the planks along the hall’s long axis and the staggered joints elongate the space much as herringbone does, at lower cost.
When a simple offset beats a complex pattern
A 33% offset in a textured large-format tile often reads as more resolved than herringbone, because the quiet layout lets the tile’s own grain and colour carry the floor. Where an entry already holds patterned wall tile or a strong runner, running bond supplies movement without the fight — and at $4–$7 per square foot against $10–$15, it is the value choice. This matters most in tight spaces, the problem the guide to patterns in a small foyer takes on directly.
Encaustic Motif Tiles and Border Inlays: When the Tile Is the Pattern
Here the logic inverts: the tile carries the motif, and the laying pattern goes quiet.
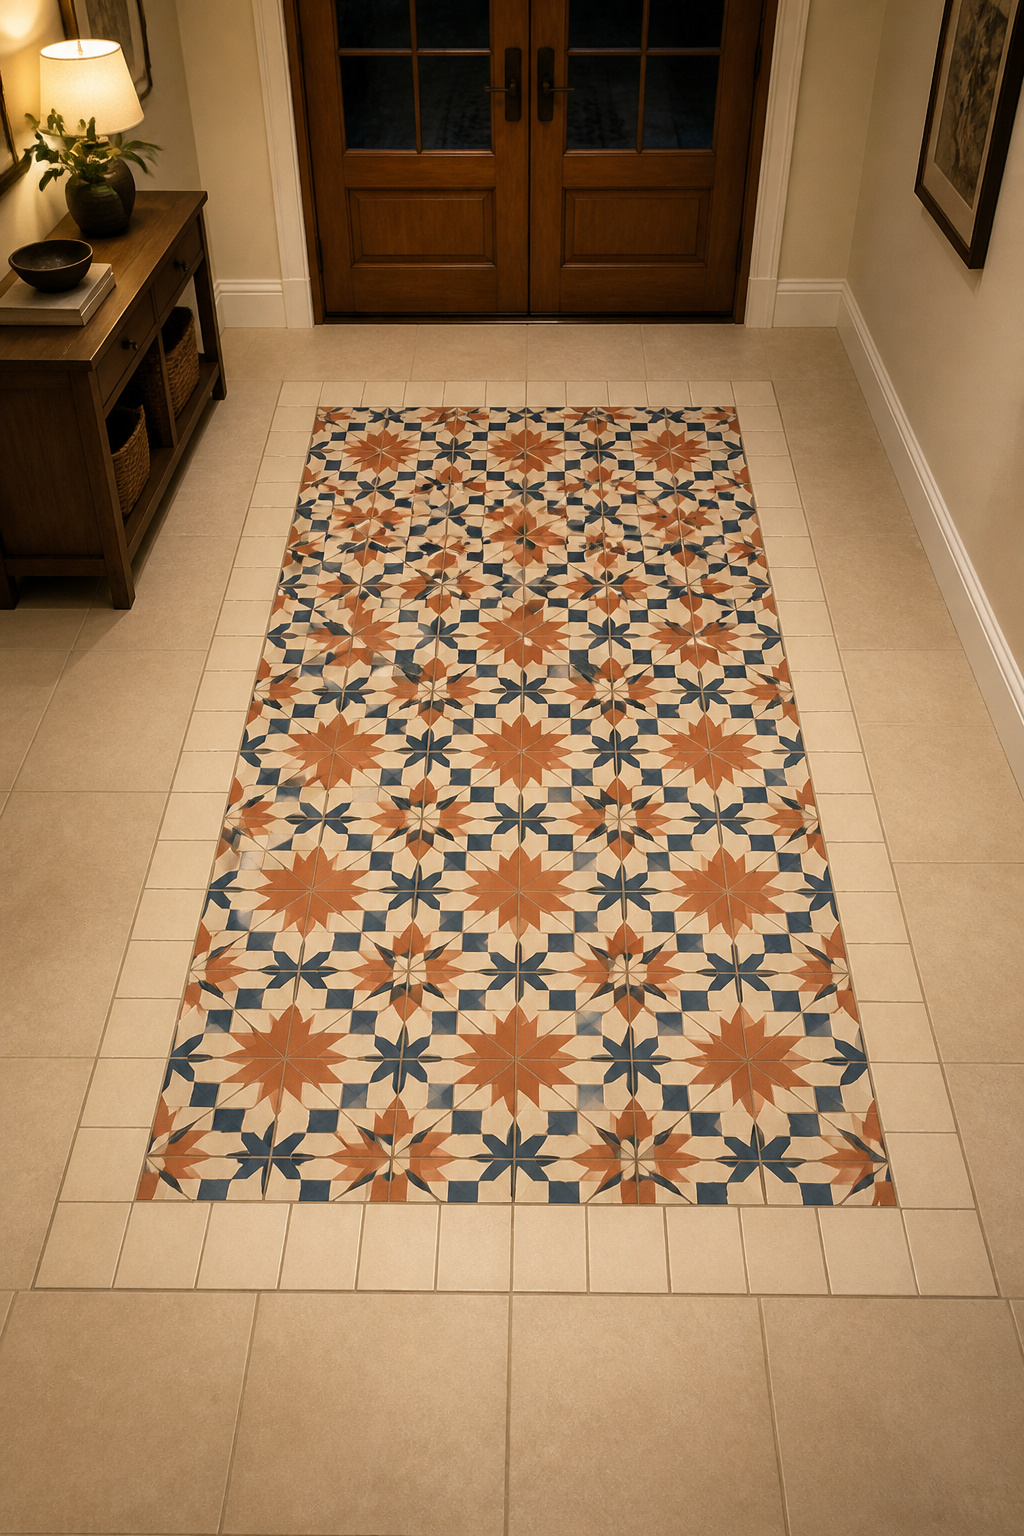
Encaustic vs porcelain-printed pattern tiles
True encaustic carries its pattern inlaid through layers of coloured cement, so it cannot wear away — but the body is porous and soft (Mohs 3–4), needing sealing before grouting and an annual reseal in a wet entry. Porcelain-printed encaustic-look tiles put the pattern on a dense porcelain base (PEI 4–5, very low water absorption), trading authenticity for far more durability at lower cost — cement encaustic runs $10–$30 per square foot, so for an entry that takes daily mud, porcelain is the practical case.
Border and rug inlays
The most effective entry use is a bounded tile rug — a patterned field framed by a plain border, mimicking an area rug without the moisture a real rug traps. A 3×5 or 4×6 foot inlay fills an entry without committing the whole room to pattern (treat those proportions as a guide, not a spec). The border is what makes it work: ideally the same material as the field in a contrasting colour — concentrate detail in one zone and keep everything around it calm.
Keeping a motif tile from fighting the lay direction
This is where most patterned entry floors go wrong, and the rule is unforgiving. A motif tile with its own internal geometry — star, diamond, arabesque — must be laid in a straight grid, never in a directional pattern: the motif’s lines are the movement, and a herringbone set adds a second, competing diagonal. Where a motif field meets a directional surround, run a single course of plain tile between them, or the patterns collide at the seam. The contemporary cousin of this approach is the checkerboard look, where one two-tone grid does the talking.
A laying pattern is the cheapest architecture you can buy — it reshapes an entry without moving a wall. Read the geometry first: what a V-set does to a corridor, why a 33% offset is safer than a half, when a motif tile needs a plain grid. Then brief your tiler in those terms: pattern, tile form, waste allowance, offset. That is the difference between a floor that photographs well and one that works.
FAQ
Is herringbone tile harder to install than straight set?
Yes. In herringbone every perimeter tile takes a 45-degree cut, typically 30–40% of the tiles, versus 20–30% needing cuts in a straight lay. Layout planning runs 30–45 minutes against 5–10, and professional labour is $10–$15 per square foot versus $4–$7 for running bond.
What is the difference between herringbone and chevron tile patterns?
Herringbone uses standard rectangular tiles set at 90 degrees, the end of one meeting the side of the next, making a broken zigzag with no custom cutting. Chevron uses parallelogram-ended tiles meeting point-to-point to form an unbroken, sharper V-stripe — more graphic and more expensive to install.
How much extra tile do you need for a herringbone layout?
Order a 15–20% material overage above your measured square footage, against just 10% for a straight running bond, because the angled perimeter cuts leave off-cuts too short to reuse. Diagonal herringbone needs the higher end, 18–20%. Buy from one dye lot, since a later batch can read as a different colour.