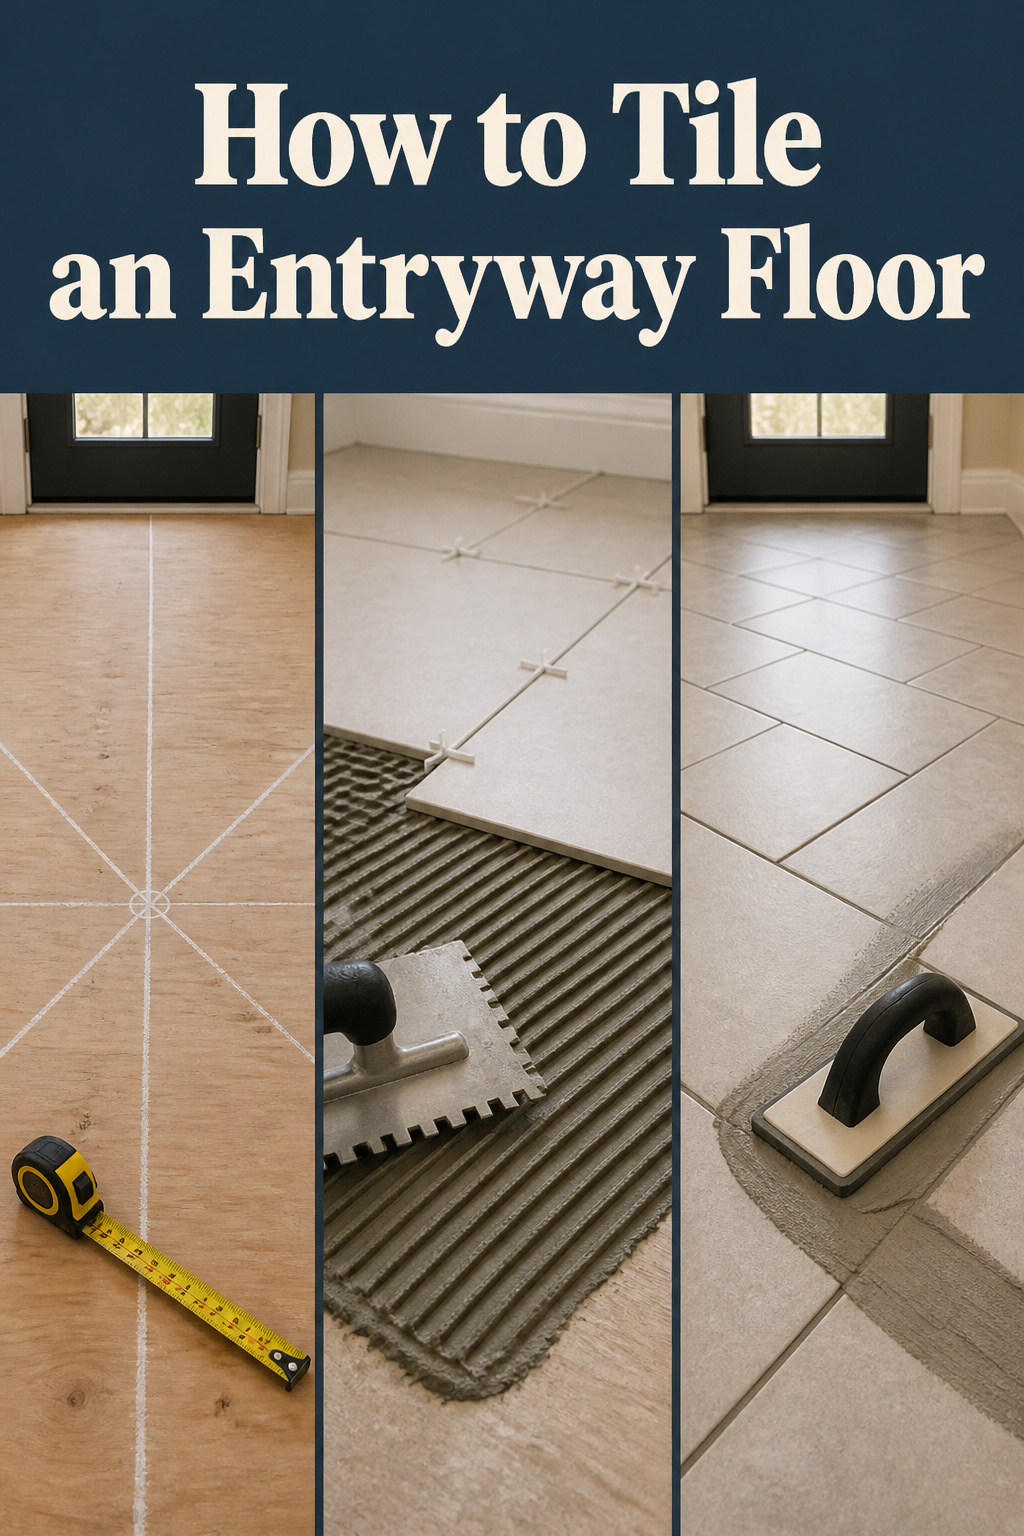

The video makes it look like a Saturday. Mix mortar, press tiles down, wipe grout, done by dinner. The real version has two long waits baked in: the thinset needs a day to cure before you grout, the grout needs three more before you seal. Miss them and you find a sliver cut staring up from the doorway or cracked joints by spring. Tiling an entryway floor is genuinely a beginner job, but only if you respect a handful of steps where rushing costs you the whole floor. Here is how to do it the honest way: every stage in order, the mistake named where it lives, and a clear line for when to call someone.
TL;DR
- Budget two weekends and 5–7 days elapsed: thinset cures 24–48 hours before grouting, grout cures 48–72 hours before sealing, and the entry is out of use the whole time.
- Materials for a small 30–50 sq ft entry run roughly $600–$1,200; a straight-set layout on a sound subfloor suits a beginner, but the subfloor decides whether you should DIY at all.
- The mistakes that ruin it are skipping the deflection test, not dry-laying, sliding tiles in the thinset, grouting too soon, and sealing before the 72-hour cure.
What It Costs and Takes to Tile an Entryway Floor
Before any inspiration, the numbers. This is not a one-Saturday job, and pretending otherwise is how people end up out the back door for a week.
Time: the realistic two-weekend schedule including cure time
Plan two weekends. Weekend one is subfloor prep, dry-lay, and setting tile — about 4–6 hours of active work on a 30–50 square foot entry. Then the thinset cures 24–48 hours before you grout, and the grout cures another 48–72 hours before you seal. That is 5–7 days from first cut to sealed floor, most of it waiting. Book the project for a week when a back door covers you.
Cost: tile, thinset, grout, sealant, tools — with ranges for each
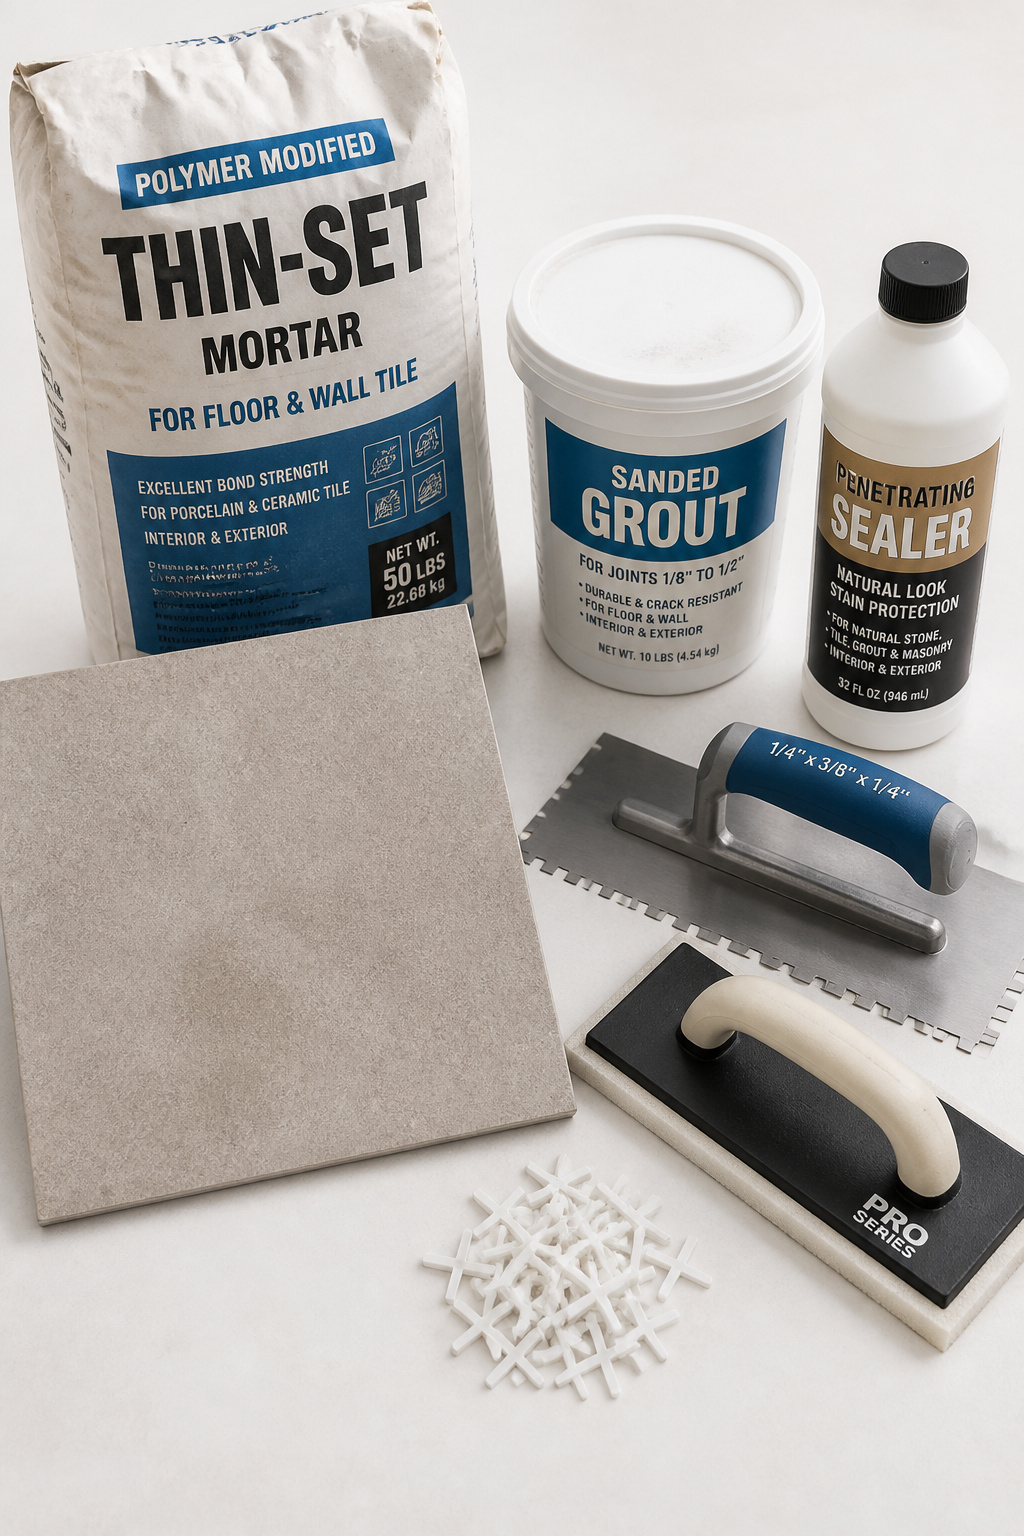
Materials for a small entry run roughly $600–$1,200, but that is a band, not a quote, so price your own square footage first. The variable that bites is the wet saw at $50–$100 a day; for a straight-set floor with few cuts, a manual snap cutter at $25–$60 handles straight lines and skips the rental. Order 10% extra tile for cuts and breakage, or 15–20% for diagonal or herringbone.
| Item | DIY cost (30–50 sq ft) | Notes |
|---|---|---|
| Tile | $60–$600 | $2–$7/sq ft ceramic; $4–$12 porcelain |
| Thinset, grout, sealer | $30–$150 | $1–$3/sq ft on top of tile |
| Install kit (trowel, float, spacers) | $25–$60 | Buy, don’t rent |
| Wet saw rental | $50–$100/day | Or snap cutter $25–$60 for straight cuts |
Skill level: first build / some builds / confident builder — and where this one sits
A straight-set layout on a sound subfloor is a first-build job: follow the dry-lay sequence, respect the cure windows, and most beginners get a clean result. Diagonal and herringbone add cuts and climb into some-builds territory. The real ceiling is the subfloor, which is the next section. If you are still choosing your material, sort that first — choosing the tile before committing to an install plan saves rework.
Subfloor Prep: The Step That Determines Everything Else
Tile is rigid. If the floor under it moves, the grout cracks first and the tile second. This is the most-skipped stage and the most expensive one to get wrong.
Checking for flex: the deflection test before you buy a single tile
The Tile Council of North America sets minimum floor stiffness at L/360: the joist span in inches divided by 360 is the most the floor may deflect under load. A 10-foot span can move no more than a third of an inch; large-format tile (over 15 inches a side) needs the stricter L/480. The DIY check: walk the floor and bounce mid-span between joists, then lay a long level across it and press at the centre. Flex that rocks the straightedge means a problem, and as the RUBI tiling blog notes, a springy subfloor is the number-one cause of cracked tiles.
That is the mistake: tile over a bouncy floor and cracked grout shows up months later, when the only fix is pulling every tile and starting over. If the floor fails, this is your pro call. Sistering joists, levelling concrete, or working around radiant heat is a separate assessment — get it checked, don’t gamble.
Existing floor? When you can tile over it and when you can’t
You can tile over well-bonded sheet vinyl on concrete (scuff-sand off the gloss, use a vinyl-rated thinset), and over existing tile if it is flat and fully adhered — tap it with a coin first, because a hollow sound means it is delaminating and must come out. Do not tile over floating luxury vinyl plank: it is not fixed down, so it shifts and cracks the grout within months. And tiling over anything raises the finished height, which matters where the entry meets the next room.
Moisture barriers and Ditra uncoupling membrane: when they’re worth it
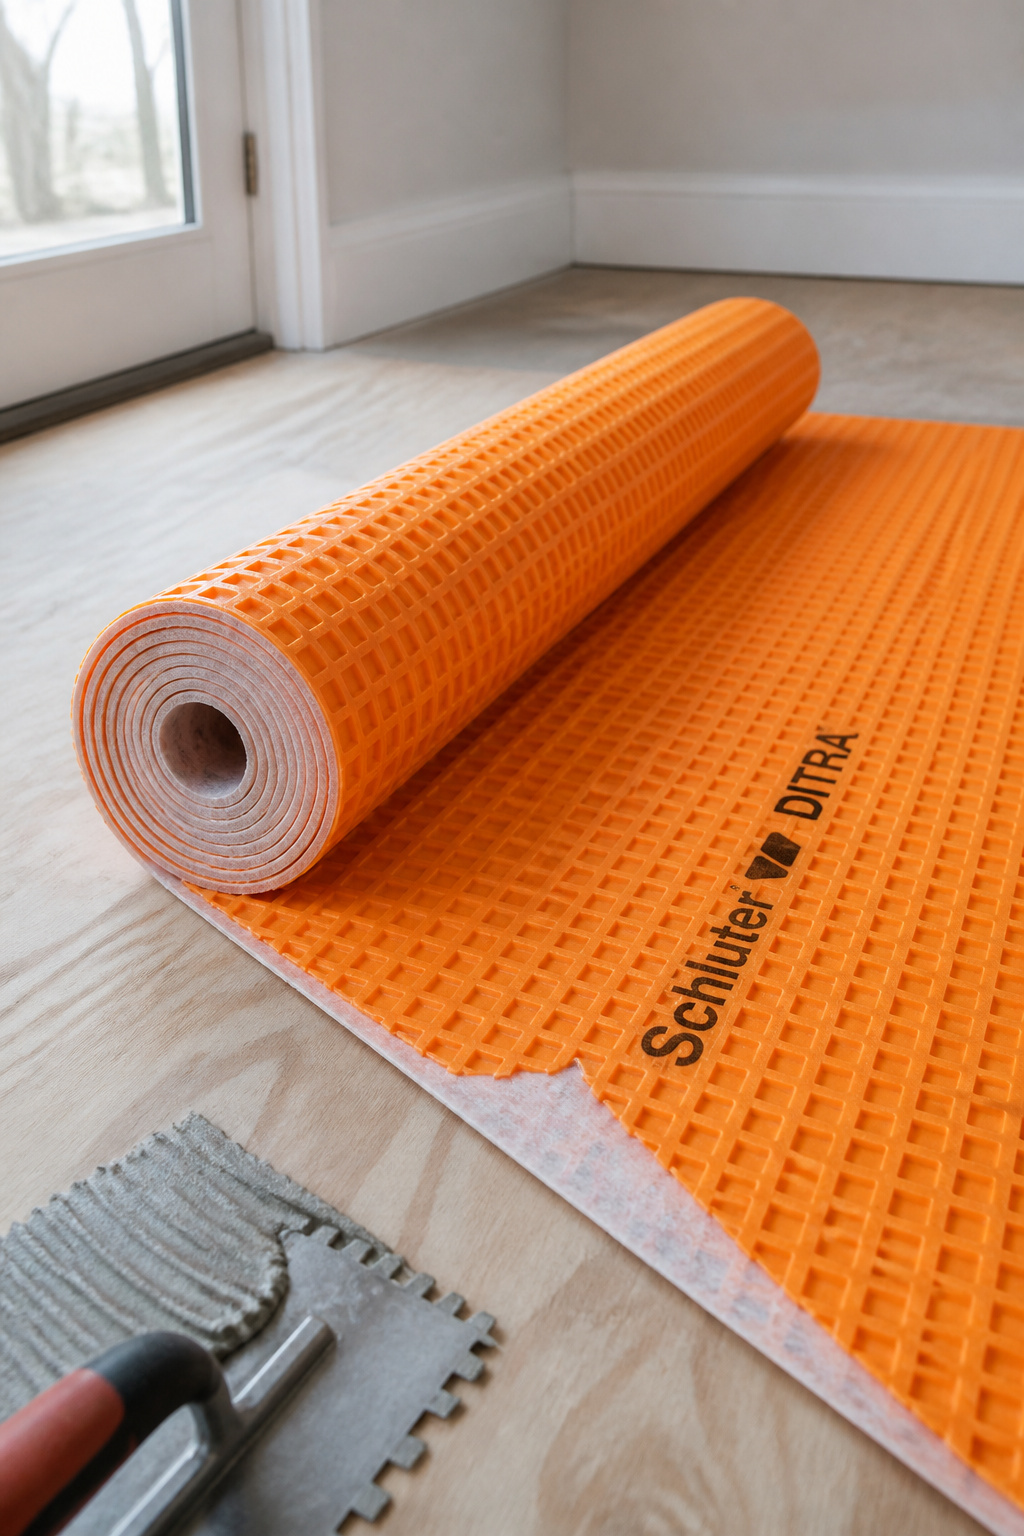
Schluter DITRA is an orange membrane you bond to the subfloor before tiling. It uncouples the tile so subfloor movement does not transmit into cracks, waterproofs the plywood, and manages vapour. It earns its keep over plywood and OSB, where seasonal wood movement would otherwise stress the bond, and the peel-and-stick DITRA-PS version skips a thinset layer for an easier install. One caution: DITRA manages movement, but it will not save a subfloor that fails the deflection test. Fix the structure first.
Layout: Find the Centre and Dry-Lay Before Anything Gets Wet
Pros measure; beginners guess. Nowhere does that gap show more than layout, and none of it involves mortar yet.
Finding the centre of the room and why it matters more than the door
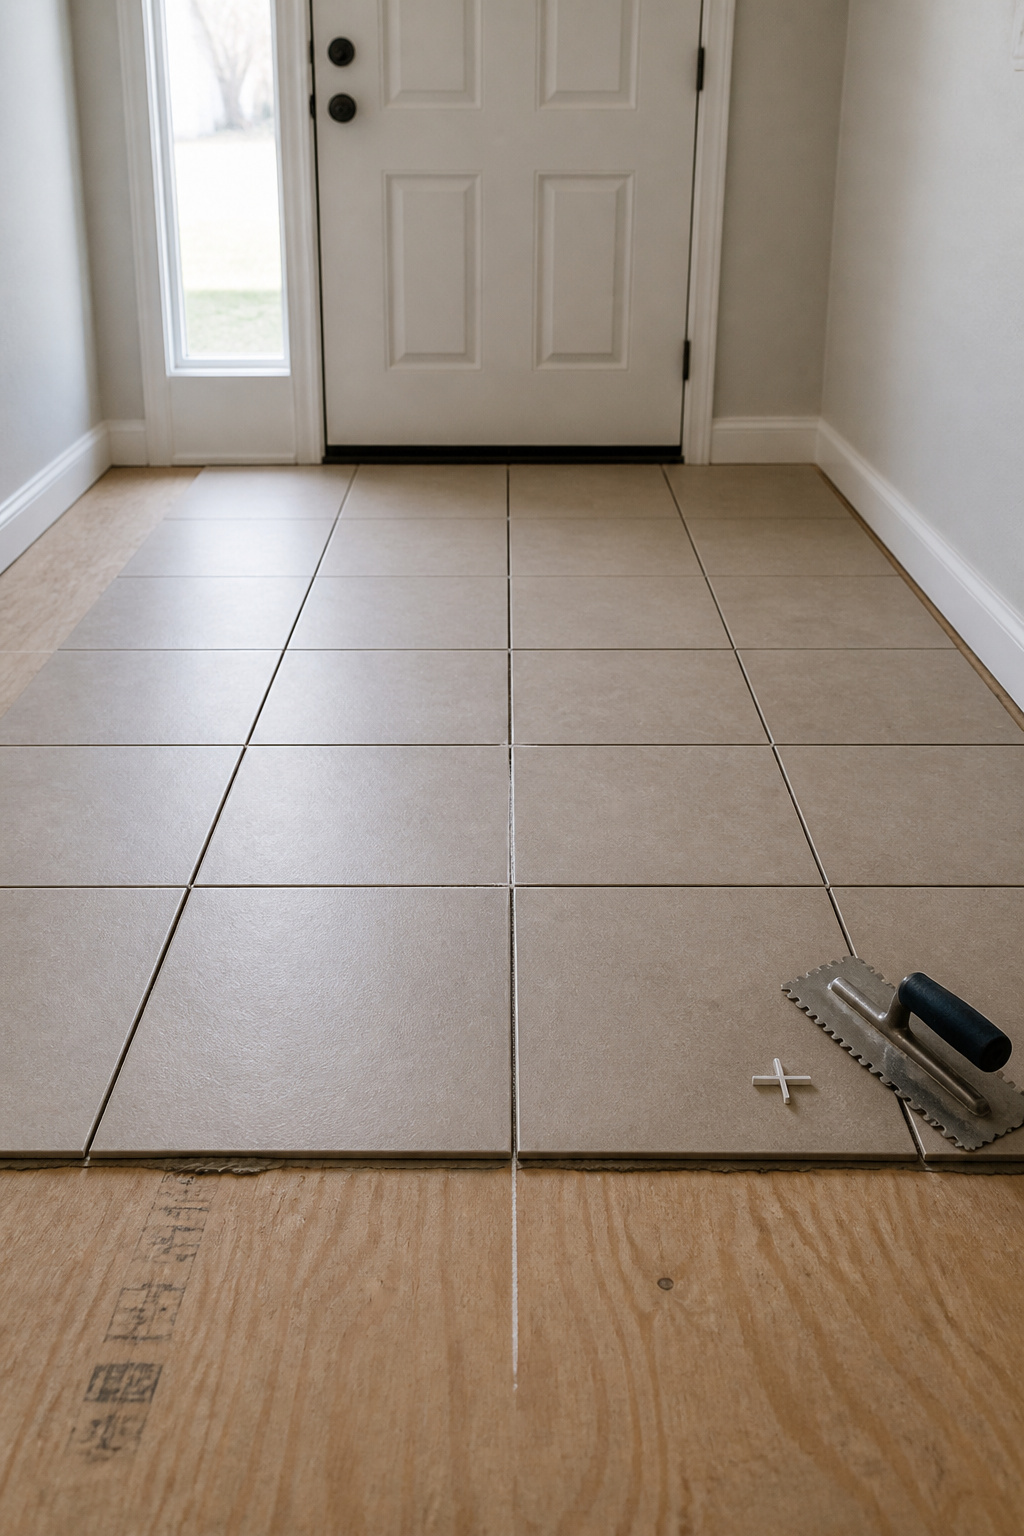
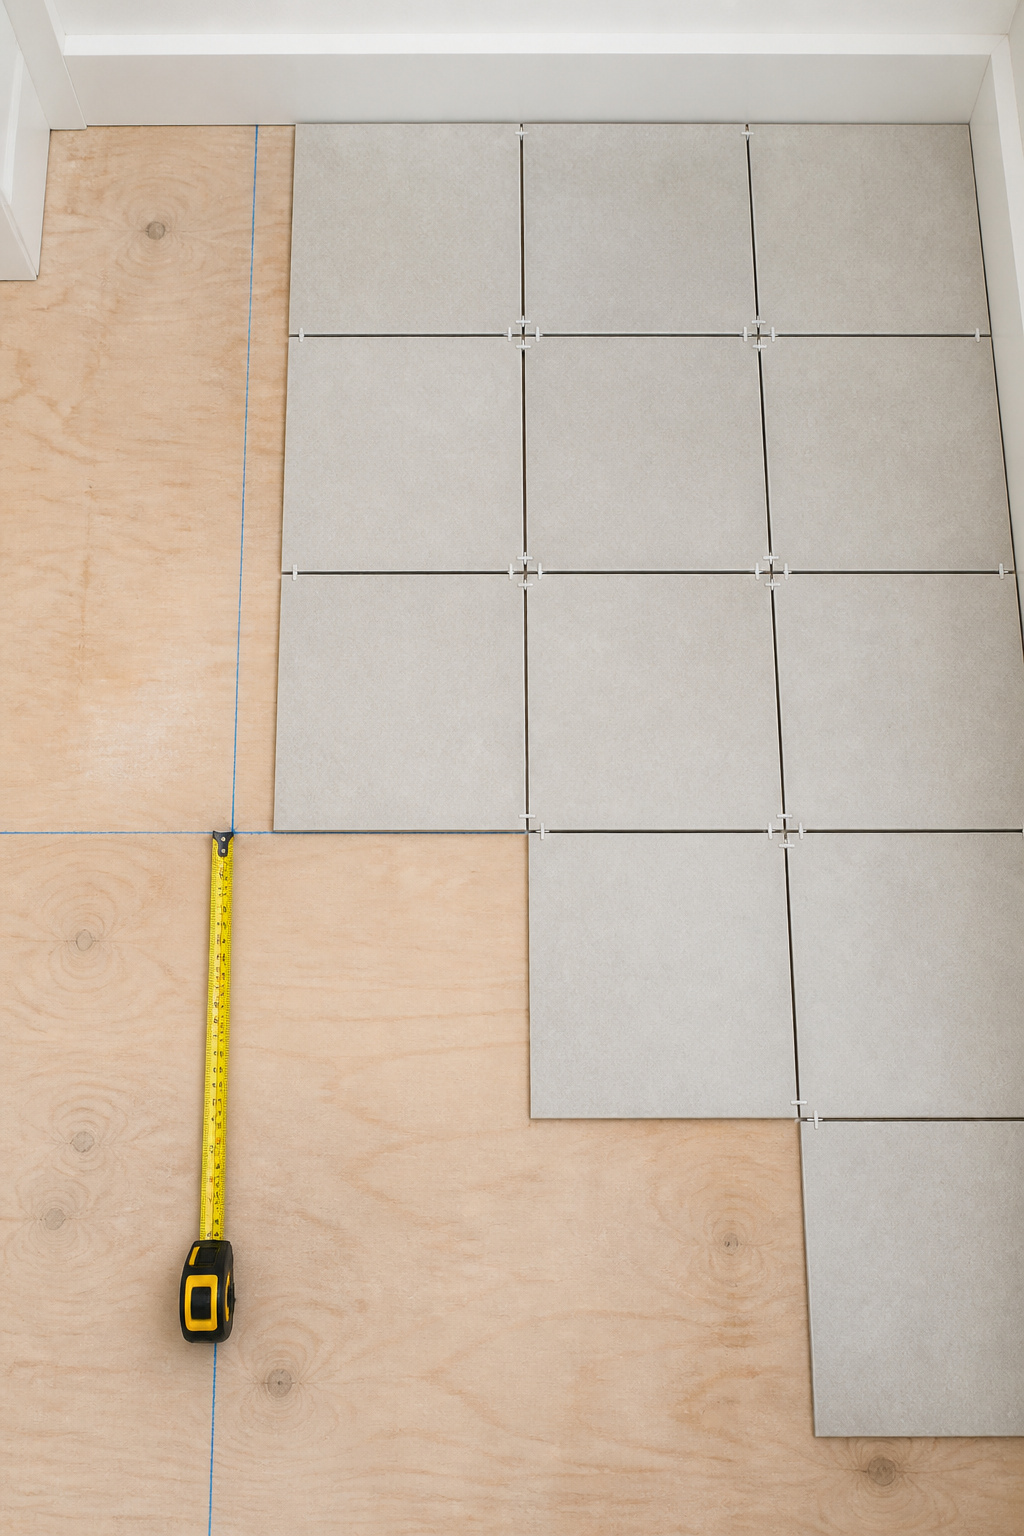
Start from the centre of the room, not a wall and not the doorway. Measure each pair of opposite walls, mark the midpoints, and snap a chalk line between them; where the lines cross is your working centre. Starting from a corner almost guarantees uneven cuts at the far walls, because rooms are never square. The one entry adjustment: if the layout drops a sliver cut at the threshold, shift the grid half a tile so a full tile greets the door.
The dry-lay: how to plan your cuts before committing to thinset
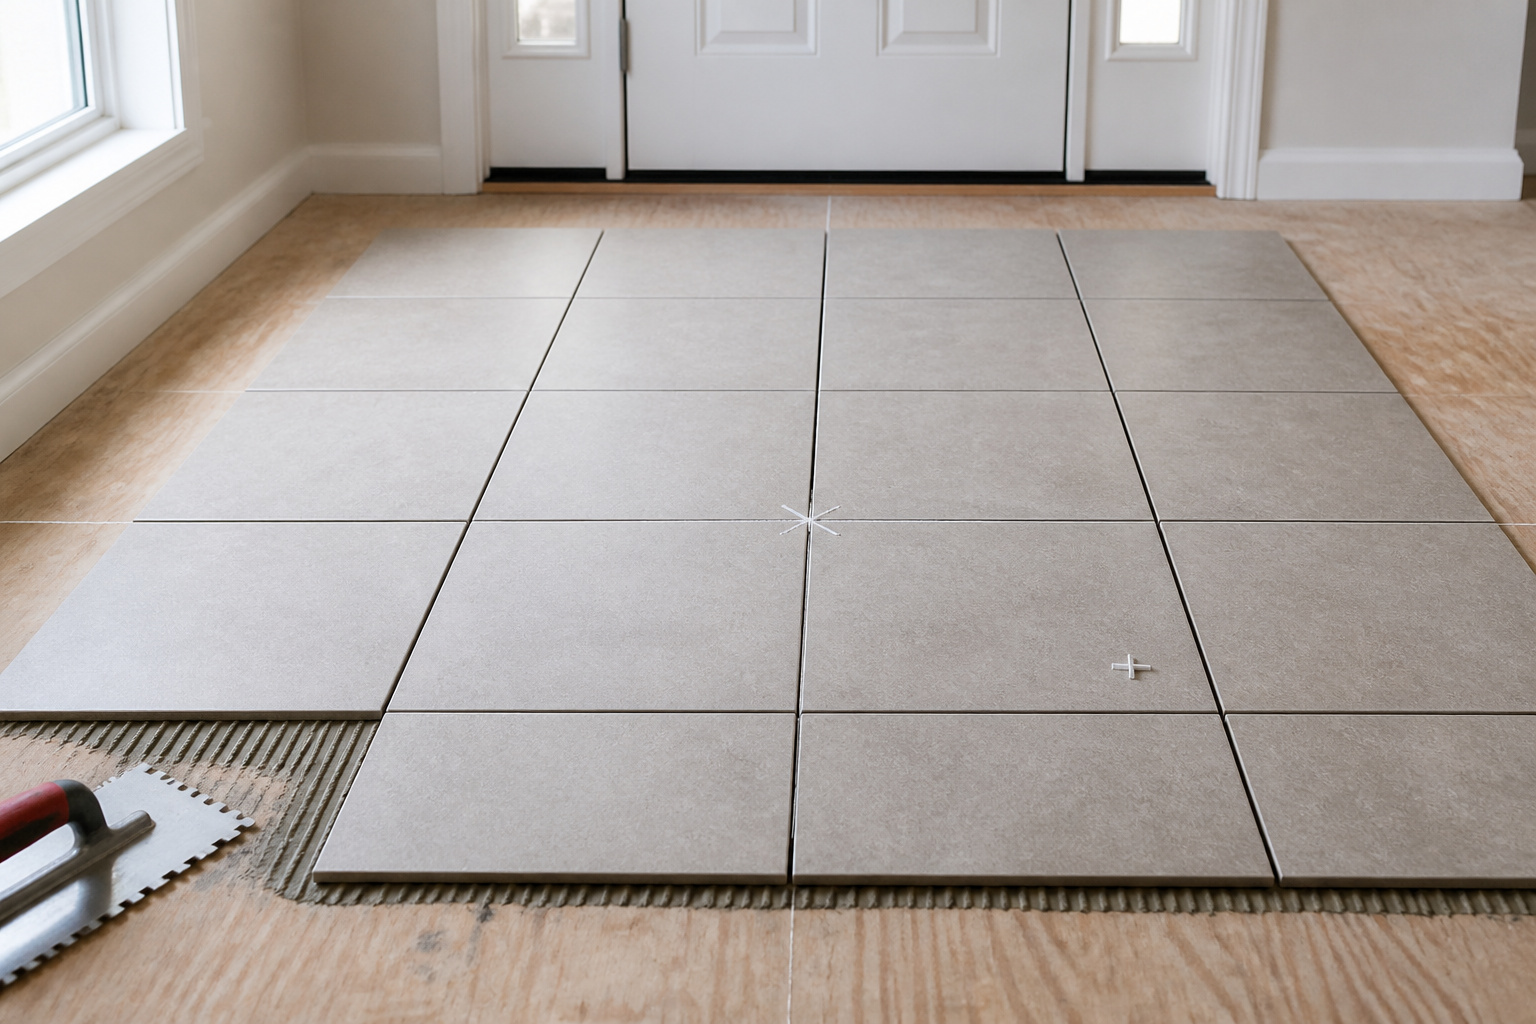
Before mixing any thinset:
- Lay tiles with spacers from the centre out to each wall, no thinset.
- Read the cut size at every perimeter edge.
- If any cut is narrower than half a tile, shift the layout half a tile that way; a cut under half looks like a mistake, a cut over half looks intentional.
- Count your angled and L-shaped cuts, which tells you whether to rent the wet saw.
- Photograph the final dry-lay before you lift the tiles.
The mistake is skipping this and setting straight off the chalk line, then finding the sliver at the doorway after the thinset has grabbed.
Accounting for the pattern: adjusting centre for herringbone or diagonal layouts
For a diagonal set, rotate the chalk lines 45 degrees to the walls and start the first tile with a corner pointing at the door. Diagonal and herringbone need 15–20% extra tile for the angled cuts, against 10% for straight — order before you start. The technique here applies to any pattern; for the geometry of directional runs, follow the dedicated patterns guide.
Setting Tile: Thinset, Spacers and Cutting Around the Jamb
This is the core of the job: get the coverage right, keep the joints even, handle the doorframe, and the rest is patience.
Thinset: coverage, back-buttering large tiles, and the trowel size for your tile
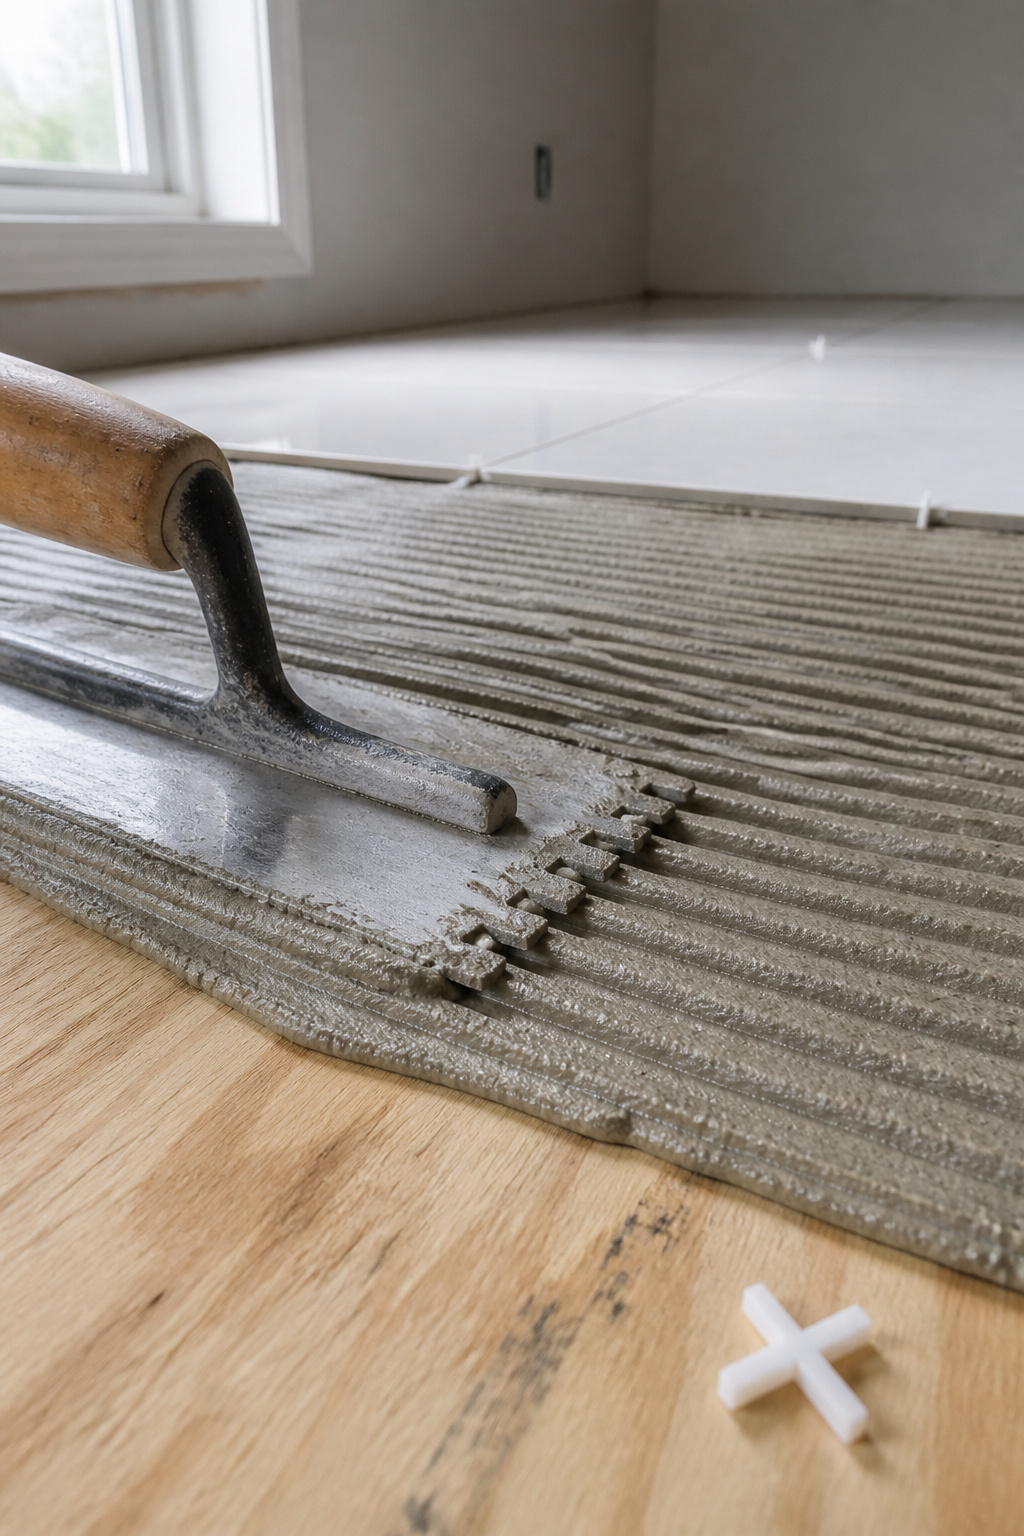
Floor tile needs 95% mortar contact under it — the ANSI A108.5 standard — because hollow spots crack under a heel or a dropped boot. Match the trowel notch to the tile: a 1/4-inch square-notch up to 8×8, 1/4 x 3/8 for 12×12, and 1/2 x 1/2 for 13×16 and up. Comb the thinset one direction at 45 degrees, and for any tile over 15 inches a side, back-butter the back with a thin skim so it meets the ridges fully. Lift a corner tile after your first few to confirm coverage.
The mistake here is sliding tiles across the thinset. As DIYTileGuy puts it, every slide fills in those trowel ridges and kills your coverage. Press straight down, give a small twist to bed it, and leave it.
Spacers and the grout joint: how wide and why it matters for grout performance
Use spacers; freehand joints over 30–50 square feet do not stay straight. The standard indoor floor joint is 1/8 inch (3 mm), and width decides grout type: under 1/8 needs unsanded, 1/8 and wider needs sanded. One to confirm rather than assume: handmade and cement tiles vary in size, so defer to the tile maker’s recommended joint over a generic number. Leave a 1/4-inch expansion gap at every wall and doorframe, filled with flexible silicone, not grout; the baseboard hides it.
Cutting around door jambs and irregular edges: the tools and the sequence
Do not wedge a tile under an uncut jamb; you will crack the tile or the casing. Instead, undercut the jamb: lay a scrap tile flat beside it, rest an oscillating multi-tool blade on that tile, and cut the jamb at that height so the real tile slides cleanly underneath. Buy the oscillating multi-tool for this, not a dedicated jamb saw; as Woodworker Bee notes, you will find ten other uses for it while the jamb saw is one-trick. Undercut first, dry-fit, then set.
Grouting: Timing, Mix, Application and Cleanup
Grouting is the stage tutorials underserve, and it decides whether your joints hold. Three things matter: when you start, how thick you mix, and how fast you clean.
The cure window: why 24-48 hours matters before grouting (and what happens if you rush)
Standard thinset cures 24–48 hours before grouting; grout it sooner and you can shift tiles and weaken the bond for good. Cold or humid conditions stretch the window — below 60°F or in poor airflow, give it the full 48 hours. Rapid-set thinset can be grouted in 2–4 hours, but check the product data sheet, not just the bag. The test at 24 hours: press a tile, and if it rocks at all, wait longer.
Mixing and applying grout: the right consistency and the float technique
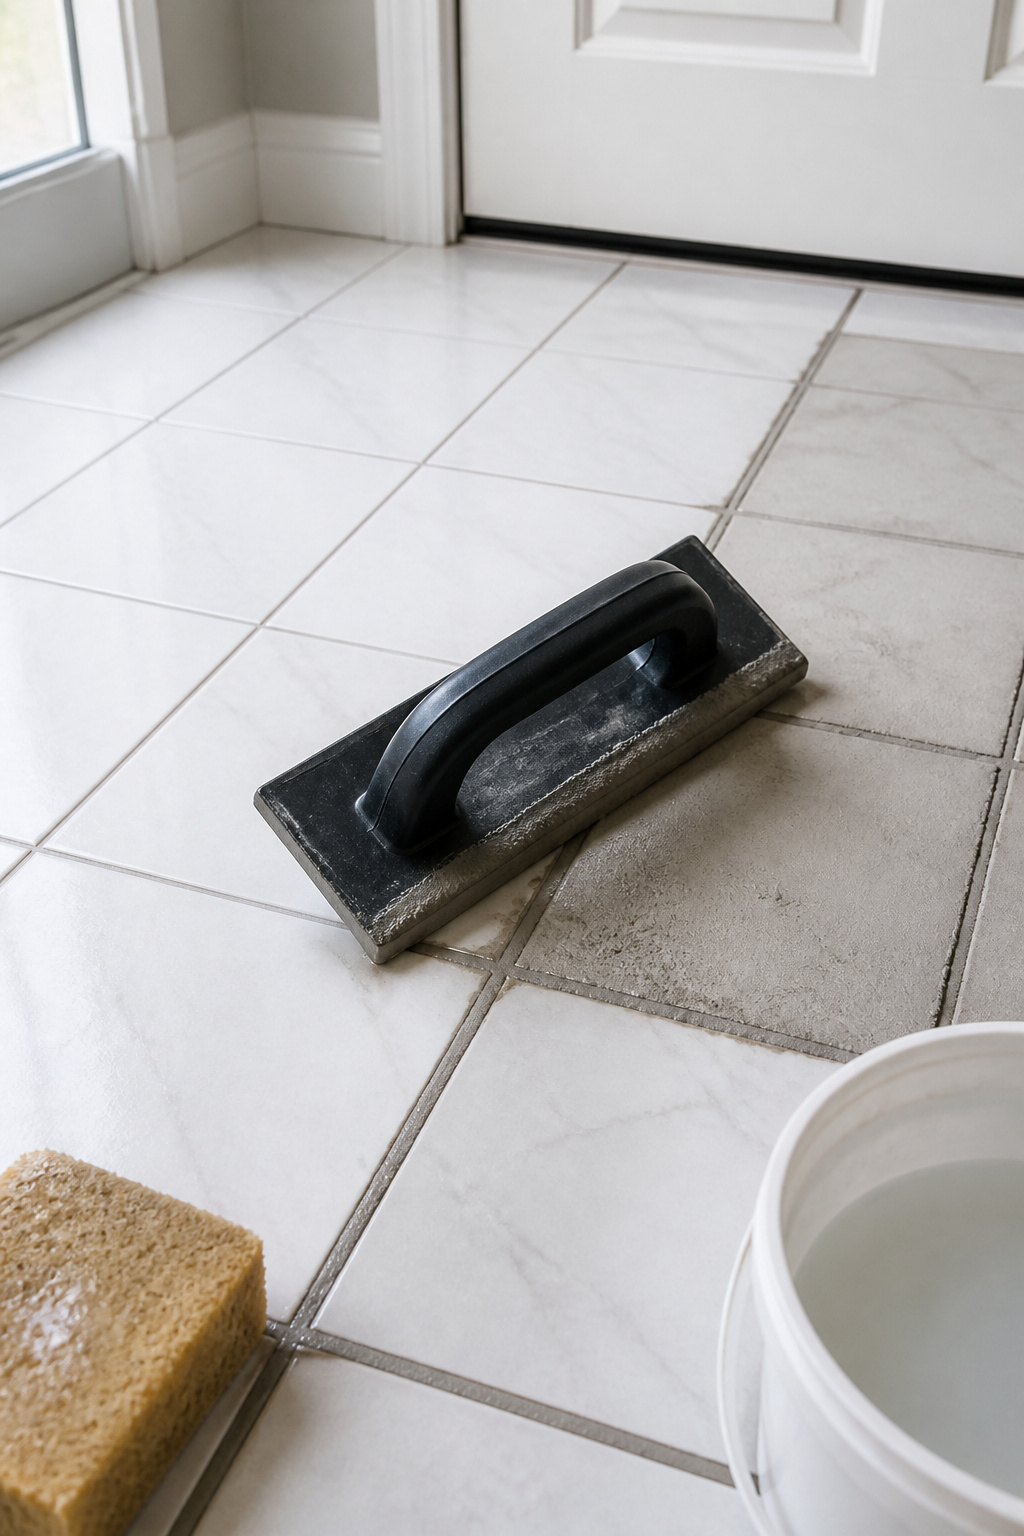
Mix grout to smooth peanut butter: it holds its shape and does not drip. Let it slake 5–10 minutes so the polymers hydrate — do not add water after the slake, because that breaks the bonds. Hold the float at 45 degrees and push grout diagonally across the joints, which packs them fuller than strokes run parallel; then tip the float nearly vertical and drag diagonally to scrape off the excess.
Two mistakes live here. Mixing too wet, so soupy grout flows out of the joints and sets weak and chalky. And skipping the slake, so the grout looks identical but performs far worse. Both stay invisible until the joints crumble a season later.
Cleanup: the haze window and why the first wipe matters most
Wait 20–30 minutes after grouting, then clean in the haze window, when surface grout has firmed enough not to smear but has not hardened. Use a damp sponge — wrung out hard — in diagonal strokes; too much water dilutes the grout still curing in the joints. A thin haze stays after the sponge, so once it dries further, buff it off with dry microfiber. Miss the window and you are into vinegar or chemical removers, the one cleanup with no free fix. Finishing the edge where tile meets the next floor is the last task, and the floor transition is its own job worth getting right.
Sealing and Long-Term Care: What Keeps the Job Looking Good
Cement grout is porous; at a wet, gritty front door it stains within weeks if you leave it bare.
Grout sealing: the 72-hour rule and how to apply correctly
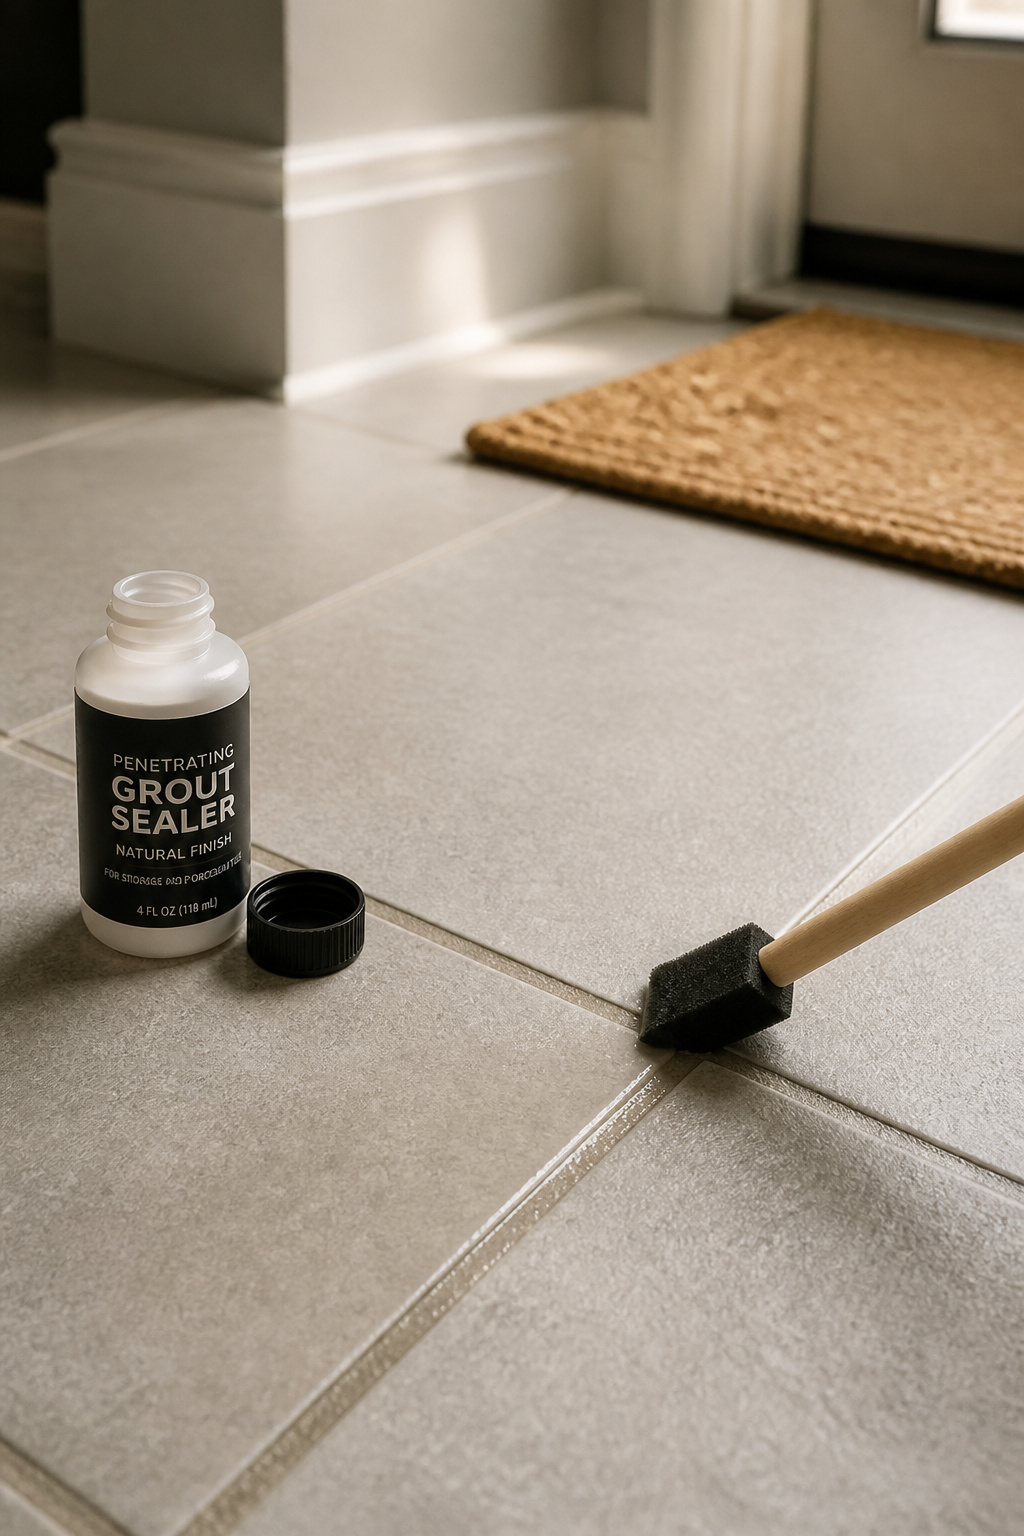
Let the grout cure a minimum of 48–72 hours before sealing. Seal too early and the sealer films on uncured grout instead of soaking into the pores, and it fails within weeks. Apply a penetrating sealer along each joint with a foam brush or applicator bottle, not a roller across the tile. Give it 5–10 minutes to soak, then wipe excess off the tile. The sealer reaches full protection about 72 hours after application; light foot traffic is fine after 24 hours, but hold off wet cleaning until then.
Annual reseal: what to use and how to tell when it’s overdue
Test the seal every 12 months: drop water on the grout and watch. If it beads, the seal holds; if it darkens or soaks in within 30 seconds, reseal. A busy entry wants resealing every 1–2 years. Use a penetrating (impregnating) sealer, never a coating type, because coatings peel under traffic and need stripping to renew.
The one maintenance mistake that voids the work: wet mopping unsealed grout
Wet mopping unsealed grout — or after the seal has quietly failed — drives dirty water into the pores and stains permanently. Sweep or vacuum grit first, since grit on a wet floor is sandpaper on the joints, then damp-mop with a pH-neutral cleaner, not vinegar, which slowly eats the sealer. Better still, run a mat system: a scraper mat outside, an absorbent mat inside.
That is the whole sequence, subfloor to sealed grout, with the traps marked. The single first move protects all of it: block out a stretch when the entry can sit unused for 72 hours after grouting, because the cure windows — not the tiling — are what this project really runs on. Browse the full set of entryway tile floor options and ideas to plan the look before you pick up a trowel.
FAQ
How long do you have to wait before grouting floor tile?
Standard thinset mortar needs 24–48 hours of cure time before grouting, because grouting too soon can shift tiles and permanently weaken the bond. In cool (below 60°F) or humid conditions, wait the full 48 hours; rapid-setting polymer-modified thinset can be grouted in 2–4 hours, so check the product data sheet. Before grouting, press a tile, and if it rocks at all, wait longer.
Can you tile an entryway floor yourself with no experience?
Yes. A straight-set tile layout on a sound subfloor is achievable for a complete beginner, provided the floor passes the deflection test and you do a full dry-lay before mixing thinset. The skill ceiling is the subfloor, so if joists need sistering, concrete needs levelling, or radiant heat is involved, get those assessed. On a small entry, DIY saves roughly $150–$600 in labour.
How often do you need to seal entryway floor grout?
Reseal entryway grout every 1–2 years, more often in a high-traffic door with seasonal grit. Test it annually: drop water on the grout and watch for 30 seconds, and if it absorbs instead of beading, reseal. The first seal must wait until the grout has fully cured — a minimum of 48–72 hours after grouting — or the sealer cannot bond to the pores.