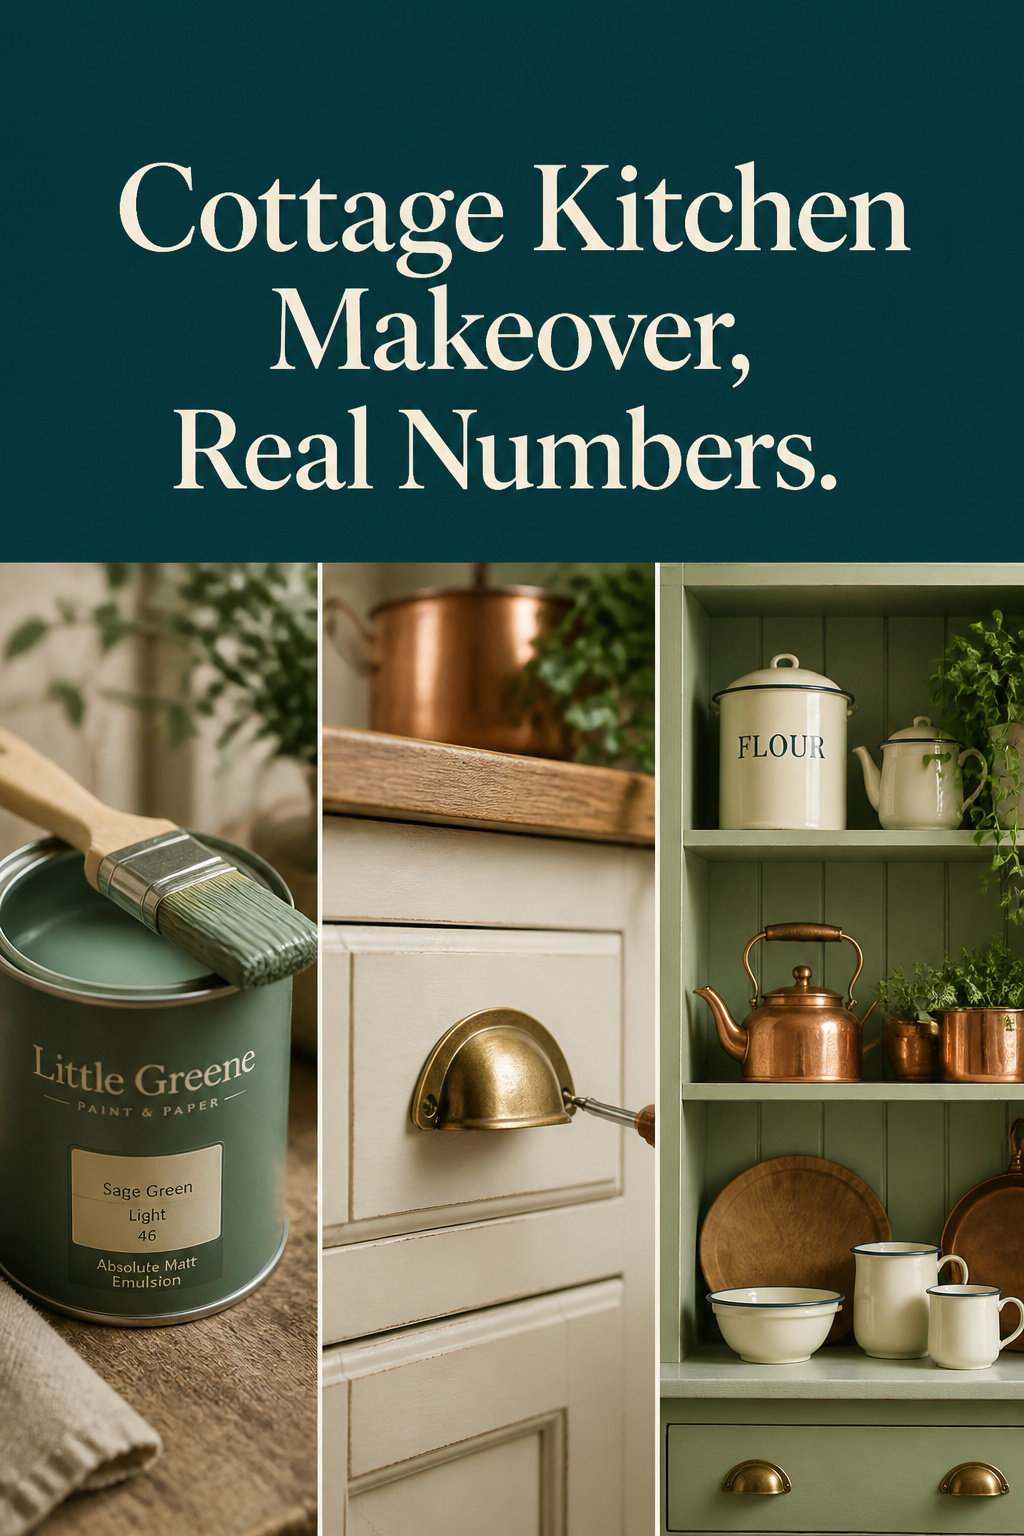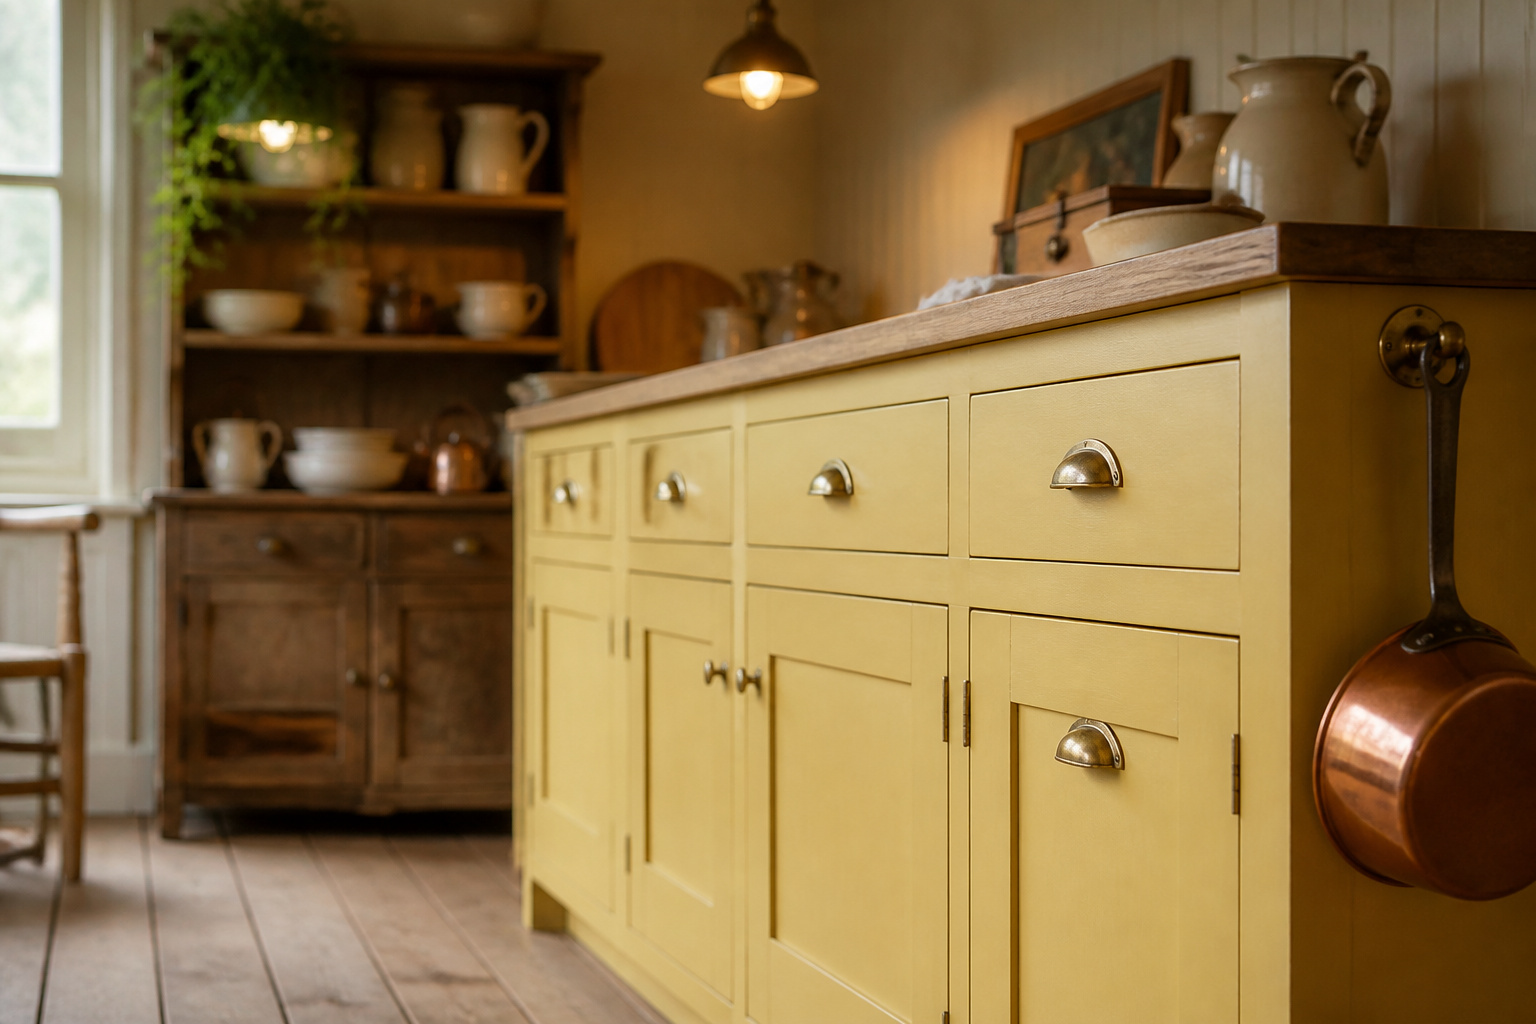

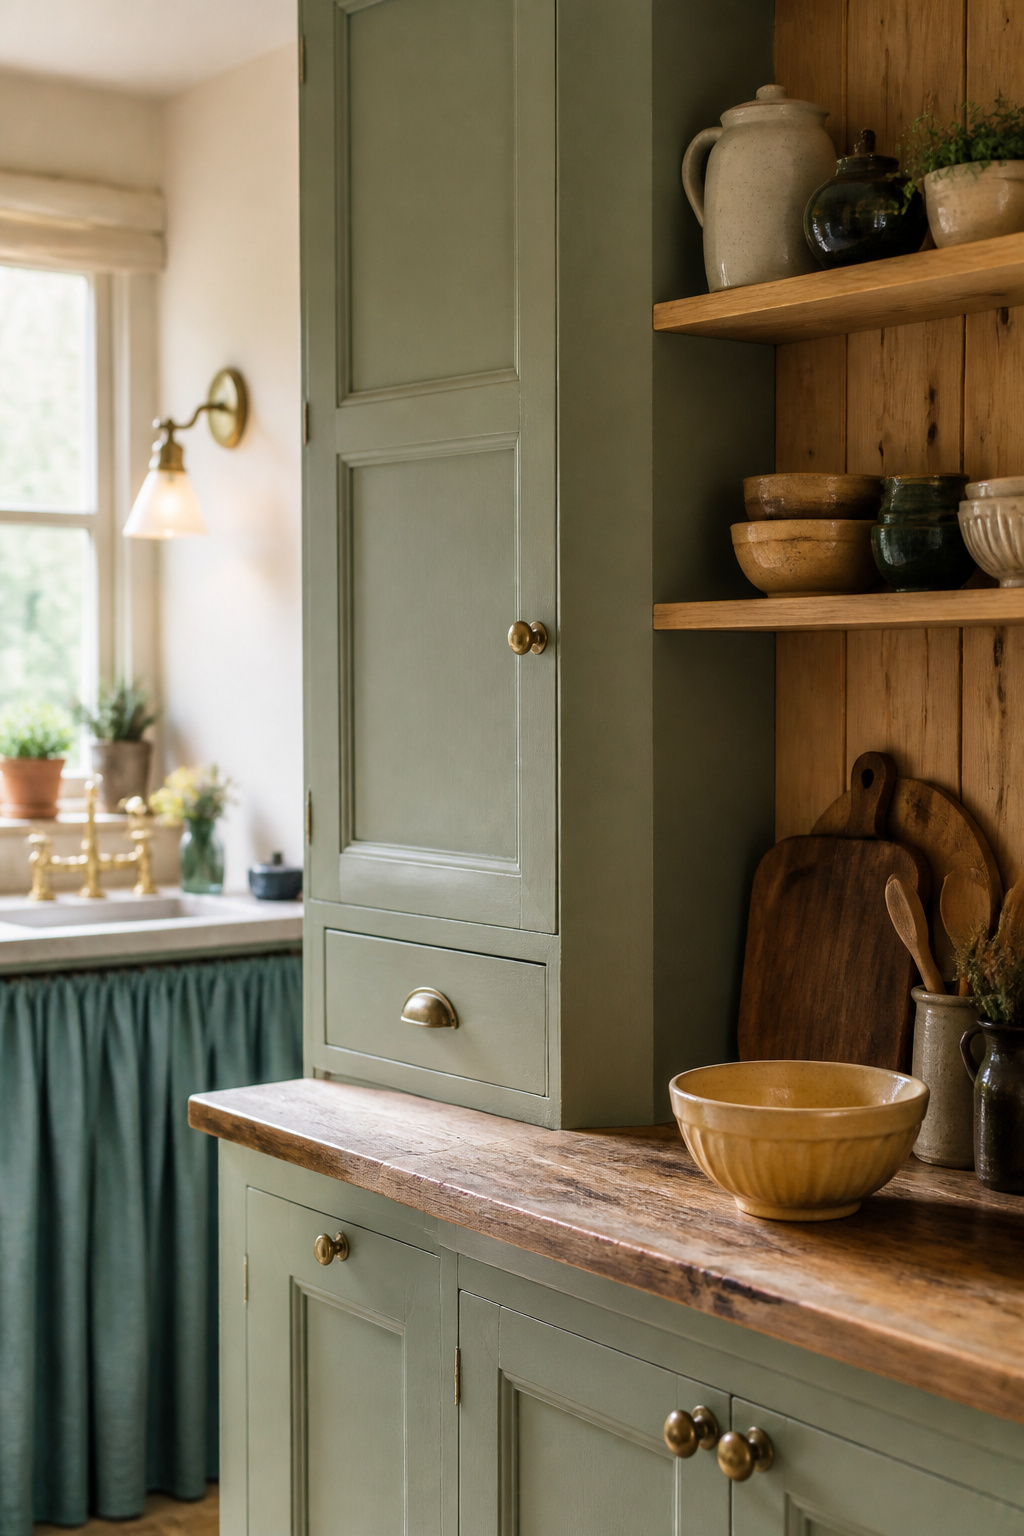
A cottage kitchen on a budget is a real number, and it’s smaller than you think: about $500 to $1,500 and one long weekend. I price these jobs for a living, and what surprises people is the gap between a makeover and a remodel — a small-kitchen remodel runs $9,000 to $25,000. This makeover keeps the same cabinet boxes, plumbing and footprint, and buys the cottage look with paint, hardware, a sink skirt, open shelving and thrifted enamelware. The trap is assuming the charm lives in the money. It doesn’t — it lives in the work, and the work is mostly a beginner’s.
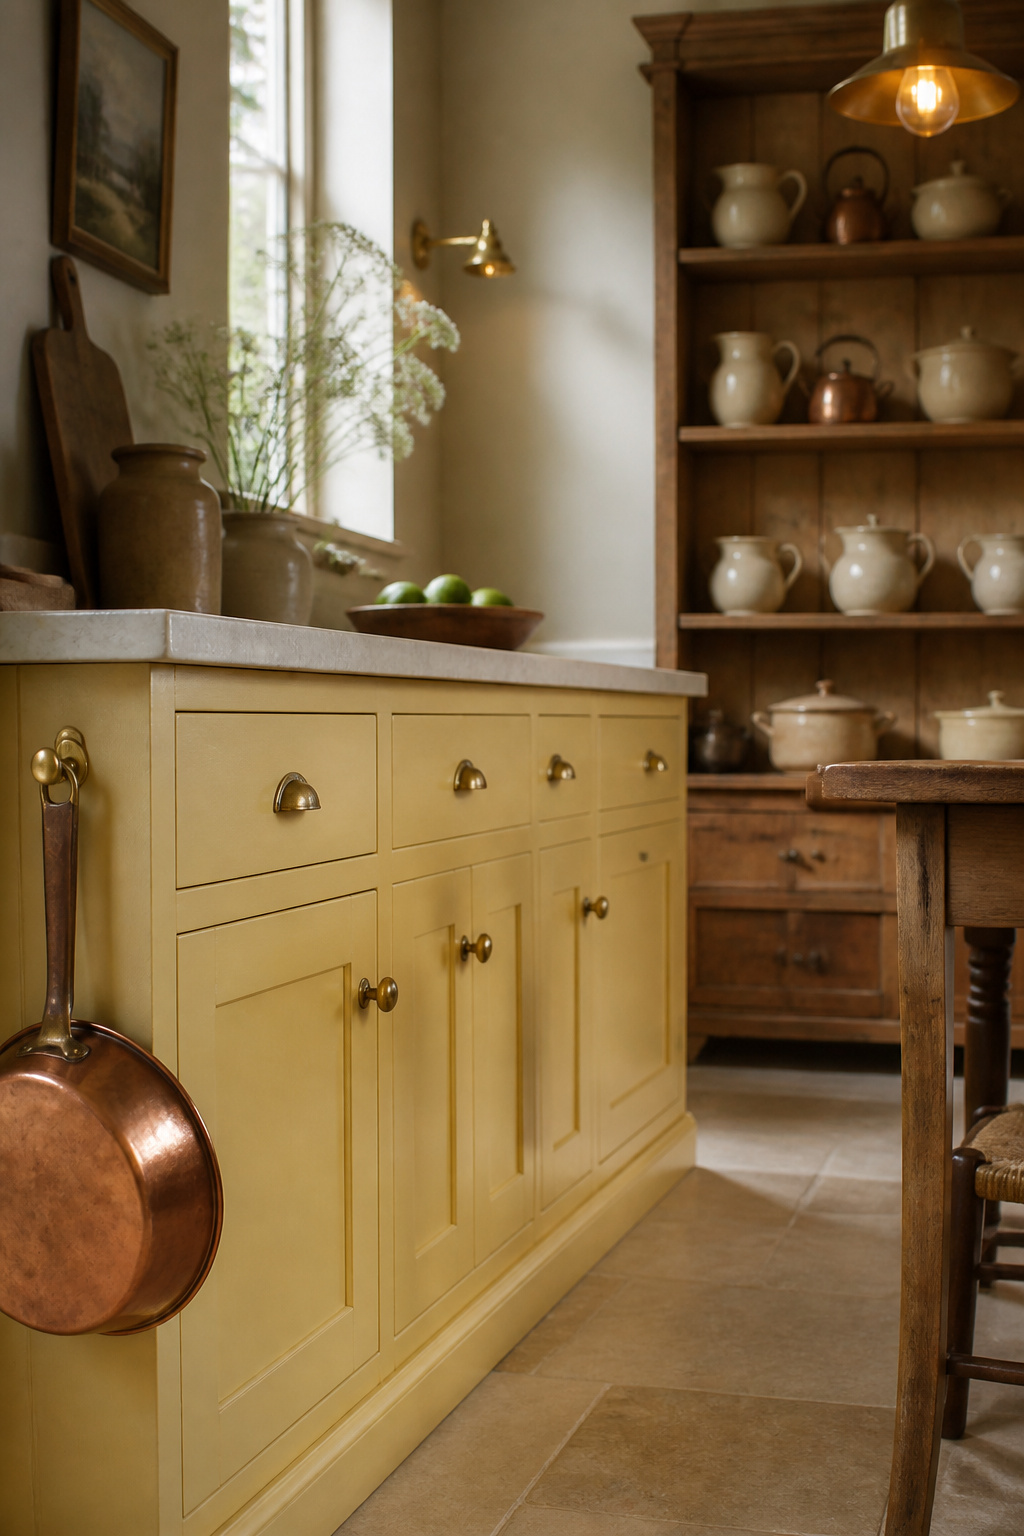
TL;DR
- A full DIY makeover lands around $500–$1,500 — less than the $2,000–$6,500 a pro charges to repaint cabinets in an average-size kitchen.
- Paint the existing cabinets first: $200–$600 in materials and 30–60 hours over one to two weeks, drying time included. Biggest change per dollar you’ll make.
- Work in order — paint, then hardware and a sink skirt, then open shelving, then $100–$200 of thrifted styling — and stop before the next dollar tips you into remodel territory.
What a Cottage Kitchen on a Budget Actually Costs
Anchoring the number: what this kind of makeover really runs
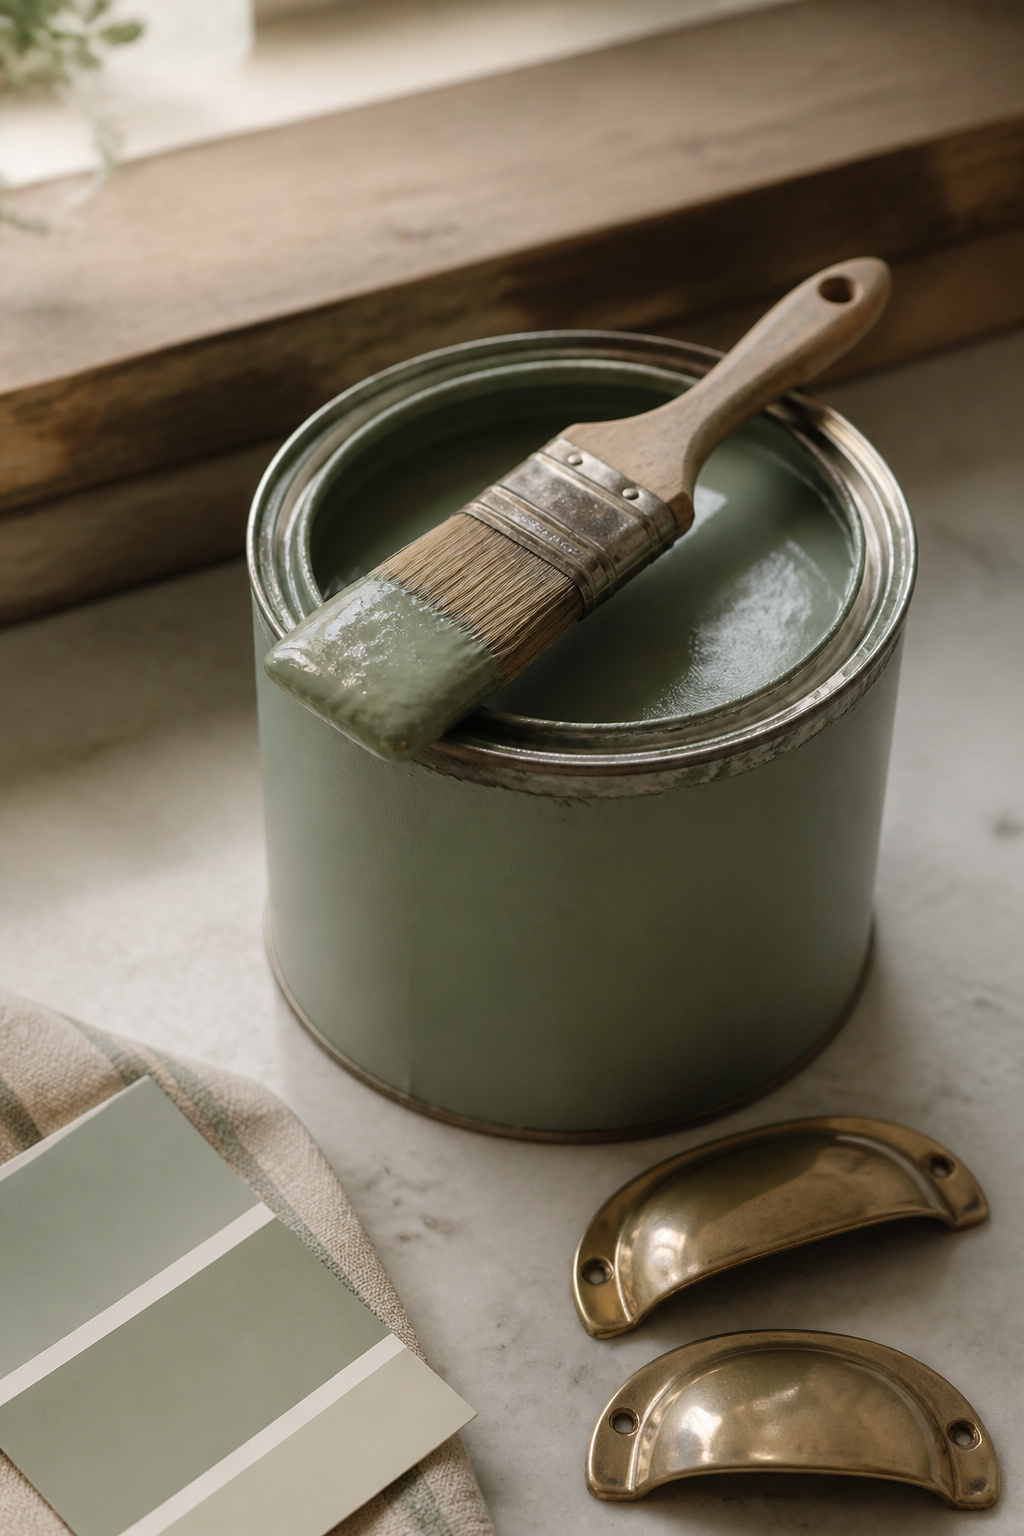
Paint-and-hardware makeovers land in the hundreds; remodels land in the tens of thousands. Cabinet refinishing runs $4 to $25 per square foot, versus $100 to $250 for a full remodel. One documented makeover credited 90% of its result to paint alone. Here’s what the five moves cost.
| Project | Materials (DIY) | Time | Skill |
|---|---|---|---|
| Paint the cabinets | $200–$600 | 30–60 hrs over 1–2 weeks | First build |
| Swap the hardware | $100–$300 | 2–5 hrs | First build |
| Skirt the sink | Under $30 | An evening | No power tools |
| One open-shelf run | Tools you likely own | A day to a weekend | Some builds |
| Thrifted styling | $100–$200 | A few weekend hunts | Shopping, not building |
I built my sister a kitchen island out of $212 in stock lumber a few years back, and the family still calls it “the showroom one.” Nobody asks what it cost. That’s the principle here: put the money into a few honest surfaces, then let the work read as expense it never was.
What’s included in that total (and what isn’t)
Included: primer, paint, sandpaper, a rented sprayer, new pulls, skirt fabric, shelving supplies and the thrifted pieces. Excluded: anything structural — cabinet boxes, plumbing, electrical, appliances. Budget one more line: a warped door or failed hinge means cabinet repairs averaging about $300.
What’s free or nearly free
Some moves cost nothing: decluttering and restyling with what you already own is often the biggest single before-and-after. Keeping the existing cabinet boxes is the one decision that holds this project in the hundreds, not the thousands.
Paint Your Existing Cabinets First
Why this is the highest-impact-per-dollar move
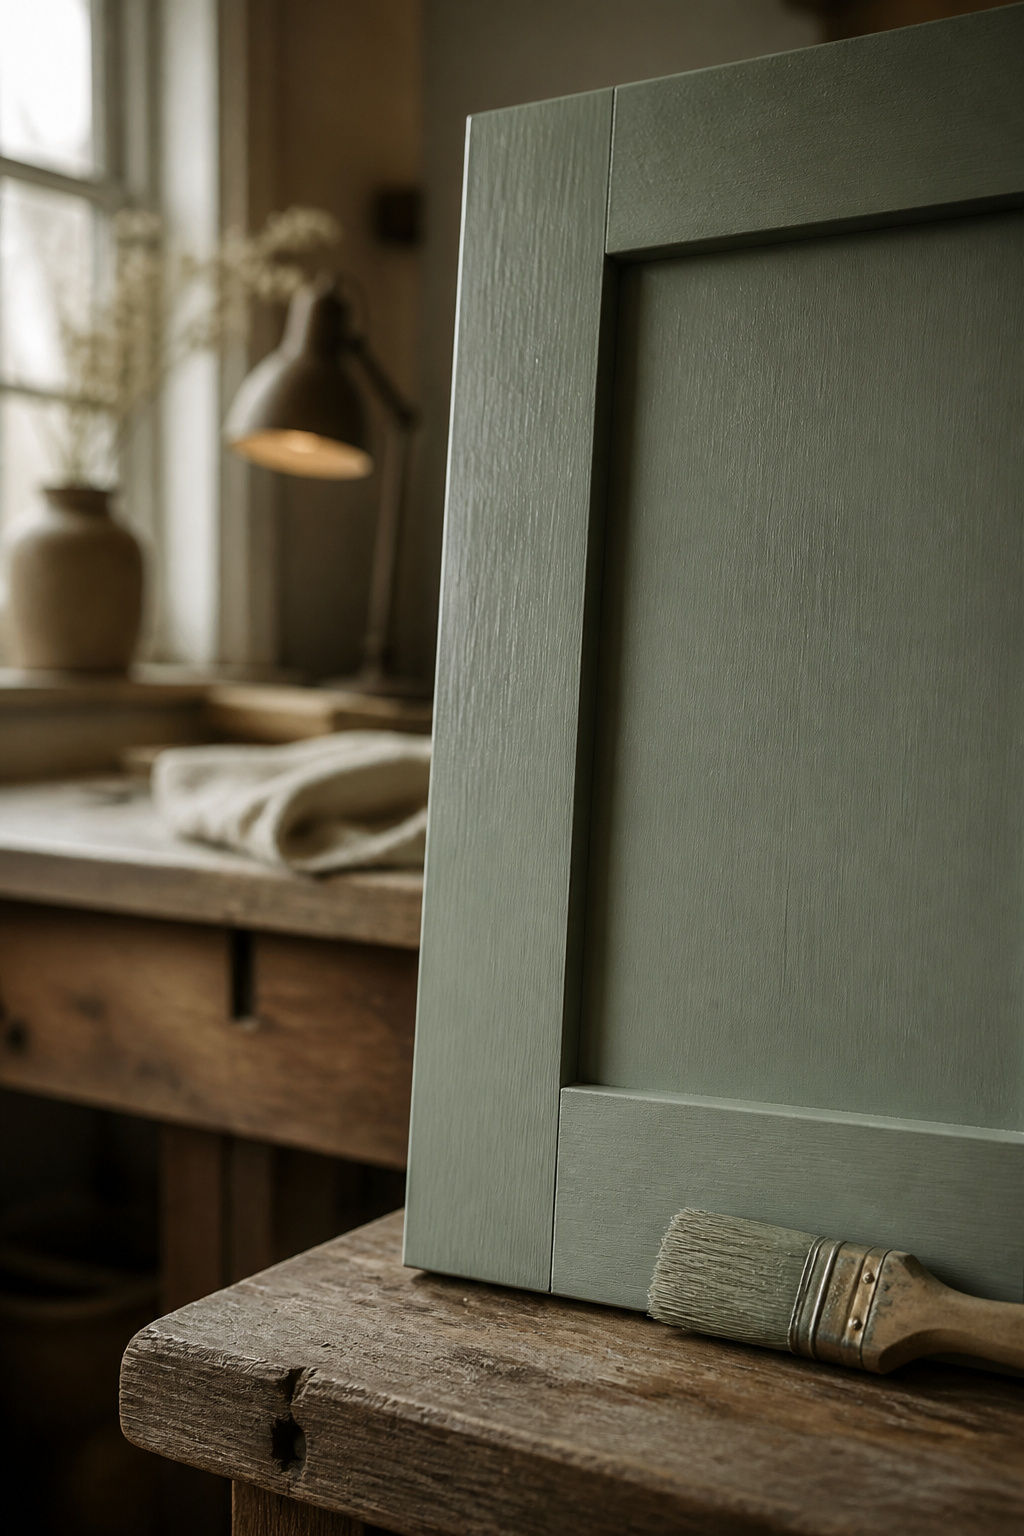
One project changes the room more than the other four combined, and it’s the cheapest skilled work in the house — you’re paying for your own hours, and the hours are learnable.
Materials, cost, and real hours including drying time
Paint runs $20–$70/gallon, primer $15–$50 — but budget $60–$70 for oil-based bonding primer on laminate or MDF, since standard primer peels off a slick factory finish. Add $5–$10 sandpaper, $10–$40 brushes, $20–$30 drop cloths/tape, and $40–$100/day for a rented sprayer. Work the job in order:
- Empty the cabinets and degrease every surface — before sanding, not after.
- Take the doors off and remove all the hardware, so nothing gets painted around.
- Sand in sequence: 60 grit, then 120, then 220. Skip the 120 pass and deep scratches telegraph through the paint.
- Tint the primer to 50–75% of the topcoat’s depth for a saturated sage or dusty blue-green, then prime; a shellac-based primer like Zinsser BIN recoats in about 45 minutes.
- Roll or spray two to three topcoats, 6 to 24 hours apart.
- Let the finish cure before you rehang anything.
That’s 7 to 14 days elapsed: prep, sanding, a primer day, painting days, then curing. The kitchen is usable in days, but the paint keeps hardening for up to 30 days, so go gently at first. Chalk paint (a litre covers ~140 square feet) skips sanding entirely on bare wood, trading the factory-smooth look for a softer cottage finish.
The mistake that ruins most cabinet paint jobs
The job fails at the cleaning step, not the painting step. Sharon Russell of Russell Room Remodelers puts it plainly: inadequate cleaning is the biggest reason DIY cabinet paint peels — grease blocks the primer. Two more failures come later: painting around hinges instead of removing them, which leaves ragged edges, and rehanging doors before the finish cures, which presses fingerprints into soft paint. Brandon Walker of ASAP Restoration notes a sprayer beats brushes and rollers for a flawless finish.
Swap the Hardware and Skirt the Sink
Cost and time for a full hardware swap
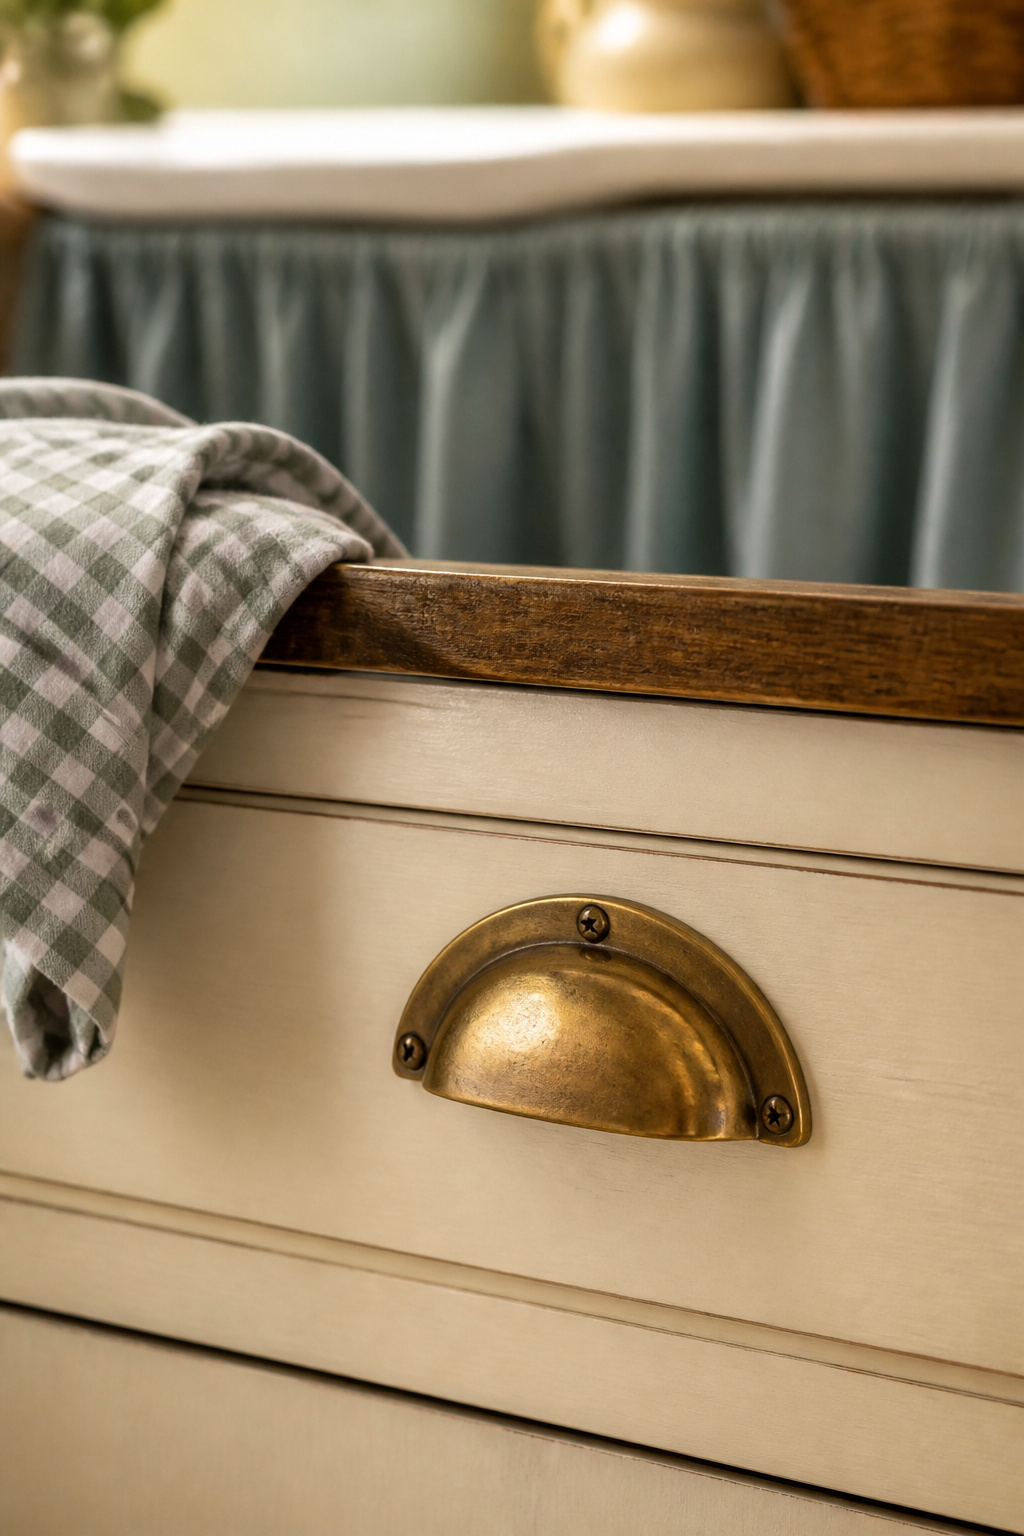
New pulls are the fastest character upgrade after paint. Basic knobs run $1–$15 a piece; brass — the cottage anchor — runs $5–$200 by weight and finish. Budget $100–$300 for a whole kitchen, done in 2 to 5 hours. Builder cabinets use 32, 64, 96 or 128mm hole centers, and drawer pulls are 3 or 3.75 inches — measure the center-to-center before ordering, or you’ll drill fresh holes into fresh paint.
Faking a skirted sink without replumbing
A sink skirt is a fabric curtain hung across the sink base — zero plumbing work. The no-sew version uses a pre-made café curtain and iron-on hem adhesive instead of stitching, with a self-adhesive rod — nothing drilled. Skip standard adhesive Velcro on the basin rim (it fails in kitchen humidity) for outdoor-rated Velcro or a bead of clear silicone. Worst case, it’s a $20 curtain you re-hang.
Tools you need and the cheaper workaround
Your toolkit depends on whether the spacing matches:
- Matching hole spacing: a hand screwdriver is all you need — no drill at all.
- Mismatched spacing: a drill plus a $10–$20 hardware jig keeps the new holes straight, still far cheaper than an installer’s $5–$30 per piece.
- The sink skirt: an iron and a tape measure, nothing else.
Convert One Run of Cabinets to Open Shelving
Cost, tools, and a realistic weekend timeline
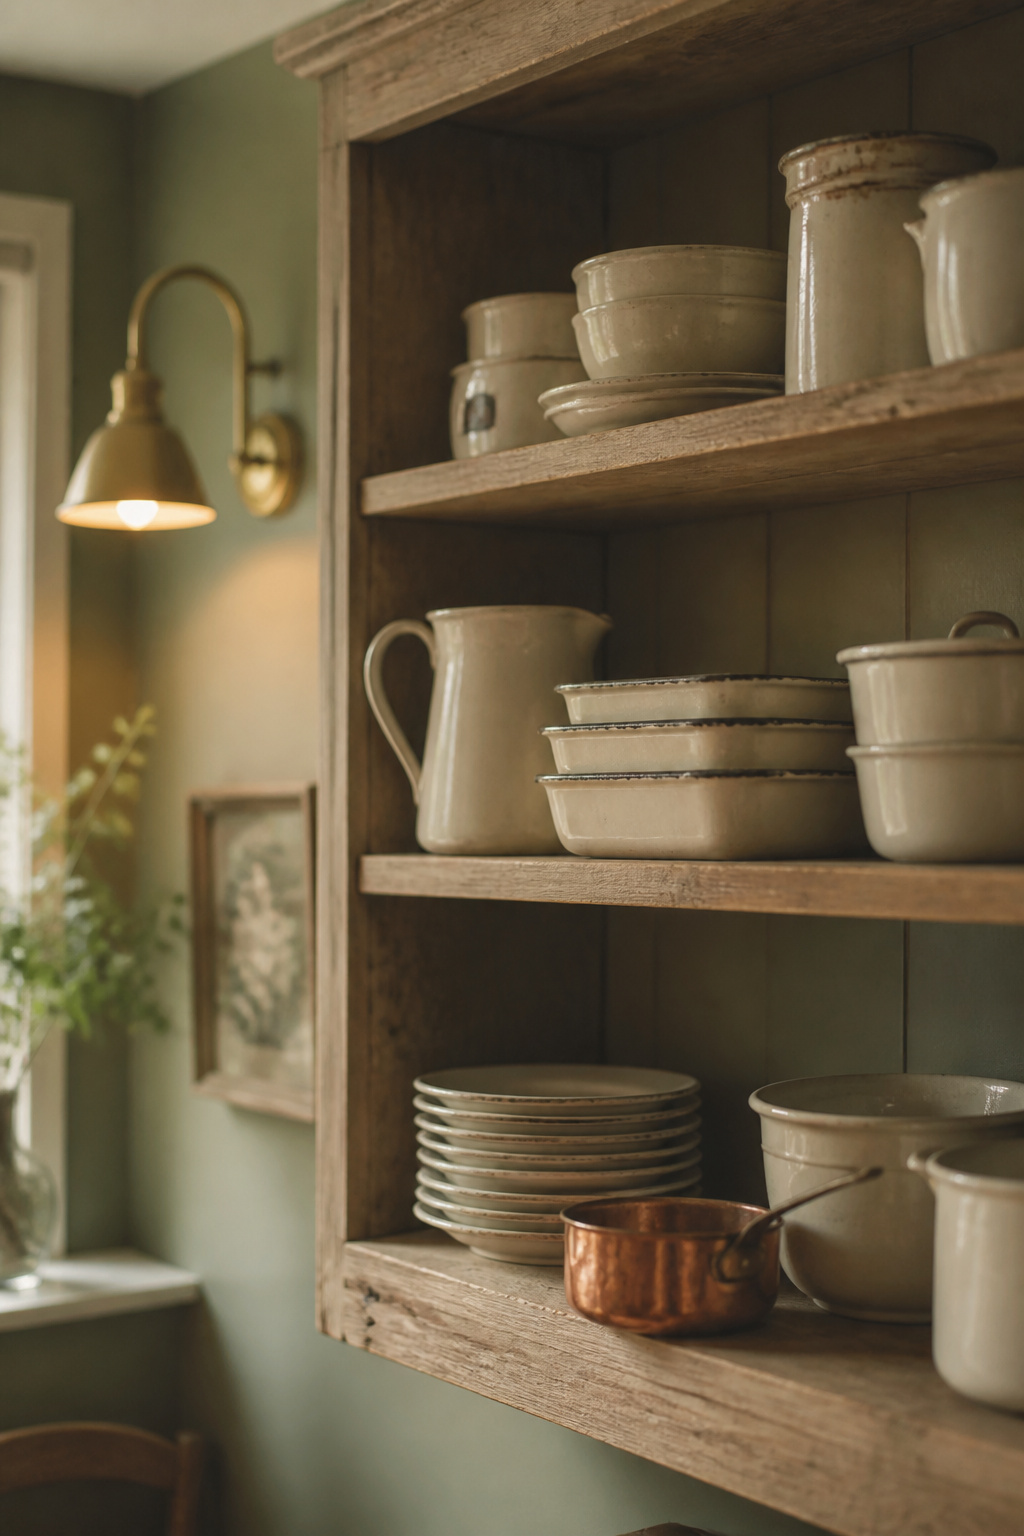
This project is cheap — mostly tools you own: a pull saw, sandpaper, wood putty, a drill, and paint or wallpaper for the now-visible interior. One documented conversion pulled the doors and center stile, filled the holes, sanded, then finished with paint and four coats of polycrylic — a 48-hour dry before dishes went back up. Reserve a day for one cabinet, a weekend for a run.
What to display so it doesn’t look like clutter
Open shelving trades a door for a daily decision. Everything shows, so a curated set of cream enamelware and copper reads intentional, while a shelf of everyday plastics looks like a mess. Budget the upkeep: a two-minute dust weekly and a damp wipe monthly, more often near the stove, where grease dust settles fast.
The load-bearing mistake beginners make
Here’s the step most tutorials skip. The center stile of a face-frame cabinet isn’t trim — it’s structure, holding the box square. Cabinet-shelving pros reinforce a base cabinet’s frame with a horizontal 1×2 — glued, clamped and screwed behind the rail — whenever they cut that stile out. The same logic applies up top: an upper cabinet loaded with stoneware and cast iron wants that support once the door’s gone. So before you cut, check that the cabinet is screwed into studs, not just drywall, and that its shelves aren’t already sagging. A marginal cabinet only gets worse open.
Thrifted Styling That Finishes the Look
Where to actually find cottagecore-worthy pieces cheap
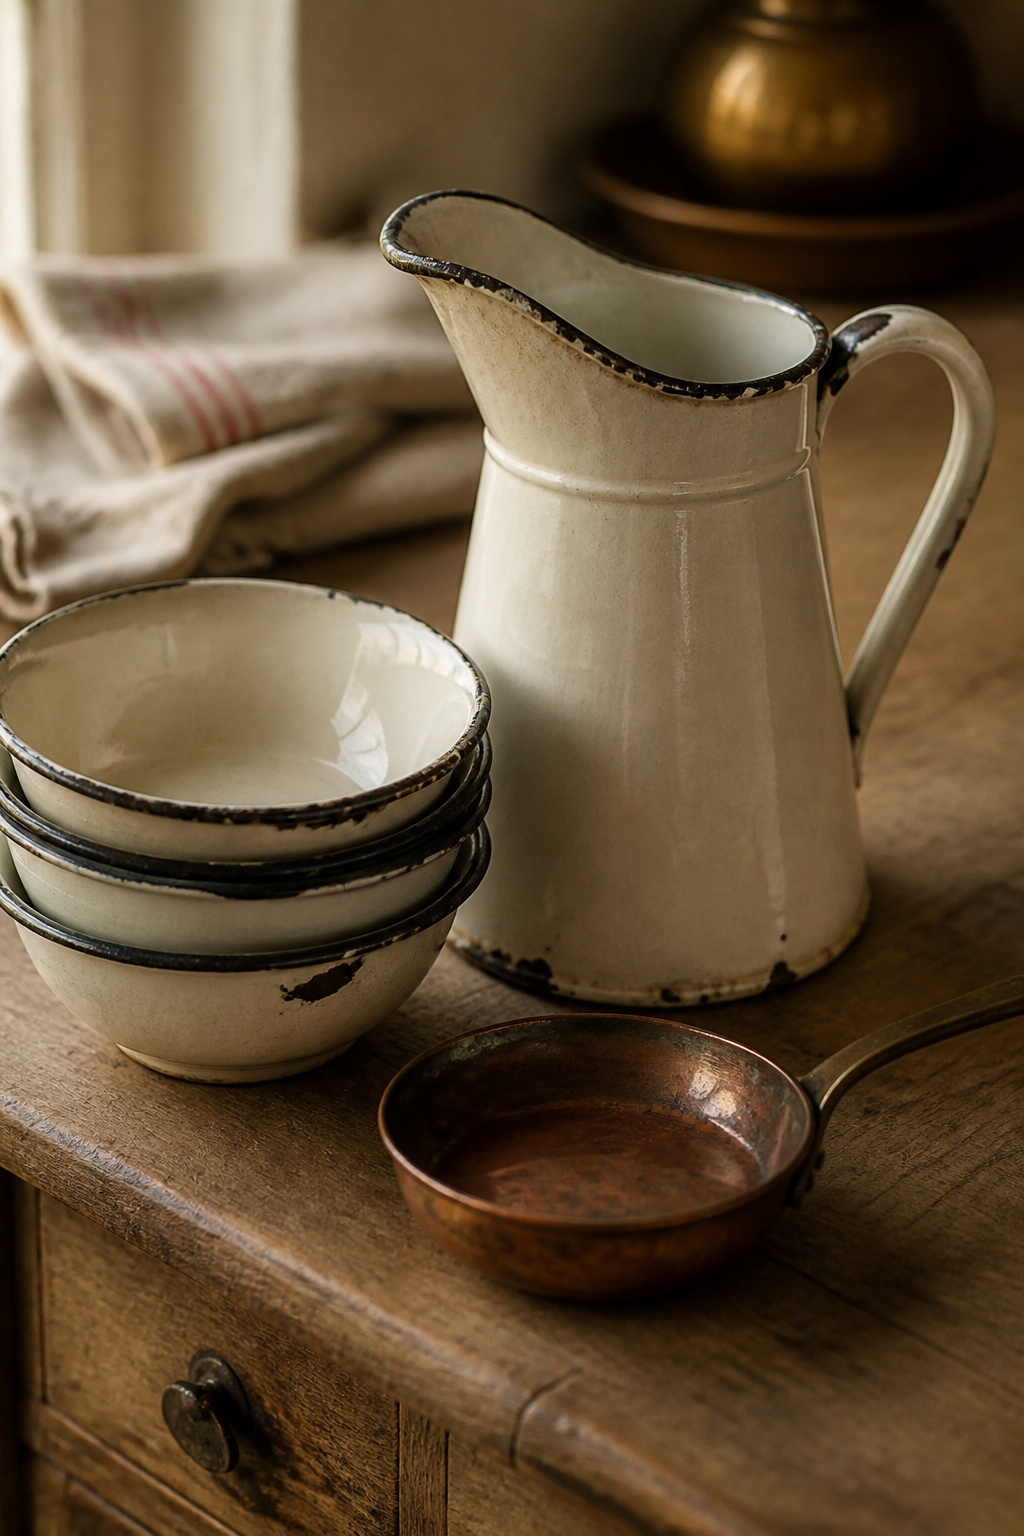
The last layer is enamelware, copper and linens; paying retail defeats the point. Estate sales discount fast — 25% off day two, half off day three — so timing beats haggling. Vintage enamelware runs about $15–$40 for basins and colanders, $18–$35 for pitchers, $20–$35 for coffee pots, prices swinging by region. Chips and cracks cut a piece’s value 40 to 70%, so a “deal” with a hairline crack usually isn’t one.
What’s worth buying new instead
Not everything should be secondhand: anything with food or hygiene contact — tea towels, dish rags — is worth buying new. Save the thrifting for display pieces, where wear reads as history, not grime. The deeper decor playbook — which pieces to hunt and how to layer them — is its own project: cottagecore decor finds covers it.
A realistic styling budget
Expect roughly $100 to $200 to assemble a shelf’s worth — four to six thrifted enamelware and copper pieces. Time your visits to the discount days and the same collection lands closer to $75–$150. Buy slowly: a shelf built one find at a time beats a matched set bought in an afternoon.
Sequencing Your Makeover in a Small Kitchen
Why a small kitchen makeover costs less start to finish
A small kitchen is a budget advantage, not a compromise: fewer doors and less footage means a smaller bill, whether priced by the door ($70–$125) or drawer ($30–$110). That $9,000–$25,000 remodel range breaks down by footage: $7,000–$17,500 at 70–100 square feet, scaling to $20,000–$50,000 at 200 — your makeover scales down the same way.
The order that gets you a finished room fastest
Sequence matters — working out of order means redoing work. Paint first: everything else mounts to that surface or gets judged against it. Hardware and the sink skirt come next, once the paint’s cured enough to handle. Open shelving is third, once color and hardware are set, so the shelf can match. Styling comes last, once the palette is fixed, so the collection agrees with the room. If your kitchen is genuinely tight, layout matters as much as order — small cottage kitchen design that maximizes space handles that side.
When to stop and call it done
A makeover is finished when the five moves are in: paint, hardware, sink skirt, one open-shelf run, and styling. Past that, every dollar drifts toward remodel territory without the payoff the first five delivered. Here’s your first move: take the doors off one cabinet and degrease them — reversible and free. When the bones are done and you want the character pulled across the whole room, cottage kitchen charm, room-wide is the full guide.
FAQ
How much does a budget cottage kitchen makeover cost?
Expect $500 to $1,500 for the full DIY makeover: cabinet paint ($200–$600), hardware ($100–$300), a sink skirt (under $30), an open-shelf conversion (mostly tools you already own), and thrifted styling ($100–$200). For comparison, hiring a pro to paint the cabinets in an average-size kitchen runs $2,000 to $6,500 — more than the entire DIY project above.
What’s the cheapest way to get the cottage kitchen look?
Painting your existing cabinets. Cabinet refinishing costs $4 to $25 per square foot versus $100 to $250 for a full remodel, and it changes the room more than any other single move. Add brass hardware and a few thrifted enamelware pieces on top, and you get the character without touching the boxes, plumbing or layout.
Can I get the cottage kitchen look without replacing cabinets?
Yes — documented budget makeovers get most of their transformation from painting existing surfaces, with one crediting 90% of the result to paint alone. To reuse cabinets even further, convert one run of uppers to open shelving: you remove the doors, reinforce the frame and refinish the interior, keeping the box entirely.