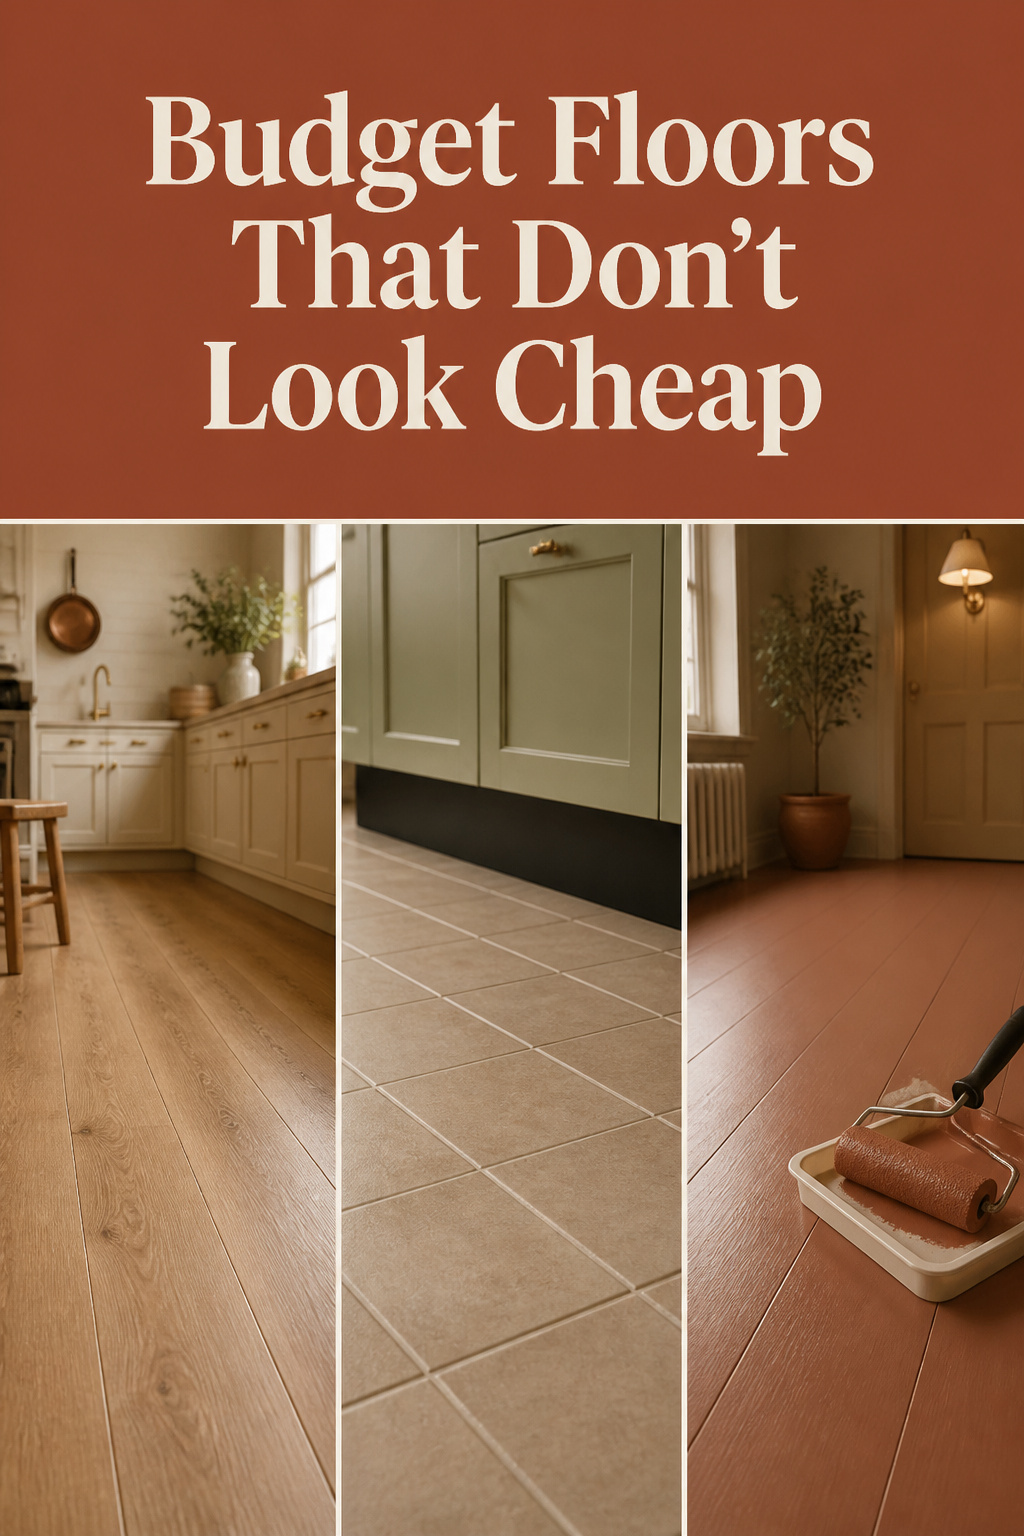
Cheap kitchen flooring ideas arrive with a warning attached: buy budget, buy twice. Half of that is true. The half that isn’t is sheet vinyl, at $2 to $7 per square foot installed in HomeGuide’s 2026 vinyl guide and still good for 10 to 25 years. Read the spec printed on the box, not the number stapled to the sample — that’s the part that actually decides how long a kitchen floor lasts.
TL;DR
- Sheet vinyl is the quiet best value: $1–$4 material-only, $2–$7 installed (HomeGuide’s 2026 vinyl guide), 10–25 years, no field seam to fail.
- Peel-and-stick floor tile runs $1–$5 per square foot and lifts cleanly for renters, but adhesive breakdown is its failure mode — keep it out of standing moisture.
- Spend the extra dollar in two places: underlayment at $0.30–$0.75 per square foot, and a transition strip matched to the height gap.
What “Cheap” Actually Costs You Over Ten Years
Budget flooring isn’t one category. It splits by product spec, not price tier.
The Hidden Cost of Buying Twice
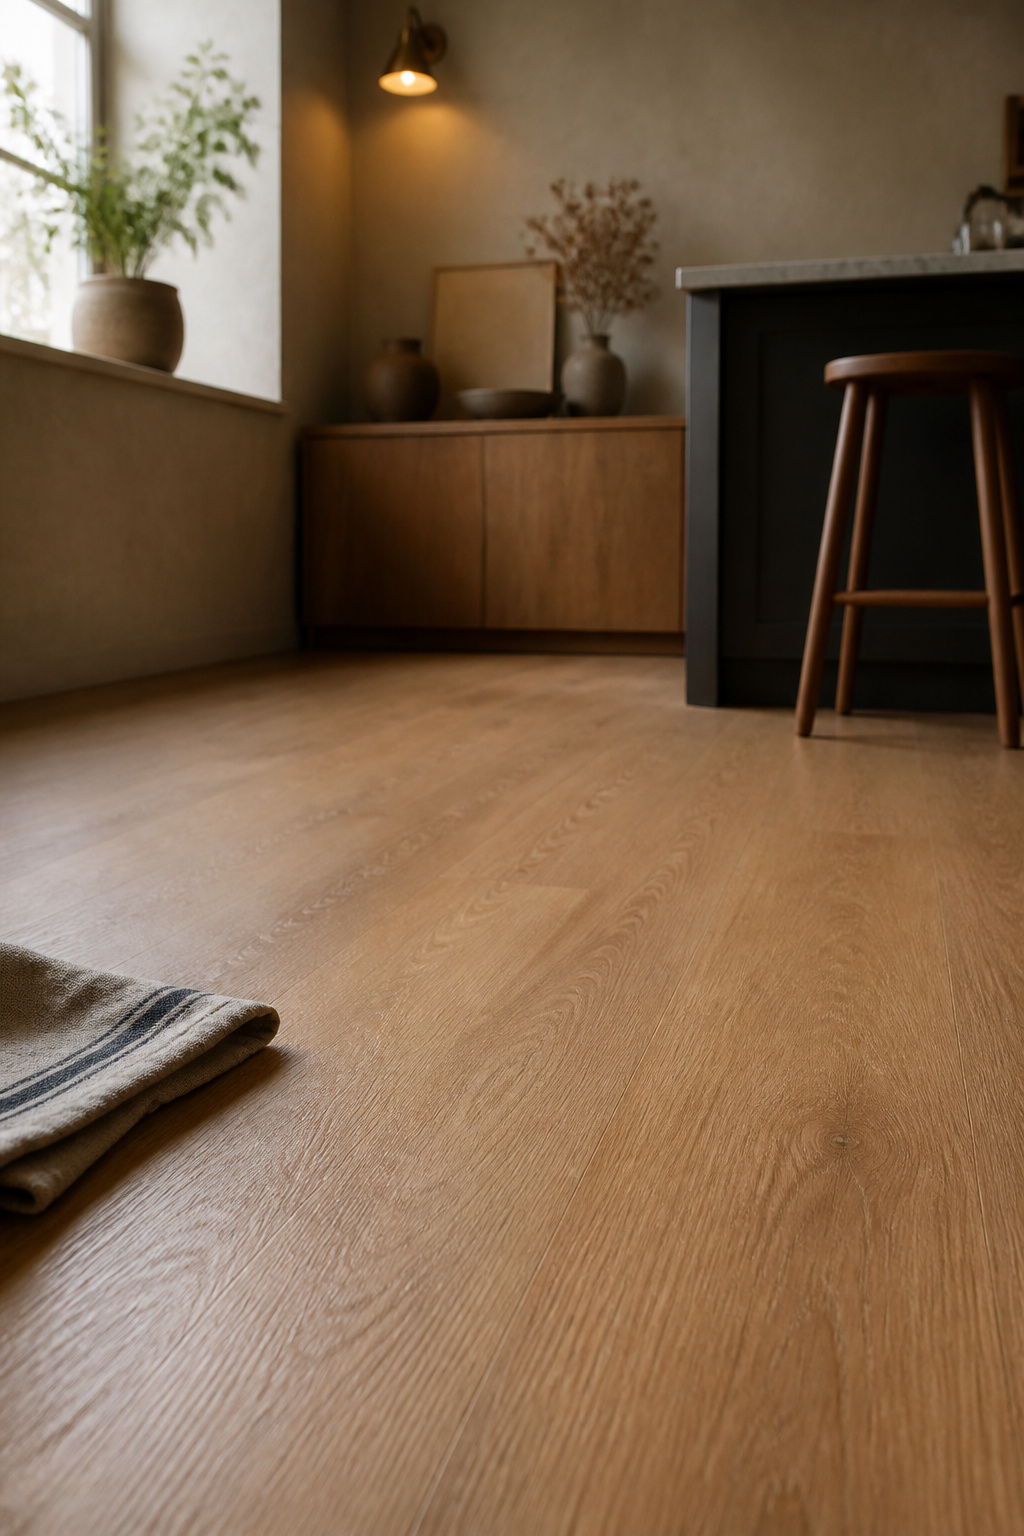
Vinyl and laminate both last 10 to 25 years, and both have a tell for which end you land on: HomeGuide’s vinyl guide says thick planks and tiles outlast sheets, and laminate’s short end tracks a low Abrasion Class rating. Peel-and-stick has its own mechanism — Angi’s 2026 assessment ties durability to adhesive quality, and that adhesive fails over time, lifting tiles at the edges. So buying twice is real. Price didn’t cause it.
Where Cheap Genuinely Holds Up
I built a kitchen island once for my sister out of $212 of stock lumber. The family still calls it “the showroom one,” and nobody has guessed the number. Tight joints and straight edges sold it — close to what separates a fitted-looking floor from a cheap one.
Sheet vinyl is the clearest case: one continuous piece across most small kitchens, which removes the field seam — any floor’s most common failure point — from the cheapest material here. Laminate has an honest tier too, at AC4 or better. For the wider view, see every kitchen flooring look compared.
Five Cheap Kitchen Flooring Ideas, With Real Installed Numbers
Two rules before the table. Every figure is 2026, labelled material-only or installed, and tied to the specific page it came from. And nothing is averaged — there’s no “average kitchen floor cost” here, because no source I trust publishes one.
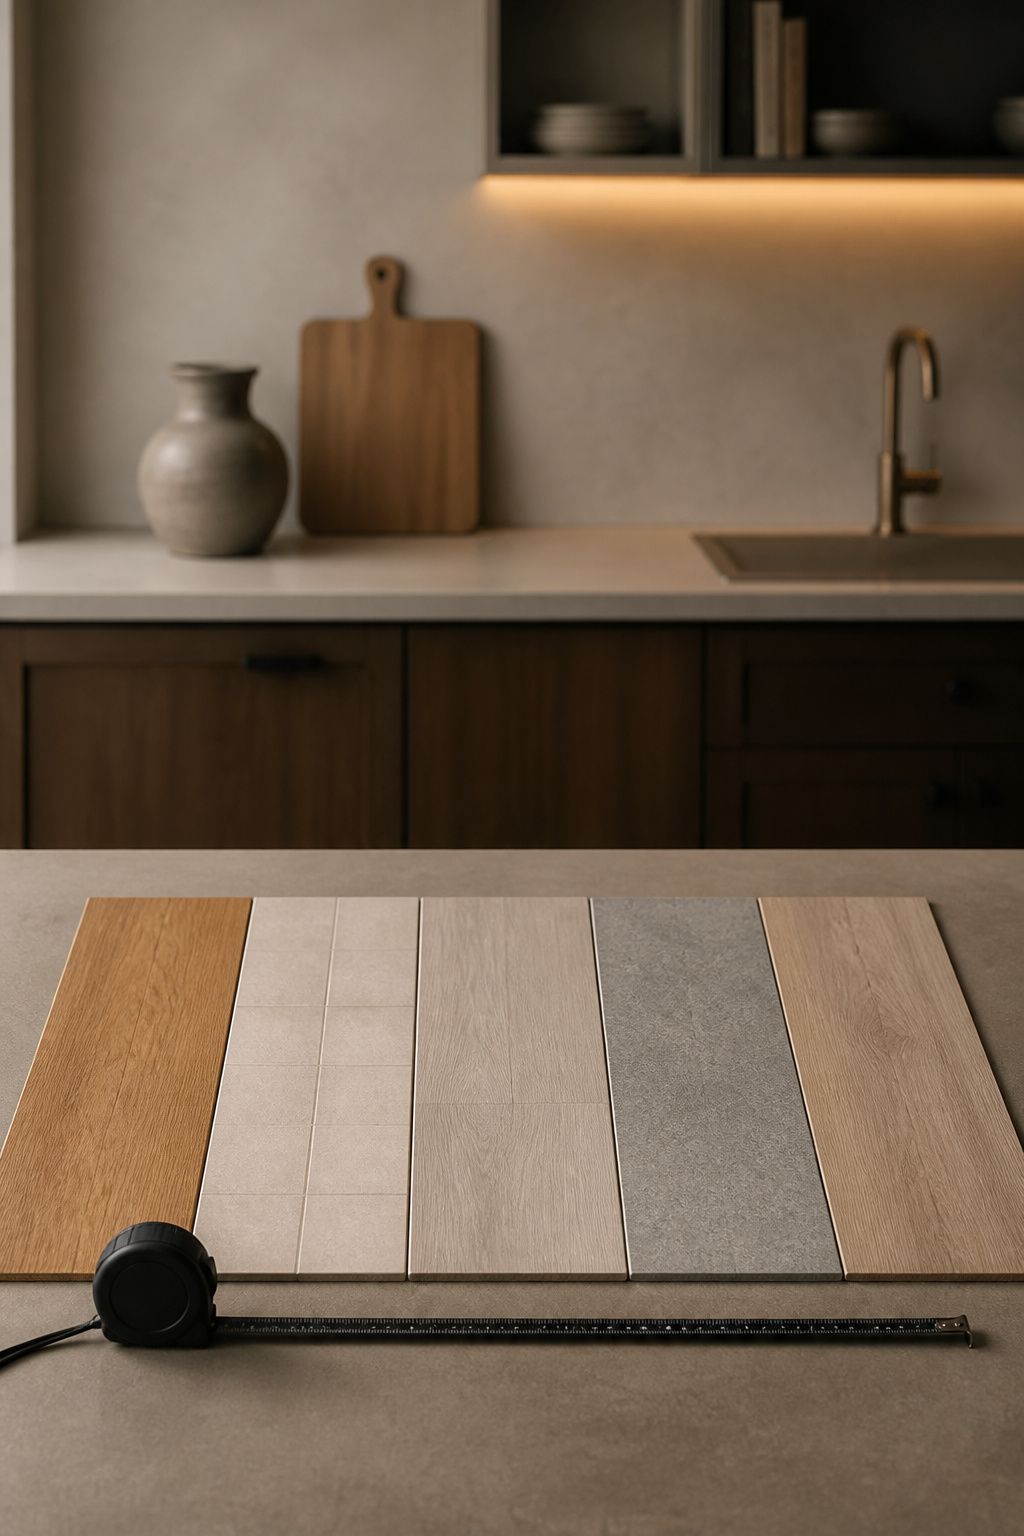
| Option | Cost per sq ft (2026) | How long it holds | Skill level |
|---|---|---|---|
| Sheet vinyl | $1–$4 material; $2–$7 installed (HomeGuide vinyl) | 10–25 years | Some builds |
| Peel-and-stick tile | $1–$5 material; $2–$10 installed (HomeGuide vinyl) | Adhesive-limited; edges go first | First build |
| Entry laminate | $0.60–$4 material; $4–$14 installed (HomeGuide laminate) | 10–25 years; AC4 nearer the top | Some builds |
| Big-box porcelain | $3–$20 material; $15–$50 installed (HomeGuide porcelain) | Longest here | Confident builder |
| Mid-tier LVP | $1.00–$2.00 floating labour + $0.30–$0.75 underlayment (FlooringStores) | Wear-layer dependent | Some builds |
That last row is install side only — labour plus underlayment, before a single plank. It isn’t a total.
Sheet Vinyl
Thicker sheet outlasts the bargain tier inside that 10-to-25-year range. The catch is the cutting: one big sheet is unforgiving, so a wrong trim costs the room rather than a tile. One dating note on that HomeGuide figure: the page carries a January 2024 edit stamp despite the 2026 label, so treat it as the source’s most recent published number rather than a fresh pricing pass this year.
Peel-and-Stick Vinyl Tile
HomeGuide’s vinyl page blends peel-and-stick with click-together, so its $2-to-$10 installed range covers both styles; Angi, pricing peel-and-stick alone, also lands at $1 to $5 material-only. My opinion, and plenty will argue: if you own the place, don’t buy it. Put the money into sheet vinyl and buy a decade instead of a lease term.
Entry-Level Laminate
Labour alone accounts for $3 to $8 of that installed range, so laminate is where DIY saves most. The plank a tier above asks more of your subfloor — what to look for in budget vinyl plank covers that.
Big-Box Porcelain
A publisher disagrees with itself here, so take both pages. HomeGuide’s dedicated porcelain page gives $15 to $50 installed; its general flooring guide gives $10 to $50 for tile broadly — different questions, so I won’t split the difference. Either way the labour is the budget, not the tile, and Rachel Blackwood’s patterns that make inexpensive tile look deliberate is where cheap tile stops looking cheap.
Paint and Refinish: The Free-ish Option
What if the cheapest floor is the one already down there?
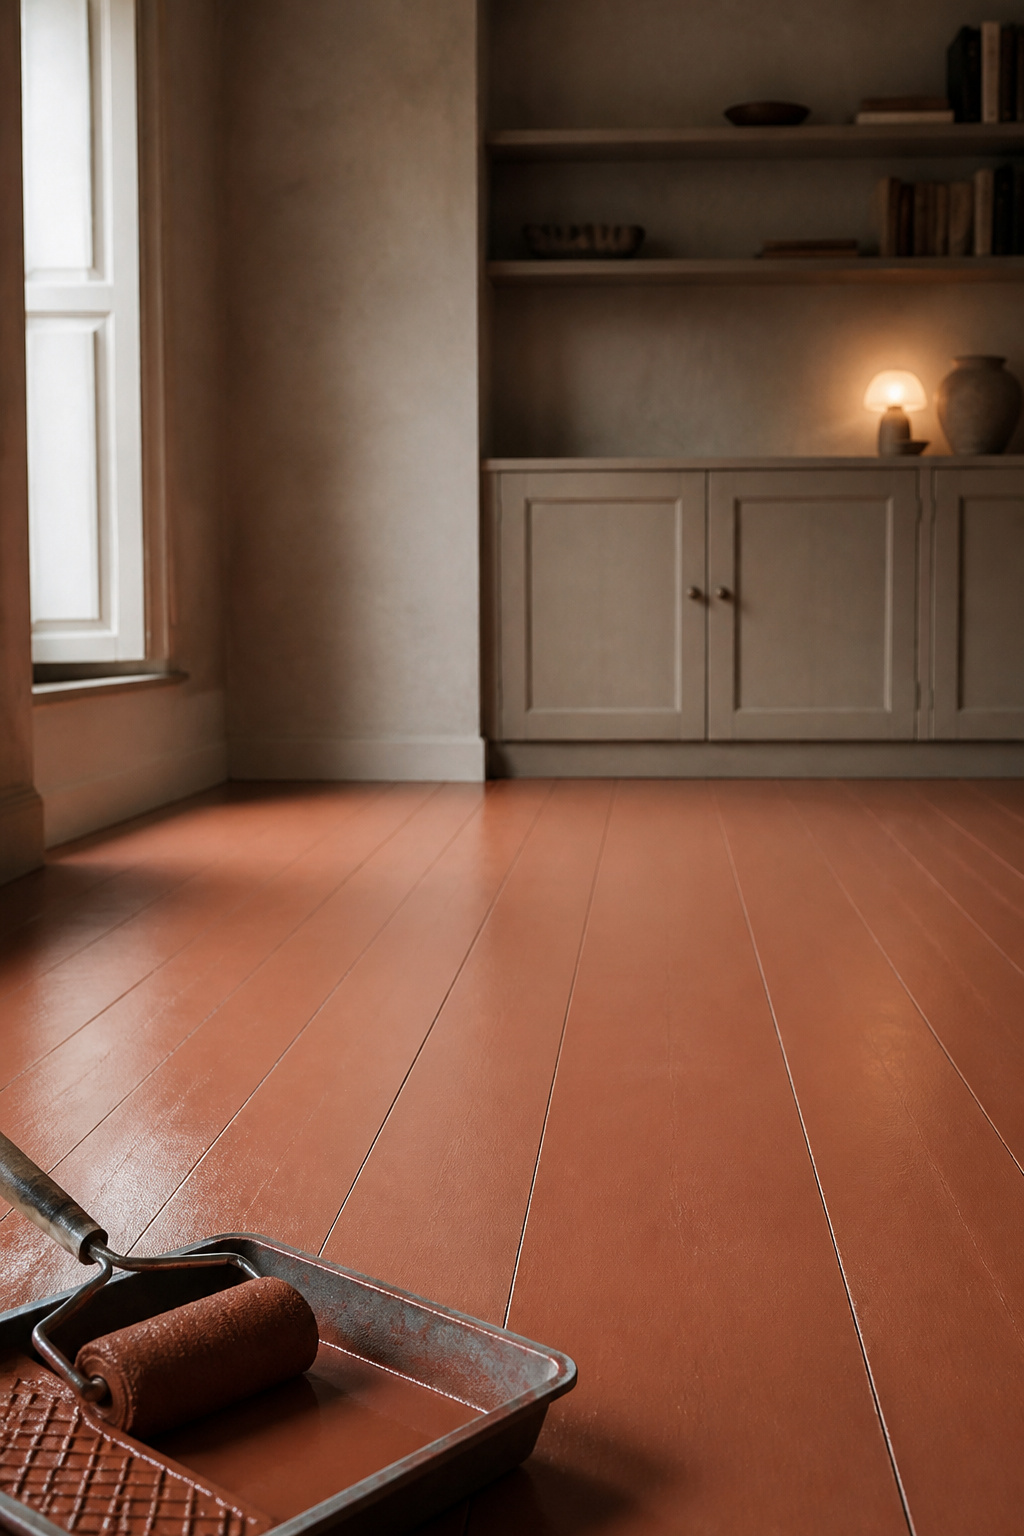
Painting an Existing Floor
The product decides this, not the technique. Porch-and-floor latex satin enamel is made for foot traffic; wall paint isn’t. Over a general-purpose primer, with no topcoat — which is very likely to yellow — one project documented by DesignerTrapped held up seven years without chipping. Material runs about $2 per square foot on hardwood and $1.50 on laminate (The City Painters, 2026) — a source that doesn’t price vinyl or linoleum, so treat it as a proxy.
The same City Painters page warns painted floors have very little durability, which sits badly beside that seven-year result. Product choice rather than technique is the likeliest explanation — but nobody has tested the two head to head, so that’s my reasoning, not a finding. And skip painting in a consistently wet zone regardless of product — that’s the strip in front of your sink and dishwasher, not a place any paint film is meant to live.
What’s Underneath, If Anything
If solid or engineered wood is genuinely under there, refinishing is often the actual bargain: professional sand-restain-refinish runs $2 to $7 per square foot (HomeGuide, 2026), well under the cost of buying new. DIY isn’t automatically cheaper either — equipment rental eats the saving fast on a small kitchen’s square footage. Rachel Blackwood covers the sanding, the cutoffs and the real economics of keeping what’s already down there in her guide to hardwood in a kitchen, elsewhere in this series.
The Renter’s Version: Removable and Deposit-Safe
No lab has put peel-and-stick tile in front of a dishwasher and tracked it over years, and I won’t pretend otherwise. What follows is reasoning built from the closest real evidence — brand-neutral moisture findings plus one hands-on durability test — not a tested result.
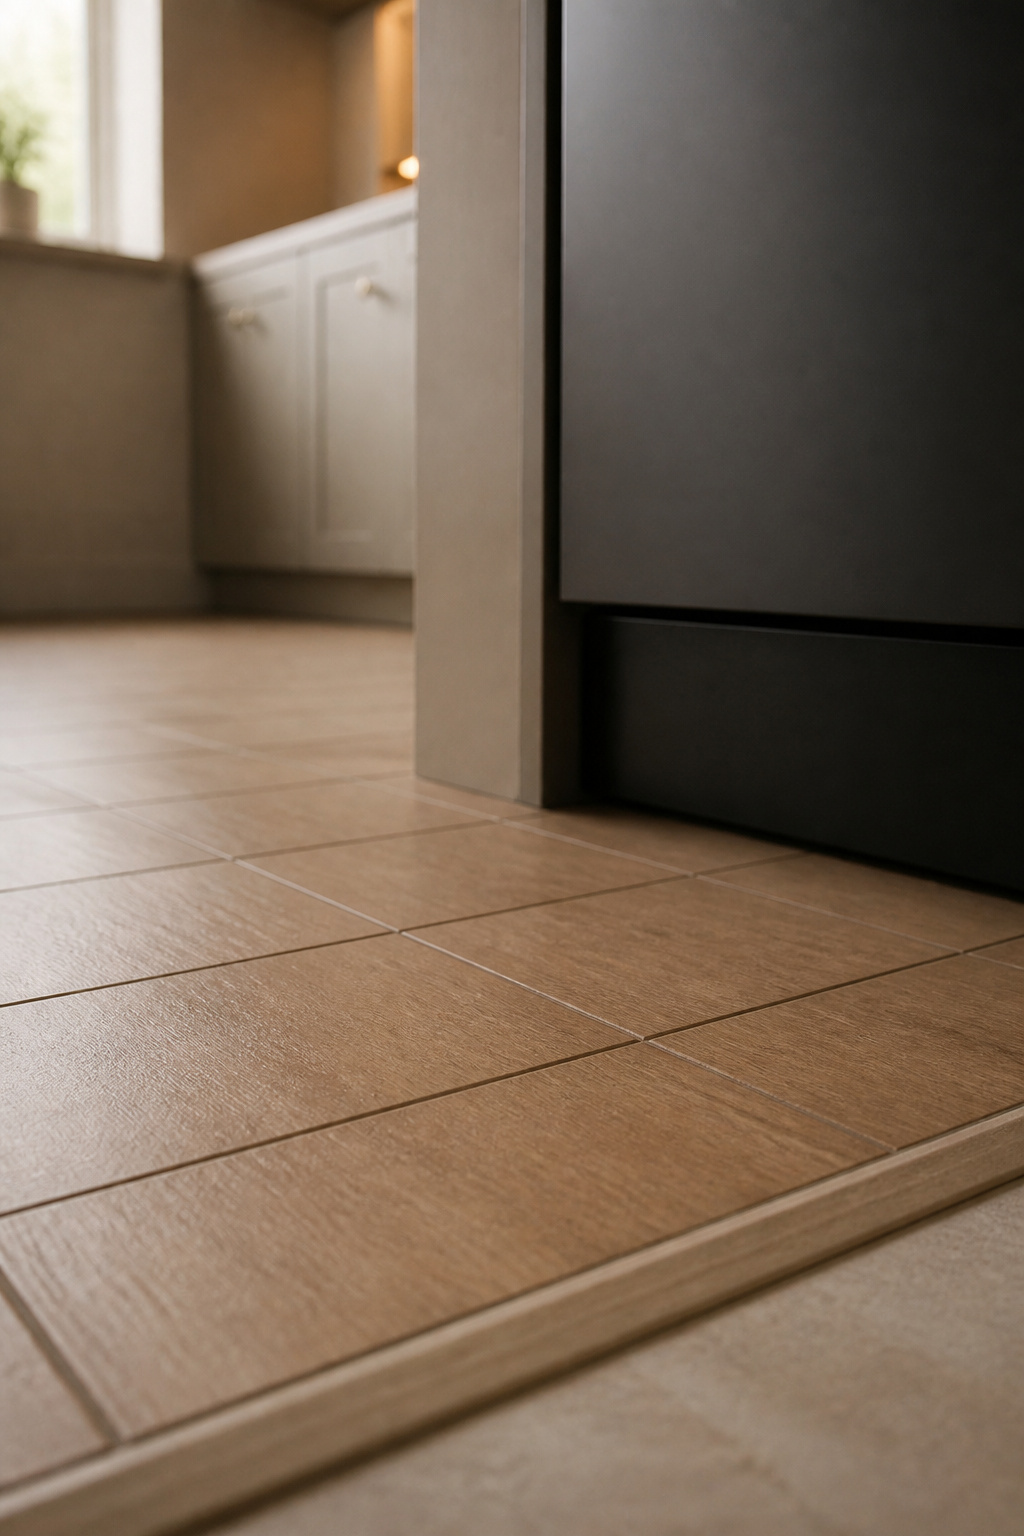
Peel-and-Stick Vinyl in Front of a Dishwasher
Angi (2026) is direct: peel-and-stick isn’t recommended for high-moisture environments, because splash exposure can affect adhesive longevity and break it down faster. Bob Vila’s test of five products found the opposite — dropped items bouncing back, surfaces hard to scratch — but that was general drop testing, not an appliance bay. So, for that bay:
- Lay a moisture barrier across the dishwasher footprint before any tile.
- Put a protective mat under the machine; cycookery.com’s general vinyl guidance notes lower-quality vinyl can indent under appliance weight.
- Inspect the two tiles nearest the door every few months: edges lift before the field does.
What Comes Up Clean at Move-Out
Bob Vila’s testers found one product’s removal “was a breeze and left minimal residue,” wiped off with soap and water. Angi confirms the category is removable and renter-suitable, though without detail after long wear. The bigger variable is underneath: laying over a floor already peeling, bubbling or moisture-affected is the documented cause of a bad result.
What Doesn’t
The adhesive breakdown Angi names as the durability failure is also the messy-removal failure: old glue leaves residue where fresh doesn’t. So the tile that sat in front of a dishwasher for three years is the one that fights you at move-out. Test-patch somewhere inconspicuous first.
Where to Spend the Extra Dollar a Square Foot
Two places. That’s the whole list.
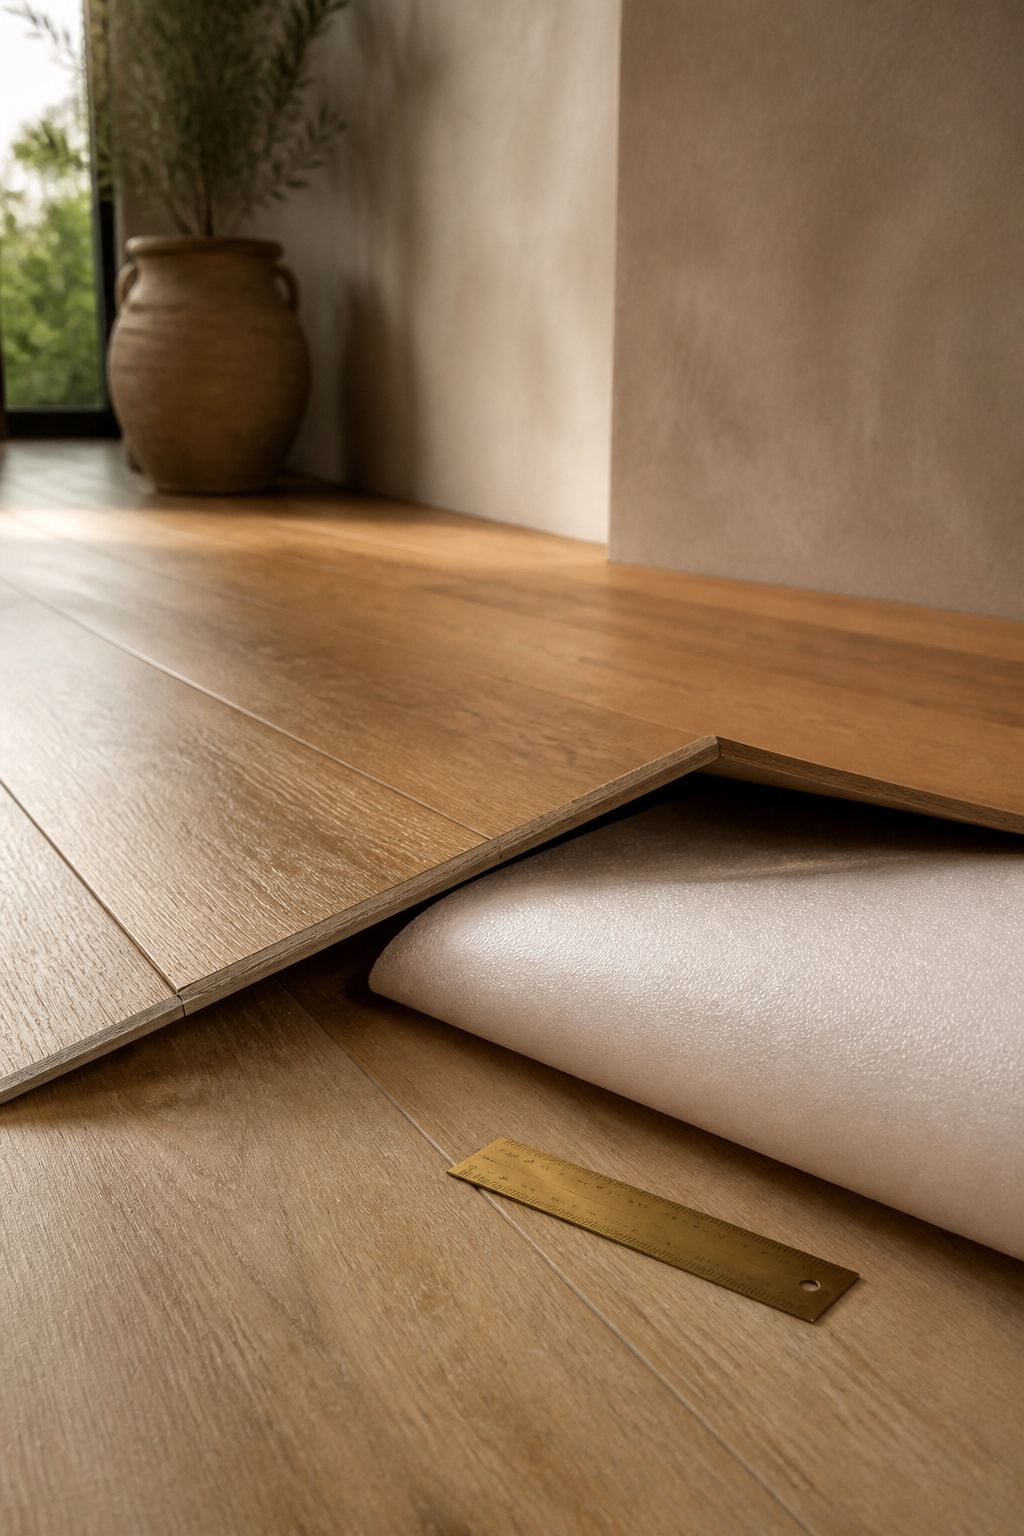
Underlayment
Thin foam or felt under a floating floor adds roughly $0.30 to $0.75 per square foot, on top of $1.00 to $2.00 in floating-install labour (FlooringStores’ 2026 breakdown). It is the project’s smallest line item, and it blocks moisture and levels imperfections that otherwise telegraph through. One caution while shopping: a separate “underlayment installation” estimate quotes $4.38 to $5.27 per square foot. That is almost certainly a different job — plywood subfloor carpentry, not a foam roll — so don’t let it talk you out of the cheap product.
Basic Installation vs Doing It Right
The detail that makes a budget floor look budget is usually the transition strip — the wrong one announces itself at every doorway. Get the actual gap measured before you buy one; don’t grab whatever the store has in stock. The DIY saving is real: professional labour runs $3 to $10 per square foot against $2 to $8 for materials alone. Then the lines most estimates skip — tool rental at $50 to $150 a week, 5 to 15% of material lost to mistakes, and unfixed mistakes costing 40 to 60% more to remediate.
Getting Started This Weekend
None of this needs a decision today. It needs a tape measure and an hour.
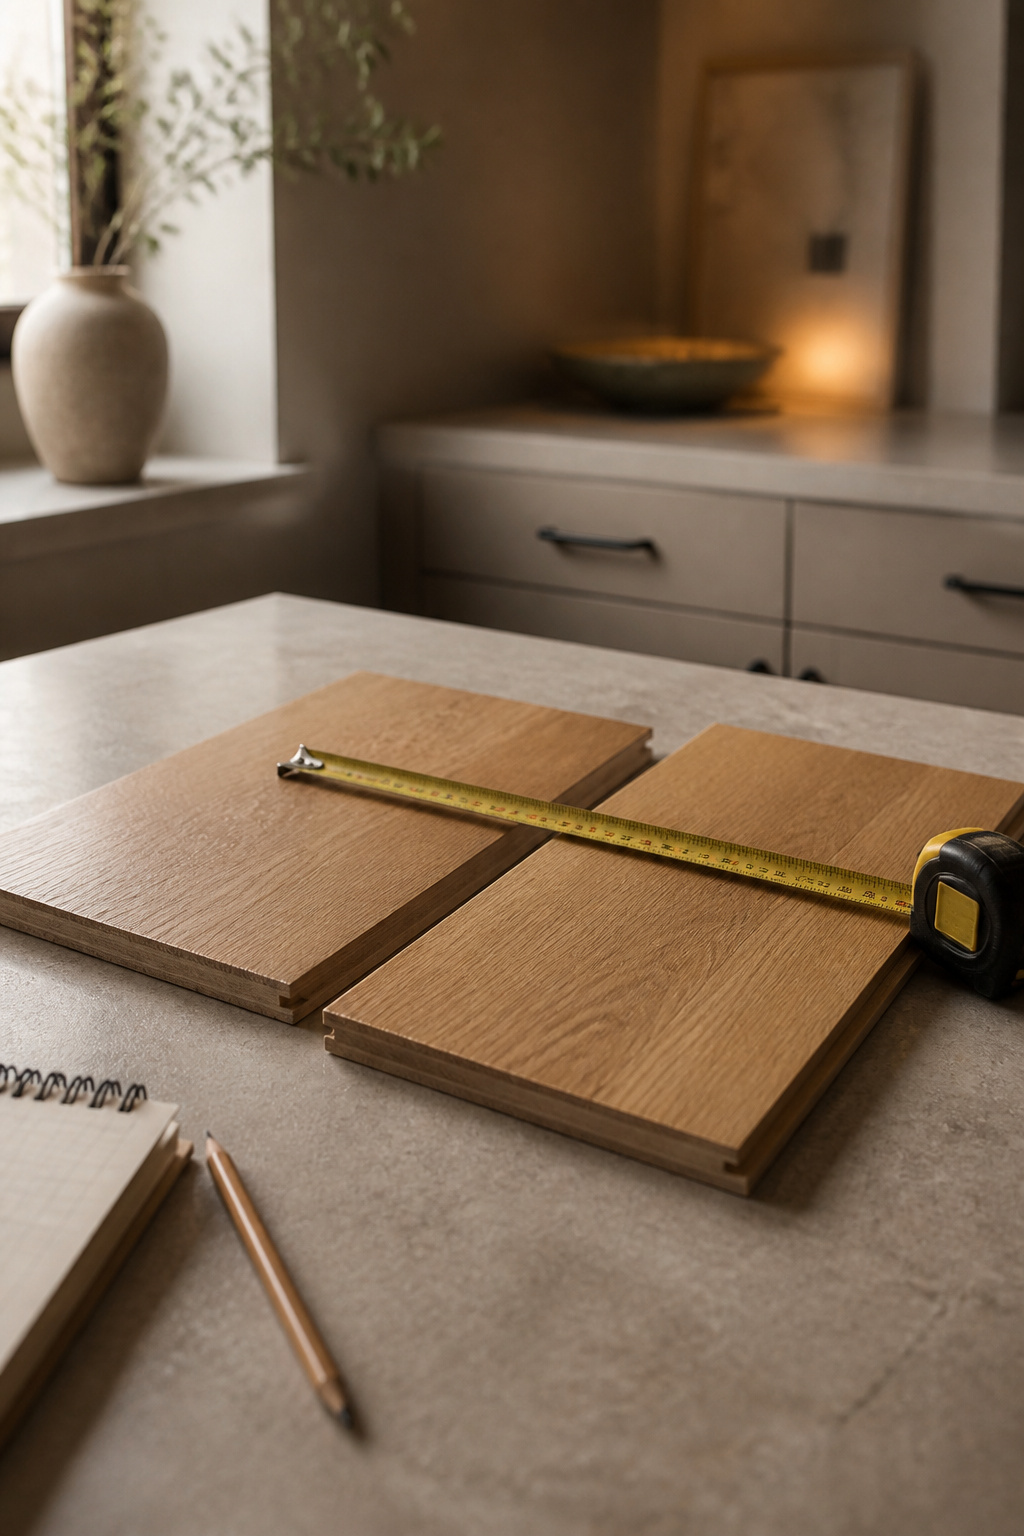
Measuring and Ordering Enough Material
- Measure the floor as rectangles and add the areas, rather than guessing one number for an L-shaped room.
- Add 10 to 15%, because cutting and layout mistakes waste 5 to 15% of material.
- Check the gap above your dishwasher before choosing a thickness — a new floor can lift the level 3/8 to 3/4 inch, enough to stop the machine going back under the counter.
The First Weekend Project
- Paint, if the substrate is sound. One coat of primer, two coats of porch-and-floor enamel, overnight drying between each: foot traffic is two to three days out. A genuine weekend, then, not a one-day flip.
- Or lay one peel-and-stick accent zone instead of the whole room. It tests your cutting and that product’s adhesion against your own subfloor, and a mistake costs a handful of tiles.
The myth was that a low number buys a bad floor. What actually buys one is unrated laminate, the thinnest sheet on the rack, or adhesive sitting in standing water — all three visible before you ever hand over money. None of that has anything to do with the number on the price tag. Spend the extra dollar in the two places that actually matter — underlayment first, a properly measured transition strip second — and the rest of the budget is yours to spend on whichever floor you like the look of.
FAQ
Does peel-and-stick vinyl flooring damage a rental kitchen floor underneath?
Not inherently. Angi’s brand-neutral assessment calls peel-and-stick tile removable and renter-suitable, and in hands-on testing one product’s removal was a breeze, leaving minimal residue wiped away with soap and water. The real risk is the substrate: laying over flooring already peeling, bubbling or moisture-affected is the documented cause of damage.
Can you install budget flooring over old vinyl or linoleum?
Yes, in most cases. The existing surface has to be flat, smooth, securely glued down, and free of major damage or moisture problems. If it is peeling, bubbling or damaged, remove or repair it first. Otherwise dips, bumps and old seams telegraph through the new floor.
How long does budget kitchen flooring typically last before it needs replacing?
Sheet vinyl and vinyl tile both sit in a 10-to-25-year range with maintenance, and thicker product outlasts the bargain tier. Laminate carries the same range, with AC4-rated sealed-edge board nearer the long end. Painted floors depend on product: one source warns of very little durability, while porch-and-floor enamel has a documented seven-year result.