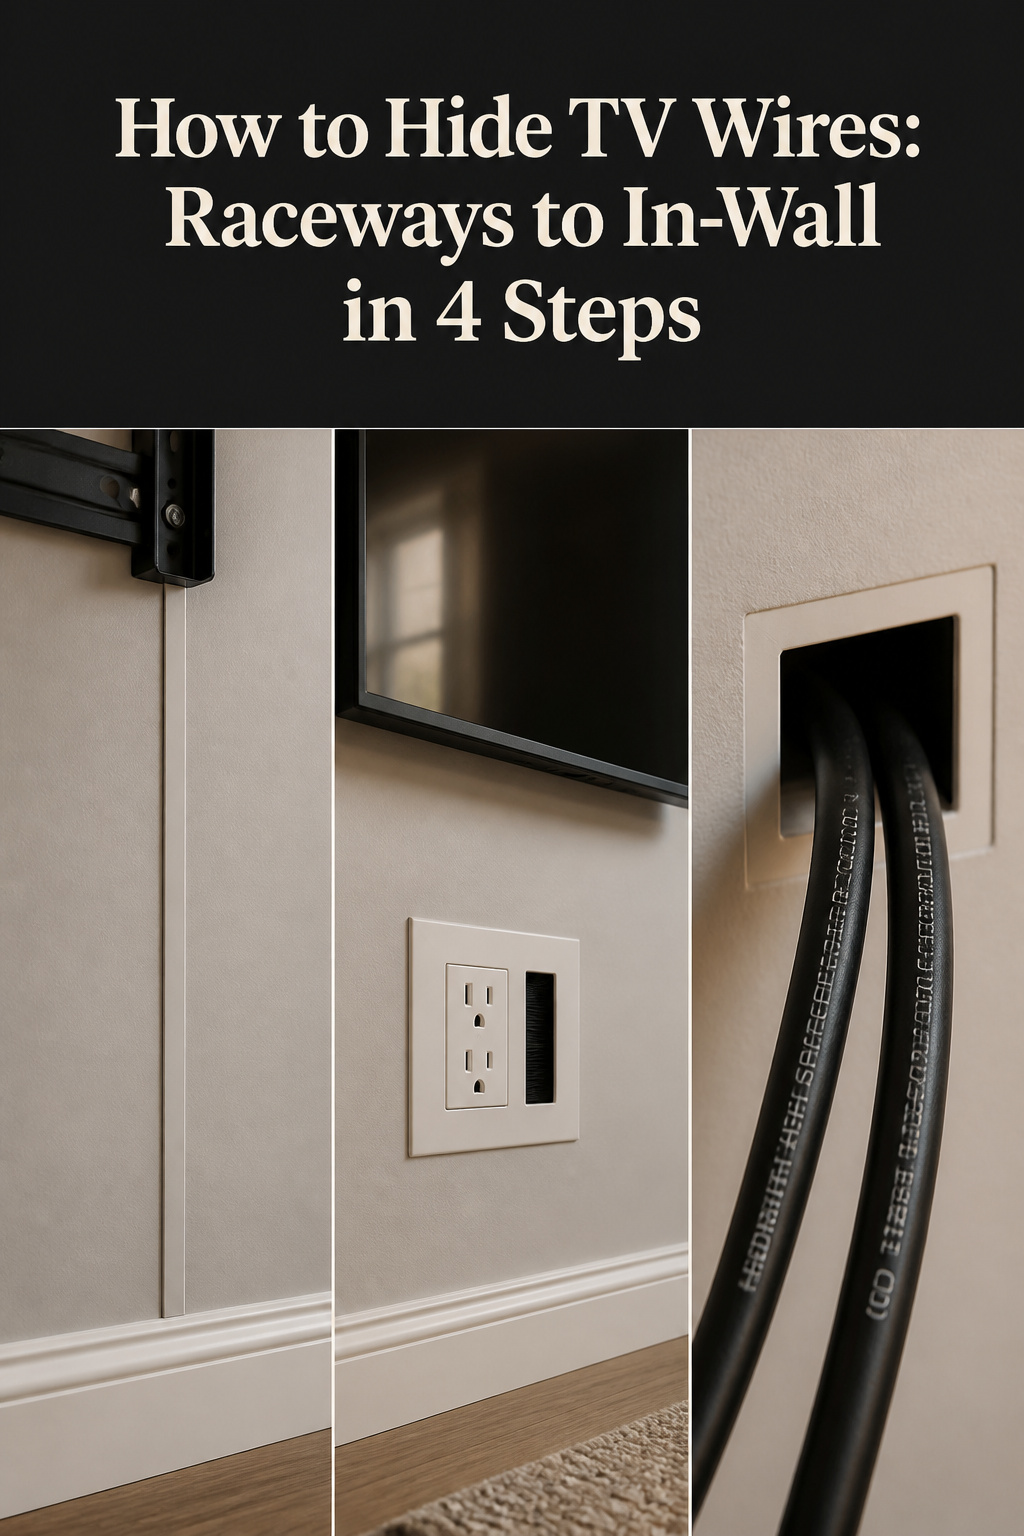
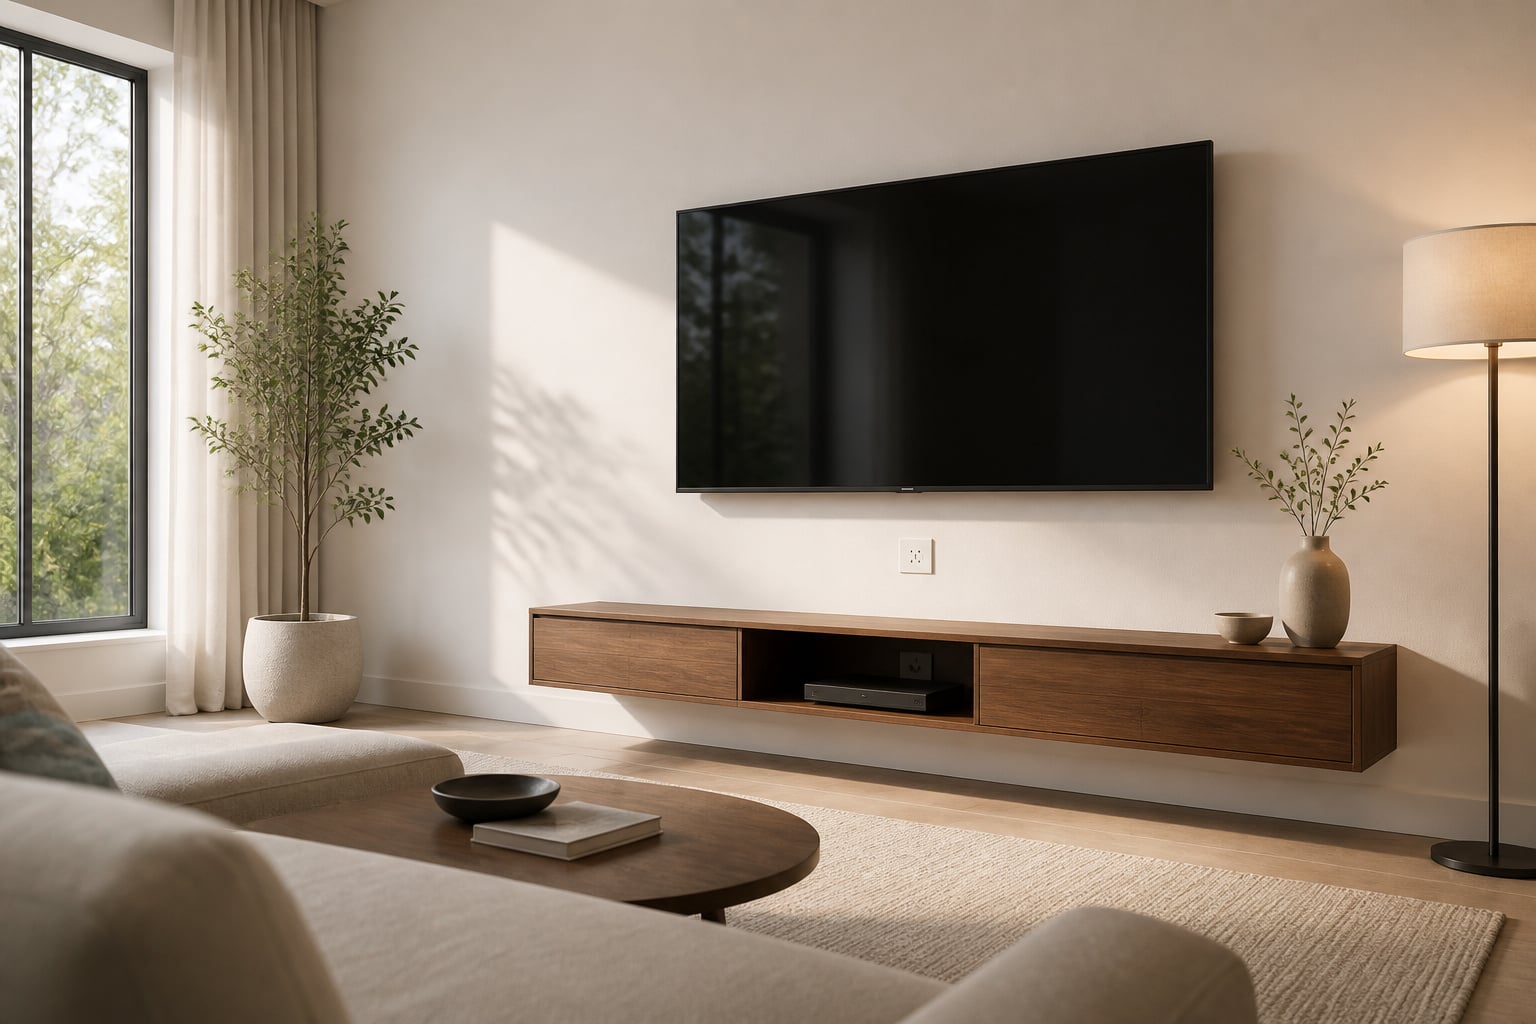
You mount the TV, step back, and there it is: a black panel floating clean on the wall, with a fistful of cords spilling out the bottom corner like a loose thread on a good suit. The mount took twenty minutes. The cables undo all of it. That tangle is the single detail between a setup that looks installed and one that looks improvised — and learning how to hide TV wires is the fix that finally makes the whole wall read as finished. There are four ways to do it, and the right one depends mostly on one question: are you renting, and is this permanent?
TL;DR
- Four methods, rising in cost and permanence: surface raceway ($10–30, renter-safe, no cutting), cord sleeve ($19, for floor-standing TVs), DIY in-wall recessed kit (approximately $50–100, drywall only, no electrician), and an electrician-installed outlet behind the TV ($150–300).
- Never run a standard power cord or extension cord inside a wall — electrical code prohibits it and it voids most home insurance. In-wall power needs a code-rated recessed kit or an electrician; low-voltage cables (HDMI, speaker) just need a CL2 or CL3 rating.
- Plan the cable route before you mount: count your devices, size for double, and leave a pull string in the wall so next year’s cable is a straightforward pull, not another wall-cut.
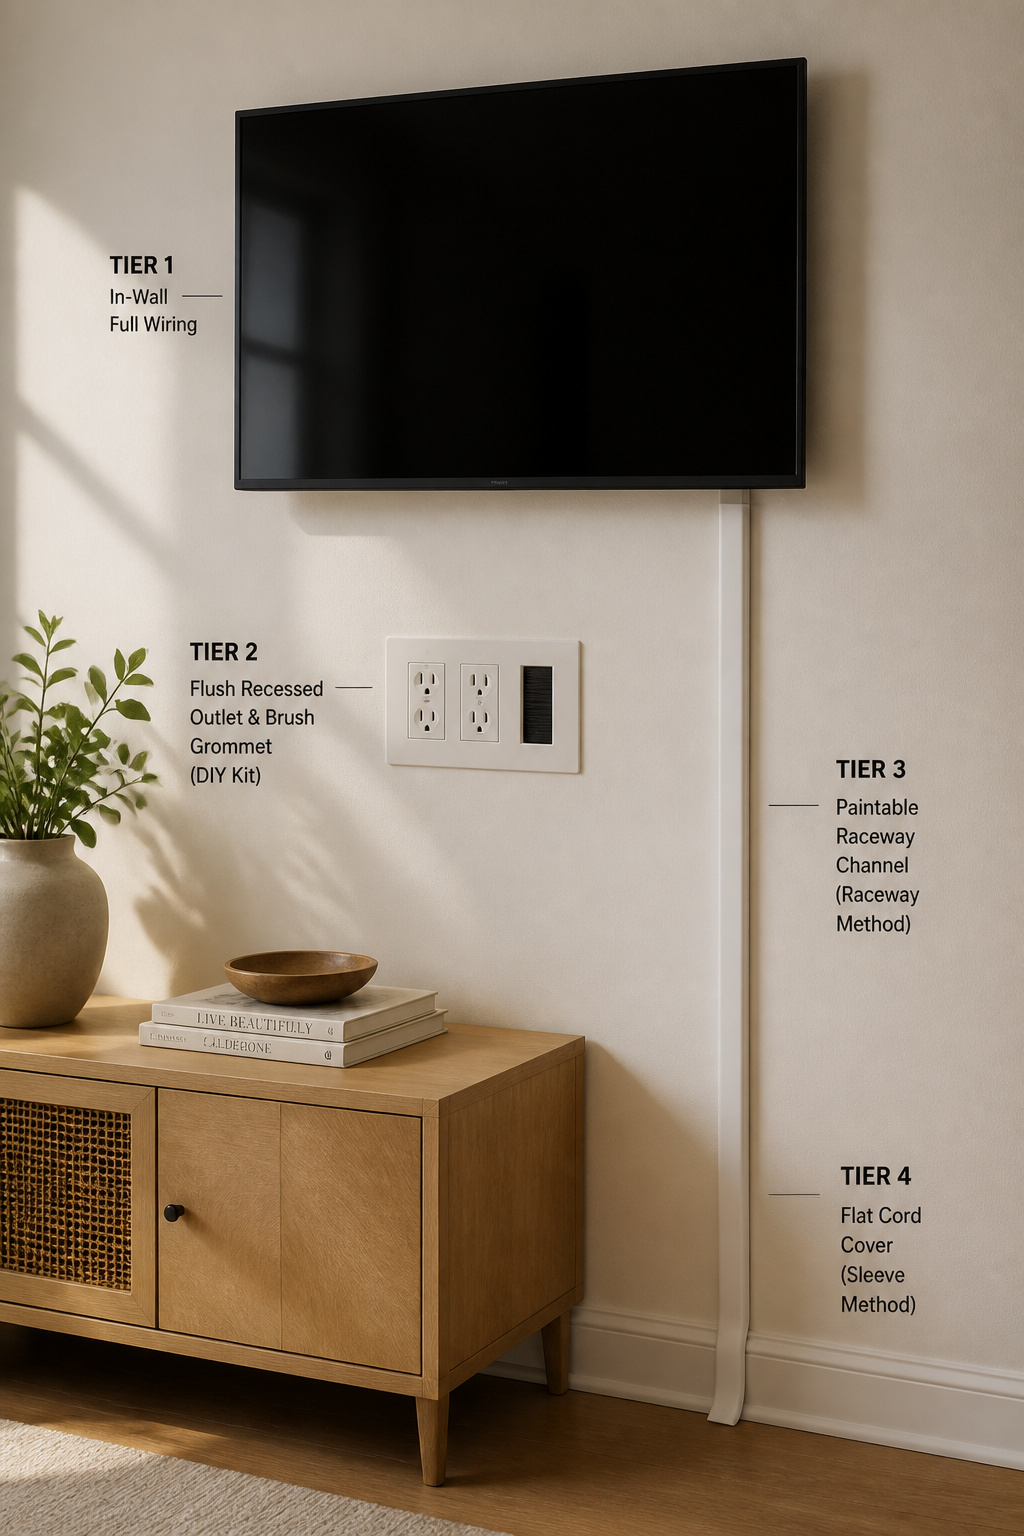
The Four Cable-Hiding Methods: A Map Before You Choose
Before you buy anything, it helps to see the whole menu at once. There are four distinct ways to deal with TV cables, and they line up on a single axis: how permanent, and how much you can undo. A raceway peels off when you move out. A hard-wired outlet does not — that one’s in the wall for good. Pick by your situation, not by what looked tidiest in a photo.
| Method | Cost | Renter-safe? | Skill level | What you need |
|---|---|---|---|---|
| Surface raceway | $10–30 | Yes | Beginner | Raceway kit, paint, level |
| Cord cover / sleeve | $19–20 | Yes | Beginner | Sleeve kit (floor-standing TVs) |
| In-wall recessed kit | Approx. $50–100 | No (drywall only) | Confident DIYer | Kit, stud finder, drywall saw |
| Electrician-installed outlet | $150–300 | No | Licensed pro | An electrician |
The jump that matters is between rows two and three. Everything above the line is reversible and leaves the wall intact; everything below means cutting into it. So the deciding question is rarely “which looks best” — done right, all four disappear — but “am I allowed to cut this wall, and do I want to.”
Surface raceways: the renter-safe baseline
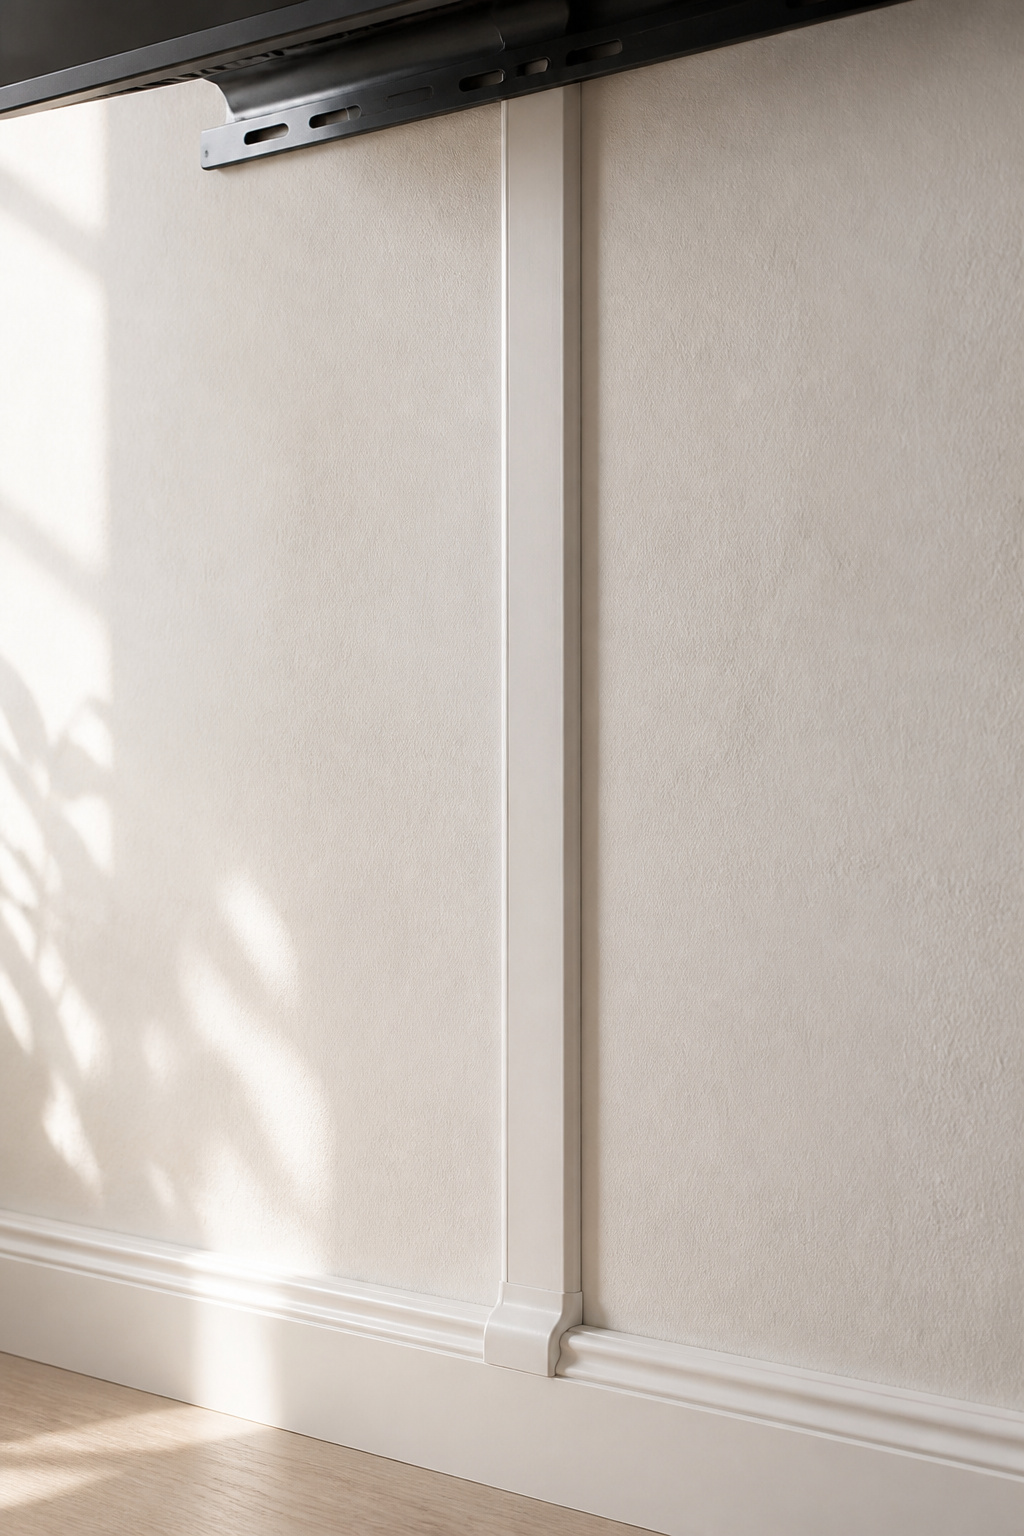
A surface raceway is a slim plastic or metal channel that mounts flat to the wall and encloses the cables on three sides. Adhesive versions leave no drywall damage at all; screw-mounted ones leave small holes you patch with spackle. Both are lease-compatible in most places, which makes this the only true cut-nothing method for a wall-mounted TV.
Cord covers and sleeves: the simplest fix for floor-standing TVs
If your TV sits on a console rather than the wall, you don’t even need a channel. A flexible spiral sleeve or a flat cord cover bundles the run from console to outlet with zero wall attachment. A kit covering 254 inches — over 21 feet — runs about $19, plenty for a long floor-level route.
In-wall recessed kits: the permanent solution
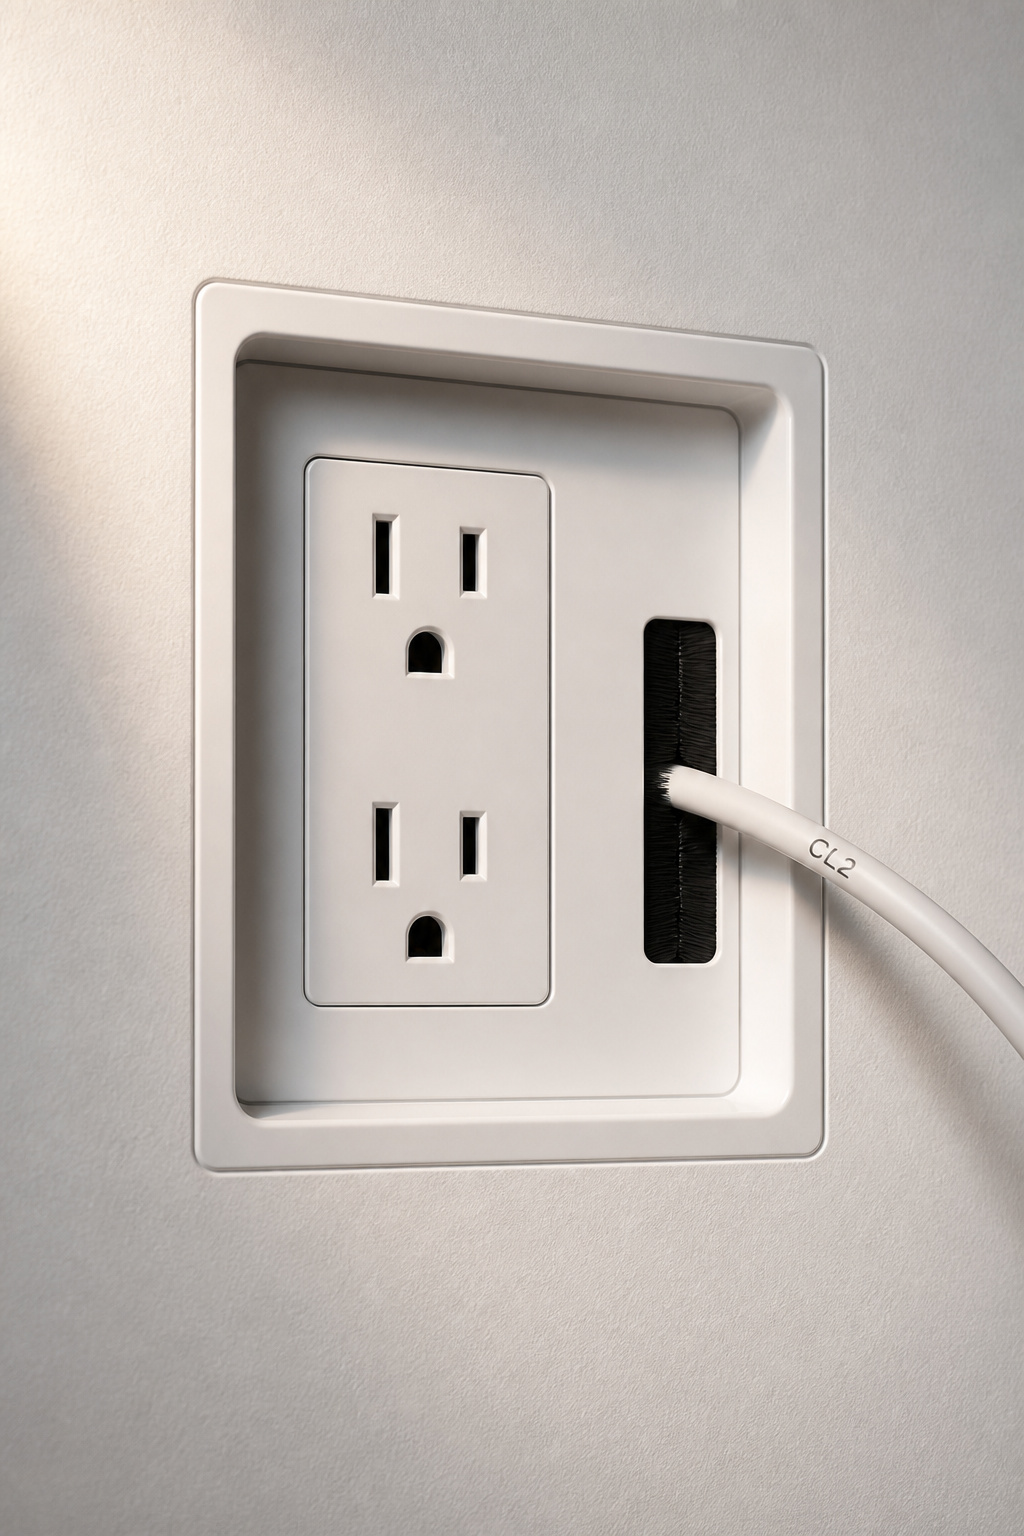
A recessed kit (PowerBridge, ECHOGEAR, Sanus) drops the cables inside the wall and brings power back out flush through a plate behind the TV. The result looks identical to a professional job, but you install it yourself. It’s drywall-only and runs approximately $50–100.
Full in-wall wiring: the electrician route
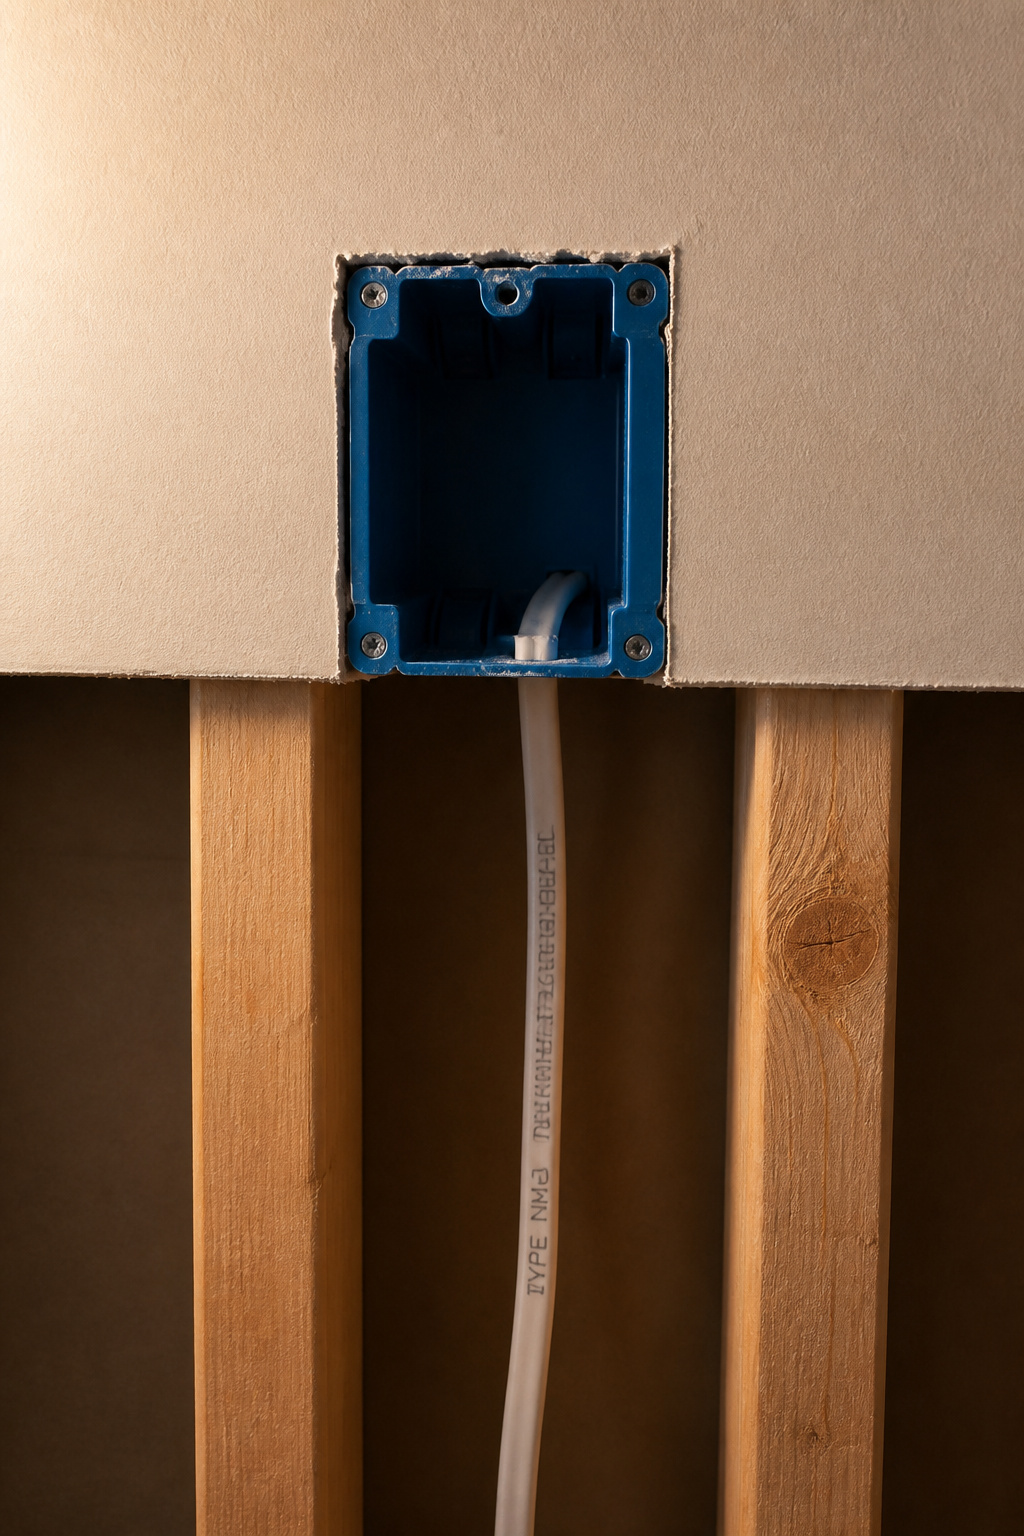
The most permanent option is a licensed electrician adding a real outlet behind the TV, wired back to the panel. It fully integrates into the home’s circuit — and it’s the only route that handles long runs, like an above-fireplace mount, that the DIY kits can’t reach.
Surface Raceways: Clean, Removable, and Genuinely Good Enough
Here’s what surprises people: a painted raceway, done right, nearly vanishes. The gap between a raceway result and an in-wall result is far smaller than it looks before you try it. The catch is that most people undersize it — they buy the narrow channel to save eight dollars, then spend an hour fighting to force five cables into a space built for two. As Mount-It! installation specialist Jan Veroti puts it, that’s “cable envy at the point of purchase.” Size generously from the start.
Sizing the raceway to your cable count — wider than you think
The rule is simple: buy for double the cables you have now. Devices accumulate — a soundbar here, a streaming stick there — and a channel you can’t reseal is worse than a slightly visible one. A full-tunnel raceway like the ECHOGEAR EGAV-CMOW1S runs 3.5 inches wide and swallows six to eight cables, which is the practical floor for a TV wall carrying power, HDMI, optical, and a spare.
Paintable vs. pre-finished: color matching that works
Paintable channels accept normal wall paint, but only after light sanding with 220-grit and a coat of primer — skip the sanding and the paint peels within months. To match an aged wall, bring a sample to the paint store for a color-match scan; off-the-shelf white almost never lands. Renting and can’t paint? A pre-finished black raceway on a dark wall, or white on white, reads as intentional rather than apologetic.
Here’s the install, start to finish:
- Plan the full path with painter’s tape first — it shows whether the line clears obstructions and looks clean from across the room.
- Run a stud finder along the route; staying within 6 inches of a stud gives screws a secure anchor and avoids pipes and wiring.
- Cut channel lengths to fit, adding elbow connectors at any 90-degree corners.
- Mount the back channel, working top to bottom, keeping it dead vertical with a level.
- Lay the cables in, snap the cover on, and finish the bottom into the baseboard with a flat elbow.
- Sand, prime, and paint with two thin coats if you’re color-matching.
The kit is short. You’ll want:
- A raceway kit with elbows and couplings sized to your run.
- A stud finder — a few-dollar magnetic one works fine.
- A level, painter’s tape, and a small handsaw or snips to cut channel.
- 220-grit sandpaper, primer, and matched paint if painting.
In-Wall Recessed Cable Kits: The Upgrade That Looks Fully Custom
This is the tier where the wall stops showing any sign of the TV’s plumbing — and where the rules get strict, because now you’re putting things inside the wall. A recessed kit works by creating a code-compliant power pass-through: an upper plate behind the TV connects to a lower plate at your existing outlet through an in-wall rated NM-B cable. The TV plugs into the upper plate like any normal socket.
What a kit can and can’t carry
This is the part to get right, so read it twice. You can route in-wall rated power through the kit, and you can run low-voltage signal cables — HDMI, speaker wire, optical — through the wall beside it, as long as each one carries a CL2 or CL3 rating. CL2 covers circuits up to 150 volts, CL3 up to 300; both are fine for HDMI and speaker runs. Ethernet is the exception: an in-wall data run needs a CMR riser rating, so a standard Cat6 patch cable doesn’t qualify even when your HDMI does.
What you cannot do, ever, is run a standard TV power cord or an extension cord through the wall. Electrical code prohibits concealing any flexible cord inside a wall, regardless of how heavy-duty the cord is — including inside conduit. As PowerBridge’s own guidance puts it bluntly, there is no such thing as an in-wall rated extension cord; the product doesn’t exist, and a wall fire is exactly the scenario your insurer will cite. The recessed kit exists precisely because it’s the legal way to get power up the wall. Use it, or use an electrician.
Choosing the right kit for your wall
Standard kits are built for drywall. They use snap-in wings that bite the back face of the gypsum board when tightened — so they don’t work in plaster, tile, or concrete without modification. That plaster-and-tile limit is practical guidance from installers, not a coded rule, but it holds. Plaster walls, common in pre-1950s homes, have lath behind them that fights a clean cut; tile and masonry rule out a recessed kit entirely, and a surface raceway or an electrician becomes the answer. Metal-stud walls — common in apartments — need a metal-rated bit and toggle anchors, and you switch your stud finder to its metal-detection mode.
The install sequence and where it goes wrong
- Find the studs and confirm both plates land in the cavity between them, never on a stud face.
- Mark and cut the upper hole behind the TV’s footprint and the lower hole by the outlet, using the kit templates.
- Fish the power and signal cables from top to bottom — keep power and signal on opposite sides of the cavity to avoid interference. Electrical code is firm here: audio cable can’t share an enclosure with power, and coax wants two inches of separation from power cable unless one of them is in a raceway.
- Lock both plates in with their snap wings and connect the power cable per the instructions.
The failure point nobody expects is fire blocking — a horizontal 2×4 nailed between studs at mid-wall height. You can’t bypass it; you drill through it with a flex bit and seal the hole with fire-rated caulk.
Full In-Wall Wiring: When You Need an Electrician and Why
There’s a clean legal line through all of this, and it’s worth stating plainly. Low-voltage cable — HDMI, speaker, Ethernet, optical — you can run yourself in most US jurisdictions. Line-voltage 120-volt power going to a new outlet box is the electrician’s job, permitted and inspected. The DIY kit sidesteps that line by extending an existing outlet rather than creating a new one; the moment you want a brand-new outlet on the circuit, you’re calling a pro.
What it installs and roughly what it costs
A licensed electrician adding a recessed outlet behind the TV, run from a nearby existing circuit, costs roughly $150–300; national outlet-addition averages land around $138–320. A whole new circuit from the panel runs higher — $200–400 or more — depending on panel distance and spare capacity. This is the tier where I’ll be honest about diminishing returns: it’s only worth the spend when the install is genuinely permanent, when no outlet sits within a kit’s cable reach, or for the run no kit handles cleanly — a TV mounted above a fireplace, where the cable distance routinely beats the kit’s six-foot lead.
Planning the outlet before the TV goes up
The detail people miss is placement. The outlet has to hide behind the TV’s actual mounted footprint, not just somewhere below the bracket — get it within about 8 inches of the stud the mount bolts to. Sort this before the drywall closes, because retrofitting after the TV is up means pulling the set, cutting, patching, and repainting. A few things to settle before you call anyone:
- Exactly where the TV’s bottom edge will sit, so the outlet stays hidden above it.
- Whether the nearest circuit has spare capacity — let the electrician confirm, don’t assume.
- A conduit sleeve instead of a bare cable run, so you can swap cables later without reopening the wall.
Planning Cable Routes: The Step That Saves the Job
Here’s the inversion that separates a professional install from a weekend one: pros plan the route before they buy a single piece of hardware, while most guides leave planning for last. Map the route first and it tells you which method is even viable — a tile wall kills the recessed kit before you’ve spent a cent. So do the boring part first.
Map device count and cable type before any holes
List every device that touches the TV: cable box, streaming player, console, soundbar, Ethernet. Then count cables per device. A 65-inch TV with a soundbar, an Apple TV, and a cable box typically throws off six to eight cables — and that count sets your minimum raceway width or tells you whether one in-wall grommet is enough. Run the list before you shop, not at the register.
The power strip inside the wall — what’s allowed
A natural instinct is to bury a power strip in the wall and call it solved. You can’t — a surge protector is a flexible cord, and electrical code keeps flexible cords out of wall cavities for the same reason it bans extension cords there. If you need several outlets behind the TV, the right answer is a multi-gang recessed box wired by an electrician, or a kit like the Mount-It triple-outlet version whose upper plate carries two or three sockets, enough to power a TV and soundbar without any strip.
Future-proofing: leave a pull string for next year’s cable
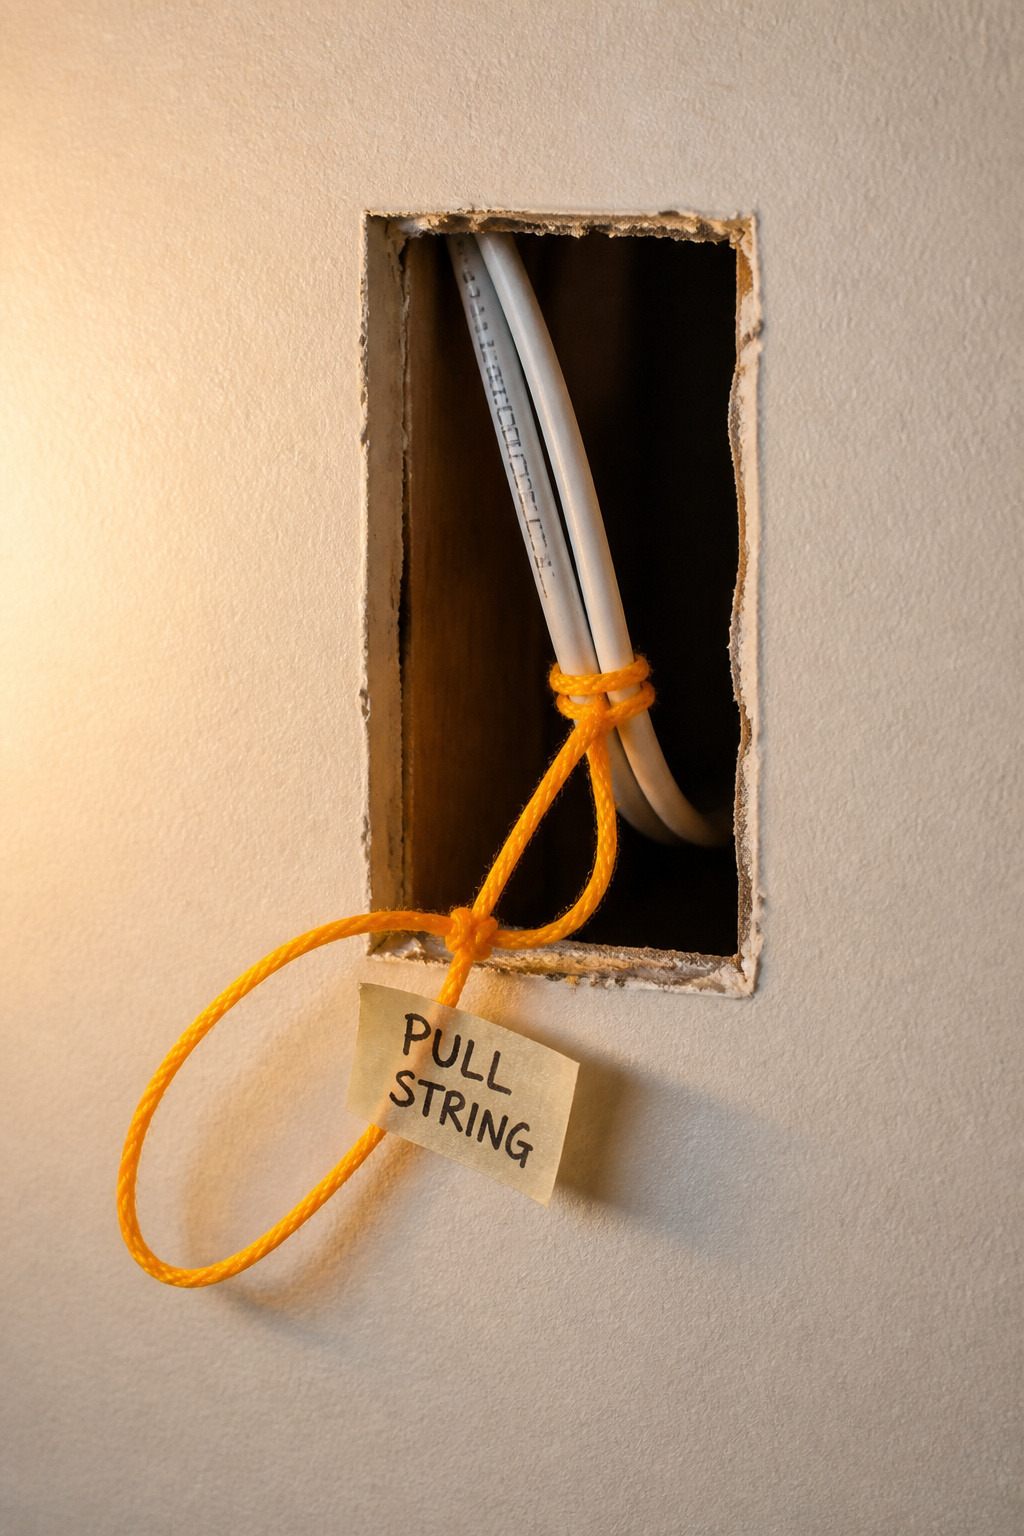
This is the one professional habit I’d hand every DIYer, and it comes from network-cable work, not AV showrooms. Every time you fish a cable through the wall, tie a fresh nylon pull string to it and leave 12 inches of slack at both ends before you seal the plates. Next year’s cable ties to that string and follows it through — no wall-cut, no guesswork. Then you tie a new string on as it goes, so the path is never left empty. I’ve watched people open the same wall three times for want of that 30-second step. Run a spare CAT6 alongside while you’re in there, too; wired beats wireless for a streaming TV, and the built-ins that hide the gear make the perfect place to terminate it.
Pick the lowest tier that fits your situation and start there: a painted raceway this weekend, or a recessed kit if you own the place and the wall’s drywall. Map the route, size for double, leave the string. For where this fits among the other decisions a screen wall asks of you, our full TV wall ideas guide lays them out together.
FAQ
Can you run TV power cables inside a wall yourself?
Yes, using a DIY in-wall power kit such as the PowerBridge ONE-CK, which is code-compliant, needs no electrician, and runs approximately $50–100. What you cannot do is run a standard power cord or extension cord through the wall — electrical code prohibits concealing any flexible cord inside a wall, and doing so voids most home insurance. A brand-new outlet wired to the panel needs a licensed electrician.
What is the cheapest way to hide TV wires without cutting the wall?
Surface cable raceways are the lowest-cost no-cut option: basic adhesive kits start around $10–18, and paintable full-tunnel kits run $17–30. For a floor-standing TV, a flexible cord sleeve covers about 21 feet for roughly $19 with no wall contact at all. Painted and color-matched, a good raceway comes remarkably close to an in-wall result.
Do in-wall cable kits require an electrician?
No — DIY recessed kits from PowerBridge, ECHOGEAR, and Sanus are designed for homeowner installation. They extend an existing outlet through in-wall rated cable, and the TV plugs into the upper plate like any socket. You’d only need an electrician to add a brand-new outlet, where local code demands a permit, or for an above-fireplace run that exceeds the kit’s six-foot cable.