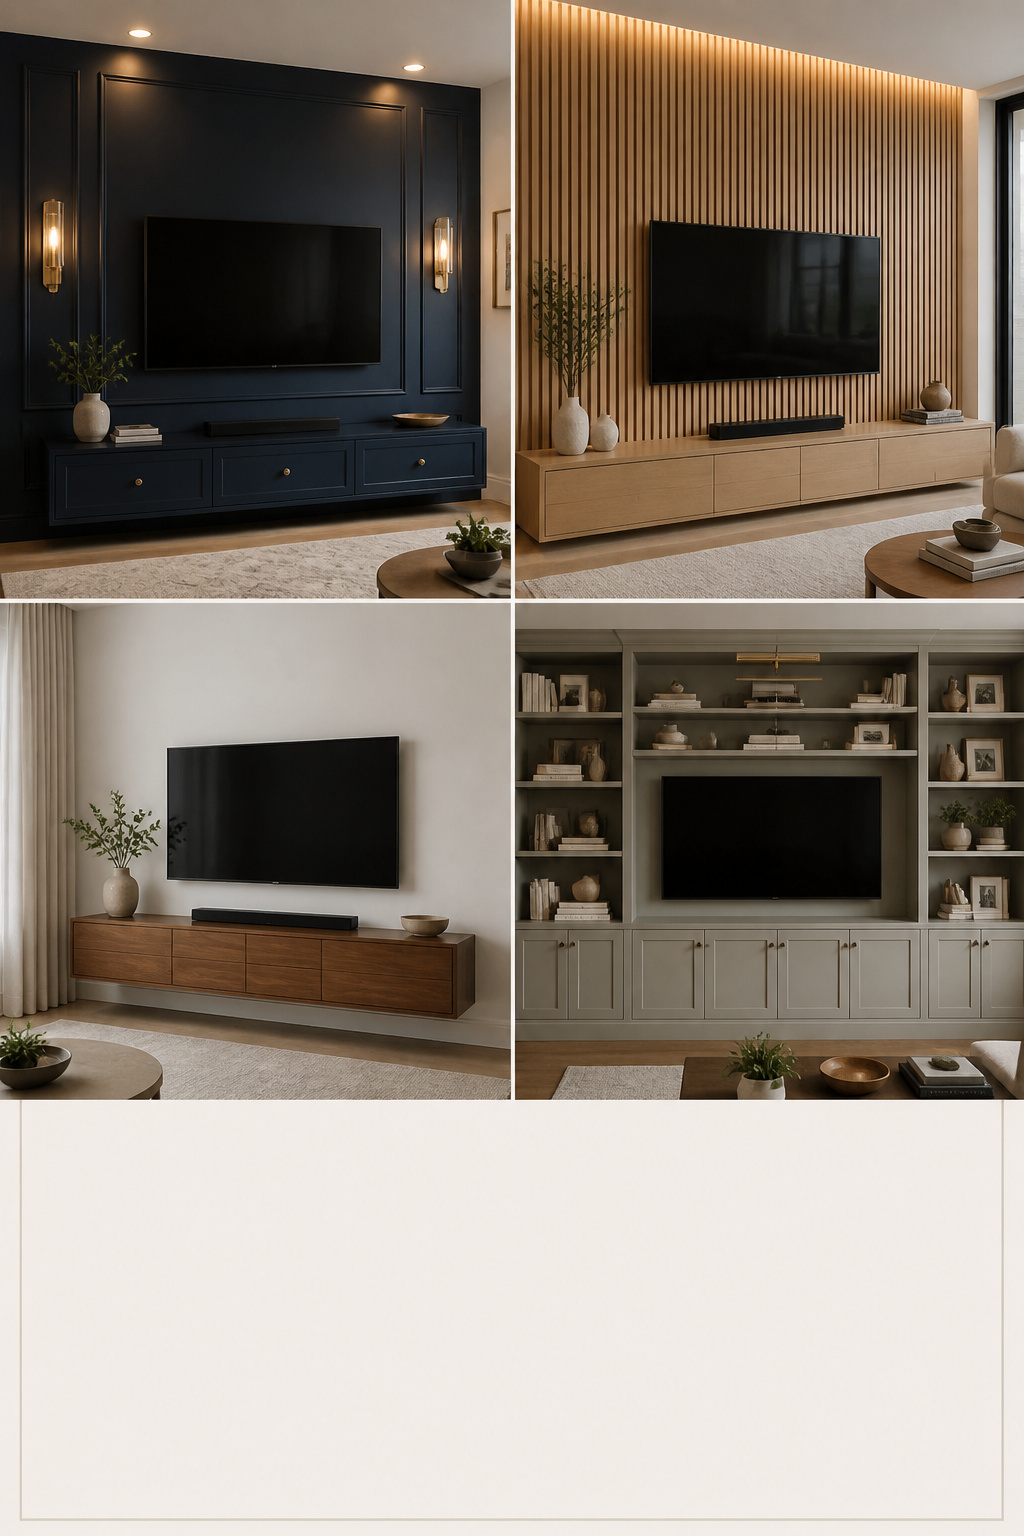
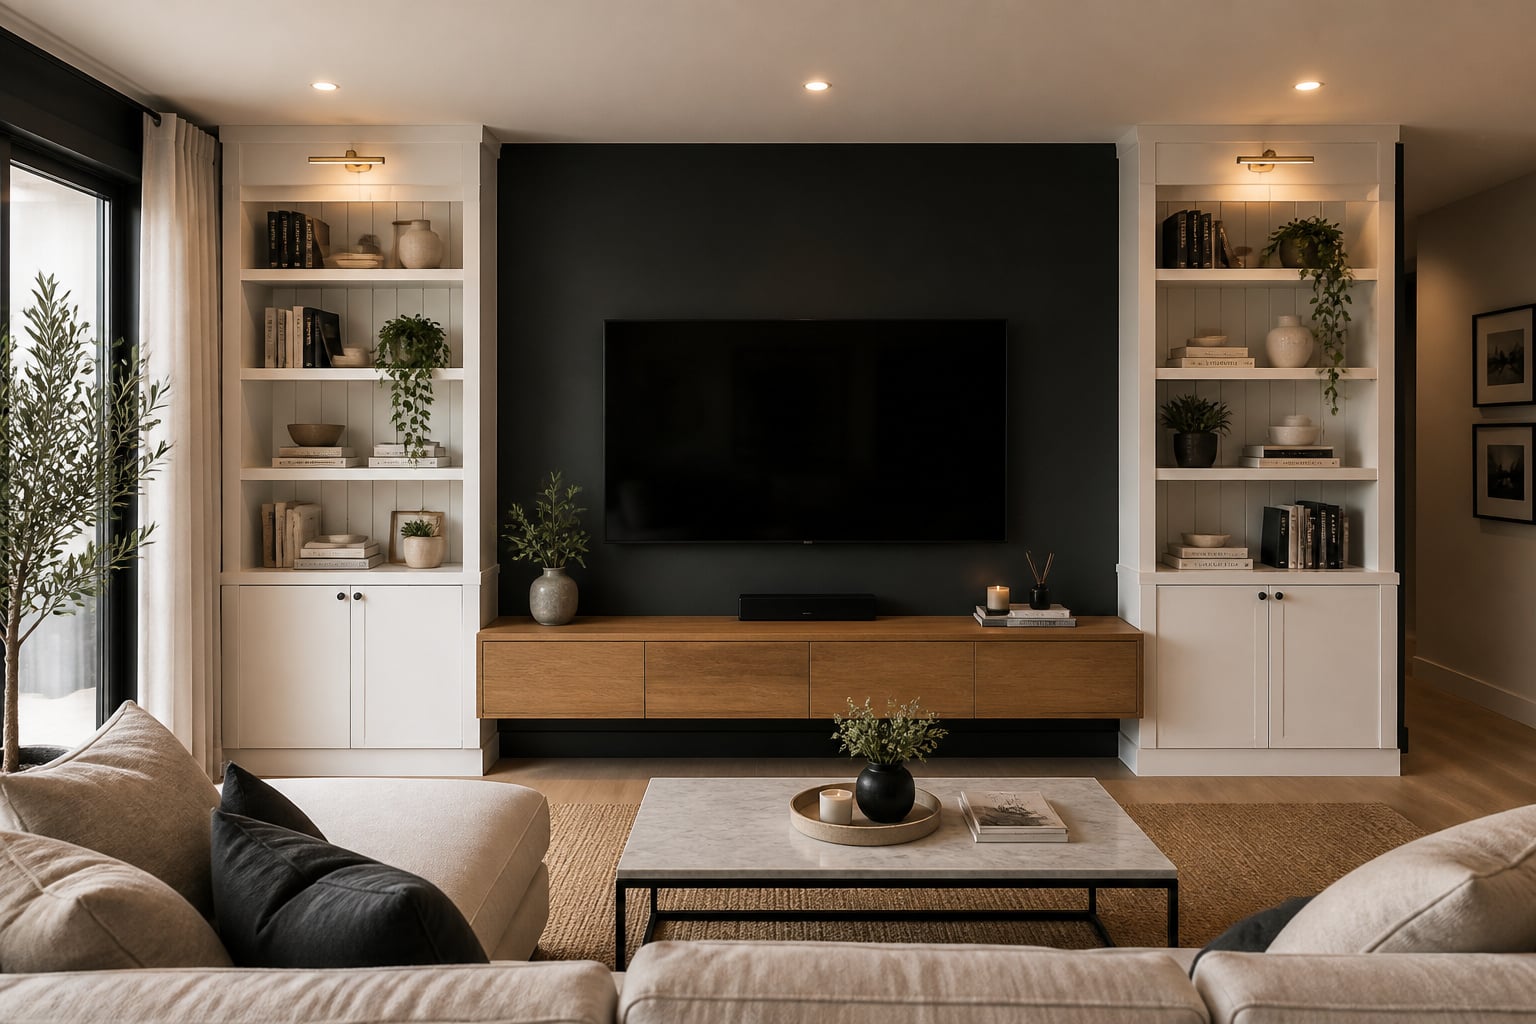
Search “TV wall ideas” and you get ten thousand photos and almost no judgment. Dark walls, wood slats, floor-to-ceiling built-ins, a screen over a roaring fire — all presented as equally good, which is how people end up with a 65-inch panel six feet from the sofa and a wall that fights the picture every night. So let me do the sifting. I design rooms where the screen is the whole point. The gap between a TV wall that looks designed and one that looks defaulted-to comes down to a few decisions made in the right order. Get them right and almost any style works. Skip them and the prettiest wall on Pinterest still feels wrong.
This guide walks the full decision space — placement math first, because it governs everything, then each style direction, then the practical fixes that make any of them look finished. Each section gives you enough to choose, and points to the deeper treatment where you need it.
What Makes a TV Wall Work: The Three Decisions That Govern Everything
Before color, before wood, before a single shelf goes up, three decisions set the whole project: how big a screen the room can take, where on the wall it should sit, and what job the wall itself is doing. Style is the easy part. These three are the part people skip, and skipping them is why so many handsome walls feel slightly off once the sofa goes in.
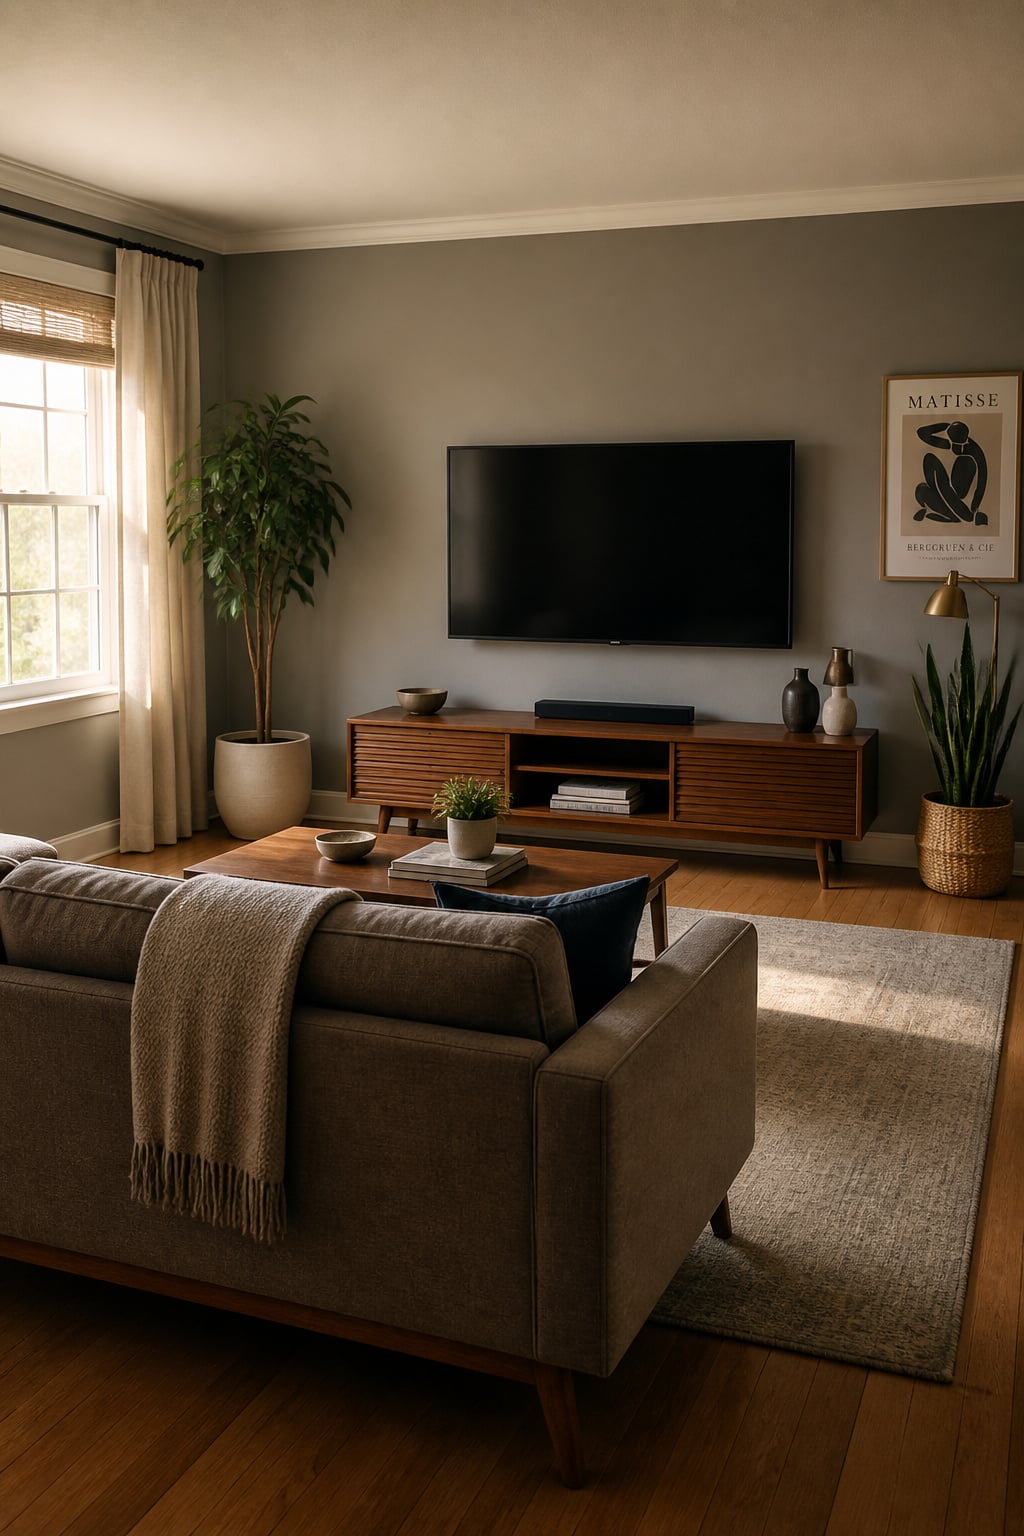
Screen size and viewing distance — the math that prevents regret
The number that matters is not the room’s square footage. It is the distance from the back of your sofa to the wall. SMPTE, the body that sets cinema standards, recommends sitting roughly 1.6 times the screen diagonal away for everyday viewing; THX pushes closer, 1.2 to 1.4 times, for a more immersive picture. Translate that into furniture and it lays out cleanly.
| Seating distance | Recommended screen size | Works best in |
|---|---|---|
| 6–8 ft | 43–55 in | Small rooms, apartments |
| 8–10 ft | 55–65 in | Standard living rooms |
| 10–14 ft | 65–85 in | Open-plan, large rooms |
Those ranges assume a 4K set, and that caveat earns its keep. RTINGS notes that 4K’s pixel density lets most people sit as close as 1.5 times the diagonal without visible pixels; a 1080p set at the same size needs you back at 2.5 times. An upgrade to 4K often buys a bigger screen in the same room rather than a longer sofa-to-wall gap. One proportion check keeps you honest: the screen should take up no more than about a sixth of the wall’s width, or it stops being a feature and becomes the only thing in the room.
Mounting height: why 40–42 inches to center beats eye level
The most common install mistake comes from good intentions. People mount the TV at standing eye level, because that is where a picture frame goes. But you watch sitting down. The professional guidepost puts the screen center around 42 inches from the floor — find your number by sitting where you actually watch and measuring floor to eye. For most adults on a sofa with a 17-to-19-inch cushion, that lands at 40 to 44 inches. Mount the center there.
Why so precise? Because your neck pays for the error. THX and SMPTE both hold that your eyes should not tilt more than 15 degrees up to reach screen center. A TV at standing height, or above a mantel, pushes that to 35 to 45 degrees — two to three times the limit. You feel it as a stiff neck ninety minutes into a film. When I check a finished room, I run a quiet dialogue scene first: if the voices feel like they are coming from below face height, the mount is wrong before I have looked at anything else.
The wall’s job: backdrop, storage, or statement
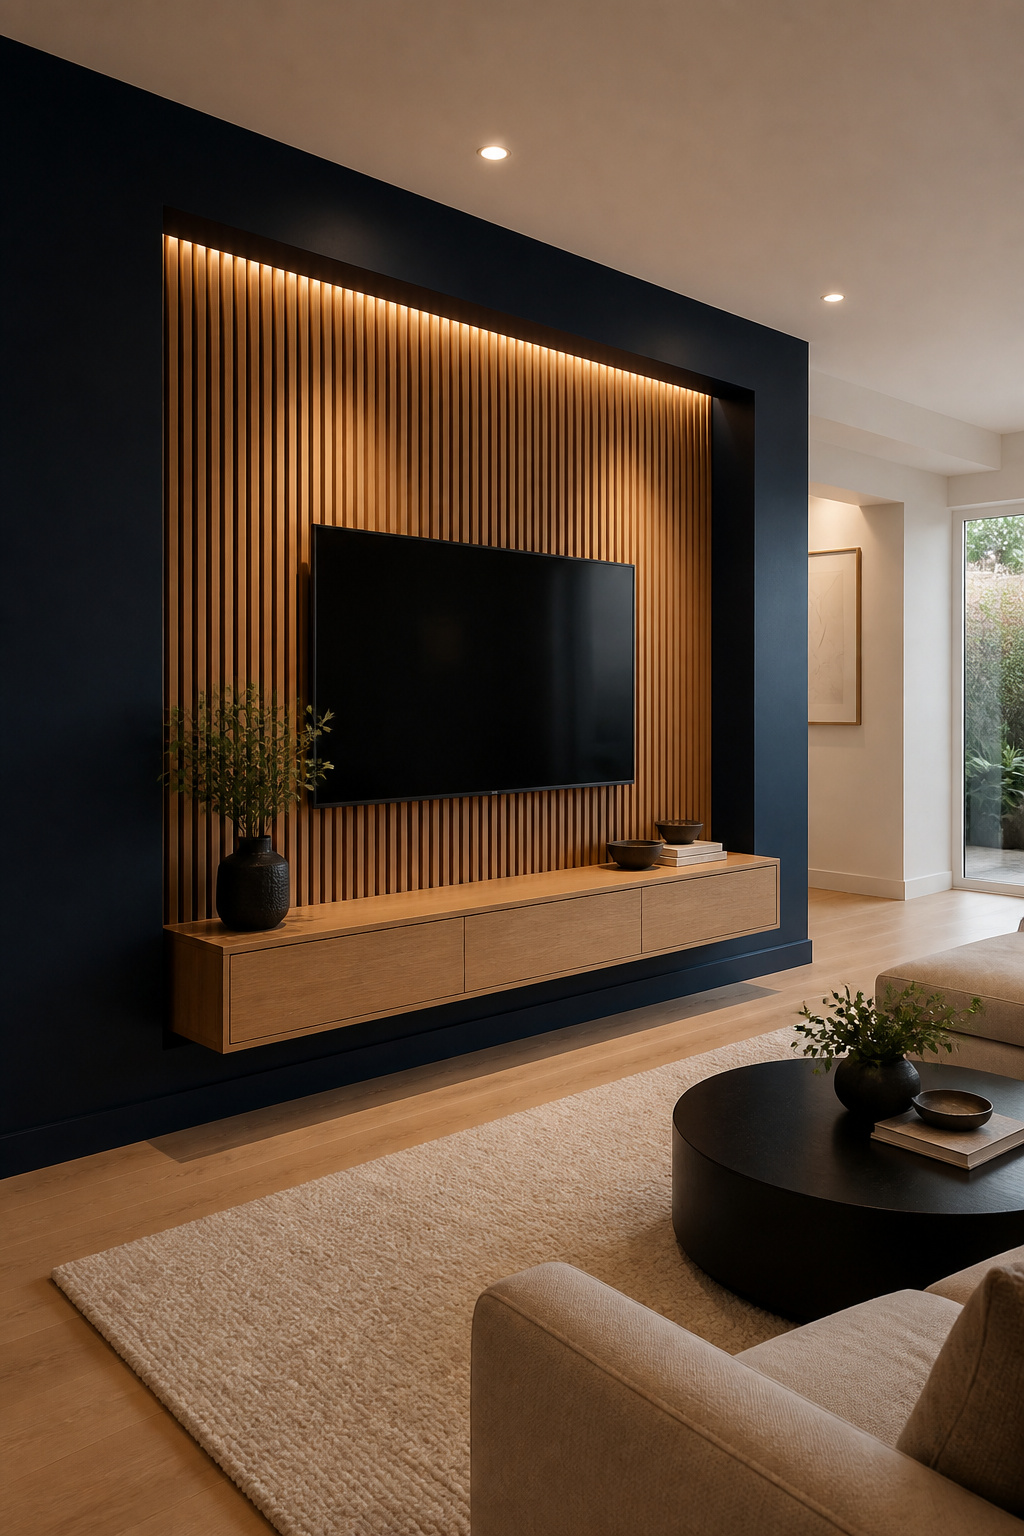
The last fundamental is the one nobody names, and it quietly decides everything that follows. A TV wall plays one of three roles: as a backdrop, it recedes — color or texture pulls the black rectangle into the wall so the screen stops shouting; as a storage wall, built-ins and a console frame the screen and hide the clutter every media setup generates; as a statement, the wall is the architecture and the screen is one element of it.
Pick the role first. The mistake when people don’t: they paint the wall dark, then add floating shelves, then talk themselves into built-ins, and three treatments fight each other for the same job. Even a modest contrast — the same color in a different finish on the surrounding walls — reads as a decision rather than a default. Name the wall’s job, and the style options narrow to the ones that actually serve it.
TV Accent Walls: Using Color and Contrast to Make the Screen Disappear
If you do only one thing to your TV wall, paint it darker. It is the cheapest intervention with the highest return, working on two levels: visually, the black bezel melts into a near-black wall when the screen is off; optically, the darker surface bounces less light back at the panel, so blacks read deeper and color looks richer when it is on. SANUS put it well — the TV wall is practically made for the dark-wall trend.
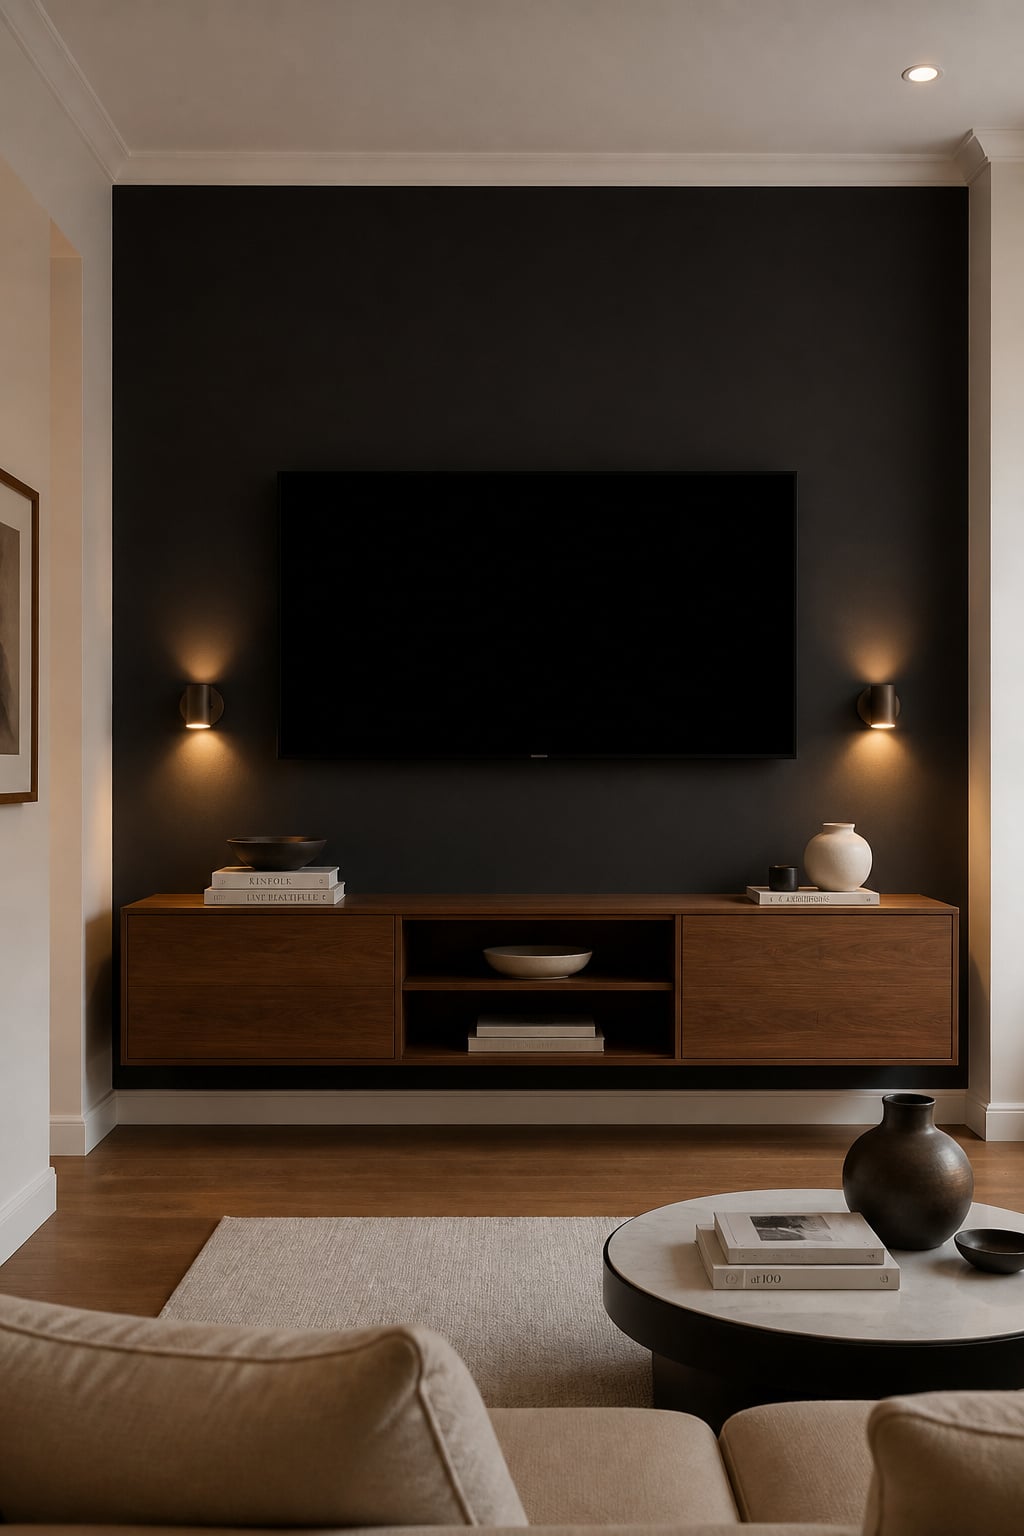
Dark backdrops that let the picture breathe
Theaters are painted near-black for the same reason this works at home: a pale wall behind the screen acts as an accidental second light source, lifting your blacks toward grey. Kill that reflection and the picture breathes. For 2026 the colors carrying it are deep navy, warm or cool charcoal, an emerging forest green, and deep burgundy for rooms with warm wood. The safe formula: go two to three shades darker than your main walls, staying in the same undertone family — a warm room wants a warm charcoal, a cool room wants a cool navy. Mismatch the undertone and the wall reads as a mistake rather than a mood.
Paint finishes that cut glare without flattening the wall
The finish matters as much as the color. The professional pick is eggshell: low enough in sheen to avoid throwing reflections during a bright scene, durable enough to wipe down. Flat gives you the most glare reduction but marks the moment anyone touches it. Satin is already too reflective — home-theater forums report it catching light during action scenes at close range — and semi-gloss or gloss have no business near a screen at all. The choices, in plain order:
- Flat/matte — best glare control, least cleanable; for dedicated viewing rooms only.
- Eggshell — the all-rounder; low sheen, wipeable, right for family living rooms.
- Satin and above — skip near a TV; the reflections compete with the picture.
How much wall to paint — full wall vs. panel
How far you take the color depends on the room. In a large room, paint the full wall corner to corner; it reads as architecture. In a small or bright room, a painted panel — a rectangle of dark extending at least 12 to 18 inches past the TV on every side — gives you the same contrast with less weight. That panel is also the renter-friendly version, achievable in peel-and-stick for zero damage. The deeper guide covers how to paint a TV accent wall in full, including finish specifics and small-room caveats.
Wood Slat Feature Walls: Warmth, Texture, and a Weekend Build
Where paint changes the wall’s color, wood slats change its character. The slat wall has become the defining TV-wall treatment of the last two years, and for once the trend is earned: it brings warmth a flat color can’t, the vertical lines make a blank wall feel composed, and it does measurable acoustic work — the part most galleries miss.
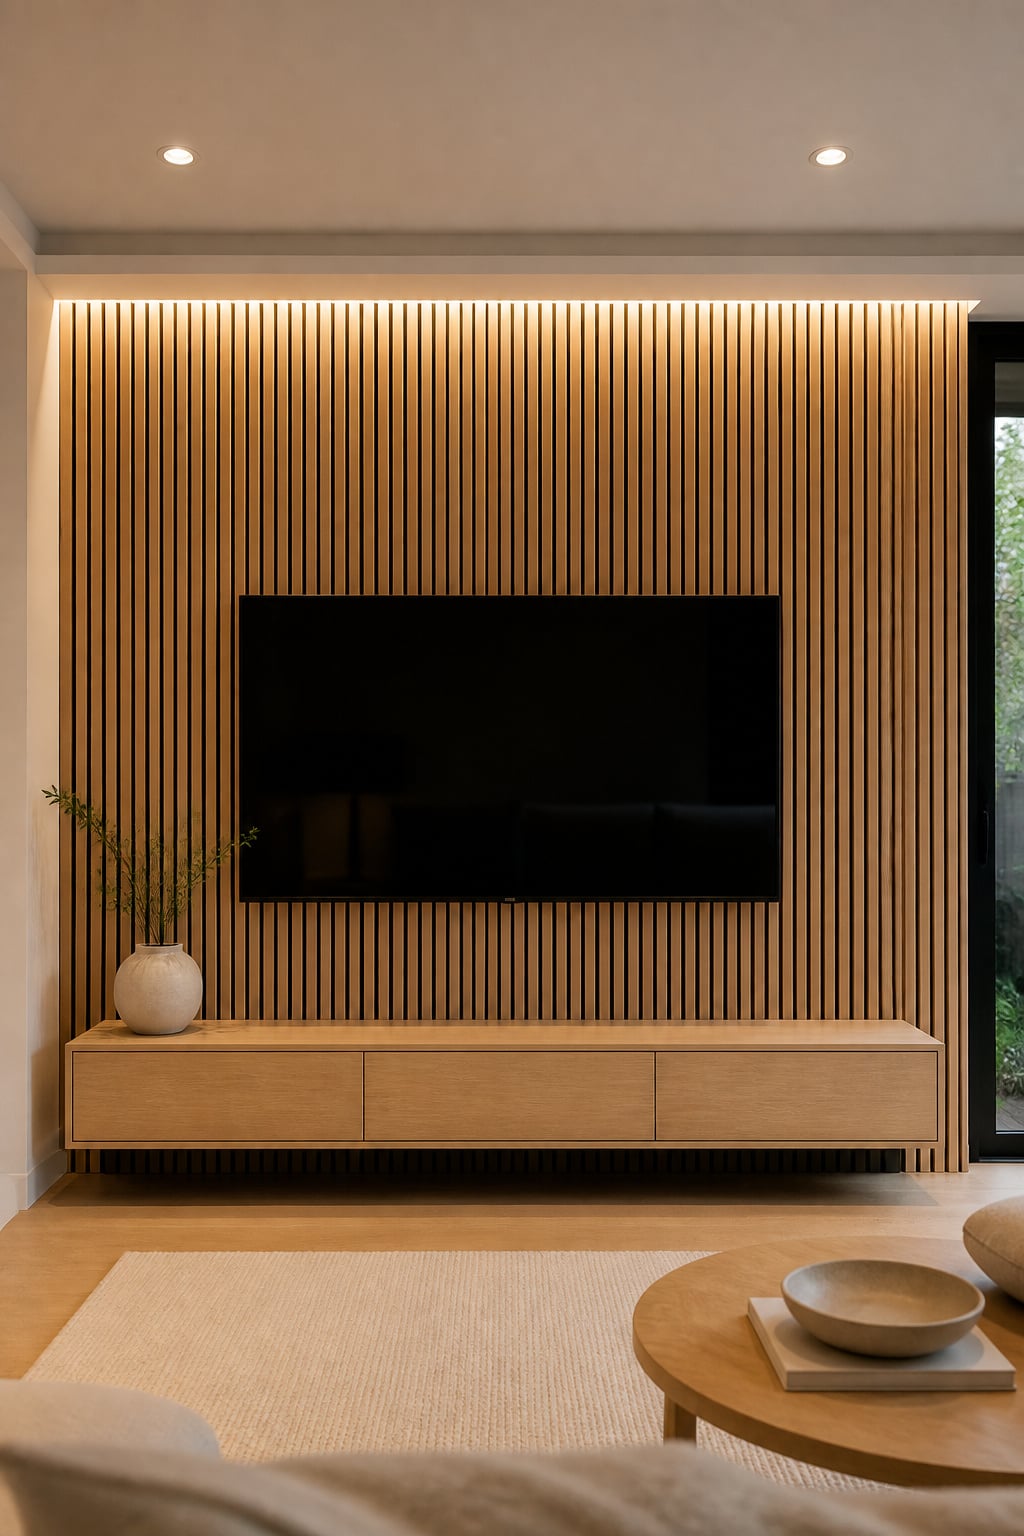
Why wood slats work behind a screen — acoustic and visual reasons
A slat panel helps the sound twice over: the gaps scatter sound waves instead of bouncing them back flat, while the dense felt backing absorbs what passes through. Standard felt-backed panels reach NRC 0.5 — absorbing roughly half the sound that hits them — while premium panels with thicker backing reach NRC 0.85. For a family room, 0.5 takes the edge off dialogue reflections; where you care about clarity, the premium backing is audible. Visually, the vertical lines lift the eye and narrow a wall that feels too wide.
Spacing, species, and finish choices at a glance
The species sets the mood. The reliable starting points:
- Natural oak — warm under both daylight and 2700K LEDs, plays with almost any floor; the lowest-risk first choice.
- Smoked oak — adds drama without committing to full dark.
- Walnut — the richest tone, made for mid-century and contemporary rooms.
- Black oak — high-contrast and gallery-like, best in rooms you keep dim.
One pairing trap: a walnut floor under a walnut slat wall gives you tone-on-tone with no contrast — the wall disappears for the wrong reason. Finish runs from clear matte varnish (keeps the natural tone) to dark stain (deepens it) or grey-wash for a coastal-Scandi look.
What the DIY build actually involves
The build is genuinely a weekend. Pre-fab panel systems screw or glue straight to the wall; from stock lumber, you fix horizontal furring strips as a substrate, then run vertical slats at consistent spacing — roughly $150 to $200 in materials on a standard wall. The one step you cannot improvise is the mount: find your studs and mark the holes before the slats go up. Retrofitting a mount through finished panels splits the wood and ruins the clean face. Tess Carver lays out the full cut list and order of operations in the guide to build a wood slat wall behind the TV.
Built-Ins and Shelving: Framing the TV So It Belongs in the Room
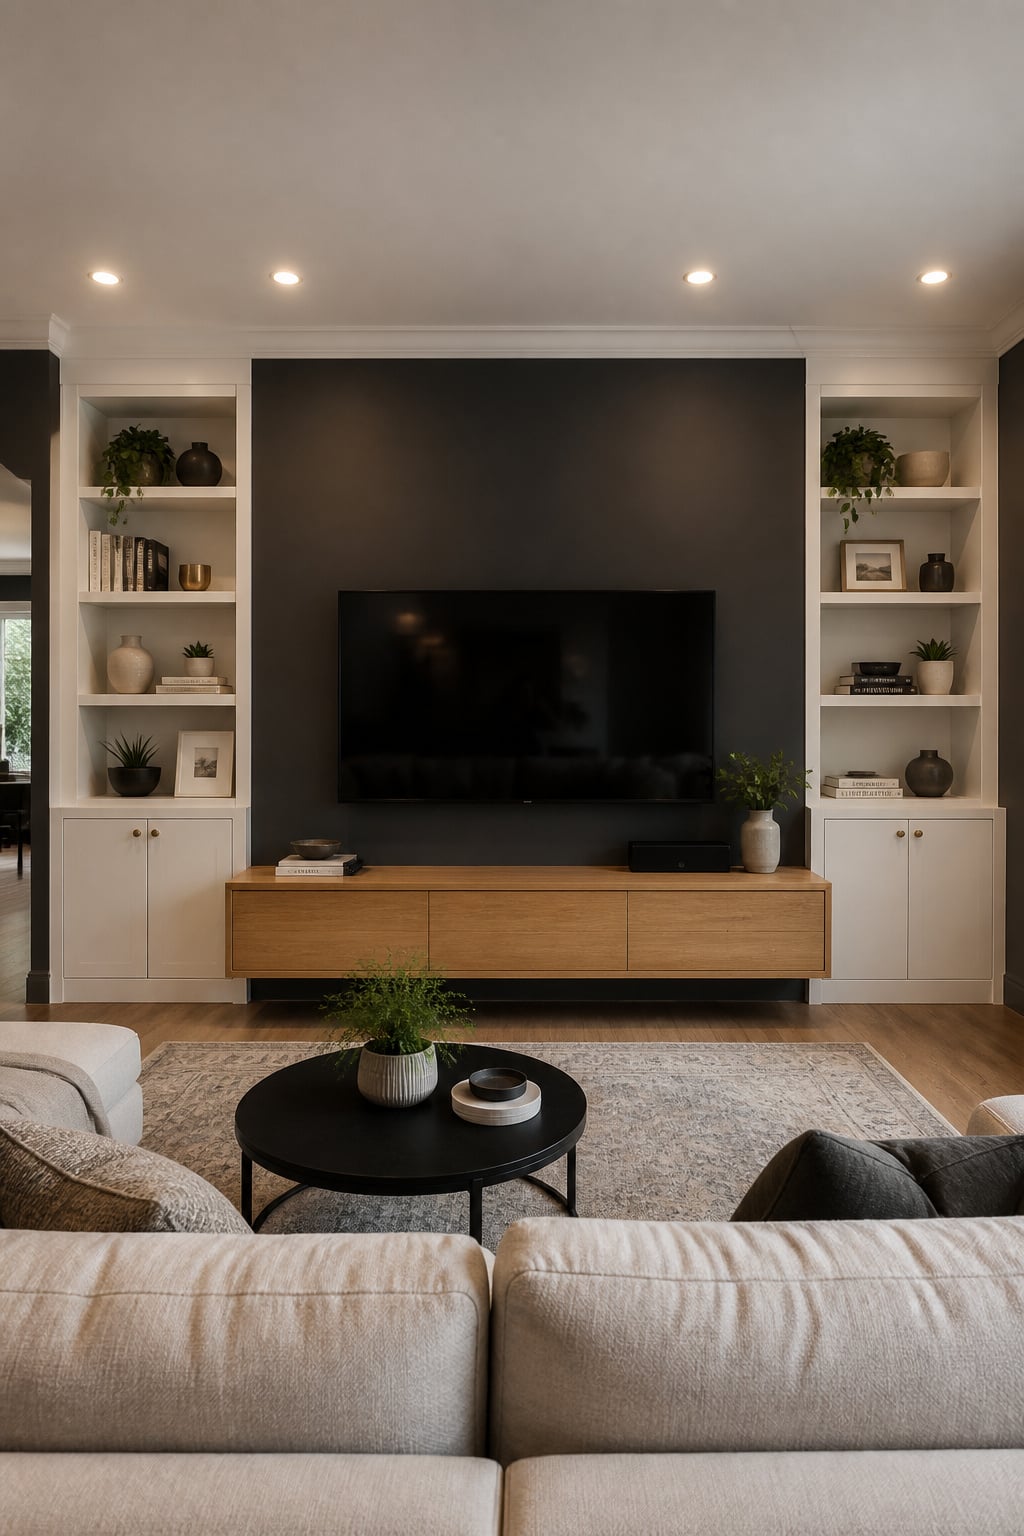
This is the most expensive direction and the most grounding. Cabinetry and shelving around the screen solve the storage problem, swallow the media boxes, and give the TV architectural context — it stops looking stuck on a wall and starts looking part of one. The catch is cost and proportion, both wide-ranging and both easy to get wrong.
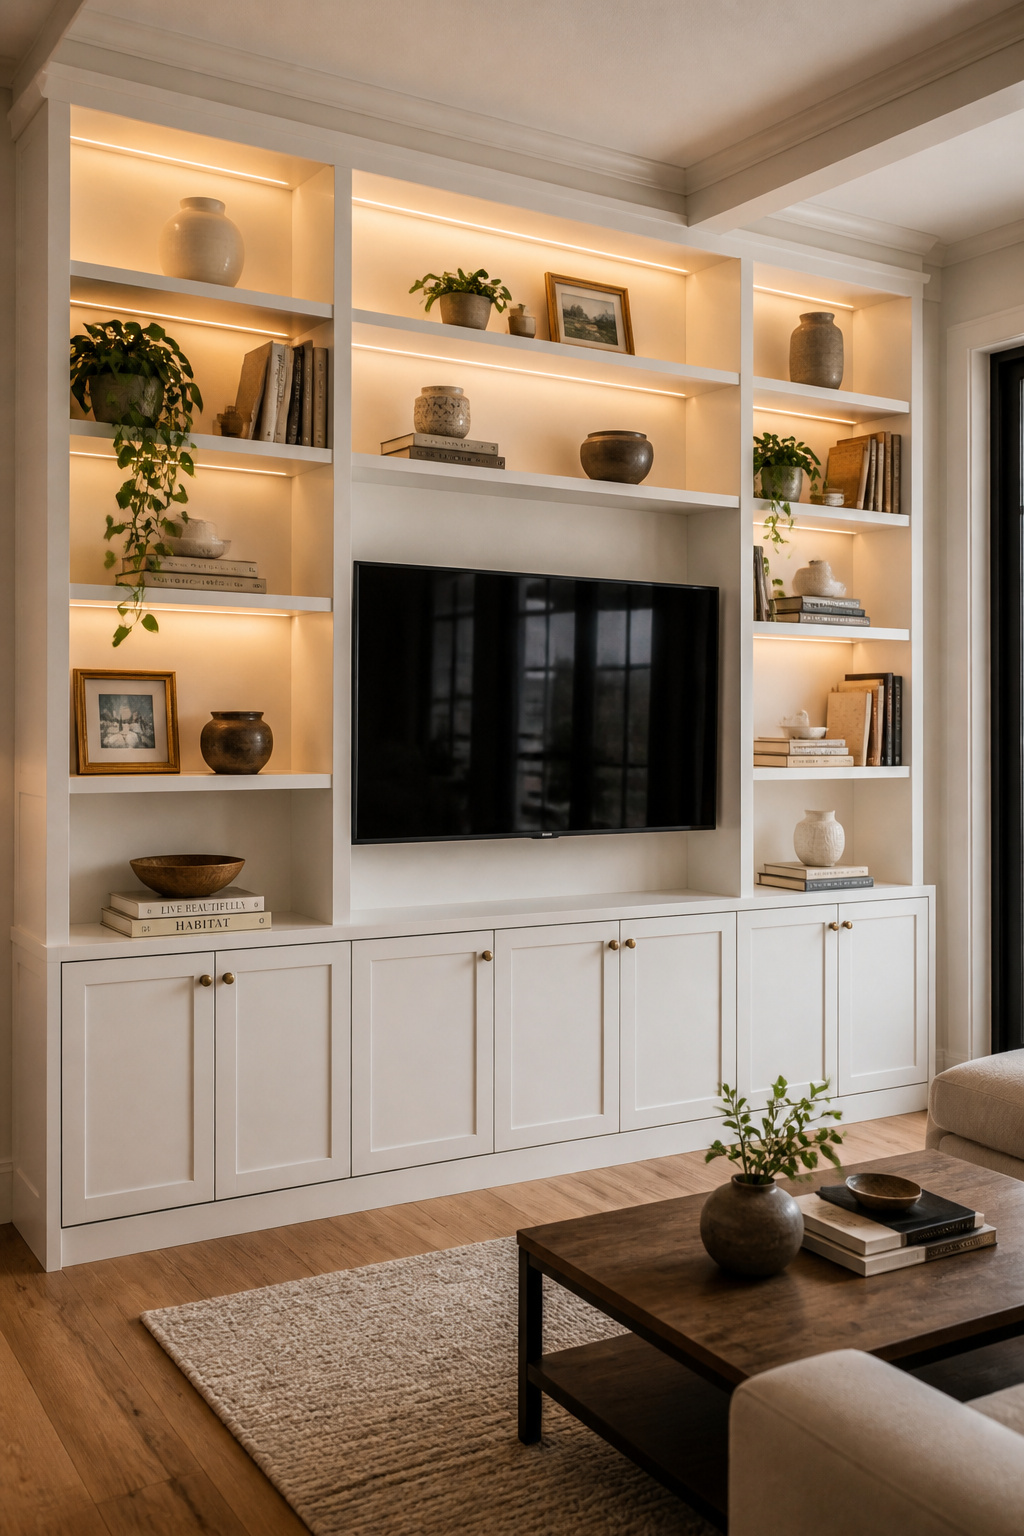
Full built-ins vs. flanking bookcases vs. floating shelves
The three approaches span an enormous price range, and knowing which you are actually choosing saves grief later.
| Approach | Approx. cost | DIY-able? | Storage gain |
|---|---|---|---|
| Floating shelves (pair) | $60–$200 | Yes, renter-friendly | Minimal |
| IKEA Besta media wall | $500–$1,500 | Yes, assembly | High |
| DIY flanking bookcases | $200–$600 materials | Some builds | High |
| Custom built-ins | $1,000–$20,000+ | No, professional | Highest |
The sweet spot for most people sits in the middle. As The Coolist’s 2026 roundup notes, a floating media wall — wall-mounted Besta or custom cabinetry at console height with the TV floating above — buys the visual mass of a built-in without floor-to-ceiling carpentry costs. Floating shelves anchor the removable end; full custom anchors the architectural one.
Proportions: how wide the flanks need to be to ground the screen
Proportion is where DIY built-ins fail. Flanking units look right only when they are at least as substantial as the screen — for a 65-inch TV, each flank wants to be 18 to 24 inches wide, or it reads as pinched beside the panel. Stepping the heights helps: taller bookcases beside a lower console draw the eye up and make an 8-foot ceiling feel taller. Keep flanking shelves flush with the console depth or clearly shallower by 3 inches or more — a small mismatch reads as an error rather than a layered design.
Styling the shelves so the TV stops dominating
A framed TV only works if the frame doesn’t try to out-shout it. The rule that keeps shelves calm is thirds: about a third books, a third objects, a third empty. The negative space is not laziness — it is what gives the eye somewhere to rest so the styling reads designed instead of crammed. And the most important invisible detail: cable runs and component bays routed inside the cabinetry are the line between a true built-in and a shelf with a TV near it. Tess covers how to frame the TV with built-ins and shelving in full.
TV Above the Fireplace: The Most Requested Placement and Its Real Pitfalls
No TV-wall question generates more argument than this one, and the loud answer — never — is too blunt to be useful. The placement bundles two separate problems, height and heat. Once you pull them apart, plenty of these setups are perfectly comfortable. The honest position is “it depends,” and here is what it depends on.
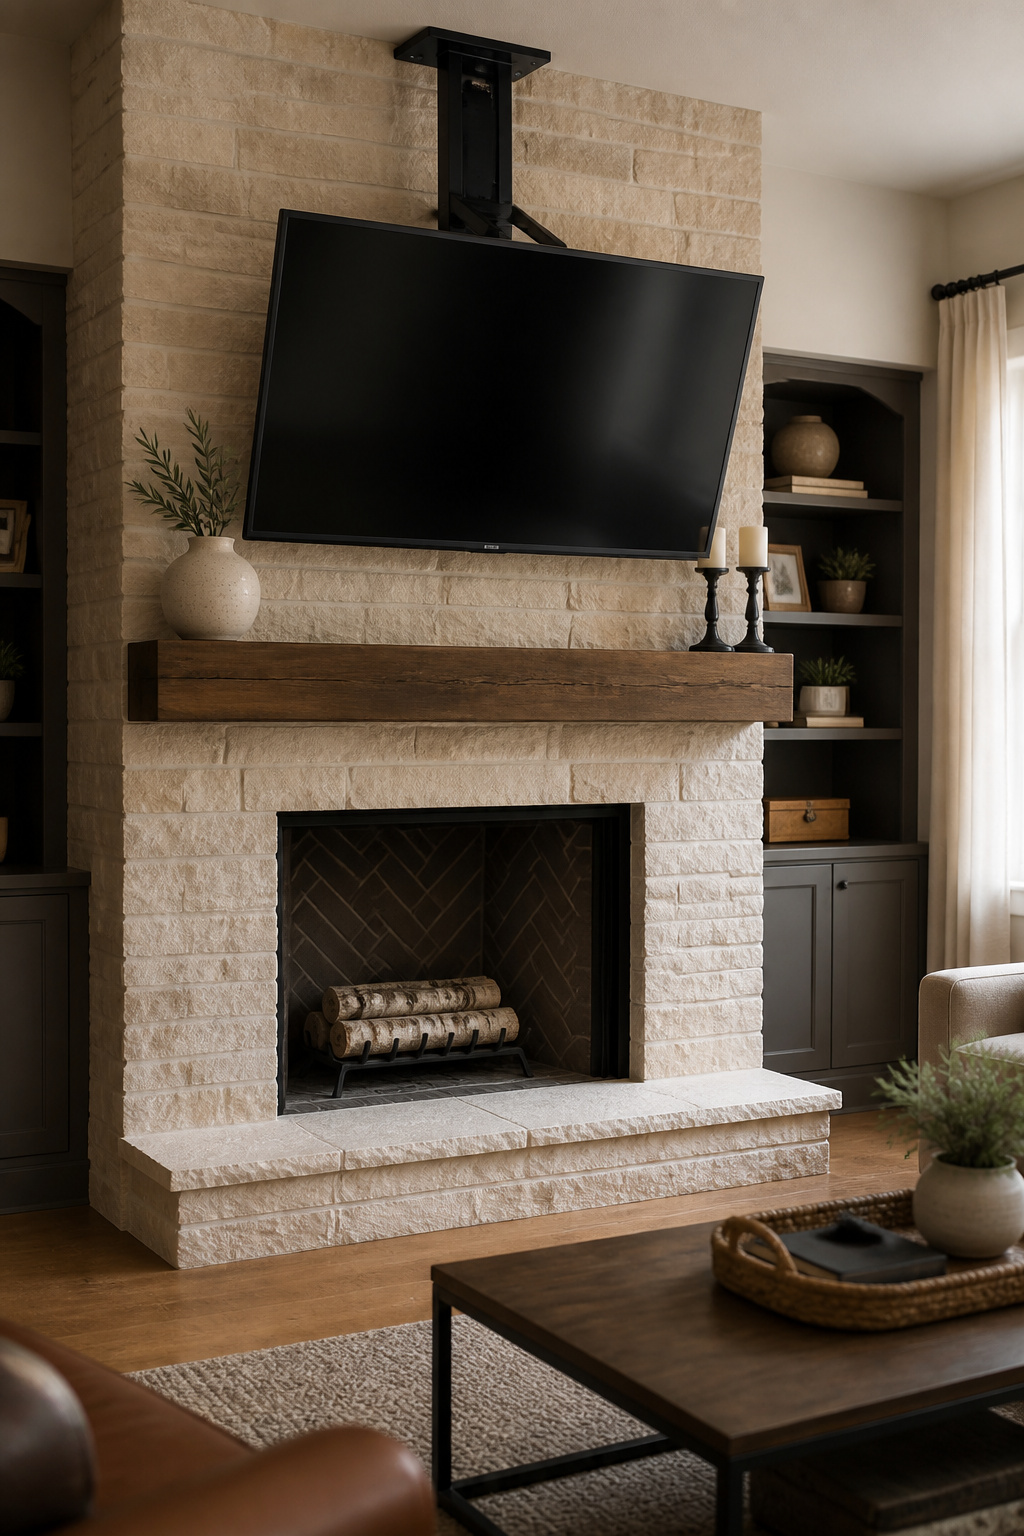
The neck-strain math — and when the numbers actually work
The geometry is unforgiving. Standard mantels sit 52 to 58 inches off the floor, putting a TV just above them at a screen center of 65 to 70 inches — a full 17 to 28 inches over the ergonomic target, and 35 to 45 degrees of neck tilt against a 15-degree maximum. The placement only approaches acceptable in two cases: seating set beyond about 14 feet, which flattens the apparent angle; or a pull-down mount that drops the screen to a 48-to-55-inch viewing height for watching.
Heat, shimmer, and the mounts that solve them
Heat is the second problem, and it is testable. Most TVs are rated to a maximum ambient 104°F. Run the test: tape a thermometer at the planned screen-center spot, burn the fireplace for two hours, and read it. Above 100°F and you need a heat shield or a different wall. Electric fireplaces are the safe pairing; gas and wood-burning carry the real risk. For the mount itself:
- Tilting mount ($30–$80) — angles the screen down 10 to 15 degrees; eases the neck angle but leaves the screen too high.
- Pull-down mount (MantelMount MM340, $299.95; MM700, $624.95) — drops the TV 20-plus inches and angles it to you, solving height and viewing angle at once.
The tilting mount treats the symptom; the pull-down mount fixes the cause.
When to skip it entirely
Sometimes the right call is another wall. Skip the fireplace mount when you burn a real fire regularly, when the sofa sits inside 10 feet of a high mount, or when a perfectly good alternative wall exists. If you do proceed, keep a 4-to-12-inch gap between the TV’s bottom edge and the mantel shelf so rising warm air isn’t baking the frame. The full ergonomic and heat treatment — including the recessed-niche solution — is in the guide to mounting a TV above a fireplace.
Small Living Rooms: Sizing, Layout, and the TV Wall That Doesn’t Take Over
A small room is not a compromised version of a big one — it is a different design problem, and often a better picture. When the sofa is close, you are sitting at the distance 4K was built for. The discipline is keeping the screen sized and placed so it serves the room instead of swallowing it.
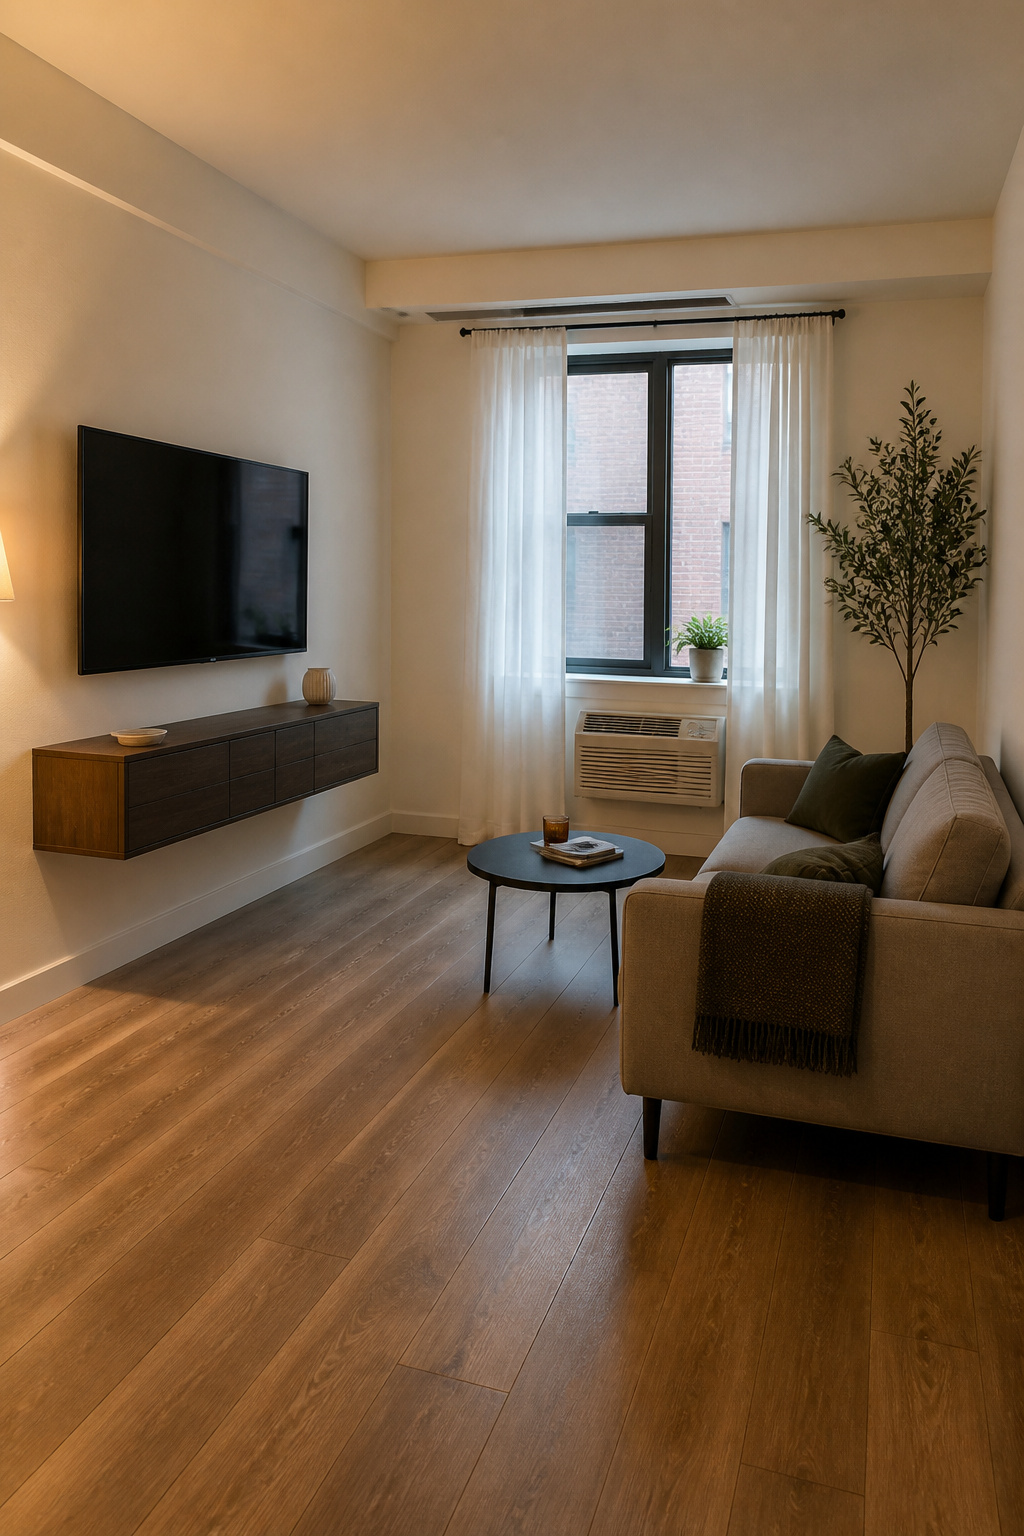
Screen size for tight spaces — the 1/6-of-wall rule
Two rules constrain the screen from both sides and together keep a small room from feeling like a cinema lobby. The proportion rule caps the TV at roughly a sixth of the wall’s width — on a 10-foot wall, that points to the 43-to-50-inch range. The distance rule agrees: at the 6-to-8-foot seating typical of a small room, a 43-to-55-inch 4K set hits the comfortable SMPTE viewing angle, while anything bigger pushes into fatiguing territory for a long evening. When two independent rules land on the same answer, trust it.
Corner vs. centered placement in small rooms
Where the screen goes depends on the room’s shape. In a rectangular room, centered on a dedicated wall is the default — clean sightline, symmetrical furniture. In a square or awkward room where no single wall is long enough and clear of doors and windows, corner placement frees the main walls for furniture and shrinks the TV’s visual footprint. The layout choices worth weighing:
- Centered on a feature wall — for rectangular rooms with one clear viewing wall.
- Corner-mounted — for square or window-broken rooms with no ideal wall.
- Framed by negative space — a smaller screen with bare wall either side reads calmer than one boxed in by furniture.
Wall-mounting to free up floor area
The biggest spatial win in a small room is getting rid of the stand. A floor-standing TV unit eats a 50-to-70-inch-wide, 15-to-20-inch-deep footprint; wall-mounting recovers all of it and gains 12 to 18 inches of effective viewing distance by sitting the screen flush. Add a floating console at 24 to 36 inches off the floor and the visible floor plane underneath makes the room read larger. The full sizing tables and renter-safe options live in the guide to TV wall layout for a small living room.
Minimalist TV Walls: When Less Behind the Screen Is More
The minimalist direction is the hardest to photograph and the easiest to live with. It asks the wall to do almost nothing — a clean surface, a single console, and the discipline to stop there. What looks like the absence of a design choice is the most demanding one: every object you don’t add is a decision you had to resist.
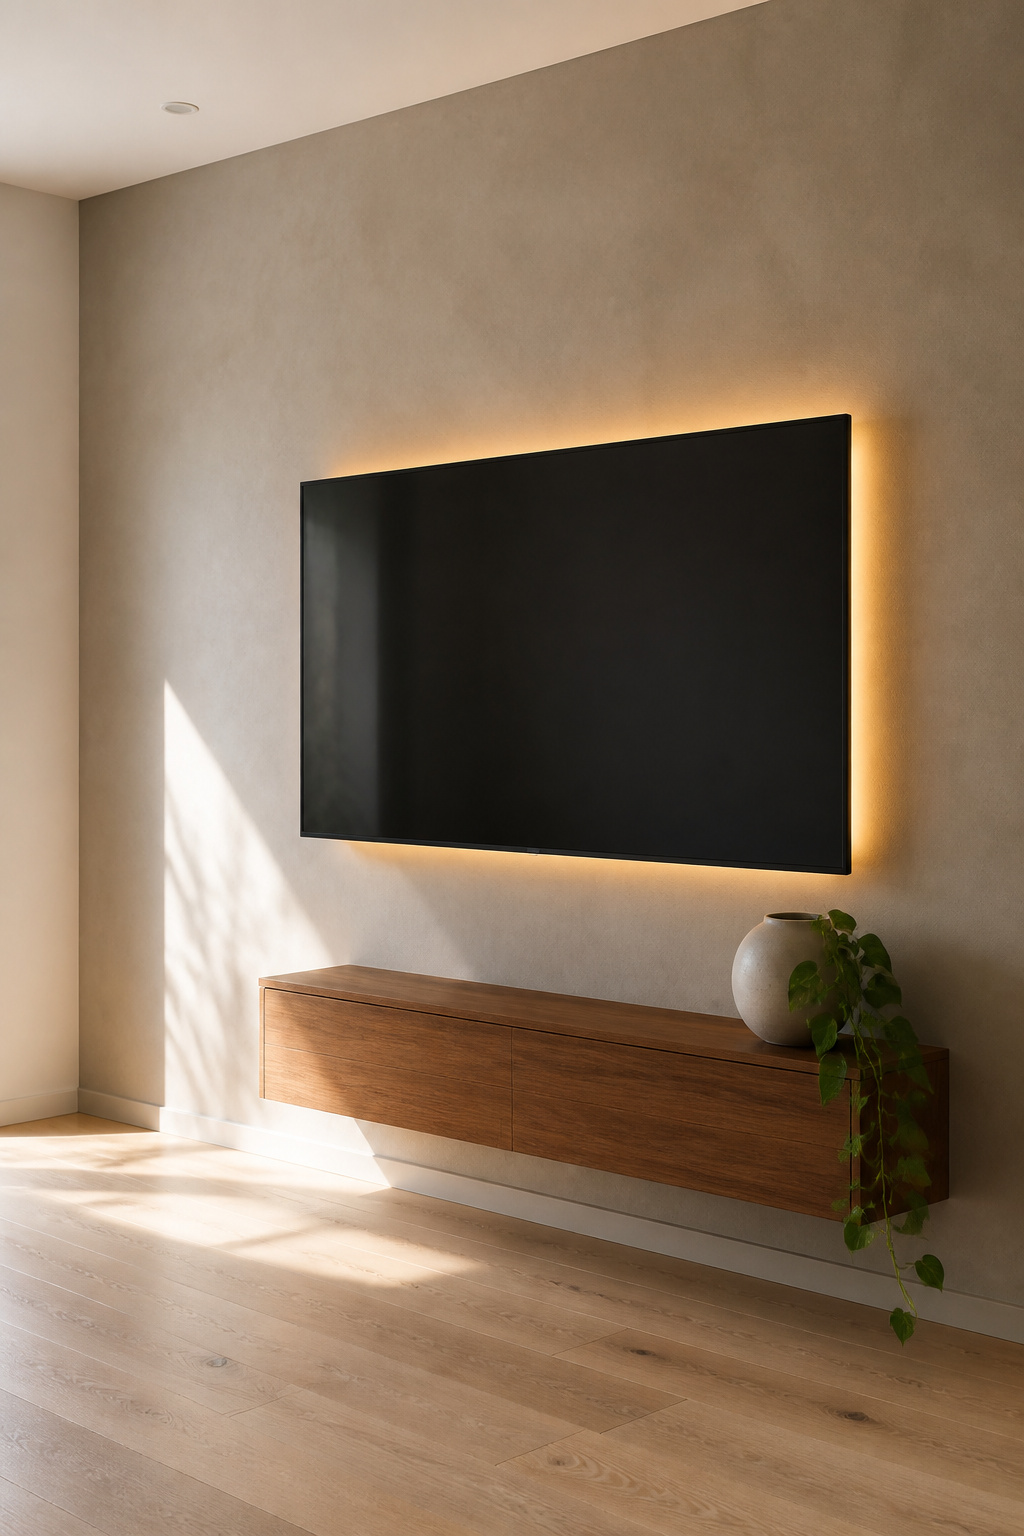
The restrained backdrop — texture without noise
Restraint does not mean a blank white wall. The trick is texture without pattern: a grasscloth, a linen-finish plaster, a soft limewash, or a slim run of fine slat in pale oak — enough surface interest to keep the wall alive, nothing loud enough to compete with the screen. Scandinavian rooms hold the palette to white, beige, and soft grey, then let the wood and ceramics carry the warmth. The TV becomes a quiet functional object rather than the loudest thing in the room.
Console-only setups and how they ground the screen
Strip everything else away and one piece carries the composition: a low, wide console — ideally around 1.5 times the TV’s width — in a warm oak or teak, styled with one ceramic and one trailing plant. Float it 24 to 30 inches off the floor and the gap underneath becomes negative space. The discipline is the design — three plants, four candles, and a stack of books is just maximalism with better taste.
What emptiness does to the picture quality experience
This is where the minimalist look connects back to the picture. A quiet, matte wall surrounds the screen with less competing light, so dark scenes and night exteriors hold their depth instead of washing out. One functional detail earns its place even in the most austere setup: a bias light — an LED strip behind the TV frame at low brightness — lifts the peripheral light just enough to cut eye fatigue without competing with the picture. Emptiness used on purpose is rest for the eye. Henrik Larsson explains how to keep the TV wall minimalist.
Hiding the Wires: The Finishing Step Every TV Wall Needs
Every style above is undone by one detail: a power cord dangling from the bottom corner. Cable management is the most-skipped finishing step and the one with the highest visible payoff. Four methods cover every situation, from rental to permanent.
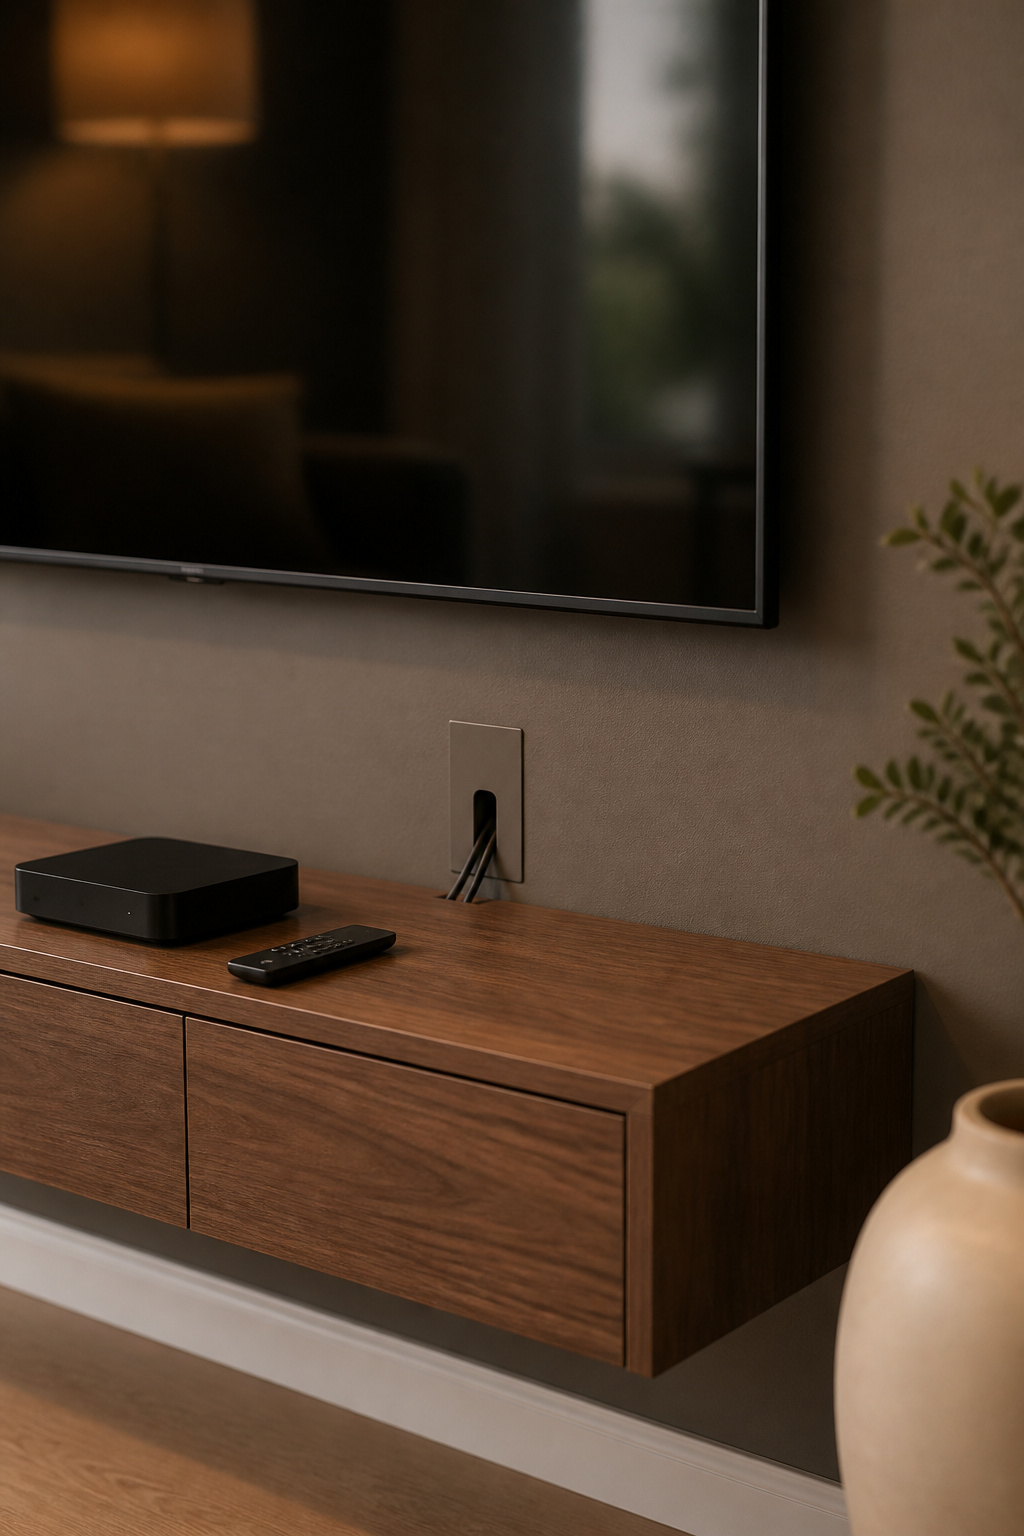
The four methods from renter-safe to in-wall
The methods line up on a single axis: how permanent, and how much you can undo on the way out.
| Method | Cost | Renter-safe? | Skill level |
|---|---|---|---|
| Surface raceway | $20–$50 | Yes | Beginner |
| Cable sleeve | Low cost | Yes | Beginner |
| In-wall power kit | $50–$100 | Borderline (patch on exit) | Confident DIYer |
| Hardwired recessed outlet | $100–$300+ | No | Electrician |
A raceway peels off when you move; a hardwired outlet is permanent. Choose by your situation — renting or owning — not by whichever looked tidiest in a photo.
Planning cable routes before you mount
The most expensive mistake here costs nothing to avoid: mount the TV before planning the cables, and you will likely take it back off the wall. Identify the outlet, mark the studs, plan the power and signal routes separately, and mark every exit point before a single bolt goes in. Run power and HDMI side by side inside a wall and the electromagnetic interference degrades the picture and sound.
Code-safe vs. not — the line that matters
One rule is non-negotiable, because it is a fire-safety line, not a tidiness one. A standard power cord run inside a wall violates the National Electrical Code — it doesn’t matter how clean the holes look. In-wall power needs a UL-listed kit with CL2-rated in-wall wire, or an electrician. Low-voltage signal cables — HDMI, Ethernet, optical — can go in the wall without an electrician in most US jurisdictions, provided they carry a CL2 or CL3 in-wall rating. The full method-by-method walkthrough is the guide to hide the TV wires for good.
Choosing Your TV Wall Direction: A Decision Framework
Here is how I narrow eight directions for a client. The style question is the last one to ask, not the first. Answer these in order and the field shrinks to the approaches that actually fit your room:
- Do you own or rent? Renting limits you to surface raceways, removable accents, and freestanding furniture — built-ins and in-wall power need ownership.
- What is the real budget — materials only, or with labour? This alone separates a $200 weekend from a $7,000 install.
- Is this also the main storage wall? If yes, built-ins earn their cost; if the room stores elsewhere, a backdrop treatment is lighter and cheaper.
- How much natural light hits the wall during your viewing hours? Bright light kills a dark accent wall’s drama and favors wood or pale texture instead.
- Do you mostly watch at night or in daytime? Evening viewing rewards dark, contrast-led treatments; daytime rooms want the opposite.
Map your answers onto the room and the path appears. A renter in a small room gets the full effect with surface raceways, a peel-and-stick dark panel, and a freestanding console — no damage, all impact. An owner in a mid-size room gets the best visual-return-per-dollar from a wood slat wall ($150–$200 materials, a weekend) paired with an in-wall power kit ($50–$100). An owner investing at the top end gets the longest design life from custom built-ins ($3,000–$7,000 mid-range, more for a full media wall). Treat those numbers as guidance — they move with region, labour, and materials — but the tiers hold: one problem, a TV that belongs in the room, solved at four levels of cost.
You can layer approaches, with one rule: keep a hierarchy. Dark paint on the full wall plus a slat panel limited to the TV zone works because each does a different job. What fails is stacking everything — paint and slats and built-ins and ambient lighting at once — until the wall is busy instead of designed. Cable management is never the layer you add later; it is the baseline that makes every other choice look intentional. Define the wall’s job, hang the screen for the seat you use, pick the one direction that fits your constraints, hide the wires, and stop. That restraint is the difference between a wall you chose and a wall that just happened.