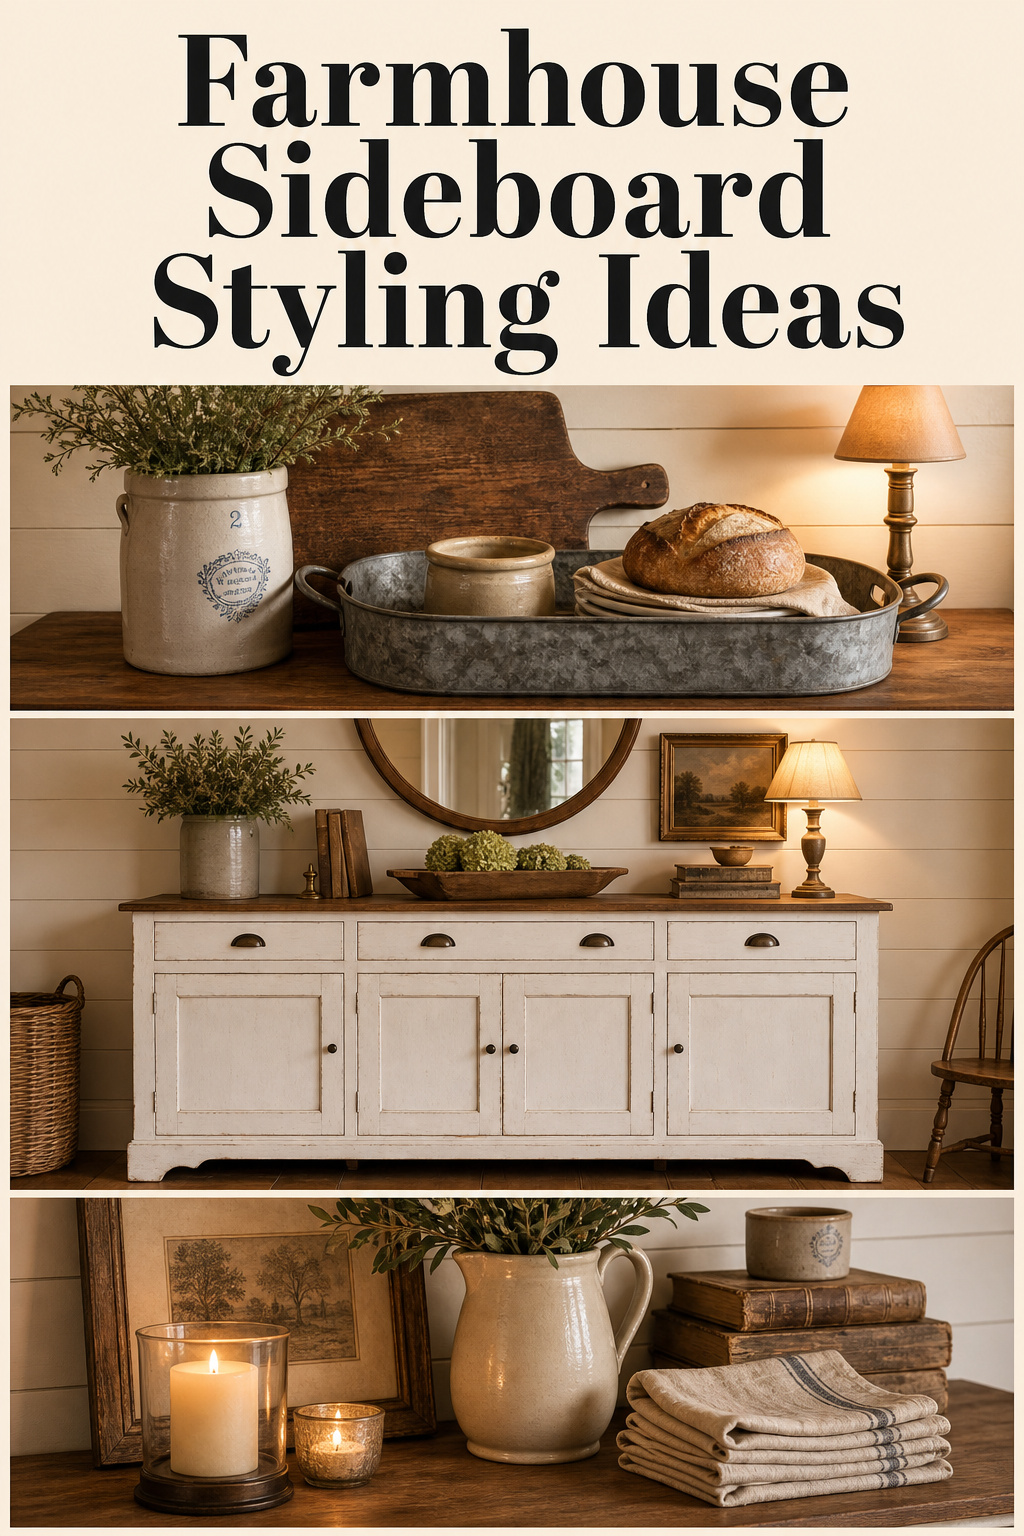
Most farmhouse sideboards land in one of two failure states. Either the surface sits bare and lonely, looking like furniture-store staging nobody has moved into yet. Or it drowns under a dozen objects with no order, reading as clutter rather than display. The gap between those two is narrower than it looks. It is mostly a matter of proportion and a simple layering rule. Good farmhouse sideboard styling starts with picking the right piece, then arranging its surface so the eye moves through depth instead of skating across a flat row.
TL;DR
- Choose a sideboard 30–36 inches tall and roughly two-thirds to three-quarters of your table’s length, then leave 24–36 inches of walkway between the two.
- Style the surface in three height layers — a back anchor above 18 inches, a mid-height vessel at 8–14 inches, a low front tray under 5 inches — and keep 30–40% of the top bare.
- Arrange the display to one end so a clear quarter stays open; a working sideboard needs 18–24 inches of surface to serve from.
Choosing a Farmhouse Sideboard: Wood, Scale, and Proportion
Before any styling begins, the piece itself has to be right. I read construction and species before I look at finish, because a solid hardwood sideboard handles the daily loading and unloading of serving pieces without the surface delamination that catches up with veneered boards. Farmhouse furniture grew out of rural Europe in the 17th and 18th centuries, built from whatever grew nearby — oak, pine, walnut, and maple. Those four remain the period-honest species today. Get the wood, the height, and the length right first; the trays and crocks come after.
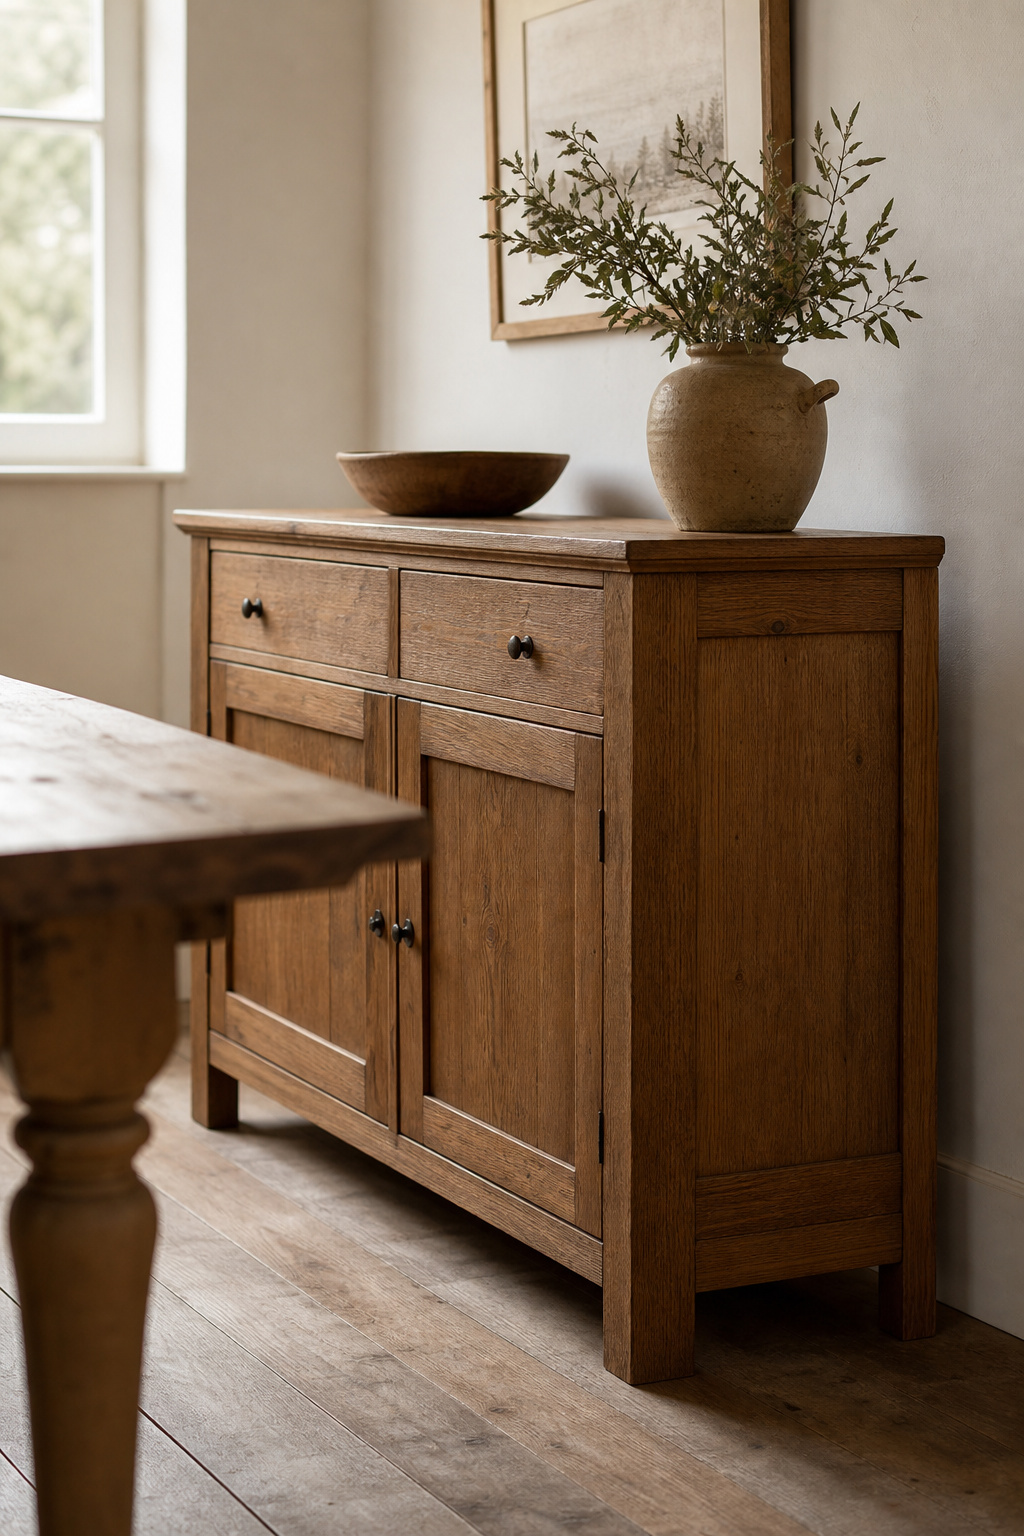
Matching sideboard wood to the dining table without making them matchy
Stop hunting for an exact stain match. Designers no longer recommend it, and a room that matches too closely reads as catalogue-bought rather than collected. What matters instead is shared warmth or coolness. A warm amber-grained sideboard sits happily beside a warm-toned table; a cool grey-washed piece pairs with cool neighbours. The mistake to avoid is a warm pine sideboard next to a cool grey-washed oak table — both are real wood, yet the pairing looks accidental rather than eclectic. When in doubt, a painted sideboard against a natural-wood table sidesteps the problem entirely.
Height and depth: the numbers that determine whether a sideboard looks right
Here is where workshop habit pays off. A sideboard should stand 30–36 inches tall, sitting at or slightly above the dining table surface of 28–30 inches, so buffet serving needs no awkward bending. Depth runs 16–24 inches: choose 16–18 inches for a narrow room, 20–24 inches when you need full clearance for plates and stemware inside. Then mind the walkways. Leave 24–36 inches between the sideboard face and the table, plus a separate 18–24 inches in front for doors and drawers to open fully.
| Sideboard type | Height range | Ideal room width fit | Typical wood / finish |
|---|---|---|---|
| Compact / narrow | 30–34 in | 40–48 in piece, small rooms | Painted pine, ash |
| Standard farmhouse | 32–36 in | 60–72 in piece, average rooms | Solid oak, maple |
| Large open-plan | 34–36 in | 80–100 in piece, big rooms | Reclaimed oak, walnut |
Painted vs natural finish: when each is the better call
A natural finish reads most comfortably when the table is also natural wood of similar warmth — the two pieces anchor each other. Reach for paint when the table is already a distinctive grain, such as reclaimed elm or live-edge walnut, where a second strong wood would only add visual noise. White-painted farmhouse furniture is not a modern shortcut, either. Country homes painted secondary-grade pine for generations to make it presentable, so the choice carries genuine provenance. A two-tone piece — painted body, natural top — splits the difference: the top reads with the table grain while the base sets the two apart. For where the sideboard fits the wider look, see the full farmhouse dining room guide.
The Layering System: How to Style a Farmhouse Sideboard Surface
Now that the piece is right, the surface becomes a styling problem with a reliable solution. The trick is depth. You want the eye to read a tall background element first, drop to a mid-height anchor, then rest on a low foreground edge. Designers call the underlying shape the triangle rule: arrange objects so their collective silhouette steps down like a triangle rather than lining up flat. A flat-topped row of same-height objects reads as a shop shelf, not a composed display.
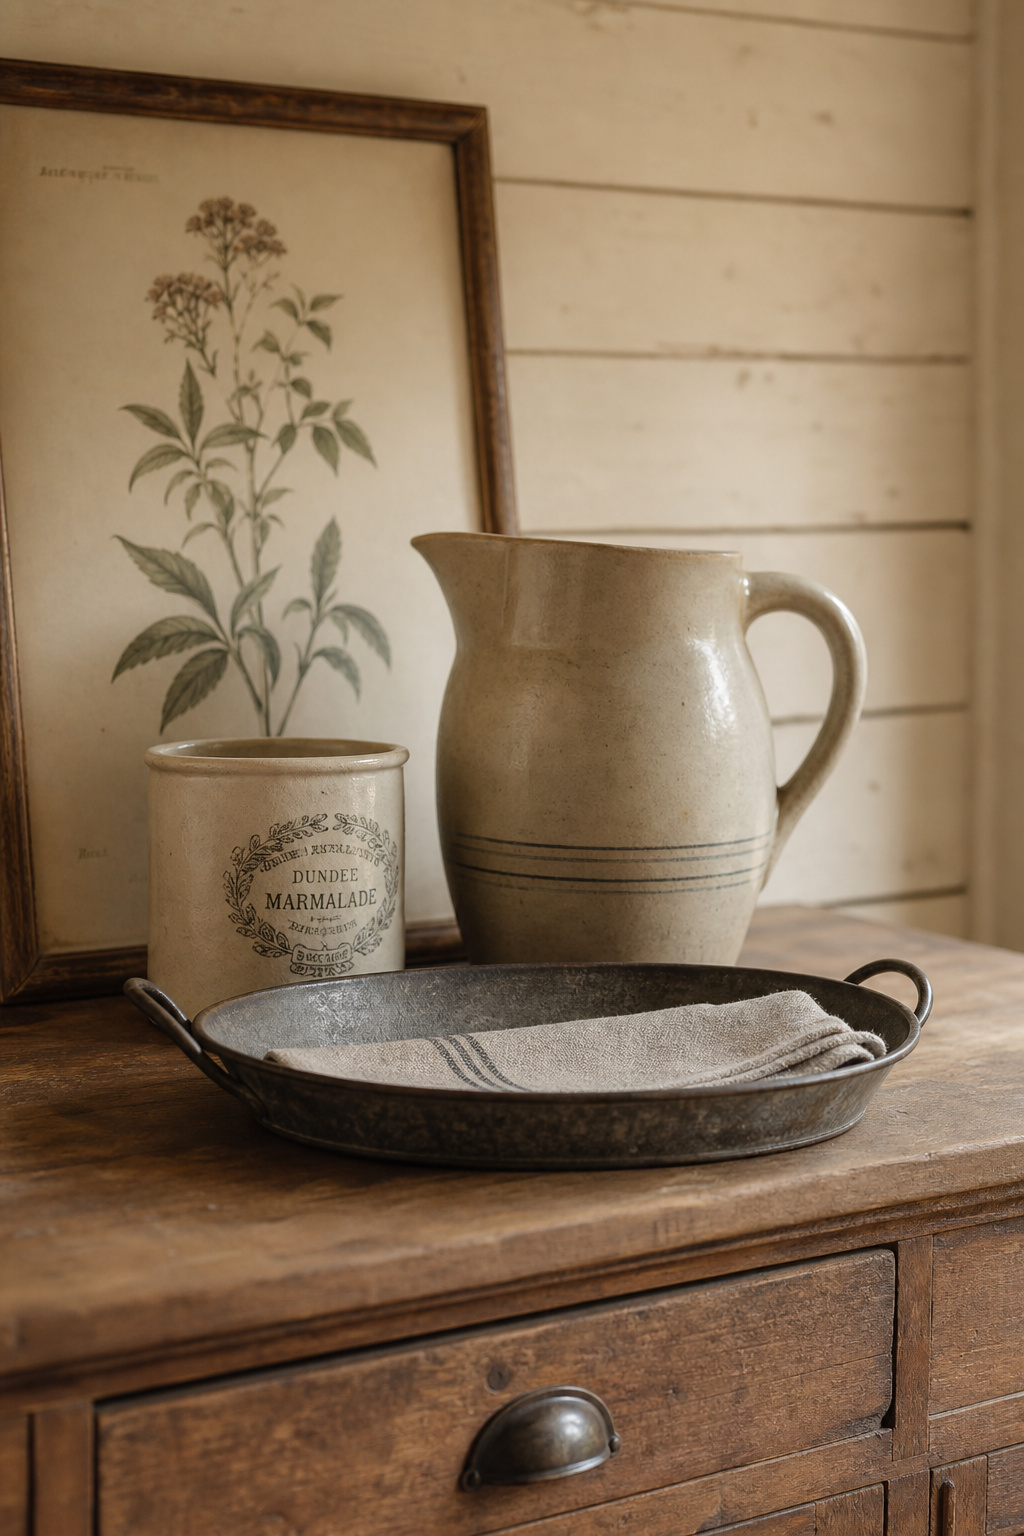
Back layer: what goes against the wall (mirror, art, or open shelf)
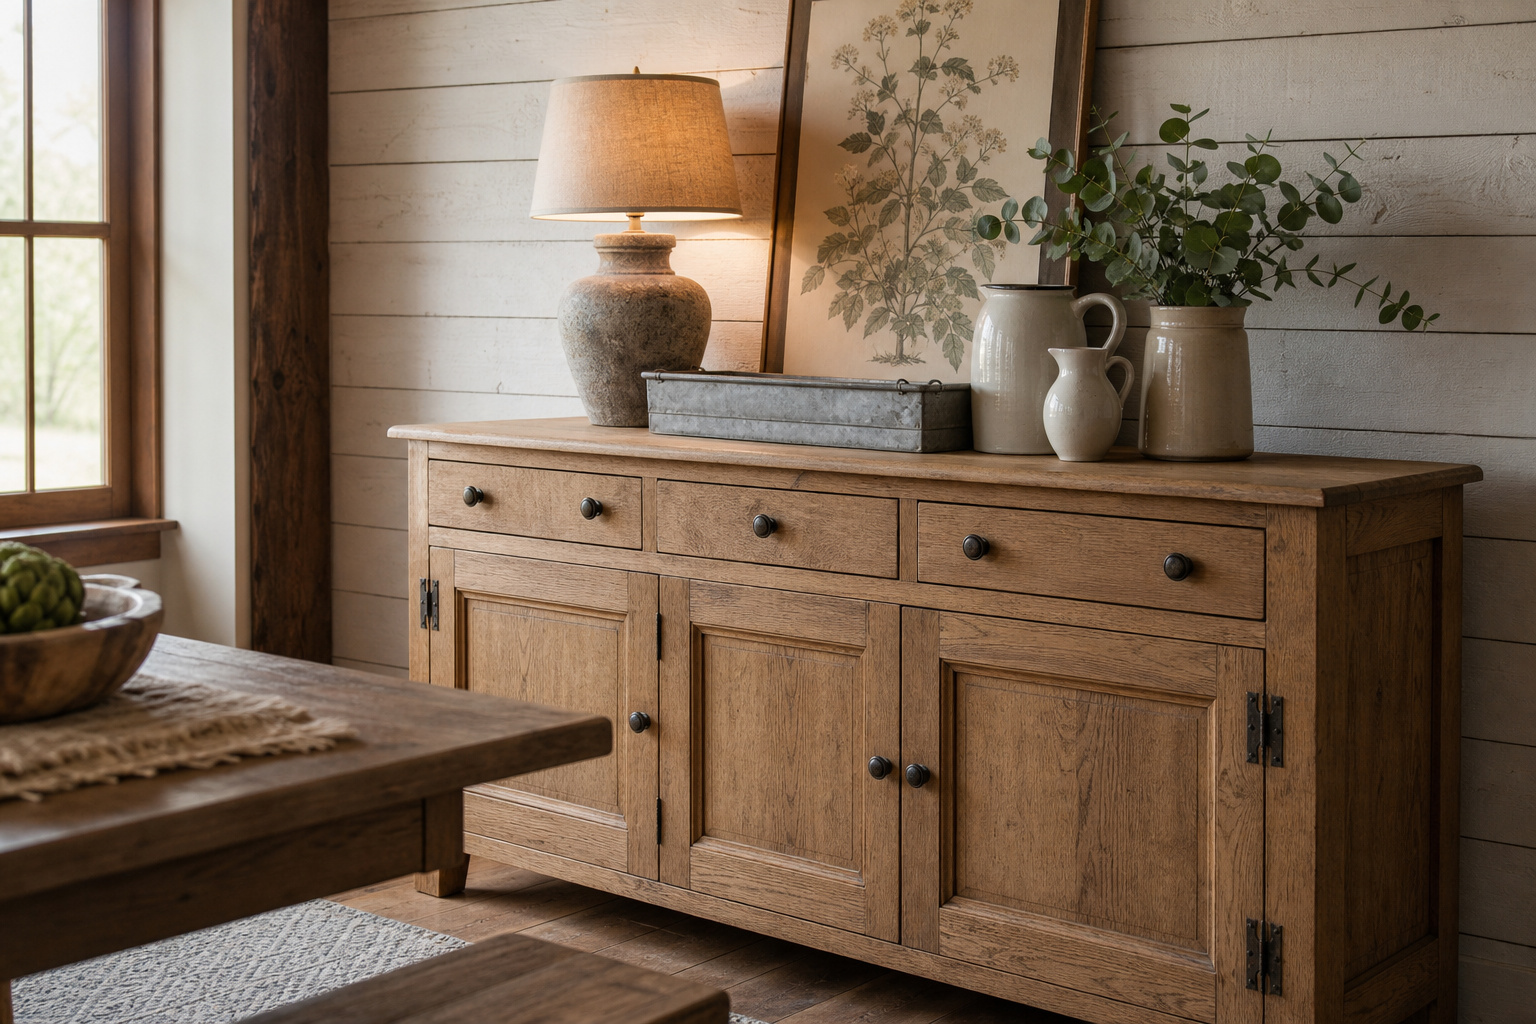
The back layer is your vertical anchor. A leaning framed print, a hung mirror, or a buffet lamp gives the display a background height that stops the eye sliding past the sideboard to the wall behind. Keep at least one back element above 18 inches tall, or the whole arrangement sinks below the sideboard top. Leaning art rather than hanging it is a valid and often better farmhouse move — it reads less formal, suits the assembled-over-time quality, and swaps seasonally without wall damage. A lamp earns its place twice over, since its glow cascades forward and animates every layer in front of it.
Middle layer: the anchor piece and vessels at mid-height
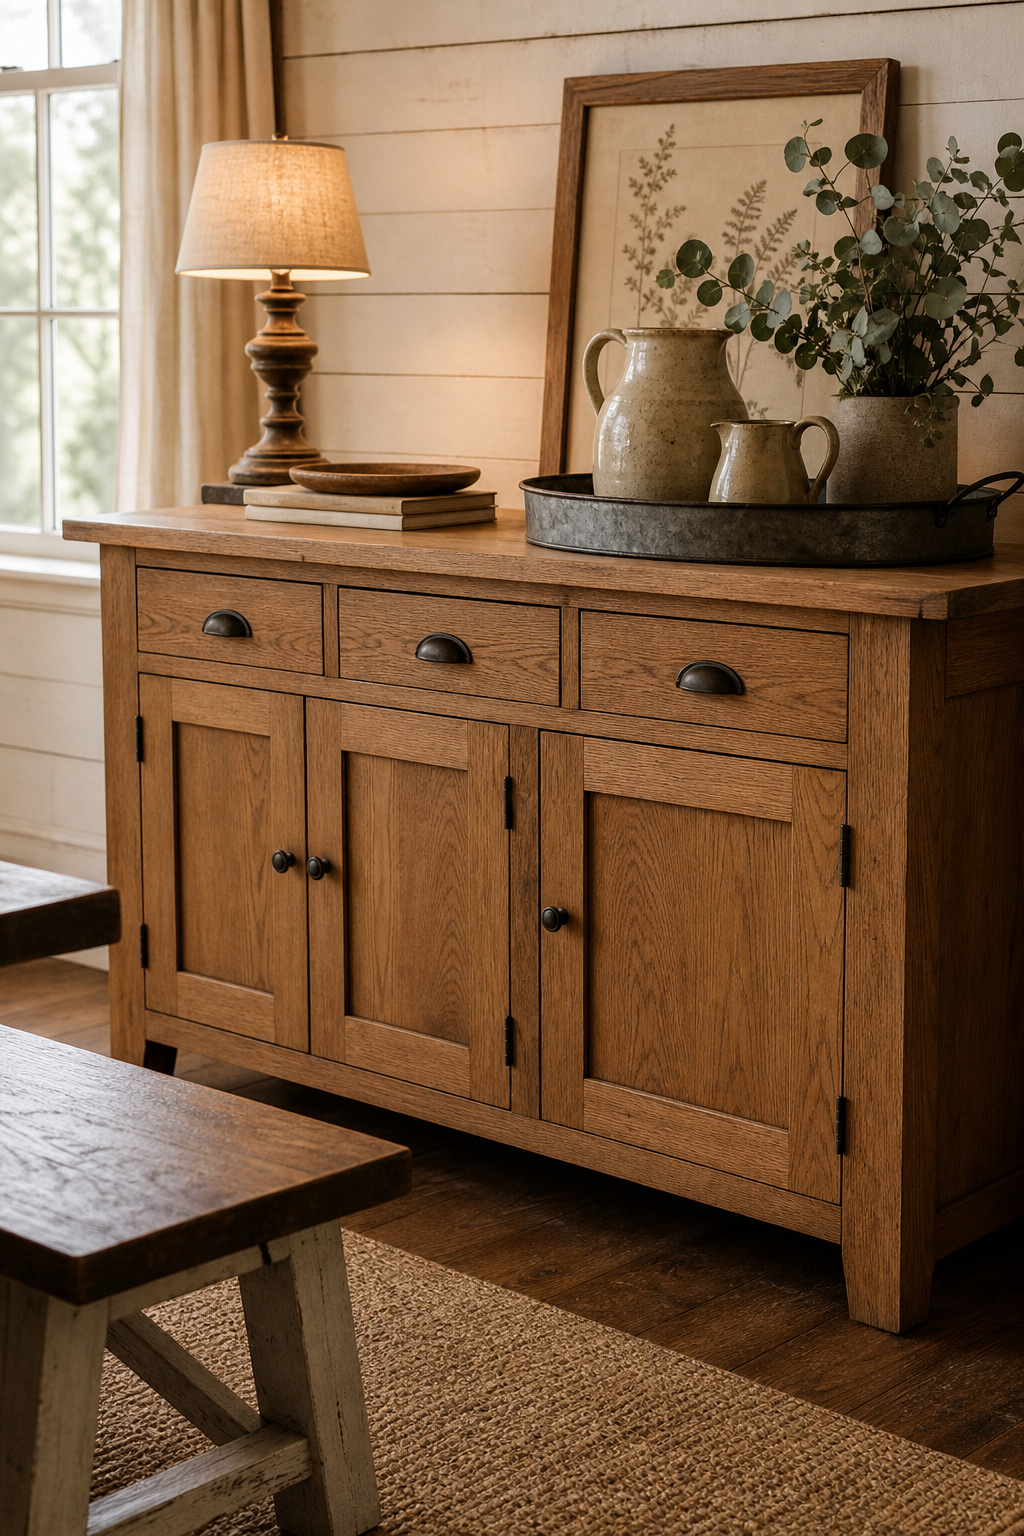
The anchor piece is the single most significant object in the display, and it belongs in the middle layer at 8–14 inches tall. For farmhouse, that means a stoneware pitcher, a galvanised jug, or a ceramic crock — materials that carry weight and history, not shine. The triangle rule shows most clearly here. Group three to five objects so the tallest stands at one end and steps down to the shortest. One discipline keeps it clean: limit yourself to one dominant anchor and no more than two complementary pieces. The anchor should hold the display on its own before you add anything beside it.
Front layer: trays, books, small objects, and greenery at low height
The front layer sits lowest, under 5 inches, and gives the arrangement a defined foreground edge. Skip it and the display floats; the eye falls off the sideboard onto the floor. A tray is your most useful tool here — it corrals small objects like a folded linen square or a single stem, and marks the front boundary. A short stack of two or three books with one object on top works as a subtle riser, adding micro-height without breaking the low line. Above all, leave 30–40% of the surface completely bare. That empty space is what separates display from pile.
Follow this back-to-front, tall-to-short sequence and the surface composes itself:
- Set the back anchor first — lean the art or place the lamp above 18 inches.
- Add the middle anchor piece at 8–14 inches, slightly off-centre from the back element.
- Step a second mid-height object down beside it to start the triangle.
- Lay the front tray to mark the low foreground edge.
- Stop, step back, and clear anything that leaves less than a third of the top bare.
What to Put on a Farmhouse Sideboard: Curated Objects That Earn Their Place
Every object on the surface should earn its spot with a material reason, not just a pretty one. The pieces that read as genuinely farmhouse are the ones that were working objects before they were decorative — crocks, breadboards, ironstone. They divide cleanly into three families: organisers like trays and boards, vessels like pitchers and crocks, and a few living accents. Mix the materials within and across those families; a grouping of all-ceramic or all-galvanised pieces lacks the contrast that makes the look interesting.
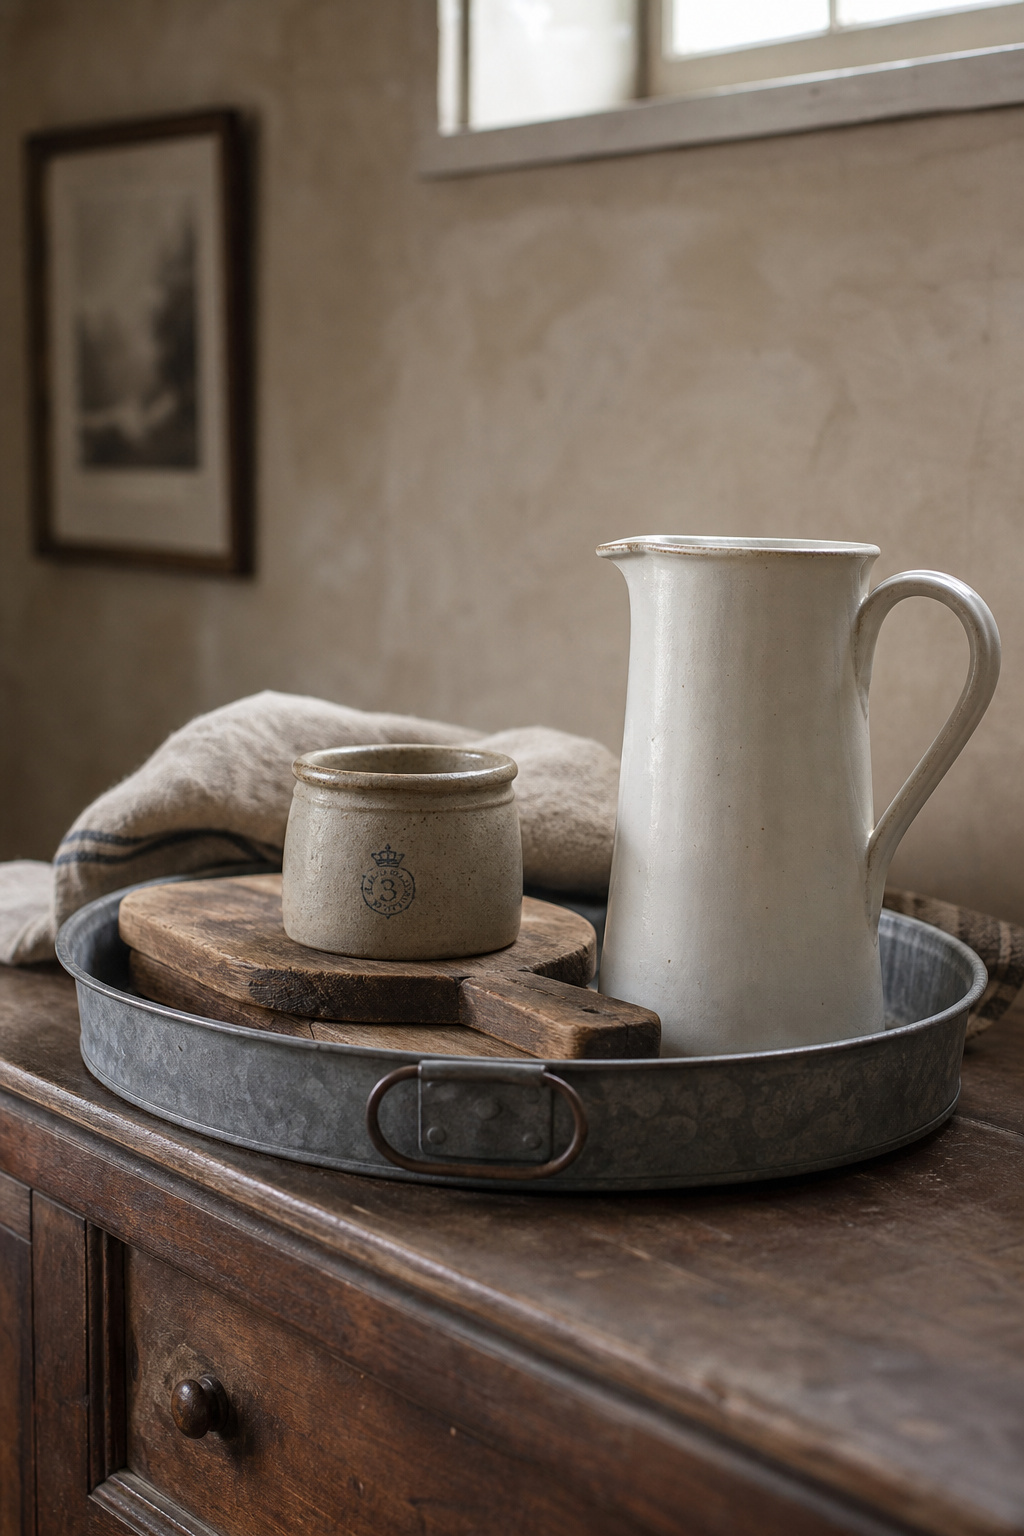
Trays as organisers: breadboards, slate, and galvanised trays
A wooden breadboard is one of the most materially honest farmhouse accessories you can use. It was a working object in every rural kitchen before it became a surface organiser, and its wear marks are its credential. Each tray does three jobs at once: it groups smaller objects into one unit, it keeps the display from drifting toward the table edge, and it lifts clear when the sideboard needs to serve. Galvanised trays read as cleaner modern farmhouse, while wood and slate sit more comfortably in a warm, historically minded room. A slate board doubles as a charcuterie surface, and that dual function is exactly what earns it the space.
Vessels: pitchers, crocks, bottles, and their scale relationship to the sideboard
Vessels work best grouped with contrasting materials. Pair a ceramic pitcher with a brass candlestick and a cutting board, and the material variety carries the grouping. Watch the scale against the back layer: a vessel should reach roughly half the height of whatever hangs or leans behind it — tall enough to contrast with its neighbours but never competing with the anchor above. White ironstone is a dependable choice, because its shared colour unifies pieces from different eras into one collected look. Old stoneware crocks with pressed capacity marks carry provenance a reproduction cannot fake, and reading those marks is the same eye that dates hand-cut joinery.
Greenery, candles, and one textile element
Greenery reads best when it looks incidental rather than arranged — a single stem in a crock, a clipped branch in a jug, a small trailing plant in a clay pot. A formal flower arrangement belongs on the dining table; that is the table centerpiece‘s territory, styled as one coordinated scene with the sideboard. For candles, match the holder to the room: iron pillar holders for a heritage room, turned wooden sticks for something more refined, battery pillars for daily safety on a working surface. Then add just one textile — a folded undyed linen or a small woven basket, not all three. Multiple soft elements on a small top read as clutter before they read as warmth.
The Wall Behind the Sideboard: Frames, Mirrors, and Open Shelving
The wall is the vertical extension of the display, and one proportion governs almost every choice on it. Whatever you hang — a mirror, a single canvas, or a gallery cluster — should span two-thirds to three-quarters of the sideboard’s width. That range feels deliberate and grounded. Go wider and the art competes with the furniture; go narrower and it floats without an anchor. I keep installation advice light here, since the wall treatment itself belongs with the wall behind it.
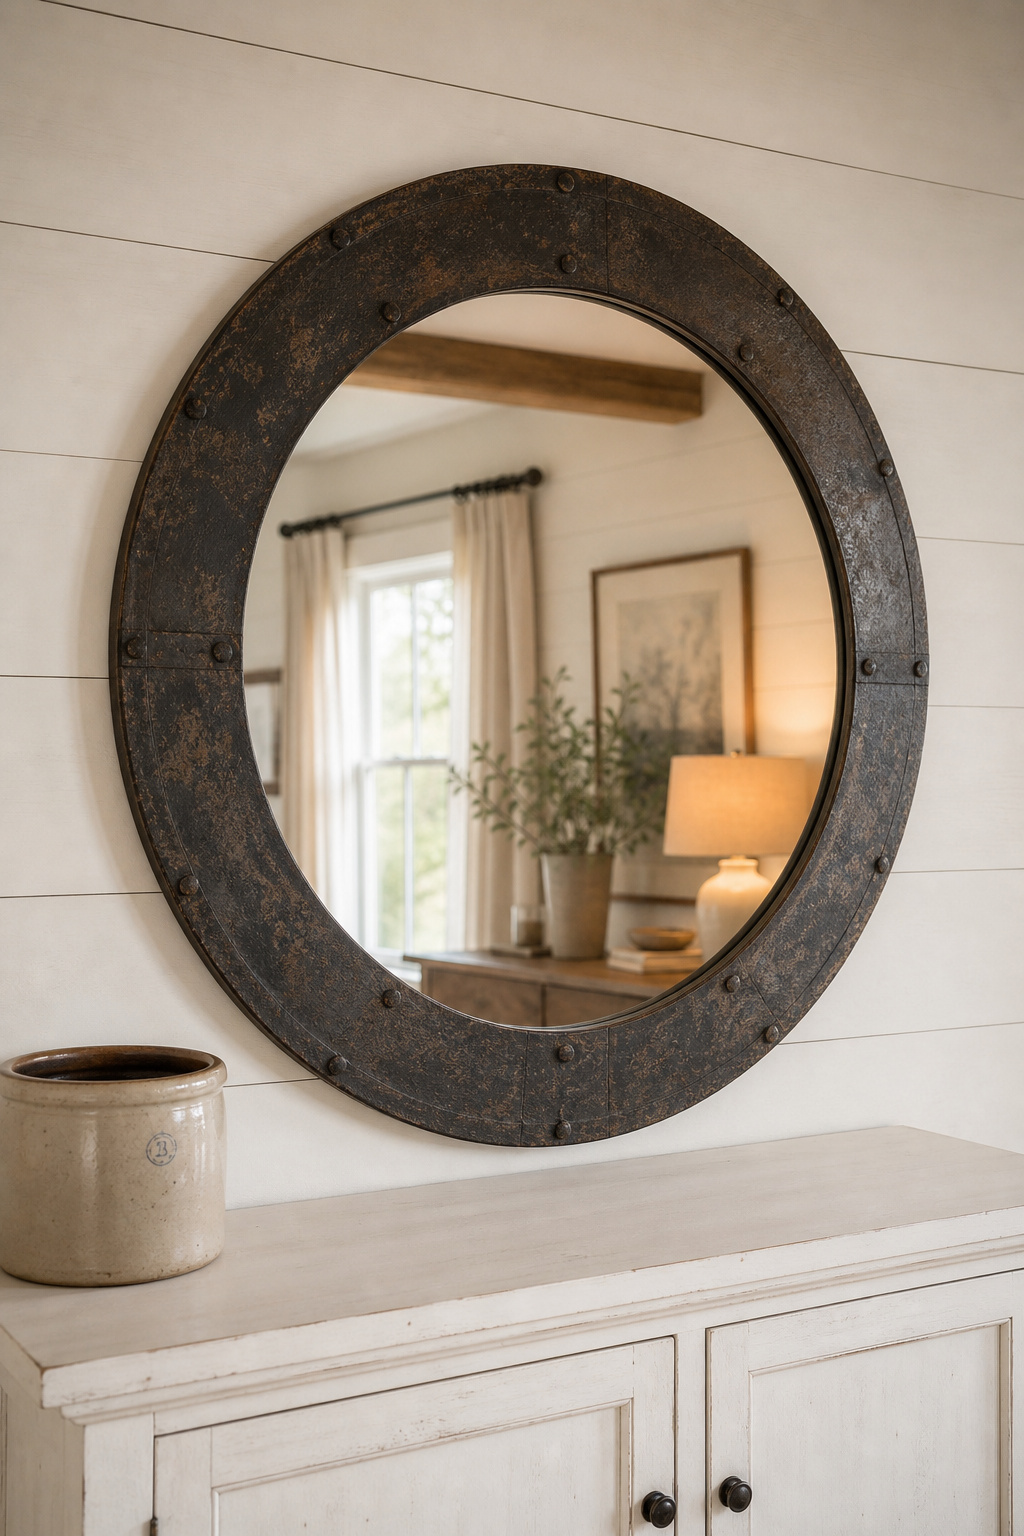
Mirror proportions over a sideboard: the two-thirds rule
A mirror sized to two-thirds or three-quarters of the sideboard width acts as a natural focal point, drawing the eye up and out from the surface while keeping the wall in harmony. A mirror that spans the full width, or wider, overwhelms the piece beneath it. If you cluster several small mirrors instead, judge the group’s overall footprint by the same rule — the total cluster width matters, not each individual mirror. In a farmhouse dining room, a round or arched mirror often beats a rectangular one, because the curve contrasts with the sideboard’s straight lines and the vertical run of shiplap or board-and-batten.
Art arrangements: single large piece vs gallery cluster
A single large piece — a landscape, a botanical print, a vintage map — creates the clearest hierarchy: the surface is the object layer, the art is the vertical anchor. It reads cleanly from across the room. Choose this when the surface is already busy. A gallery cluster suits the opposite case, adding visual complexity above a spare, restrained surface. Either way, treat the cluster as one unit and apply the two-thirds proportion to its combined footprint, not to each frame. And remember leaning art on the surface stays a valid alternative that softens your commitment to any single piece.
Open shelving above a sideboard — when it works and when it competes
Open shelves work above a sideboard only when one layer stays quiet. If the shelves carry the display weight — dishes, crocks, trays — keep the sideboard surface largely functional and clear. The reverse holds too: a styled surface wants airy shelves above it. Fill both densely and they compete, overwhelming the wall rather than anchoring it, especially in a smaller room. Match the shelf width to the sideboard width as well. Shelves wider than the piece make it look narrow, while narrower shelves cut a column that disrupts the flow.
Farmhouse Sideboard as Practical Storage: Balancing Beauty and Function
A sideboard that cannot serve dinner has failed its brief. Modern function belongs in these pieces, and the interior matters as much as the styled top. The trick is to organise storage by how often you reach for things, then guard enough clear surface to actually use the piece. Done right, the sideboard does both jobs at once — it holds the dinner service inside and holds the room’s eye above.
What to store inside: linens, serving pieces, and seasonal decor
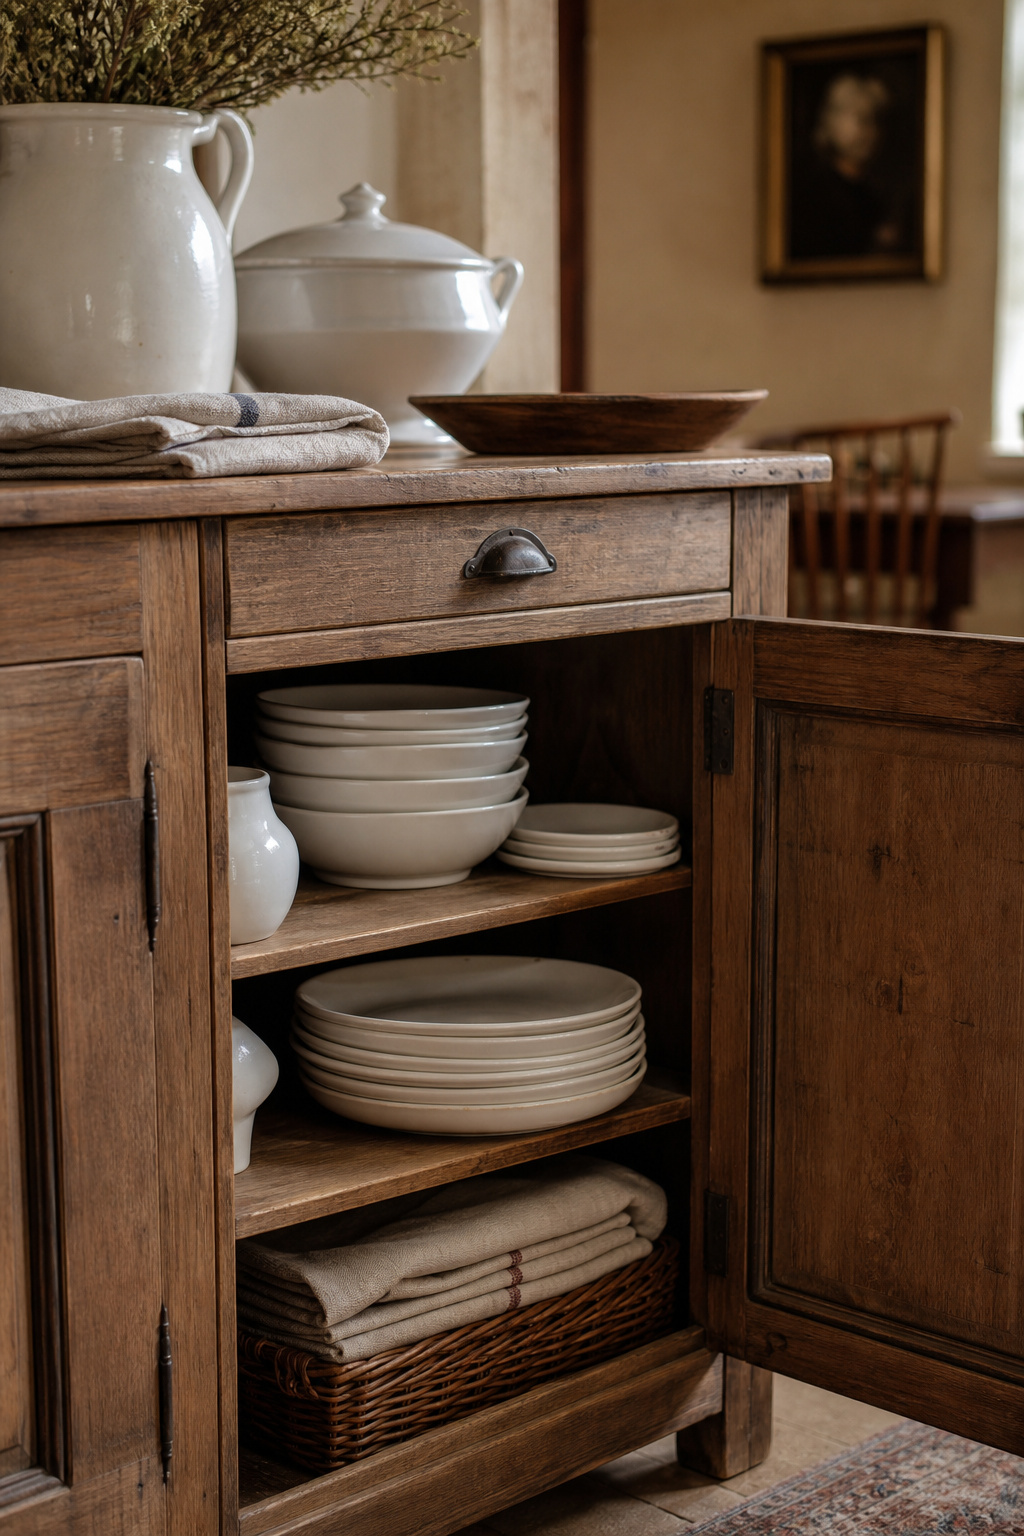
Order the interior by access frequency. Top drawers suit table linens, pressed napkins, and flatware, and a felt lining protects silverware from scratching while keeping the most-reached items out of the cabinet. Set adjustable shelves to the tallest item they hold — dinner plates, upright glasses, and serving bowls are the common three, and none should sit diagonally to fit. Store large platters vertically with plate dividers, which saves shelf space and prevents the chipping that stacking causes. Then push seasonal pieces you rarely touch — holiday napkin rings, festive candlestick holders — into the deepest, lowest cabinet where retrieval is deliberate.
Baskets on top vs in cupboards — the farmhouse storage hierarchy
Baskets play two different roles depending on where they sit. Inside a lower cabinet, a basket corrals irregular items — rolled napkins, loose candlesticks, spare coasters — and lets you carry the whole category to the table at once. On the surface, a basket is a display object first: one small low woven basket in the front layer, holding a little dried lavender or a few folded linen squares, never a utility bin. Many sideboards now ship with removable internal baskets that slide out to wherever they are needed, which is genuinely useful for things you move often.
The hierarchy, top to bottom, runs like this:
- Surface: one decorative basket or tray, display only.
- Top drawer: flatware and fine linens, felt-lined.
- Upper shelves: everyday dinnerware and glasses.
- Lower shelves: serving platters and large bowls.
- Deep base: seasonal decor, accessed deliberately.
Keeping the surface clear enough to serve from: the practical minimum
A working buffet needs at least 18–24 inches of clear surface to set down a covered dish, a ladle, and a plate stack without displacing the display. The easiest way to protect that zone is to push the styled arrangement to one end — three-quarters display, one-quarter clear. The off-centre result is actually more interesting than a centred one. A tray-based display makes this effortless, because you simply slide the tray aside at mealtime and reclaim the surface without dismantling anything. For regular serving, choose at least a 60-inch piece; shorter than 48 inches rarely holds both display and serving without one crowding the other.
A styled farmhouse sideboard, then, is two finished things at once: a composed surface the eye enjoys and an organised interior that serves dinner. Get the proportion right, layer the top back-to-front, give every object a working reason to be there, and keep that clear quarter open. The bare-or-buried sideboard you started with becomes a piece that earns its wall — and goes on doing both jobs, meal after meal, for whoever keeps it next.
FAQ
What do you put on a farmhouse buffet for everyday display?
Use three to five objects: one back-layer element such as a leaning print or tall lamp, one mid-height anchor like a stoneware pitcher or crock, and one low front tray. The tray corrals small items and slides aside for serving. Keep at least a quarter of the surface bare so the buffet stays usable.
How do you style a sideboard without it looking cluttered?
Limit the display to five objects or fewer, grouped in two or three clusters rather than spread evenly. Vary the heights — one tall back element, one mid anchor, one low front object — so the eye moves through depth instead of scanning a flat row. Leave 30–40% of the surface empty; that clear space reads as restraint, not waste.
Should a farmhouse sideboard match the dining table?
No, exact matching is no longer the standard. Coordinate through tonal harmony and shared style instead — both pieces warm-toned, or both cool-toned. A painted sideboard beside a natural-wood table is a deliberate, widely used combination. If both are natural wood, match warmth rather than exact stain, since a warm-cool pairing looks accidental even in the same species.