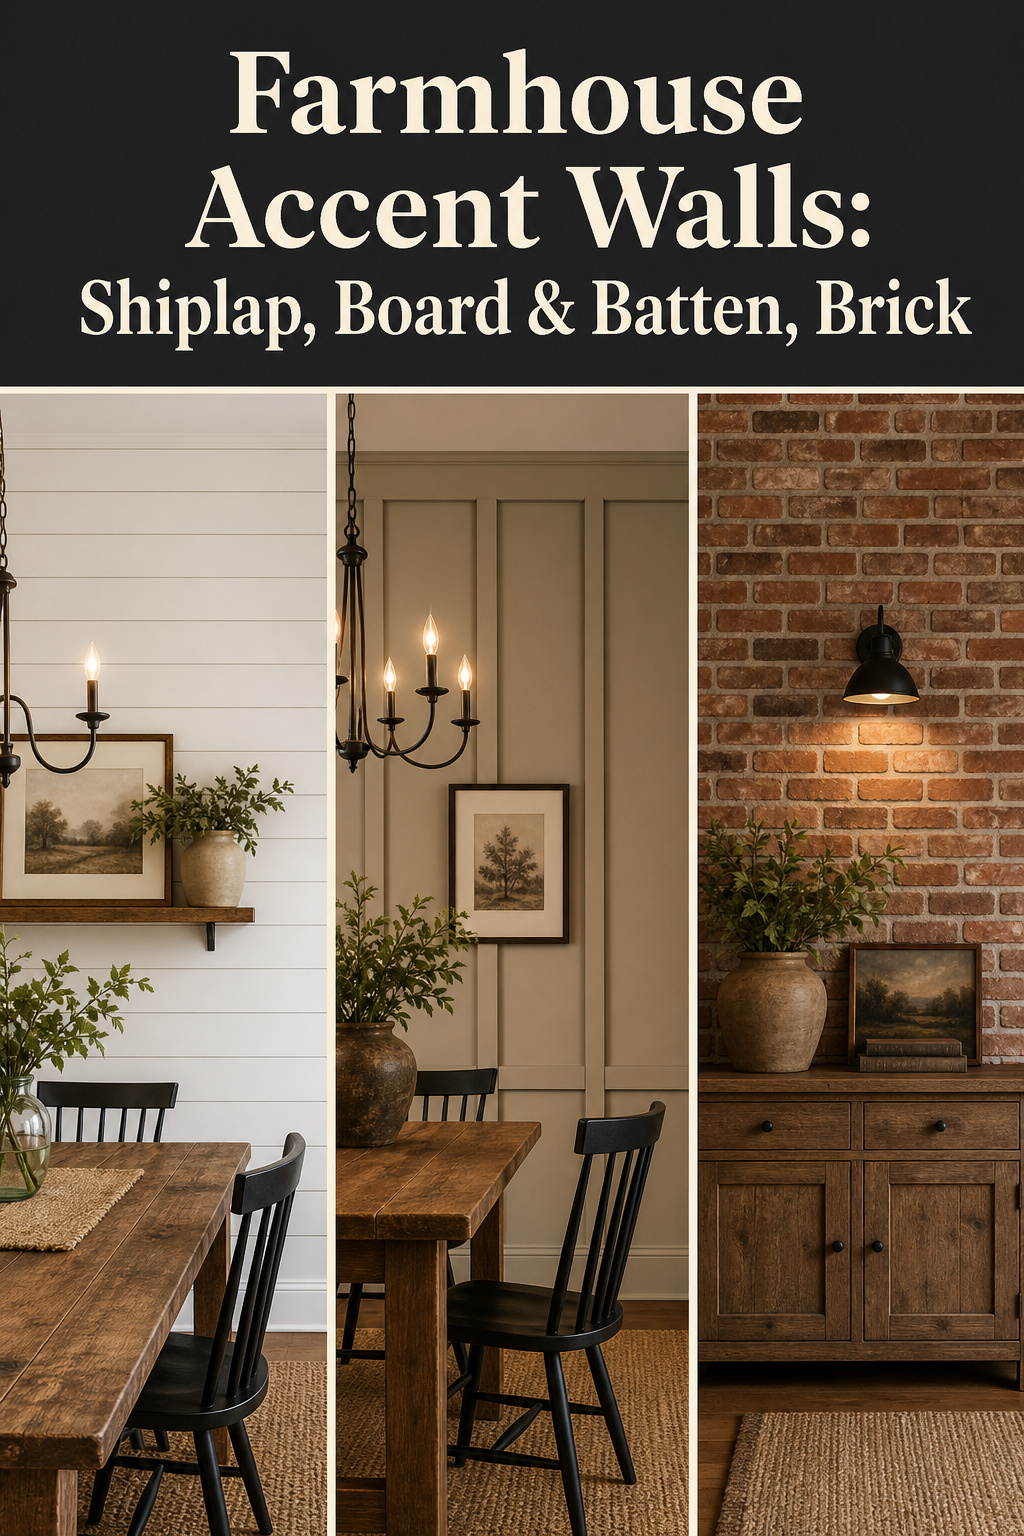
Here is the myth I want to kill first: a farmhouse dining room accent wall does not need a contractor or a four-figure quote. Materials run $2 to $7 per square foot, and a single wall goes up in one Saturday if you measure before you cut. No trade skills required — just a level, a saw, and the patience to get the first board right.
TL;DR
- Shiplap, board-and-batten, and brick-slip accent walls cost $2–$7/sq ft in materials, and a single 80–150 sq ft wall installs in 2–6 hours.
- All three are rated first-build friendly because the cuts are simple; board-and-batten is easiest since every cut is a straight 90-degree line.
- The one rule that saves you a second weekend: level the first board or rail dead-flat, because a 1/8-inch tilt becomes a full inch of drift by the ceiling.
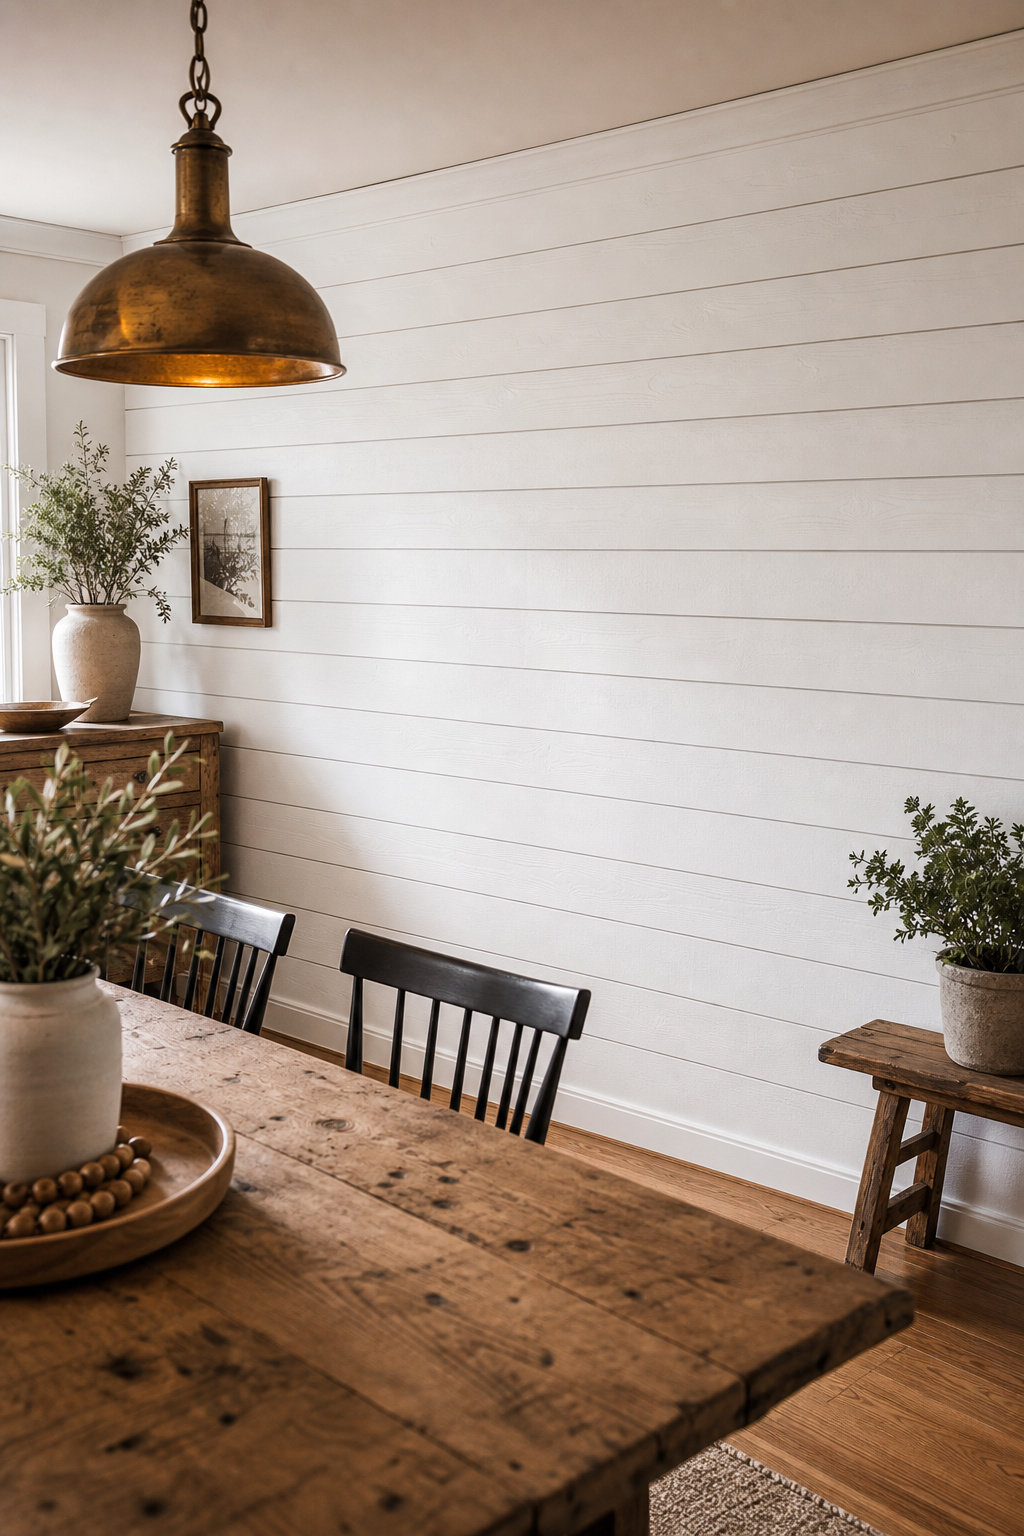
This covers vertical wall surfaces only — shiplap, board-and-batten, planks, and brick. Ceilings are a separate project.
What a Farmhouse Accent Wall Actually Costs (and What Takes a Weekend)
Costs first, inspiration later.
| Wall treatment | Material cost / sq ft | Weekend hours | Skill level |
|---|---|---|---|
| Shiplap (pine) | $2–$7 | 2–4 | First build |
| Board-and-batten | $2–$4 | 4–6 | First build |
| Peel-and-stick plank | $1.50–$12 | 4–6 | First build |
| Brick-slip panel (faux) | $11–$14 | Saturday + cure | Some builds |
Material cost ranges: shiplap vs board-and-batten vs peel-and-stick plank
Peel-and-stick swings hardest: real-wood planks cost $6–$12, vinyl $1.50–$4 — but vinyl can’t be painted, so a colour change means tearing it off. The budget option is plywood ripped into 6-inch strips at $0.50–$1.00 per square foot; painted, it reads nearly identical to real shiplap.
Skill rating and realistic time: first build, some builds, confident builder
All three are first builds if you’re comfortable with a saw. Add 1–2 hours to a shiplap wall if an uneven surface needs furring strips. On board-and-batten, most of the time goes into caulking and painting, not nailing.
The tools you already own and the one you might need to borrow
You likely own most of the kit: a stud finder, a 4-foot level, a tape measure, and a pencil. The two worth renting are a miter saw or circular saw ($30–$50/day) and a brad nailer ($25–$40/day) — the nail gun is the biggest time-saver and the tool most worth borrowing. For how an accent wall fits the rest of the look, start with our farmhouse dining room ideas guide.
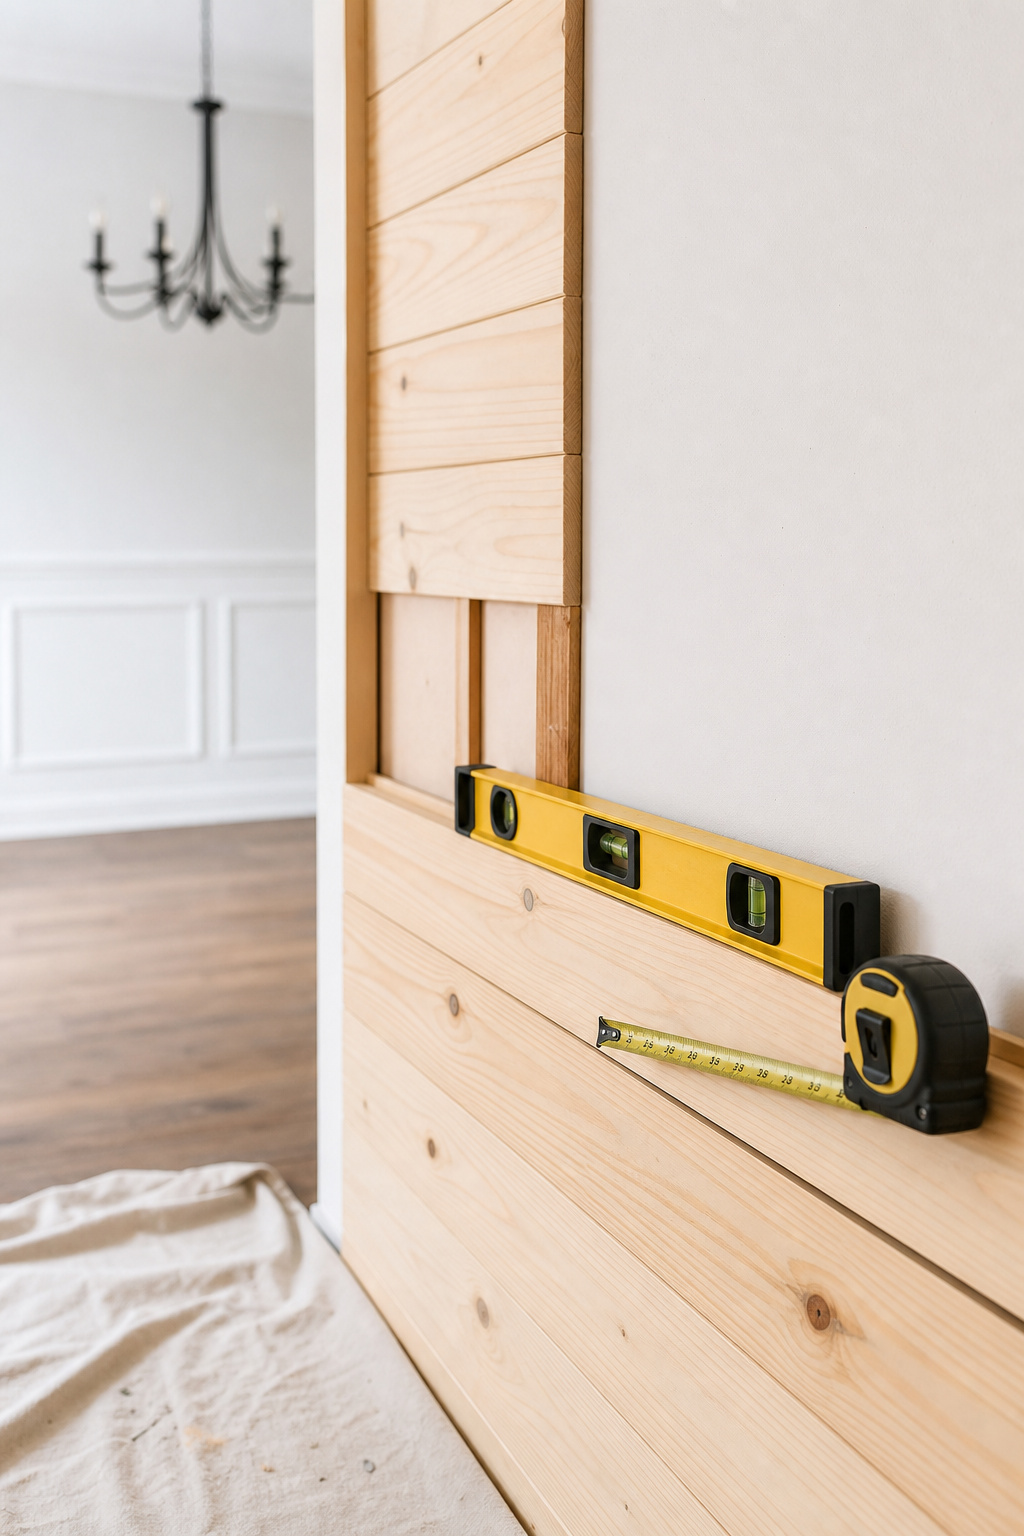
Shiplap Dining Room Walls: White, Natural, and Dark Stained
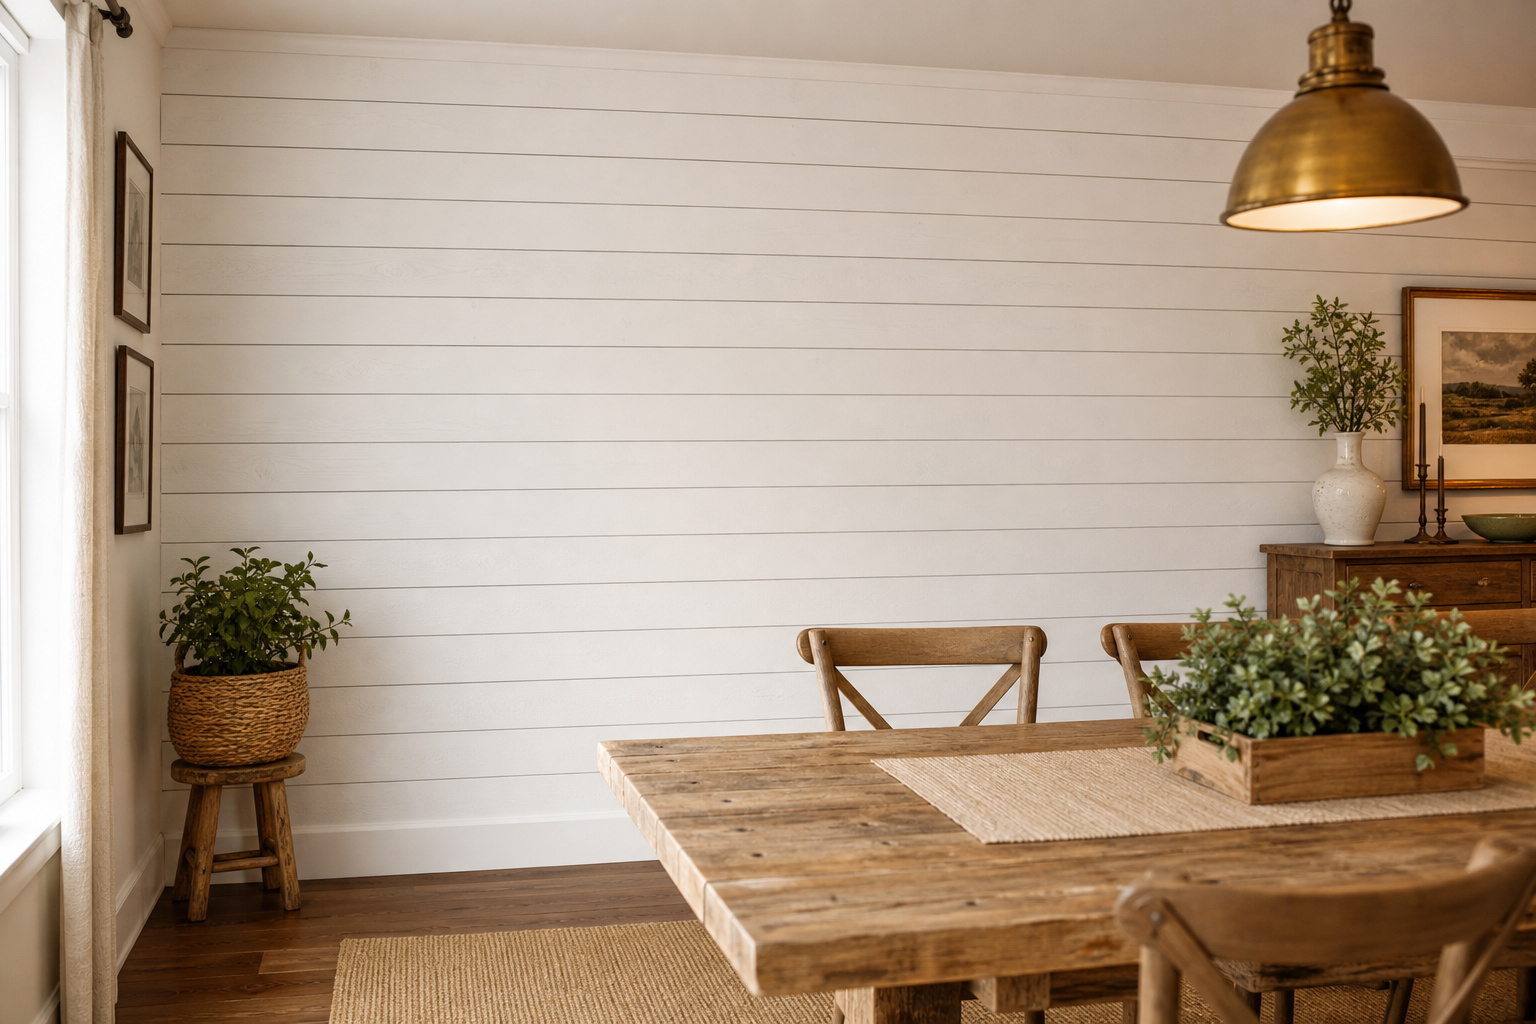
Shiplap is the signature farmhouse wall and forgiving for a first-timer — the shadow-line gap does the decorating, so your only job is keeping it consistent.
Horizontal vs vertical shiplap: which direction suits a dining room
Horizontal is the traditional farmhouse orientation — it visually widens the room and is the standard dining-room choice. Go vertical only in a narrow room or where the ceiling sits at 7.5 feet or lower. For board width, the 1×6 (a 5–5.5-inch exposed face) is the most-used size; jump to a 1×8 only on walls taller than 9 feet.
White-painted shiplap installation: step-by-step with real measurements
The seven-step sequence for a white-painted wall:
- Mark every stud with painter’s tape — studs sit 16 inches on centre, your nailing targets.
- Acclimate the boards in the room for 48–72 hours before nailing, or they shrink and gap open later.
- Cut the first board and check it dead-flat with a 4-foot level. Nail this one perfectly or every course above drifts.
- Drive two 2-inch finish nails into each stud — one near the top edge, one near the bottom.
- Set tile spacers (not pennies) between courses for a steady 1/16-inch gap — that’s the shadow line that makes it read as shiplap.
- Stagger vertical seams at least two boards apart so none runs straight up the wall.
- Fill nail holes, then prime and paint with two coats of satin or eggshell latex.
The mistake that bites people: pennies slip out from under an 8-foot board and your gaps go ragged — use tile spacers, and pre-paint the boards before they go up.
Natural and dark-stained shiplap: finish options and upkeep
A natural finish — clear water-based poly or penetrating oil over bare pine — shows the grain and knots for a warmer feel than white. For a dark wall, Minwax Dark Walnut is the benchmark; topcoat with water-based poly so the tone doesn’t yellow, and pair it with white chairs and a light-toned table so it doesn’t eat the light. White paint is the lowest-maintenance — a scuff spot-paints away in minutes. All three are central to the rustic farmhouse dining room look.
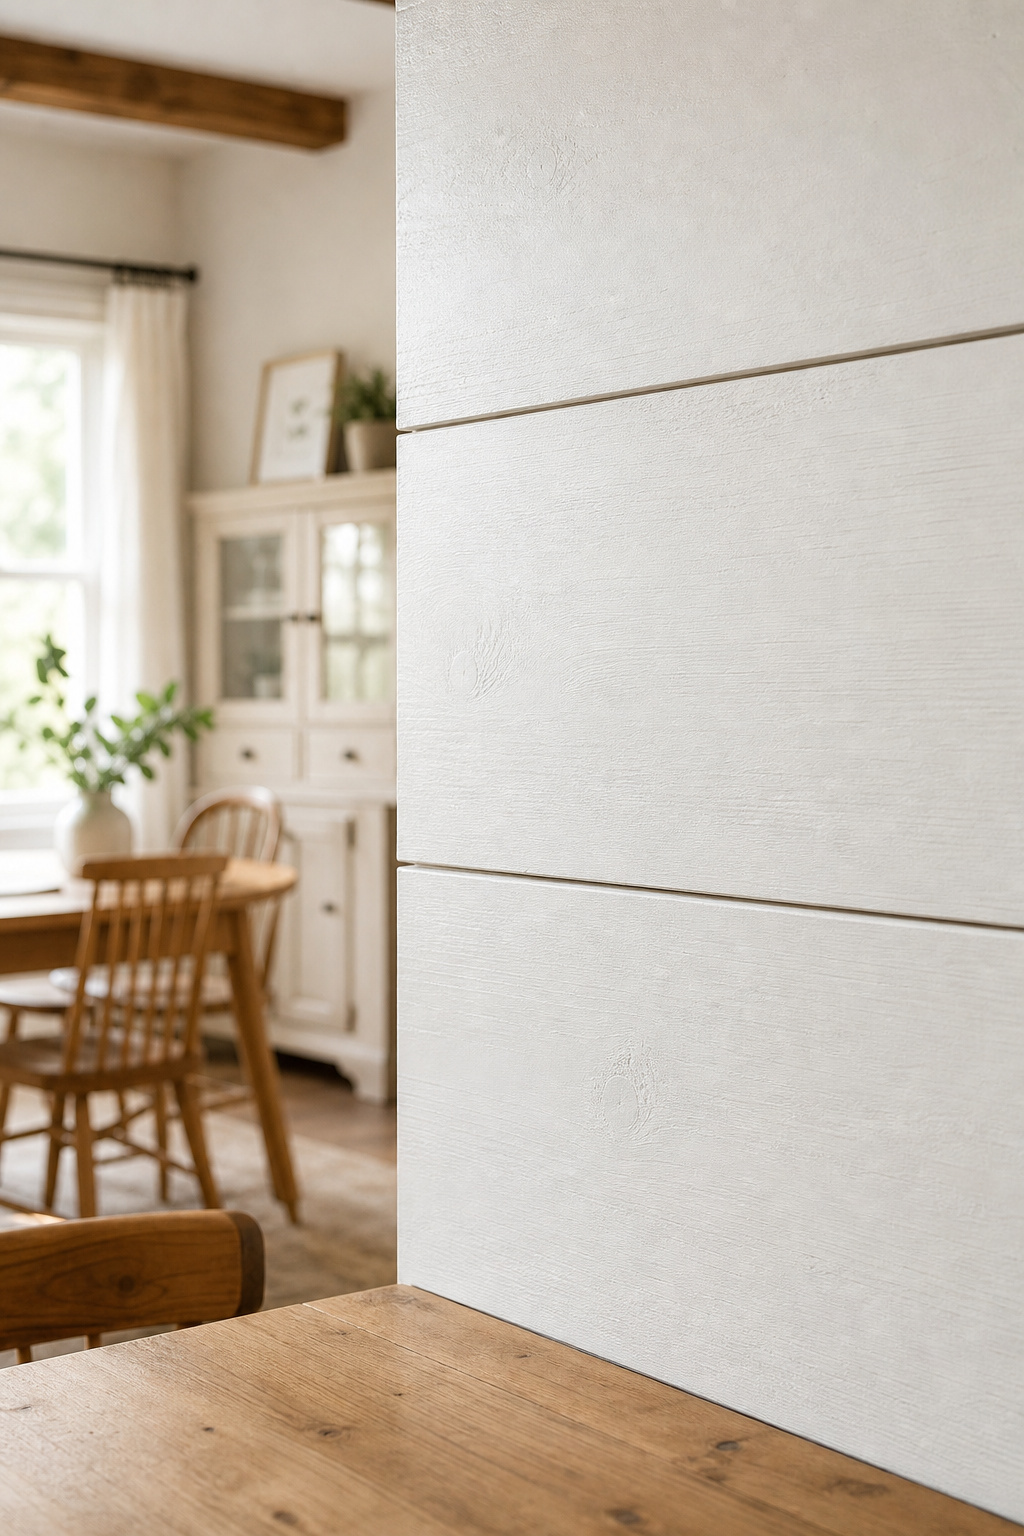
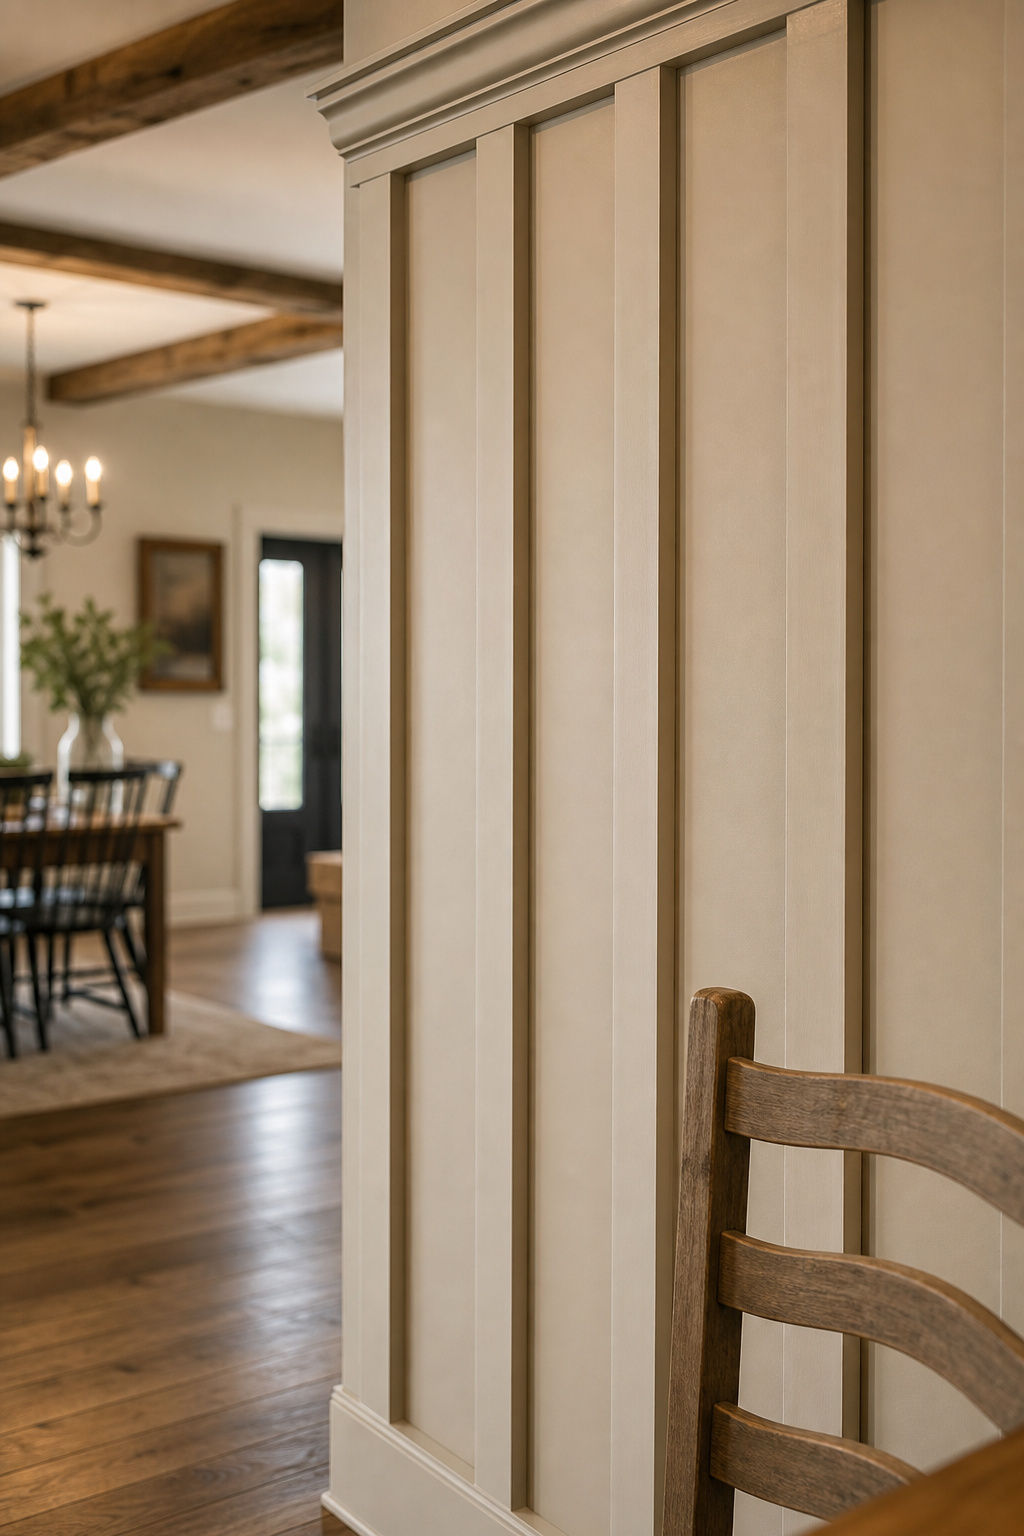
Board-and-Batten Dining Room Walls: Classic Lines on a Budget
The cheapest real-wood treatment, and the most beginner-proof — there’s not a single angle cut in the whole job.
Board-and-batten basics: board spacing, batten width, and dado height
Space battens 10–16 inches centre-to-centre (most farmhouse builds use a 1×3 or 1×4); wider reads more relaxed. Divide the total wall width for even spacing, so you don’t hit an odd gap at the corner. Set the dado (horizontal cap rail) by ceiling height:
- 8-ft ceiling: 38–40 inches for a half-wall, or run it floor-to-ceiling.
- 9-ft ceiling: 42–48 inches for a balanced partial install.
- 10-ft ceiling: 48–54 inches.
Installation sequence: level, nail, fill, prime, paint
The build runs six steps:
- Mark studs, then snap a level chalk line at your dado height — this anchors everything.
- Install the top horizontal cap rail first with 2-inch brad nails plus construction adhesive for a dual hold.
- Install the base rail along the floor, then measure the exact gap to the cap rail and cut all vertical battens to that number.
- Nail the battens at your spacing with adhesive and 1.5-inch brads, checking plumb on every third one.
- Fill nail holes with spackle, caulk every joint with paintable acrylic caulk, smooth with a wet finger, and cure 60 minutes.
- Prime if the boards aren’t pre-primed, then roll two coats of satin or eggshell latex. Paint runs $30–$60.
The mistake that cracks your finish: painting before the caulk dries. It has to cure first, or the paint splits along every seam.
Half-wall vs full-wall board-and-batten: when each works
Half-wall (dado at 38–48 inches) suits ceilings under 8.5 feet and protects the lower wall from chair backs. Full-wall reads best at 9 feet and up; in an 8-foot room it can feel boxed-in unless boards and wall share the same colour, with a two-thirds height (about 64 inches) splitting the difference.
Wood Plank and Brick Accent Walls for a Rustic Farmhouse Dining Room
The budget path to an Old World, layered look — without barn-wood prices.
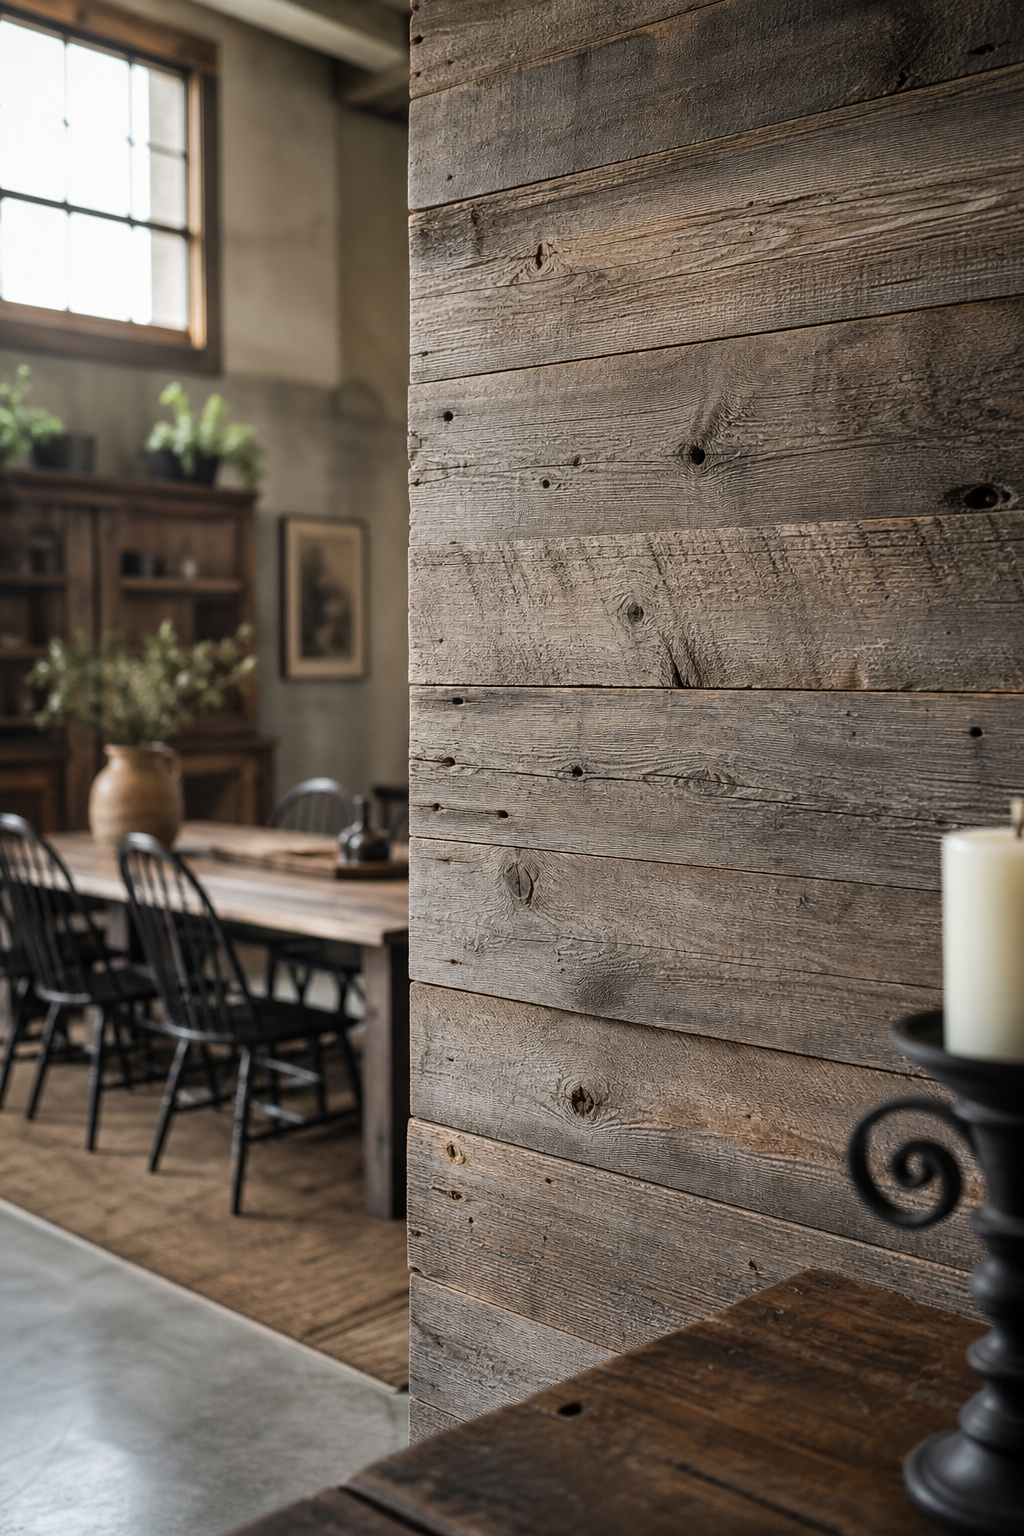
Horizontal wood planks: the cheap reclaimed look
Real reclaimed pine panelling costs $6–$9 per square foot. The cheaper route: dissolve a pad of #0000 steel wool in white vinegar for 24 hours, brush onto bare pine, and the reaction with the wood’s tannins ages it within minutes — one project hit a convincing reclaimed wall at $2.20 per square foot this way. Test on a scrap, then mix board widths at random.
Brick slip panels: a no-demo brick wall
Faux polyurethane brick panels cost $11–$14 per square foot, weigh 1–3 pounds per square foot, and glue straight to drywall — a standard 8×10-foot wall comes in under $300. Real clay slips cost $20–$30 and need tile adhesive, grout, and a 24-hour cure. My honest take: at conversation distance, faux reads identically for a third the price — save real clay for a fireplace.
Mixing materials: shiplap-to-brick transitions
Running two materials works if you handle the seam: a 1×4 vertical pine board, painted to suit both surfaces, covers the raw edge where shiplap meets brick. A plank or brick wall pairs naturally with a matching table.
What to Hang on a Farmhouse Dining Room Accent Wall
Gallery walls, hooks, and shelves: hanging on wood without damage
For anything under 10 pounds, drive a thin nail straight into the board — no more than two per board. For 10–50-pound pieces, find the stud, drill a pilot hole through the shiplap, and drive a coarse wood screw. Command strips work on clean, dry shiplap, but hold drops 25–50% in a humid room — don’t trust them with anything heavy. Floating shelves go up on a French cleat screwed into the studs: it holds 50 pounds per linear foot with no visible hardware, and black cast-iron hooks take 2.5-inch #10 screws into a stud.
Large single pieces: mirror size rules for a dining accent wall
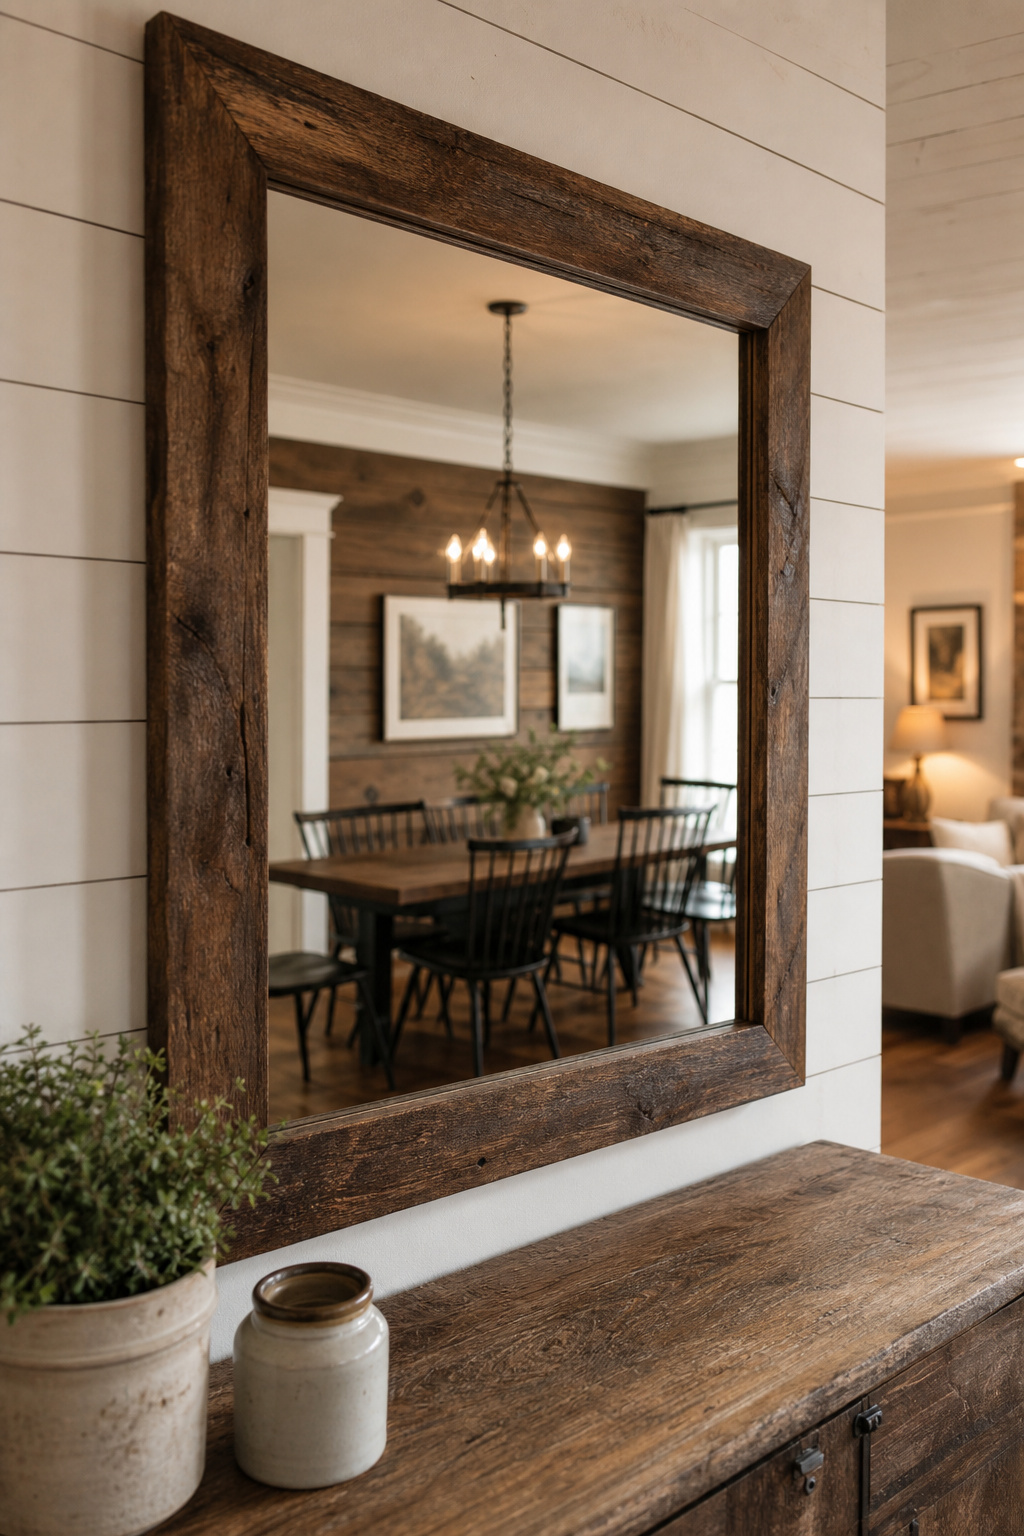
A mirror over a sideboard should be two-thirds to three-quarters the furniture width — never wider. A 60-inch sideboard takes a 40–45-inch mirror; a 72-inch piece takes 48–54. Hang the bottom edge 6–8 inches above the furniture top, on two stud-anchored hooks matched to the hanging wire — a single central hook lets the mirror pendulum and expose the gaps behind it.
Getting Started: Your First Farmhouse Accent Wall This Weekend
The decision in 60 seconds: shiplap, board-and-batten, or plank
Choose shiplap for the classic horizontal look if a miter saw doesn’t scare you. Choose board-and-batten for clean geometric lines or if you’re a total first-timer — every cut is a straight 90. Choose plank or brick-slip for rustic, layered texture and an extra half-day for the brick adhesive to cure.
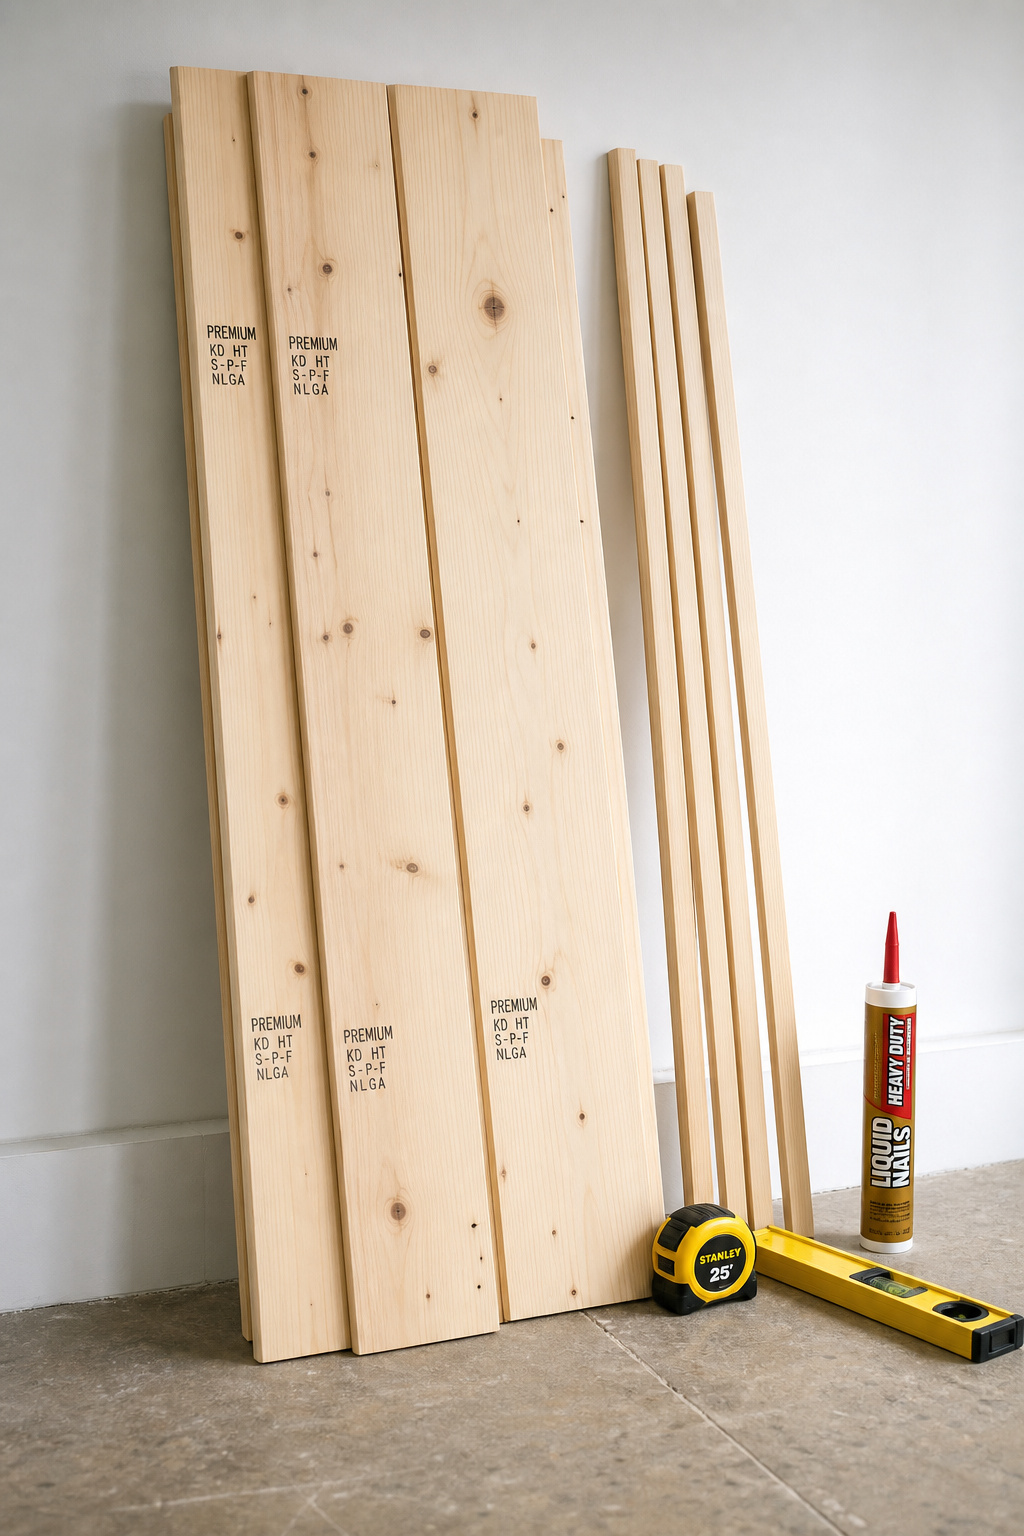
Your pre-project shopping list (what to buy before Saturday morning)
Buy this before Saturday so you’re not driving to the store mid-build:
- Shiplap: boards (wall sq ft + 10% waste), 2-inch finish nails, 1/16-inch tile spacers, primer and satin latex. Roughly $200–$700 for 100 sq ft.
- Board-and-batten: 1×4 rails, 1×3 battens, construction adhesive, 1.5-inch brads, paintable acrylic caulk, primer and satin latex. Roughly $150–$400 for 100 sq ft.
- Rent, don’t buy: a miter saw ($30–$50/day) and an 18-gauge brad nailer ($25–$40/day). These two double your speed.
The one mistake that costs you a second weekend — and how to avoid it
Almost every wall that spills into a second weekend traces back to one thing: the first board wasn’t level, and the error compounded until the drift showed across the room. The fix is 20 minutes of patience — hold a 4-foot level across that first board, shim until the bubble reads dead centre, then nail it. The other time-killer is buying boards the day you install, so buy them Thursday for a Saturday build and let them acclimate.
FAQ
How much does it cost to shiplap a dining room wall?
DIY shiplap materials for a single 100 sq ft dining accent wall run $200–$700, depending on board species — pine is cheapest at $2–$7 per square foot. Hiring it out costs $3–$11 per square foot all-in, or $240–$1,700 for a 100–150 sq ft wall. The budget hack: plywood ripped into 6-inch strips costs $0.50–$1.00 per square foot and reads identically once painted.
Can I install board-and-batten as a beginner with no carpentry experience?
Yes — it is the most beginner-friendly of the three farmhouse accent walls because every cut is a straight 90-degree line, so you only need a saw and a level. A single wall takes a beginner 4–6 hours including measuring, cutting, nailing, caulking, and painting. The one skill that matters most is snapping an accurate level reference line before any board goes up.
Does shiplap go floor-to-ceiling or just halfway in a dining room?
Either works, but ceiling height decides which looks proportional. Rooms with 9-foot ceilings and up carry floor-to-ceiling shiplap confidently; in 8-foot rooms, stopping at dado height (roughly 38–48 inches) avoids a closed-in feeling. Half-wall shiplap also protects the lower wall from chair backs and halves your material cost, while pairing naturally with a contrasting paint colour above.