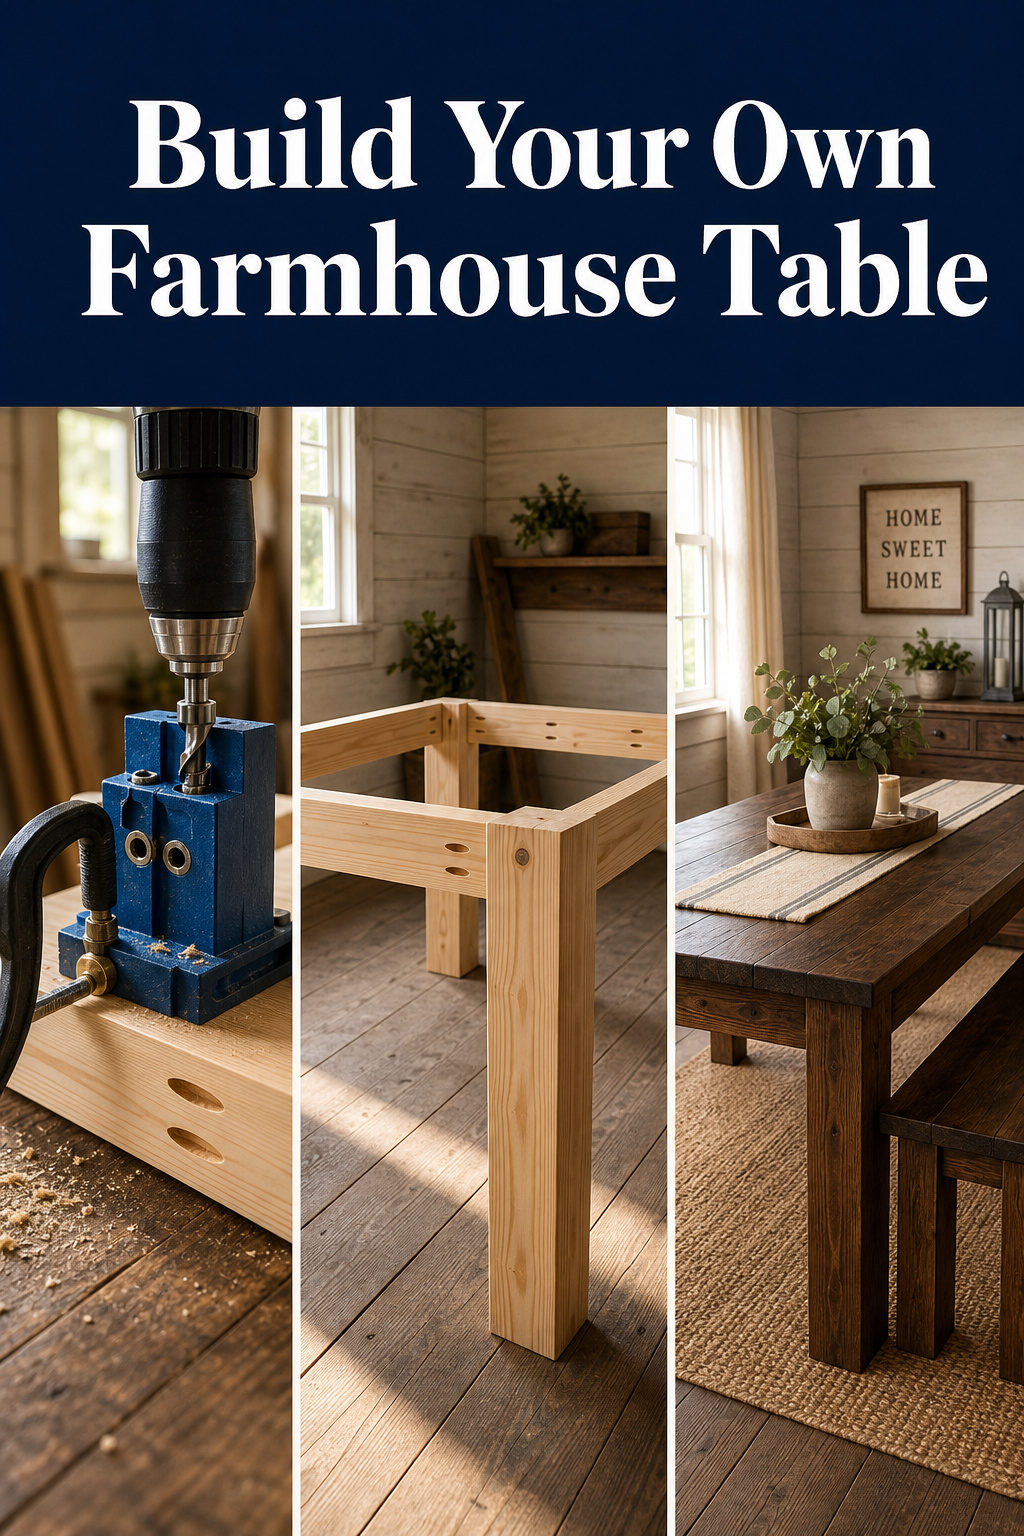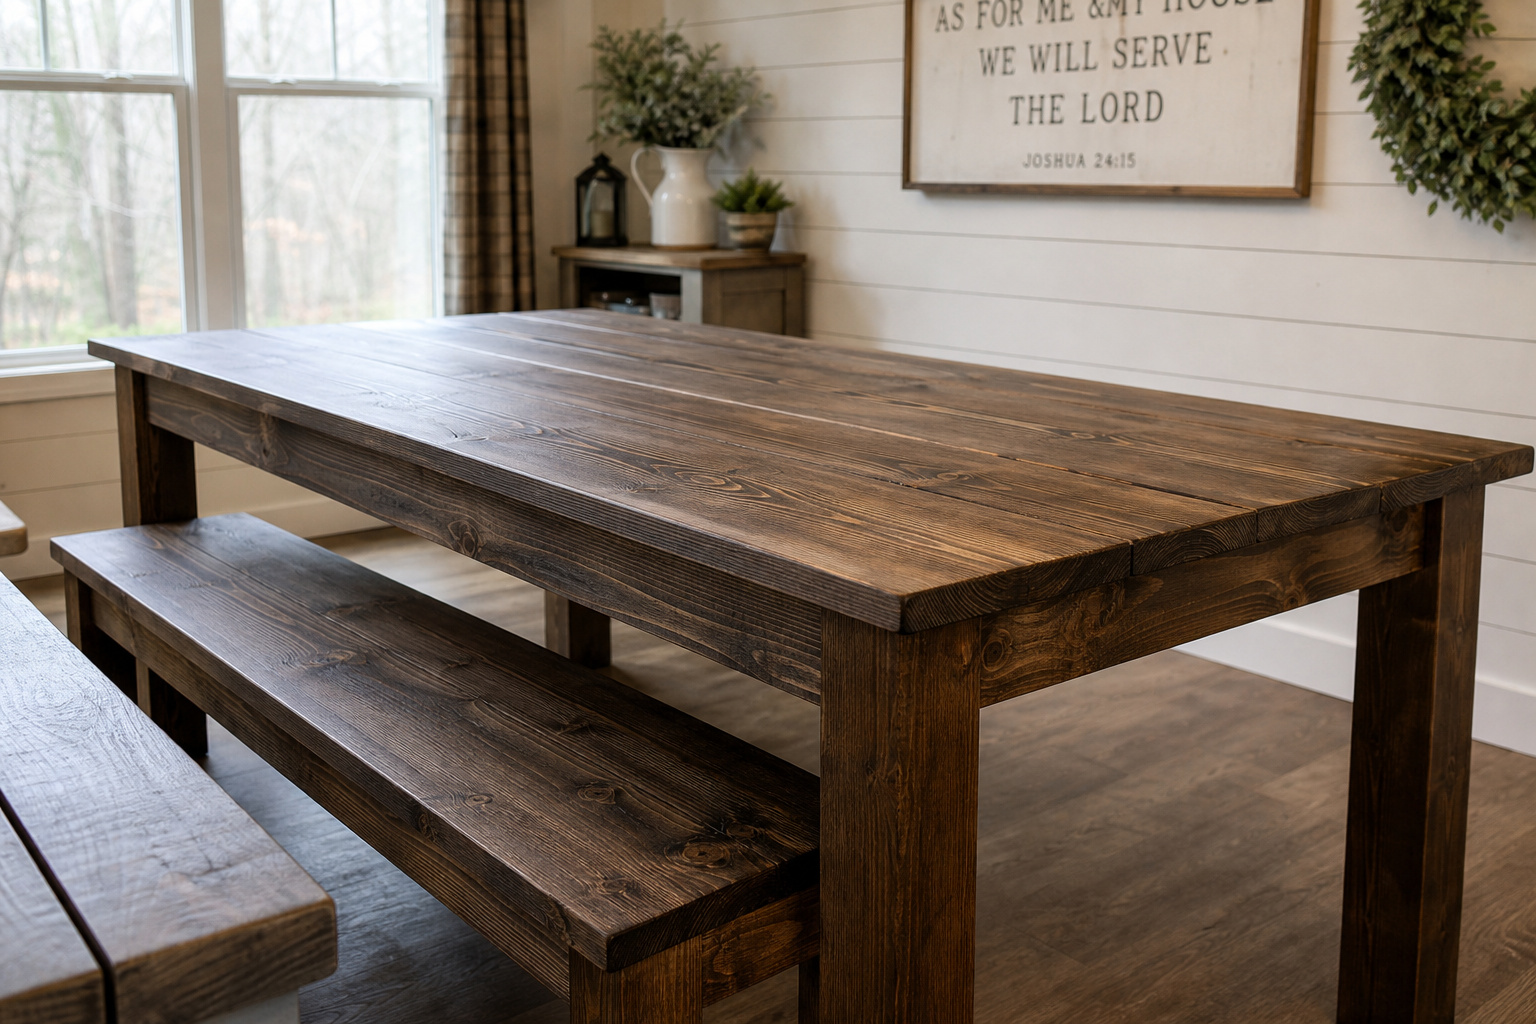
A store-bought solid-wood farmhouse set starts at $900 and climbs past $1,200 fast. A DIY farmhouse dining table in No. 2 pine costs $140 to $250 all-in — and that is why this project exists. The cuts are square, the joinery is forgiving, and the only real skill is patience with the boring steps.
TL;DR
- A DIY farmhouse dining table costs $140–$250 in materials versus $900–$1,200 bought, a saving of 60–80%.
- It is a beginner build: two power tools and pocket screws do everything, over one weekend plus a week of finishing.
- A 72-inch table that seats six runs 72 inches long, 36–38 wide, and 29–30 tall — pine, four legs, an apron, and a stretcher.
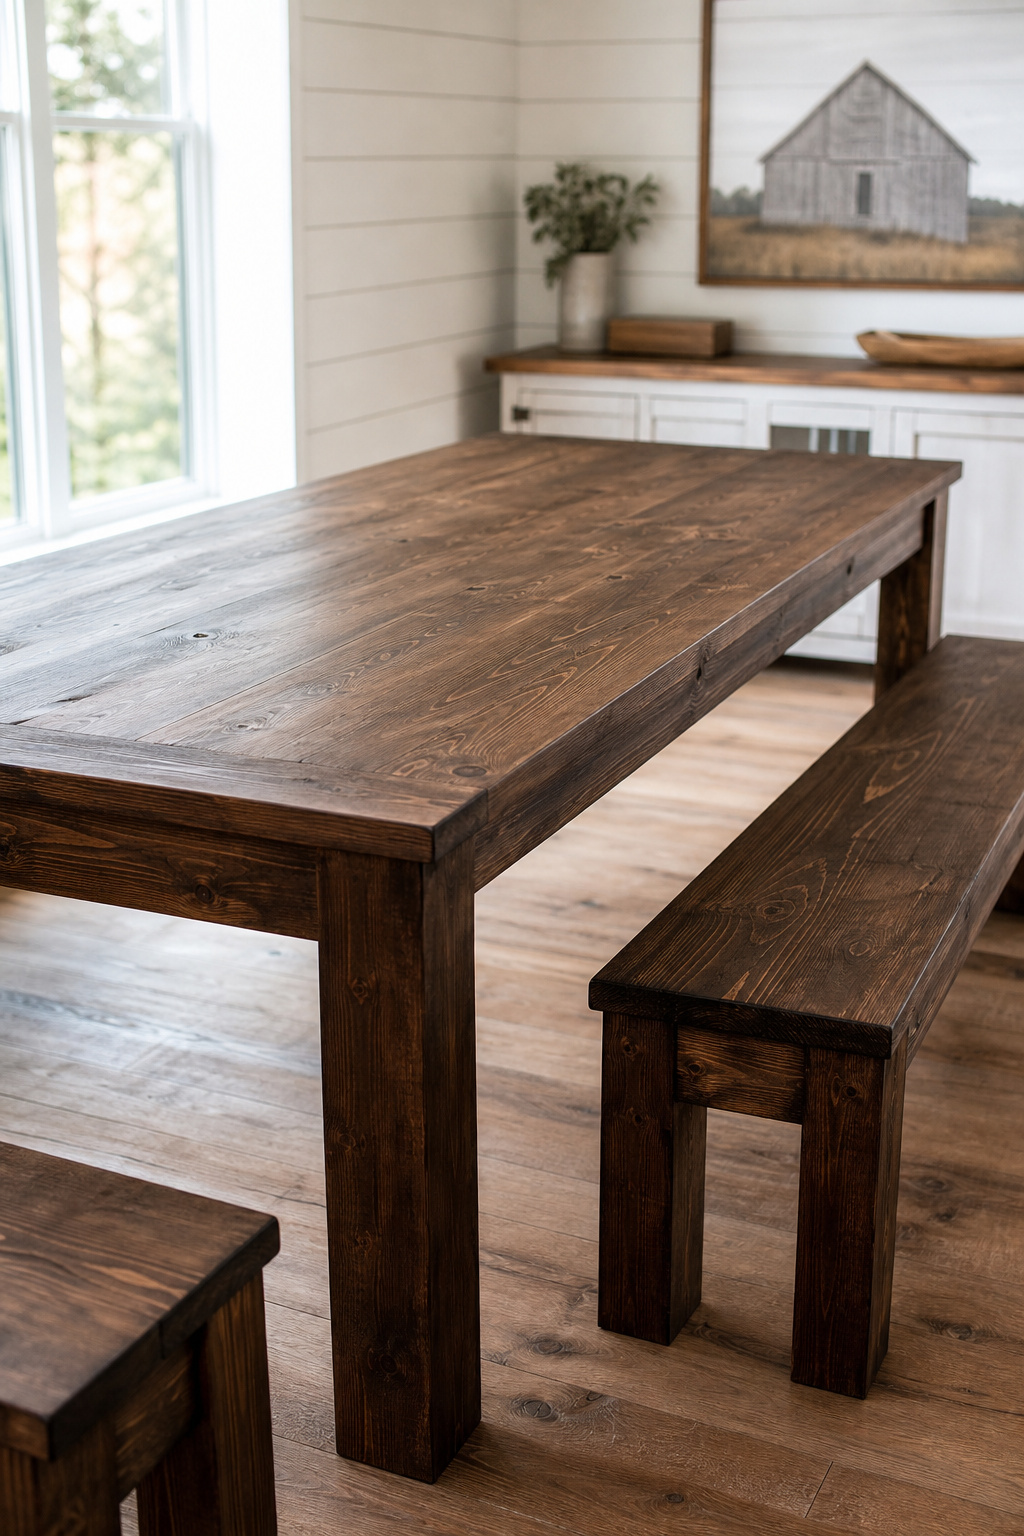
I learned my numbers running remodeling crews, where the rule was simple: pros measure, beginners guess. This whole plan is built to keep you measuring. Let me walk you through the cost, the cut list, the build, the finish, and the bench — in that order.
What This Build Costs and What It Takes — Before You Watch Any Video
Cost and time first. If the math doesn’t work, no inspiration photo is going to save the weekend.
A 72-inch table in No. 2 pine — 2×8 and 2×10 tabletop boards, 4×4 legs, 2×4 aprons and stretcher — runs $100 to $180 in lumber at 2026 big-box prices. Hardware and consumables add $40 to $70: Kreg pocket screws, wood glue, sandpaper in 80 through 220 grit, pre-stain conditioner, a quart of stain, and a quart of water-based poly. Total: $140 to $250. Add the matching bench for $40 to $80 more. Ana White’s beginner version uses about $50 of lumber and two tools — that tells you how low the floor really is.
Material cost for a standard 72-inch pine farmhouse table: real numbers
An 8-foot 1×6 No. 2 pine runs $8 to $16; the wider 2×8 and 2×10 planks for the tabletop run $12 to $25 each. For full context on where this table fits the wider room, our farmhouse dining room design guide covers the whole look.
| Item | Typical cost | Cheaper workaround |
|---|---|---|
| Lumber (table) | $100–$180 | Buy 10-ft boards, cut to length |
| Hardware + finish | $40–$70 | Skip pre-stain only if using poplar |
| Kreg jig | $30–$40 | Forstner bit + hand drill |
| Orbital sander | $50–$80 | Rent for under $20/day |
| Miter saw | $120+ | Circular saw + clamped straightedge |
Skill rating and honest time estimate
I rate this one first build — a careful beginner can do it. The hardest cut is a square crosscut, and the whole table goes together with a saw and a drill with a Kreg jig. Day one is buying, cutting, sanding, and assembling the base — six to eight hours. Day two is the tabletop glue-up, attaching the top, and the first stain coat. Then comes the part nobody films: finishing. Stain plus three to five poly coats, with drying between each, runs four to seven more days. The table is usable after the weekend but fully sealed the following week.
The tools required and the cheaper workarounds for each
You need a drill/driver, a saw, an orbital sander, a Kreg pocket-hole jig, four bar or pipe clamps, a tape measure, a speed square, and safety glasses. A circular saw with a clamped straightedge replaces a miter saw. A rented random-orbit sander costs under $20 a day. But the Kreg jig I’d buy: the R3 or Mini runs $30 to $40, includes the bit, and eliminates clamp time for a tight, square glue-up.
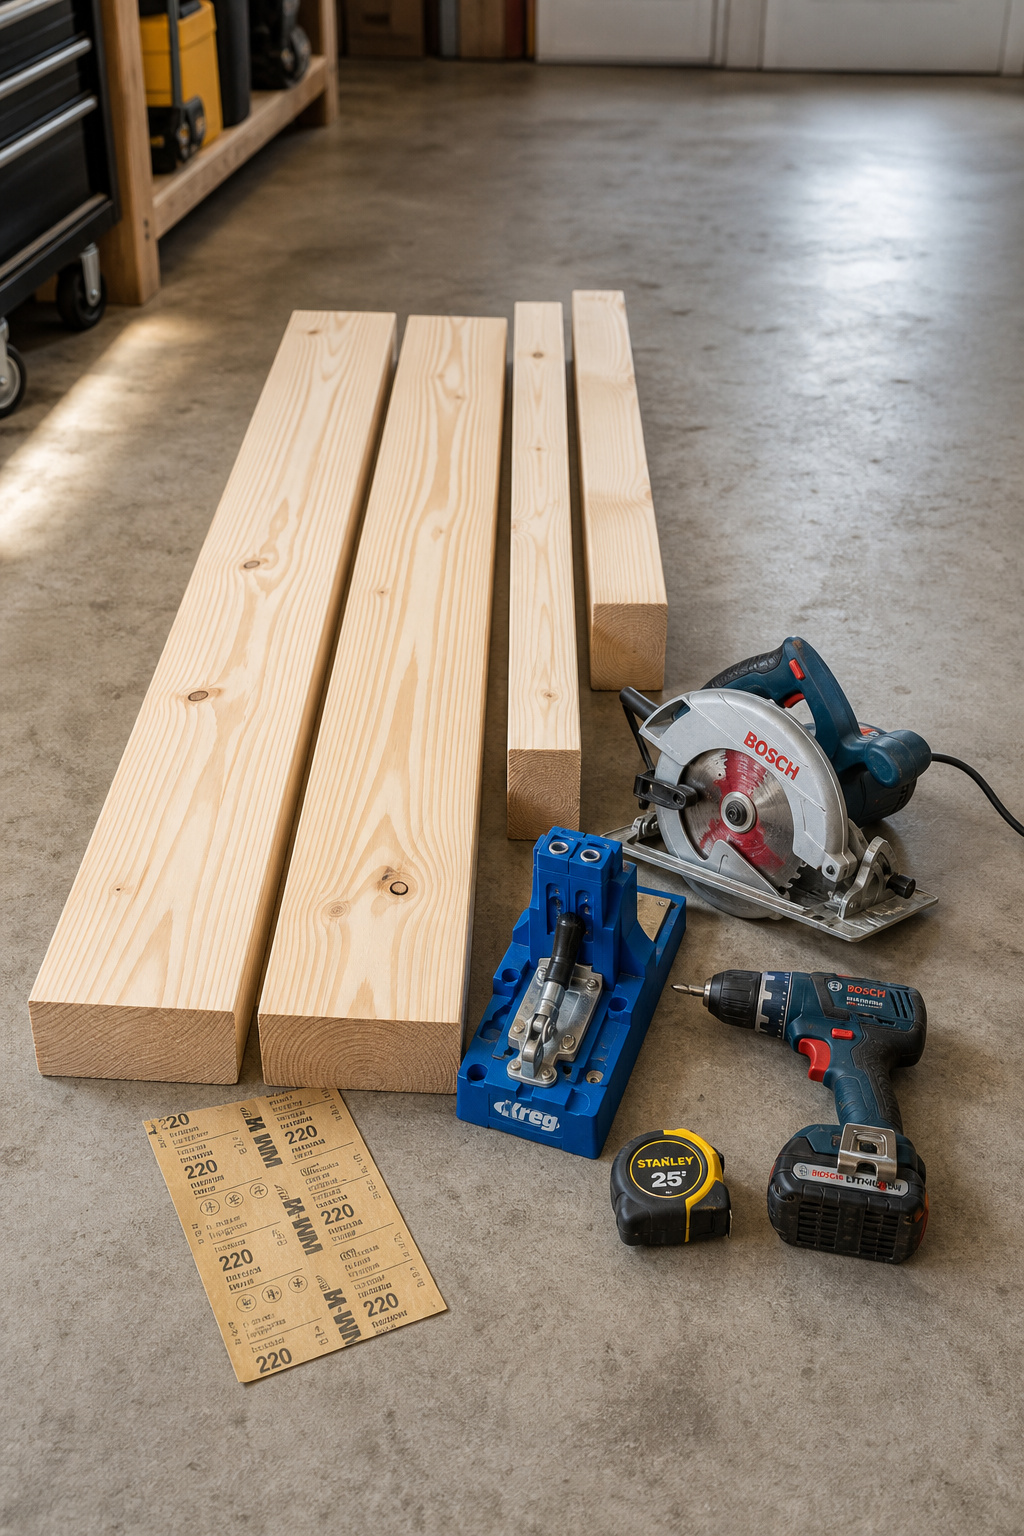
Cut List and Dimensions: The Table That Seats Six Comfortably
A table that seats six measures 72 inches long by 36 to 38 wide, at a standard 29-to-30-inch height. That height pairs with 17-to-19-inch chair seats and leaves 10 to 12 inches of leg room under the apron. Allow 24 inches per diner, so a 72-inch table seats three a side plus two ends.
Standard farmhouse table dimensions: length, width, and height
The number most plans land on is 72 by 38 inches. Keep the apron at least 6 to 8 inches below the tabletop edge so seated thighs clear it; a 2×4 or 2×6 gives you the right depth. One caution: don’t build it tall. A 31-inch table with 18-inch chairs leaves only 13 inches of knee clearance, and someone hits the apron every meal.
The pine cut list: boards, legs, apron, and stretcher pieces with exact lengths
This is Ana White’s pocket-hole cut list, which I trust for a first build.
| Part | Qty | Dimension | Notes |
|---|---|---|---|
| Legs | 4 | 4×4 @ 29 in | Square crosscuts |
| Long aprons | 2 | 2×4 @ 67 in | Pocket holes both ends |
| Short aprons | 2 | 2×4 @ 27 in | Pocket holes both ends |
| Stretcher | 1 | 2×4 @ 74 in | Centre brace |
| Stretcher supports | 2 | 2×4 @ 34 in | Ties stretcher to ends |
| Tabletop planks | 4 + 1 | 2×8 @ 70.5 in + 1×2×10 @ 70.5 in | Alternate grain direction |
Inspect every board at the store. Cupped or twisted tabletop boards make waves that no sanding removes. Alternate the end grain across the top — rings flipping up then down — so seasonal movement forces cancel out and the surface stays flatter.
Adjusting the plan for a different table length
To drop to 60 inches (seats four to five), trim the long aprons by 12 inches each (67 to 55) and the tabletop boards by 12 (70.5 to 58.5); leg height stays at 29. To go wider for seven or eight, add one 2×8 top board and extend the short aprons to 31 inches. If you’re squeezing this into a small dining nook, size the build to the footprint before you cut. Counter height (34–36 inches) just means longer 4×4 legs, paired with bar stools.
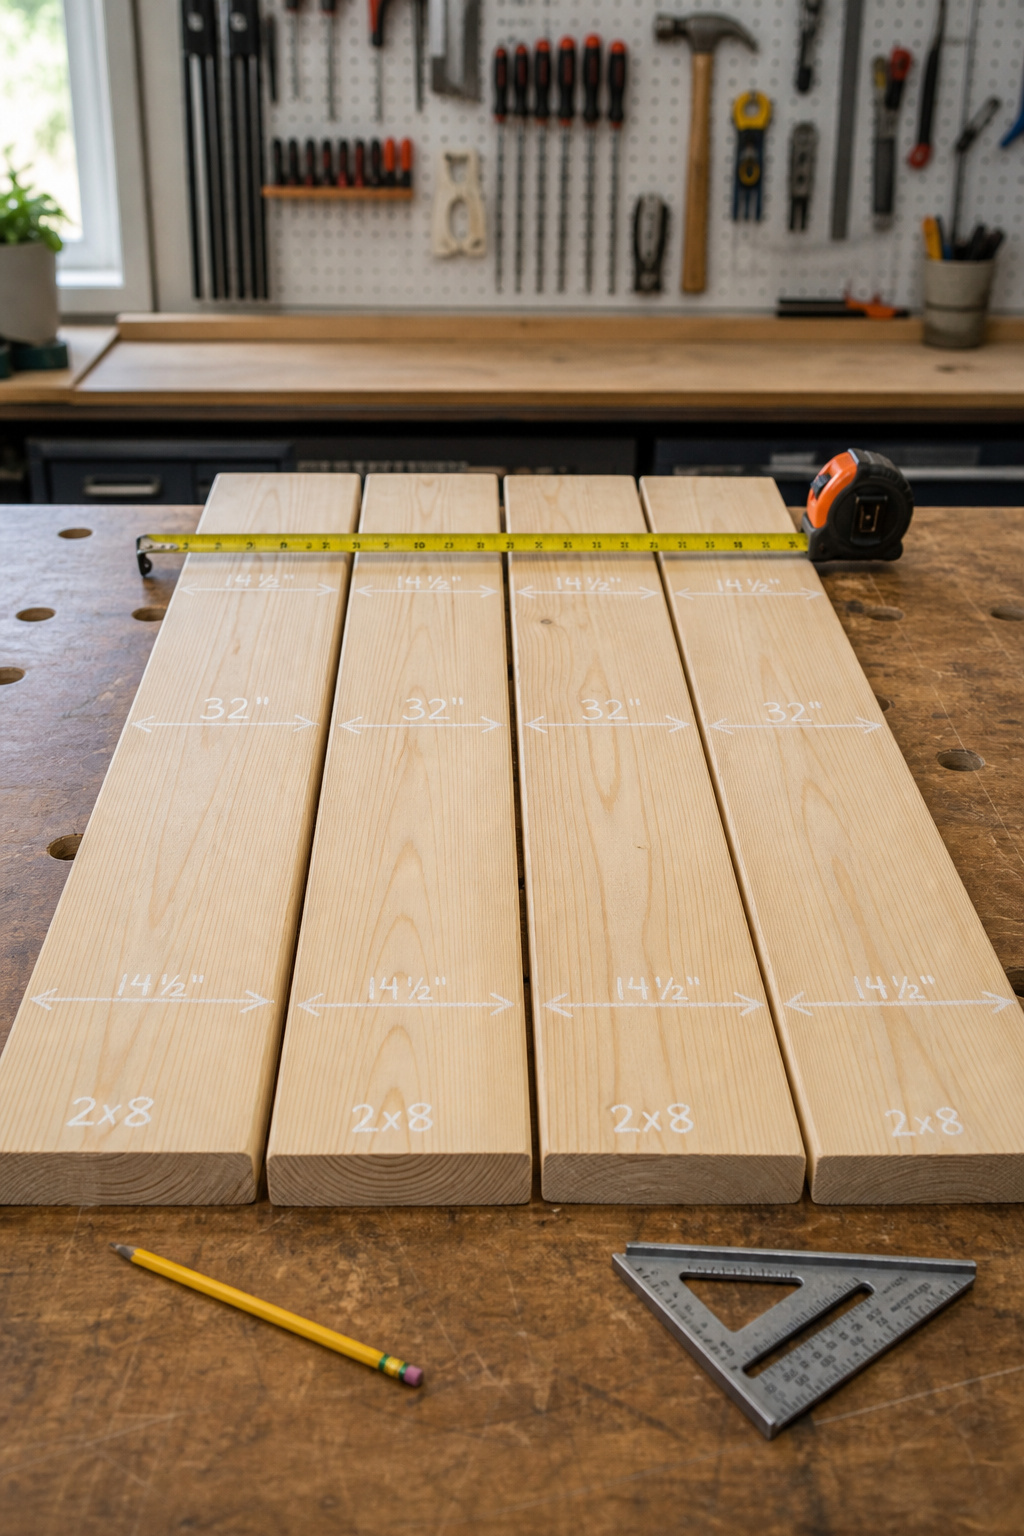
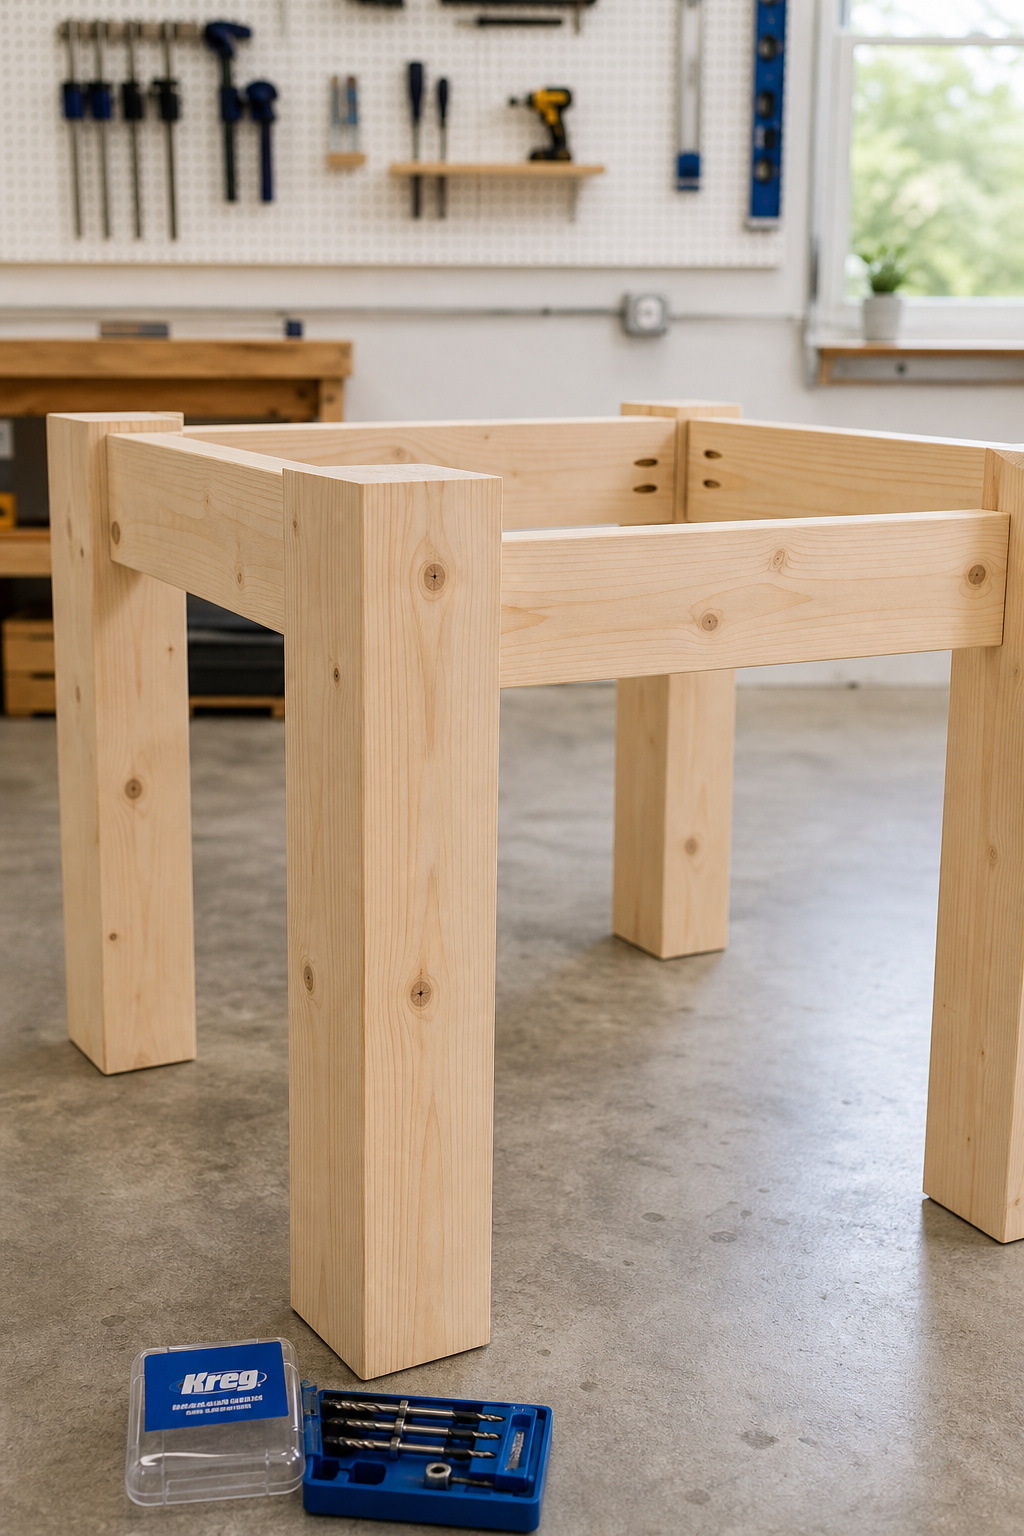
Building the Table: Assembly Step by Step
Pocket-screw joinery is the right call here: fast, strong enough for a dining table, and no clamp-and-wait.
- Apply wood glue to both mating faces — glue holds long-term, screws clamp while it cures.
- Join each leg pair to its short apron with 2.5-inch Kreg coarse-thread screws.
- Connect the two end frames with the long aprons on a flat surface.
- Wipe every bit of squeeze-out immediately with a damp cloth — dried glue won’t take stain.
- Add the stretcher and supports to lock the base.
- Measure both diagonals corner to corner; they must match within 1/16 inch.
- Drill the tabletop boards (bottom face only) and join them edge-to-edge with 1.25-inch fine-thread screws.
- Attach the top with figure-8 fasteners, not screws driven through the apron.
Leg-to-apron joinery: pocket screws or mortise-and-tenon — what to choose
Mortise-and-tenon is stronger but needs a router, a chisel set, and real skill. Skip it for a first table. Pocket holes plus glue at the joint faces build a table that lasts decades. The jig cuts a 15-degree hole and a self-tapping screw draws both faces tight — no alignment fights, no hours in clamps.
Squaring the base before the top goes on (this is where builds fail)
Here is the step that separates a solid table from a rocker. After the base is together, measure both diagonals. If they don’t match within 1/16 inch, clamp across the longer diagonal and push until they do, then re-check before the glue cures. Build on a verified-flat surface — an uneven garage floor racks the base. Reject any board with more than 1/8 inch of bow at the store; that sorting matters more than grain looks.
Attaching the tabletop: figure-8 fasteners and why they matter for wood movement
Driving screws through the apron into the top is the classic crack-causing mistake. Solid wood moves about 3/16 inch per foot of width, so a 36-inch top can shift up to 5/8 inch a year — enough to split apron joints if it’s fixed rigid. Figure-8 fasteners (about $10 for 20) sit in a shallow Forstner hole in the apron’s top edge and screw into the underside. The 8-shape pivots as the wood breathes. No Forstner bit? Z-clips in a saw kerf do the same job.
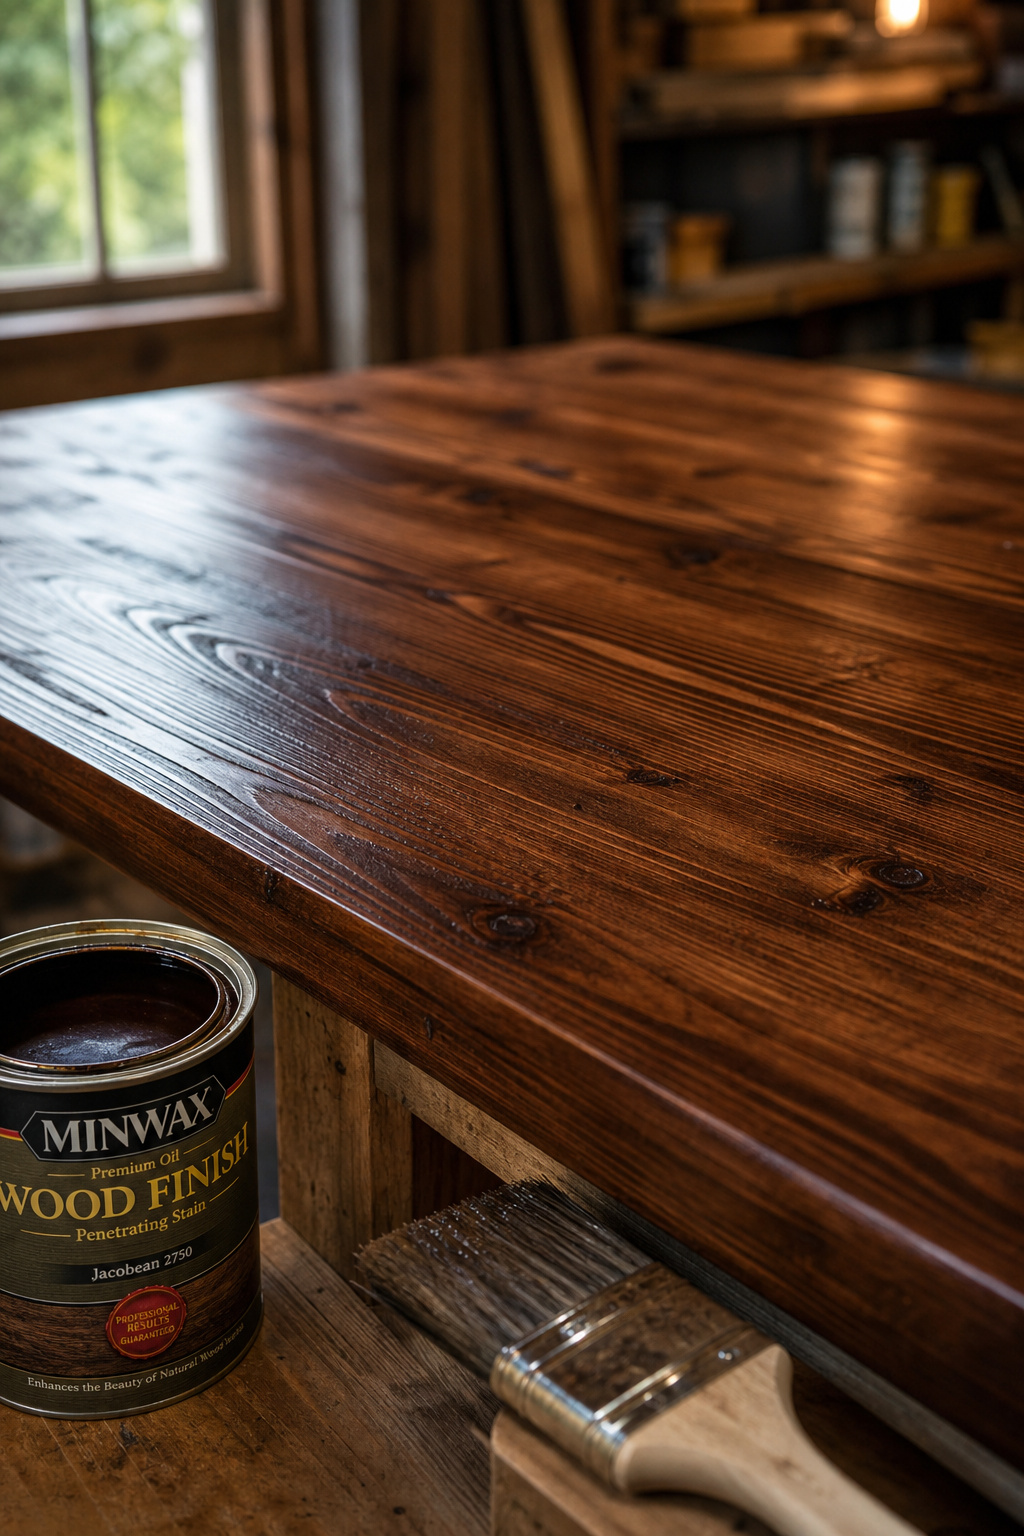
Finishing the Table: Stain, Paint, and Sealing for Daily Use
This is the part the videos skip and the part that takes the longest. Don’t rush it. Pine fights you on stain — its porous grain and sap pockets drink unevenly and blotch — so a pre-stain conditioner isn’t optional.
Raw pine prep: sanding grits in order and grain-raising for an even finish
Sand in sequence: 80 to flatten mill marks, then 100, 120, 150, and stop at 180 for oil-based stain or 220 for water-based. Going finer burnishes the pine and blocks stain. Never skip a grit — jumping 80 to 150 leaves scratches that show through colour. For water-based finishes, raise the grain first: wipe the wood with a damp cloth, wait 30 minutes, then re-sand at 220. Right before staining, brush on Minwax Pre-Stain Wood Conditioner — it partially seals the faster-absorbing areas and produces far more even colour on pine.
Stain options: oil-based, water-based, and whitewash — coverage and dry time
Oil-based stain penetrates pine deeper and reads richer, but wants 6 to 12 hours between coats and mineral-spirits cleanup. Water-based dries in 1 to 2 hours and is lower-odour, though it raises grain more — so that pre-treatment matters. Whitewash (roughly 50:50 white latex and water) gives the bleached farmhouse look; brush it on and wipe back before it dries. For a richer rustic table, lean toward Minwax Jacobean; for a brighter room, whitewash or a clear natural finish keeps the pine pale.
| Finish type | Coats | Dry between coats | Daily-use durability |
|---|---|---|---|
| Oil-based poly | 3–5 | 6–12 hrs | Highest, high sheen |
| Water-based poly | 3–5 | 2–4 hrs | High, low odour |
| Hard-wax oil | 1–2 | 24–48 hrs | Easiest to repair |
Topcoat choices for a family dining table: polyurethane, hard-wax oil, and lacquer
Water-based poly in satin is my default for a family table: durable against spills, fast to recoat, low smell. Use at least three coats — five is the pro standard. Sand lightly with 320-grit between each, then tack-cloth the dust. The alternative is hard-wax oil (Rubio Monocoat, Osmo): a penetrating, matte finish that spot-repairs in minutes instead of demanding a full strip-and-redo. Here is the one rule I give everyone: let the stain cure a full four days before any water-based poly goes on. Topcoat green stain and it may never harden — and that’s a strip-to-bare-wood fix, not a touch-up.
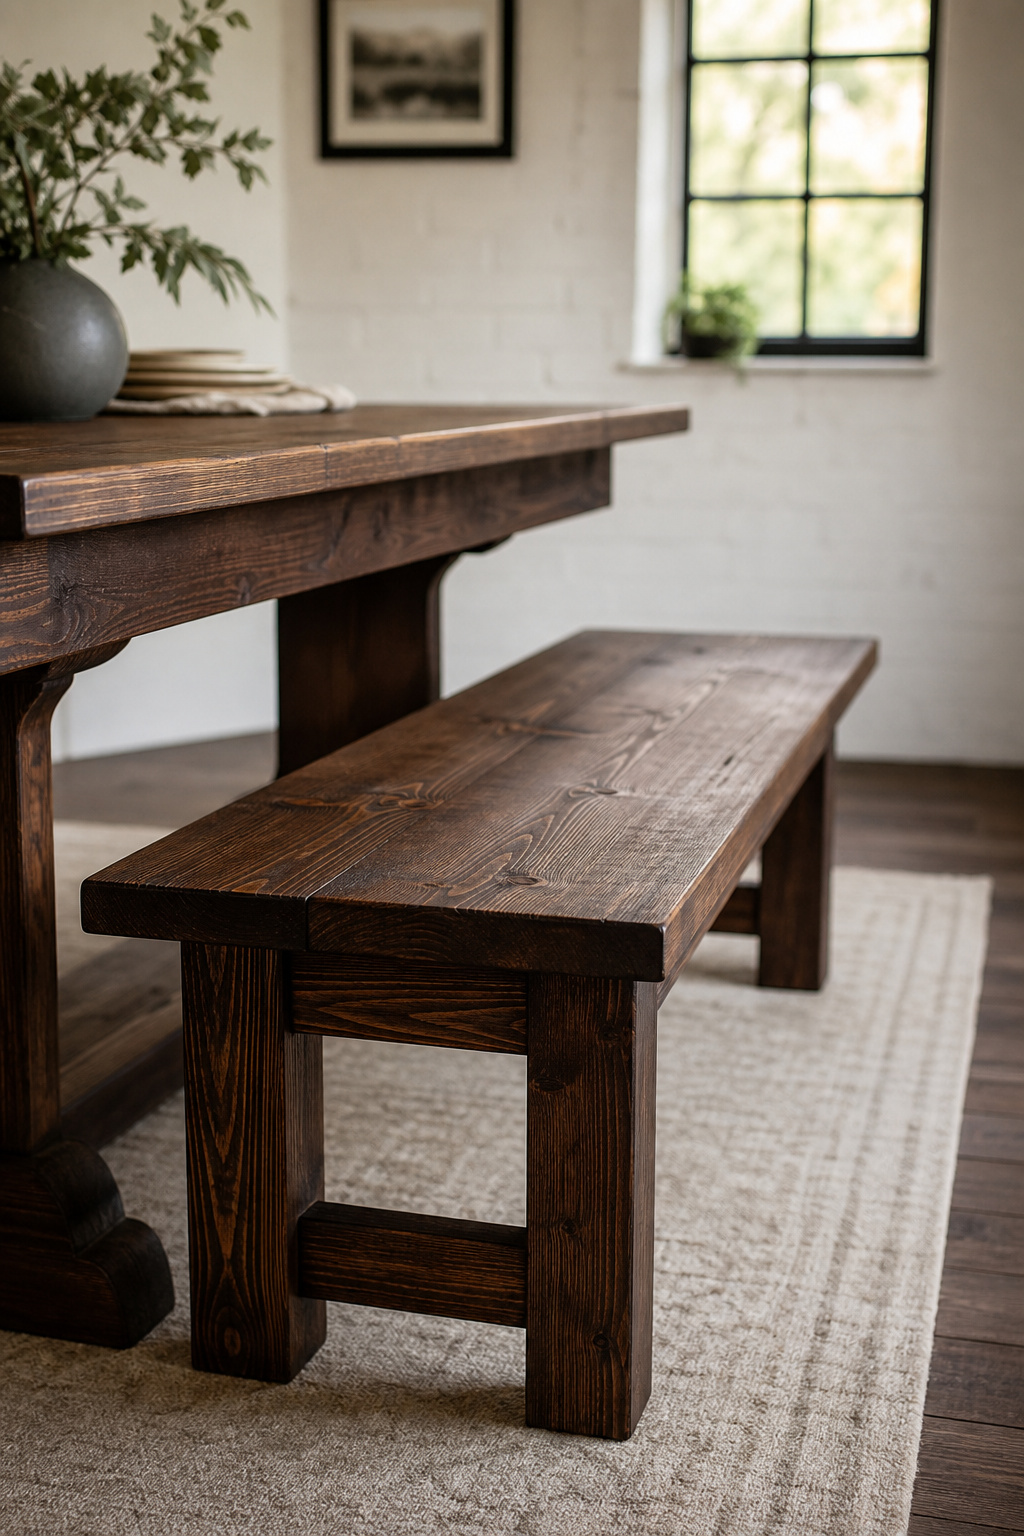
Building the Matching Farmhouse Bench: Plans and Dimensions
The bench is the easy half — same pine, same pocket screws, same finish. That’s the whole point of building them together.
Bench dimensions that pair with the table: height, depth, and length
Build the seat at 18 to 19 inches high to match standard chairs and slide cleanly under a 29-to-30-inch table. A seat depth of 12 to 14 inches suits most adults — a 2×12 board gives you 11.25 actual inches. For a 72-inch table, two benches at 57 to 60 inches each nest underneath when not in use.
The bench cut list: seat board, legs, and stretcher
| Part | Qty | Dimension |
|---|---|---|
| Seat | 1 | 2×12 @ 57 in |
| Legs | 4 | 4×4 @ 16.5 in |
| Side aprons | 2 | 2×4 @ 14.5 in |
| Long aprons | 2 | 2×4 @ 49 in |
| Stretcher (optional) | 1 | 2×4, centred |
The leg math: 18-inch target seat minus 1.5-inch board thickness equals 16.5-inch legs. On benches over 60 inches, add the centre stretcher or the seat flexes under an adult.
Bench assembly sequence and the one difference from the table build
- Drill pocket holes in the apron boards.
- Assemble each end frame — leg pair plus short apron — on a flat surface.
- Connect with the long aprons and check both diagonals for square.
- Add the stretcher if the bench runs long.
- Attach the seat from underneath with figure-8 fasteners, not rigid screws.
The seat is a single board, so it stays flat more easily — but it still moves seasonally, so don’t pin it rigid. Build both benches while the jig is set for 1.5-inch material and everything is already out. Pairing this build with a DIY accent wall makes a full weekend’s room transformation for the price of one bought table.
Your Build Weekend: What to Buy, What to Do First, and What Will Go Wrong
A genuine weekend build — with honest planning.
The Saturday morning shopping list — what to have before you start cutting
Buy at the store, not online, so you can inspect each board:
- 4 pcs 4×4×8 ft pine (legs)
- 2 pcs 2×10×8 ft and 2 pcs 2×8×8 ft pine (tabletop)
- 3 pcs 2×4×8 ft pine (aprons and stretchers)
- 1 pc 2×12×8 ft pine (bench seat)
- Kreg screws (2.5-in coarse, 1.25-in fine), Titebond II glue, 20-pack figure-8 fasteners, a 1/2-inch Forstner bit
- Pre-stain conditioner, stain, water-based poly, sandpaper in 80/120/150/180/220/320
- One spare 2×4 — a split board on first screw contact happens on nearly every first build
Day 1 vs Day 2: the realistic two-day sequence
Saturday: Buy and inspect lumber (~1.5 hrs). Let pine acclimate in your build space — 48 to 72 hours, so ideally buy it Thursday. Cut all base pieces, drill pocket holes, sand to 80-grit, assemble end frames, connect with aprons, square it, let it cure overnight.
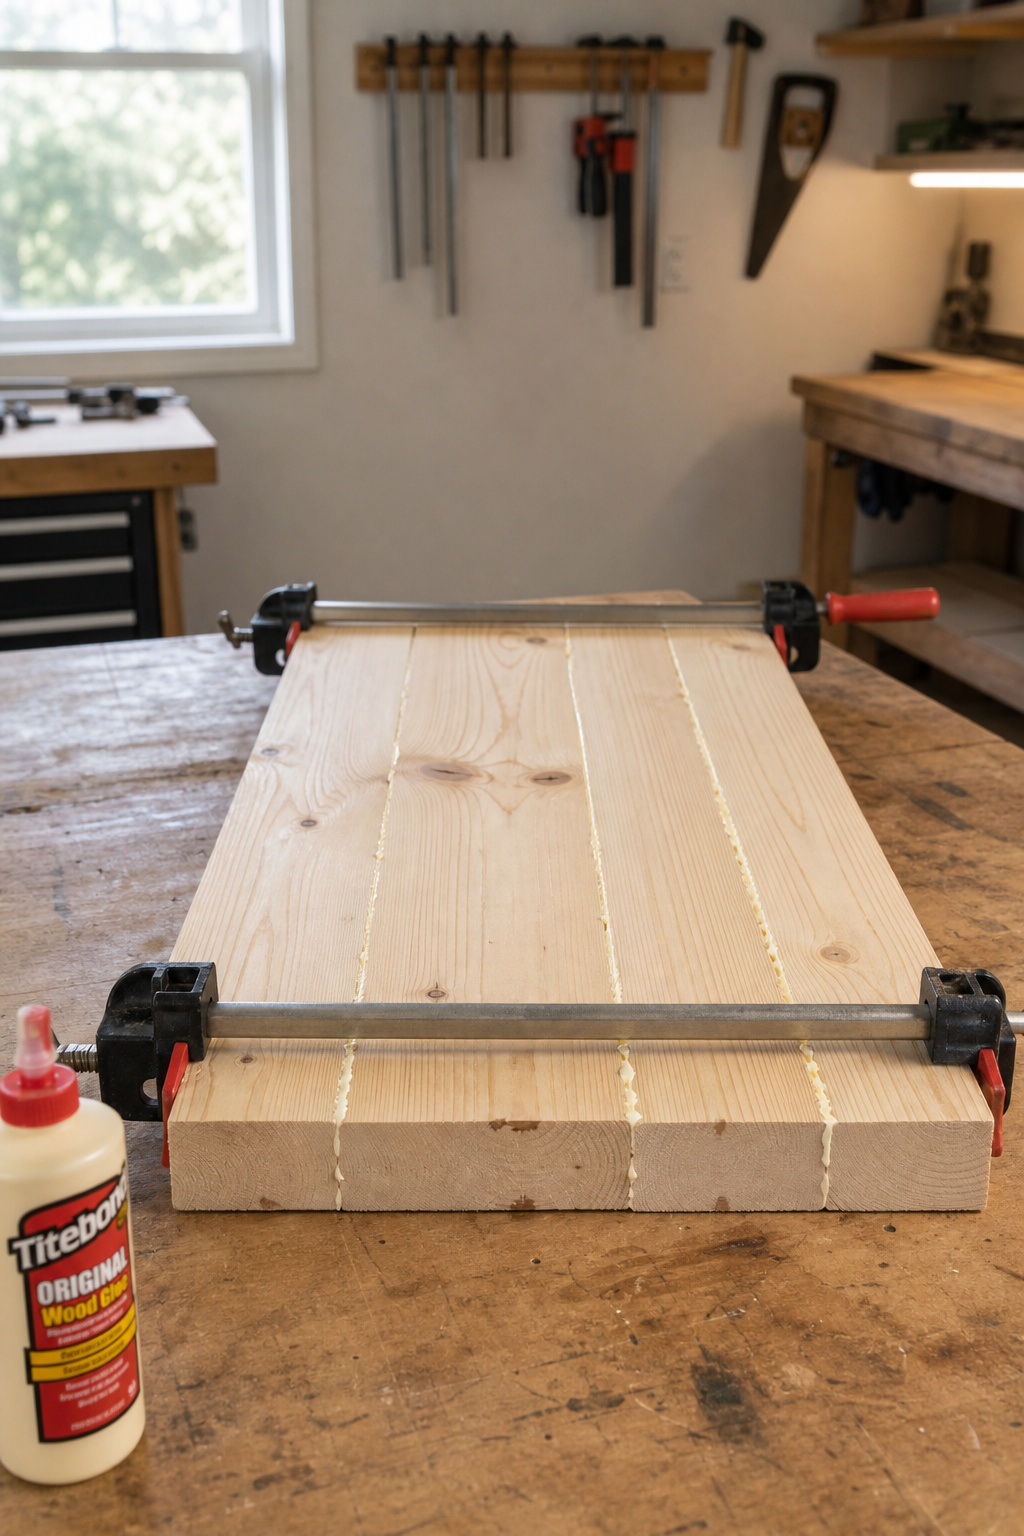
Sunday: Drill and join the tabletop on a flat surface. Let it cure an hour, trim the ends square, sand 80 through 220, attach with figure-8s, then brush on conditioner and the first stain coat. The following week: second stain coat if needed, cure four to seven days, then three to five poly coats with a 320-grit scuff between each.
The three things that go wrong on a first farmhouse table build and how to recover
Every one of my timelines includes the trip back to the store — I once lost a whole weekend to a “two-hour” floating-shelf video. Plan for these three.
A twisted tabletop from a warped board: inspect at the store. Recovery: lay the top twist-side-up under even weight for 24 hours; over 1/4 inch won’t flatten, so replace the board. Dried glue squeeze-out blocking stain: wipe it wet, immediately — dried residue shows as a pale, stain-resistant patch. Poly over green stain: wait the full four days; if the poly stays tacky, there’s no fix short of stripping back to bare wood.
FAQ
How much does it cost to build a DIY farmhouse dining table?
A 72-inch table in No. 2 pine costs $100–$180 in lumber; hardware, sandpaper, conditioner, stain, and poly add $40–$70, for an all-in budget of $140–$250. One matching bench adds about $40–$80 in materials. A comparable solid-wood set bought at retail starts at $900–$1,200, so building it yourself saves roughly 60–80%.
What wood is best for a DIY farmhouse dining table that will last?
No. 2 pine is the standard budget choice: widely available, easy to cut, and it takes stain well once you use a pre-stain conditioner. For more surface hardness, Southern Yellow Pine is denser and more scratch-resistant. Poplar costs a few dollars more per foot but stains evenly and survives heavy daily use, making it the best upgrade for households with young kids.
How do I stop my DIY farmhouse table from wobbling?
Wobble traces to three causes: a base squared wrong before the glue cured, one twisted tabletop board, or an uneven floor. Prevent it by assembling on a verified-flat surface and matching both diagonals before curing. For minor floor unevenness under 1/8 inch, stack felt pads under the short leg; for a larger gap, sand the leg tip down instead.